
Fried Pie
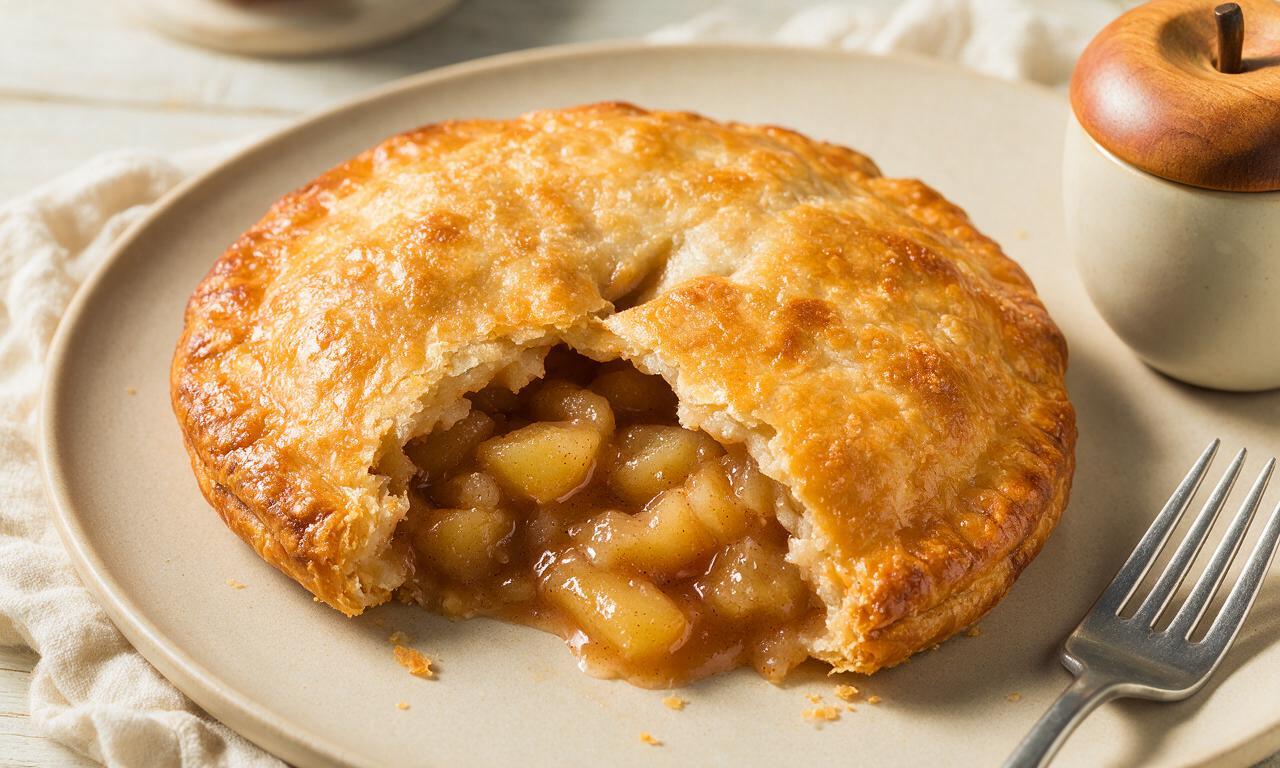
intro
Crisp, flaky golden handheld pastries stuffed with warm spiced apple filling, fried to perfection for a nostalgic, portable sweet treat.
Ingredients
Steps
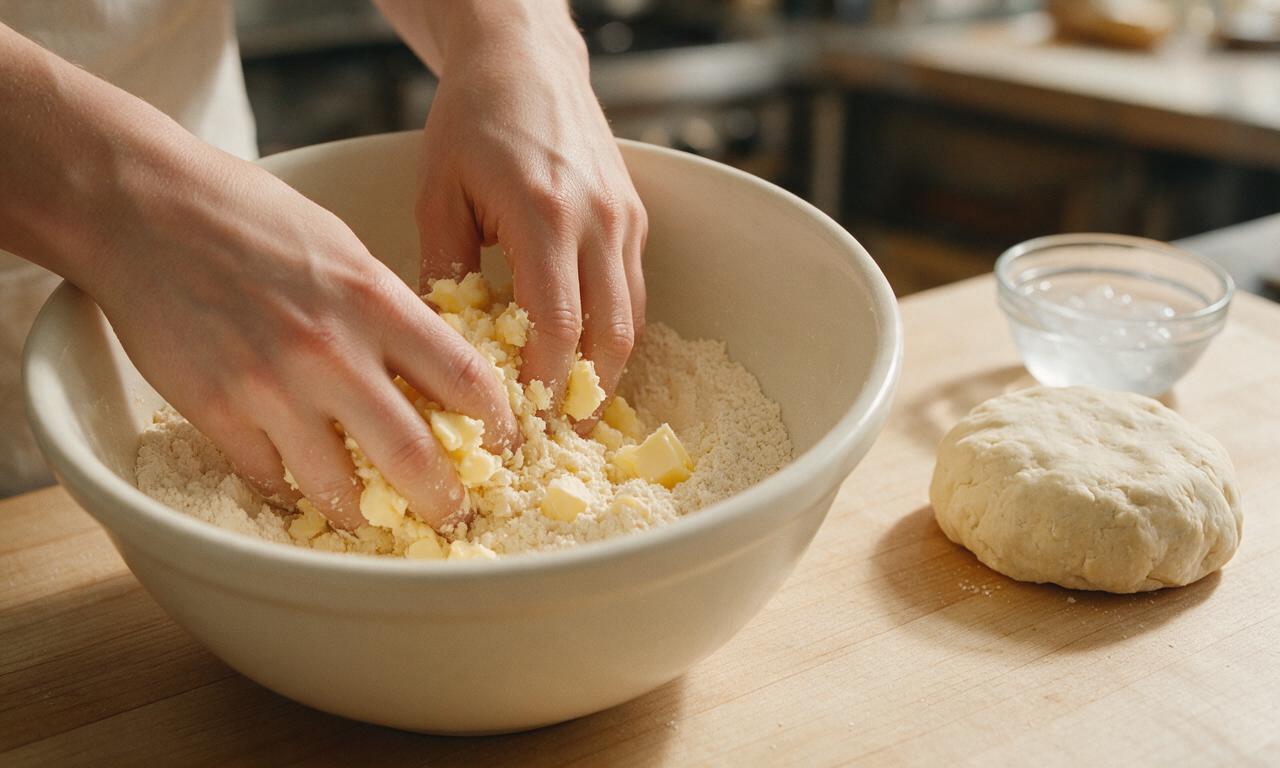
Prep the pastry dough
In a large mixing bowl, combine 2 cups (240g) all-purpose flour and 1/4 tsp fine sea salt. Cut 2 tbsp (28g) cold unsalted butter into small pea-sized pieces, rub into the flour with your fingertips until the mixture resembles coarse crumbs. Drizzle in 5 tbsp (75ml) ice cold water 1 tbsp at a time, mixing gently with a fork until the dough comes together into a shaggy ball. Flatten into a 1-inch thick disc, wrap in plastic, and chill in the refrigerator for 15 minutes while you prepare the filling.
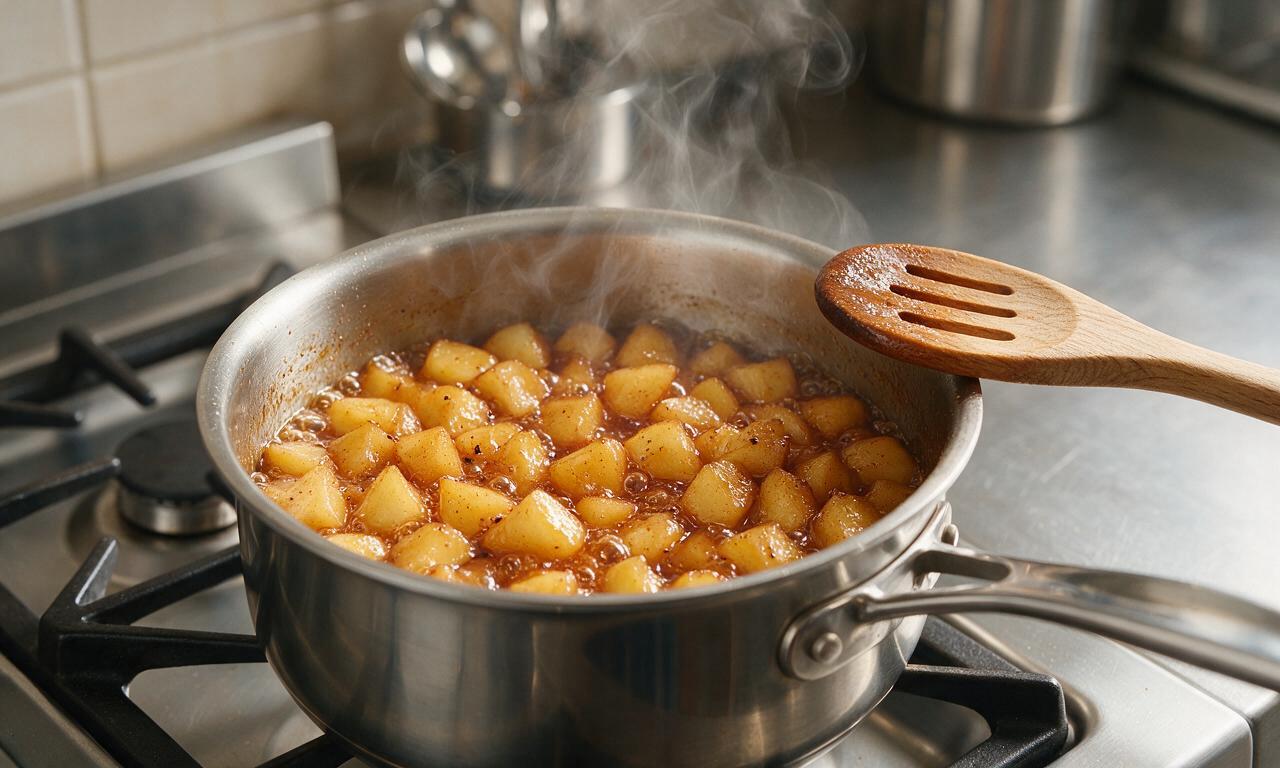
Cook spiced apple filling
Melt the remaining 4 tbsp (57g) unsalted butter in a small saucepan over medium stovetop heat (325°F/160°C). Add diced Granny Smith apples, 1/3 cup (67g) granulated sugar, 1 tsp ground cinnamon, 1/4 tsp ground nutmeg, and 1 tbsp fresh lemon juice. Stir to coat evenly, then simmer for 8-10 minutes, stirring occasionally, until apples are tender but not mushy and the cooking liquid thickens to a light, syrupy consistency. Remove from heat and let cool completely for 10 minutes.
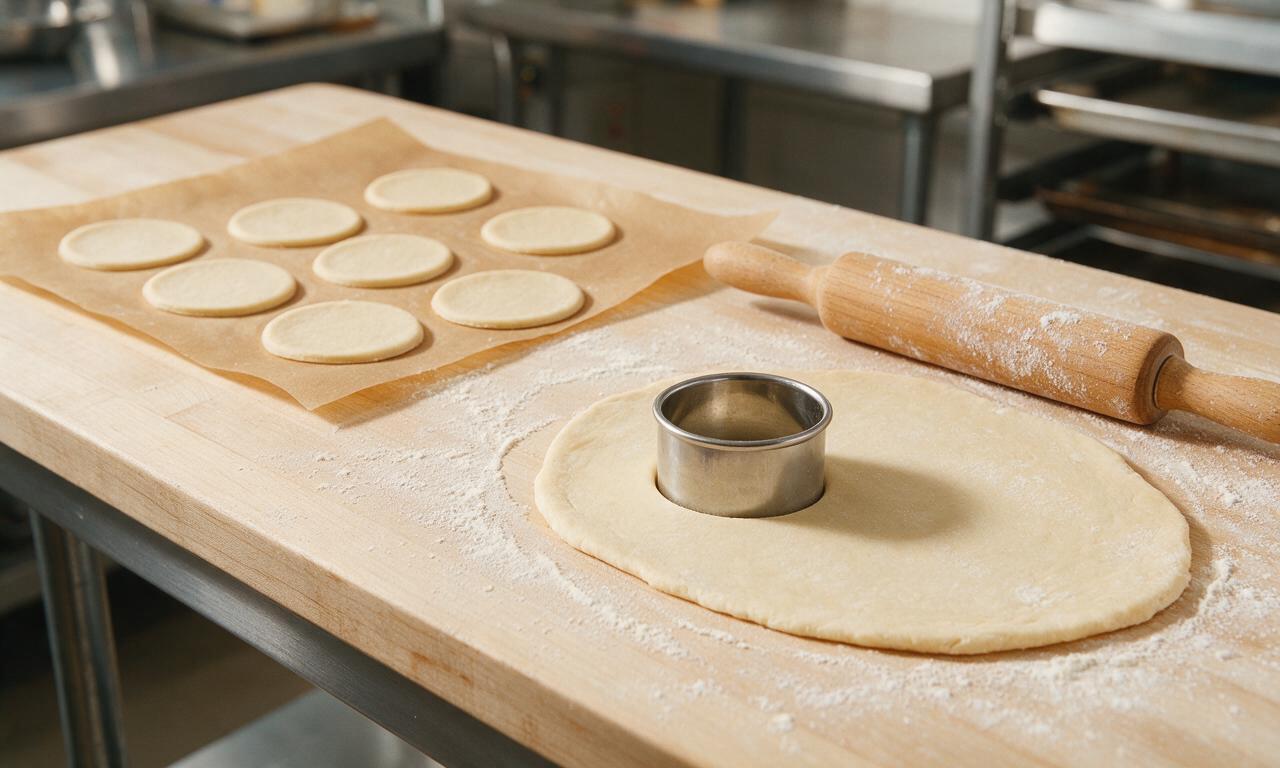
Roll and cut dough rounds
Remove chilled dough from the refrigerator, unwrap, and place on a lightly floured work surface. Roll the dough out to an even 1/8-inch thickness with a wooden rolling pin. Use a 5-inch round cookie cutter (or the rim of a small cereal bowl) to cut 6 equal dough circles, re-rolling dough scraps once only to avoid tough pastry. Lay the cut circles on a parchment-lined baking sheet as you work.
Fill and seal hand pies
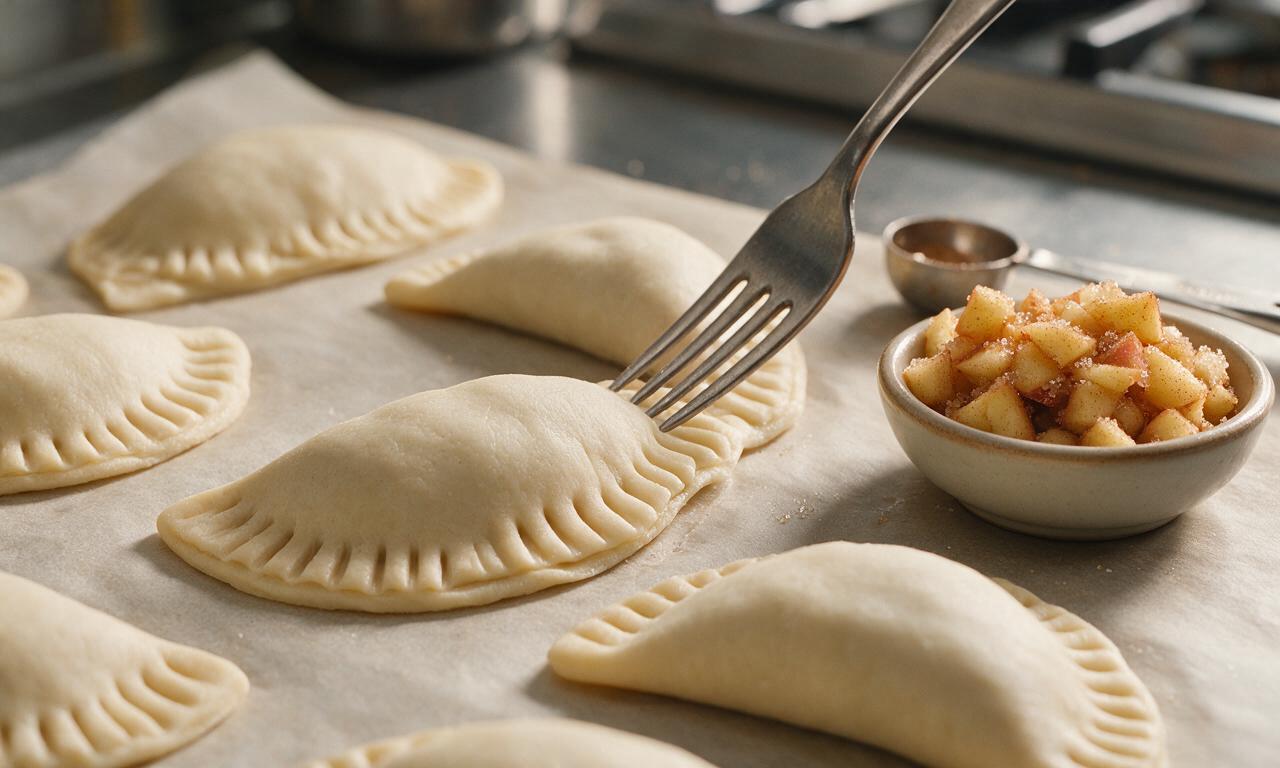
Spoon 2 tbsp of cooled apple filling onto the center of each dough round, leaving a consistent 1/2-inch plain border around the edge. Lightly brush the border of each round with a small amount of cold water, then fold the dough over the filling to create a tight half-moon shape. Press the edges firmly with the tines of a dinner fork to crimp and seal completely, ensuring no gaps where filling can leak during frying. Poke 2 small vent holes in the top of each pie with a toothpick to release steam.
Heat frying oil
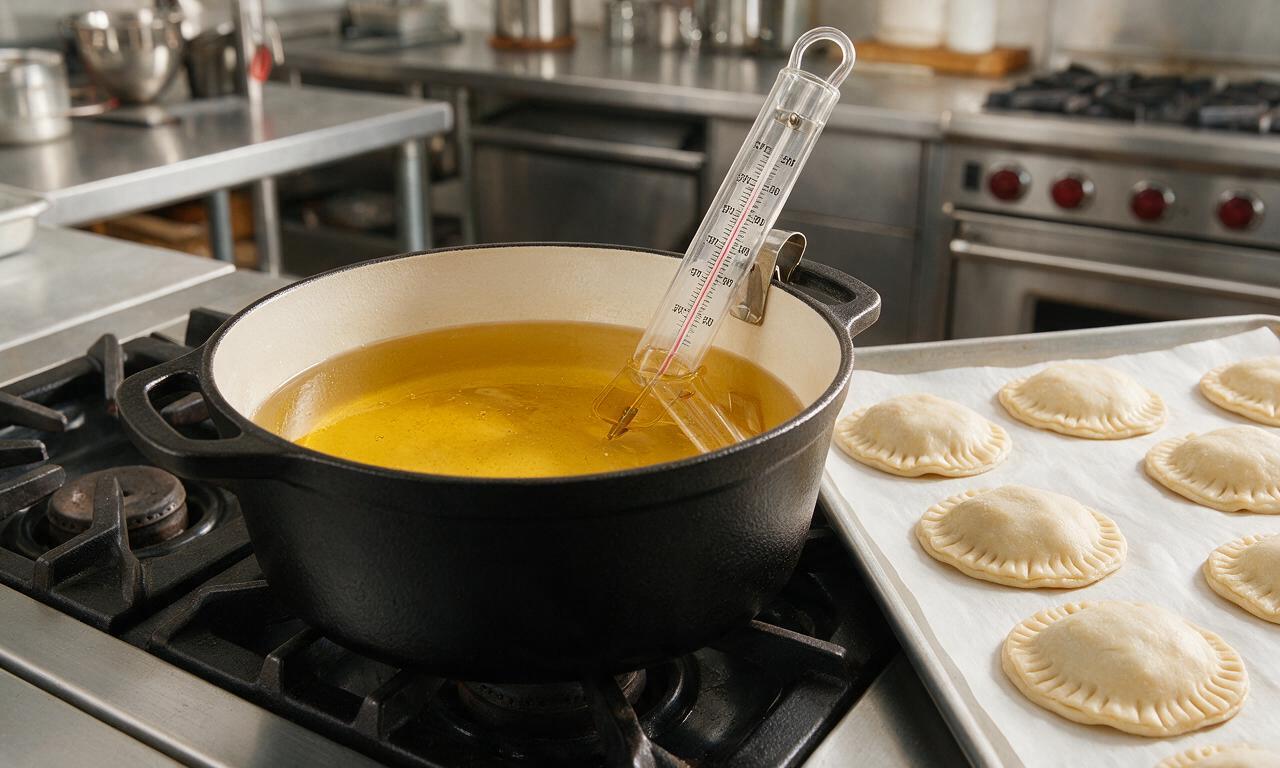
Pour 4 cups (960ml) vegetable oil into a deep, heavy-bottomed Dutch oven, and clip a candy thermometer to the inner side of the pot. Heat the oil over medium-high heat until it reaches a steady 375°F (190°C), adjusting stovetop heat as needed to maintain this consistent temperature throughout the frying process.
Fry pies to golden crisp
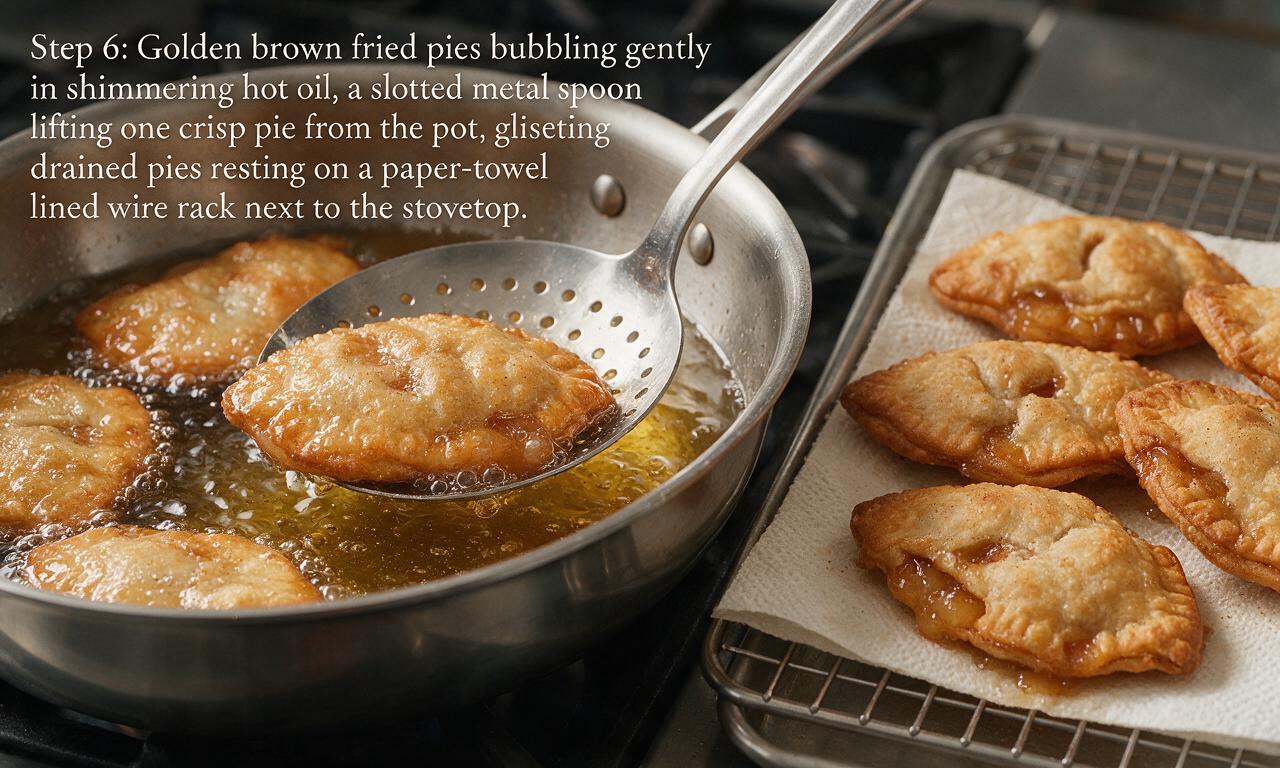
Carefully lower 2-3 pies at a time into the hot oil using a slotted metal spoon, taking care not to overcrowd the pot which will drop oil temperature. Fry for 2-3 minutes per side, flipping once halfway through cooking, until the pastry is a deep, even golden brown and crisp all over. Use the slotted spoon to transfer finished pies to a wire rack lined with paper towels to drain excess oil for 2 minutes.
Dust and serve warm
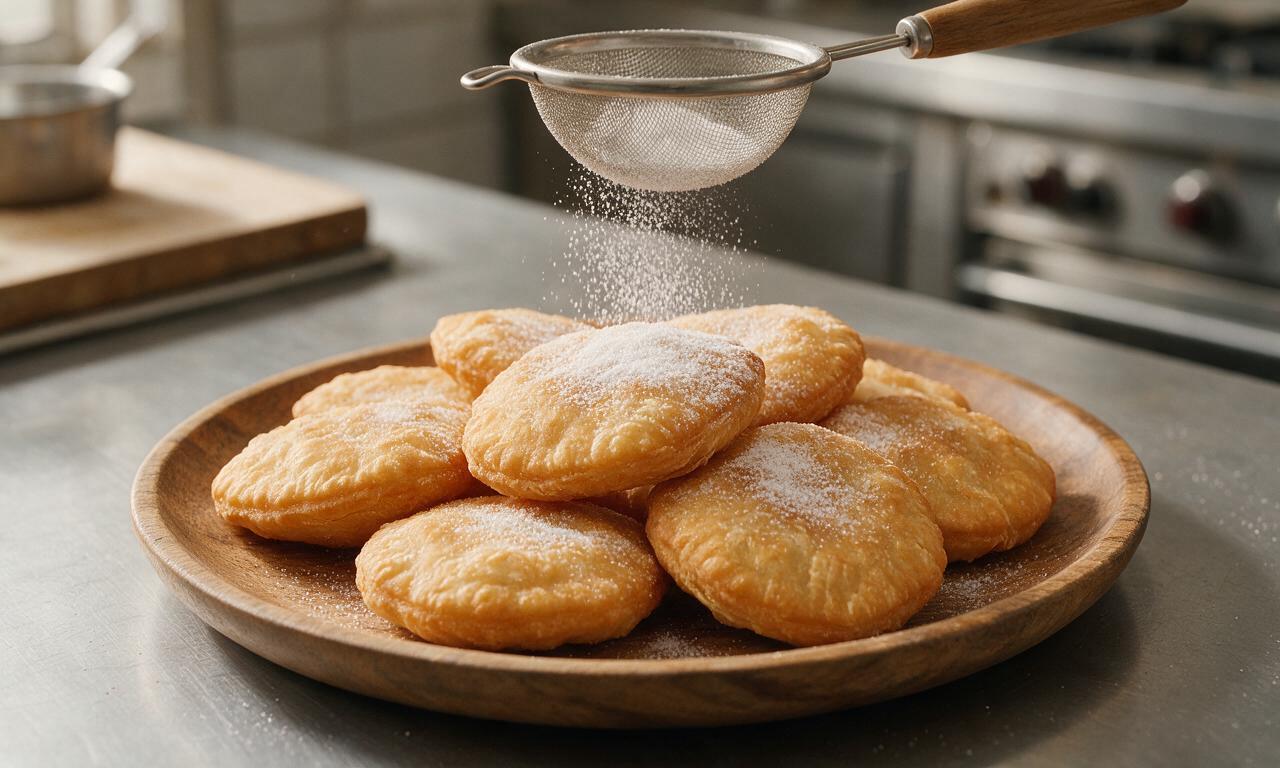
While the pies are still slightly warm, dust the tops evenly with the remaining 1 tbsp granulated sugar (or a 50/50 mix of sugar and extra cinnamon, if desired). Let the pies cool for 5 minutes before serving, as the trapped apple filling will be extremely hot straight from the fryer.
Tips
2.Never overfill the pies, and double-check that edges are tightly crimped; leaking filling will cause hot oil to splatter and leave you with hollow, underfilled pastry shells.
3.Monitor oil temperature closely with a thermometer throughout frying; oil that is too cool will make pies absorb excess grease and turn soggy, while oil that is too hot will burn the crust before the pastry cooks through.






OMG these fried pies are SO good! I made them for our church potluck last Sunday and people were literally lining up to get a piece before the tray was empty. The crust was perfectly flaky, the apple filling had just the right amount of cinnamon and wasn’t cloyingly sweet, and they held up great for the hour drive to the church. My 7 year old asked for seconds before he even finished his first bite, and my husband snuck three extra to take to work the next day. Total win!
This recipe is a total game changer for quick weeknight treats! It’s marked easy and it absolutely lives up to that — I prepped the spiced apple filling during my Sunday meal prep, and the whole thing came together in 15 minutes once we finished dinner on Tuesday. I tossed in a tiny dash of extra nutmeg and a handful of chopped candied pecans to the filling on a whim, and it was chef’s kiss. My kids loved them so much they asked if we could have them every night this week. Already planning to make a double batch for our neighborhood block party next month!
Really solid recipe! I’ll admit I messed up the first pie because my oil was way too hot, but once I dialed it back to 350°F like the recipe says, every single one came out perfect. Crispy, golden crust on the outside, warm gooey cinnamon apple on the inside — way better than the fried apple pies I used to beg my parents for on long road trips as a kid. I’m packing a bunch of these for my annual camping trip next weekend, they travel way better than I expected. Only knocking off one star because I wish the recipe had a quick note about how fast oil temp can drop when you add the pies, otherwise it was flawless.
I swear this recipe tastes exactly like the fried apple pies my grandma used to make at her house in rural Alabama when I was little. She passed a few years ago and I’ve been chasing that flavor ever since, trying every recipe I could find online, and this is the first one that got it right. I teared up a little when I took the first bite, it was so spot on. The balance of tart apples, cinnamon, and that crispy fried crust? Unbeatable. Thank you so much for sharing this classic, it means the world.
As someone who can barely make toast without setting off the smoke alarm, I was shocked how easy these were to pull off! Made them last night for my roommate’s birthday, dusted them with powdered sugar straight out of the fryer and served them with a big scoop of vanilla bean ice cream. He said they were better than any fried pie he’s ever had at a Southern diner back home in Tennessee. Cook time was exactly what the recipe said, too, no surprises. 10/10, will be making these for every game night from now on!