
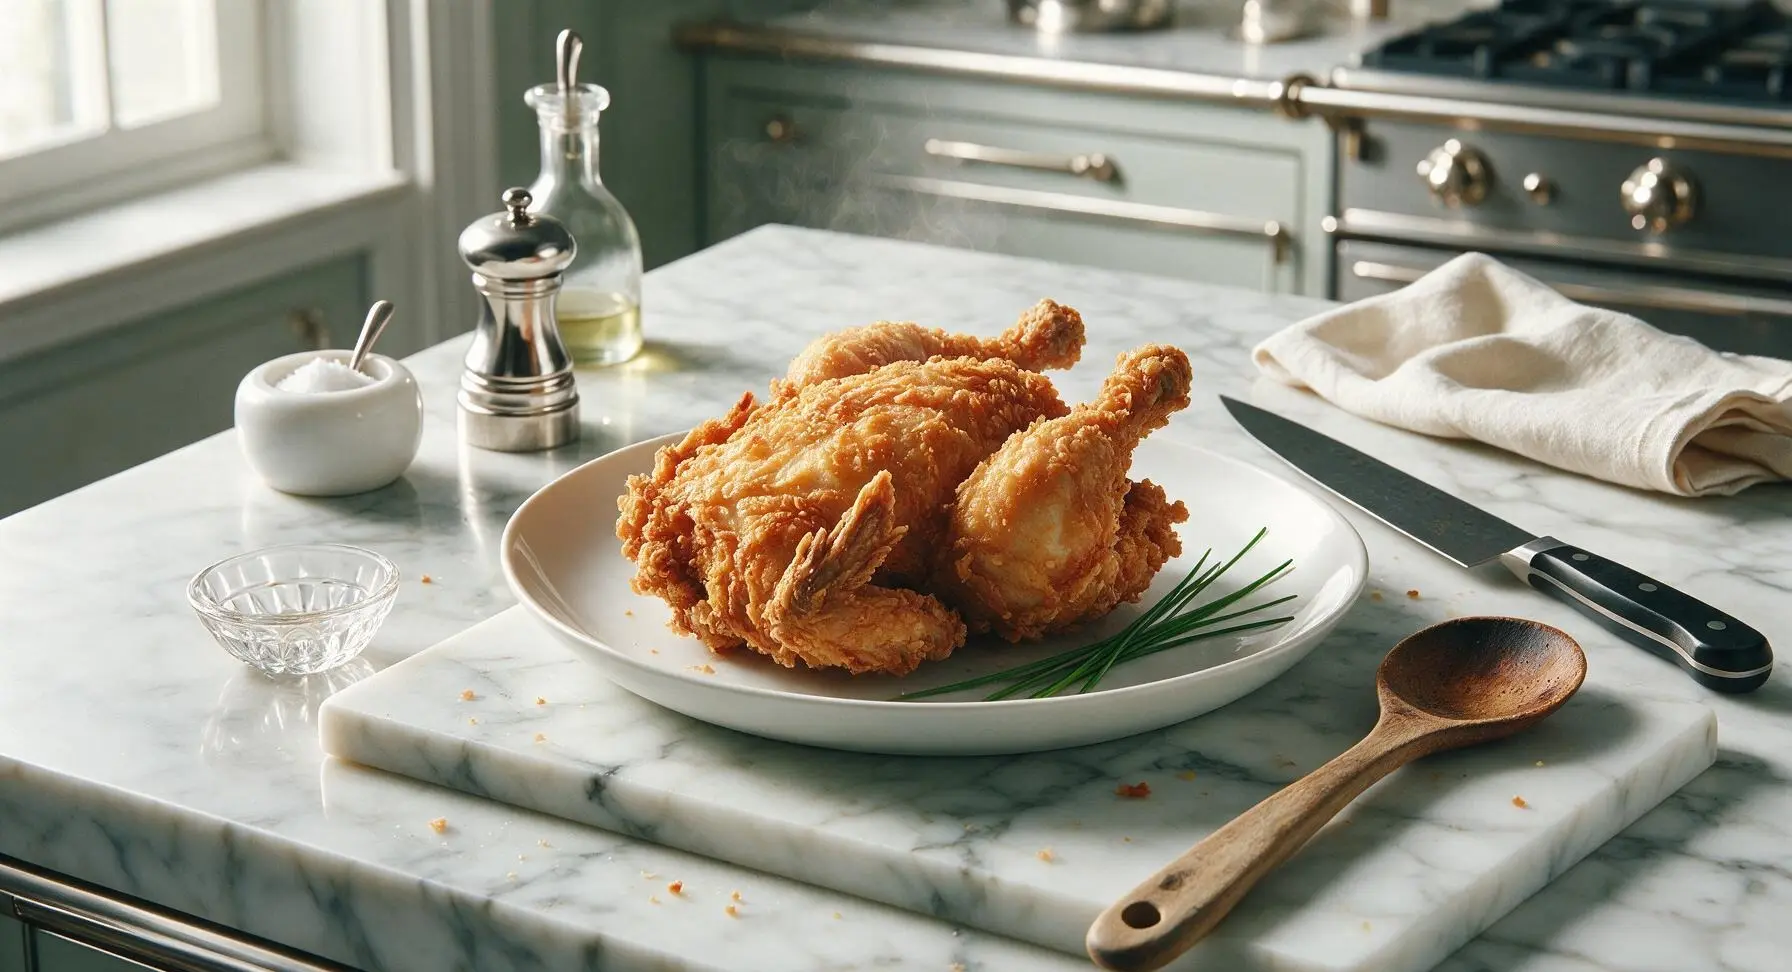
fried whole chicken

title 1
fried whole chicken
⏱️ cook time 35 minutes
🍽️ servings 4
⚡ Difficulty medium

intro

Shatteringly crisp golden crust encasing juicy, well-seasoned tender meat, this classic Southern fried whole chicken is the beloved, comforting centerpiece of shared family meals.

Ingredients
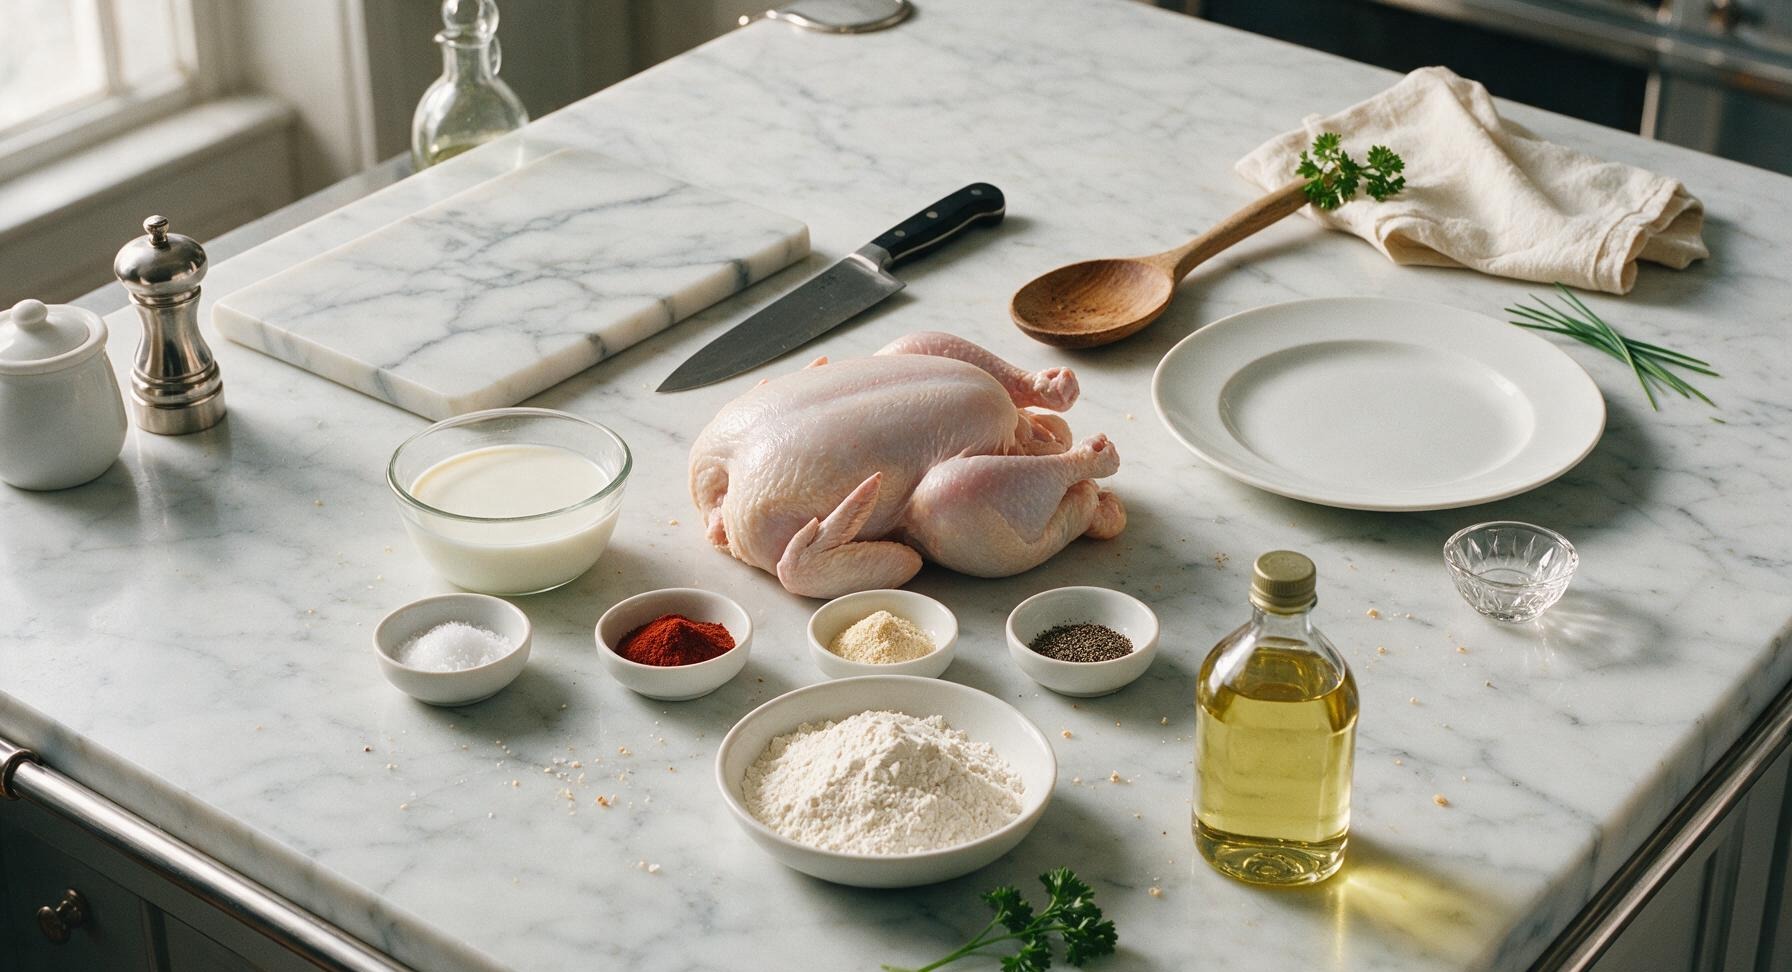
Whole young chicken 1.8kg (4lb)
Buttermilk 2 cups (480ml)
All-purpose flour 2 cups (240g)
Kosher salt 2 tbsp
Smoked paprika 1 tbsp
Garlic powder 1 tsp
Freshly ground black pepper 1 tsp
Canola oil 1.5L
Fresh curly parsley 2 sprigs

Steps

1

Spatchcock the Chicken

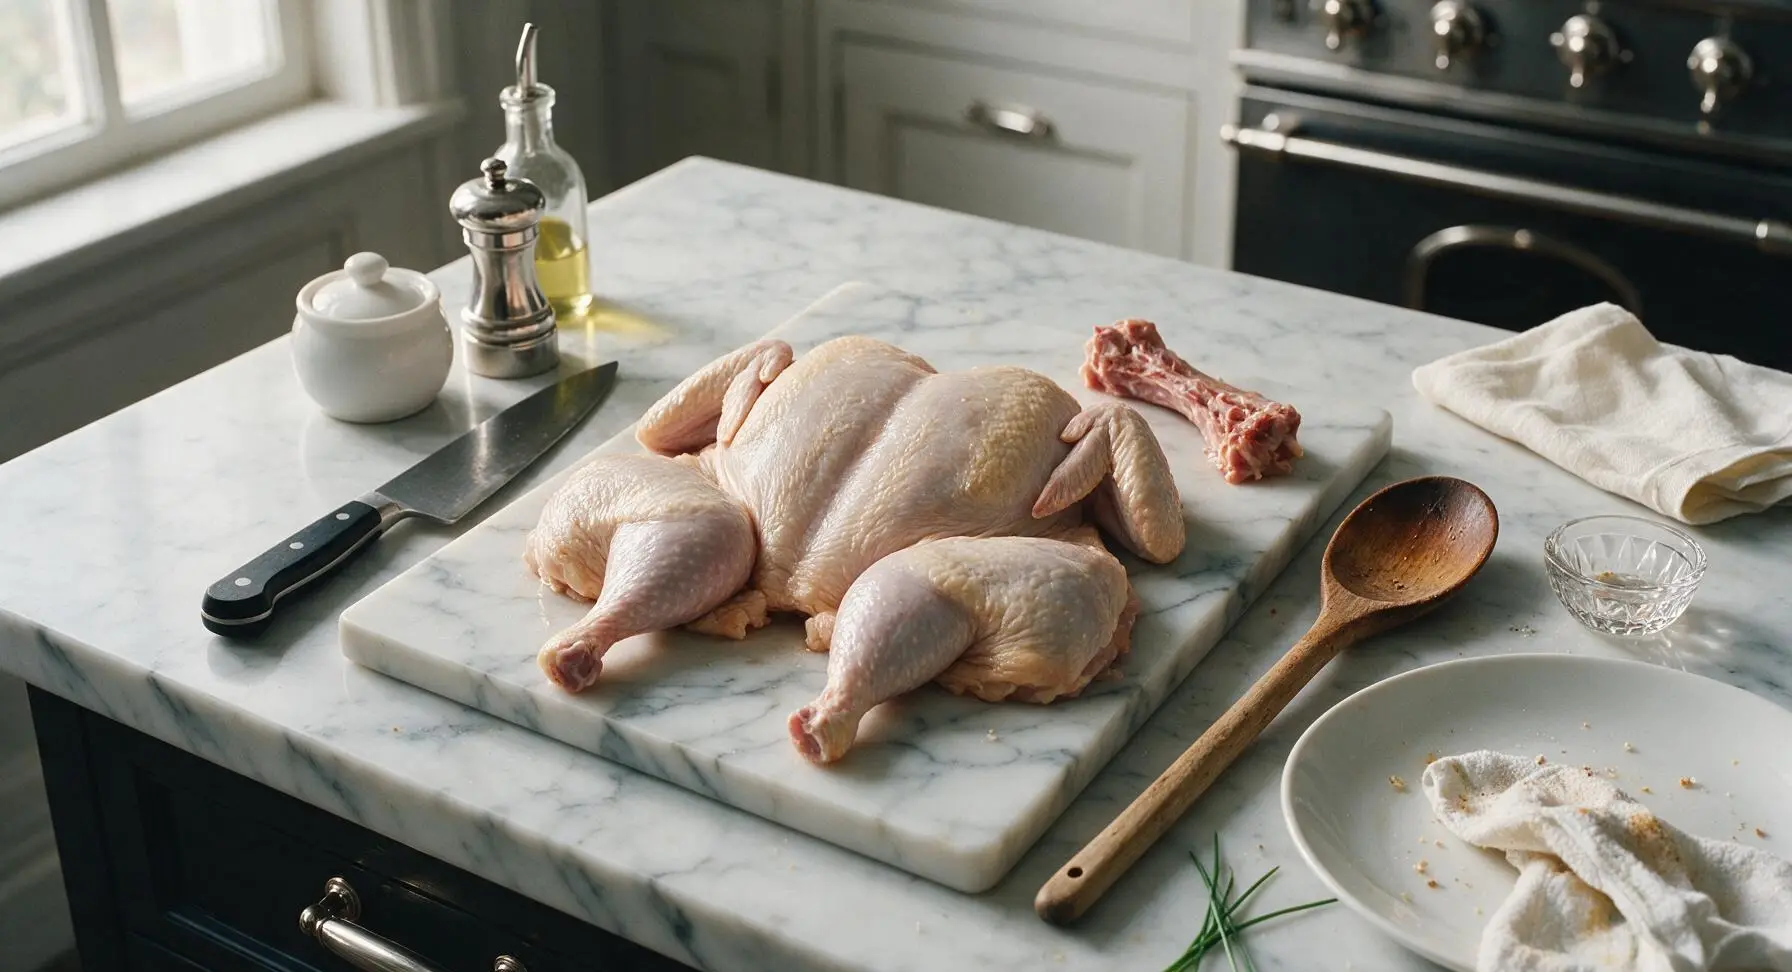
Place the rinsed, thoroughly patted-dry whole chicken breast-side down on the walnut cutting board. Use the 8-inch matte black-handled chef knife to cut firmly along both sides of the backbone, removing it completely. Flip the chicken breast-side up, press firmly on the center of the breastbone to flatten the bird to an even 2-inch thickness across its entire surface. Tuck the wing tips under the breasts to prevent them from burning during frying. Pat all skin surfaces completely dry with a paper towel.
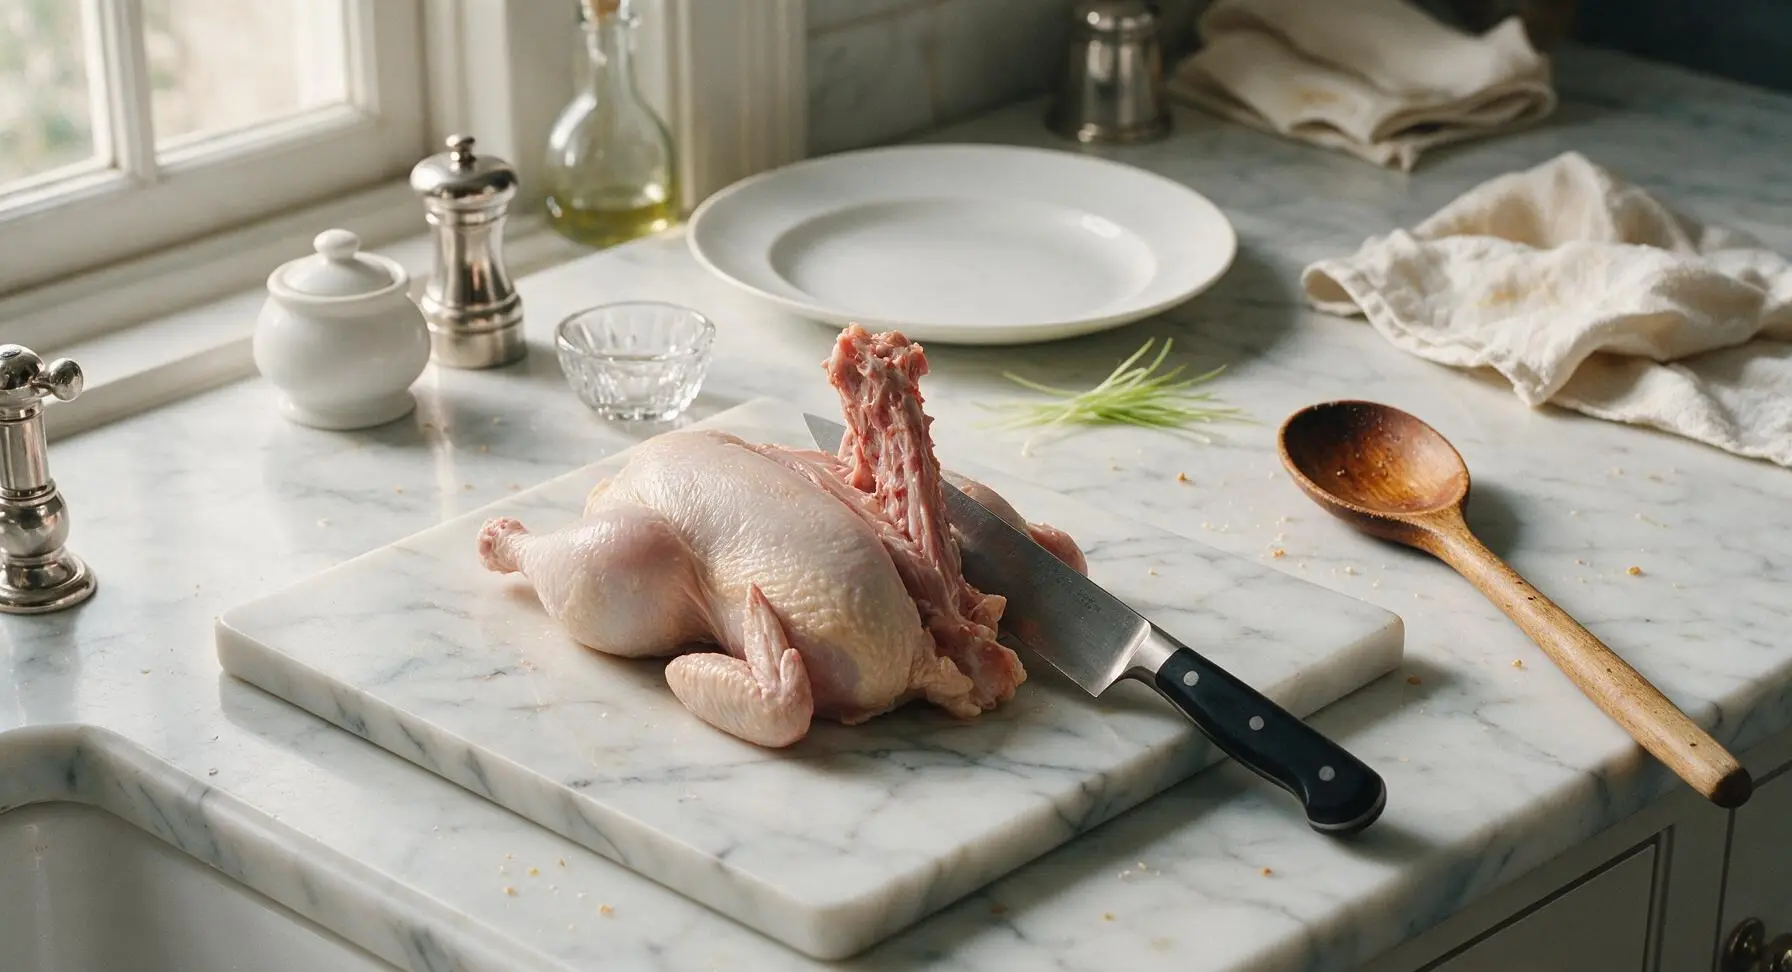
Step 1
step1:Spatchcock the Chicken
Step 1
step1:Spatchcock the Chicken
2

Soak in Buttermilk

Place the flattened spatchcocked chicken into the 2L clear glass mixing bowl. Pour 2 cups of buttermilk over the chicken, stir in 1 tablespoon of kosher salt, and turn the bird to ensure every surface is coated in the creamy liquid. Let rest for 10 minutes at room temperature to allow the salt to tenderize the meat, while you prepare the seasoned flour coating.
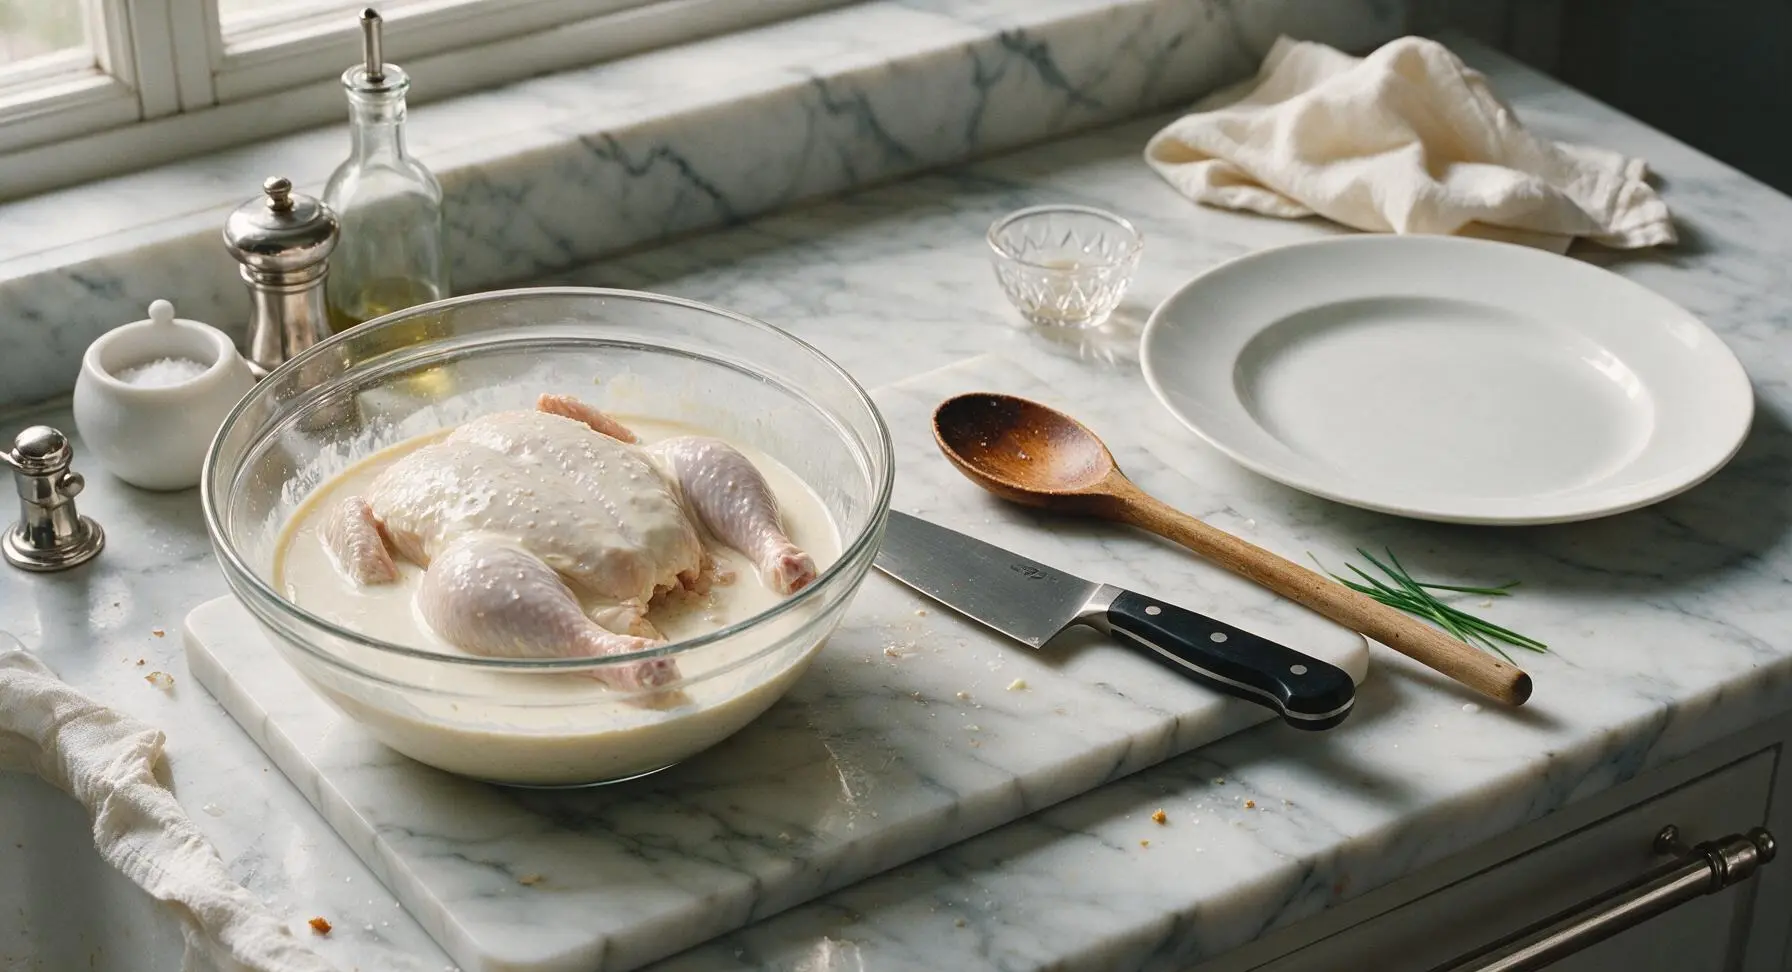
Step 2
step2:Soak in Buttermilk
3

Mix Seasoned Coating

Combine 2 cups all-purpose flour, the remaining 1 tablespoon kosher salt, 1 tablespoon smoked paprika, 1 teaspoon garlic powder, and 1 teaspoon freshly ground black pepper in an even layer on the clean right half of the walnut cutting board. Use a fork to whisk the spices into the flour thoroughly, until the mixture has a uniform light tan color with no clumps of concentrated spice.
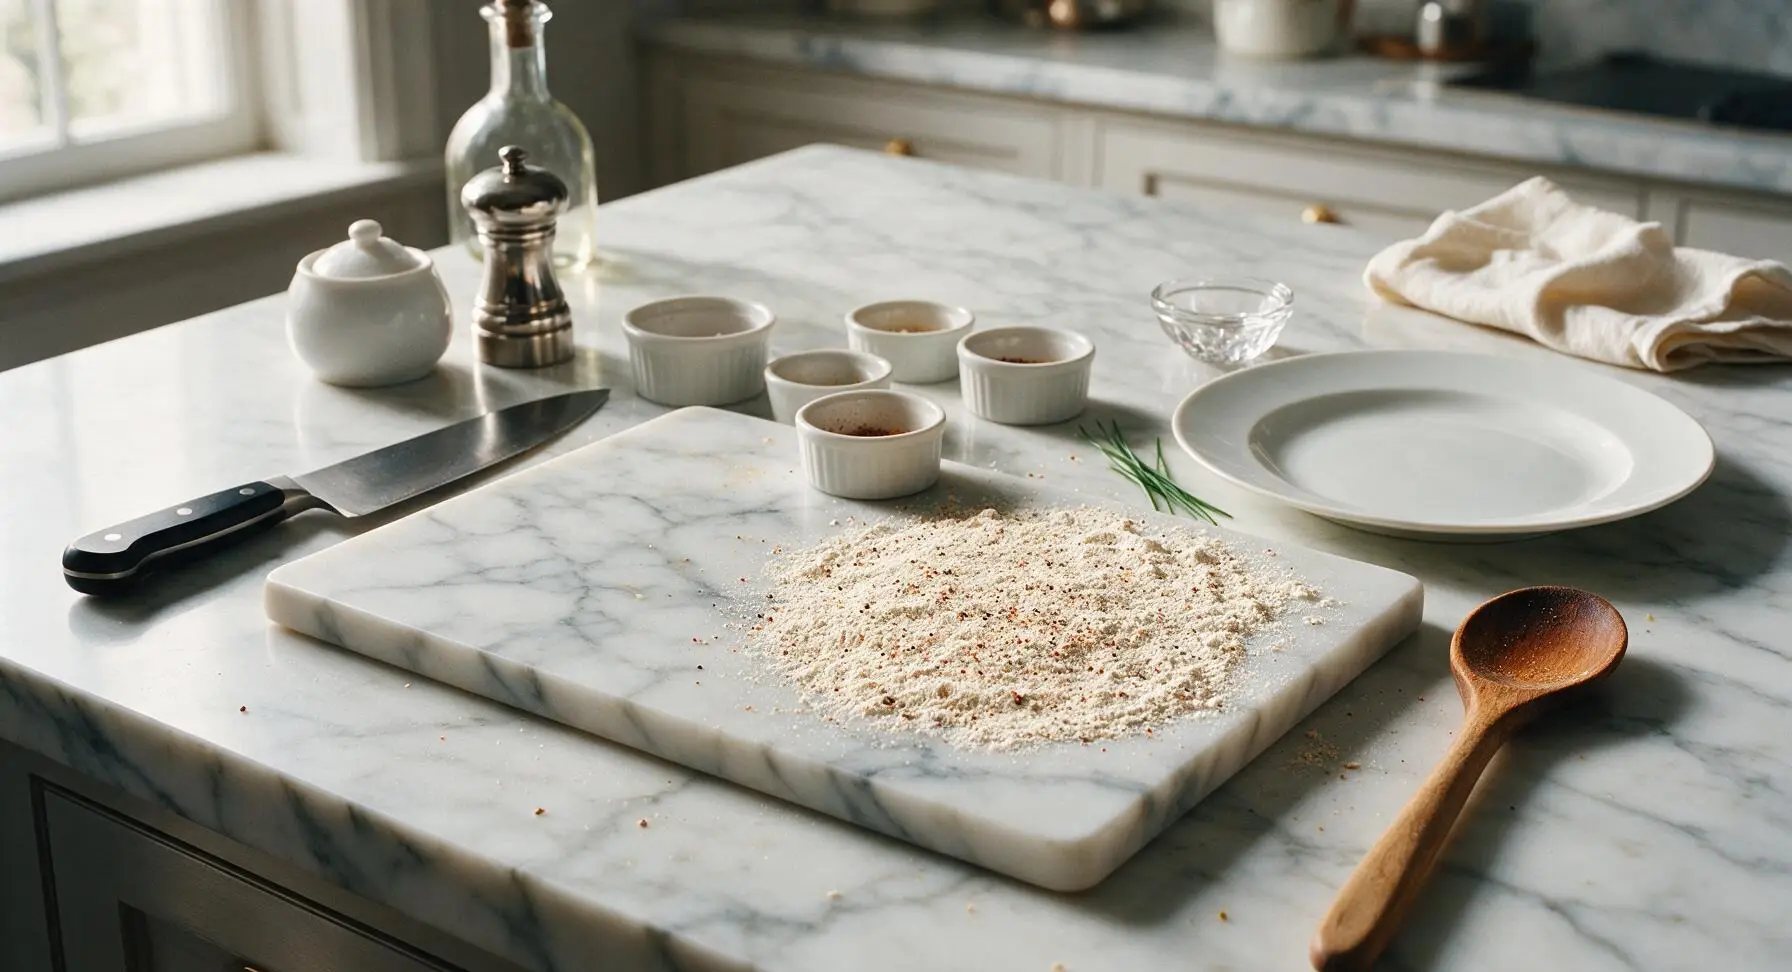
Step 3
step3:Mix Seasoned Coating
4

Coat Chicken Thoroughly

Lift the chicken from the buttermilk, letting excess liquid drip back into the mixing bowl for 10 seconds. Lay the chicken flat in the seasoned flour, pressing firmly with clean hands to work the coating into every skin surface, crevice, and underside of the bird, building a thick, even layer of flour. Lift the coated chicken, shake off excess loose flour, then set it on the chrome wire rack set inside the rimmed aluminum baking sheet. Let rest 5 minutes to allow the coating to set into a sticky, adherent layer.
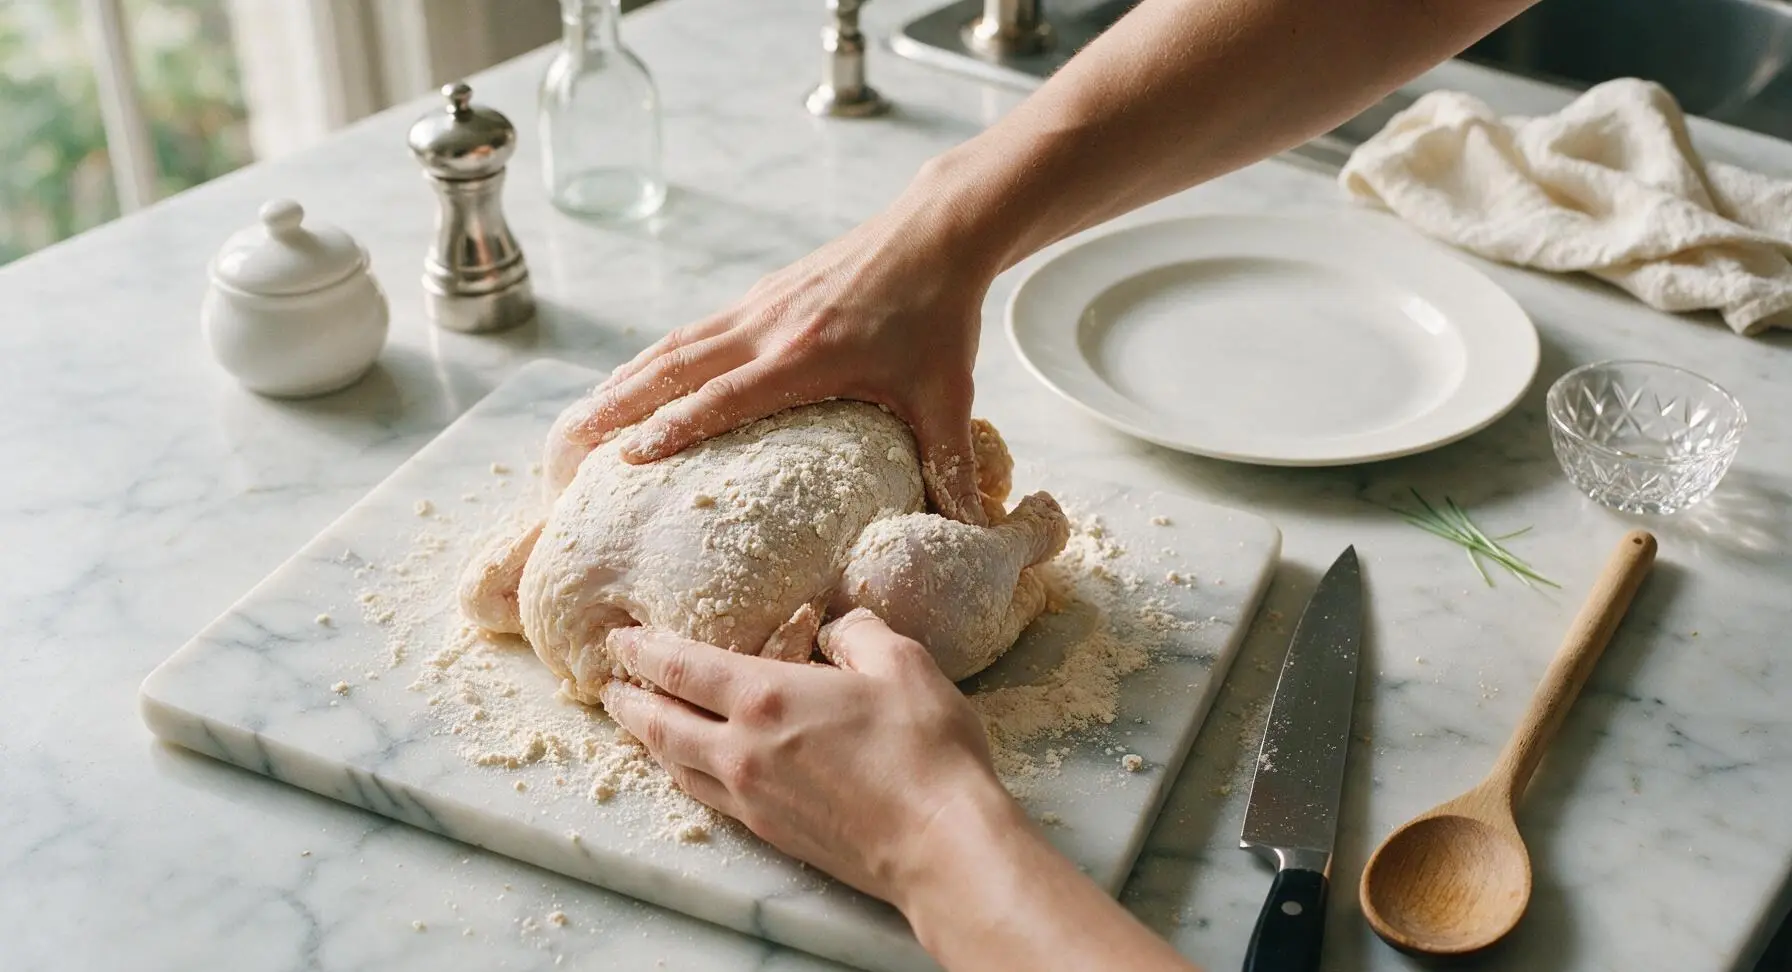
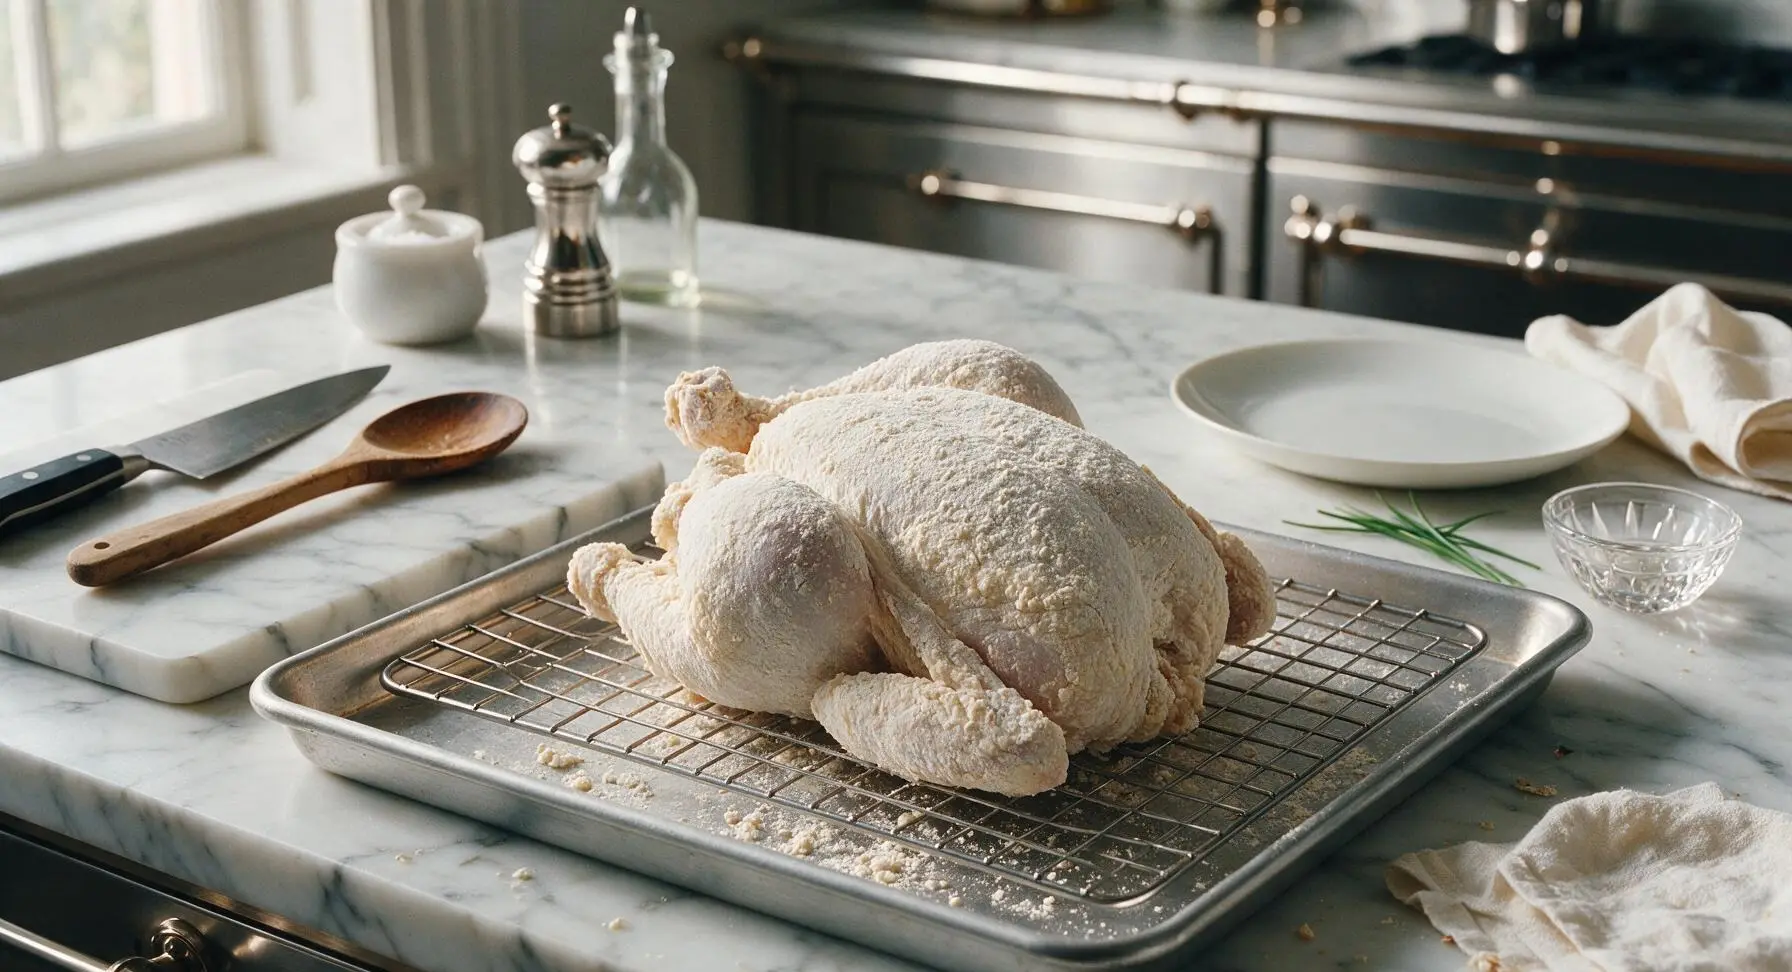
Step 4
step4:Coat Chicken Thoroughly
Step 4
step4:Coat Chicken Thoroughly
5

Heat Frying Oil

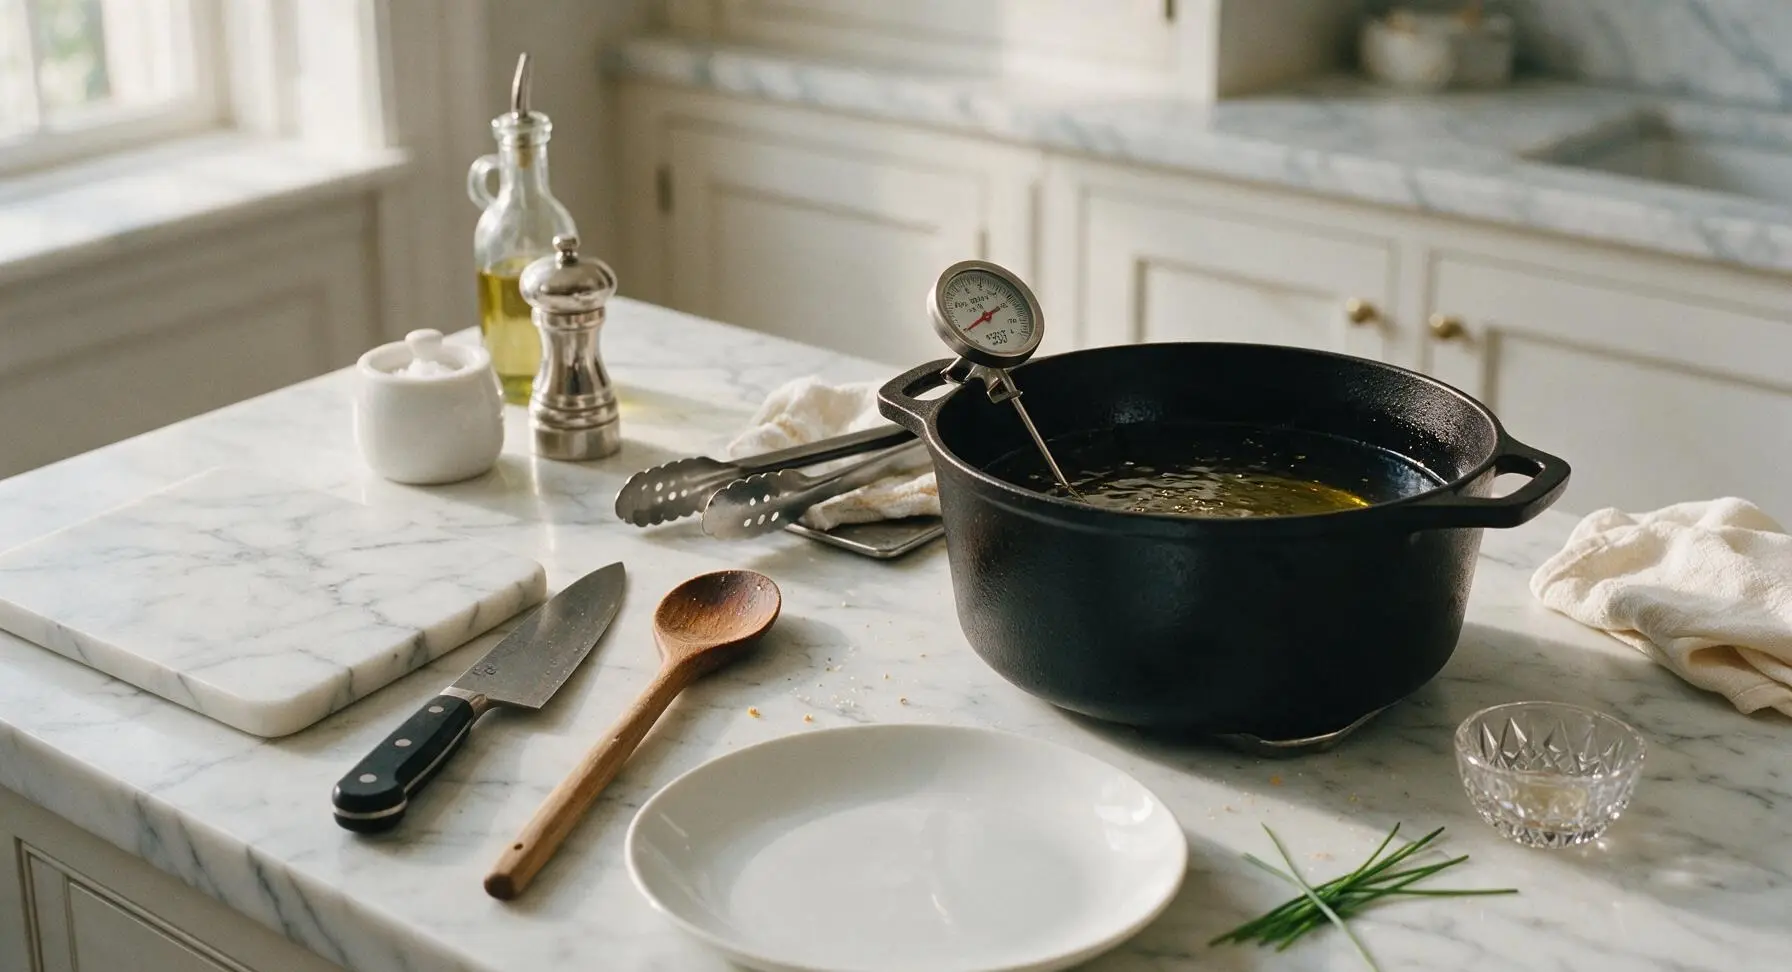
Pour 1.5L of canola oil into the 12-inch matte black cast iron Dutch oven, filling it to a depth of 1.5 inches (enough to reach halfway up the flattened chicken). Heat the oil over medium heat until it reaches a steady 350°F (175°C), verified with the digital instant-read thermometer. Adjust heat as needed to maintain this temperature, and do not let the oil reach smoking point.
Step 5
step5:Heat Frying Oil
6

Fry Chicken Evenly

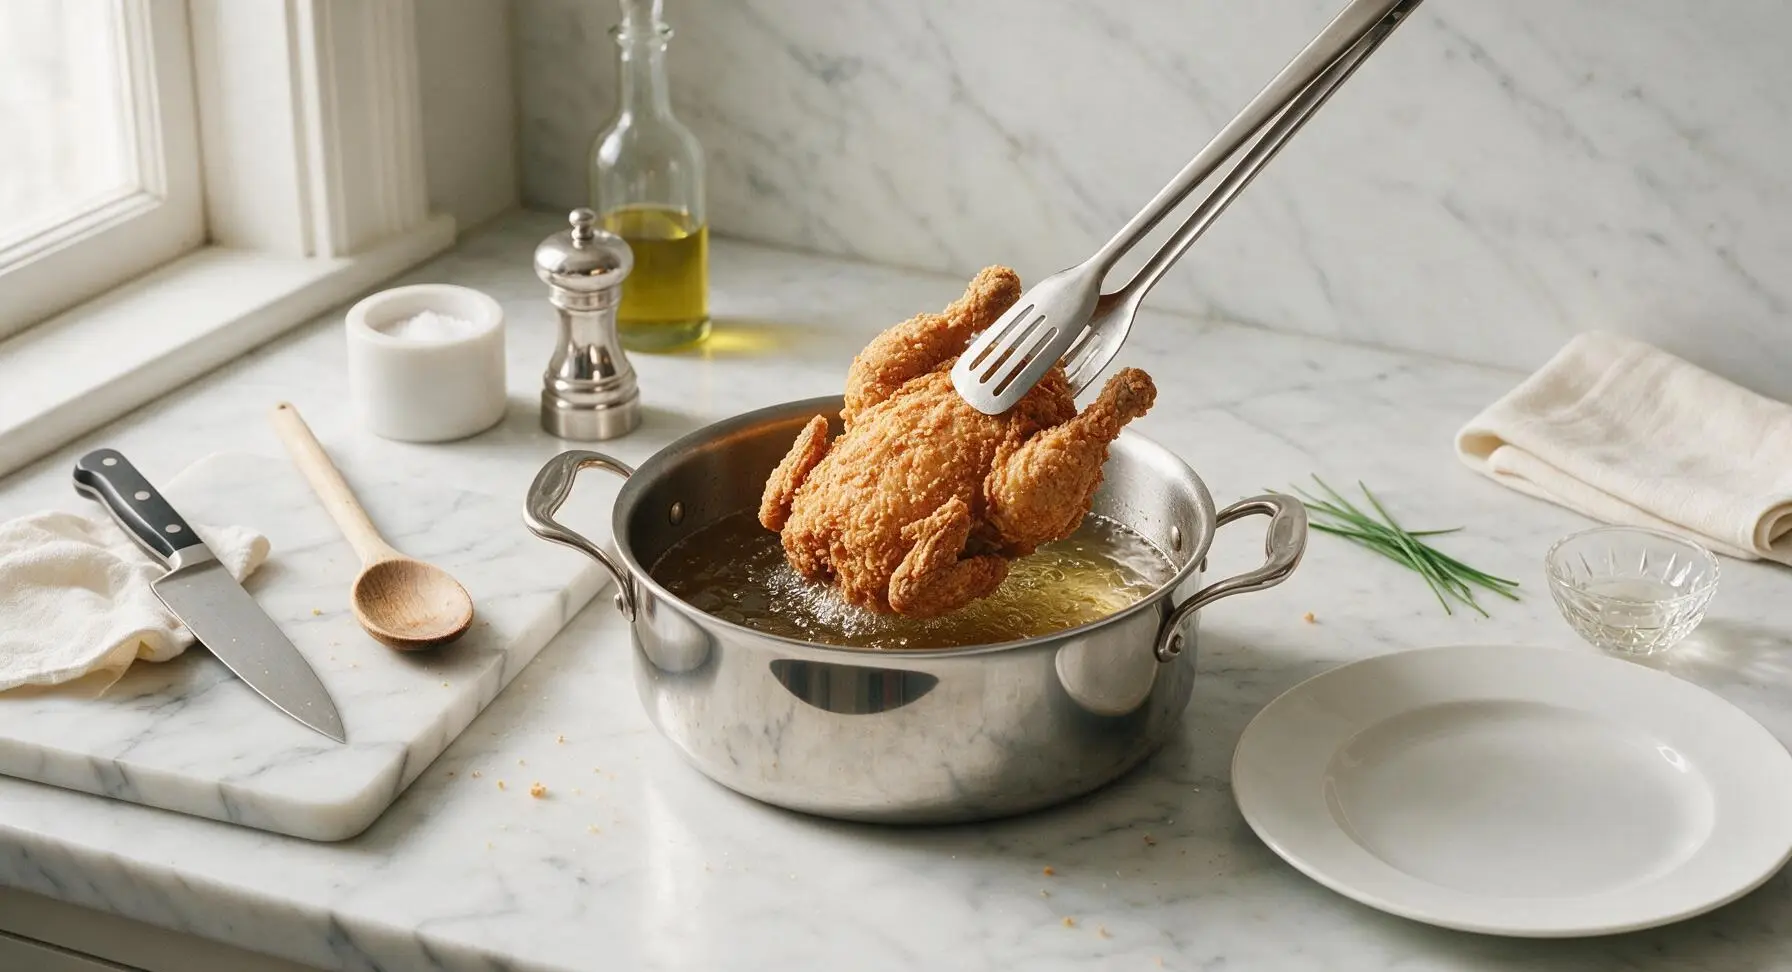
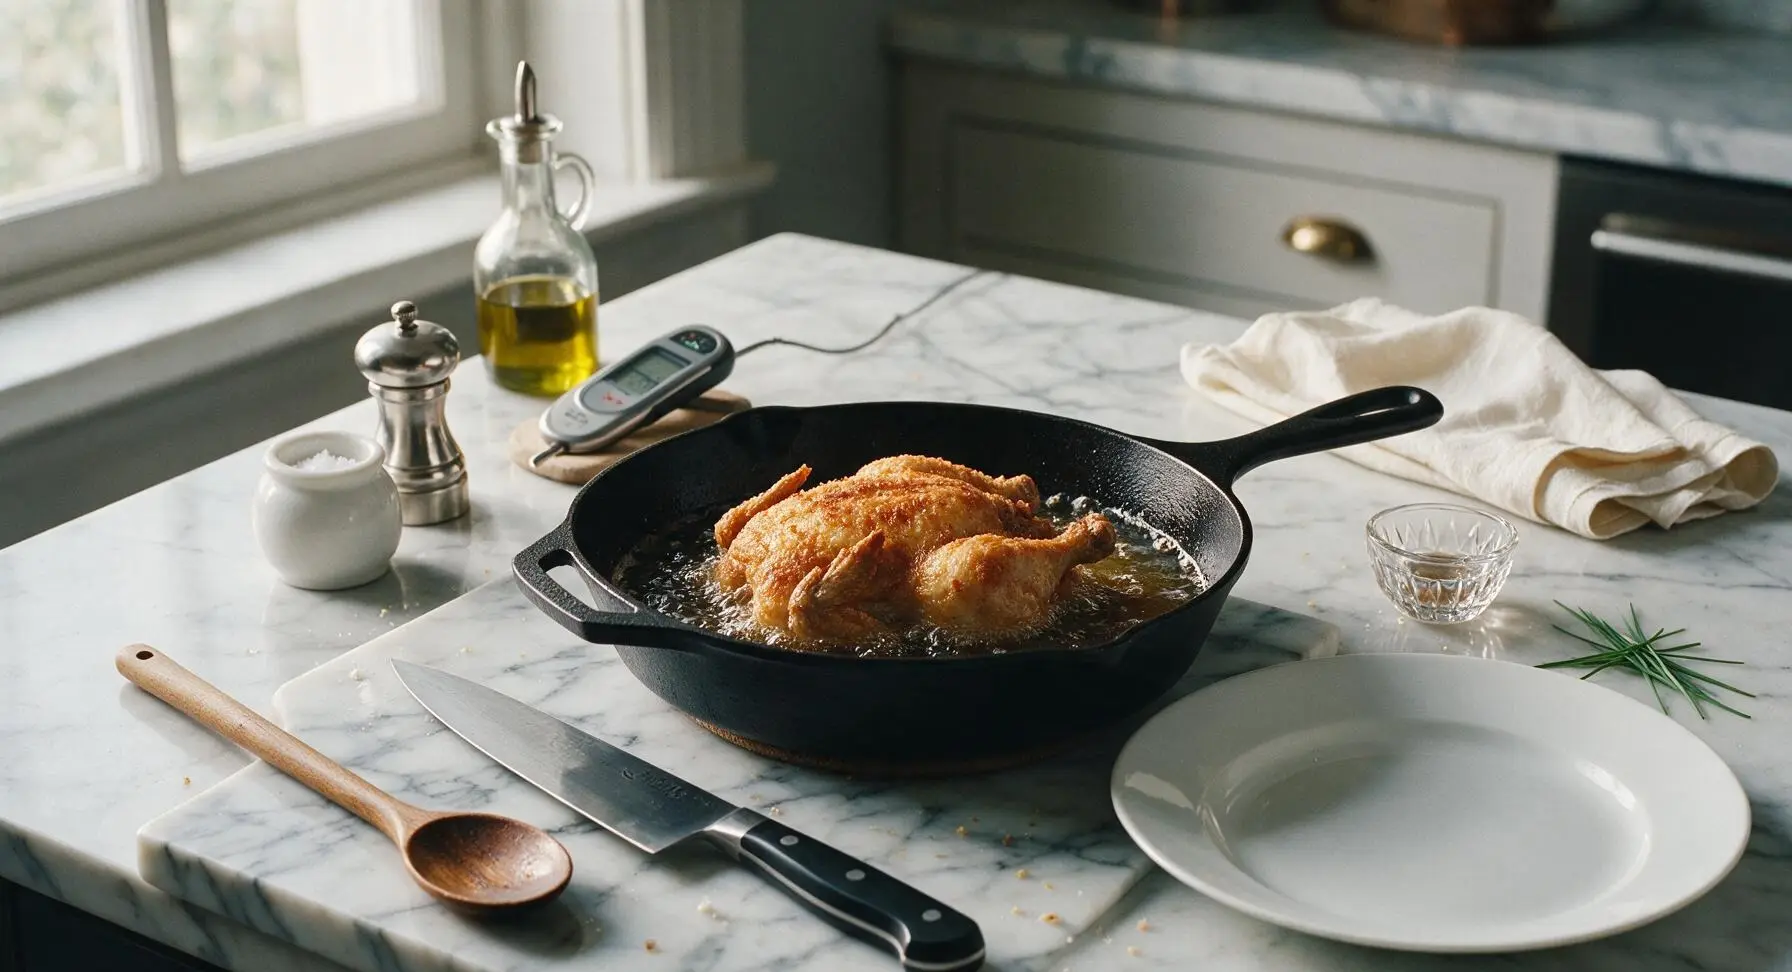
Use the slotted tongs to carefully lower the coated chicken skin-side down into the hot oil. Maintain a steady oil temperature between 325-350°F throughout frying, cooking for 12 minutes skin-side down, then carefully flip the bird and fry for an additional 10 minutes on the underside. The crust will turn a deep, even golden brown, and the internal temperature at the thickest part of the thigh should read 165°F (74°C) when checked with the thermometer to confirm doneness.
Step 6
step6:Fry Chicken Evenly
Step 6
step6:Fry Chicken Evenly
7

Drain and Rest

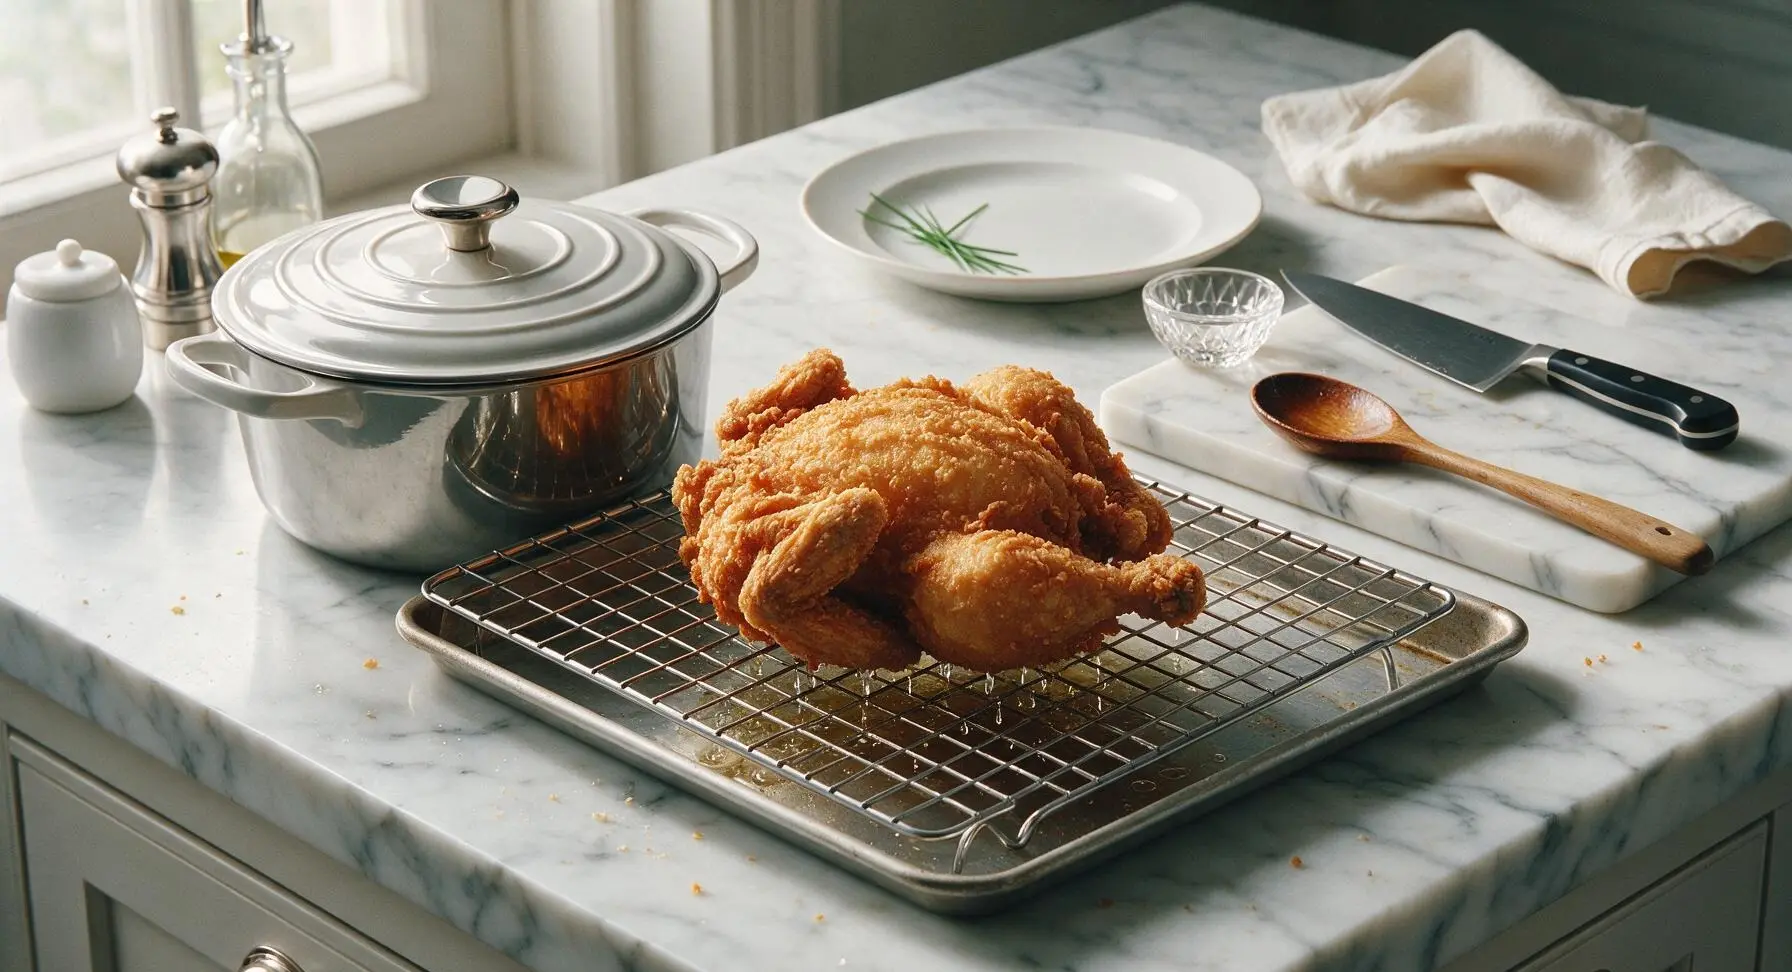
Once the chicken reaches the correct internal temperature and has a crisp, uniform golden crust, use the slotted tongs to lift it carefully from the oil, holding it above the pot for 15 seconds to let excess oil drip back. Transfer the chicken back to the chrome wire rack over the baking sheet to drain for 5 minutes. Do not pat the crust with paper towels, as this will damage the crisp outer layer.
Step 7
step7:Drain and Rest
8

Plate and Garnish

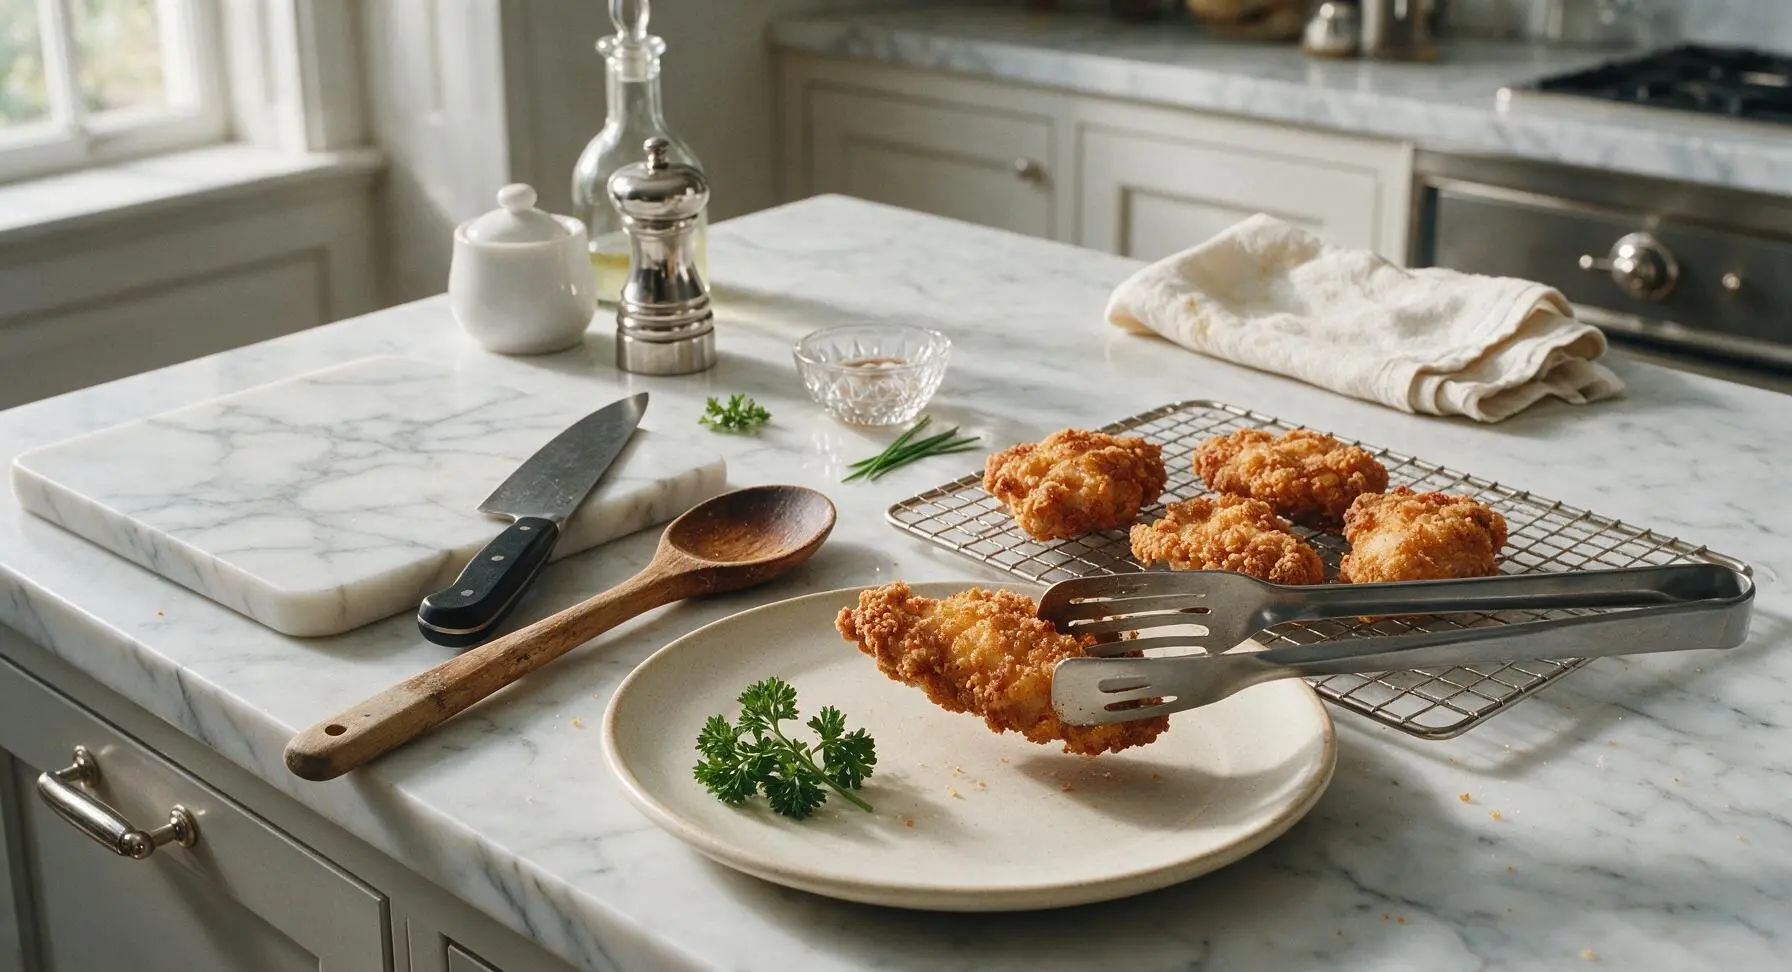
After the 5-minute rest, transfer the drained fried chicken to the matte cream stoneware dinner plate positioned at front center of the counter. Tuck one sprig of fresh curly parsley beside the chicken as a simple, bright garnish. Serve immediately while the crust is crisp and the meat is hot and juicy.
Step 8
step8:Plate and Garnish

Tips

1.Always pat chicken completely dry before spatchcocking and coating: excess surface moisture will prevent the flour from adhering properly, leading to soggy, sliding crust instead of the signature shatteringly crisp texture.
2.Let the floured chicken rest for 5 full minutes before frying: this short rest allows the buttermilk and flour to bond into a thick, paste-like coating that will not separate from the chicken or flake off into the hot oil during cooking.
3.Resist the urge to turn up the heat to speed up frying: oil temperatures above 375°F will burn the outer crust to a dark brown before the dense thigh meat cooks through, while temperatures below 325°F will cause the crust to absorb excess oil and turn greasy.


✨ You May Also Like

Main Course
🍜 United Kingdom

A showstopping classic of tender seared beef, savory mushroom duxelles, and crisp prosciutto wrapped in flaky golden puff pastry, baked to juicy perfection.

⏱️ 2 hours 1Main Course ★ 4.7
Main Course
🍜 India

Tender charred marinated chicken simmered in a rich, spiced creamy tomato sauce, this iconic Anglo-Indian curry pairs perfectly with basmati rice or warm naan.

⏱️ 50 minuteMain Course ★ 4.6
Main Course
🍜 Thailand

Classic tangy, sweet, and savory Thai stir-fried rice noodles with shrimp, tofu, and crunchy garnishes, balancing all five core Thai flavor profiles.

⏱️ 30 minuteMain Course ★ 4.5
Main Course
🍜 United Kingdom

Crispy golden beer-battered cod and fluffy double-fried chips, served with tangy tartar sauce and malt vinegar: the timeless, beloved British pub comfort classic.

⏱️ 45 minuteMain Course ★ 4.7
Main Course
🍜 Mexico

Smoky, chile-marinated pork tacos with caramelized pineapple, fresh cilantro, and lime: a beloved classic Mexican street food perfect for casual summer gatherings.

⏱️ 1 hour 45Main Course ★ 4.8
Main Course
🍜 United States

Crunchy Fritos corn chips layered with savory beef chili and melted cheddar, topped with cool, zesty fixings for a beloved, cozy Tex-Mex comfort food.

⏱️ 35 minuteMain Course ★ 4.8

fried whole chicken:Frequently Asked Questions

1.Why does this recipe call for a whole young chicken instead of pre-cut chicken parts? ▾
Great question! Young (also called broiler/fryer) chickens weigh 2.5 to 3.5 pounds, with uniformly tender, mild-flavored meat that cooks evenly without drying out. Frying it whole locks in more natural juices than pre-cut pieces, creates a showstopping family-style centerpiece, and helps the crisp crust form consistently without thin, small edges burning before the meat cooks through.
2.How long do I need to soak the chicken in buttermilk for the juiciest, most flavorful results? ▾
For the best texture and flavor, soak the whole chicken in seasoned buttermilk for a minimum of 4 hours, and ideally 12 to 24 hours, covered in the fridge. The buttermilk’s mild acid tenderizes the meat without making it mushy, helps the flour coating stick tight, and adds that signature tangy depth classic Southern fried chicken is known for.
3.What oil temperature do I need to get that shatteringly crisp crust without undercooking the chicken? ▾
Hold your frying oil steady at 325°F for the entire cook time for the best results. If the oil is too hot, the crust will burn long before the meat near the bone cooks through; if it’s too cool, the crust will soak up excess oil and turn soggy and greasy. Use a clip-on candy thermometer to monitor temp easily, and don’t overcrowd the pot, which drops oil temp fast.
4.Can I substitute regular milk for buttermilk if I don’t have any on hand? ▾
You can make a quick stand-in in a pinch! For every cup of regular whole milk, stir in 1 tablespoon of white vinegar or lemon juice, let it sit 5 minutes until it curdles slightly. That said, real cultured buttermilk has a thicker consistency and tangier flavor that creates a more tender, better-adhering coating and deeper classic flavor, so use it if you can.
5.Why does the recipe use kosher salt instead of regular table salt for seasoning? ▾
Kosher salt has larger, flakier crystals that distribute more evenly across the chicken skin and into the flour coating, so you don’t end up with overly salty pockets or bland spots. It also draws out a tiny bit of surface moisture as the chicken rests, helping the flour form that extra-craggy, crisp crust everyone loves. Fine table salt is far saltier by volume and easy to overuse here.
6.What does smoked paprika add to the coating that regular sweet paprika doesn’t? ▾
Smoked paprika brings a deep, woody, smoky note that mimics the subtle open-fire flavor of traditional old-school Southern fried chicken, without adding any heat. It also gives the crust that rich, warm golden-red hue that looks so appealing right out of the fryer. Stick to mild smoked paprika here, not hot or bitter varieties, to keep that classic, crowd-pleasing flavor.
7.Is regular all-purpose flour fine for the coating, or do I need a specialty frying flour? ▾
Regular all-purpose flour works perfectly for that classic, craggy, crisp crust—no fancy specialty frying flour required. Its mid-level protein content creates a coating that’s sturdy enough to stick to the buttermilk-soaked chicken and crisp up beautifully, without turning tough or bready like higher-protein bread flour would. Skip soft, low-protein cake flour, which won’t hold a firm, shatteringly crisp crust once fried.
8.How do I know when the whole fried chicken is fully cooked without cutting into it? ▾
The most reliable method is to insert an instant-read thermometer into the thickest part of the thigh, away from the bone—it should read 165°F. You’ll also notice the juices run clear when you nudge the thigh joint, and the crust will be a deep, even golden brown. Let it rest 10 minutes after frying so juices redistribute before carving.
9.Why does my fried chicken crust sometimes fall off while it’s frying? ▾
Crust slippage almost always comes down to two common mistakes: not letting the floured chicken rest for 15 to 20 minutes before frying, or oil that’s too cold. That short rest lets the all-purpose flour absorb the buttermilk to form a tight, glue-like layer that won’t slide off. Also, resist moving the chicken for the first 10 minutes of frying to let the crust set fully.
10.What’s the best oil to use for frying this whole chicken for authentic Southern flavor? ▾
Reach for neutral, high-smoke-point oils for the best results: peanut oil is the traditional Southern pick, with a mild flavor and 450°F smoke point that holds up to long frying times. Canola or vegetable oil work as budget-friendly, allergy-friendly swaps. Avoid olive oil or butter, which have low smoke points that burn and create bitter, off flavors.
11.How do I keep the crust crispy if I’m not serving the chicken right after frying? ▾
Set the fried chicken on a wire rack set over a baking sheet, and hold it in a 200°F oven for up to 45 minutes. Don’t set it directly on paper towels, which will trap steam and turn the bottom crust soggy. The low oven temp keeps the chicken at a safe food temperature without overcooking it, and the rack lets air circulate to keep every side crisp.
12.Do I need to spatchcock the whole chicken before frying to get even cooking? ▾
Spatchcocking (removing the backbone and flattening the chicken) cuts total frying time by about 15 minutes and helps the bird cook more evenly across breast and thigh meat, so it’s a great trick for new home cooks. If you prefer to keep the chicken fully whole for a more classic presentation, just truss the legs tight to the body so it holds a compact, even-cooking shape.

Comments (19)

3 days ago

OMG y’all, this fried chicken came out CRUNCHY just like my grandma used to make! I brought it to our neighborhood potluck last weekend and every single piece was gone in 10 minutes flat. 10/10 will be making this for every family cookout from now on.

1 week ago

Meal prepped this Sunday for the week and even after reheating in the air fryer the skin stayed crispy! My kids fought over the drumsticks, which is saying something because they usually turn their nose up at anything that’s not chicken nuggets. SO good.

2 days ago

Tried this for a casual Friday night dinner with my partner and we were both shocked how juicy the meat stayed even after frying the whole bird! The seasoning blend is perfect, not too salty, just the right amount of paprika kick. Only note is I had to add 5 extra minutes of cook time for my 4lb chicken to hit 165 internal.

5 days ago

Made this on my camp stove last weekend while we were out in the mountains and it was a total game changer. Who knew you could fry a whole chicken while camping? Crispy outside, tender inside, even my picky teen said it was better than the fast food place we stop at on road trips.

2 weeks ago

As someone who grew up north of the Mason-Dixon line, I’ve always been intimidated by Southern fried chicken, but this recipe was totally approachable even for a medium skill level! The brine tip made such a difference, no dry white meat here.

just now

Swapped the all purpose flour for a 1:1 gluten free flour blend and it still came out perfectly crispy! I was so worried the coating would slide off but it stuck beautifully, even with the swap. My whole family (none of whom are gluten free) didn’t even notice a difference.

30 minutes ago

Wait, dumb question — do you really fry the whole chicken whole, no cutting it up first? I’ve only ever fried individual pieces so I’m nervous about the center cooking all the way through before the outside burns.

5 minutes ago

Great question! We do fry it whole, just make sure your oil stays a steady 350°F the whole time and use a meat thermometer to check the thickest part of the thigh hits 165°F before pulling it — that avoids burnt coating and undercooked meat! Let us know how it turns out if you give it a try.

1 week ago

That crunch sound when you bite into the skin? *Chef’s kiss* I added a little extra cayenne to the seasoning for a spicy kick and it did not disappoint. Best fried chicken I’ve made at home, bar none.

5 days ago

How much extra cayenne did you add? I love spicy food but don’t want to overwhelm my husband who can’t handle too much heat!

2 weeks ago

Made this for our weekly Sunday family dinner and my 82 year old dad said it tasted just like his mom’s recipe from back in Alabama. I’m calling that a massive win. The only tweak I made was letting the chicken sit in the seasoned flour for 20 minutes before frying to help the coating stick better.

1 week ago

That’s such a sweet compliment! Letting the floured chicken rest before frying is such a pro tip, thanks for sharing that hack with other readers — it absolutely helps the coating stay on instead of sliding off in the oil.

2 days ago

Tried this in my tiny apartment deep fryer and it worked even with my janky setup! I used a smaller 3lb chicken so it fit in the fryer basket and it cooked in exactly 35 minutes like the recipe said. Saved me so much money vs ordering takeout fried chicken for my roommates.

yesterday

Wait what size deep fryer do you have? I have a 2 quart one and I’m worried a whole chicken won’t fit, might have to grab a smaller bird too!

3 days ago

Pro tip from my Southern aunt: add a splash of dill pickle brine to the buttermilk brine for this chicken. It adds the best tangy depth that people can’t put their finger on! I did that with this recipe and it was next level.

2 days ago

That’s a fantastic tip! Tangy brine additions like pickle brine are such a classic Southern trick for extra juicy, flavorful chicken — we might have to add that as a variation note on the recipe soon!

yesterday

Okay so I messed up the first batch because I let my oil get too hot (400°F oops) so the outside was way too dark before the inside was done. Tried again with a thermometer holding oil at 350 and it came out perfect! Don’t be like me, skip the guesswork on oil temp.

2 hours ago

Oh man I did the exact same thing my first time making fried chicken! A clip-on candy thermometer for the pot is a total game changer, no more burnt outside.

2 days ago

I brought this to our office potluck yesterday and I had three people ask me for the recipe before I even left the break room. The crispy crust holds up even when it’s room temp, which makes it perfect for events where you can’t keep food hot the whole time.

yesterday

So glad it was a hit at the potluck! You’re so right, the crust stays crispy for hours which is why this is such a go-to for gatherings of all kinds.

yesterday

Wait how do you get the skin so crispy? Every time I make fried chicken the skin gets soggy within 10 minutes of pulling it out of the oil, it’s so frustrating. Am I doing something wrong?

2 hours ago

Great question! A couple common causes: if you’re resting the chicken on a paper towel lined plate it traps steam which makes the skin soggy — rest it on a wire rack over a baking sheet instead! Also make sure you don’t crowd the pot when frying, which drops the oil temp too much and makes the coating greasy/soggy.

30 minutes ago

Second the wire rack trick! I used to do paper towels too and couldn’t figure out why my chicken was soggy, switching to the rack changed everything. Also don’t cover it while it rests!

1 week ago

Has anyone tried making this with a keto friendly coating? I’m thinking crushed pork rinds instead of flour, but I don’t want to waste a whole chicken if it’s going to come out bad.

5 days ago

I did it last week! I used half pork rind crumbs half almond flour and it was super crispy, stayed on really well. Just season the crumbs the same way you would the flour, works like a charm!

3 days ago

That sounds like a great keto swap! We haven’t tested that variation in our kitchen yet but so many readers have reported great results with pork rind/almond flour blends for low carb diets.

5 days ago

Y’all, I swear I thought my mama’s fried chicken recipe was unbeatable but this one might give it a run for its money. The cook time is spot on too — 35 minutes for a 3.5lb bird and the juice ran clear, no pink at the bone, perfectly crispy.

3 days ago

Wait does this taste more like the extra crispy takeout style or the lighter, thinner-breaded country fried chicken your grandma makes? I’ve been chasing my great aunt’s recipe for years and every version I try is off.

2 days ago

It’s the perfect middle! The crust is thick and crunchy but not so heavy that it falls off in big chunks, and the seasoning is that classic savory Southern mix, no weird overpowering spices. I think you’ll love it.

2 weeks ago

Made this for date night a couple weeks back and my girlfriend literally said it’s the best meal I’ve ever cooked for her. Win for me! I served it with collard greens and mac and cheese just like the recipe suggested, total Southern spread.

1 week ago

That’s awesome to hear! Nothing impresses like a perfectly fried whole chicken, and pairing it with classic Southern sides makes it such a memorable meal. Good call on the collards and mac!

5 days ago

Stealing this for my anniversary dinner next month! Did you brine the chicken overnight or just do the 2 hour brine the recipe mentions?

3 days ago

Wait has anyone tried making this in an air fryer instead of deep frying? I know it won’t be exactly the same but I’m trying to cut down on how much oil I use for cooking.

2 days ago

I tested it last week! Spritz the whole coated chicken really well with olive oil spray, cook at 375 for about an hour, flip halfway through. The skin gets pretty crispy, not quite deep fry level but way better than I expected!

yesterday

We haven’t tested the air fryer version ourselves yet but that method sounds spot on! Just make sure to check the internal temp to make sure it hits 165 before serving, since air fryer cook times can vary a lot between models.

30 minutes ago

Okay I’m so nervous to make this, I’ve never deep fried anything in my life! Is this a good recipe for a total beginner to deep frying, or should I start with individual pieces first?

5 minutes ago

This is totally doable for a first-time fryer! The key is to go slow, keep your oil temperature steady, and don’t rush the cook time. If you’re extra nervous, you can absolutely spatchcock the chicken to help it cook more evenly too, it cuts down on cook time a little.

just now

I was in your exact boat two weeks ago! This was the first thing I ever deep fried and it came out amazing. Just use a big heavy pot so the oil doesn’t splatter everywhere, and don’t drop the chicken in from super high up — lower it gently to avoid splatters. You got this!



