
Frozen Hot Chocolate Milkshake
intro
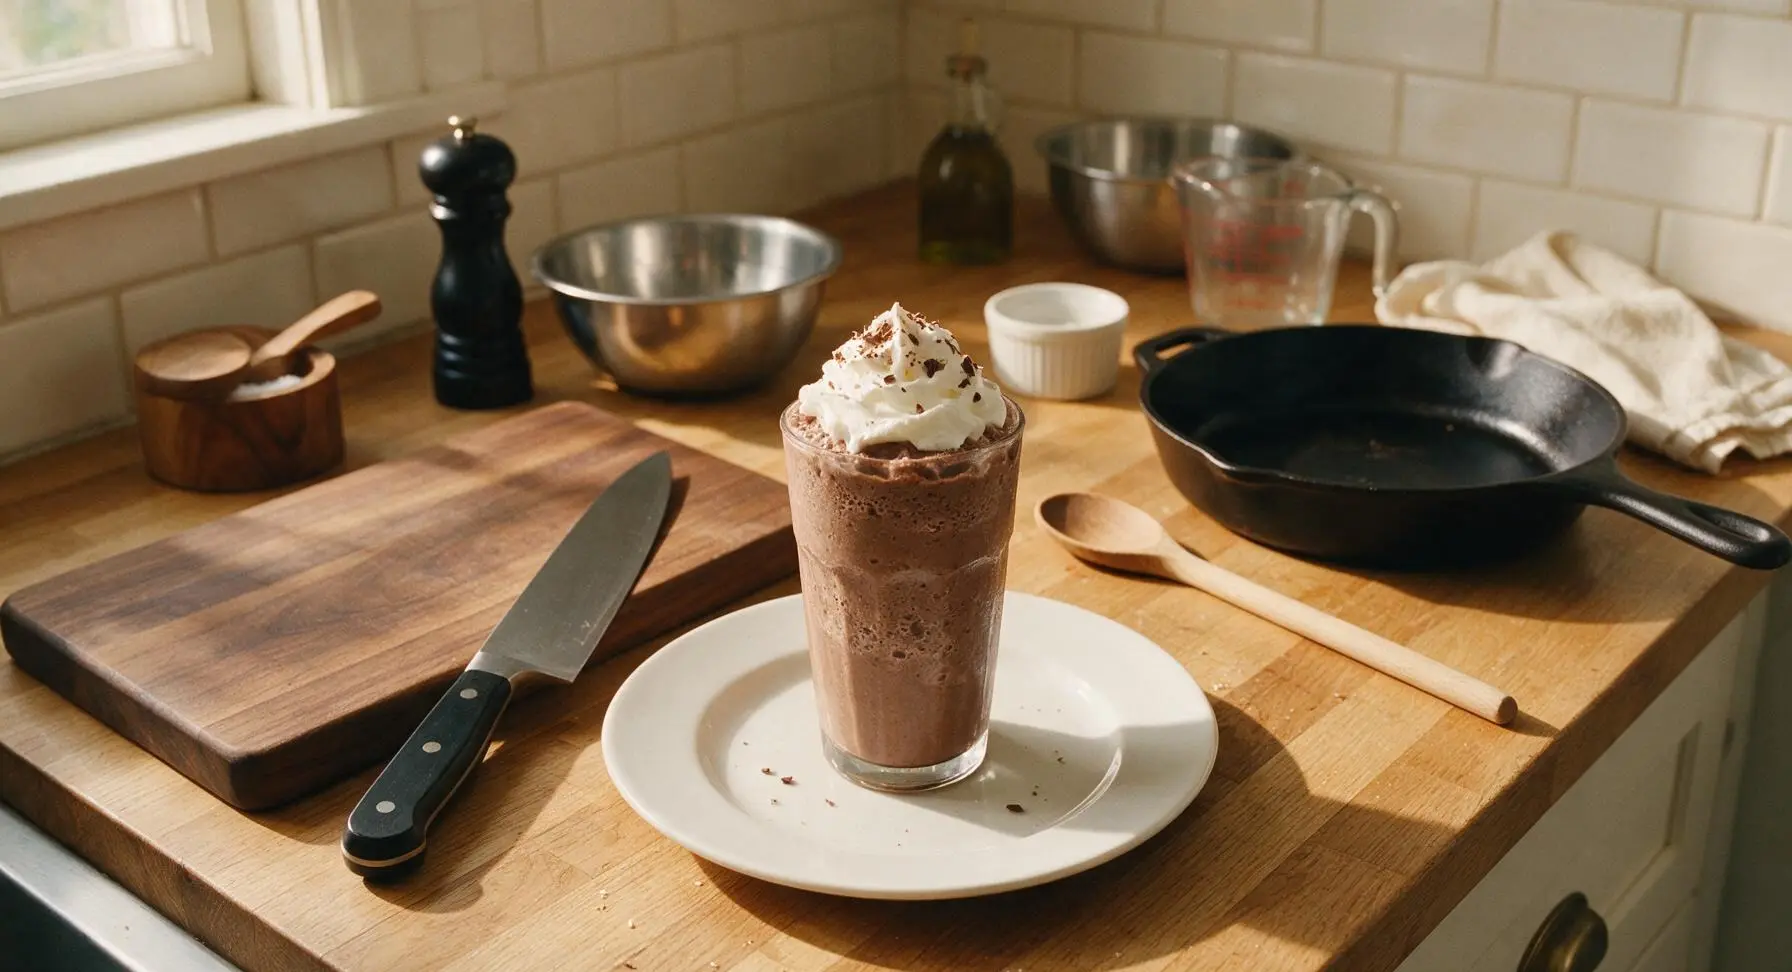
A frosty, indulgent twist on classic hot chocolate, blending deep rich chocolate flavor with creamy, slushy texture, topped with fluffy whipped cream for the ultimate cool summer treat.
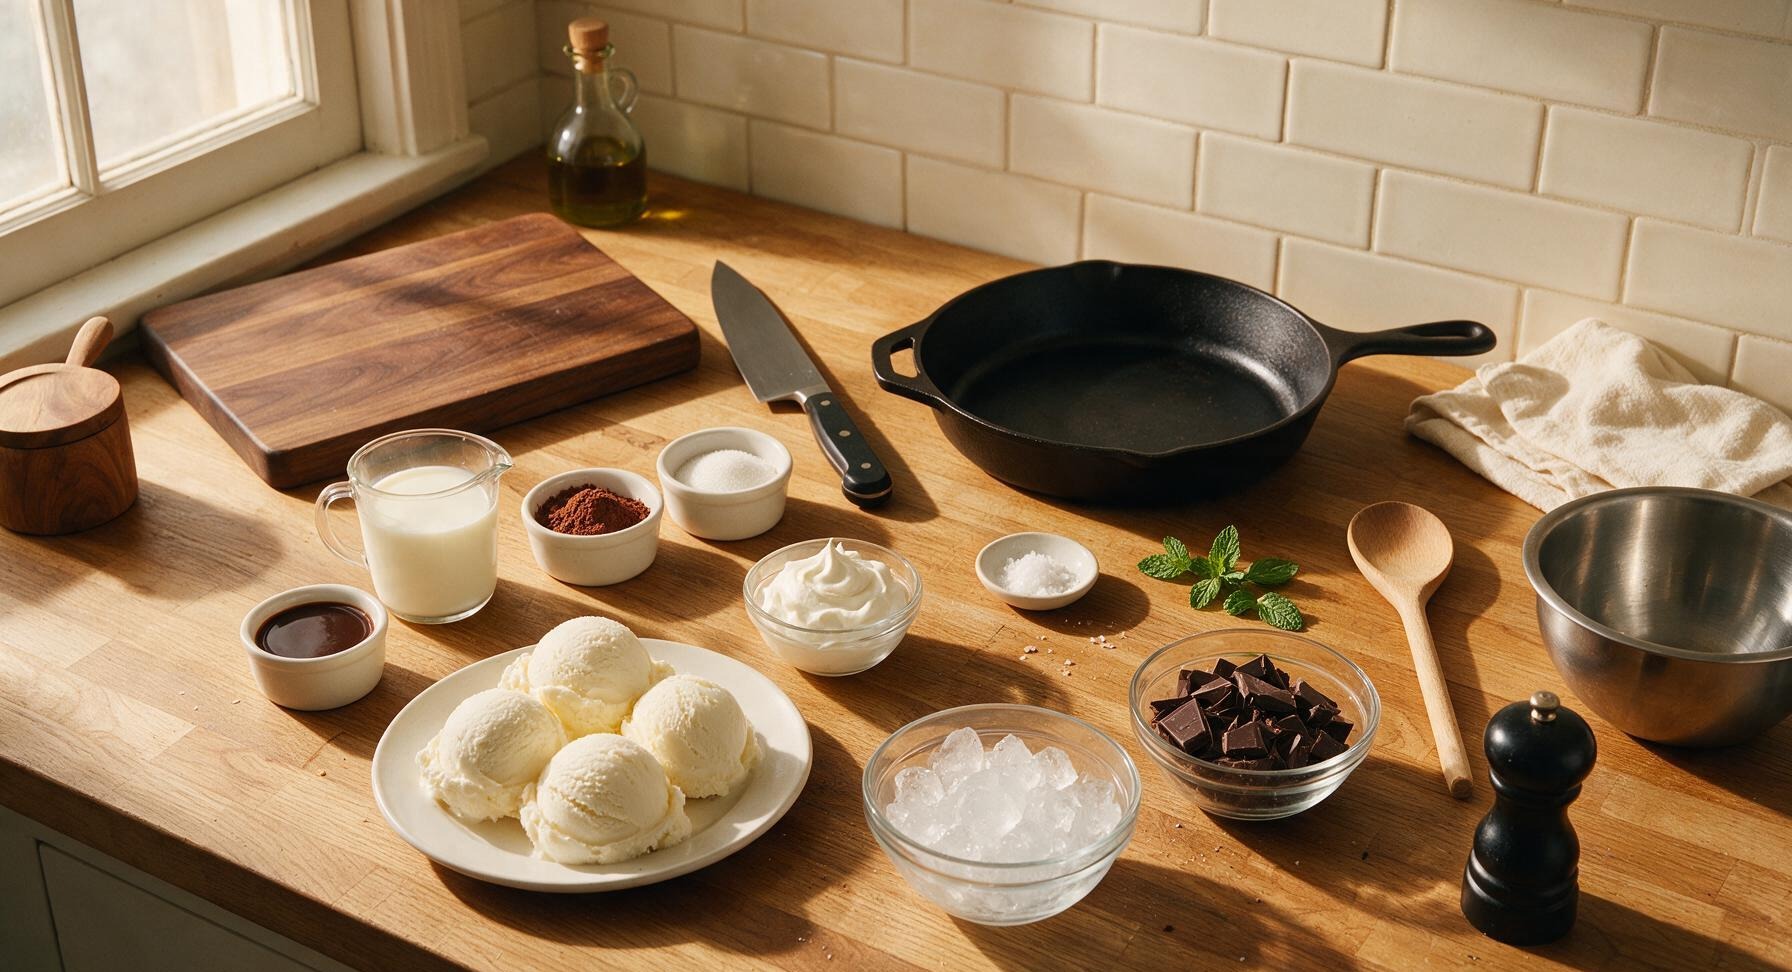
Ingredients
Steps
Melt Chocolate Base
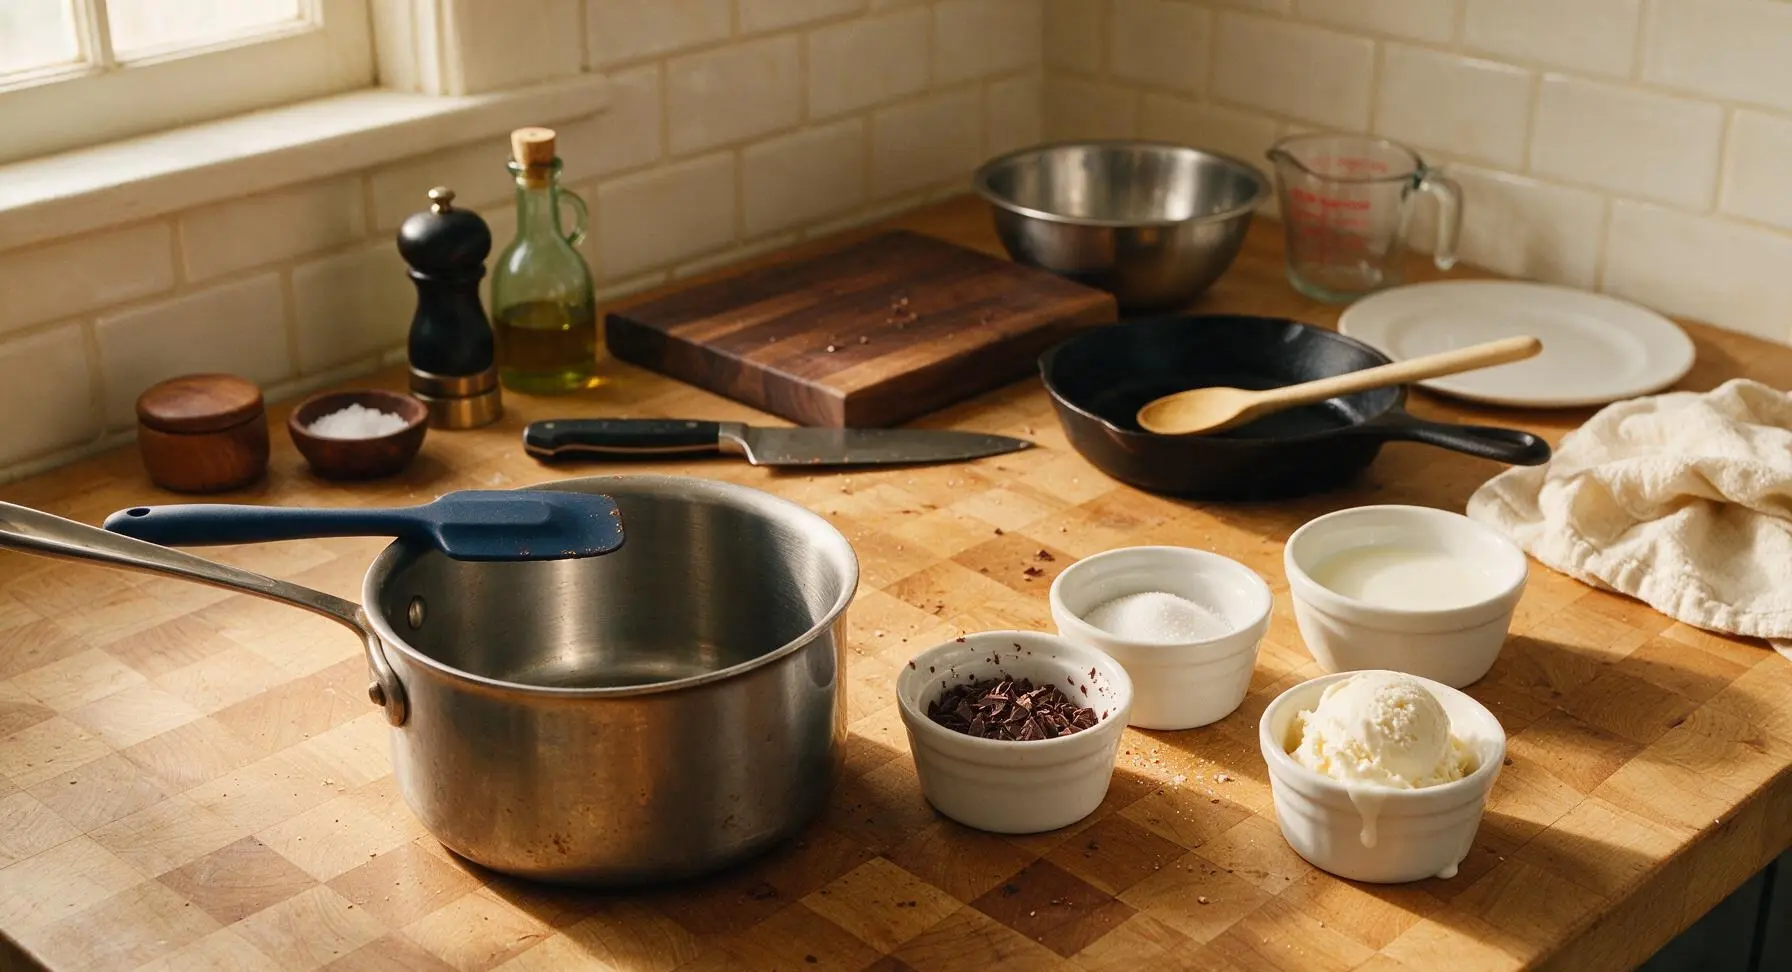
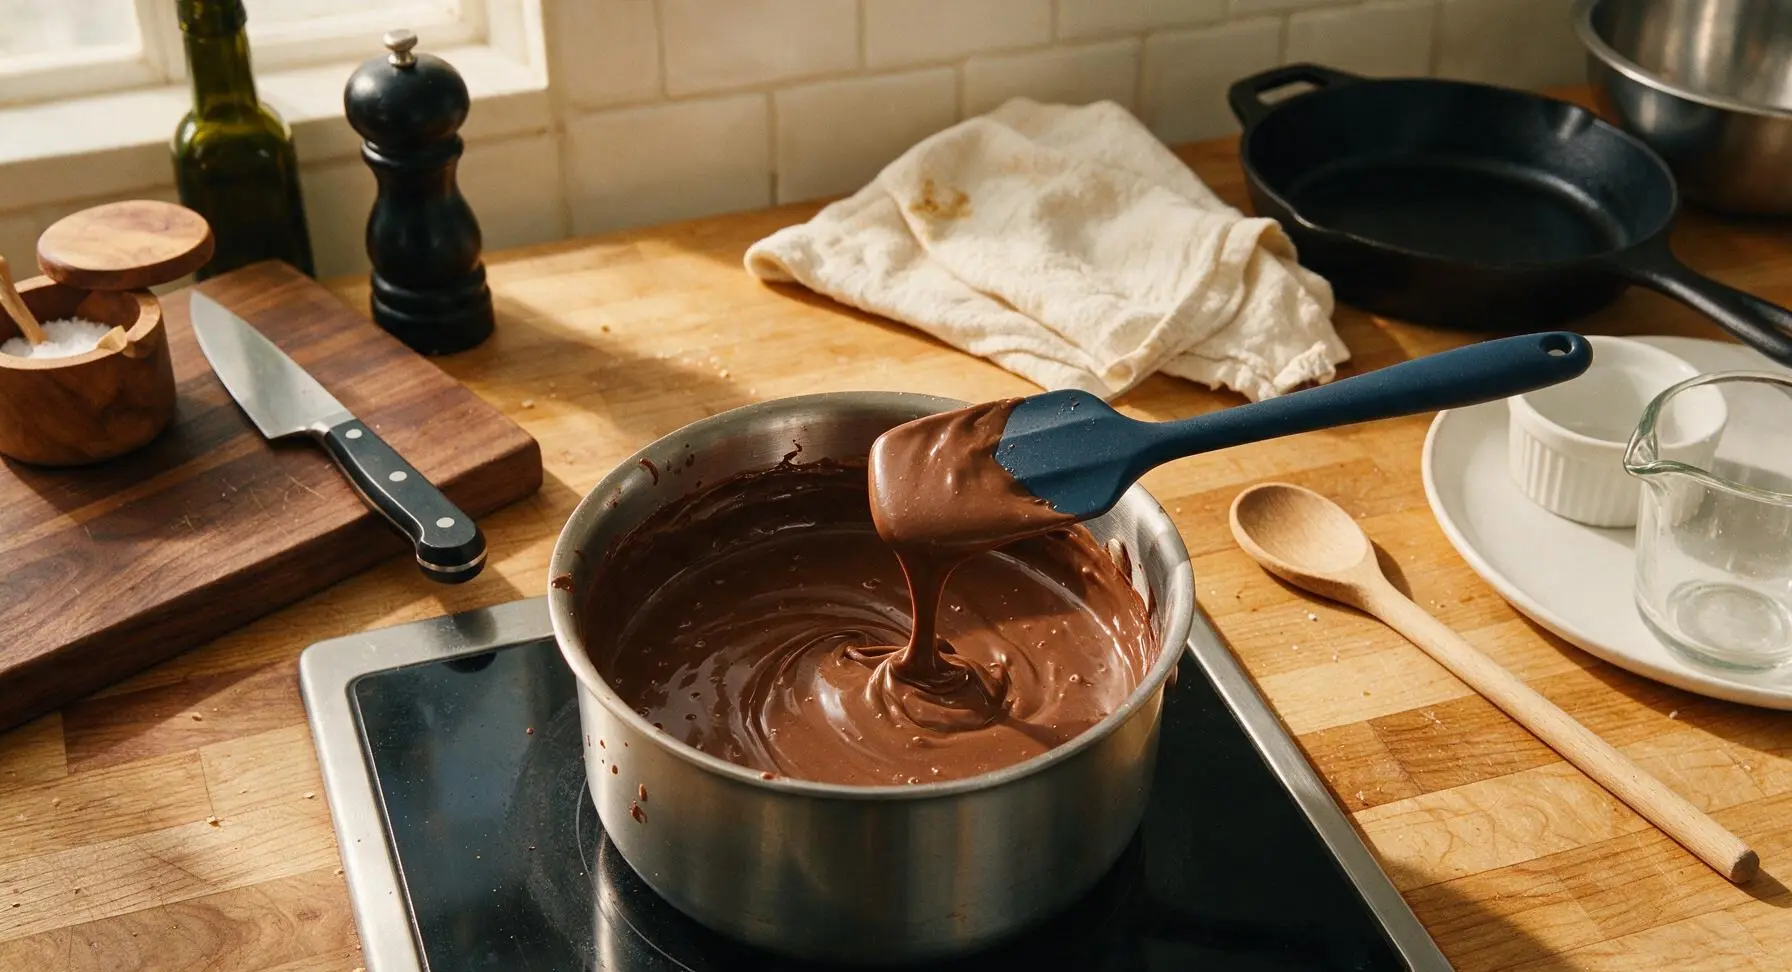
Place the 1-quart brushed stainless steel saucepan over the lowest stovetop heat setting. Add chopped dark chocolate, unsweetened cocoa powder, granulated sugar, and 1/4 cup of the measured whole milk. Stir constantly with the navy silicone spatula for 1-2 minutes, until the chocolate is fully melted into a smooth, glossy, lump-free mixture. Do not bring to a simmer, as high heat will burn the chocolate and create bitter flavors. Remove from heat and let cool for 3 full minutes.
Add Base to Blender
Set the matte white blender base in its permanent center position on the counter, and seat the clear 1.5L pitcher firmly on the base. Pour the cooled melted chocolate mixture into the pitcher, then add the remaining 1 3/4 cups whole milk, 1/4 tsp flaky sea salt, and 1 cup crushed ice. Do not add ice cream at this stage, as early blending will melt it completely and result in a thin, watery drink.
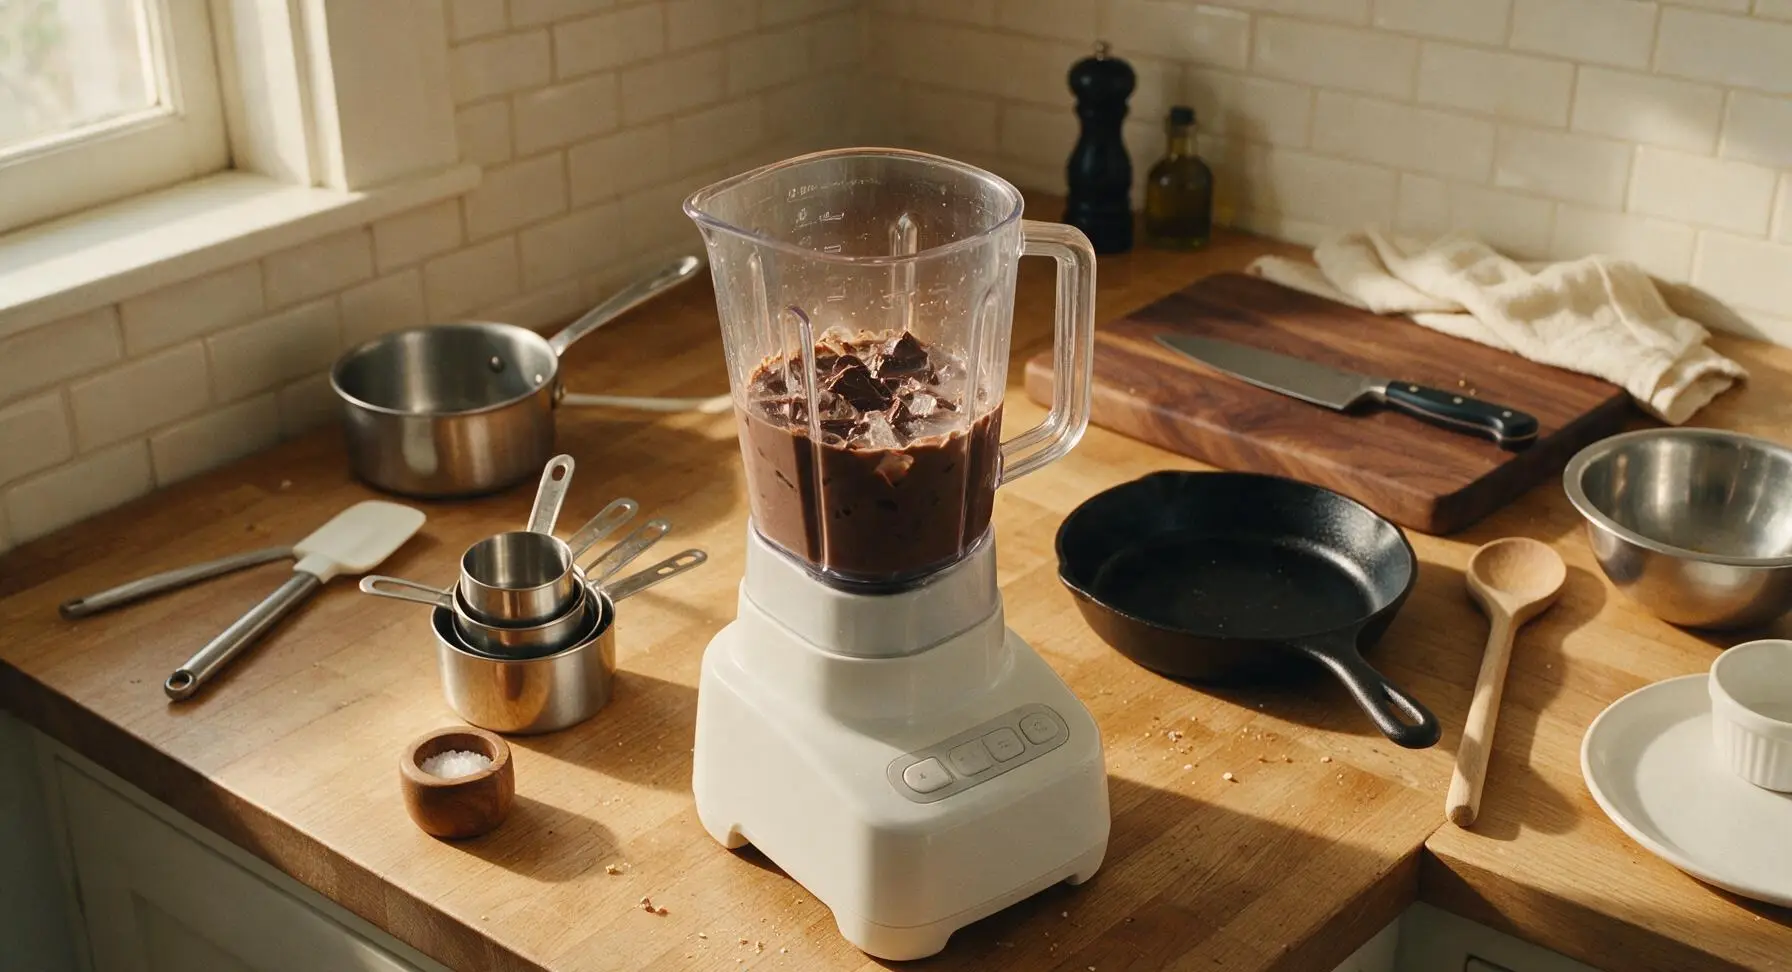
Blend Slushy Ice Base
Secure the black blender lid tightly on the pitcher. Blend on high speed for 30 seconds, until the ice is fully crushed and the mixture forms a uniform dark brown, slushy consistency with no large ice chunks remaining. Turn off the blender, and remove the small center fill cap from the lid to prepare for adding ice cream.
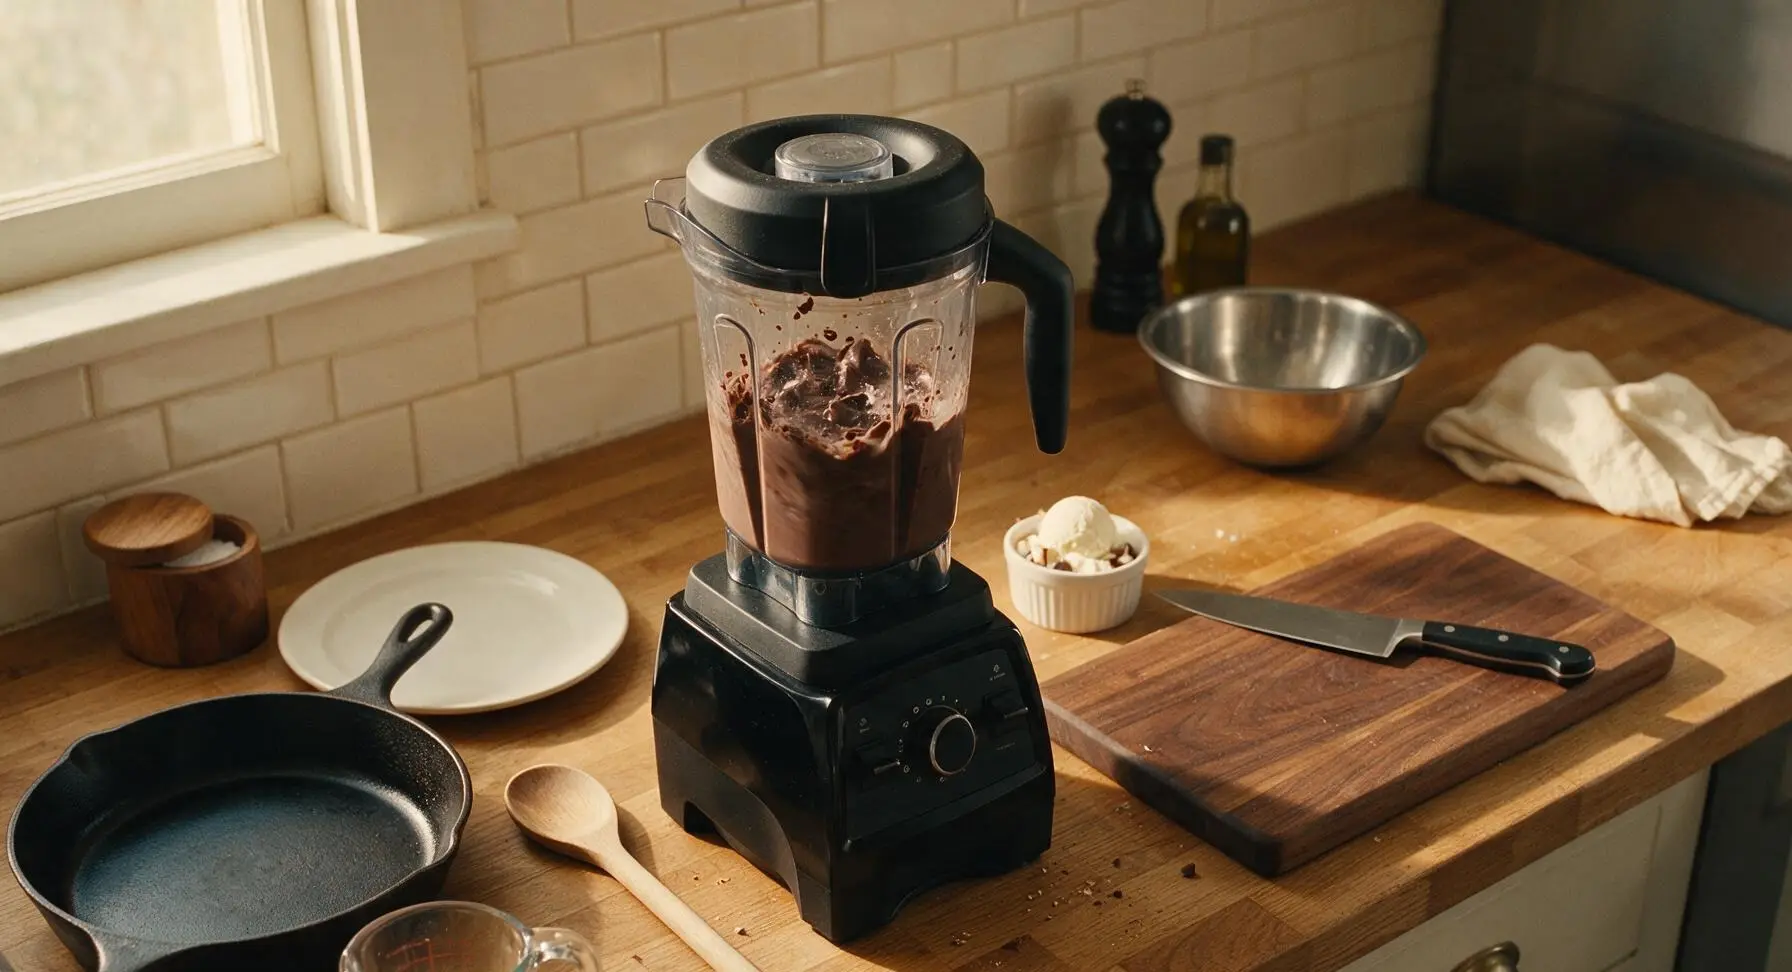
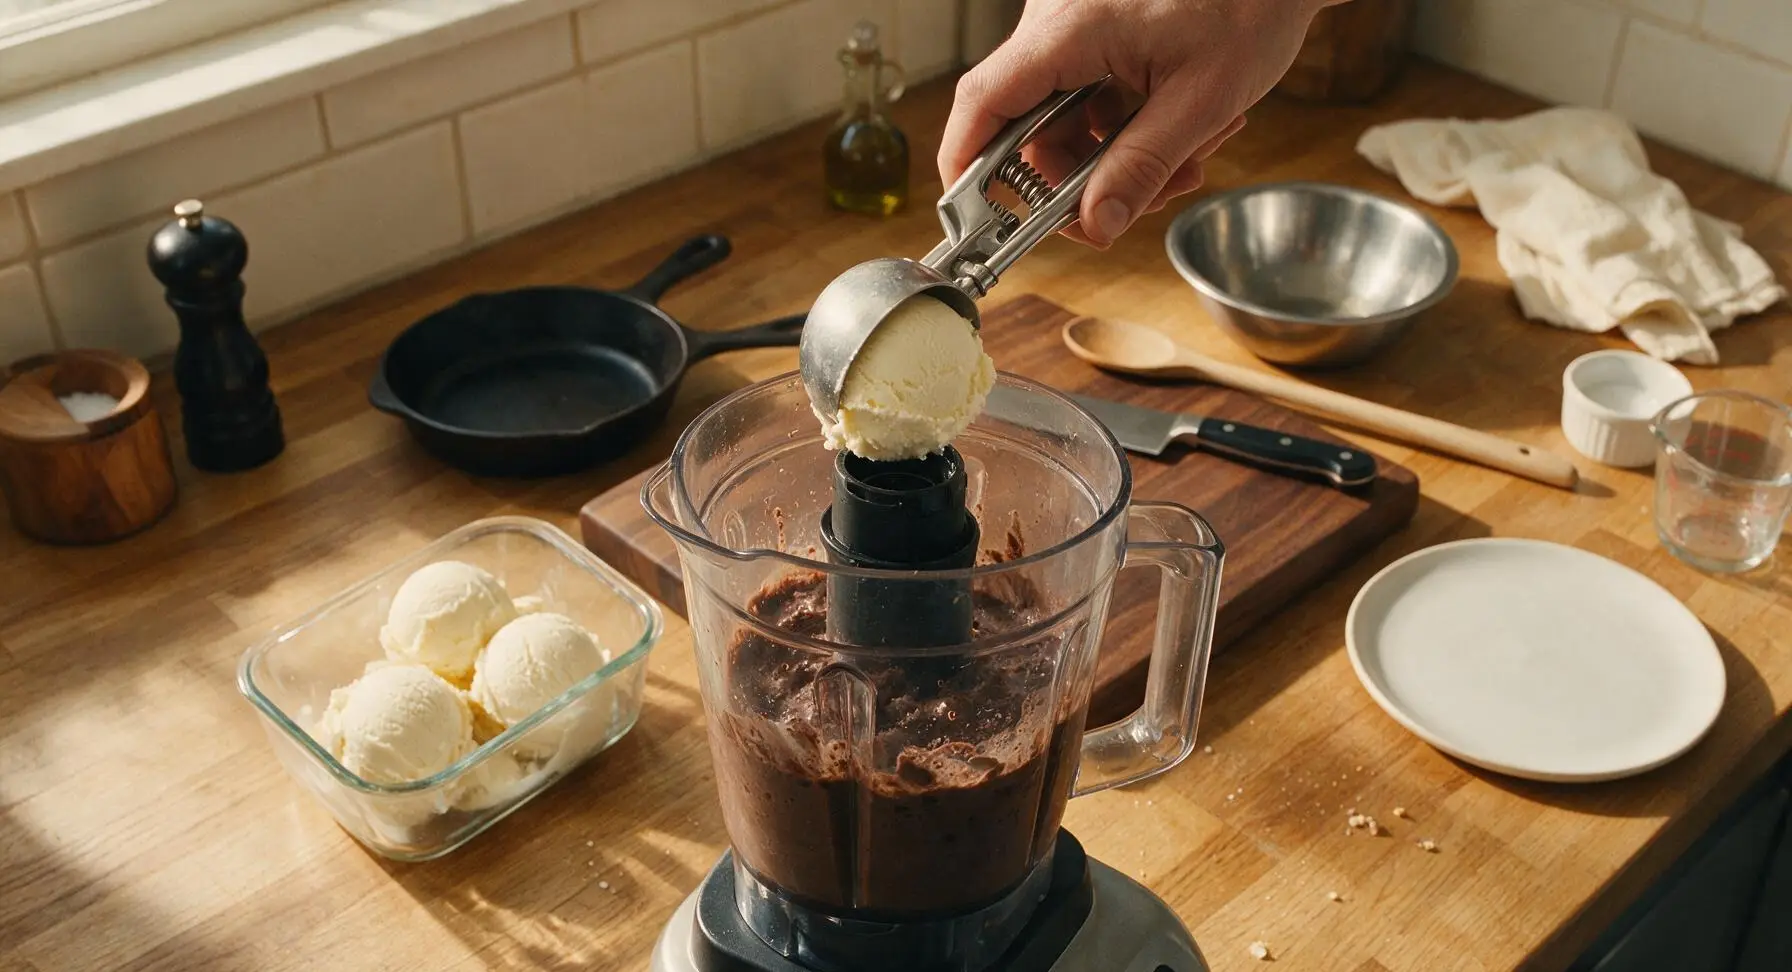
Blend in Ice Cream
Use the spring-loaded aluminum ice cream scoop to add all 4 scoops of vanilla ice cream one at a time through the open center fill cap. Replace the fill cap, then blend on medium speed for only 10-15 seconds, just until the ice cream is fully incorporated with no pale streaks remaining. Stop blending immediately once the mixture is thick and frothy—over-blending will thin the milkshake too much to hold its shape when poured.
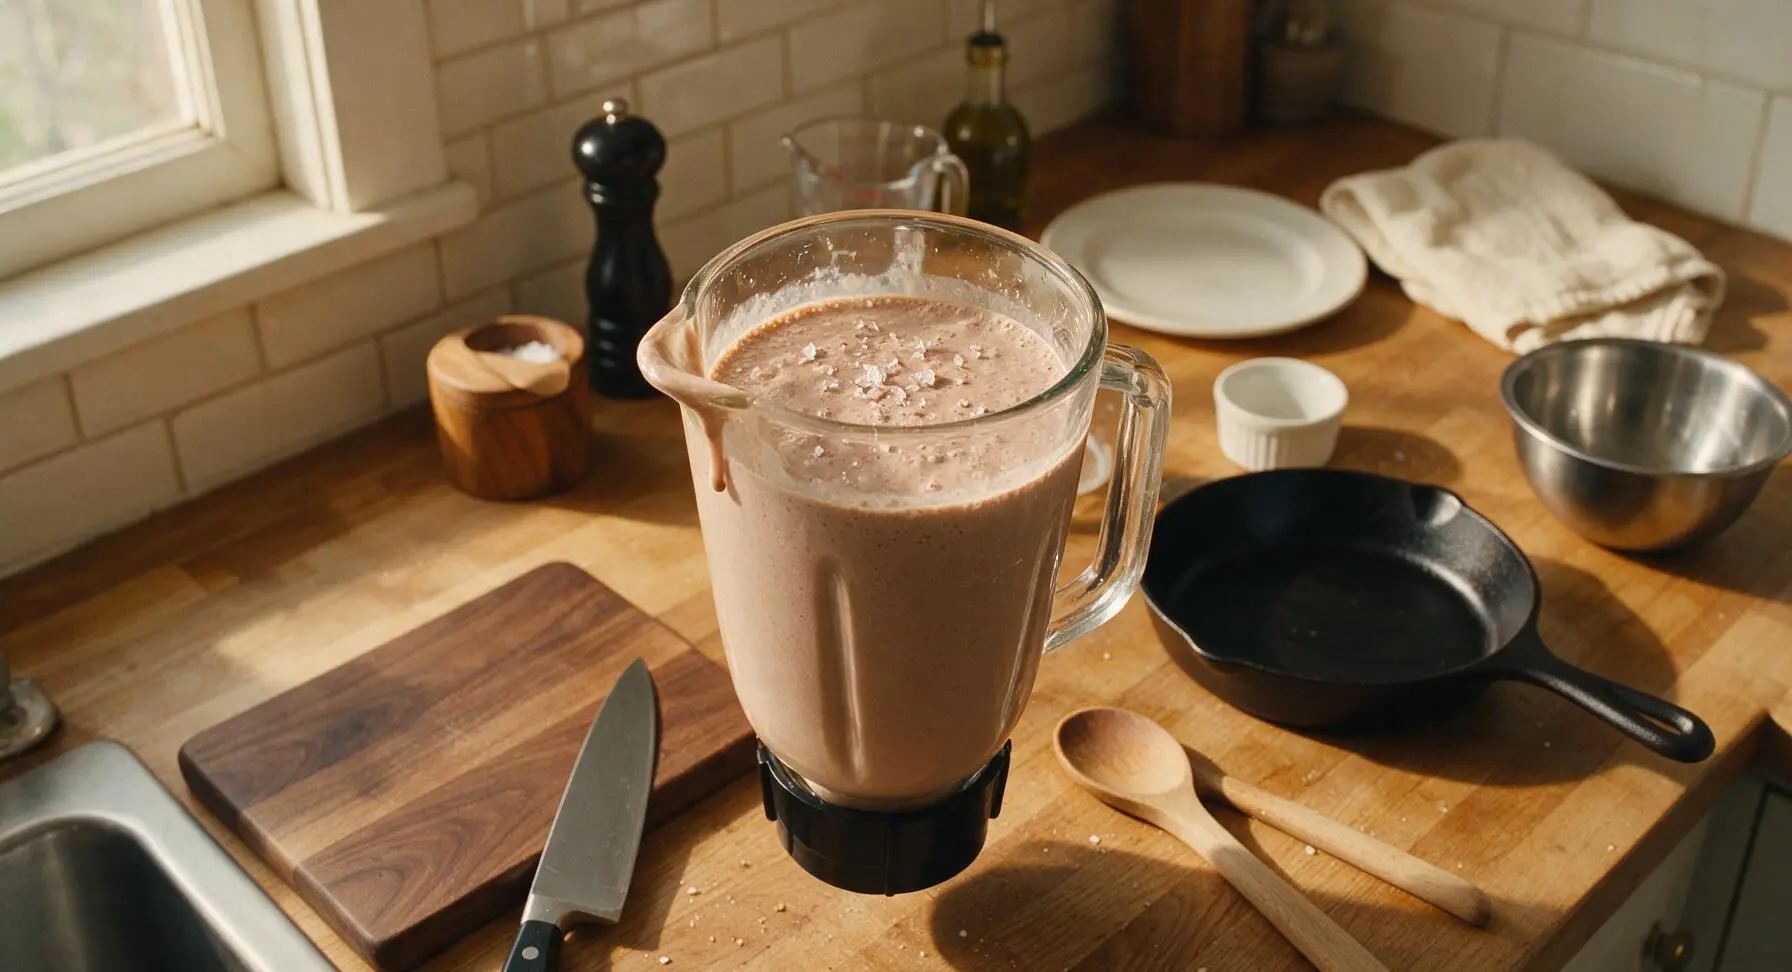
Prep Serving Glasses
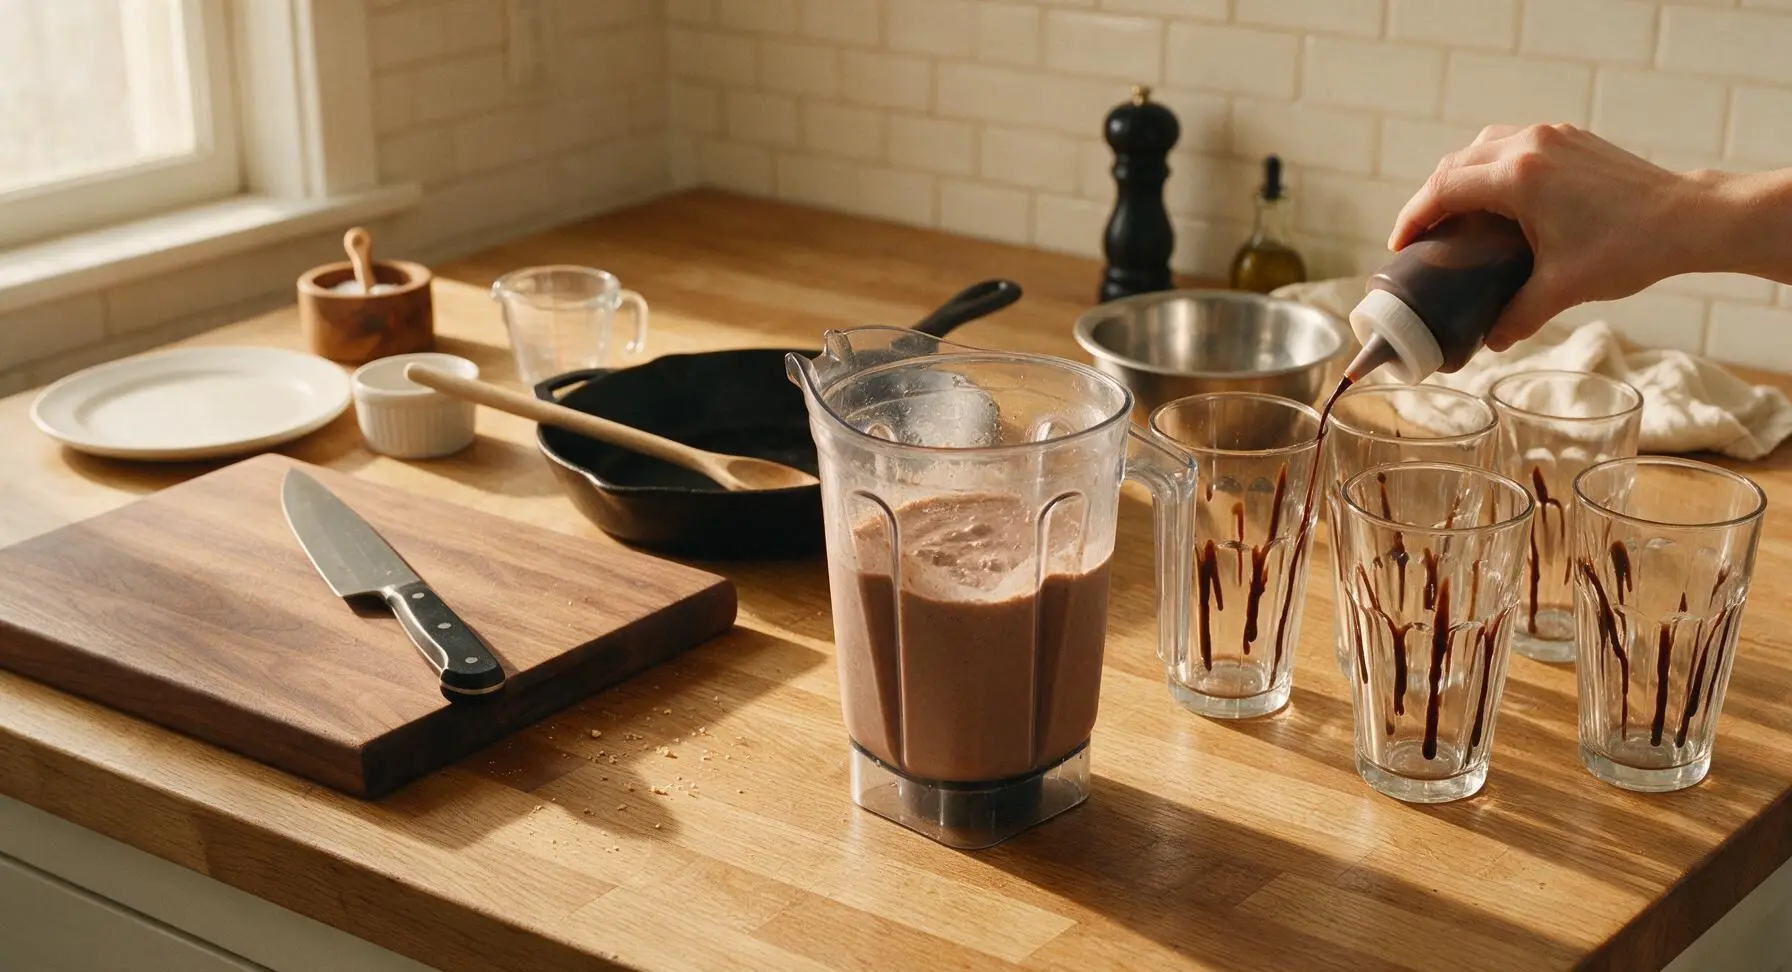
Line up the four 16oz clear glass milkshake glasses on the right section of the counter. Drizzle 1/2 tbsp of chocolate syrup around the inner rim of each glass, letting the syrup run 2-3cm down the inside of the glass in thin, random streaks. Do not fully coat the glass, as uneven streaks create a decorative marbled effect once the milkshake is poured.
Pour Milkshakes Evenly
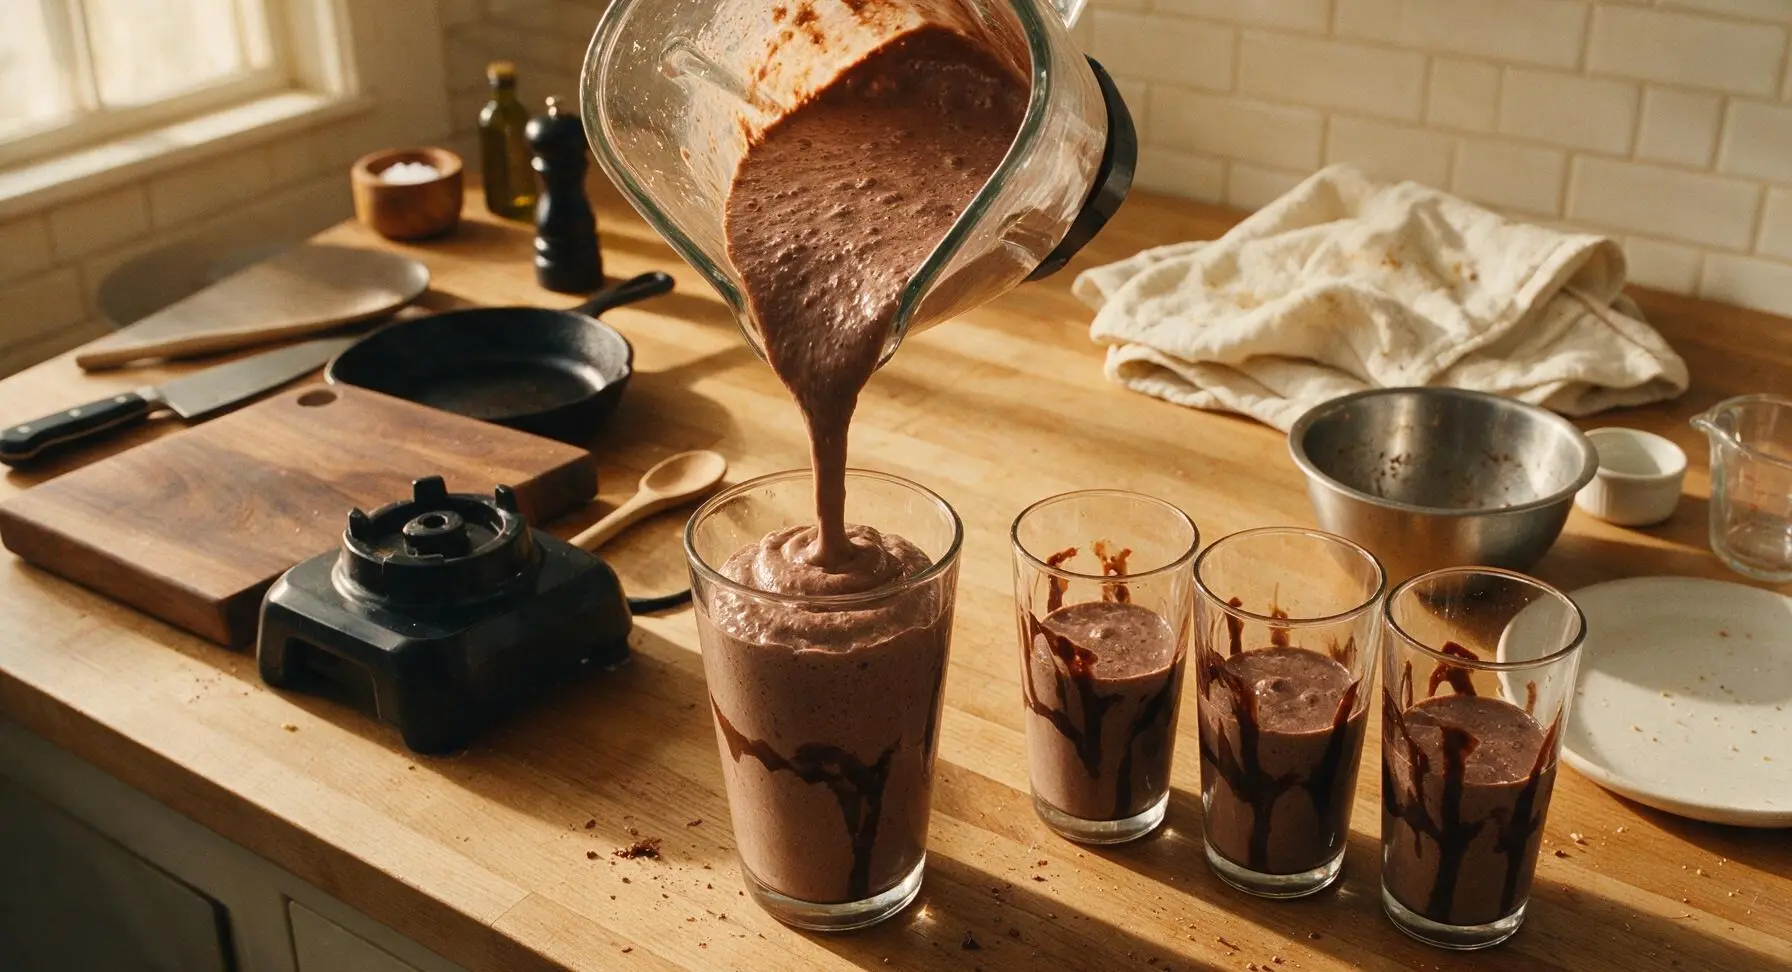
Lift the blender pitcher from the base, and pour the thick frozen chocolate mixture evenly between the four prepared glasses, filling each to 1cm below the rim. The mixture should be thick enough to mound slightly at the top, not runny enough to spill over the edges. If the mixture seems too thin, place the filled glasses in the freezer for 5 minutes to firm up before adding toppings.
Garnish and Serve
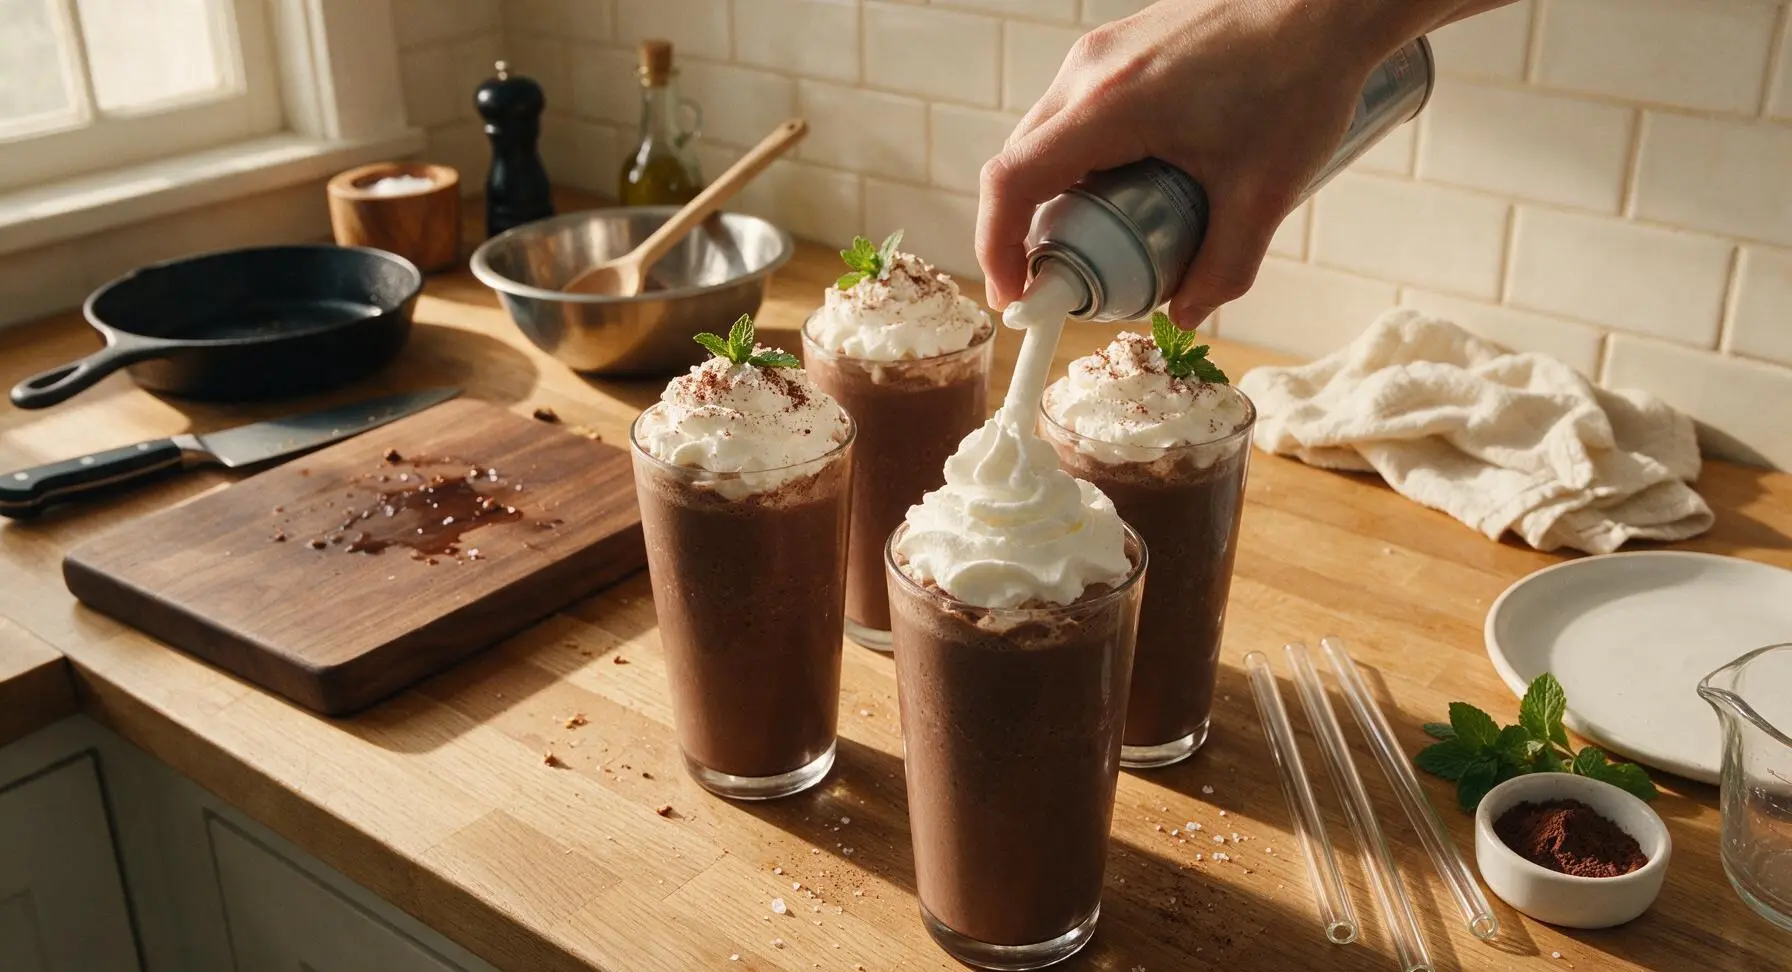
Generously swirl whipped cream on top of each milkshake, mounding it slightly above the glass rim. Dust each cream mound with a light pinch of unsweetened cocoa powder, sprinkle a few flakes of sea salt over the top, tuck one small mint sprig into the cream on each glass, and insert one clear glass straw into each shake at a slight angle. Serve immediately before the frozen mixture melts.
Tips
2.Never over-blend once ice cream is added: Blend for only 10-15 seconds on medium speed, just until no pale vanilla streaks remain. Over-blending breaks down the ice cream’s fat structure and melts delicate ice crystals, leading to a runny milkshake that won’t hold its fluffy shape.
3.Serve immediately after preparing: This frozen treat melts quickly in warm summer temperatures. If you need to prep ahead, store poured, un-topped milkshakes in the freezer for up to 15 minutes, and add whipped cream and garnishes right before serving to avoid soggy, melted cream.






OMG this frozen hot chocolate milkshake is a total game changer! I threw this together in literally 2 minutes after dinner last night when my kids started begging for a sweet treat, and they went crazy for it. I added a tiny extra dash of cinnamon on top and it was chef’s kiss. SO good, will be making this all summer long!
Perfect easy recipe for dorm life! I don’t have any fancy equipment, just my cheap little blender, and this came out so smooth and creamy. Way better than the overpriced milkshakes they sell at the campus café down the street, and it cost me like a quarter of the price to make. 10/10
Made this for our neighborhood potluck last weekend and people kept coming back to ask for the recipe! I topped mine with crushed mini marshmallows and a drizzle of hot fudge, and it was gone in 10 minutes flat. Only complaint is I wish I’d made a double batch!
I’m usually more of a savory guy, but my daughter asked me to make this for our father-daughter movie night and I have to admit, it was really good. Super straightforward steps, no confusing measurements, even I couldn’t mess it up. We added extra chocolate syrup because we’re chocoholics in this house.
Game changer for meal prep sweet treats! I pre-portioned the ingredients into freezer bags so I can just dump and blend on busy weeknights when I’m craving something cold and chocolatey. I used oat milk instead of regular dairy because that’s what I had on hand, and it still turned out perfectly creamy. Will be making this on repeat!