1.Can I use milk chocolate chips instead of semi-sweet for this fudge?
▾
Absolutely! Just note milk chocolate is sweeter with a milder cocoa flavor, so your final fudge will taste less rich and more sugary. I recommend adding an extra 1/8 teaspoon of fine sea salt to cut the extra sweetness, and take extra care not to overheat it, as milk chocolate seizes more easily than semi-sweet.
2.Do I need a candy thermometer to make this fudge successfully?
▾
Nope! This simple, pantry-staple recipe skips the tricky soft-ball stage required for old-fashioned cooked fudge. As long as you melt your ingredients gently over low heat, stir just until fully combined, and chill it to set, you’ll get perfectly velvety fudge without any special candy-making tools.
3.How long does this fudge stay fresh at room temperature?
▾
When stored in an airtight container with layers separated by parchment paper to prevent sticking, this fudge stays fresh for 1 to 2 weeks at cool room temperature (65–70°F). Keep it away from direct sunlight or heat sources like stovetops, which can cause it to soften, melt, or develop an off texture faster.
4.Why did my fudge come out too soft and fail to hold its shape?
▾
This almost always stems from two common missteps: either you didn’t heat the mixture long enough to fully melt and bind the chocolate and condensed milk, or you added too much butter relative to the other ingredients. If it’s already set too soft, pop it in the fridge for 30 minutes to firm up before slicing and serving.
5.Can I add mix-ins like nuts or marshmallows to this base recipe?
▾
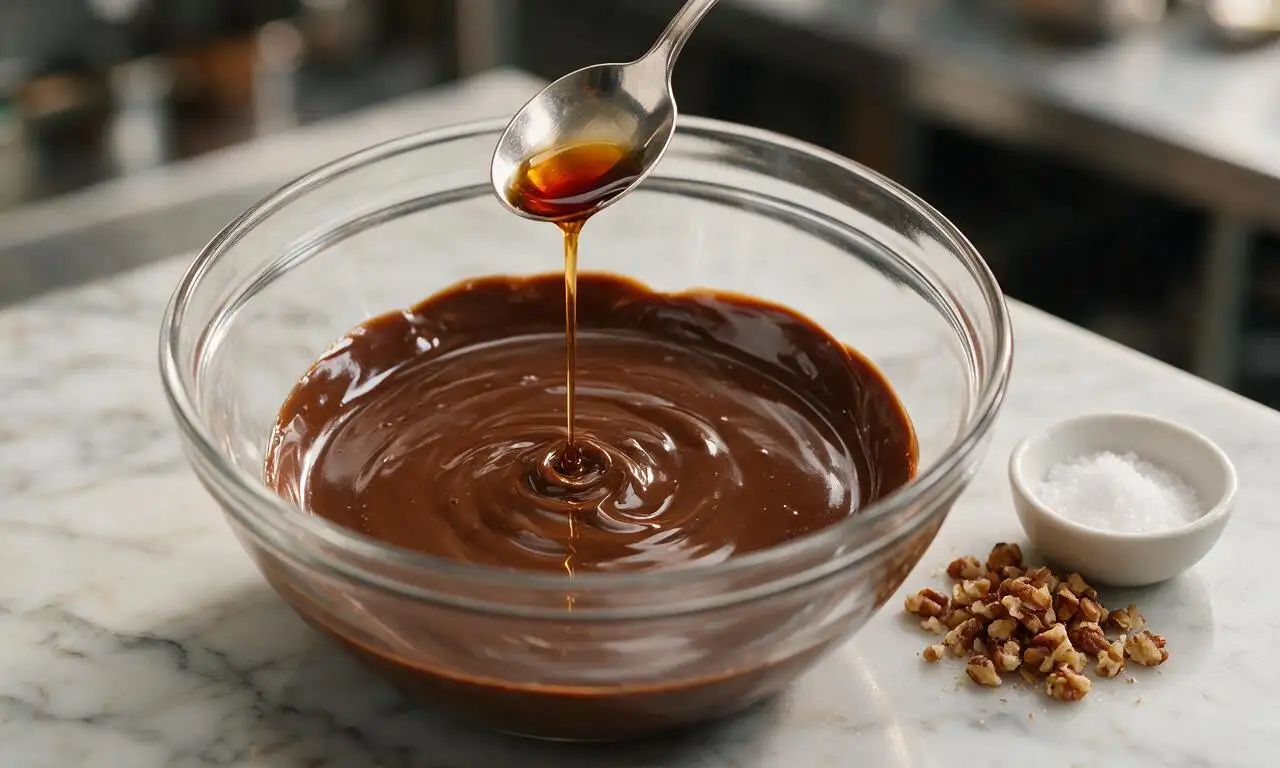
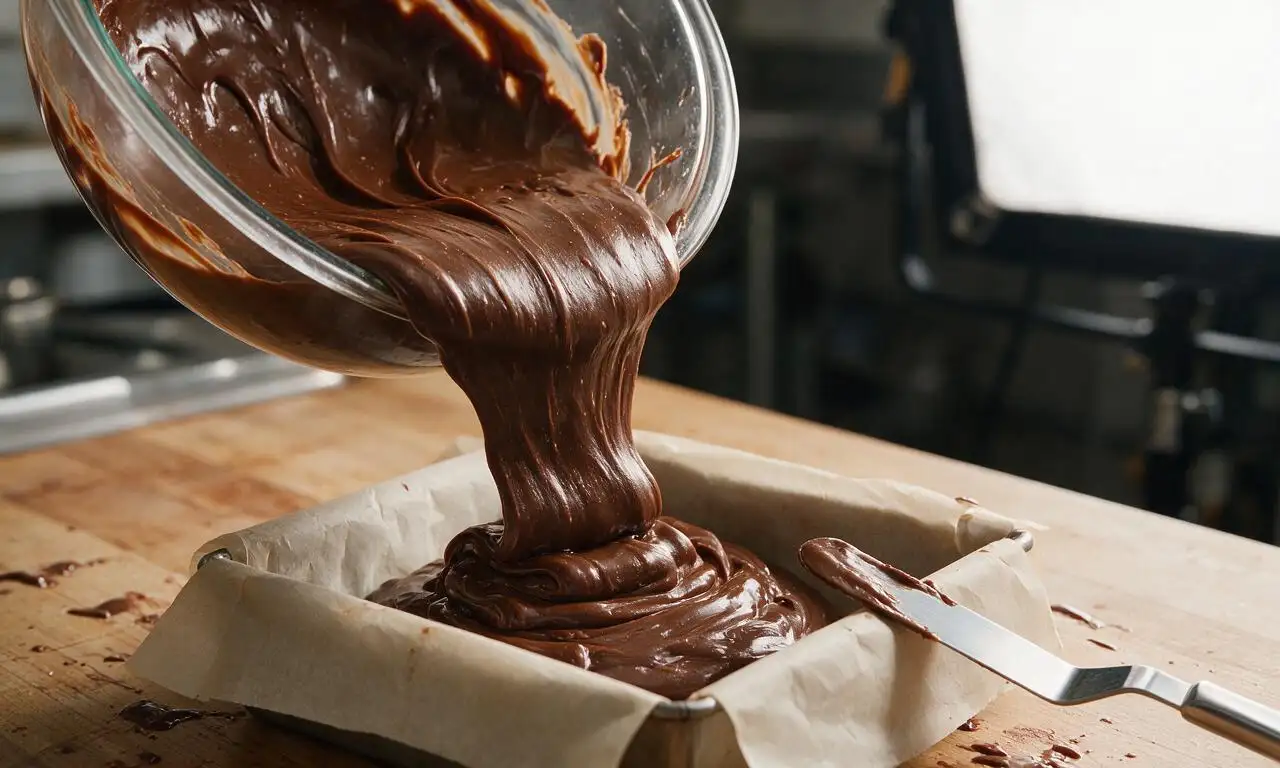
Definitely! Fold in up to 1 cup of your favorite add-ins right after you take the melted fudge mixture off the heat, right before pouring it into your pan to set. Great options include chopped walnuts, mini marshmallows, crushed pretzels, dried cranberries, or crushed peppermint candies for a festive twist.
6.Is it okay to use salted butter instead of unsalted for this recipe?
▾
You can, but you’ll want to adjust the added fine sea salt to keep the flavor balanced. If you use salted butter, cut the added sea salt down to just a tiny pinch, or skip it entirely. Taste the melted mixture before pouring it into the pan to make sure the salt level matches your preference before it sets.
7.What size pan works best for setting this fudge for classic thick slices?
▾
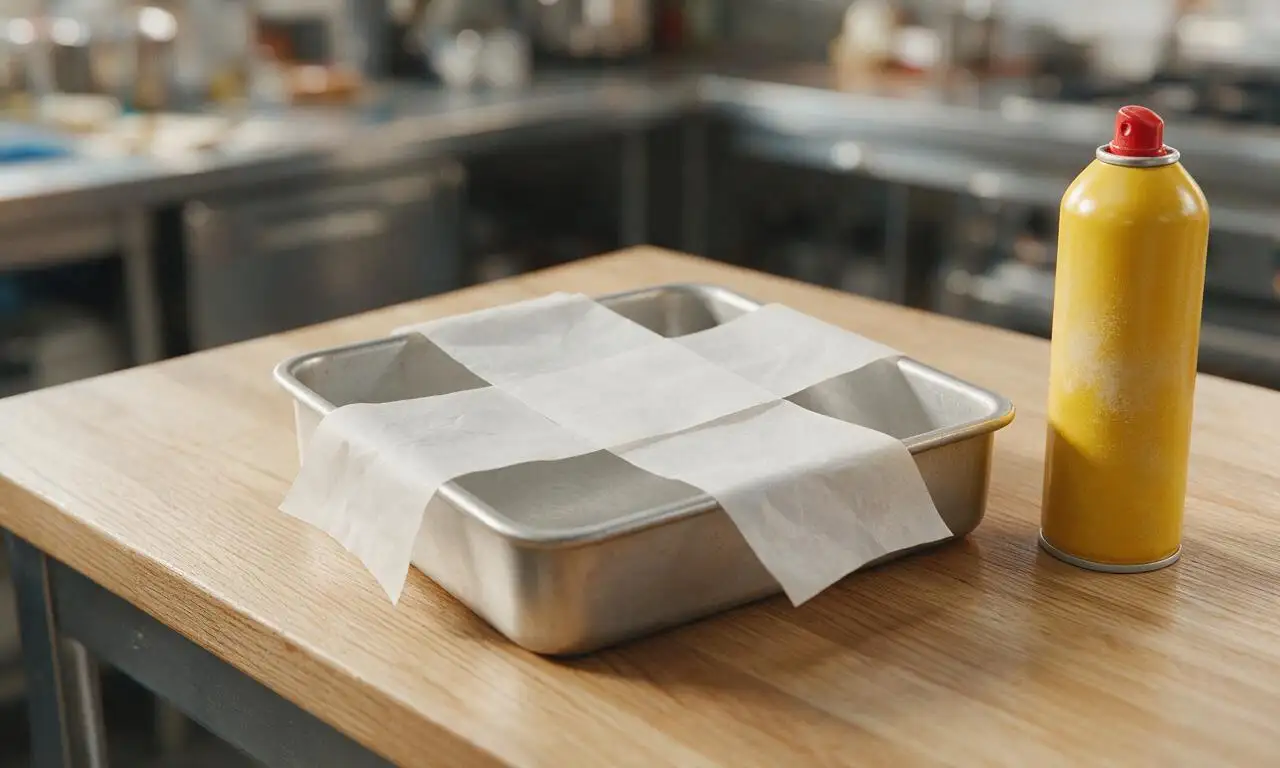
An 8x8-inch square baking pan lined with overhanging parchment paper is ideal for this recipe—it yields fudge slices that are about 1 inch thick, the perfect substantial, biteable size. If you prefer thinner, shareable fudge, you can use a 9x9-inch pan instead, and reduce the initial chill time by about 10 minutes.
8.Can I freeze this fudge for long-term storage?
▾
Yes, this fudge freezes beautifully! Wrap the whole uncut block (or individual slices) tightly in plastic wrap, then tuck it into a labeled freezer bag, squeezing out as much excess air as possible. It will keep for up to 3 months in the freezer. Thaw it in the fridge overnight before serving for the best texture.
9.Why does my fudge have a dull, matte top instead of a glossy finish?
▾
A dull top usually means you stirred the mixture too vigorously or for too long after the chocolate fully melted, which causes tiny cocoa butter crystals to form on the surface. It’s totally safe to eat and will still taste delicious—for a glossier finish next time, stir only just until all ingredients combine before pouring.
10.Can I make this fudge in the microwave instead of on the stovetop?
▾
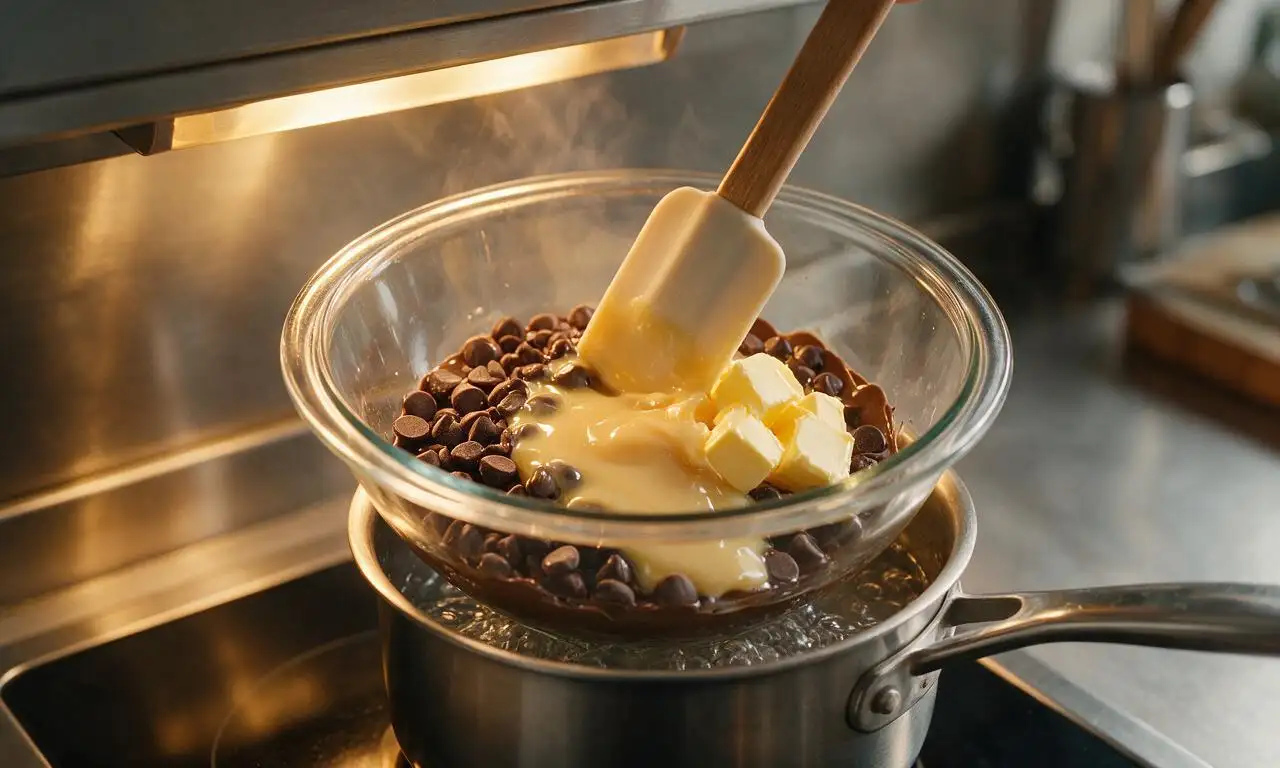
Absolutely! Combine the chocolate chips, condensed milk, and butter in a microwave-safe bowl, and heat in 30-second bursts, stirring well between each burst, until the mixture is fully smooth. Stir in the vanilla and salt, then pour into your prepared pan to chill as usual—total cook time is usually around 2 minutes.
11.How do I get clean, neat slices when cutting set fudge?
▾
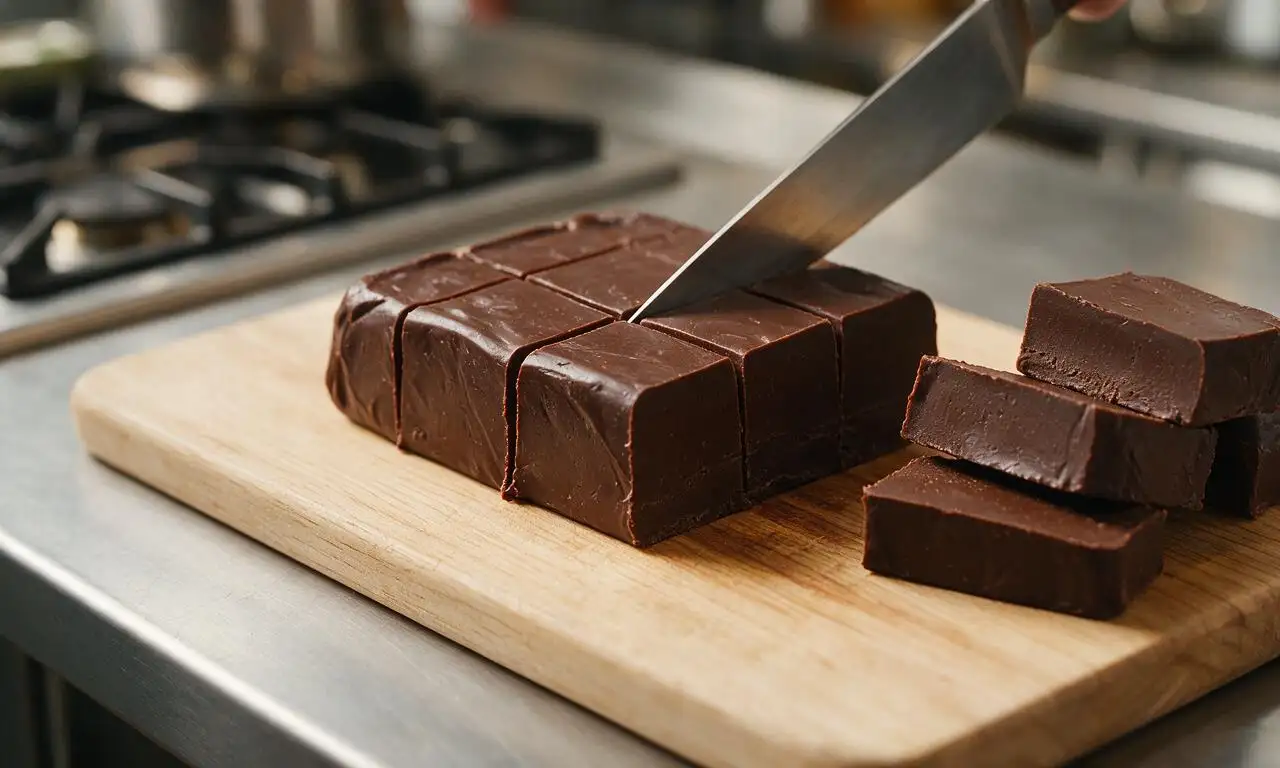
For picture-perfect slices, lift the whole fudge block out of the pan using the overhanging parchment paper, and set it on a cutting board. Run a sharp, thin-bladed knife under hot water, wipe it dry, then make slow, even cuts. Wipe the knife clean and reheat it between every few cuts to prevent ragged edges.
12.What if I accidentally get a little water in my melting chocolate mixture?
▾
Even a tiny amount of water can cause chocolate to seize up into a thick, grainy paste, but you can often fix it! Stir in 1 teaspoon of warm vegetable oil or melted butter at a time, mixing gently, until the mixture smooths out again. It won’t be quite as perfect, but it will still set into tasty, creamy fudge.
13.Is this fudge a good option for holiday gifting?
▾
It’s ideal for gifting! Its rich, creamy texture and long shelf life make it a universal crowd favorite, and you can customize it with fun mix-ins to match any holiday or occasion. Pack cooled, cut slices in decorative tins lined with parchment, and note it contains dairy if you’re giving it to guests with food allergies.
14.Can I use imitation vanilla extract instead of pure vanilla?
▾
You can, but I don’t recommend it if you have a choice. Imitation vanilla has a slightly artificial, flat aftertaste that can stand out against the rich, deep chocolate flavor. If it’s all you have on hand, use 25% less imitation vanilla than the recipe calls for, since its flavor is more concentrated.
15.How long do I need to chill the fudge before it’s ready to slice?
▾
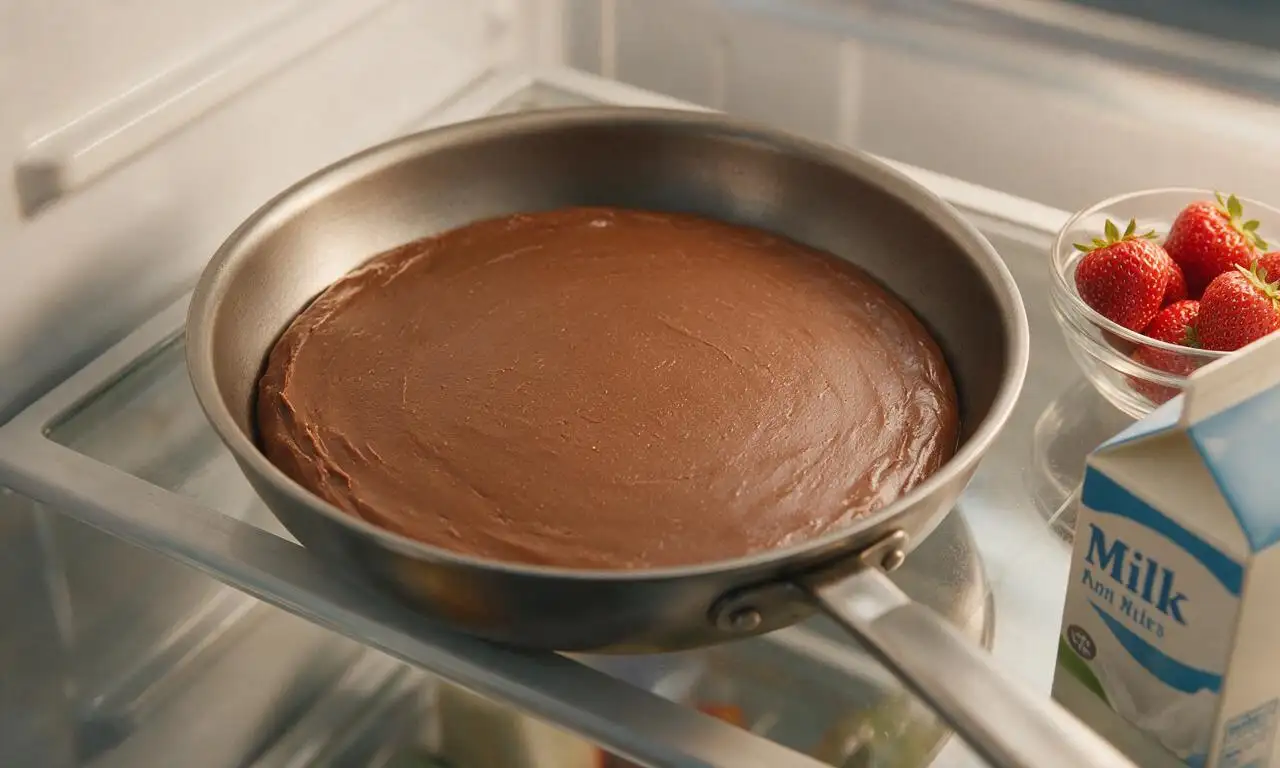
For the firmest, cleanest slices, chill the poured fudge in the fridge for at least 2 hours, or until the top is completely firm to the touch and doesn’t indent when pressed lightly. If you’re in a rush, you can pop it in the freezer for 20 to 25 minutes to speed setting, just don’t leave it long enough to freeze solid.
16.My fudge has a greasy, separated layer on top—what went wrong?
▾
That separation happens when the mixture gets too hot too fast, causing the butter to separate out from the chocolate and condensed milk. You can fix it before it sets by taking the pan off the heat, letting it cool for 5 minutes, then stirring vigorously until the greasy layer fully incorporates back into the smooth base.
17.Can I adapt this recipe to be dairy-free for guests with dietary restrictions?
▾
You absolutely can! Swap the semi-sweet chocolate chips for dairy-free dark chocolate chips, use a can of full-fat sweetened condensed coconut milk in place of regular sweetened condensed milk, and swap the unsalted butter for vegan baking sticks. The final fudge will have a subtle coconut note, but it will be just as creamy and rich as the classic version.

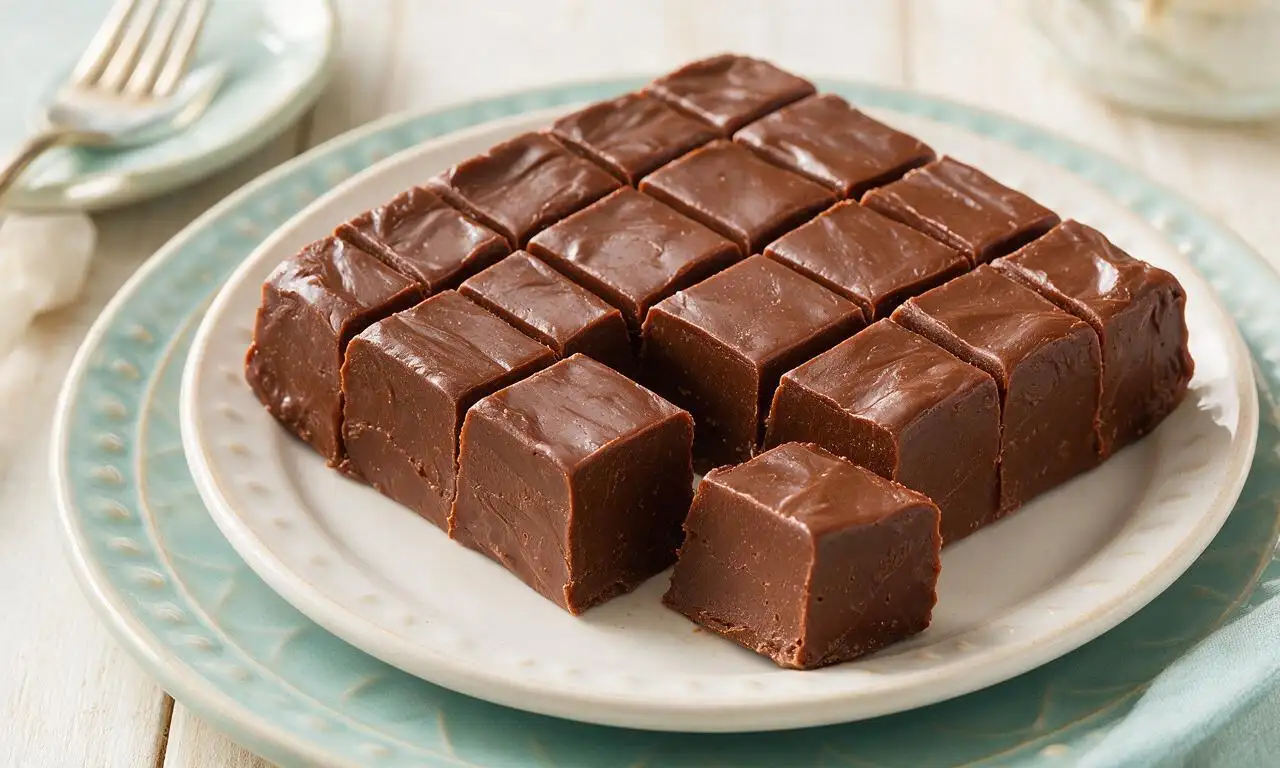






OMG this fudge is SO good!!! I brought a batch to my office potluck yesterday and every single piece was gone in 10 minutes flat. I was worried it’d be tricky to get that perfect creamy texture since my old fudge recipes always turn grainy, but this was so easy even for a total baking klutz like me. My kids already begged me to make another batch for their soccer team snack this weekend. 10/10 no notes!
Total game changer. I’ve been buying overpriced fudge from the local candy shop down the street for years because I thought homemade fudge was too much of a high-effort hassle, but this recipe was dead simple and tastes way better than the store-bought stuff. The cook time looked long at first glance but most of that is just letting it set in the fridge, right? Only tweak I made was adding a tiny extra pinch of flaky sea salt on top to cut the richness, will absolutely be making this for our family holiday cookie platter this year.
Perfect make-ahead treat for my weekly meal prep! I cut this into little bite-sized squares and stashed them in an airtight container in the freezer for when I get a random chocolate craving after work. It stays super creamy even frozen, no weird icy texture at all, which I was shocked by. I will say I used dark chocolate chips instead of milk chocolate because that’s what I had hanging out in the pantry, and it was still chef’s kiss. Super easy recipe, zero stress, amazing results — already shared the link to my whole meal prep group chat!