
Garlic Pulled Pork
intro
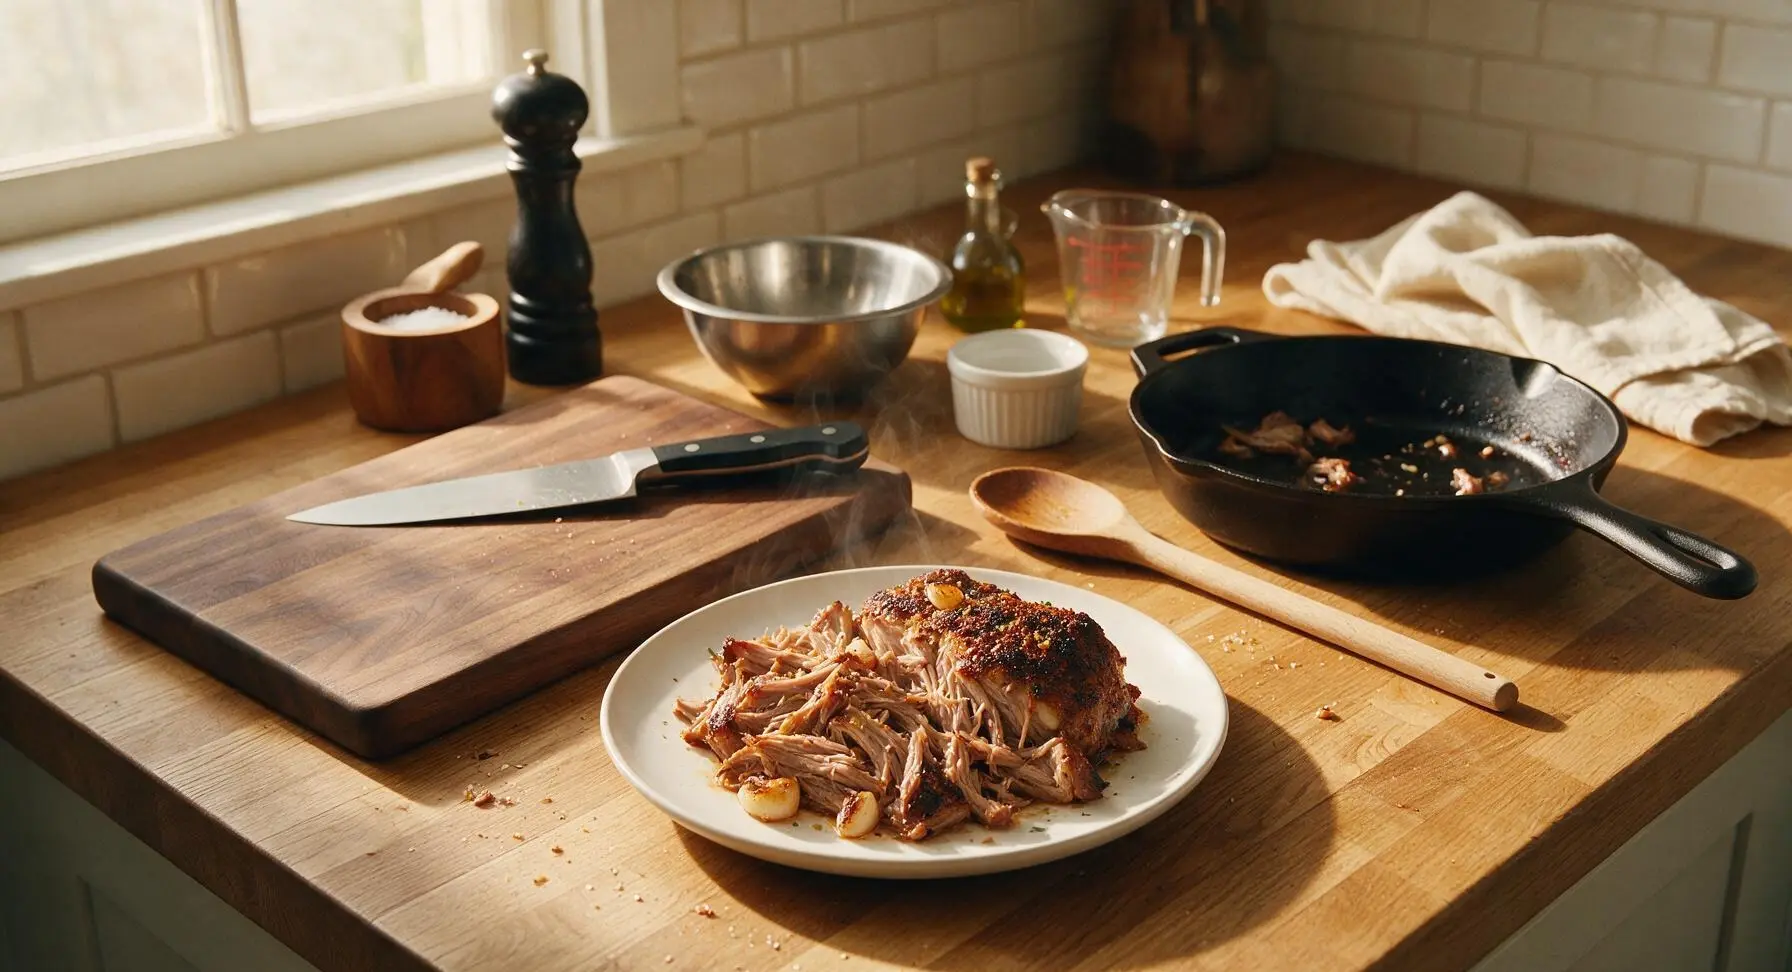
Tender fall-apart pulled pork infused with sweet roasted garlic, boasting a savory spiced bark, perfect for piling on buns at summer backyard gatherings.
Ingredients
Steps
Trim and Prep Pork
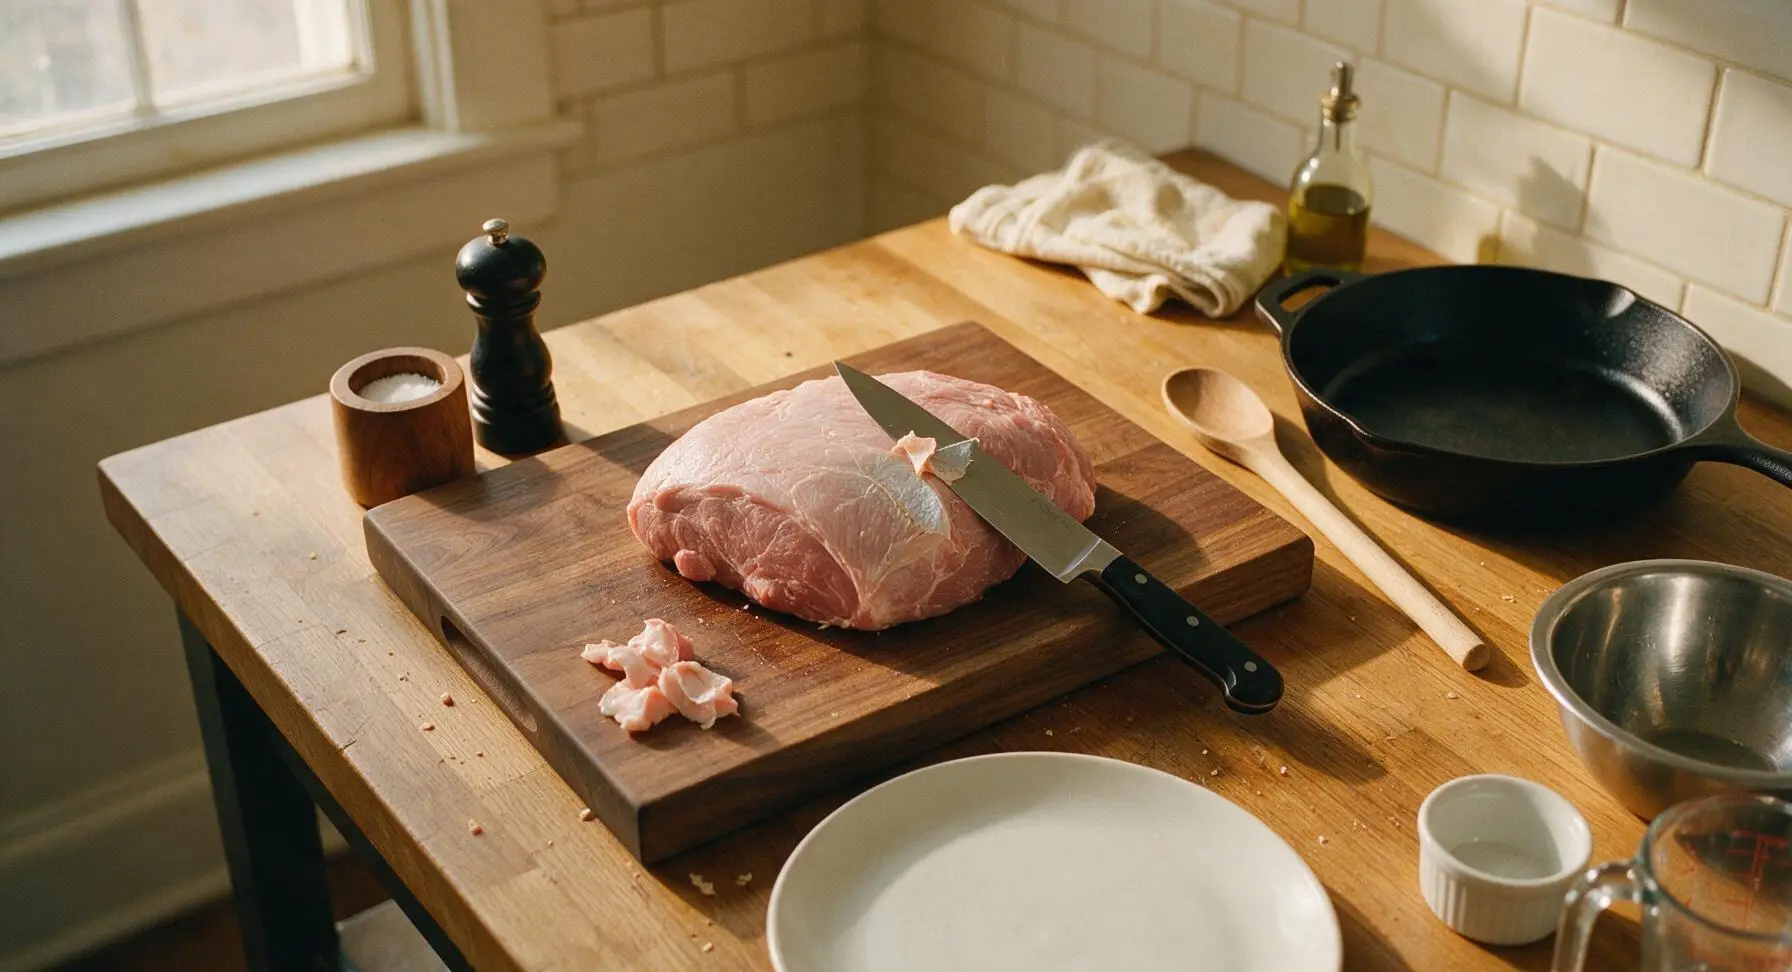
Place the 2kg boneless pork shoulder on the walnut cutting board. Use the 8-inch chef knife to trim any excess hard fat and silver skin from the meat surface, leaving a uniform 1/4-inch thick fat cap across one side. Pat the entire surface of the pork dry with a corner of the oatmeal linen towel to ensure the rub adheres properly. The meat should feel dry to the touch with no wet, slimy patches.
Mix Garlic Spice Rub
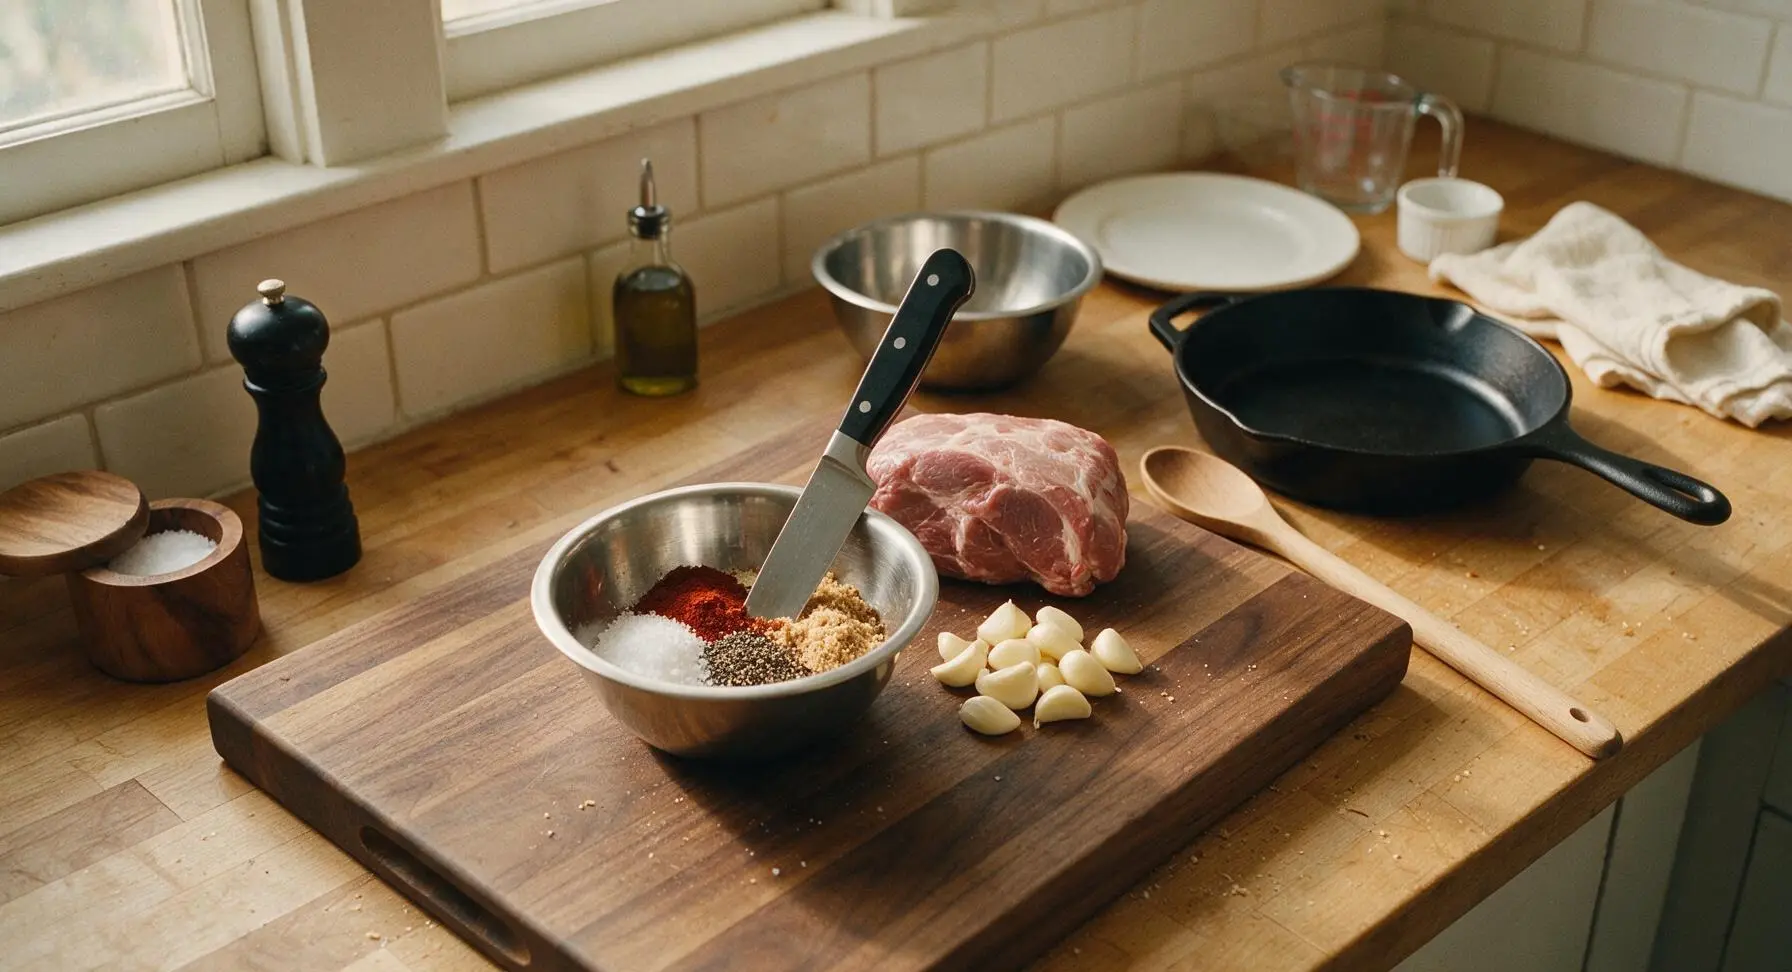
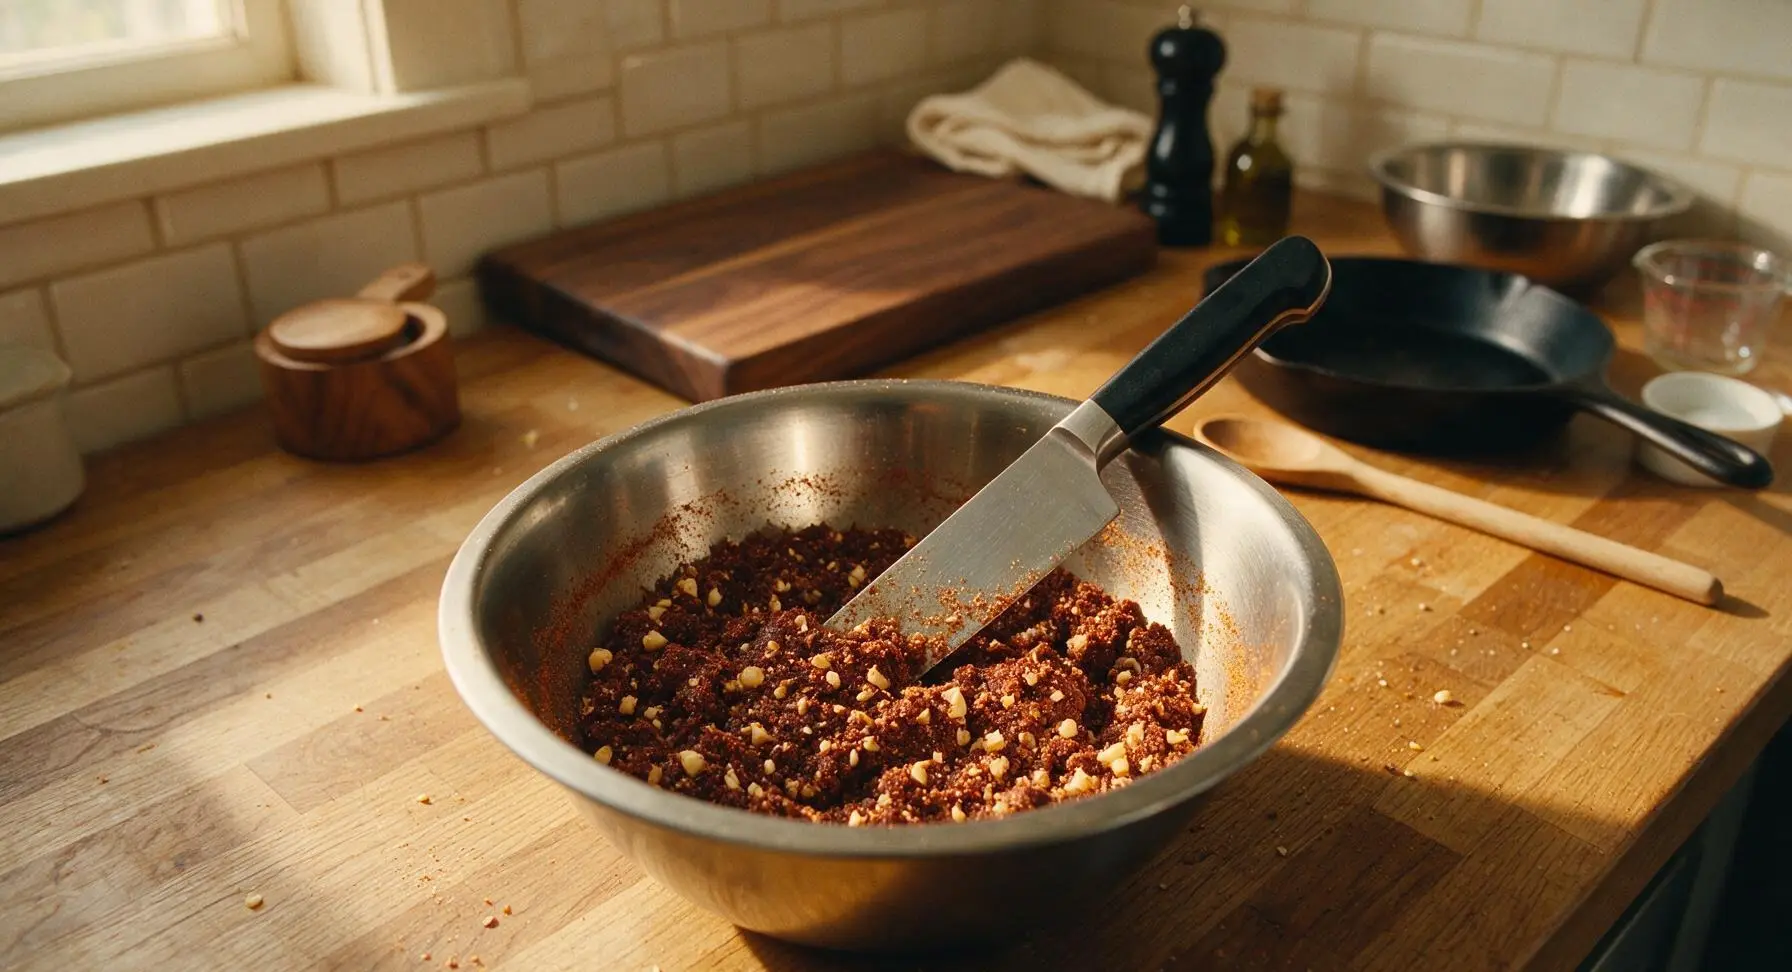
In the small stainless steel prep bowl, combine 2 tbsp kosher salt, 1 tbsp smoked paprika, 1 tbsp freshly ground black pepper, and 1 tbsp light brown sugar. Use the chef knife to crush 6 of the peeled garlic cloves into a coarse paste, then stir the garlic paste into the spice mixture until fully combined, creating a fragrant, slightly clumpy rub. Set the remaining 6 whole garlic cloves aside to tuck into the pork.
Season Pork Generously
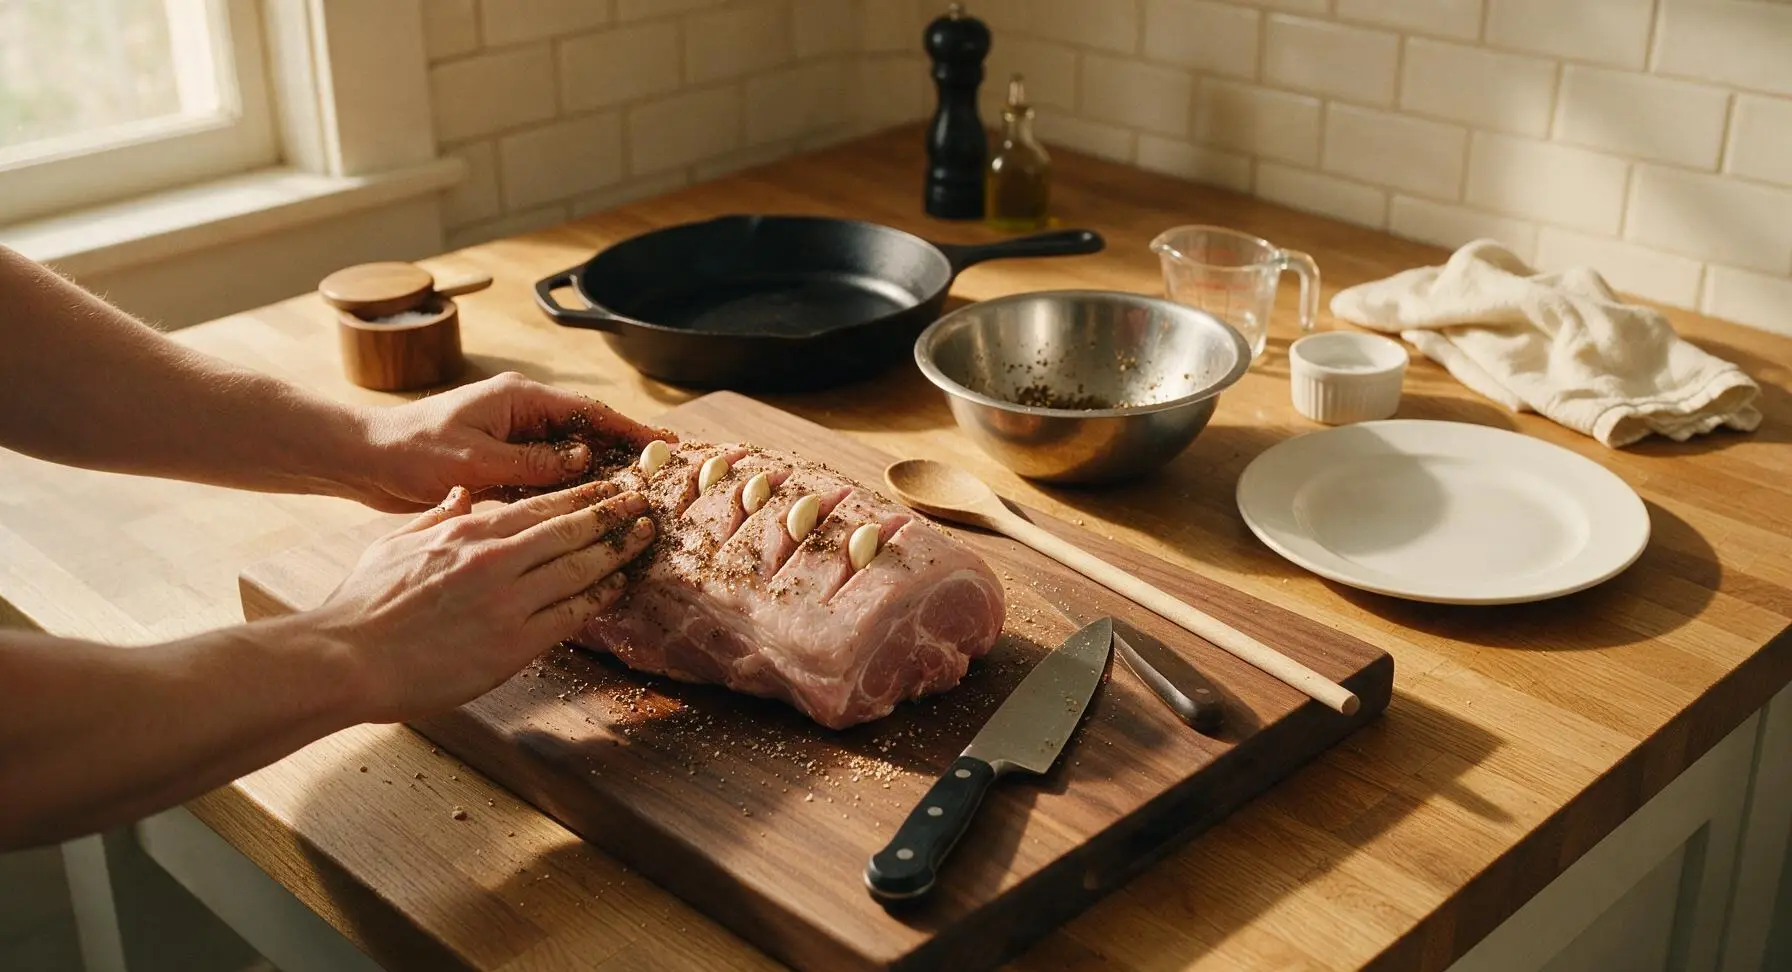
Rub the entire surface of the dried pork shoulder with the garlic spice mix, pressing firmly to ensure the rub adheres to every side, including the edges and fat cap. Use the tip of the chef knife to cut 6 evenly spaced 1-inch deep slits across the meat side of the pork, and tuck one whole reserved garlic clove into each slit. Let the seasoned pork rest at room temperature for 15 minutes to allow the spices to penetrate the meat.
Sear Pork to Crisp
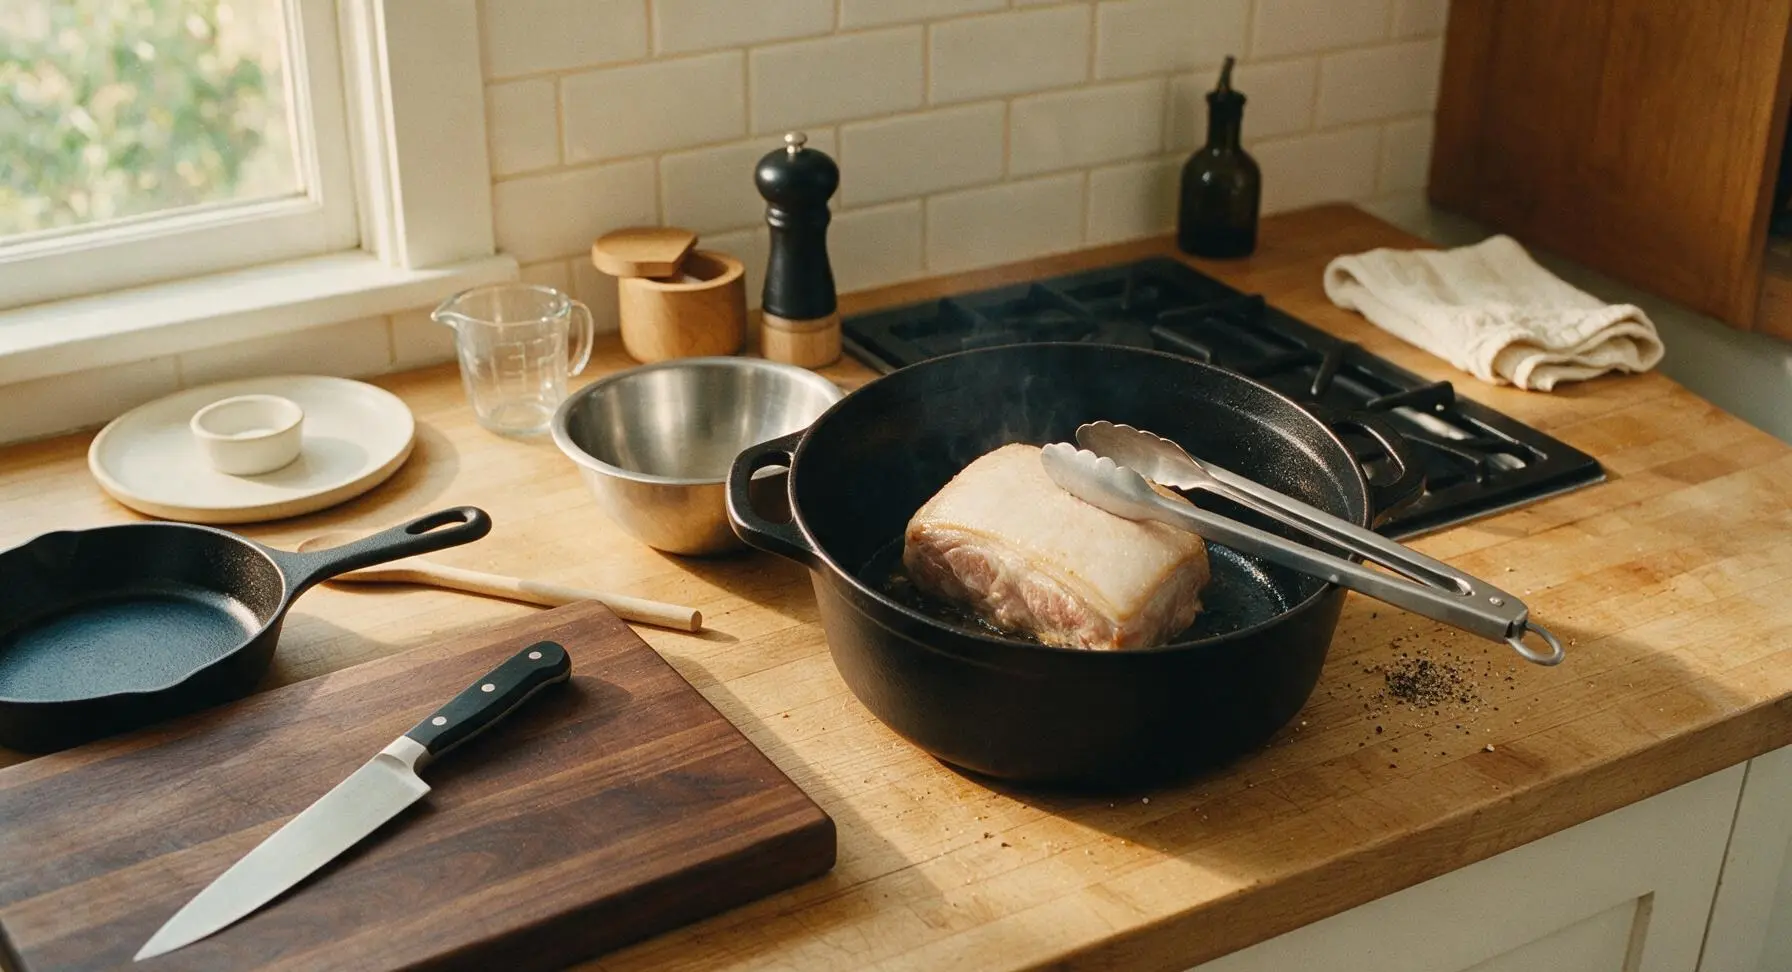
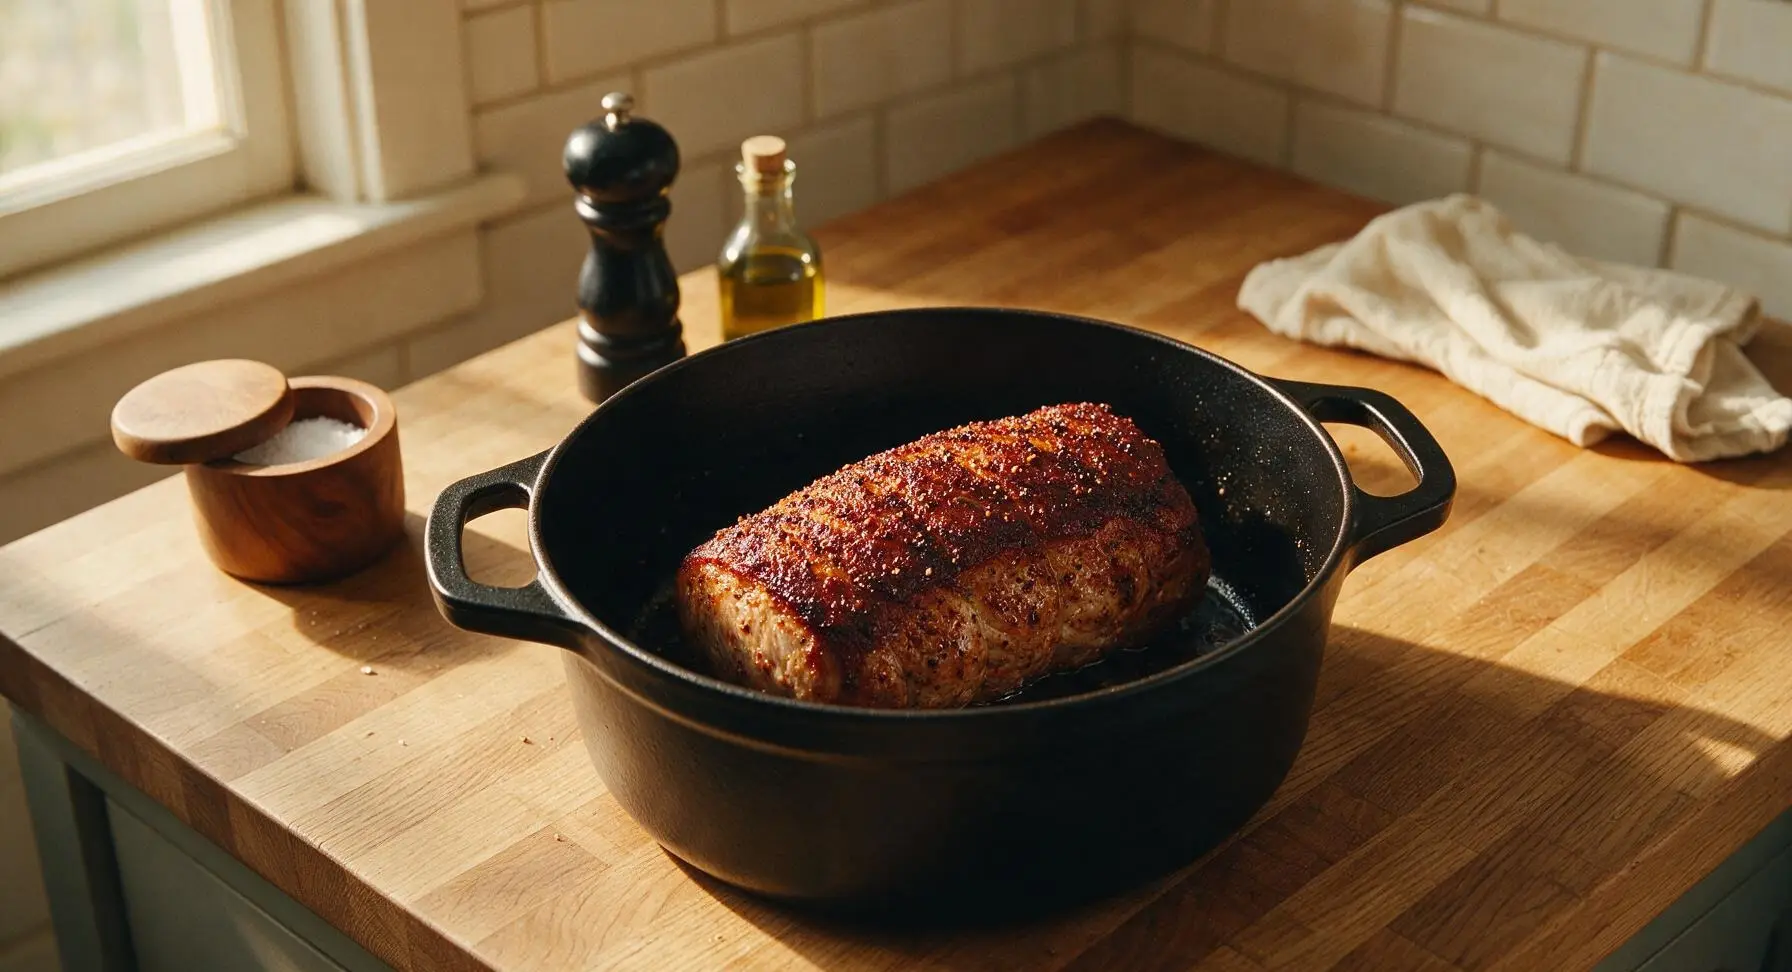
Place the 12-inch matte black enameled cast iron Dutch oven on the stovetop over medium-high heat. Once the pot is hot (a drop of water will bead and dance across the surface), add the seasoned pork fat-side down. Sear for 4-5 minutes per side, using the stainless steel tongs to flip the meat, until a deep golden-brown crust forms on every surface. Avoid moving the pork while searing to build a thick, flavorful crust.
Slow Cook Until Tender
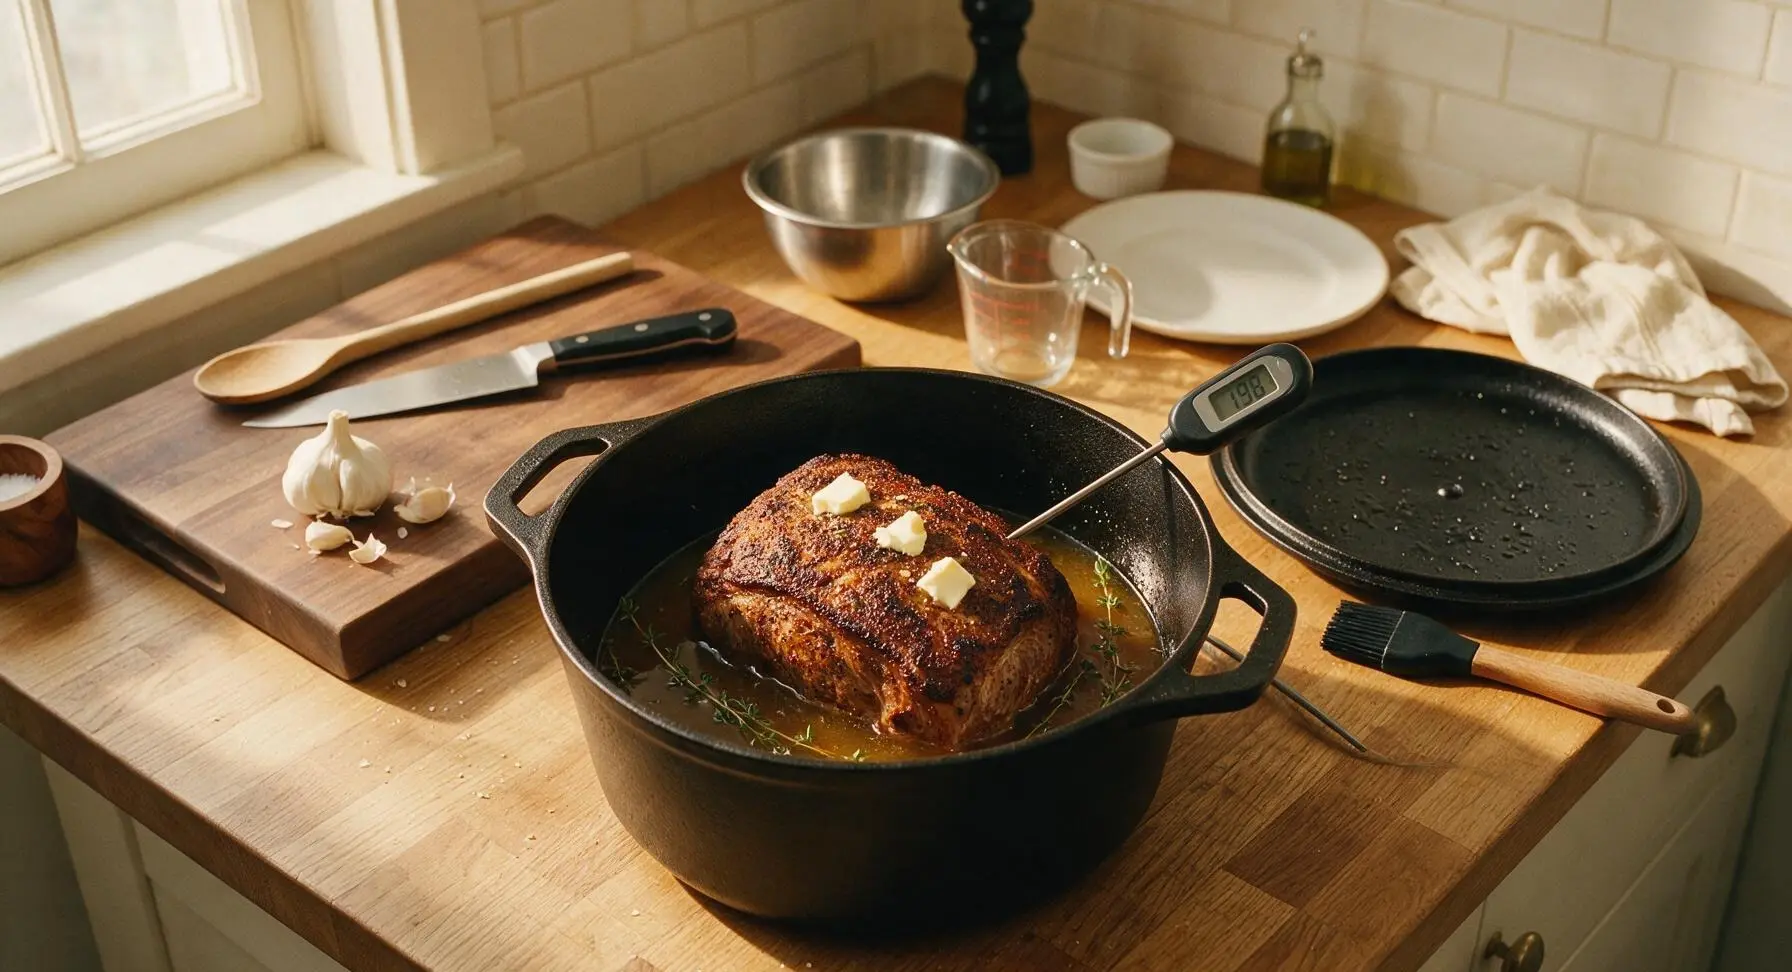
Reduce oven temperature to 150C (300F). Pour 120ml apple cider vinegar into the Dutch oven around the seared pork, add the 5 fresh thyme sprigs and 2 tbsp cut butter pieces to the liquid, then cover the pot with the matching lid. Transfer to the oven and cook for 5.5 hours, basting the pork with pan juices every 1.5 hours using the silicone basting brush. The pork is done when the digital meat thermometer inserted into the thickest part reads 92C (198F), and a fork twists easily in the meat with no resistance.
Rest Cooked Pork
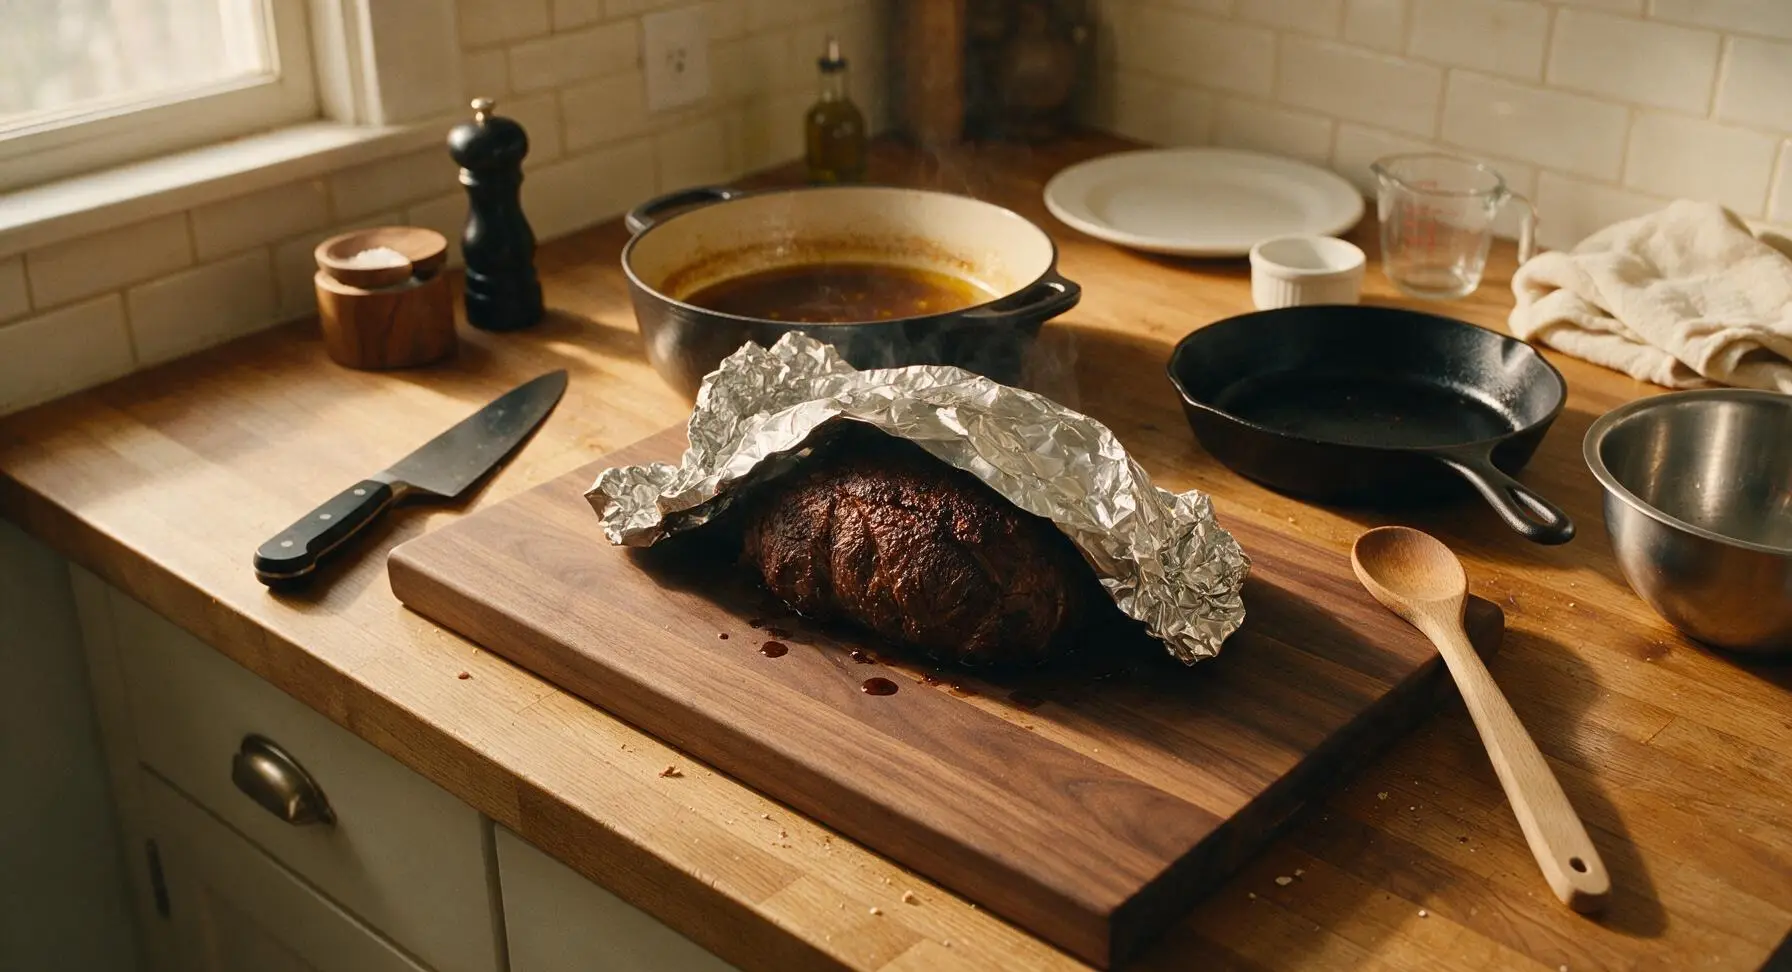
Once the pork reaches the correct internal temperature, carefully remove the Dutch oven from the oven. Transfer the pork to the walnut cutting board, and tent loosely with a small sheet of aluminum foil for 30 minutes to allow juices to redistribute throughout the meat. Reserve all dark golden pan juices left in the Dutch oven for tossing with the shredded pork.
Shred Pork Evenly
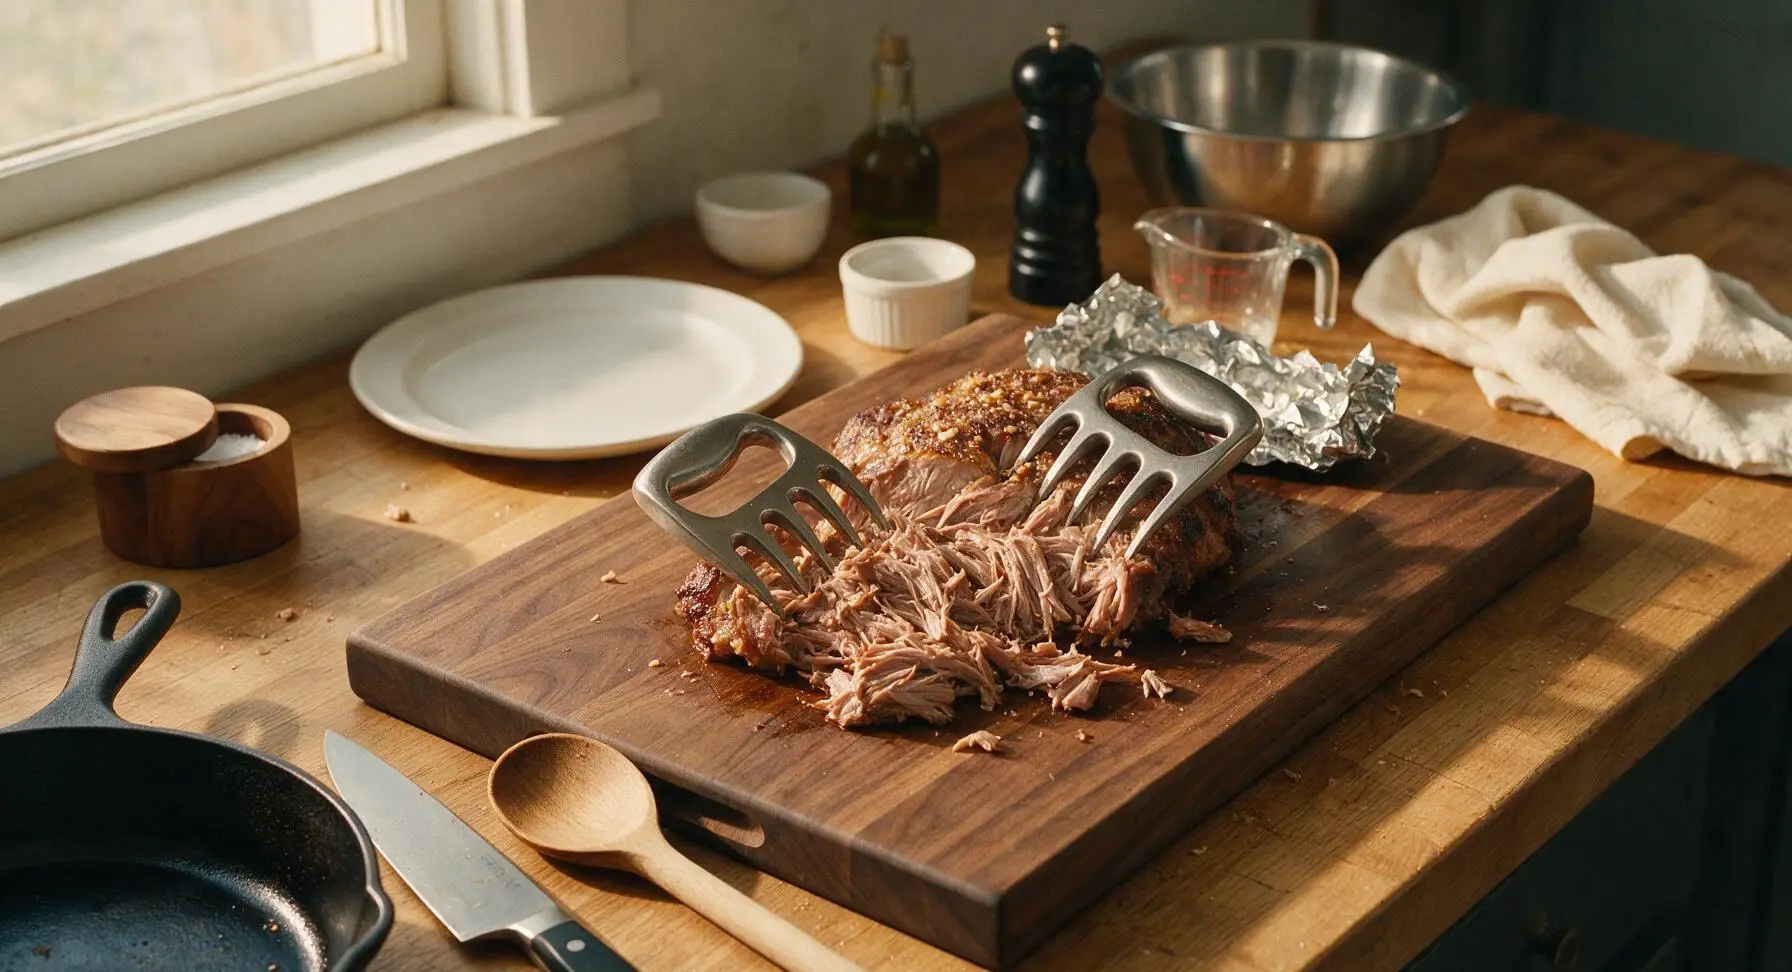
After resting, discard the aluminum foil. Use the two stainless steel meat claws to pull the pork apart into long, tender strands, discarding any large remaining pieces of hard fat or gristle as you work. The meat should pull apart easily with almost no force required if cooked to the correct temperature.
Toss with Pan Juices
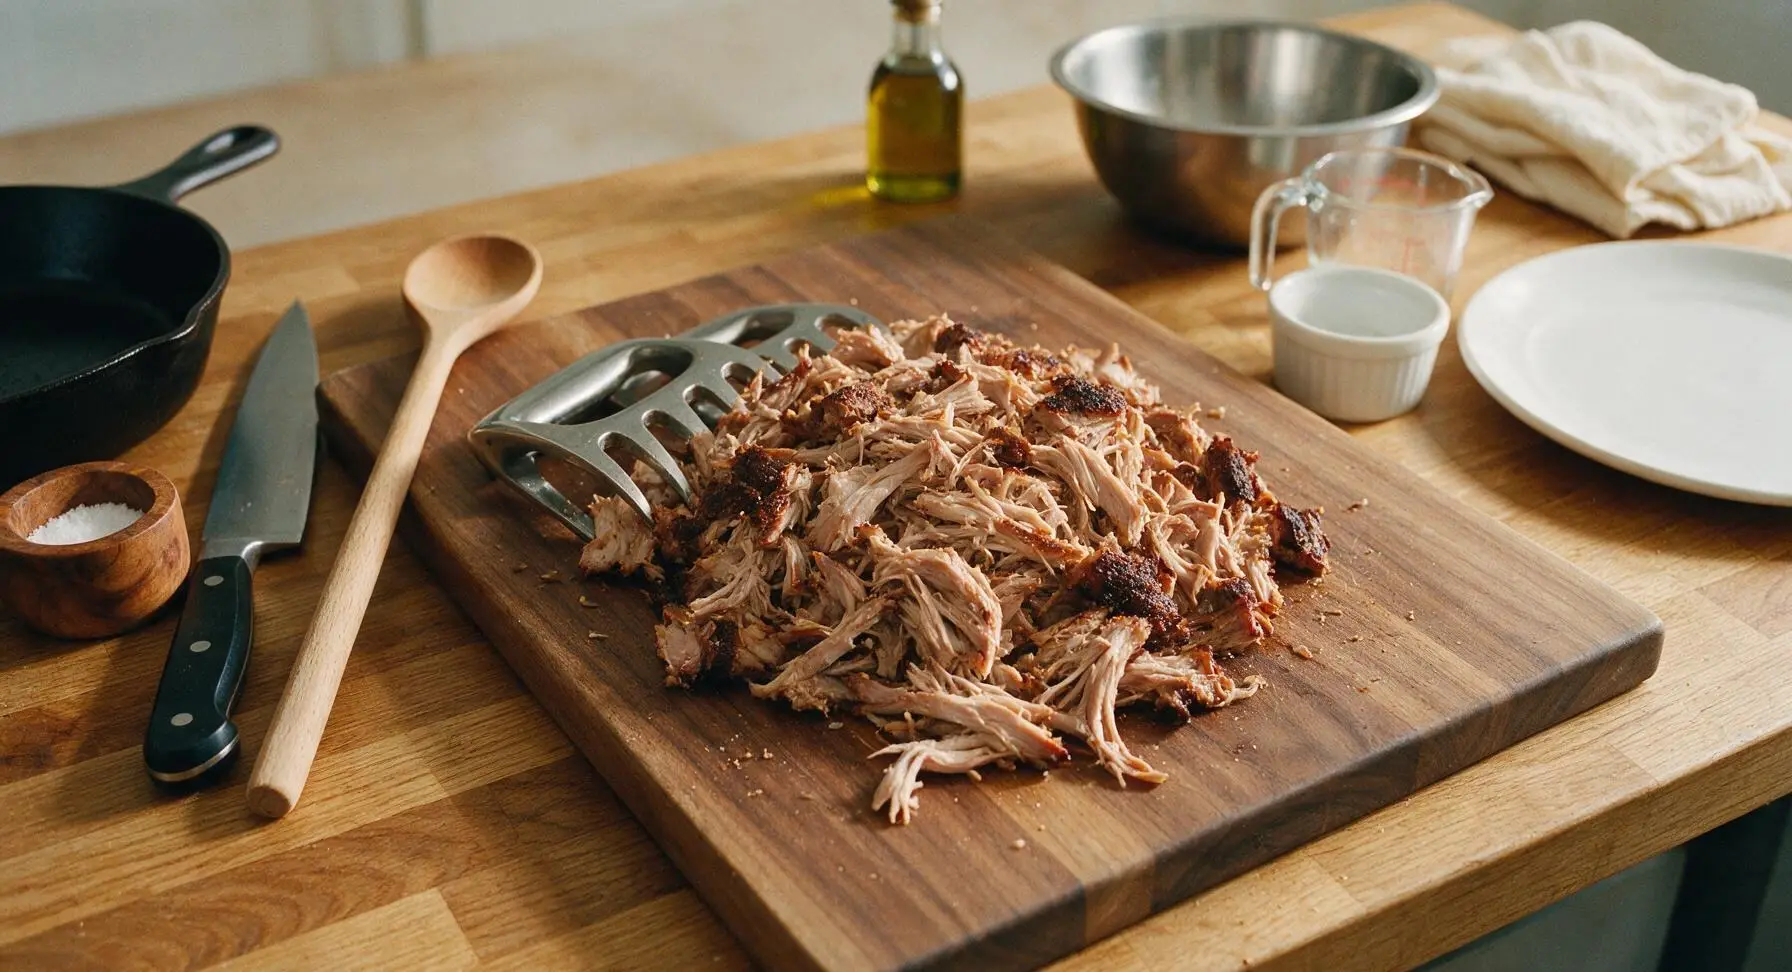
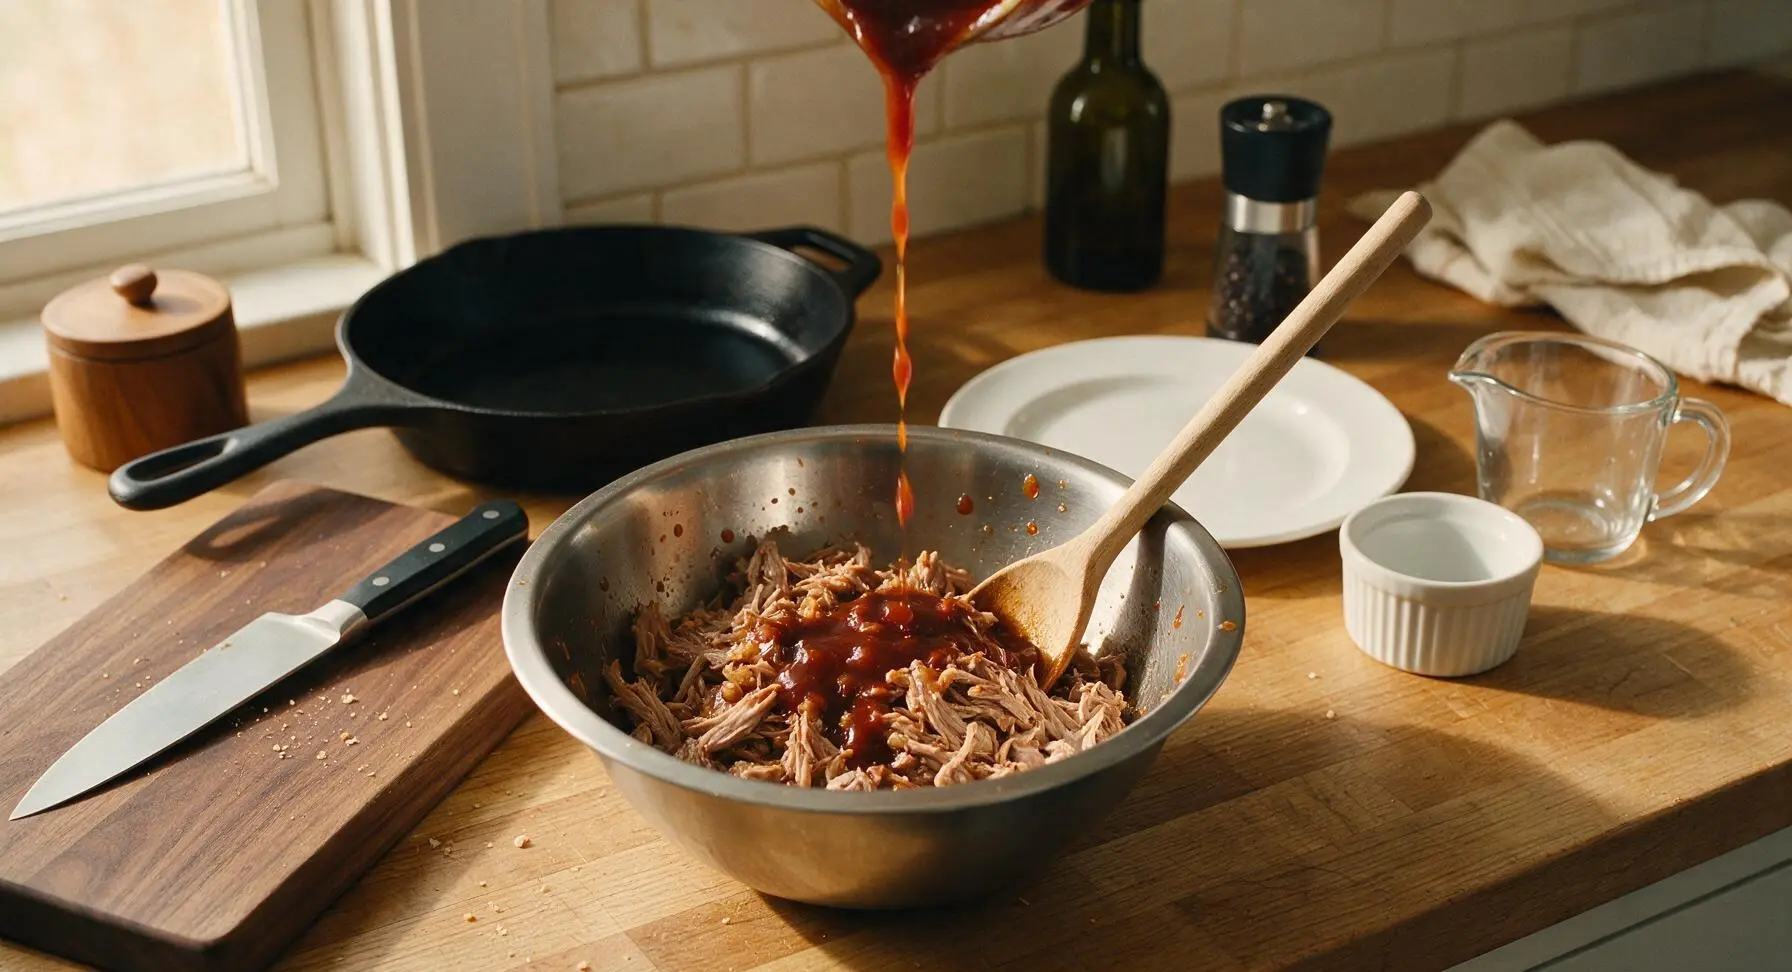
Transfer the shredded pork to the medium stainless steel mixing bowl. Drizzle the reserved pan juices from the Dutch oven and 120ml tangy tomato-vinegar BBQ sauce over the shredded pork, then toss gently with the long beech wood mixing spoon to coat every strand evenly. Crush any soft, cooked garlic cloves from the pan juices into the pork for extra mellow garlic flavor.
Tips
2.Cook to temperature, not a timer: Pork shoulder is perfectly tender when it hits 92C (198F) internal temperature, not after a fixed number of hours—this is the point where tough connective tissue melts into silky gelatin, creating that signature fall-apart texture without turning mushy.
3.For classic smoky BBQ flavor, cook the pork on a charcoal smoker at 110C (225F) instead of the oven, adding hickory wood chunks for smoke; tuck garlic cloves into the meat during the last 2 hours of cooking to prevent them from burning and turning bitter.






OMG this garlic pulled pork is an absolute game changer! I made it for our Sunday family dinner and my kids loved it, literally going back for thirds. The garlic flavor is so deep without being overpowering, and the meat just falls apart the second you touch it. Threw a little extra bbq sauce on the side for my husband who likes it extra tangy, but honestly it’s perfect as written. 10/10 will be making this for our next neighborhood potluck too!
Really solid recipe! Cook time was spot on for my 6lb pork shoulder, but I will say I wish there was a little note about how much salt to adjust if you’re using a pre-brined cut. Mine came out a touch saltier than I preferred, but that’s totally on me for not thinking about it first. The garlic rub is insane though, will definitely make again just with a salt adjustment.
SO good for weekly meal prep! I made a big batch on Sunday, portioned it out with roasted veggies and rice, and it held up perfectly all week in the fridge. Didn’t even get dry when I reheated it in the microwave, which is basically a miracle for pulled pork. The garlic aroma filled my whole apartment while it was cooking, my roommate kept hovering by the oven asking when it would be done.
I’m notoriously bad at long cook time recipes — I always either undercook it or dry it out somehow. Followed this recipe exactly and it came out perfect! My teen son said it’s better than the pulled pork we get at our favorite bbq spot down the street. Total win for dad!
Loved the base recipe! I added a little smoked paprika and a pinch of cayenne to the rub to give it a tiny kick, and it was chef’s kiss. Only reason it’s not 5 stars is I had to cook mine almost an extra 45 minutes before it was tender enough to pull, but my oven runs a little cool so that’s probably why. Definitely a new regular in our rotation.
Made this in my tiny dorm slow cooker for my floor’s potluck and people were asking me for the recipe all night. Super easy to throw together before class, come back 6 hours later and the whole floor smells like garlic and pork. 10/10, worth every penny for the pork shoulder even on a tight college budget.
So happy this recipe is naturally gluten free! I’ve been searching for a good pulled pork recipe that doesn’t call for weird filler ingredients or gluten-containing sauces, and this hit the spot. Served it on gluten free buns with pickles and coleslaw for my sister’s birthday and even the non-gluten free guests were raving about it.
Taste was great when it finally came out, but I had a really hard time getting the garlic rub to stick to the pork before cooking? I patted it dry like the recipe said but the rub kept sliding off, so a lot of the garlic burned on the bottom of my pan instead of staying on the meat. Did I do something wrong?
Brought this to my office potluck yesterday and it was the first dish gone! People were scraping the bottom of the crockpot to get every last bit. The garlic flavor is so much more complex than regular pulled pork, it stands out from all the same old potluck dishes. Will be making this for every family gathering from now on.
Perfect for high protein meal prep! Each serving has so much flavor, I don’t get bored eating it throughout the week. I love serving it over a salad with a little vinaigrette for a lighter option, or on a whole wheat bun when I’m craving something more hearty. So versatile, 10/10.
If you love garlic as much as I do, this is the pulled pork recipe for you!!! I upped the garlic by an extra 5 cloves (no such thing as too much garlic tbh) and it was absolute perfection. My mouth is still watering thinking about it. So tender, so flavorful, zero notes.
Really great flavor, I just wish the cook time was a little shorter? 6 hours is a big time commitment for a weeknight, so I’ll probably save this for weekends only. That said, it was absolutely delicious, my whole family cleaned their plates. Next time I might try making it in the pressure cooker to cut down on time and see how it turns out.