
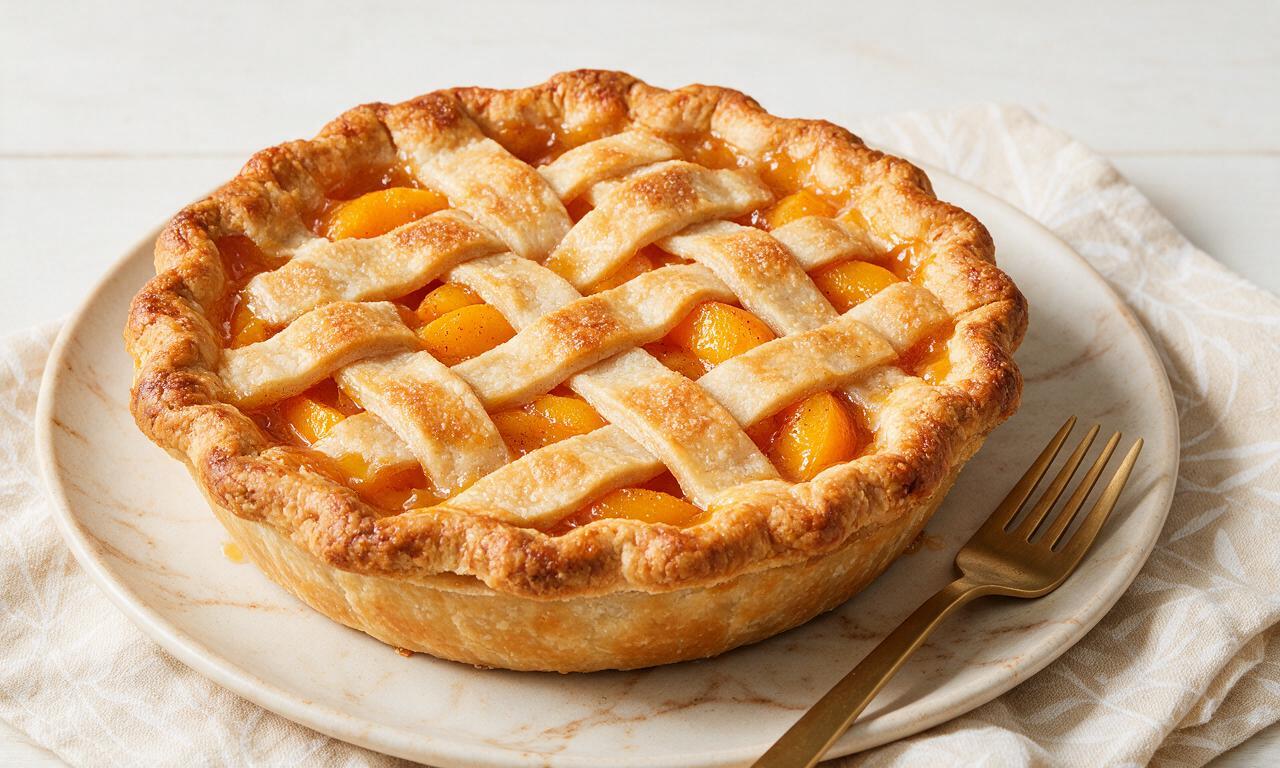
Georgia Peach Pie

Georgia Peach Pie
⏱️ cook time 1 hour 25 minutes
🍽️ servings 8
⚡ Difficulty medium

intro

Juicy ripe Georgia peaches baked in a flaky buttery double crust with warm spice—an iconic Southern summertime dessert made for sharing.

Ingredients

Ripe Georgia peaches 7 cups (1100g, peeled, pitted, sliced 1/2-inch thick)
All-purpose flour 3 1/2 cups (420g, plus extra for dusting)
Cold unsalted butter 1 cup (226g, cut into 1/2-inch cubes)
Granulated sugar 2/3 cup (135g, plus 1 tablespoon for topping)
Packed light brown sugar 1/4 cup (50g)
Cornstarch 3 tablespoons (24g)
Ground cinnamon 1 teaspoon (2.6g)
Fine sea salt 1 teaspoon (5g, divided)
Ice water 6-8 tablespoons (90-120ml)
Fresh lemon juice 1 tablespoon (15ml)
Large egg 1 (beaten, for egg wash)

Steps

1

Prep the peach filling

In a large mixing bowl, combine 7 cups sliced peeled Georgia peaches, 2/3 cup granulated sugar, 1/4 cup packed light brown sugar, 3 tablespoons cornstarch, 1 teaspoon ground cinnamon, 1/2 teaspoon fine sea salt, and 1 tablespoon fresh lemon juice. Toss gently until all peach slices are evenly coated, then let rest at room temperature for 20 minutes to release natural juices, stirring once at the 10-minute mark.
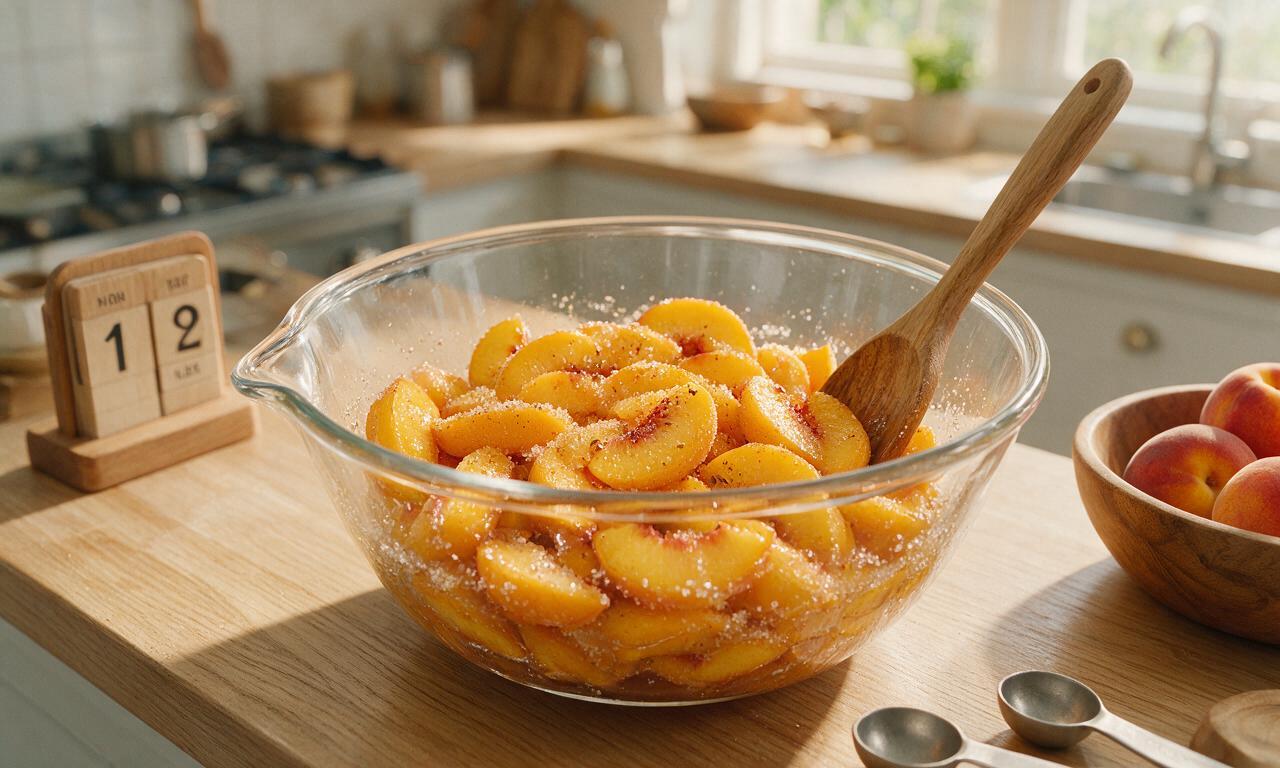
Step 1
step1:Prep the peach filling
2

Make the double crust

In a food processor, combine 3 1/2 cups all-purpose flour and the remaining 1/2 teaspoon fine sea salt. Add 1 cup cold cubed unsalted butter, pulse 8-10 times until butter pieces are the size of small peas. Drizzle in 6 tablespoons ice water, pulse just until dough clumps together, adding up to 2 extra tablespoons ice water if the mixture remains crumbly. Split dough into two equal 375g discs, wrap tightly in plastic wrap, and chill in the refrigerator for 10 minutes before rolling each disc on a floured surface to a 12-inch circle, 1/8-inch thick.
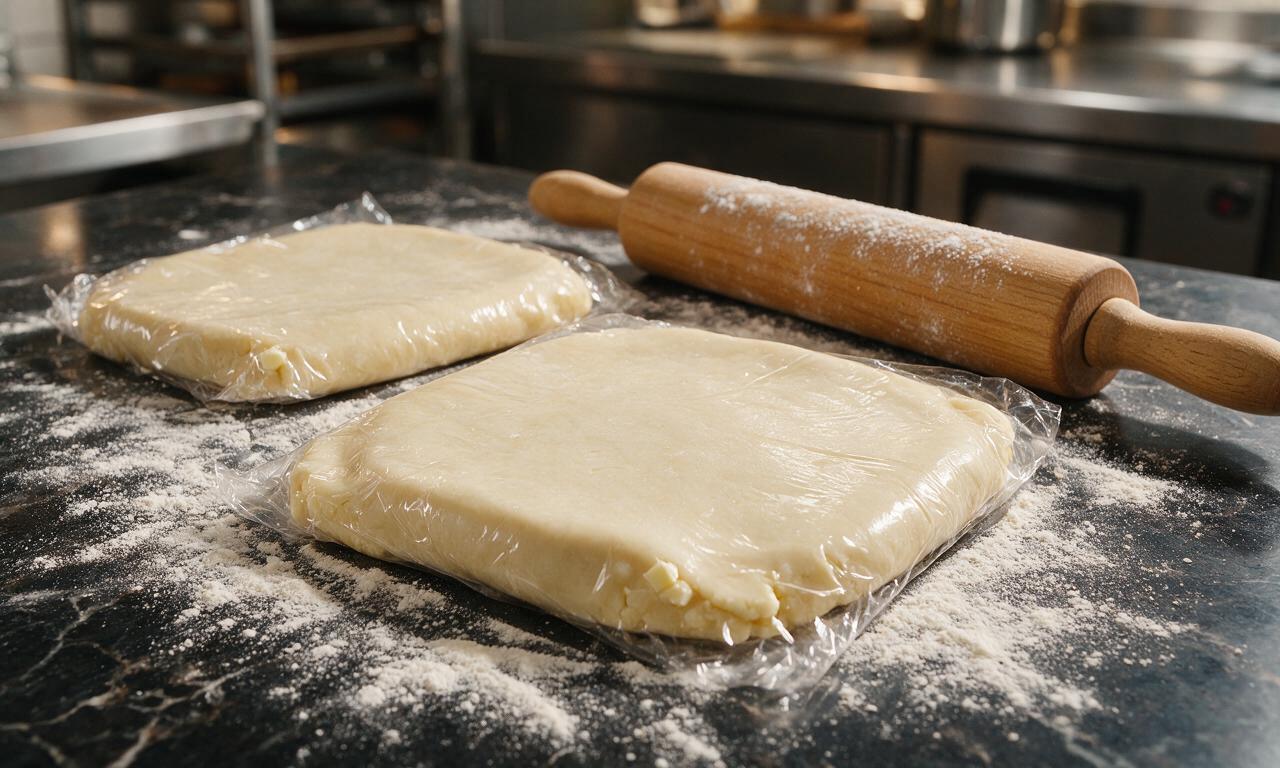
Step 2
step2:Make the double crust
3

Line the pie dish

Gently lift one rolled 12-inch dough circle and lay it over a standard 9-inch glass pie dish, pressing it firmly against the dish bottom and up the sides, leaving a uniform 1-inch overhang around the rim. Pour the rested peach filling and all its accumulated syrupy juices into the crust-lined dish, spreading slices into a flat, even layer.
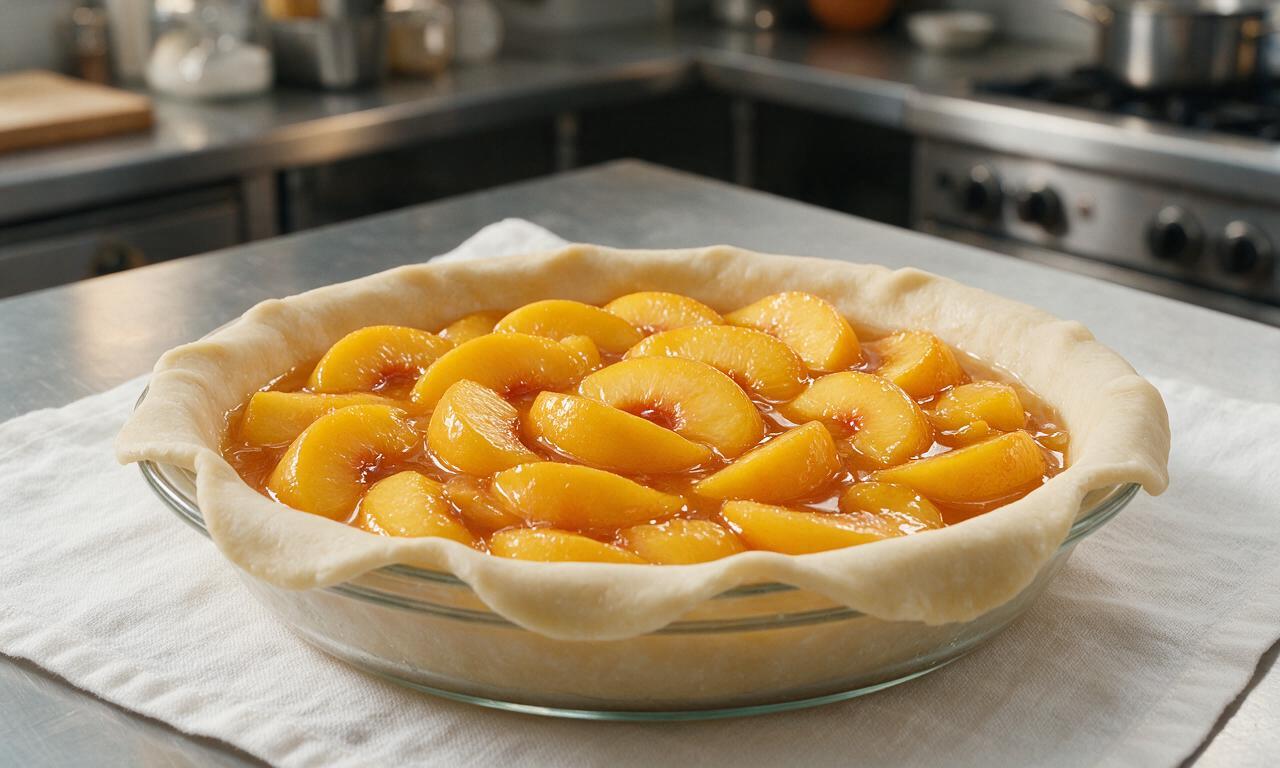
Step 3
step3:Line the pie dish
4

Seal and crimp edges

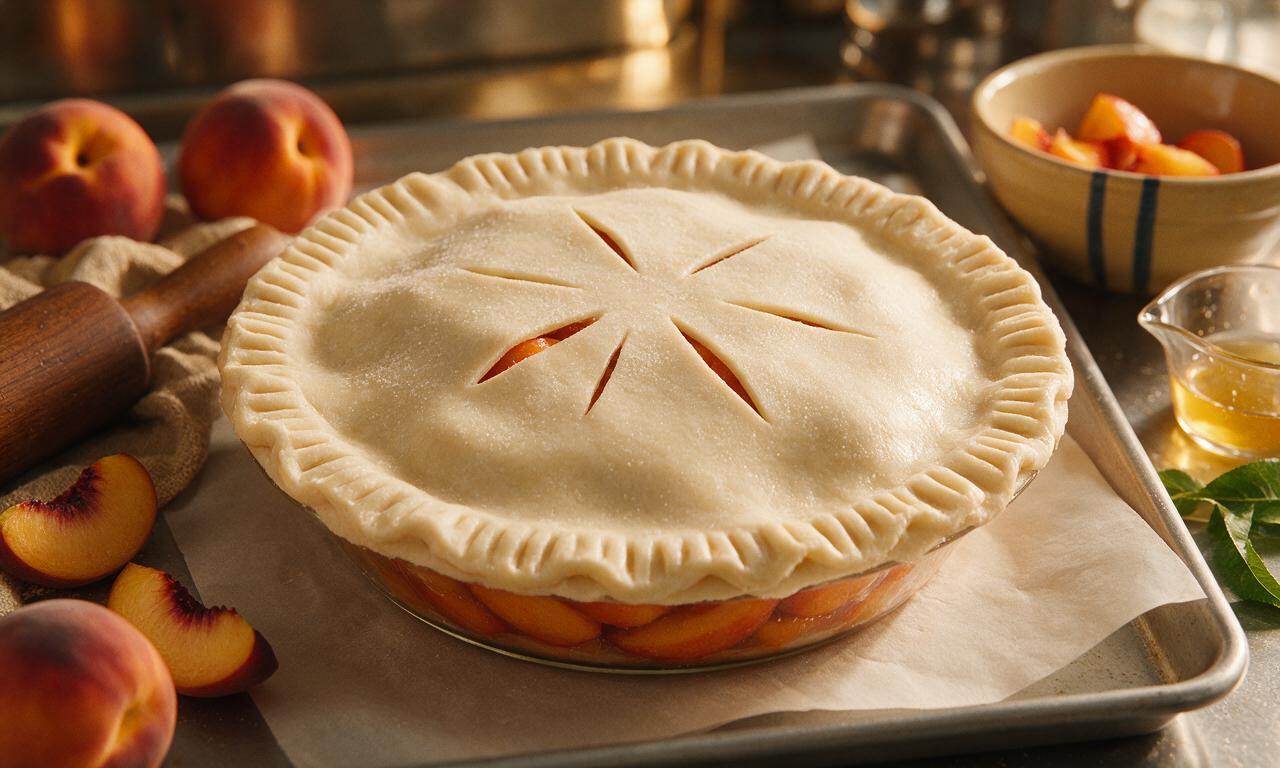
Lay the second 12-inch dough circle evenly over the top of the peach filling. Trim excess dough from both top and bottom crusts to maintain a 1-inch overhang, then fold the overhang under itself to sit flush with the dish rim, and crimp tightly with your thumb and forefinger or a fork to create a sealed edge. Cut 5 evenly spaced 2-inch slits in the top crust to allow steam to escape during baking, then place the pie dish on a parchment-lined rimmed baking sheet to catch any bubbled-over filling.
Step 4
step4:Seal and crimp edges
5

Bake until golden brown

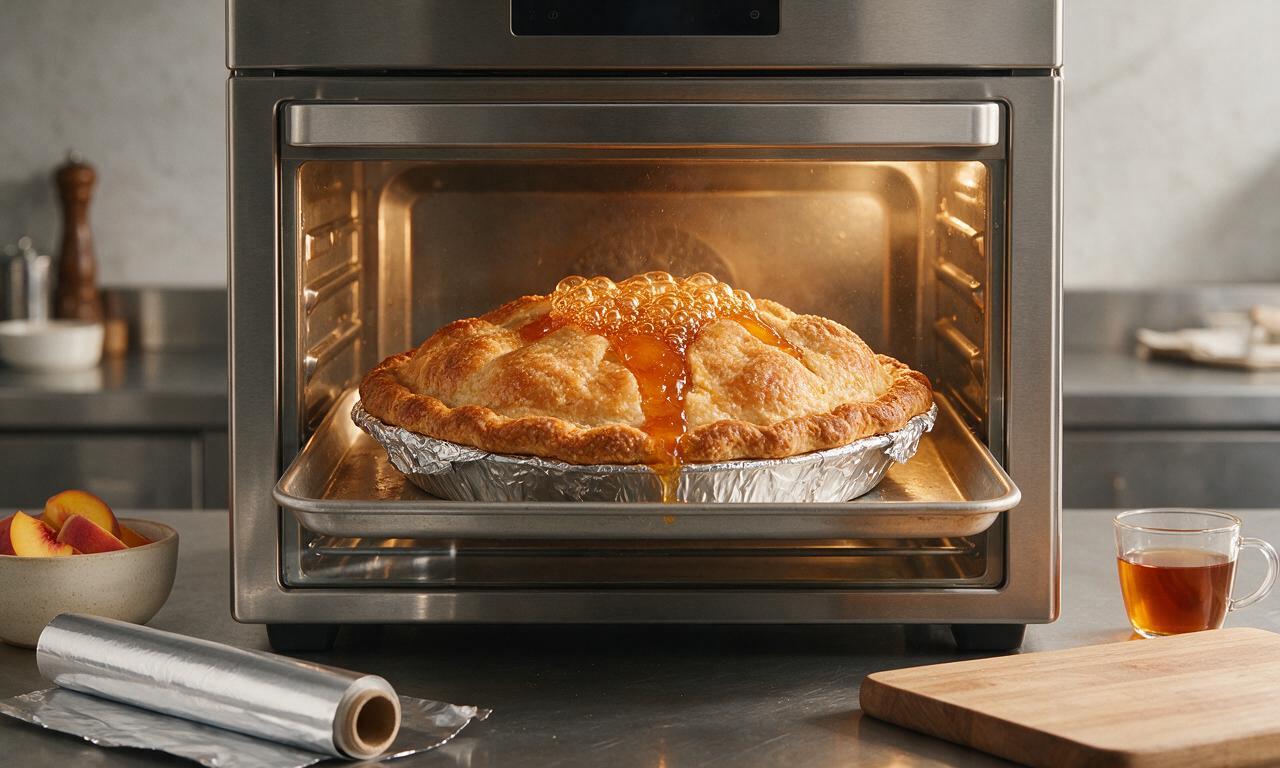
Brush the entire top crust and crimped edge with the beaten egg, then sprinkle evenly with the reserved 1 tablespoon granulated sugar. Transfer the baking sheet with the pie to the middle rack of a preheated 400°F (200°C) oven and bake for 25 minutes, then reduce oven heat to 375°F (190°C), wrap the crimped crust edges in aluminum foil to prevent burning, and bake for an additional 30-35 minutes until the filling bubbles vigorously through the top slits and the crust is a deep, even golden brown.
Step 5
step5:Bake until golden brown
6

Cool and set filling

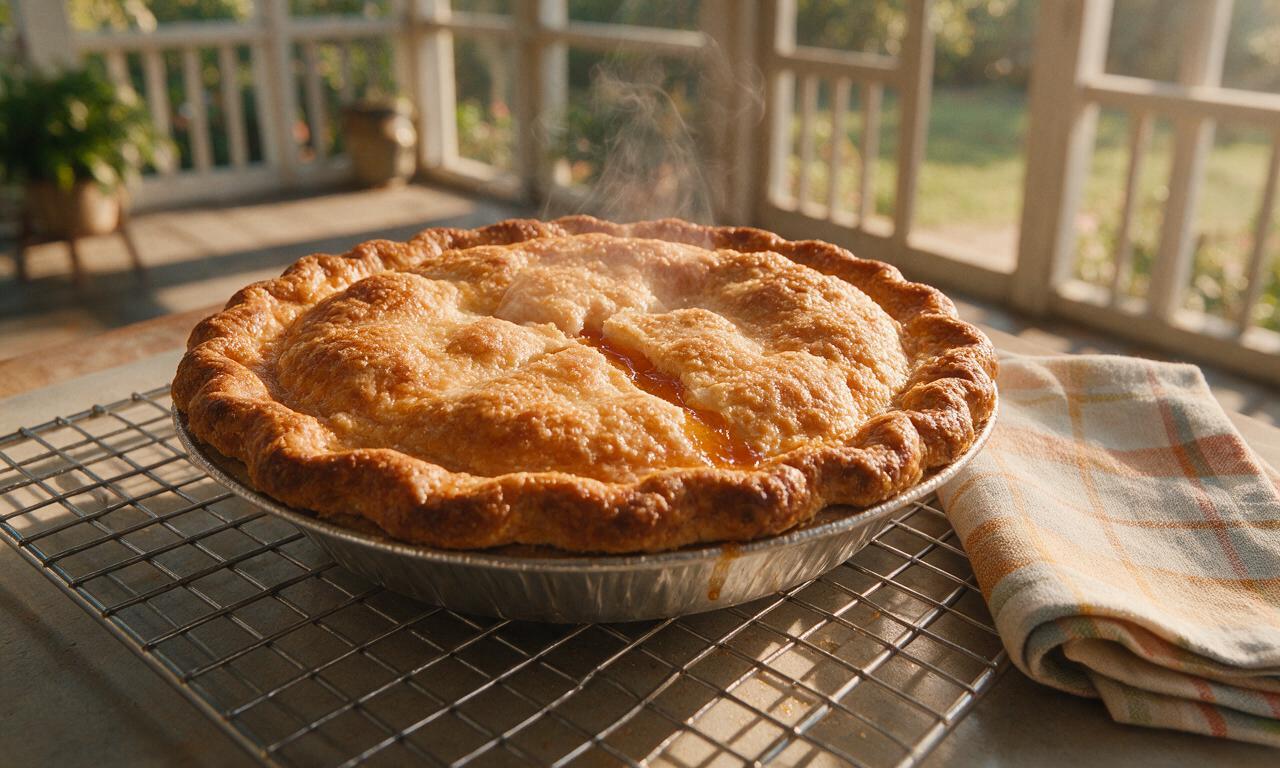
Remove the fully baked pie from the oven and transfer it to a metal wire cooling rack. Let cool completely at room temperature for a minimum of 3 hours before slicing, to allow the fruit filling to set fully and prevent runny slices.
Step 6
step6:Cool and set filling

Tips

1.Use ripe but firm peaches for the best texture; overripe, mushy peaches will create a soggy, runny filling, while underripe peaches will lack the signature sweet, floral Georgia peach flavor.
2.Keep all butter and water for the crust ice cold; warm butter melts too quickly during baking and will produce a tough, dense crust instead of the desired light, flaky layers.
3.Never skip the full 3-hour cooling time; the filling continues to gelatinize and set as it cools, and cutting the pie early will cause slices to collapse and syrup to run across the plate.


✨ You May Also Like

Desserts & Baking
🍜 Italy

Creamy, coffee-kissed classic Northern Italian no-bake dessert, with layers of rum-spiked mascarpone cream, soft ladyfingers, and a rich cocoa dusting.

⏱️ 4 hours 3Desserts & Baking ★ 4.8
Desserts & Baking
🍜 France

Flaky, shatteringly crisp, buttery French croissants with golden exteriors and soft, airy layered interiors, perfect for pairing with coffee for a special morning treat.

⏱️ 12 hours Desserts & Baking ★ 4.7
Desserts & Baking
🍜 United States

Warm, spiced baked apples topped with a fluffy golden biscuit crust, this cozy dessert pairs perfectly with vanilla ice cream for cool-weather comfort.

⏱️ 55 minuteDesserts & Baking ★ 4.7
Desserts & Baking
🍜 United States

A star-spangled classic American blueberry pie with buttery flaky crust and bright sweet-tart filling, perfect for summer patriotic gatherings.

⏱️ 1 hour 25Desserts & Baking ★ 4.8
Desserts & Baking
🍜 United States

A beloved no-bake regional Maine candy with a chewy coconut-potato center coated in rich dark chocolate, a New England holiday staple since the 1870s.

⏱️ 2 hours 3Desserts & Baking ★ 4.9
Desserts & Baking
🍜 France

Luxuriously creamy, floral frozen custard made with aromatic Tahitian vanilla beans, boasting a smooth, rich texture that melts slowly on the tongue.

⏱️ 3 hours 3Desserts & Baking ★ 4.6

Georgia Peach Pie:Frequently Asked Questions

1.How do I select perfectly ripe Georgia peaches for this classic pie?
Look for peaches that give slightly to gentle pressure near the stem, have a sweet, heady floral aroma even uncut, and show warm golden undertones beneath their red blush. Skip rock-hard, scentless peaches (they’ll taste bland) or overly mushy ones (they’ll turn your filling soggy). If peaches are almost ripe, let them sit on your counter 1–2 days before baking.
2.Do I really need to peel the peaches for this pie?
It’s totally a personal call, but for that classic smooth, melt-in-your-mouth Southern peach pie texture, peeling is worth the small extra step. The easiest trick is to blanch peaches in boiling water for 30 seconds, then plunge them into an ice bath—the skins will slide right off with almost no effort. Leave skins on if you don’t mind a little chewy texture for extra fiber and color.
3.Why does my peach pie filling turn out runny every time?
Runny filling usually comes from two common culprits: under-thickened extra-juicy fruit, or slicing the pie too soon after baking. Make sure you use the full measured amount of all-purpose flour as a thickener (don’t skimp!), and let the baked pie rest a full 3–4 hours at room temperature so the filling can set fully before you slice in.
4.How do I keep the bottom crust from getting soggy?
Soggy bottom crust is super common with juicy fruit pies! For guaranteed crisp results, blind bake your bottom crust for 10 minutes at 425°F before adding the filling, and make sure your cold unsalted butter for the crust is ice-cold when mixed in to create flaky, moisture-resistant layers. A thin sprinkle of flour on the crust base also absorbs excess peach juice.
5.Can I use frozen peaches instead of fresh Georgia peaches?
You absolutely can, especially if fresh Georgia peaches are out of season! Just thaw them completely first, drain off all excess collected juice (this is critical to avoid a runny filling), and pat the peach slices dry with paper towels before tossing them with the sugars, flour, and warm spices. The flavor will be slightly less bright, but it’ll still make a delicious, cozy pie.
6.What’s the purpose of using both granulated sugar and light brown sugar in the filling?
That combo creates the perfectly balanced, classic Southern sweetness this pie is known for! Granulated sugar adds clean, bright sweetness that lets fresh peach flavor shine, while packed light brown sugar adds subtle caramel notes and a hint of molasses depth that pairs beautifully with warm spices and buttery crust. Avoid swapping all of one for the other if you can.
7.How cold does the butter need to be for a perfectly flaky double crust?
Your cold unsalted butter should be ice-cold—straight from the fridge, cut into ½-inch cubes, and even chilled for 10 extra minutes after cutting if your kitchen is warm. When cold butter hits the hot oven, it melts and releases steam that creates those light, separate, ultra-flaky layers everyone loves. Too-warm butter leads to tough, dense crust instead.
8.Can I make this pie ahead of time for a summer cookout?
Absolutely! You can assemble the fully uncooked pie, wrap it tightly in plastic wrap, and freeze it for up to 3 months before baking straight from frozen (just add 15–20 minutes to the bake time). If baking ahead, you can bake it 1 day in advance, let it cool fully, and store it loosely covered at room temperature until serving—no refrigeration needed.
9.Why do I need to cut slits in the top crust before baking?
Those slits aren’t just decorative! They act as dedicated steam vents to let hot, moist air from the bubbling peach filling escape as the pie bakes. If you skip the vents, trapped steam will build up under the top crust, causing it to bubble over, crack unevenly, or turn soggy from trapped condensation. Cut simple slits or a fun decorative pattern for extra flair.
10.What spices pair best with Georgia peaches for this classic recipe?
Stick to warm, gentle spices that don’t overpower the delicate, sweet peach flavor! A teaspoon of ground cinnamon, a tiny pinch of freshly grated nutmeg, and a bare ⅛ teaspoon of ground allspice is the classic Southern balance. Skip heavy blends like pumpkin pie spice, which has too much clove and ginger that masks the bright, fresh taste of ripe peaches.
11.Should I use a glass, metal, or ceramic pie dish for this recipe?
For the most even bake and crisp bottom crust, a 9-inch glass pie dish is my top pick—it lets you see exactly how golden the bottom crust is so you don’t end up with a pale, soggy base. If you only have metal, opt for dark aluminum, which conducts heat well; ceramic works too, but add 5–10 minutes of bake time to crisp the bottom fully.
12.How do I stop the edges of my crust from burning while the filling bakes?
Pie crust edges always cook faster than the rest of the pie! The easy, low-cost fix is to wrap a 2-inch strip of aluminum foil around the crimped outer edge of the crust for the first 30 minutes of baking, then remove it for the last 15–20 minutes so edges turn a perfect golden brown. A reusable silicone pie shield works too if you have one.
13.Can I use a store-bought crust instead of homemade for this pie?
No judgment at all—store-bought refrigerated double crust works perfectly for this recipe if you’re short on time! Just look for an all-butter crust for the closest flavor and flake to homemade, and make sure you keep it cold until you’re ready to assemble the pie. You’ll still get that delicious, juicy peach pie experience without the extra work.

Comments (8)

2 days ago

OMG y’all, this is THE perfect peach pie! I used fresh peaches from the roadside stand down the road from my house (shoutout to Georgia peaches, duh) and followed the recipe exactly. The crust was flaky as can be, the filling wasn’t runny at all (I’ve had so many peach pies turn to soup before!!) and the hint of cinnamon and nutmeg was *chef’s kiss*. Brought it to our neighborhood block party and people were begging for the recipe before I even left. 10/10, will be making this every peach season from now on!

yesterday

Wait, did you bring this to the Westside block party in Atlanta? I swear I had a slice of peach pie there that changed my life and I’ve been hunting for the recipe ever since!

yesterday

So glad this was a hit at your block party! The trick to avoiding runny filling is letting the peaches macerate and draining a little of the excess juice before baking—sounds like you nailed that step!

3 days ago

Made this for Sunday dinner with my in-laws and even my super picky mother-in-law who swears her peach pie is the only acceptable one asked for seconds! I did add a tiny extra splash of vanilla because I can never help myself, and it turned out SO good. My kids scraped their plates clean and asked if we can have pie for breakfast tomorrow (lol, don’t judge me if I say yes).

2 days ago

Love the extra vanilla hack—so many people do that and it adds such a warm, cozy depth! We won’t tell if you serve pie for breakfast, we’ve definitely done it ourselves 😉

1 week ago

Okay, full transparency: this is the first pie I’ve ever made from scratch, crust and all! I was so nervous it would turn out a mess because I’ve always heard pie crust is super finicky, but the instructions were so clear and easy to follow. It came out golden brown, smelled like absolute heaven, and my roommate said it’s better than the pie we got at that fancy bakery downtown last month. The difficulty level says medium, but as a total beginner I thought it was totally doable if you take your time!

5 days ago

Game changer, y’all. I’m the guy who always signs up for dessert at work potlucks and usually just brings store-bought cookies because I don’t love baking, but I decided to step my game up for our summer potluck last week. This peach pie absolutely stole the show. Three different people asked if I bought it from a gourmet pie shop, I felt so cool. Only note: I used frozen peaches because fresh ones were crazy expensive at my grocery store, and it still turned out amazing. Will be adding this to my regular potluck rotation for sure.

3 days ago

Dude I was at that potluck! I had two slices, no shame. I can’t believe you made that, I fully thought you catered it lmao

2 days ago

Frozen peaches work perfectly for this recipe, especially when they’re out of season! So happy it helped you level up your potluck game—you’ve got a reputation to uphold now!

2 weeks ago

This is a solid peach pie recipe, very close to the one my mom used to make back in the 60s! I knocked off one star only because I wish the recipe called for a little more lemon zest to cut the sweetness, but that’s just my personal preference. The crust recipe is perfect—flaky, tender, not too sweet, exactly how a pie crust should be. I’ll be making this again, just with an extra half teaspoon of zest next time.

1 week ago

Oh thanks for the lemon zest tip! I love a little bright, tart kick to balance sweet fruit fillings, I’m definitely going to add that when I make this this weekend.

just now

Meal prepped this for a little weekend getaway with my partner and it held up so well even after a 3 hour drive up to the mountains! We ate slices cold straight from the cooler on our first hike and it was chef’s kiss. I swapped the top crust for a cinnamon oat crumble because I’m obsessed with crumb tops, and it was divine. 10/10, perfect summer dessert for any occasion.

30 minutes ago

My three boys devoured half this pie in 10 minutes flat after I pulled it out of the oven. I was worried it would be too sweet for them, but the balance of ripe peaches and warm spices was just right. I did have to bake it about 8 minutes longer than the recipe said because my oven runs a little cool, so pro tip for anyone else with a janky old oven like mine: keep an eye on the crust color and don’t stress if it needs a few extra minutes!

5 minutes ago

Great call on adjusting the bake time for your oven! All ovens run a little differently, so going by crust golden brown and bubbly filling is always the most reliable test. So glad your boys loved it!

yesterday

Tried this recipe for my first peach pie of the summer and wow, it did not disappoint. The only hiccup I had was my crust shrank a little on the sides when I blind baked it—user error, I definitely didn’t chill it long enough after crimping. Even with the slightly wonky crust, it tasted incredible. My roommate and I ate a quarter of the pie while standing over the kitchen counter last night, no regrets.

2 hours ago

Oh my gosh I did the exact same thing last time I made a pie! I rushed the chill step and my crust slid right down the sides. Tasted amazing anyway, who cares what it looks like right?

30 minutes ago

Don’t stress about the shrunken crust—we’ve all been there! Popping the crimped crust back in the fridge for 20-30 minutes before blind baking makes such a big difference, but we’re firm believers that a slightly wonky homemade pie always tastes better than a perfect store-bought one.



