
Ghost Sugar Cookies

intro
Buttery, soft cut-out sugar cookies decorated with smooth royal icing to look like friendly ghosts, perfect for Halloween parties and homemade treat bags.
Ingredients
Steps
Cream butter and sugar
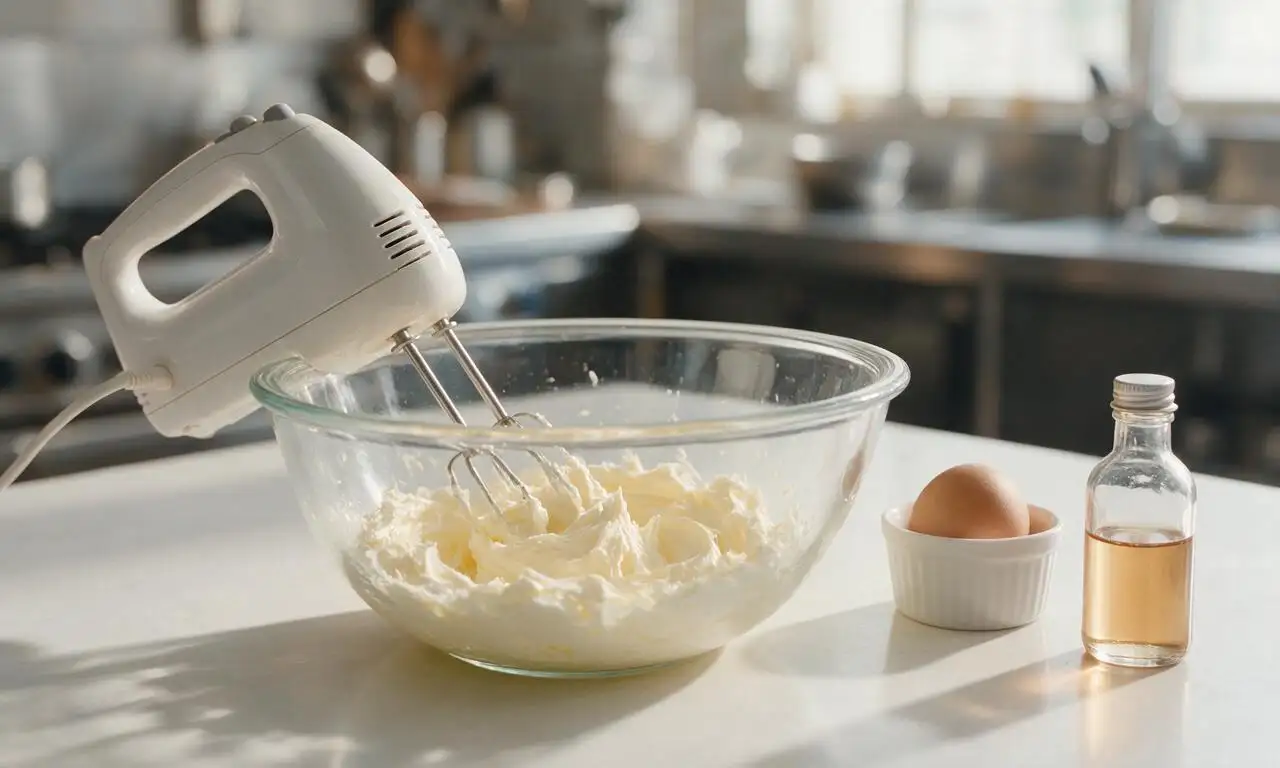
In a large mixing bowl, beat 226g (1 cup) room-temperature unsalted butter and 200g (1 cup) granulated sugar with an electric mixer on medium speed for 2 full minutes, until the mixture is pale, fluffy, and leaves soft peaks when the mixer is lifted. Add 1 room-temperature large egg and 5ml (1 tsp) pure vanilla extract, then beat on low speed for 30 seconds until fully incorporated, scraping down the bowl sides with a spatula once to catch any un-mixed butter.
Form and chill dough
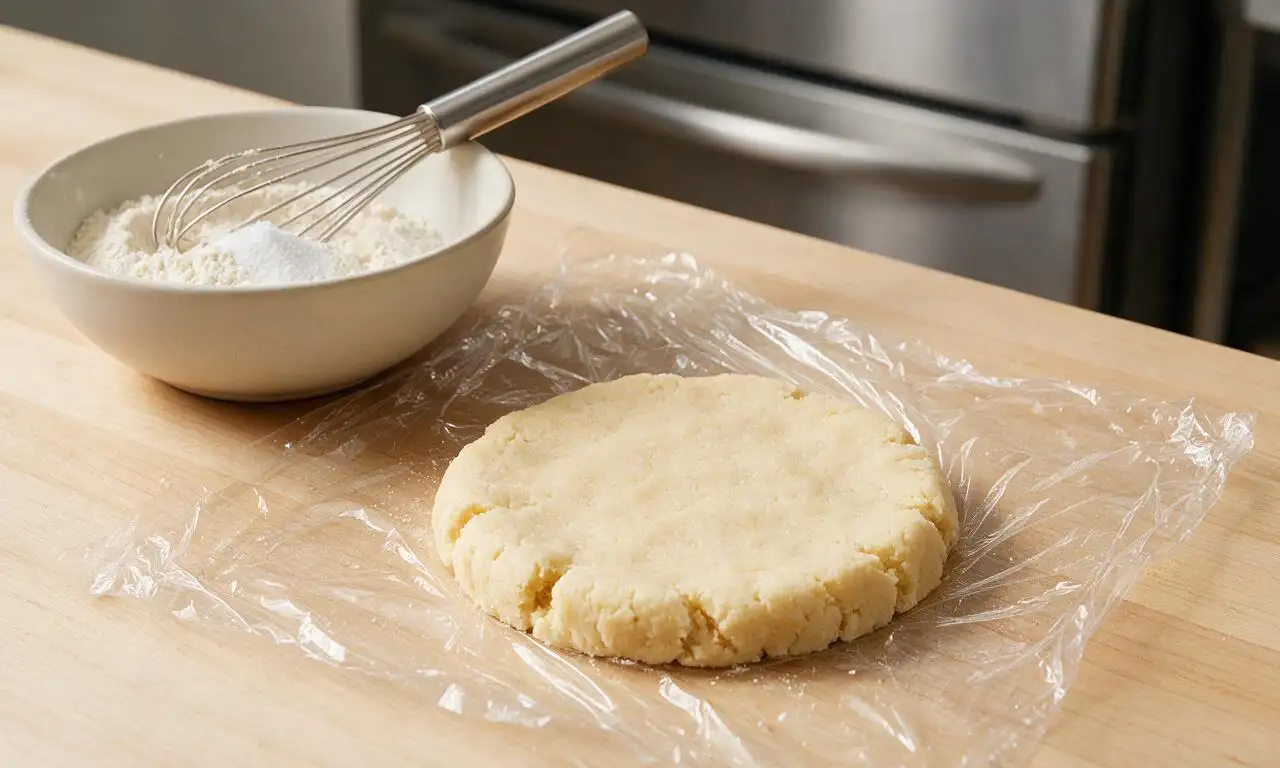
In a separate medium bowl, whisk together 345g (2 ¾ cups) all-purpose flour, 4g (1 tsp) baking powder, and 3g (½ tsp) fine table salt. Gradually add the dry mix to the wet butter mixture on low mixer speed, mixing only until no dry flour streaks remain (do not overmix, as this creates tough cookies). Turn the dough out onto plastic wrap, pat into a 2cm (¾ inch) thick flat disc, wrap tightly, and chill in the refrigerator for 30 minutes to firm up.
Cut ghost cookie shapes
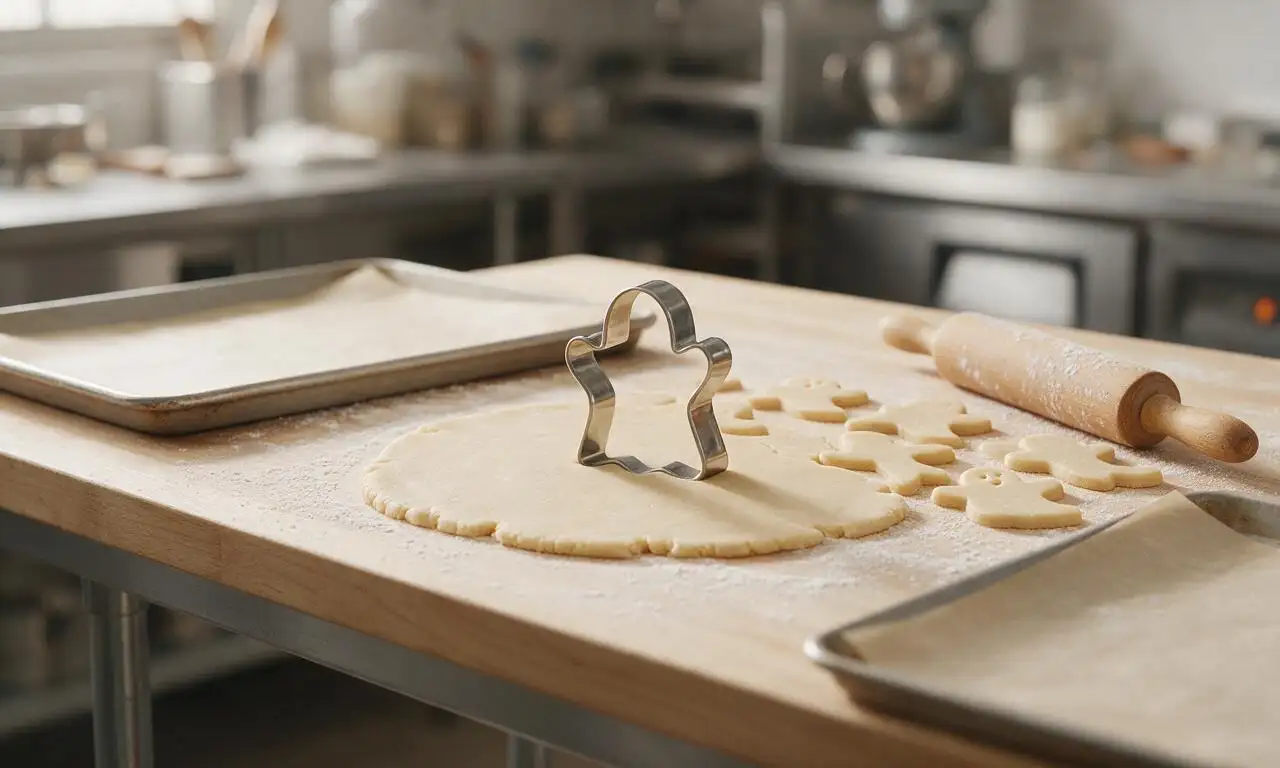
Preheat your oven to 175°C (350°F) and line two rimmed baking sheets with unbleached parchment paper. Lightly flour a clean work surface, roll the chilled dough out to an even 6mm (¼ inch) thickness, and use a 7cm (3 inch) ghost-shaped cookie cutter to punch out shapes, re-rolling dough scraps only once to avoid tough cookies. Place cutouts 5cm (2 inches) apart on the prepared baking sheets to allow for slight spread.
Bake and cool cookies
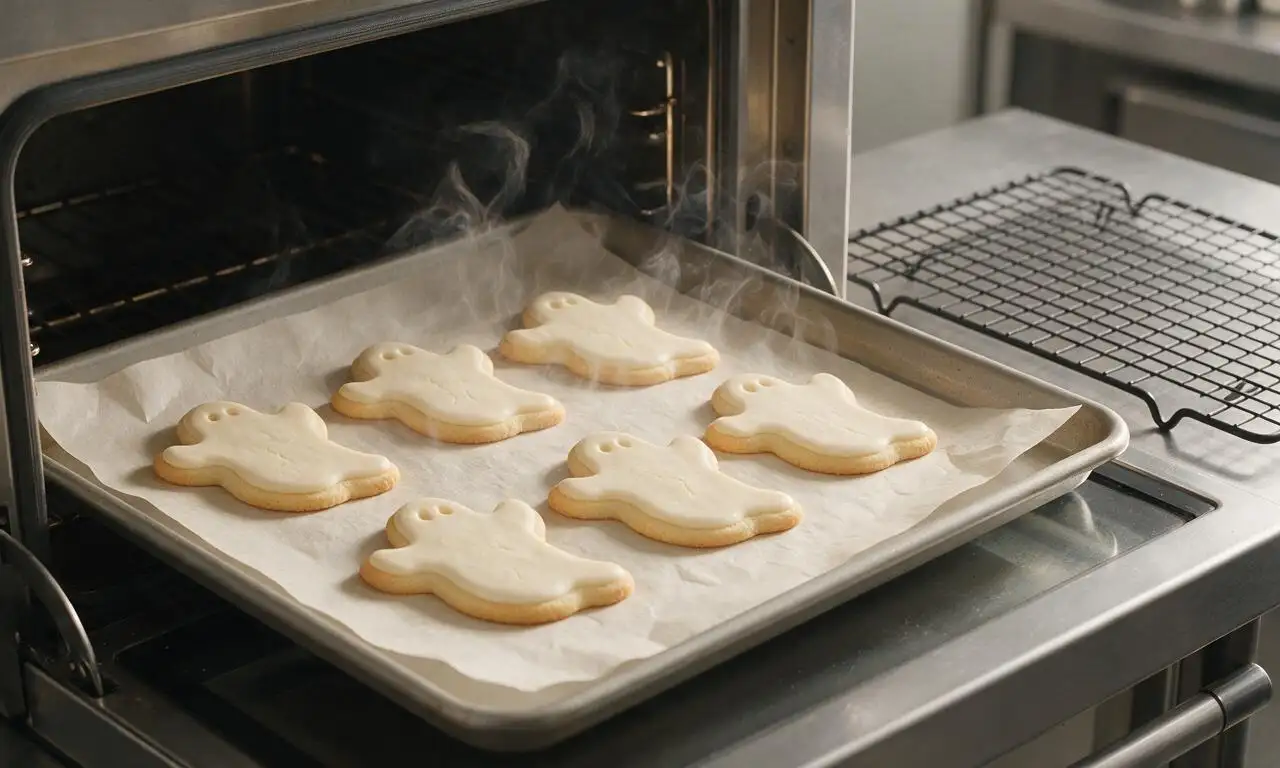
Bake one sheet at a time on the middle oven rack for 8-10 minutes, until the cookie edges are just lightly golden (the centers will look slightly underbaked, which keeps cookies soft after cooling). Let cookies rest on the hot baking sheet for 5 minutes after removing from the oven, then transfer to a wire rack to cool completely to room temperature for 20 minutes before decorating—warm cookies will melt icing.
Prepare royal icing
While cookies cool, prepare the royal icing: in a medium bowl, whisk 360g (3 cups) powdered sugar, 18g (2 tbsp) meringue powder, and 45ml (3 tbsp) lukewarm water together on low speed for 1 minute, then increase to medium speed and beat for 2 minutes until thick, glossy, and holds a soft peak. Add up to 15ml (1 tbsp) extra water 5ml (1 tsp) at a time if the icing is too thick to spread smoothly. Scoop 2 tablespoons of white icing into a small bowl, stir in 1g (¼ tsp) black gel food coloring until fully mixed, and transfer to a small piping bag fitted with a 2mm round tip.
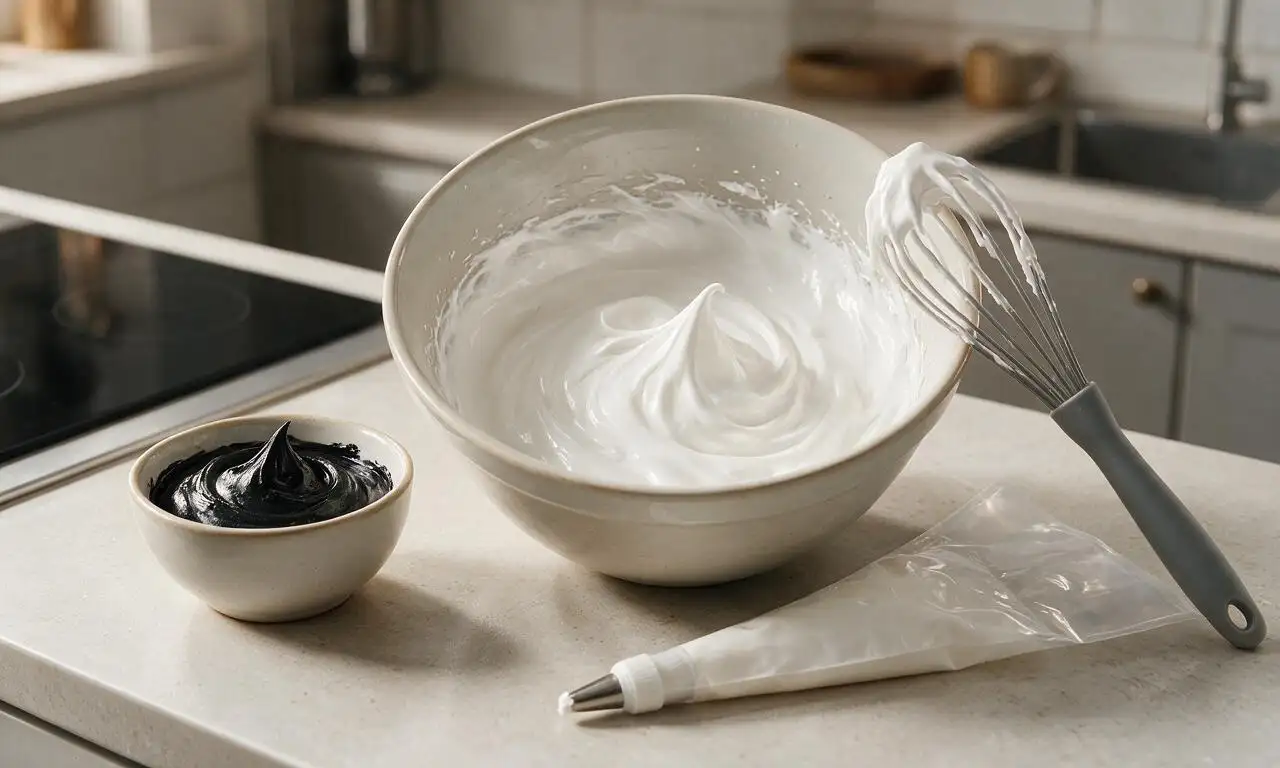
Decorate ghost cookies
Use a small offset spatula to spread a smooth, even layer of white royal icing over the top of each fully cooled ghost cookie, leaving a 1mm (1/32 inch) border from the cookie edge to prevent dripping. Let the white icing set for 10 minutes, then use the black icing in the piping bag to draw two small round eyes and a tiny oval mouth on each ghost to create a friendly spooky face. Let the decorated cookies sit at room temperature for 1 hour until the icing is fully hard before serving or packaging in treat bags.

Tips
2.Wait until cookies are completely room-temperature before applying icing: even slightly warm cookies will melt royal icing, leading to sliding, drips, and a splotchy, uneven finish.
3.If you do not own a ghost-shaped cookie cutter, trace a simple ghost silhouette onto thick cardstock to make a reusable template, then cut shapes freehand with a small sharp paring knife for the same charming effect.






Game changer for my last-minute Halloween potluck! I was panicking I had nothing cute to bring, and these came together so fast even with the chill time. The ghost shape is so iconic, I added little googly candy eyes and everyone was obsessed. SO good, not too sweet either which I loved.
My kids loved it! Full transparency, I burned the first batch because I got distracted handing out candy to early trick-or-treaters, but the second batch turned out perfect even with my very questionable piping skills. The ghosts looked a little wonky but the kids thought that made them extra spooky, so win in my book.
I made a double batch of these for my kid’s weekly snack prep for school, and they held up perfectly all week in an airtight container! I used whole wheat pastry flour for a tiny nutrition boost and you couldn’t even tell the difference. Will definitely be adding these to our October rotation every year.
Wait is it just me or is the chill time actually non-negotiable here? I tried to skip it the first time because I was impatient and my ghost shapes spread all over the tray into blobby messes. Second time I did the full 30 minute chill and they held their shape perfectly! Don’t be like me, follow the instructions lol.
I swapped the all purpose flour for a 1:1 gluten free baking flour and these came out incredible! No weird gritty texture, no crumbing when I iced them, my gluten-eating partner didn’t even notice they were GF. Absolute win for our annual Halloween movie night.
Made these for my dorm’s Halloween social last weekend and they were gone in 10 minutes flat! Super easy to make even in our tiny dorm kitchen with just a hand mixer and a cheap ghost cookie cutter I grabbed from the dollar store. 10/10 no fancy equipment needed.
OMG, I’m obsessed with this recipe! I added a little vanilla bean paste to the icing instead of plain vanilla extract and it gave such a deep, cozy flavor that paired so well with the buttery sugar cookie base. I also dusted a little edible glitter on the ghosts for extra sparkle and they looked so fancy for how little effort they took.