
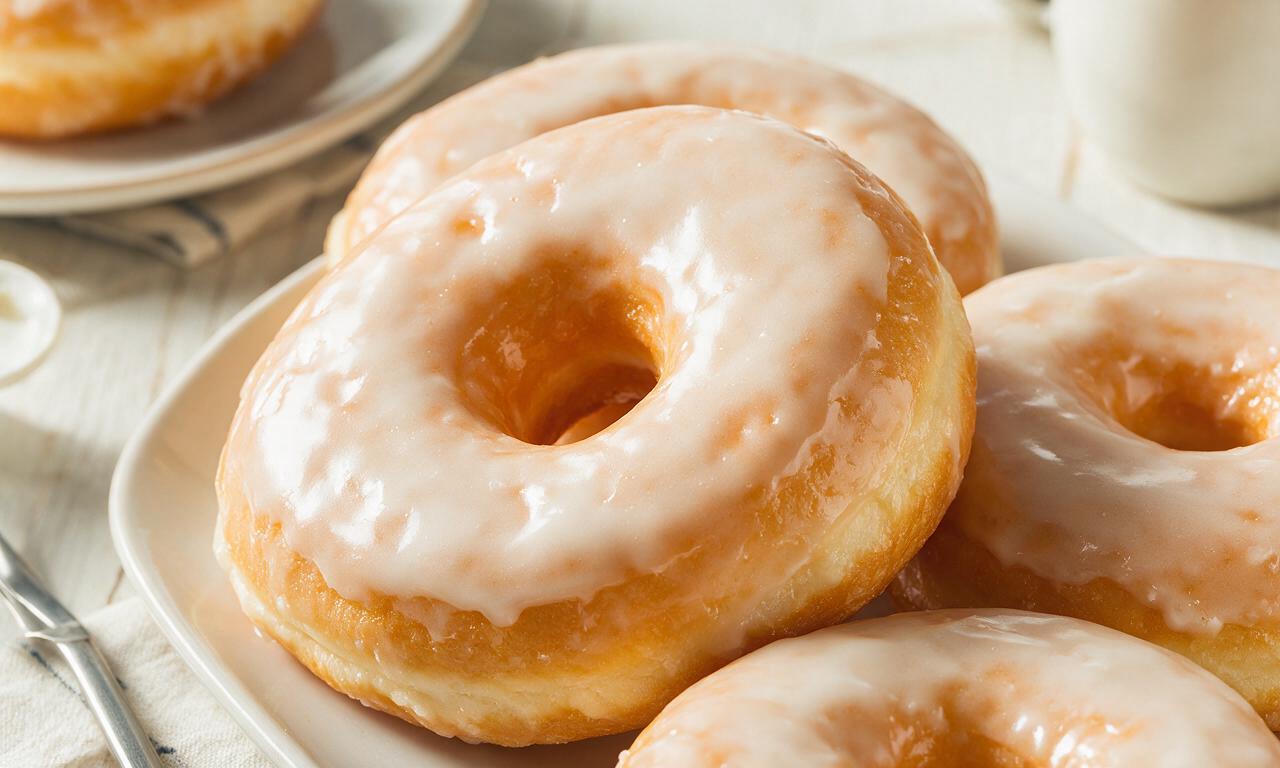
Glazed Donuts

Glazed Donuts
⏱️ cook time 2 hours 30 minutes
🍽️ servings 12
⚡ Difficulty medium

intro

Soft, pillowy yeast-raised donuts coated in a shiny vanilla sugar glaze, a nostalgic American treat perfect for pairing with coffee or cold milk.

Ingredients

All-purpose flour (spooned and leveled) 500g (4 cups)
Whole milk (for dough, warmed to 37°C/98°F) 240ml (1 cup)
Instant dry yeast 7g (2 1/4 tsp, 1 standard packet)
Granulated sugar (for dough) 50g (1/4 cup)
Unsalted butter (melted, cooled slightly) 57g (4 tbsp / 1/4 cup)
Large eggs (room temperature) 2 units
Fine sea salt 5g (1 tsp)
Neutral vegetable oil (canola/sunflower, for frying) 1.5L (6 cups)
Powdered sugar (sifted, for glaze) 360g (3 cups)
Pure vanilla extract 10ml (2 tsp)
Whole milk (for glaze) 60ml (4 tbsp)

Steps

1

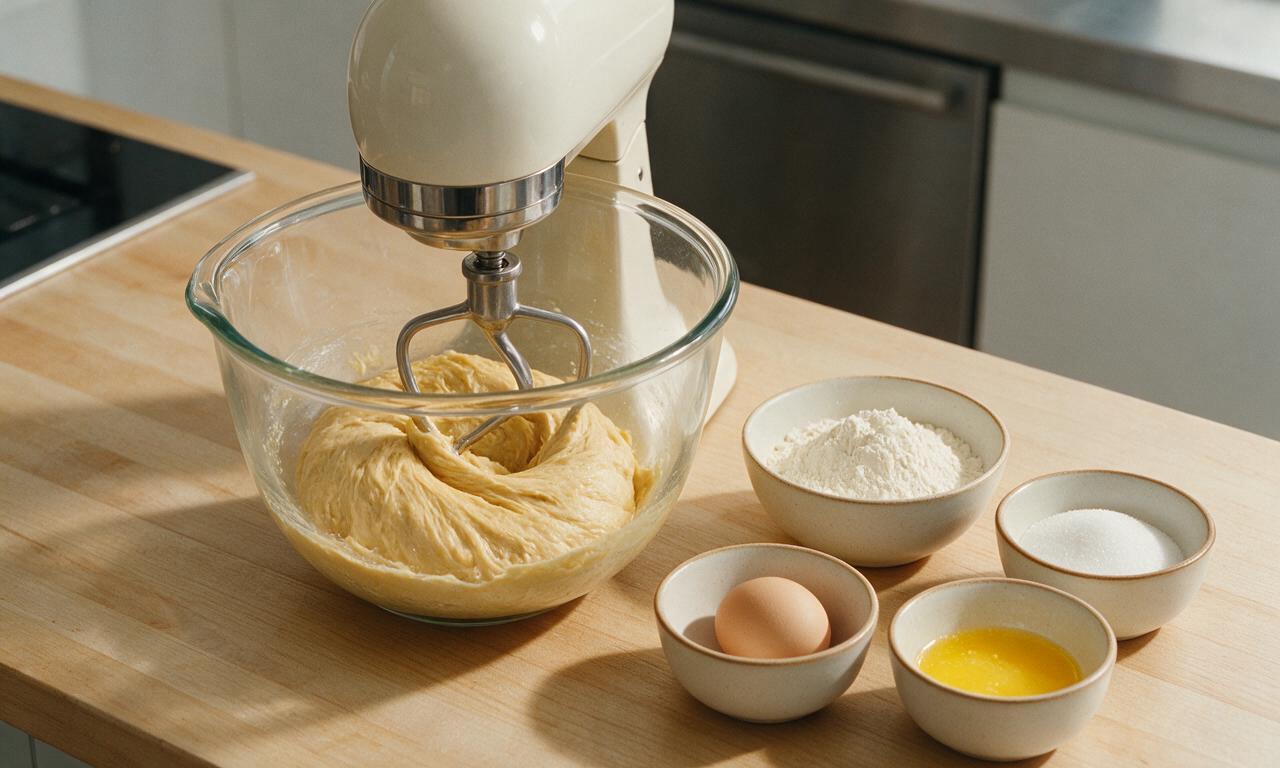
Mix the donut dough

In a large stand mixer fitted with a dough hook, combine warmed 240ml (1 cup) whole milk (heated to 37°C/98°F, lukewarm to the touch), 7g (2 1/4 tsp) instant dry yeast, and 1 teaspoon of the measured granulated sugar. Let the mixture rest 5 minutes until foamy to confirm yeast is active. Add the remaining 50g (1/4 cup) granulated sugar, 2 room-temperature large eggs, cooled 57g (4 tbsp) melted unsalted butter, 5g (1 tsp) fine sea salt, and 500g (4 cups, spooned and leveled) all-purpose flour. Knead on medium-low speed for 8 minutes until the dough is smooth, elastic, and pulls cleanly away from the bowl sides.
Step 1
step1:Mix the donut dough
2

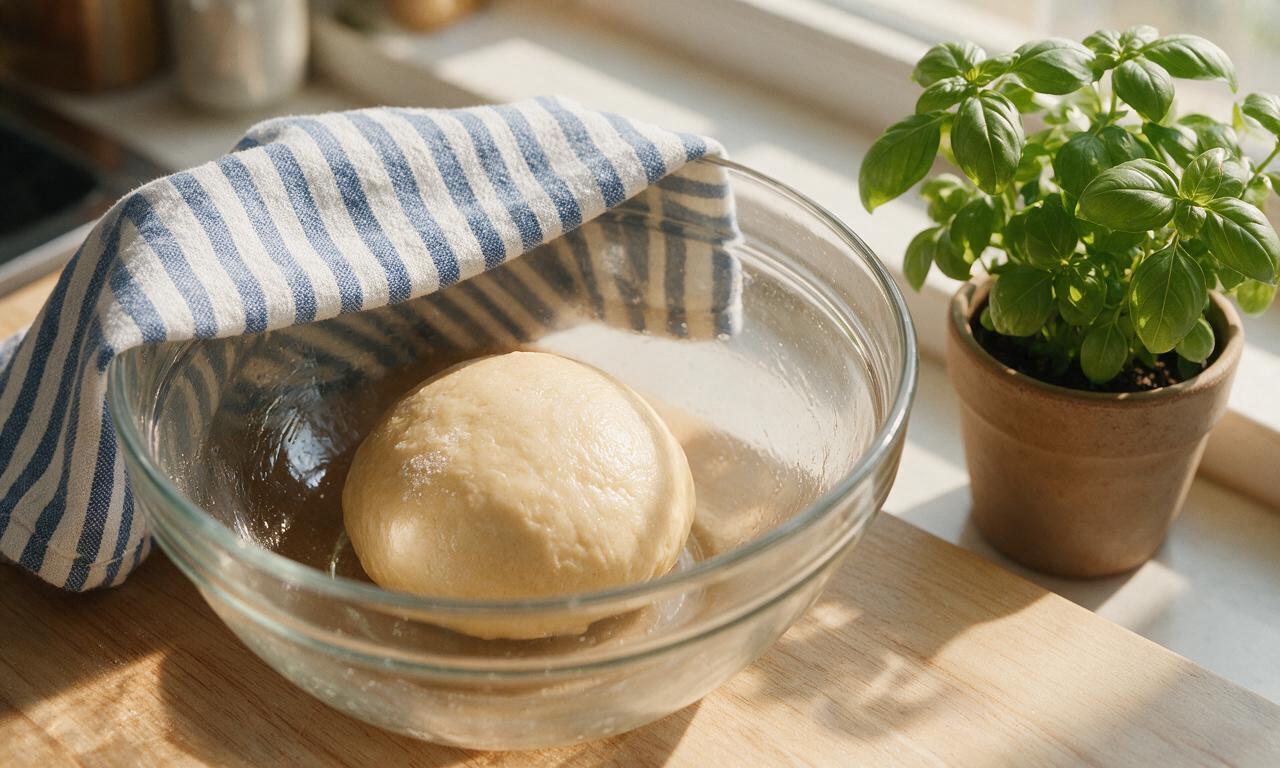
First dough proof

Lightly grease a large clean glass bowl with nonstick cooking spray. Form the kneaded dough into a tight, smooth ball, place it in the greased bowl, and turn once to coat the dough surface lightly in oil. Cover the bowl tightly with plastic wrap and a clean cotton kitchen towel, then let it rise in a warm, draft-free spot (24°C/75°F) for 60 minutes until the dough has fully doubled in size.
Step 2
step2:First dough proof
3

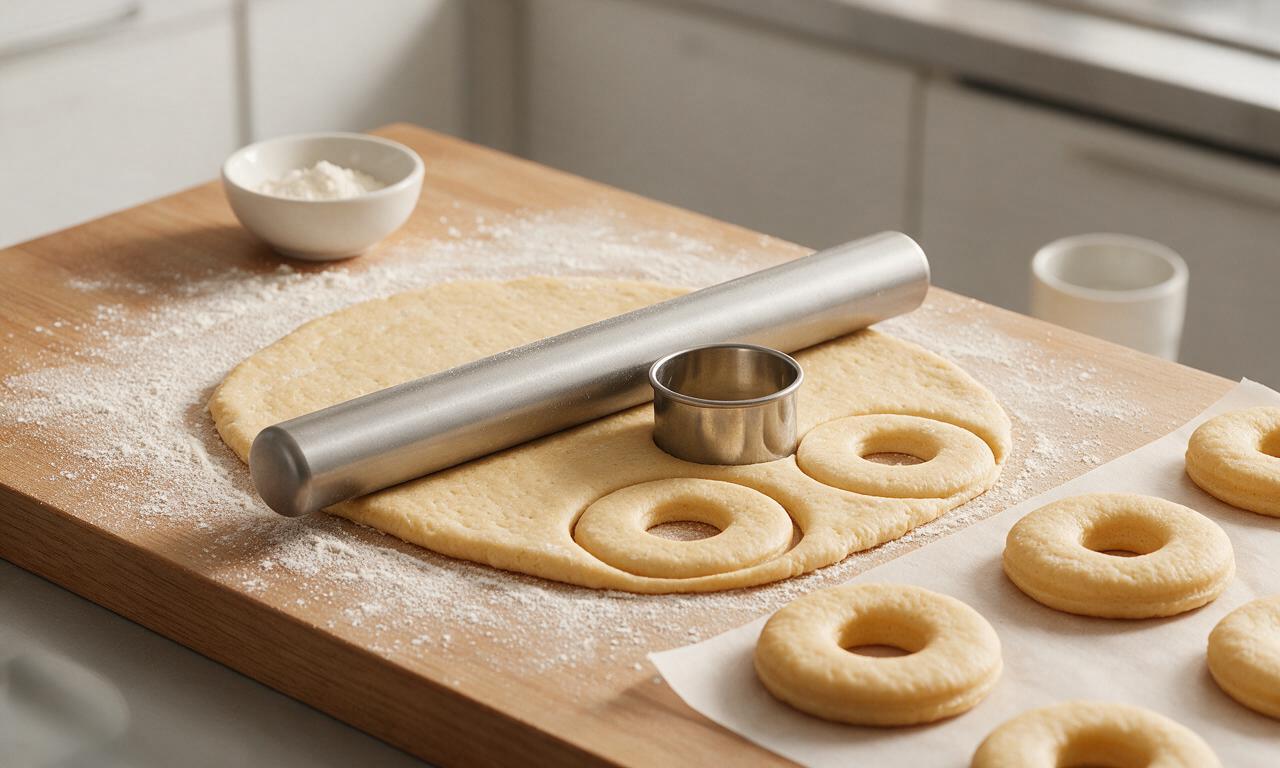
Shape the donuts

Once the dough has doubled, punch it firmly in the center to release all trapped air, then turn it out onto a lightly floured work surface. Roll the dough to a uniform 1.25cm (1/2 inch) thickness with a floured rolling pin. Use a 9cm (3.5 inch) round donut cutter (dipped in flour to prevent sticking) to cut ring-shaped donuts, using a 2.5cm (1 inch) small round cutter for the center holes. You will yield 12 donuts and 12 donut holes, re-rolling dough scraps only once to avoid tough donuts. Arrange cut donuts 5cm (2 inches) apart on parchment paper-lined baking sheets.
Step 3
step3:Shape the donuts
4

Proof donuts, heat oil

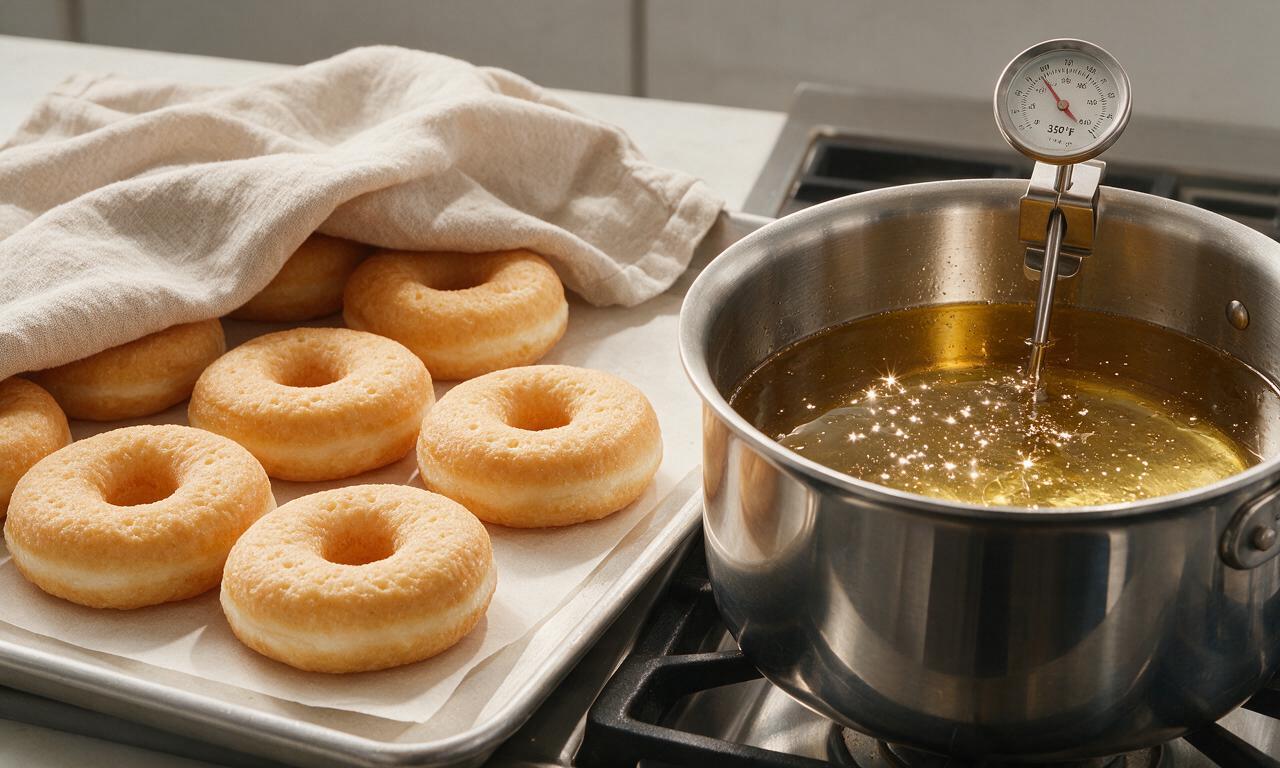
Cover the trays of shaped donuts loosely with clean kitchen towels, and let them undergo a second 30-minute proof until they are puffy and slightly jiggly when the tray is gently tapped. While the donuts proof, pour 1.5L (6 cups) of neutral vegetable oil (canola or sunflower work best) into a large, deep heavy-bottomed pot. Heat the oil over medium heat to a steady 175°C/350°F, monitoring temperature closely with a clip-on candy thermometer to avoid overheating.
Step 4
step4:Proof donuts, heat oil
5

Fry donuts until golden

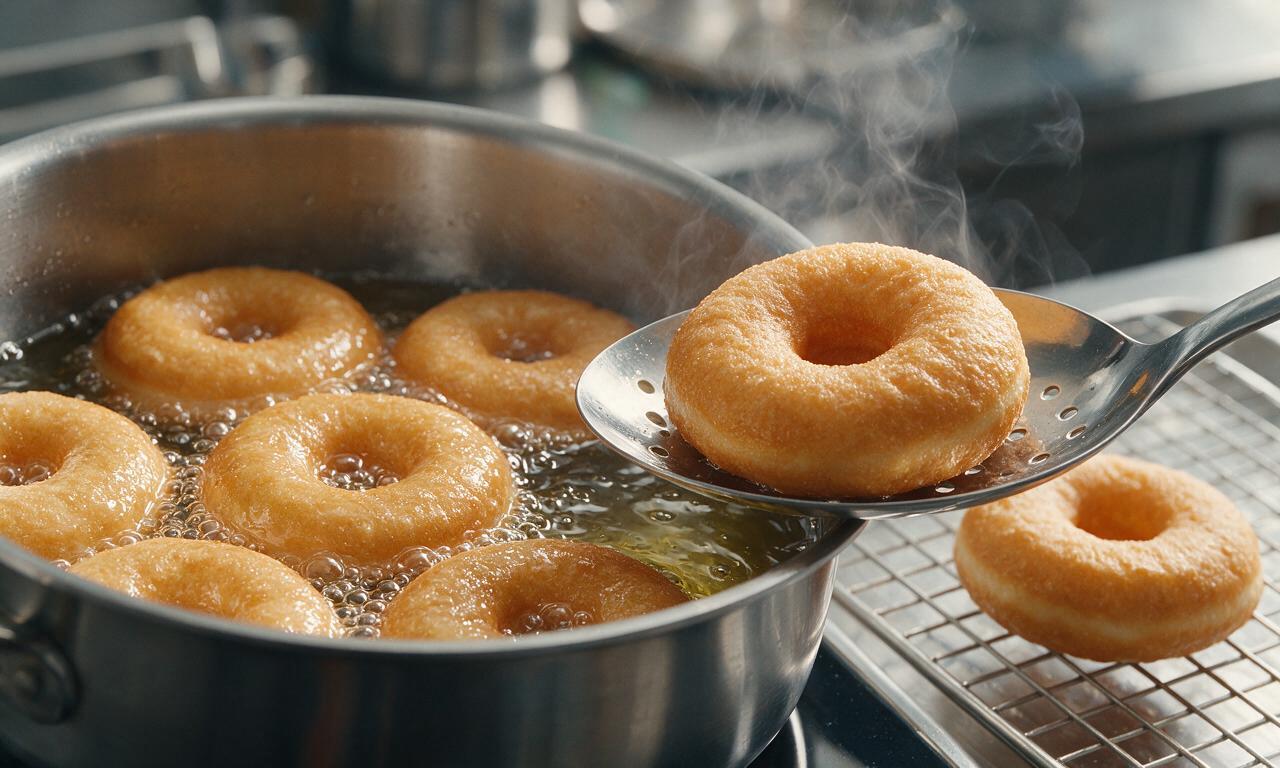
Working in small batches of 2-3 donuts at a time (to avoid dropping the oil temperature sharply), carefully lower donuts into the hot oil using a slotted metal spoon. Fry for 90 seconds on the first side until deep golden brown, then flip gently and fry the second side for another 90 seconds. Transfer fried donuts to a wire rack set over a rimmed baking sheet to drain excess oil for 5 minutes before glazing. Fry donut holes for 45 seconds per side, working in slightly larger batches if desired.
Step 5
step5:Fry donuts until golden
6

Glaze and set donuts

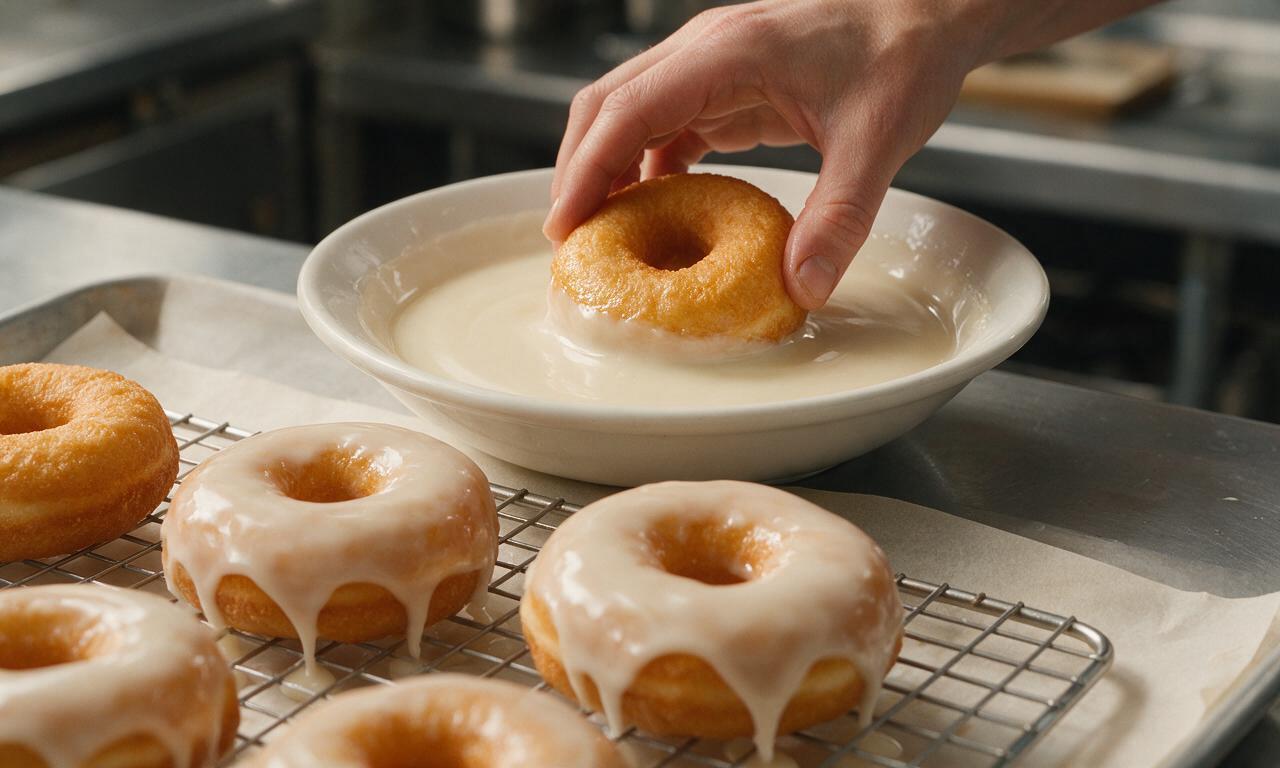
While donuts cool slightly, prepare the vanilla glaze: whisk 360g (3 cups) sifted powdered sugar, 10ml (2 tsp) pure vanilla extract, and 60ml (4 tbsp) whole milk in a shallow wide bowl until completely smooth, with a thick, pourable consistency similar to heavy cream. Dip each warm (not piping hot) donut fully into the glaze, coating one side then flipping to cover the second side. Return glazed donuts to the wire rack, and let them rest for 15 minutes to allow excess glaze to drip off and set into a shiny, smooth shell before serving.
Step 6
step6:Glaze and set donuts

Tips

1.Never skip the candy thermometer when frying: oil that is too hot (over 180°C/355°F) will burn donut exteriors before the inside cooks through, while oil below 165°C/325°F will make donuts absorb excess oil and turn greasy.
2.Glaze donuts while they are warm (around 43°C/110°F, not piping hot) for the best result: this lets the glaze adhere smoothly and soak slightly into the donut surface instead of sliding off or setting lumpy.
3.Re-roll dough scraps only once when cutting donuts: overworking the dough by re-rolling multiple times will develop too much gluten, leading to tough, dense donuts instead of soft, pillowy ones.


✨ You May Also Like

Desserts & Baking
🍜 Italy

Creamy, coffee-kissed classic Northern Italian no-bake dessert, with layers of rum-spiked mascarpone cream, soft ladyfingers, and a rich cocoa dusting.

⏱️ 4 hours 3Desserts & Baking ★ 4.8
Desserts & Baking
🍜 France

Flaky, shatteringly crisp, buttery French croissants with golden exteriors and soft, airy layered interiors, perfect for pairing with coffee for a special morning treat.

⏱️ 12 hours Desserts & Baking ★ 4.7
Desserts & Baking
🍜 United States

Warm, spiced baked apples topped with a fluffy golden biscuit crust, this cozy dessert pairs perfectly with vanilla ice cream for cool-weather comfort.

⏱️ 55 minuteDesserts & Baking ★ 4.7
Desserts & Baking
🍜 United States

A star-spangled classic American blueberry pie with buttery flaky crust and bright sweet-tart filling, perfect for summer patriotic gatherings.

⏱️ 1 hour 25Desserts & Baking ★ 4.8
Desserts & Baking
🍜 United States

A beloved no-bake regional Maine candy with a chewy coconut-potato center coated in rich dark chocolate, a New England holiday staple since the 1870s.

⏱️ 2 hours 3Desserts & Baking ★ 4.9
Desserts & Baking
🍜 France

Luxuriously creamy, floral frozen custard made with aromatic Tahitian vanilla beans, boasting a smooth, rich texture that melts slowly on the tongue.

⏱️ 3 hours 3Desserts & Baking ★ 4.6

Glazed Donuts:Frequently Asked Questions

1.Can I substitute active dry yeast for the instant dry yeast in this recipe?
Absolutely! For every teaspoon of instant yeast called for, use 1.25 teaspoons of active dry yeast. Dissolve it in the warmed 98°F whole milk with a small pinch of the granulated dough sugar, and let it sit 5 minutes until foamy before mixing with the rest of your ingredients to confirm it’s active. This swap won’t change the final soft, pillowy texture at all.
2.Why do I need to warm the whole milk to exactly 98°F for the dough?
That temperature matches the ideal body-temperature warm environment yeast needs to activate and feed on sugar without dying. If milk is hotter than 110°F, it will kill yeast and lead to dense, unrisen donuts; if it’s too cold, yeast will activate too slowly, leading to extra-long proof times and flat, tough finished donuts.
3.What happens if I pack the all-purpose flour instead of spooning and leveling it?
Packing flour directly from the storage bag adds up to 20% extra flour per cup, which will make your donut dough dense, tough, and dry instead of soft and pillowy. Always spoon flour loosely into your measuring cup, then scrape a straight knife edge across the top to level it for consistent, light results every time you make the recipe.
4.Can I use low-fat or skim milk instead of whole milk for the dough?
You can, but the final donuts will be slightly less rich and tender, since whole milk’s fat content contributes to that melt-in-your-mouth crumb and helps keep donuts fresh longer. If you only have skim or low-fat milk, add 1 extra tablespoon of cooled melted butter per cup of milk to make up for missing fat for better texture.
5.How do I know when the donut dough is done kneading?
Properly kneaded dough will pull away cleanly from the sides of your mixing bowl, feel soft and slightly tacky (not sticky or gooey) to the touch, and pass the windowpane test: stretch a small pinch of dough thin enough to see light through it without tearing. That takes 6-8 minutes with a stand mixer, or 10-12 minutes by hand.
6.How long should I let the dough proof for its first rise?
In a warm, draft-free spot around 75°F, the first rise takes 1 to 1.5 hours, until the dough has doubled in size and leaves a slow-rebounding indent when you press a floured finger 1 inch into it. If your kitchen is colder, proof the dough in your oven with the interior light on to create a consistently warm environment.
7.Can I make the donut dough ahead of time to fry fresh the next morning?
Definitely! After kneading, place the dough in a lightly greased airtight container and let it do its first slow rise in the refrigerator for 8 to 12 hours overnight. The cold slows yeast activity to develop deeper, nuttier flavor, and you can pull it out, cut donuts, do the second proof, and fry fresh for breakfast.
8.Do I need a special donut cutter to shape these donuts?
No special tools are required! You can use a 3.5-inch round cookie cutter (or even the clean rim of a wide drinking glass) to cut the outer donut shape, then a 1-inch round cutter (or the end of a large piping tip, or a shot glass) to punch out the center holes. Just flour your cutters lightly so they don’t stick to rolled dough.
9.What oil is best for frying these glazed donuts?
Neutral, high-smoke-point oils work best to avoid unwanted off-flavors: canola, vegetable, peanut, or refined avocado oil are all great choices. Heat oil to a steady 350°F, using a clip-on candy thermometer to monitor temperature, because oil that’s too hot burns donuts quickly, and too-cool oil leaves donuts greasy and heavy.
10.How long do I fry the donuts on each side?
Fry 2 to 3 donuts at a time (don’t overcrowd the pot, which drops oil temperature sharply) for 1 to 1.5 minutes per side, until they’re a deep, even golden brown. Use a slotted spoon or spider strainer to flip them gently, then transfer to a wire rack set over paper towels to drain excess oil for 1 to 2 minutes before glazing.
11.Why do my donuts turn out greasy instead of light?
Greasy donuts almost always come from oil that’s too cool (below 340°F) when you add the dough, which lets the donut absorb excess oil instead of searing the outside immediately to lock oil out. Overproofed cut donuts can also collapse slightly when added to oil, leading to a denser crumb that soaks up extra grease during frying.
12.Can I bake these donuts instead of frying them for a lighter version?
While they won’t have that exact classic fried, pillowy texture, you can bake them: place cut donuts on a parchment-lined sheet, brush lightly with melted cooled butter, bake at 375°F for 10 to 12 minutes until puffed and light golden, then dip in glaze. The crumb will be closer to a soft dinner roll than a traditional fried donut, but they’re still tasty.
13.What’s the right consistency for the vanilla glaze?
The glaze should be smooth, thick but pourable, similar to the consistency of real maple syrup. If it’s too thin and runs right off the donut, stir in a little extra sifted powdered sugar 1 tablespoon at a time; if it’s too thick and clumps on the donut, thin it with ¼ teaspoon of whole milk at a time until it coats evenly.
14.Should I dip the donuts in glaze while they’re still hot or fully cooled?
For that perfect shiny, set glaze that doesn’t all slide off, dip donuts when they’re warm, not piping hot—let them drain and cool for 2 to 3 minutes after coming out of the fryer, so their surface is around 120°F. Dipping when too hot melts glaze off, while waiting too long leaves glaze dull and uneven.
15.Can I add extra flavor to the vanilla glaze?
Absolutely! The base vanilla glaze is super versatile: you can stir in ½ teaspoon of ground cinnamon, a pinch of flaky sea salt, a teaspoon of lemon or orange zest, or even a splash of cold brew coffee for a fun twist without ruining that classic vanilla-forward profile. Just avoid adding too much liquid so the glaze stays dippable.
16.How should I store leftover glazed donuts to keep them soft?
Store fully cooled, glazed donuts in an airtight container at room temperature for up to 2 days, placing a small sheet of parchment paper between layers so the glaze doesn’t stick. Don’t refrigerate them, since cold air dries out the soft crumb quickly and makes glaze turn dull and tacky. Freeze unglazed donuts for up to 1 month for longer storage.
17.What do I do with the donut holes I punch out of the center?
Don’t toss them! Fry them up the same way as the full-sized donuts—they only need 30 to 45 seconds per side to cook through, then toss them in cinnamon sugar, dip them in the same vanilla glaze, or pop them plain as a quick, warm snack while you finish glazing the rest of the batch. They’re a classic cook’s treat for a reason.
18.Why do my donuts have a dense, tough crumb instead of being light and pillowy?
Tough, dense donuts usually come from one of three common missteps: adding too much flour when kneading or rolling out the dough, under-proofing the dough so it doesn’t have time to develop light air pockets, or frying at too high a temperature which sets the outside too fast before the inside can rise fully. Double check these steps for perfect results.

Comments (4)

3 days ago

OMG these donuts are SO good! I made them for my kid’s soccer team potluck this weekend and every single one was gone in 10 minutes. The vanilla glaze is perfectly sweet, not cloying at all, and the donut itself is so fluffy! I was nervous because medium difficulty sounded intimidating, but the steps were way easier to follow than I thought. Game changer for weekend breakfasts!

2 days ago

That’s such a win for the potluck! We’re thrilled the instructions felt manageable even with the medium difficulty label — homemade donuts are always such a hit with crowds, and it sounds like your kid’s soccer team got the perfect treat. So glad you loved them!

30 minutes ago

Wait, has anyone tried making these with gluten free all purpose flour? My partner has celiac and I’d love to surprise them with homemade donuts for our anniversary, but I don’t want to waste ingredients if the texture comes out weird. Also, can I prep the dough the night before and let it rise in the fridge? That would save me so much time in the morning!

5 minutes ago

I tried these with Bob’s Red Mill 1:1 gluten free flour last week and they turned out amazing! I added an extra tablespoon of melted butter to the dough to keep it moist, and let it rise 20 minutes longer than the recipe said. The night before fridge rise works too, I’ve done that with regular flour for these before, just make sure you take the dough out 30 minutes before you roll and cut it so it comes up to room temp!

just now

Great question! For gluten free adaptations, the 1:1 flour swap our friend mentioned works perfectly, just make sure your blend has xanthan gum if it’s not already included. The overnight fridge rise is totally doable too — just cover the dough tightly with plastic wrap so it doesn’t dry out, and let it rest on the counter for 25-30 minutes before rolling, cutting, and doing the second rise. Hope your partner loves them!

2 days ago

Made these yesterday for Sunday brunch with my roommates, 10/10. The glaze set perfectly shiny just like the donut shop down the street from my apartment. Only note is I’d recommend using a candy thermometer to get the oil temp right, I let mine get a little too hot on the first batch and they browned way too fast on the outside before the inside was done. Once I adjusted the heat they came out perfect, will absolutely be making these again!

1 week ago

I brought these to my office potluck earlier this week and everyone was asking for the recipe! The vanilla flavor is so warm and classic, way better than the grocery store donuts people usually bring. I did add a tiny splash of almond extract to the glaze like I do with all my vanilla baked goods, and it gave it such a nice little depth of flavor. So happy I found this recipe!

5 days ago

Oh I love the idea of adding a splash of almond extract to the glaze! I’m making these for my sister’s birthday breakfast this weekend and I’m definitely going to steal that tip, thank you!



