
gluten free banana waffles
intro
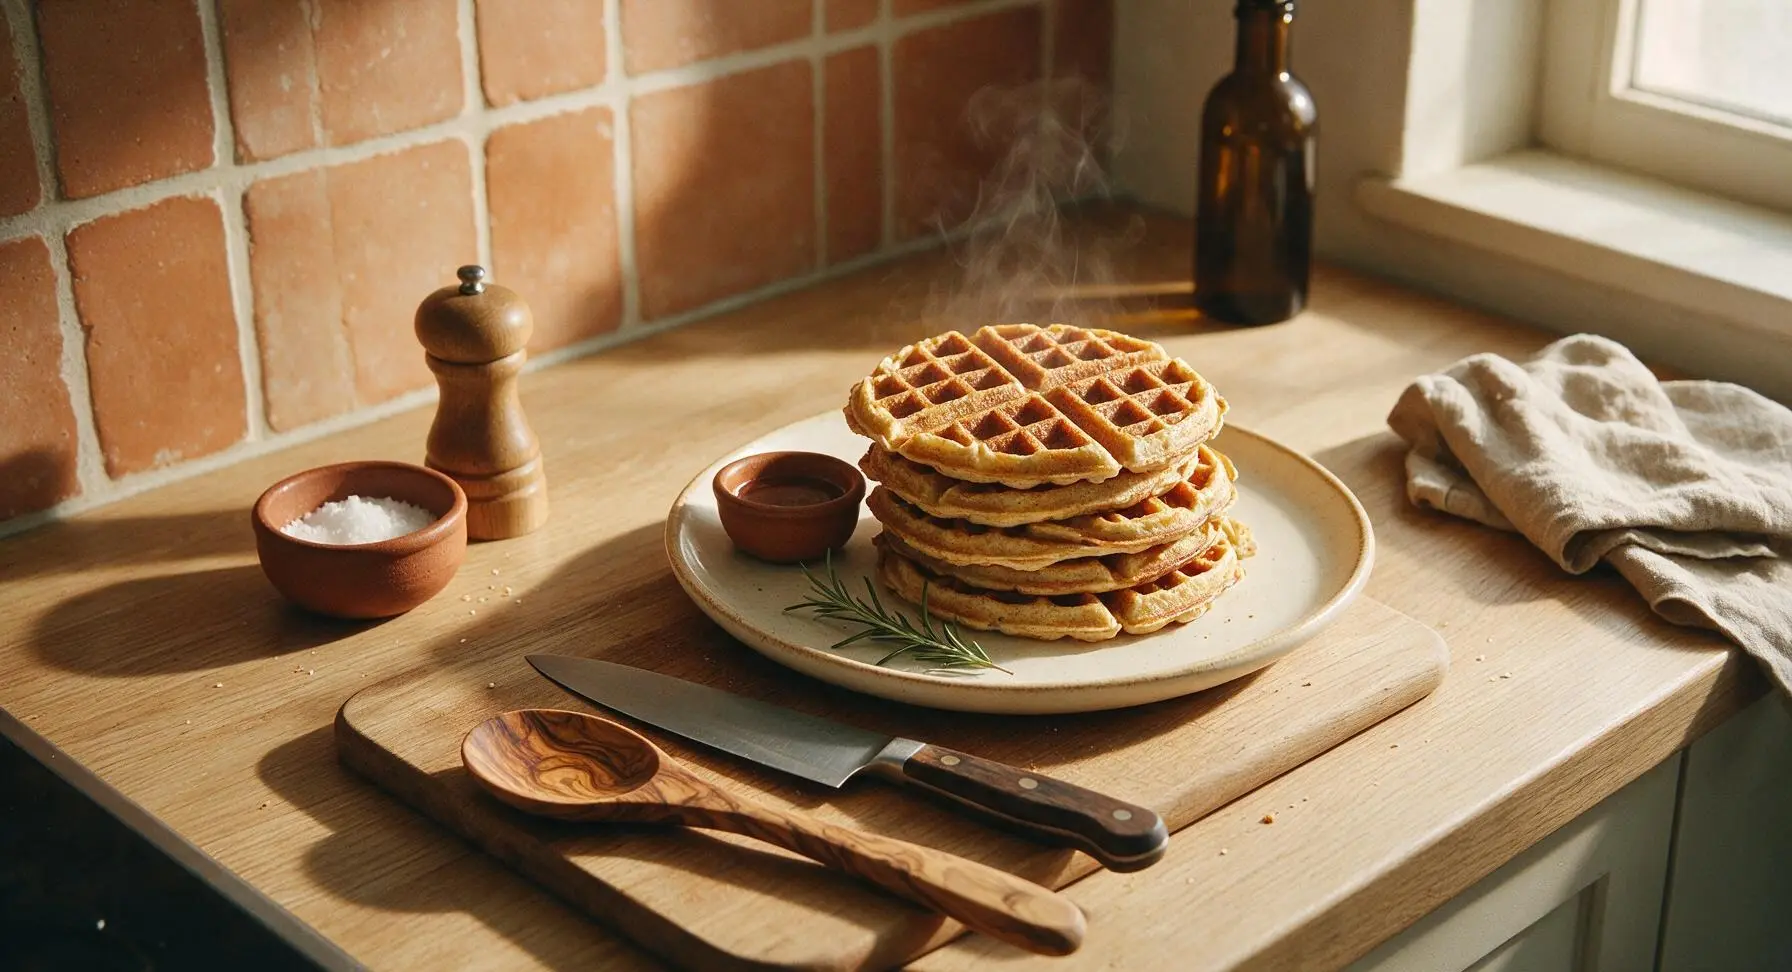
Fluffy, naturally sweet gluten-free banana waffles with crisp golden edges, soft spiced centers, and zero gritty texture—perfect for fast, satisfying weekday mornings.
Ingredients
Steps
Preheat Waffle Maker
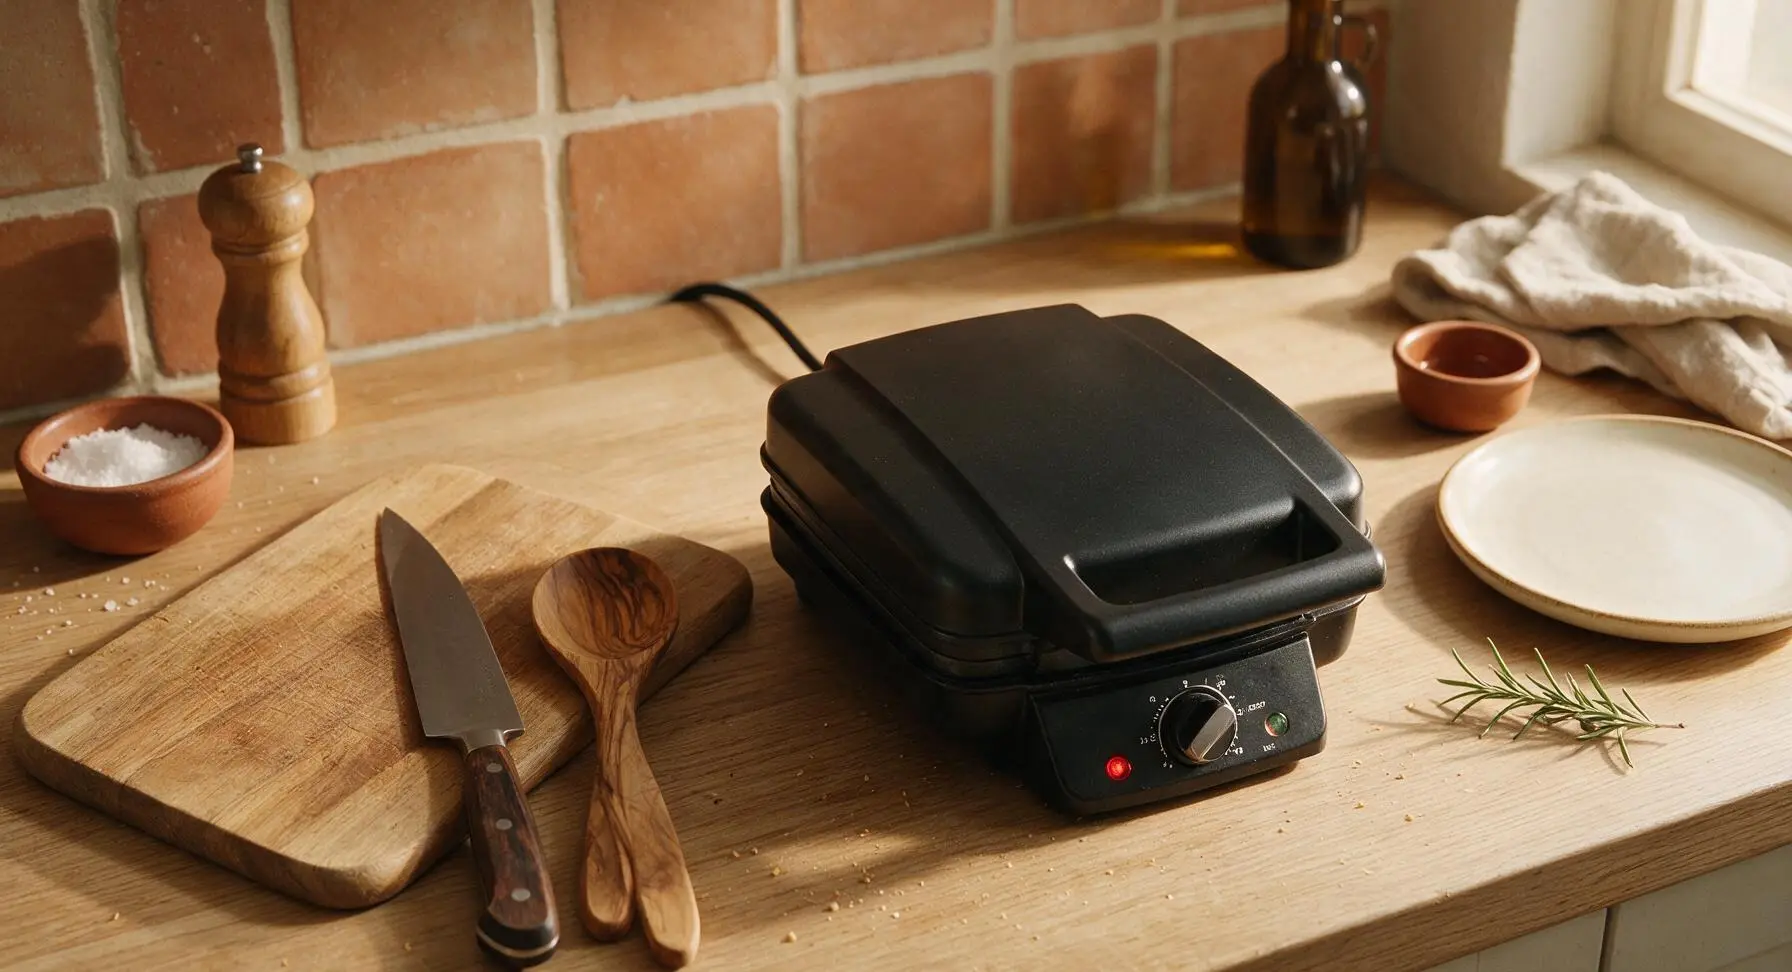
Plug in the matte black waffle maker, set the browning dial to medium-high (375°F/190°C), and close the lid to preheat for 5 minutes while you mix the batter. A drop of water dropped on the surface should sizzle and dance across the grid when it is fully ready.
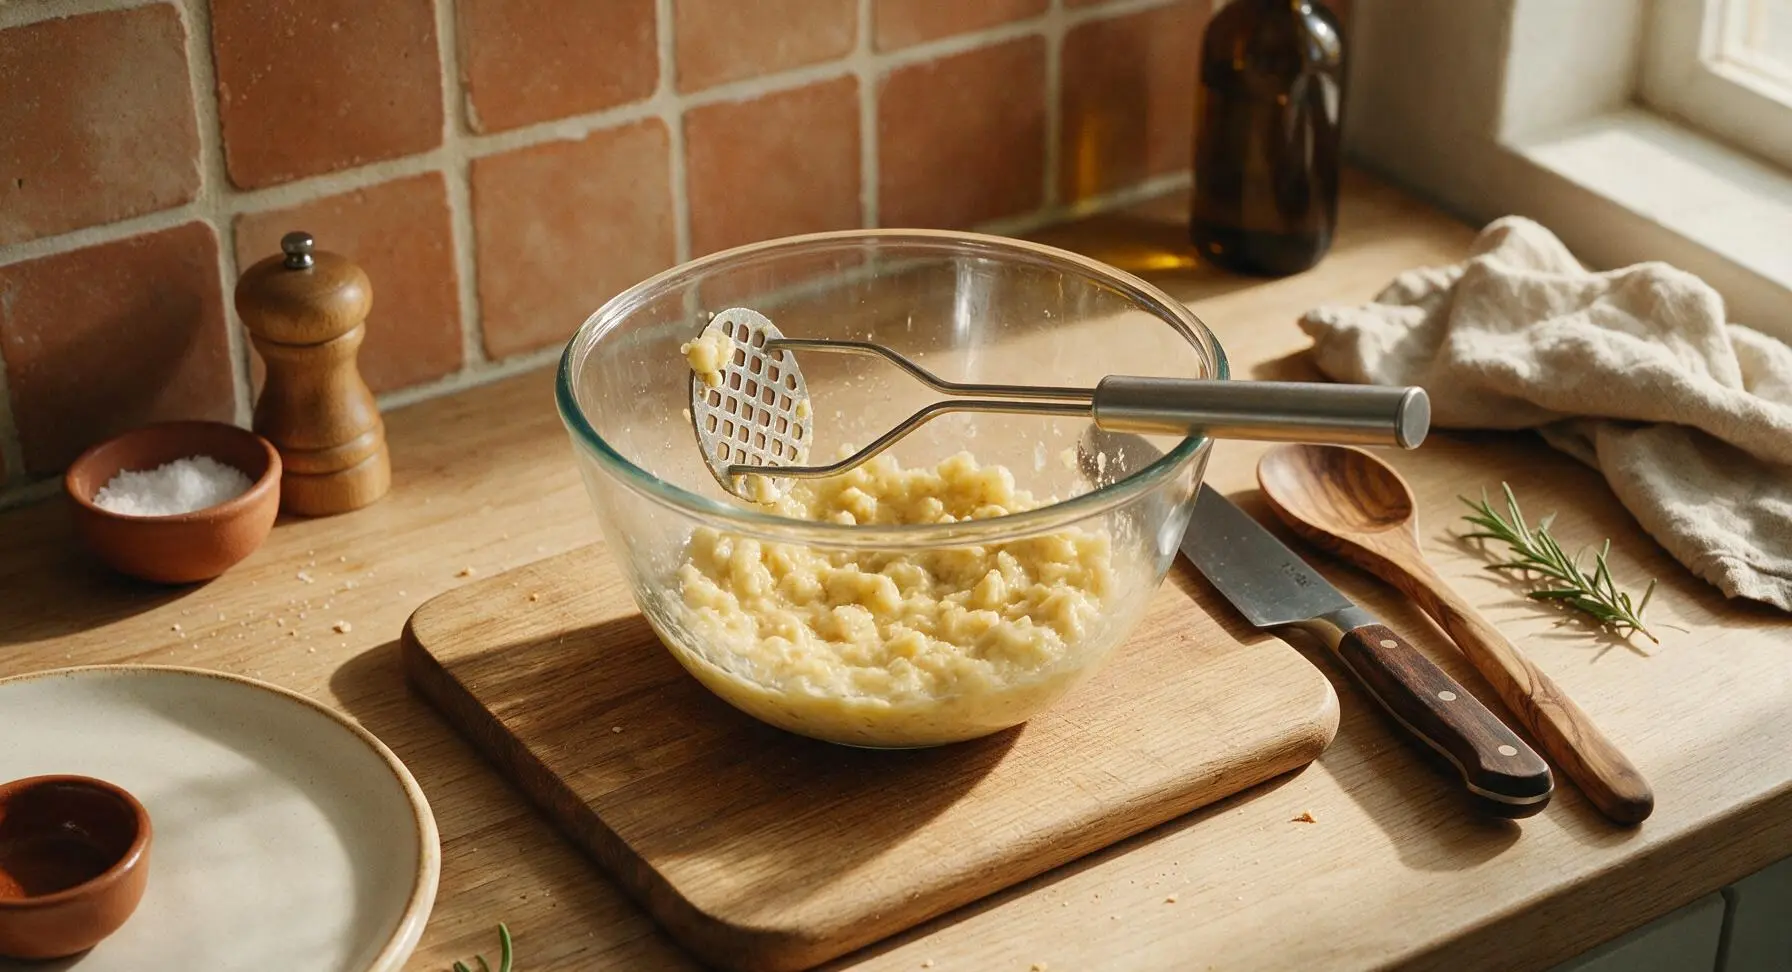
Mash Ripe Bananas
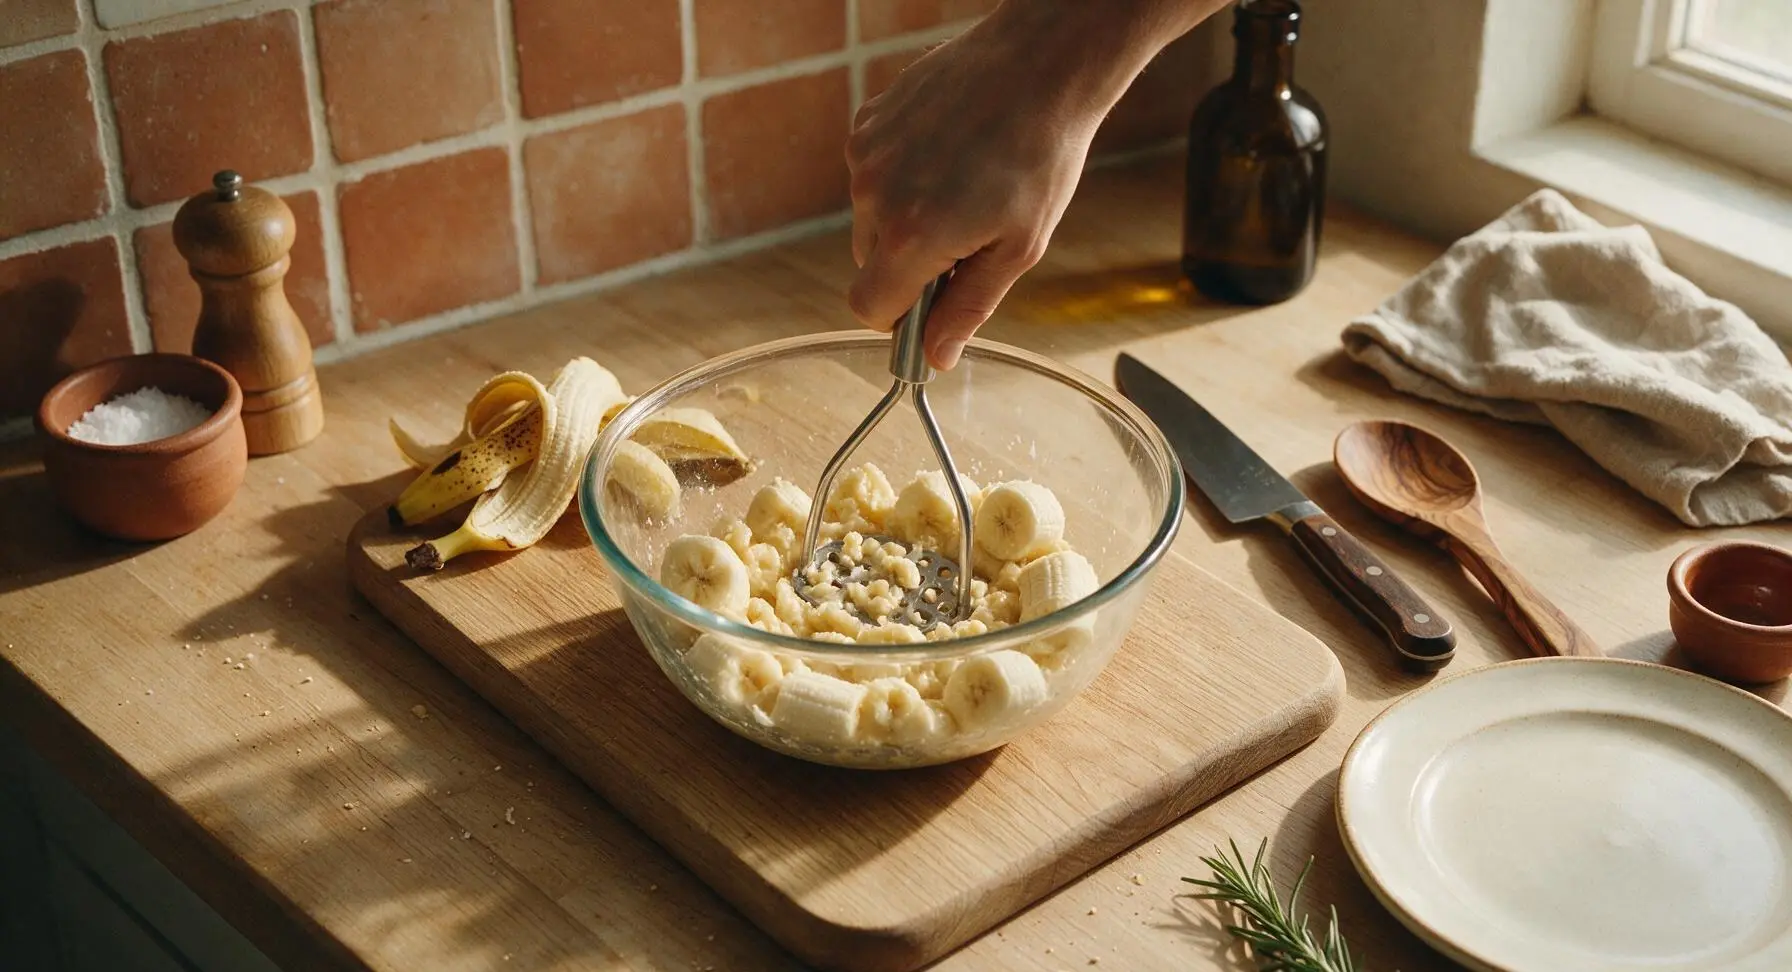
Peel the 2 ripe spotty bananas, place them in the clear glass mixing bowl set on the honey beech cutting board. Use the stainless steel potato masher to mash the bananas until mostly smooth, with a few small ¼-inch lumps remaining for texture—do not over-mash into a completely runny puree, as this will make waffles dense.
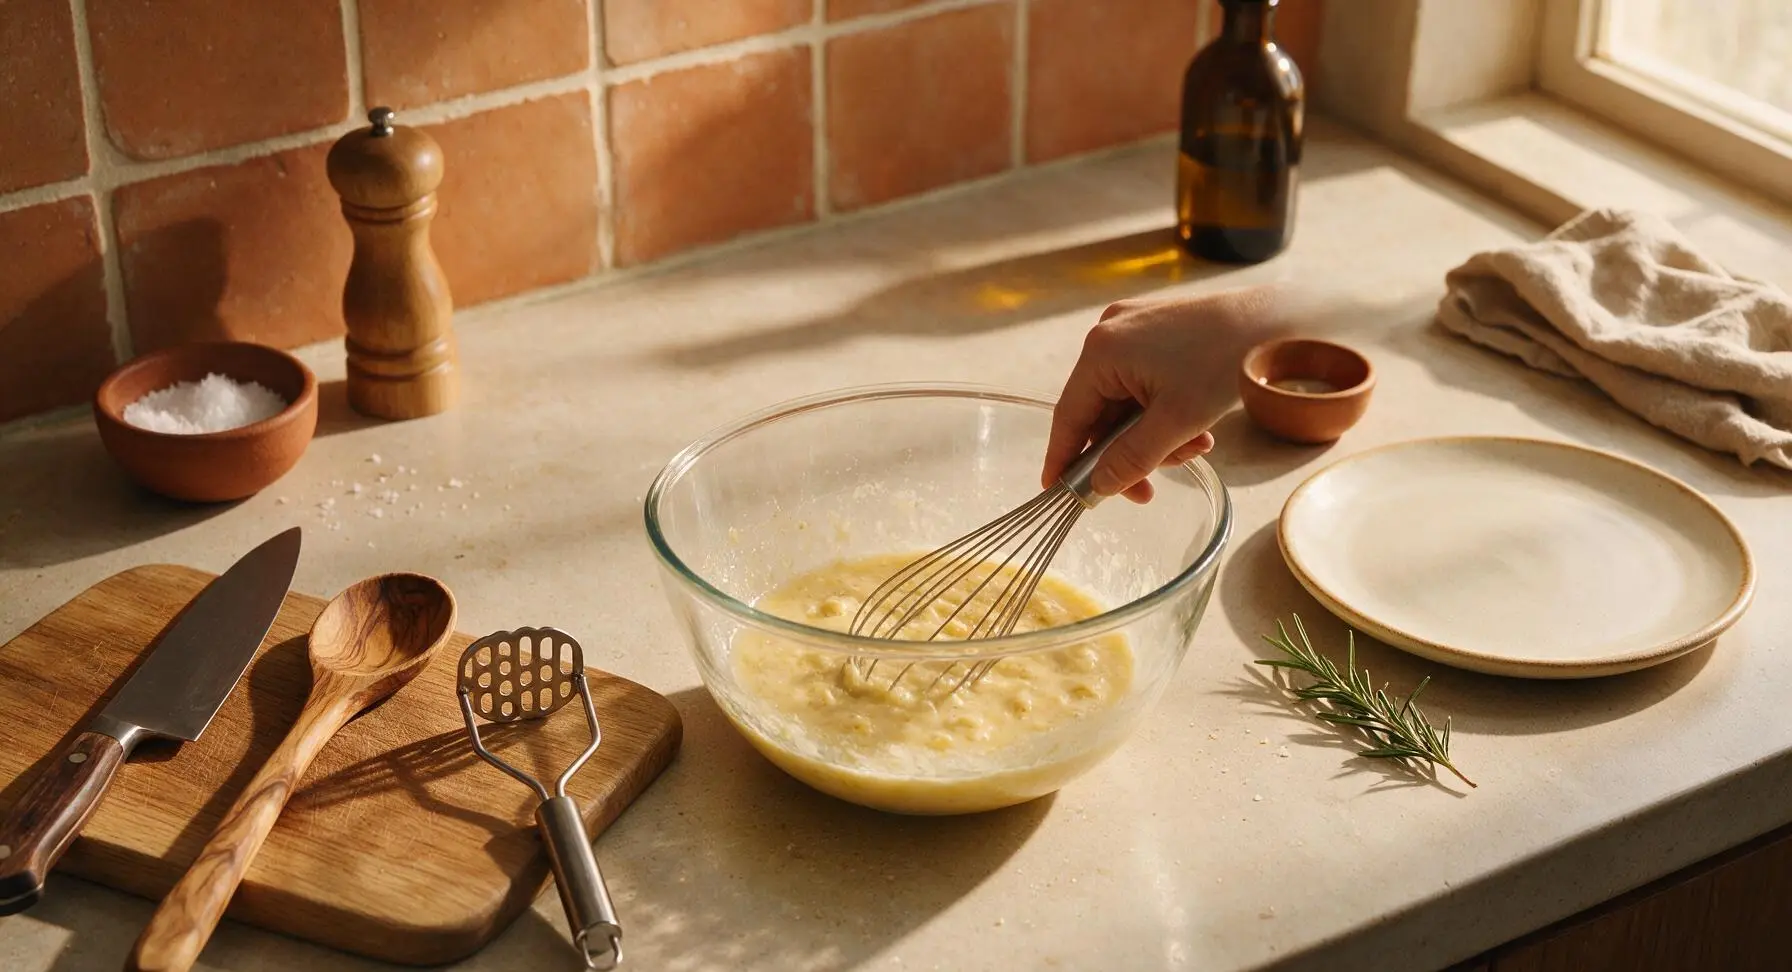
Whisk Wet Ingredients
Add the 2 large eggs, ¾ cup whole milk, 4 tbsp cooled melted butter, and 1 tsp vanilla extract to the bowl with mashed bananas. Use the stainless steel wire whisk to stir the mixture until fully combined, with no streaks of egg visible, about 30 seconds of gentle whisking.
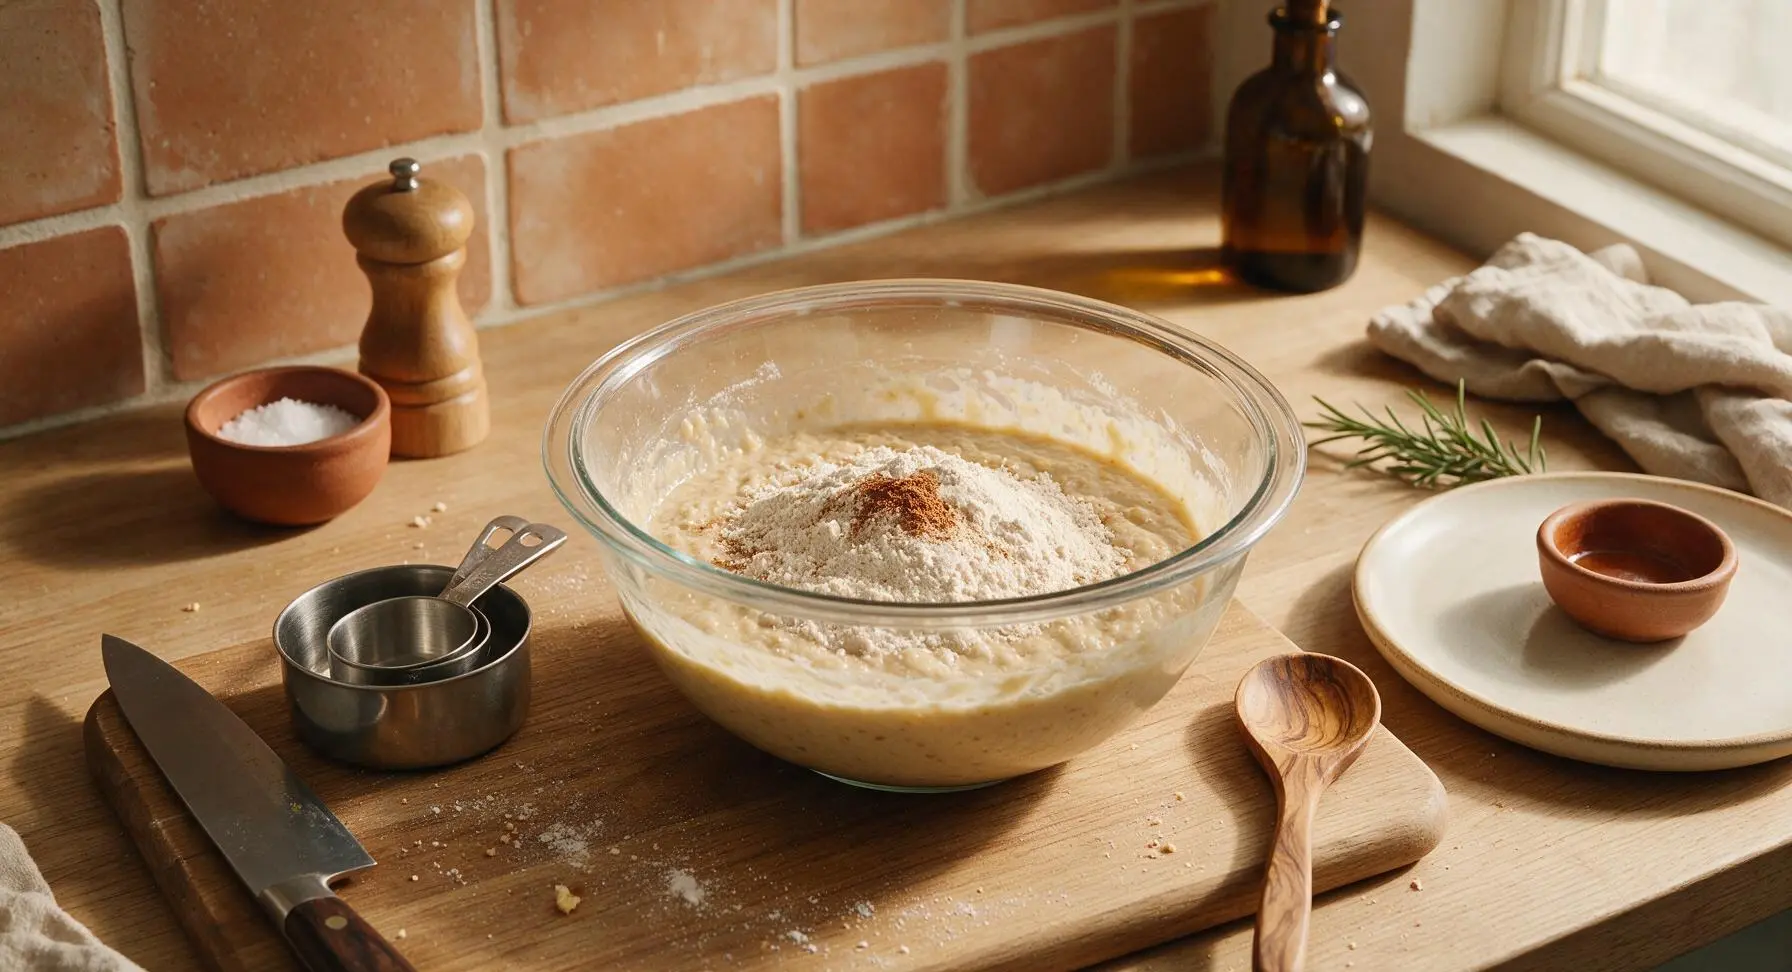
Add Dry Ingredients
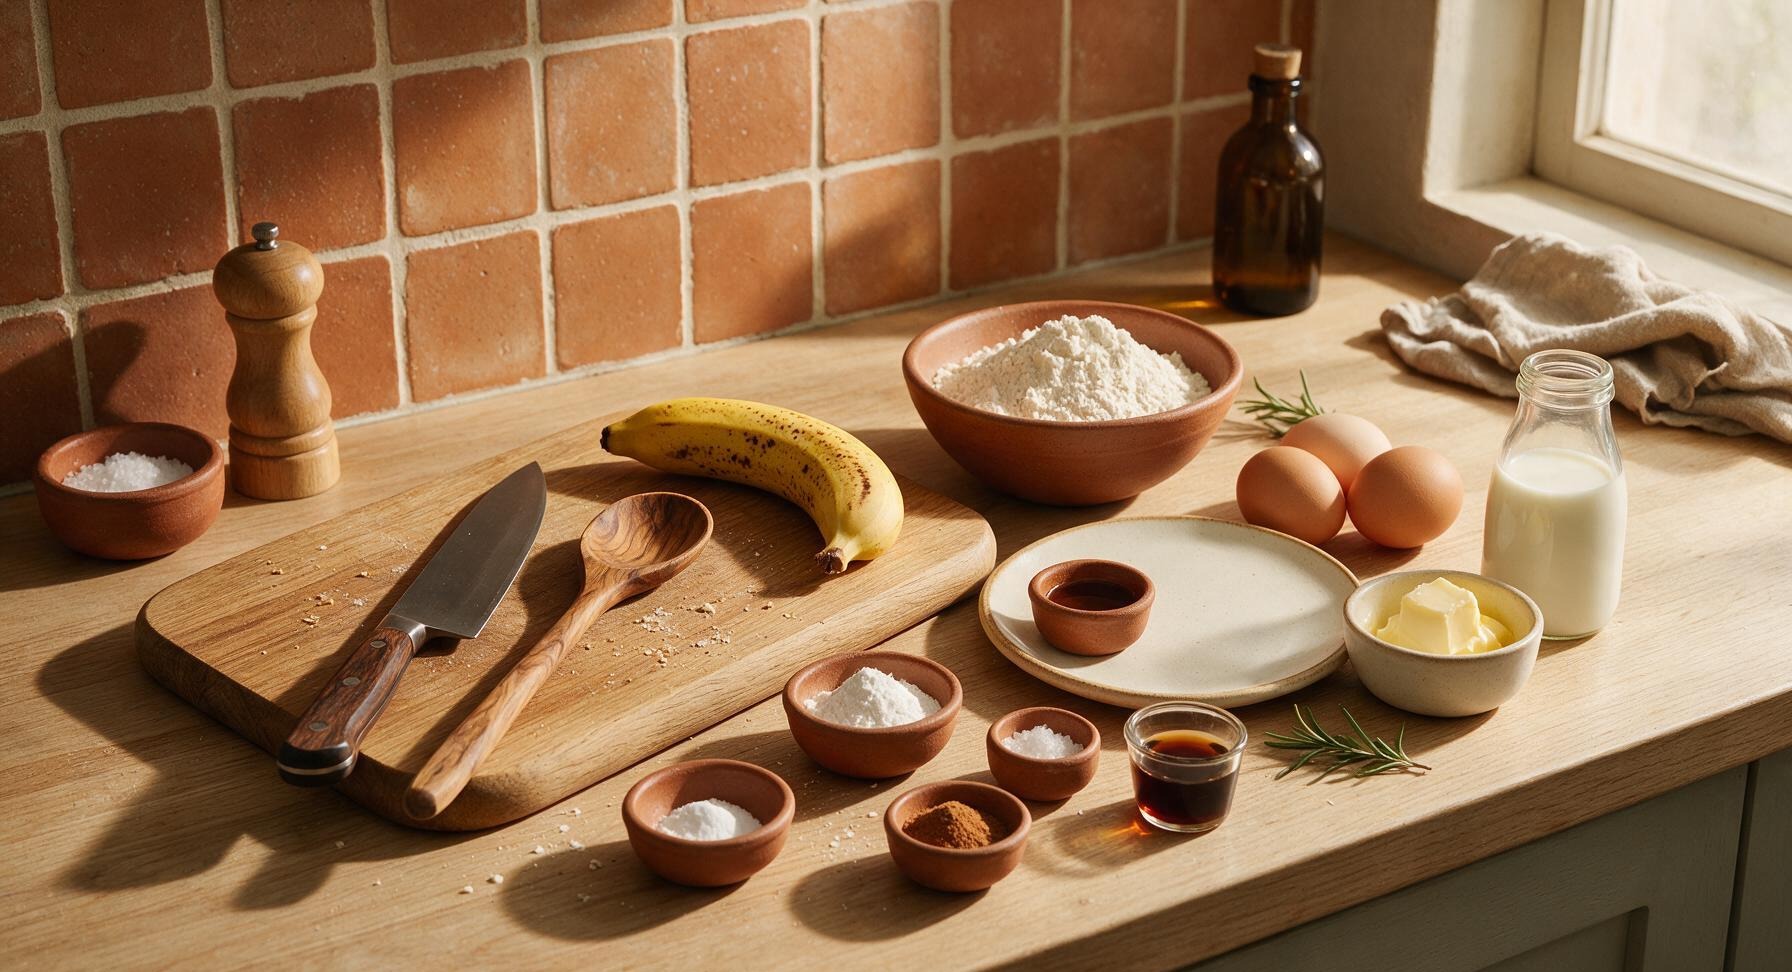
Sprinkle the 1 ½ cups gluten-free all-purpose flour, 2 tsp baking powder, ½ tsp baking soda, 1 tsp ground cinnamon, and ¼ tsp fine sea salt evenly over the top of the wet mixture in the bowl. Do not dump all the flour in one spot, as this can create clumps that are hard to stir out.
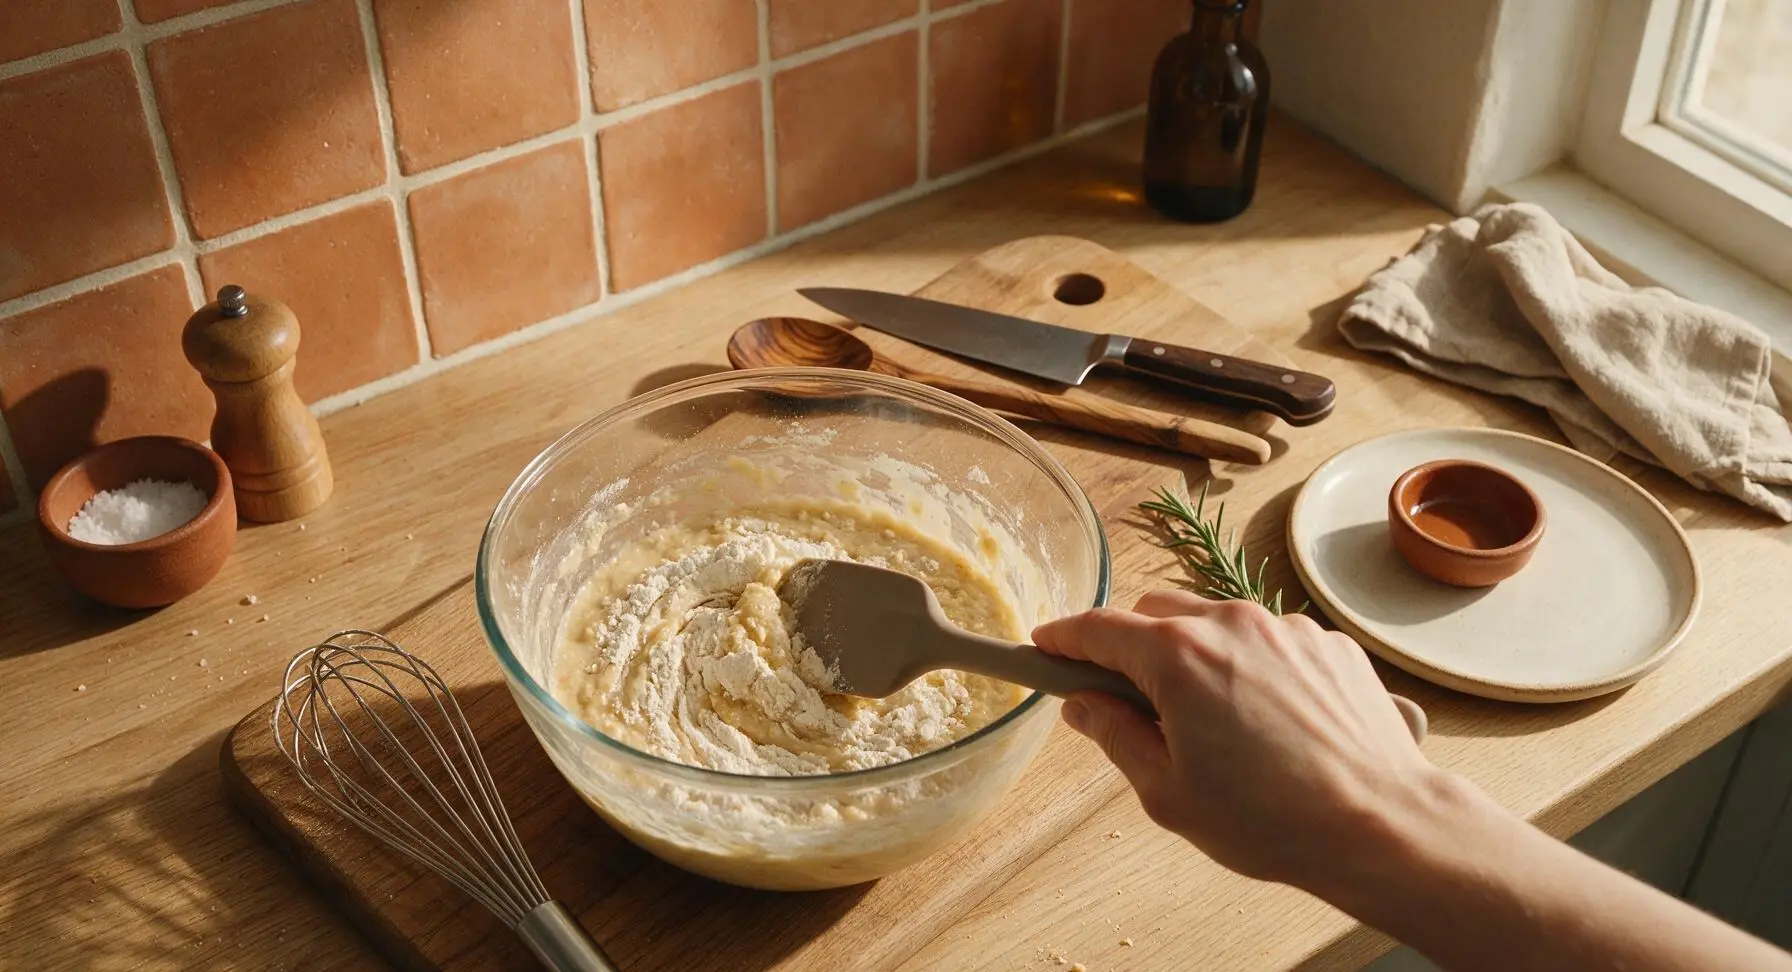
Mix Waffle Batter
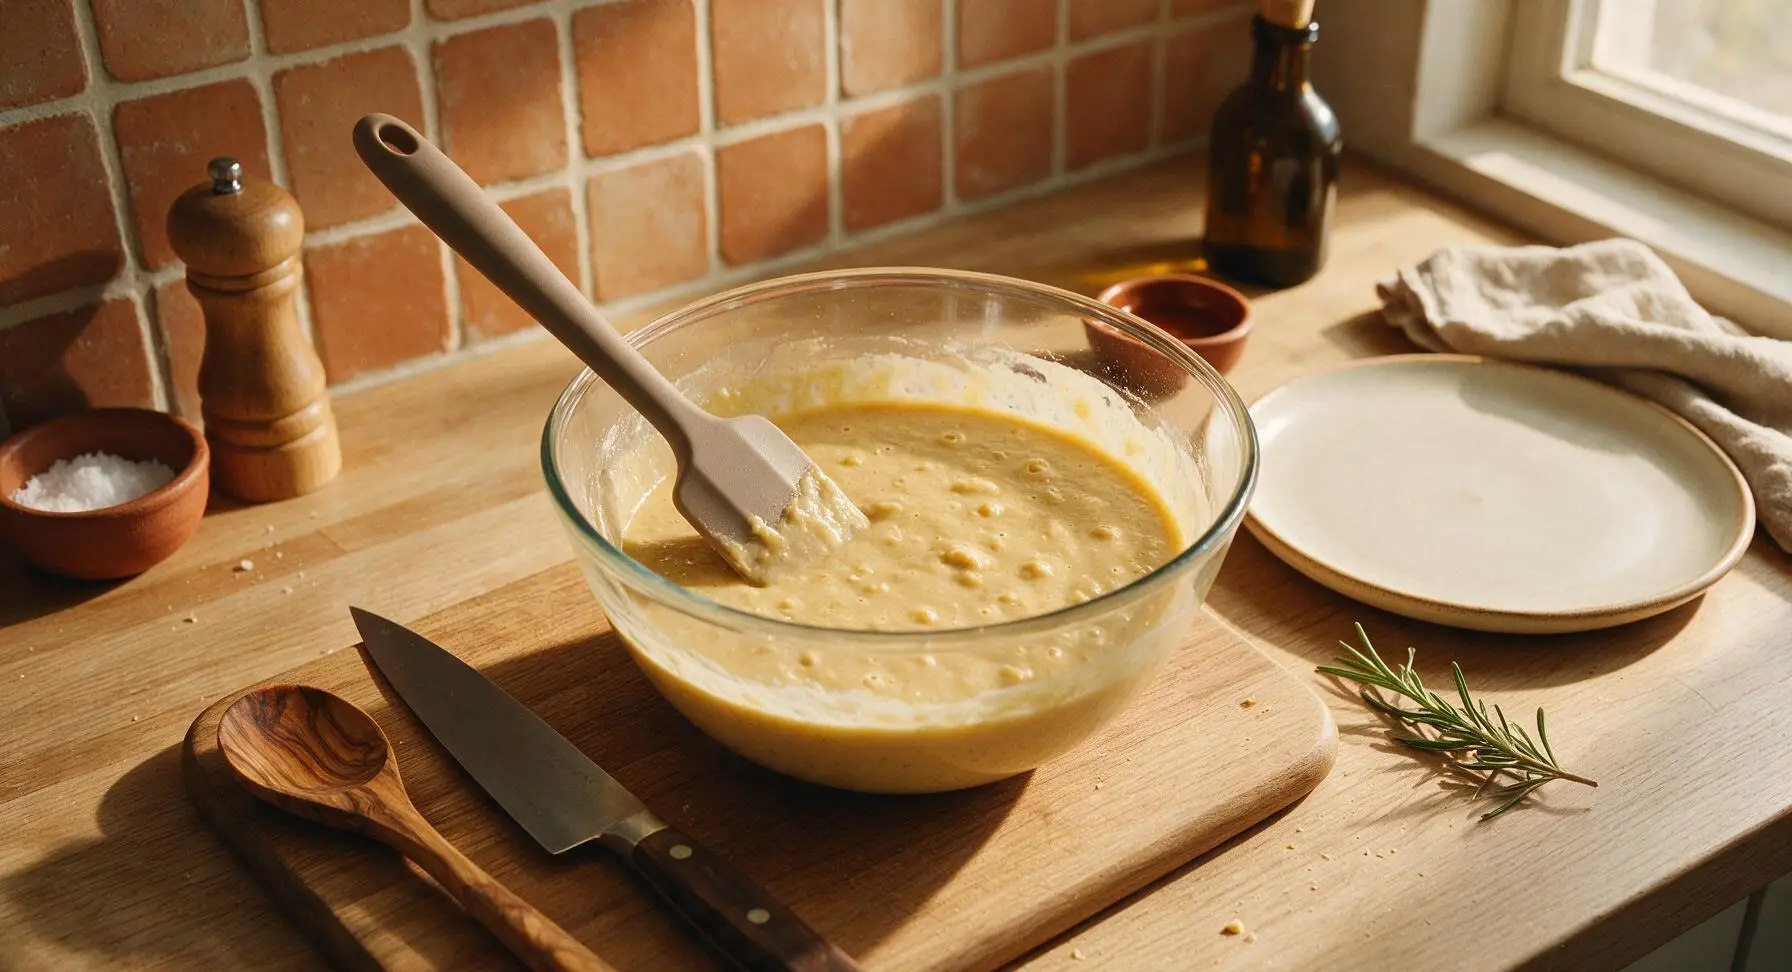
Use the matte taupe silicone spatula to gently fold the dry ingredients into the wet ingredients, stirring just until no dry flour streaks remain. The batter will be thick, slightly lumpy, and scoopable—do not overmix, as overstirring will develop the flour starches and create tough, dense waffles. Let the batter rest for 3 minutes to allow the flour to absorb the liquid; it will thicken slightly as it rests.
Pour Batter Onto Iron
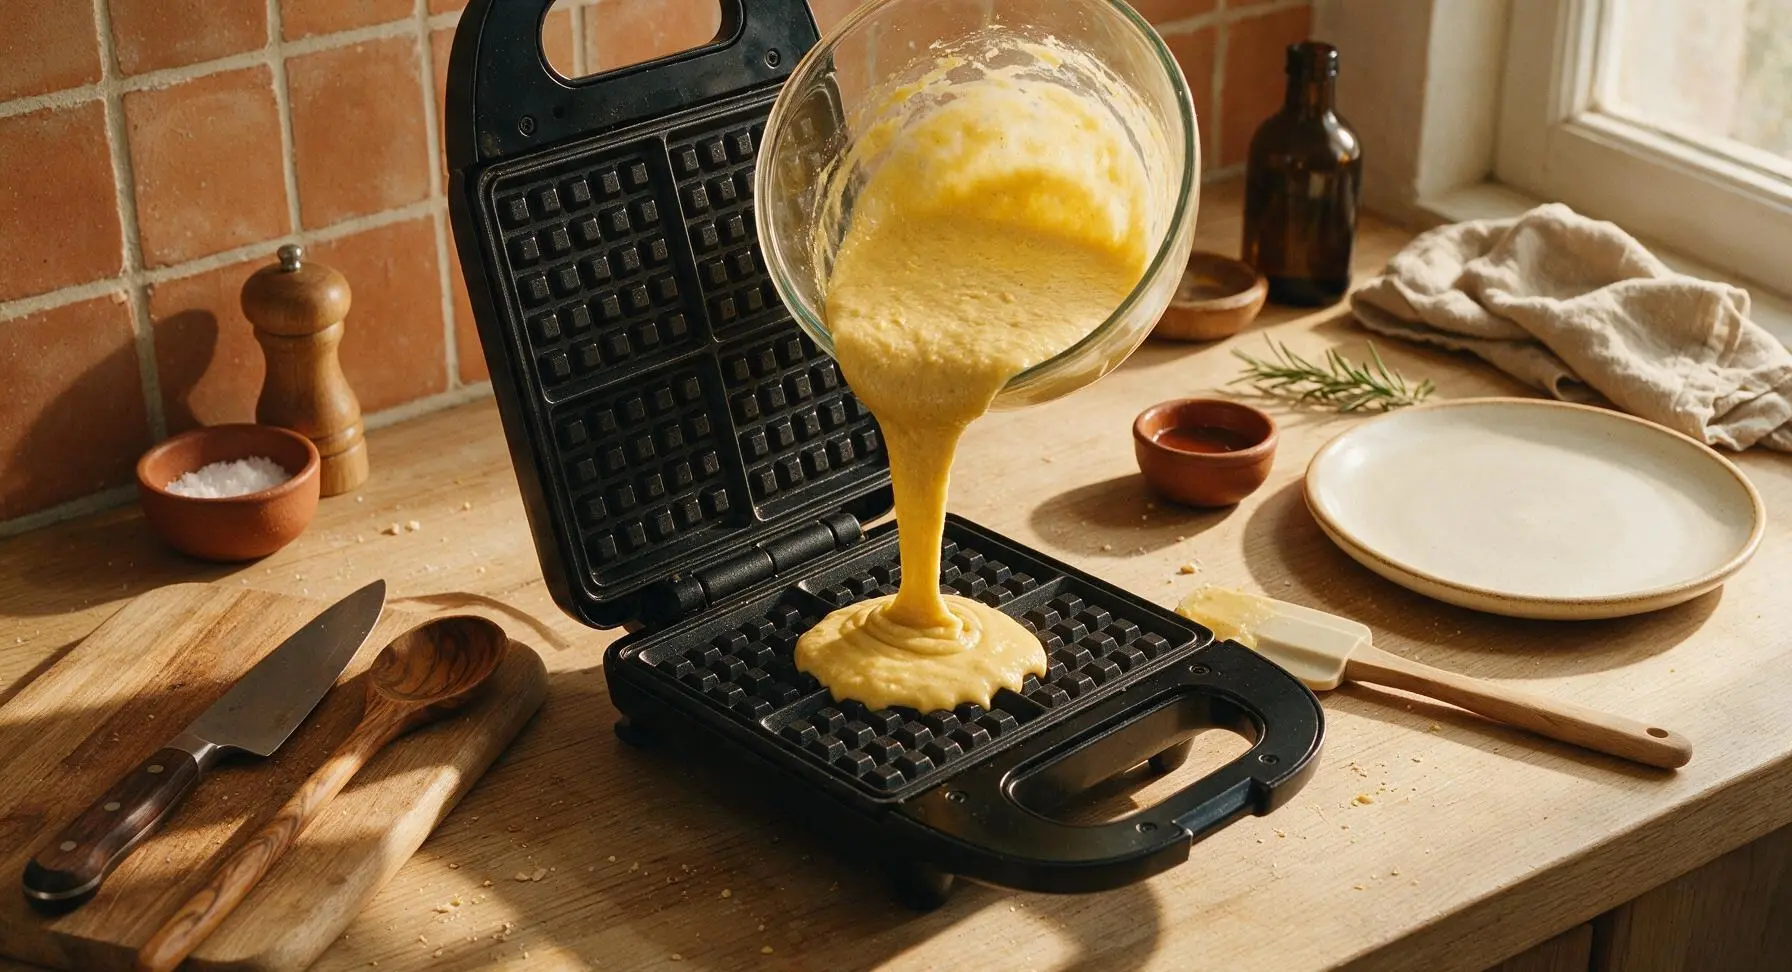
Once the waffle maker is fully preheated, open the lid and lightly coat the cooking grids with a thin layer of non-stick spray or extra melted butter. Pour ¾ cup of batter onto the center of the lower waffle grid, spreading it gently almost to the edges with the tip of the spatula—do not spread all the way to the edge, as the batter will expand as it cooks. Close the lid and latch it (if your model has a latch).
Cook Until Golden
Cook the waffle for 4 to 5 minutes, until the indicator light shows the waffle is done, or until steam stops escaping from the edges of the waffle maker. The waffle should be deep golden brown, crisp on the outside, and release easily from the grids when you lift the lid—do not pry it loose early, as it will stick and tear.
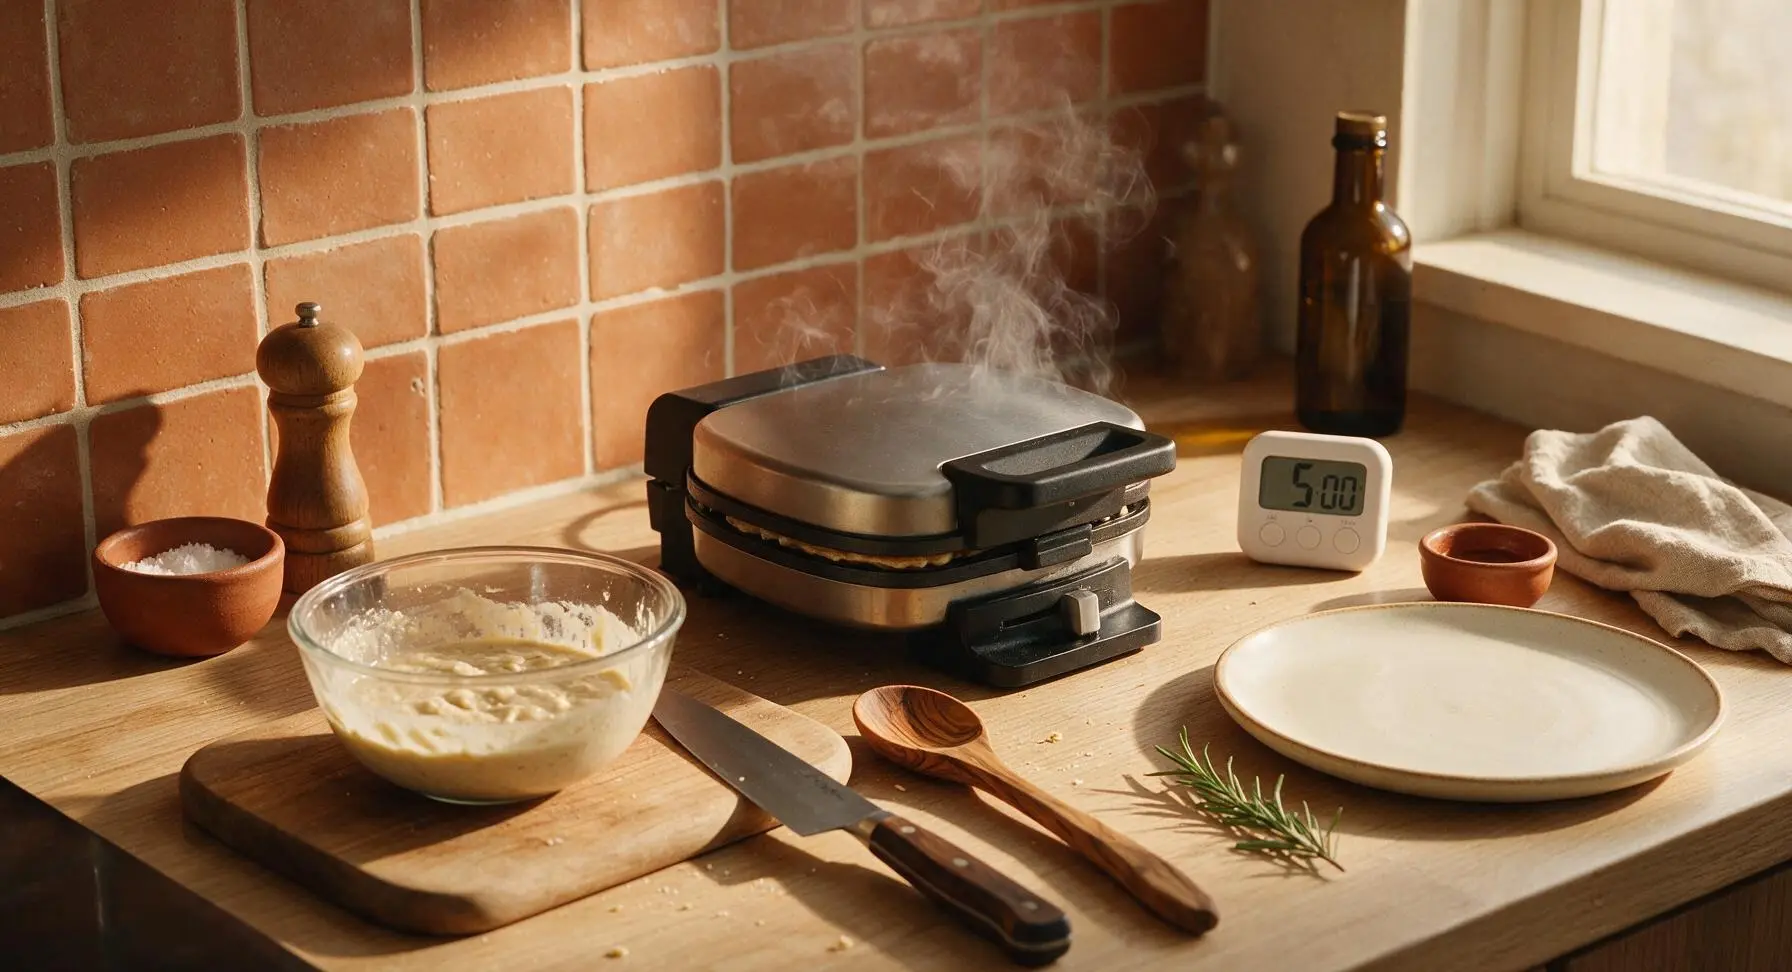
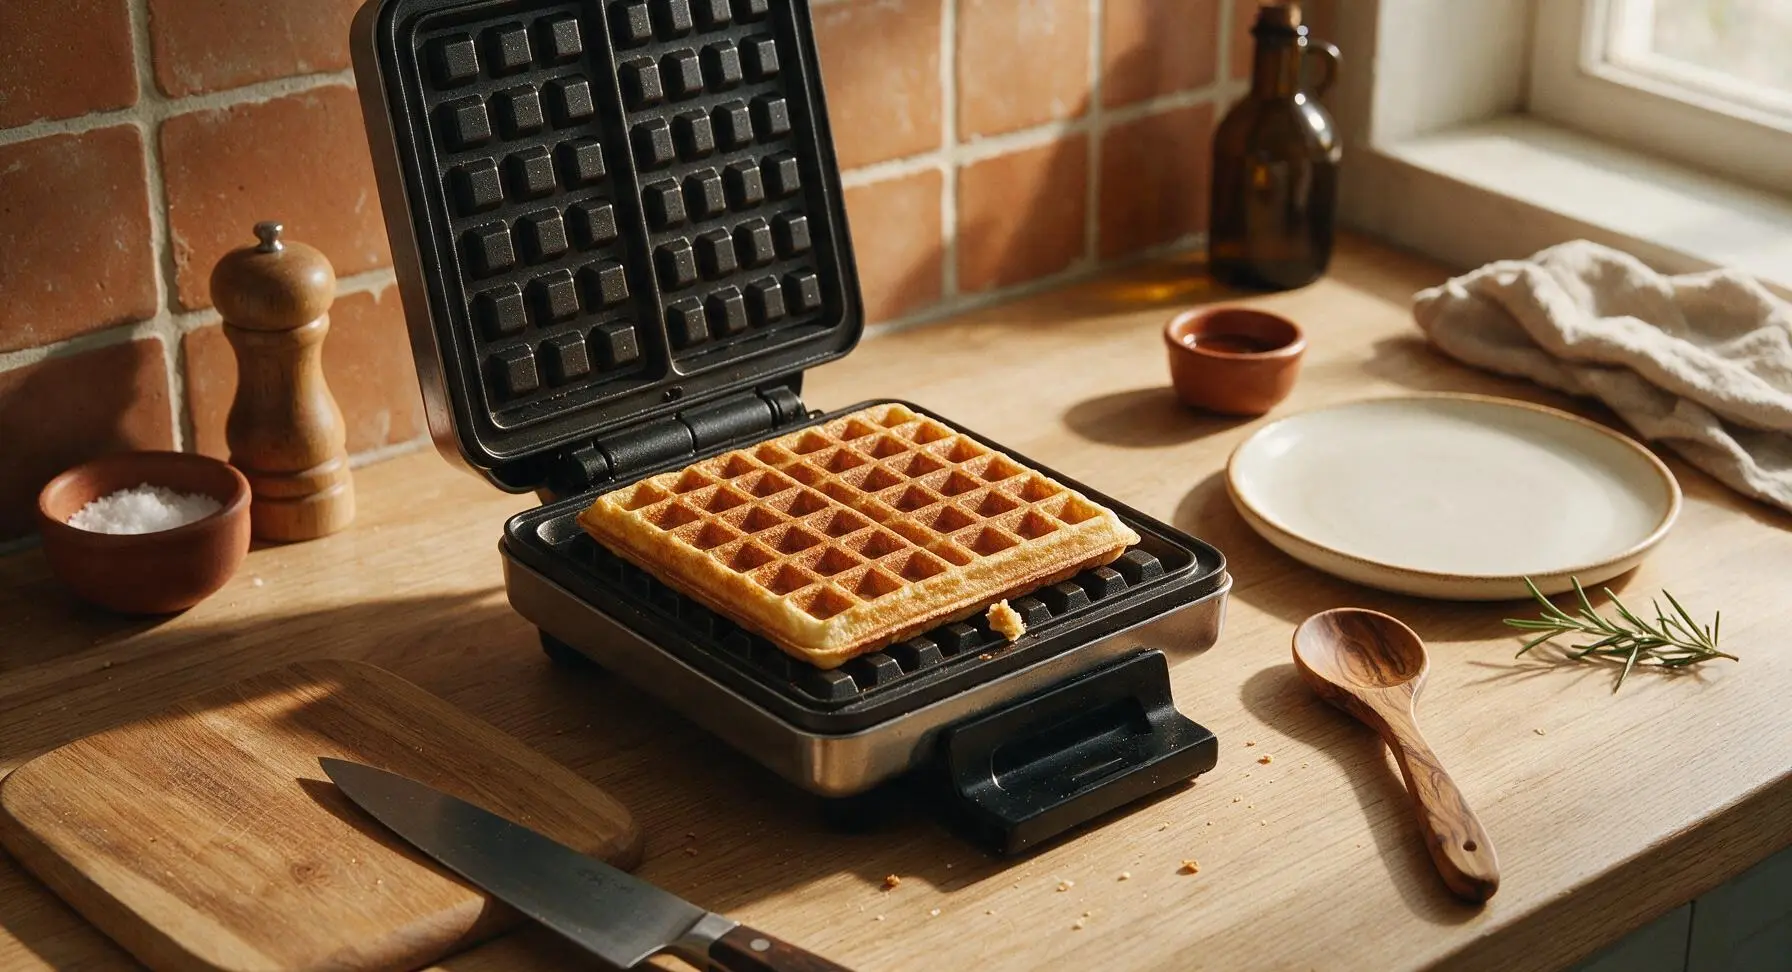
Plate and Serve
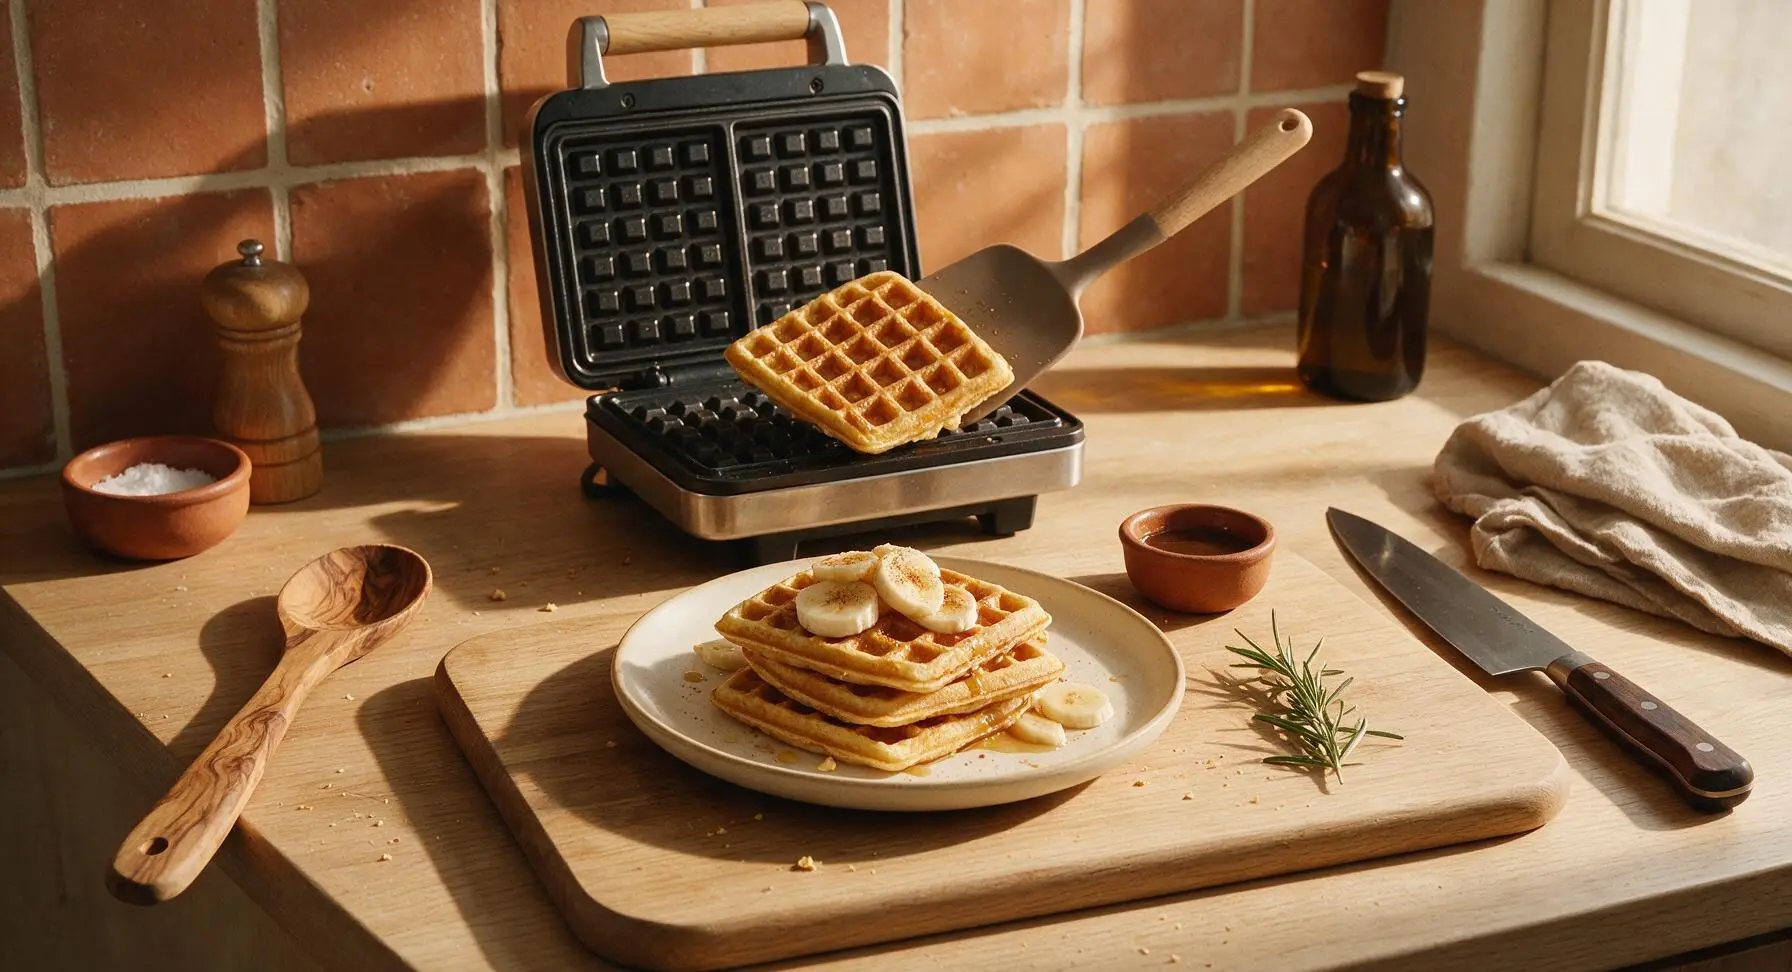
Use the silicone spatula to lift the cooked waffle from the iron and transfer it to the matte cream white ceramic dinner plate. Repeat cooking the remaining batter, stacking cooked waffles on the plate as you go, until all batter is used (you will make 4 total waffles). Top with fresh banana slices, a light drizzle of maple syrup, and a pinch of cinnamon if desired, and serve immediately while hot and crisp.
Tips
2.Resist the urge to overmix the batter! Gluten-free flour blends turn gummy and tough when overstirred, unlike traditional wheat flour. Small lumps in the batter are completely normal and will disappear as the waffles cook, producing light, fluffy results.
3.Keep cooked waffles crisp while you make remaining batches by setting them on a wire rack over a baking sheet in a 200°F (95°C) oven, rather than stacking them directly on a plate. Stacking traps steam between waffles, which softens the crisp outer edges quickly.






OMG these gluten-free banana waffles are a total game changer! My 3 and 5 year old are super picky and they devoured their entire servings before I even got to sit down this morning. I added a handful of mini chocolate chips because, duh, chocolate for Saturday breakfasts. 10/10 will be making these every weekend from now on.
SO good! I made a double batch on Sunday for quick weekday breakfasts before work, they heat up perfectly in the toaster even after 4 days in the fridge. No weird gritty gluten-free flour texture like so many other GF waffle recipes I’ve tried, the banana keeps them so moist. Already sent this link to my entire GF friend group.
Great easy recipe for post-workout breakfast! I swapped the regular maple syrup for a sugar free version and topped with a scoop of peanut butter and sliced banana, hit all my macro goals and didn’t feel like I was eating boring diet food. Only note: my waffle iron took a little longer than the stated cook time to get them crispy, but that’s probably just my old appliance.
Brought these to my office potluck last week (half my team is gluten free so I’m always hunting for safe, tasty recipes) and EVERYONE asked for the recipe, even the people who don’t avoid gluten! People couldn’t believe they were GF. I topped them with a little cinnamon whipped cream and it was chef’s kiss.
Made these before our early morning family hike last weekend, they held up great wrapped in foil in our backpacks for a quick trail breakfast. The banana gave just enough natural sweetness that we didn’t even need extra syrup, which was perfect for messy eating on the go. Super easy to throw together even at 5am when half the house is still half asleep.
First GF recipe I’ve tried that didn’t turn into a crumbly mess! I’ve only been eating gluten free for 2 months after a celiac diagnosis and I was so scared I’d never have good waffles again. These taste exactly like the regular banana waffles my mom made when I was a kid, no weird aftertaste at all. So glad I stumbled on this site!
Took 15 minutes exactly like the recipe said, which is perfect for my chaotic weekday mornings when I’m running out the door to drop my kid at school. I was worried easy = bland, but no, these are packed with banana flavor and get perfectly crispy on the edges if you spray your waffle iron well. 10/10, no notes.