
gluten free waffle cones

title 1
gluten free waffle cones
⏱️ cook time 20 minutes
🍽️ servings 8
⚡ Difficulty medium

intro

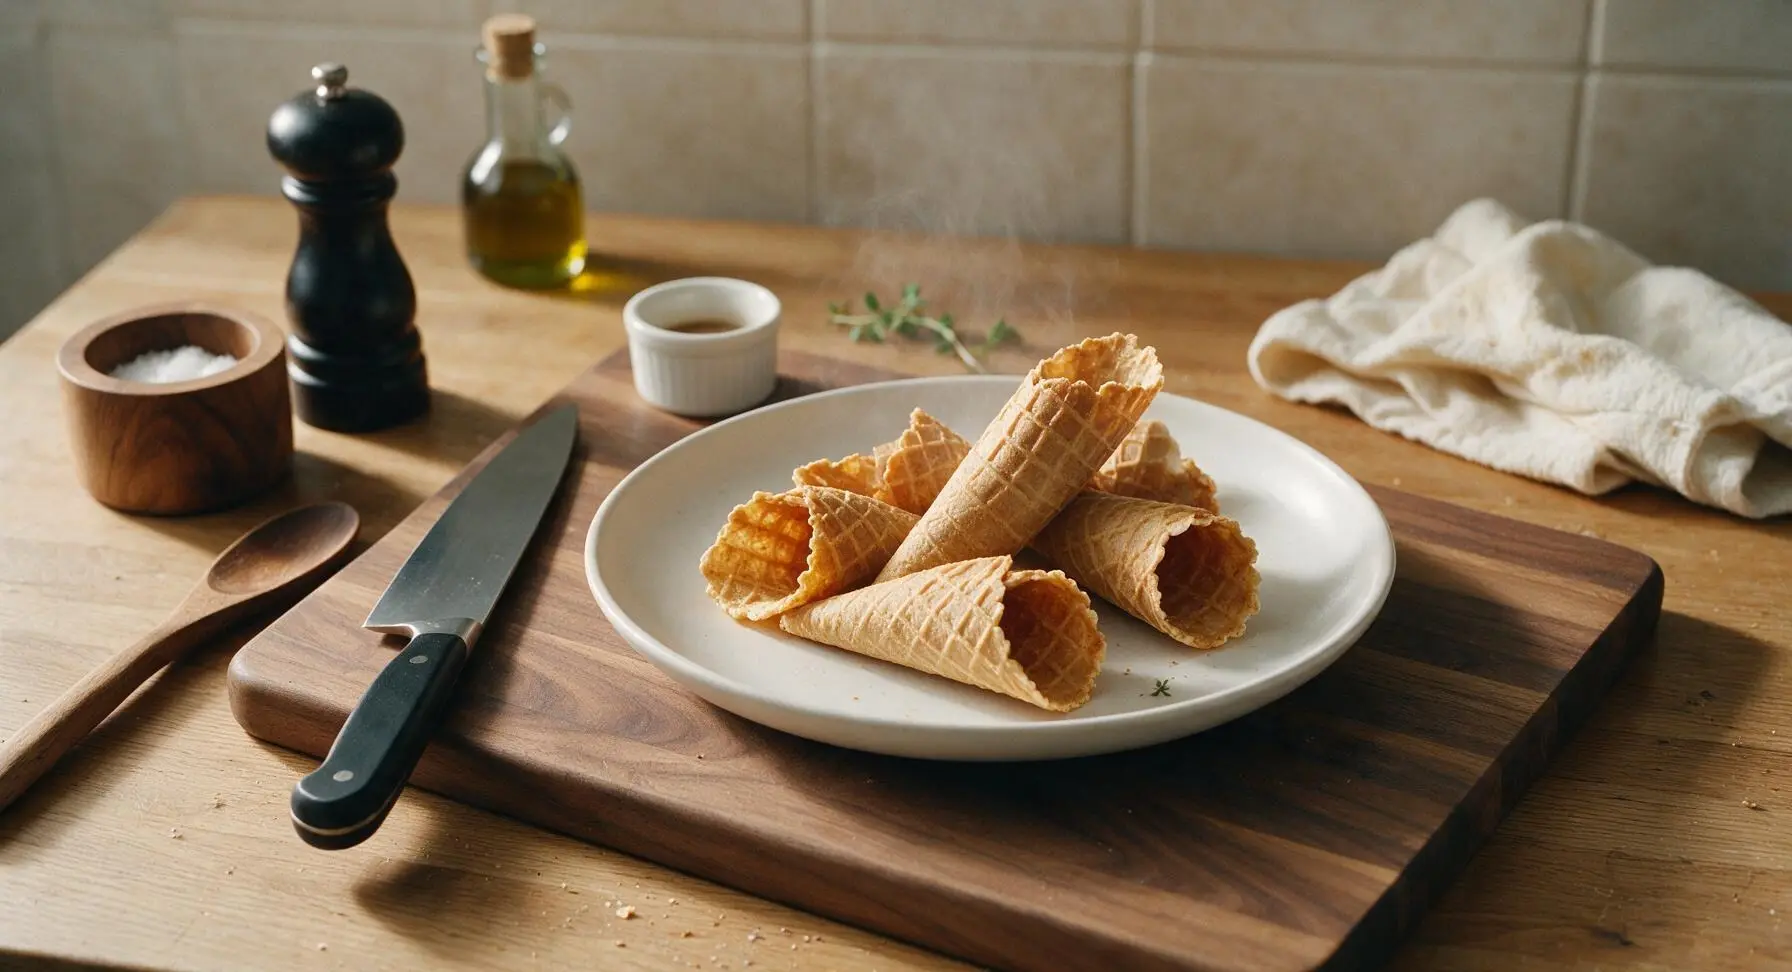
Crisp, buttery, snappy gluten-free waffle cones with nostalgic vanilla sweetness, sturdy enough to hold ice cream without sogginess for all your summer treats.

Ingredients
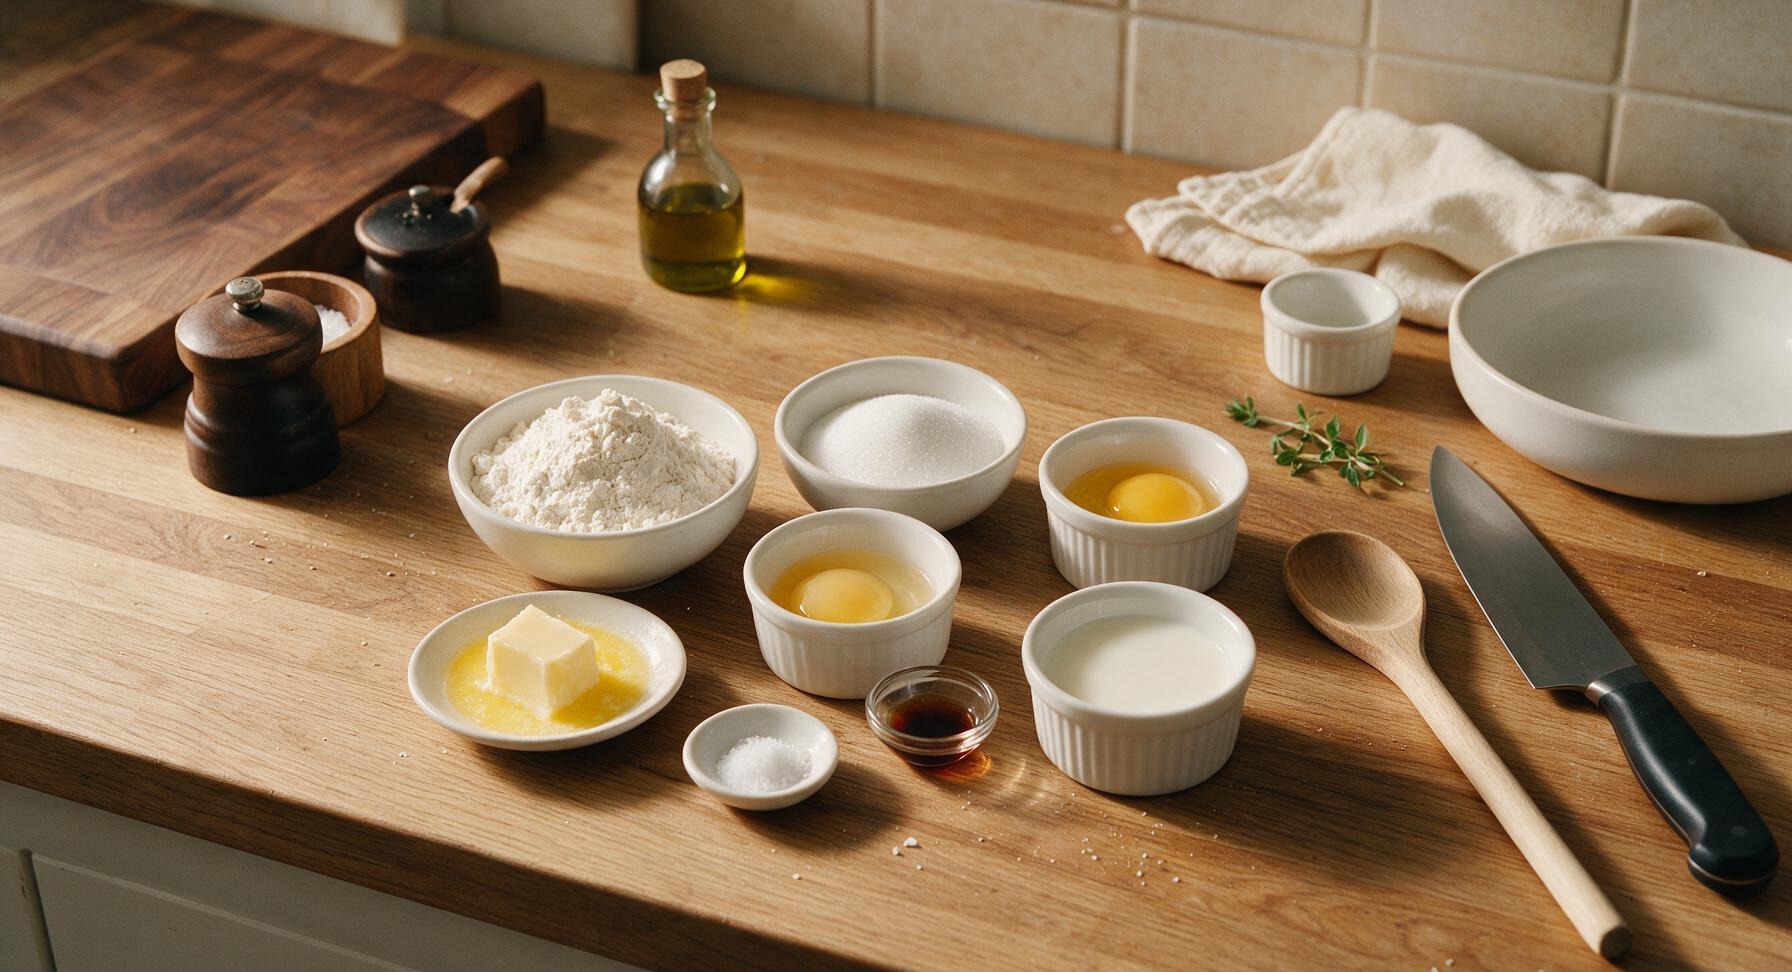
Gluten-free all-purpose flour blend (with xanthan gum) 2/3 cup (90g)
Granulated sugar 1/2 cup (100g)
Unsalted butter, melted and cooled 5 minutes 1/4 cup (57g)
Large egg whites, room temperature 2 (60g)
Whole milk, room temperature 2 tbsp (30ml)
Pure vanilla extract 1 tsp
Fine sea salt 1/4 tsp

Steps

1

Preheat Waffle Maker

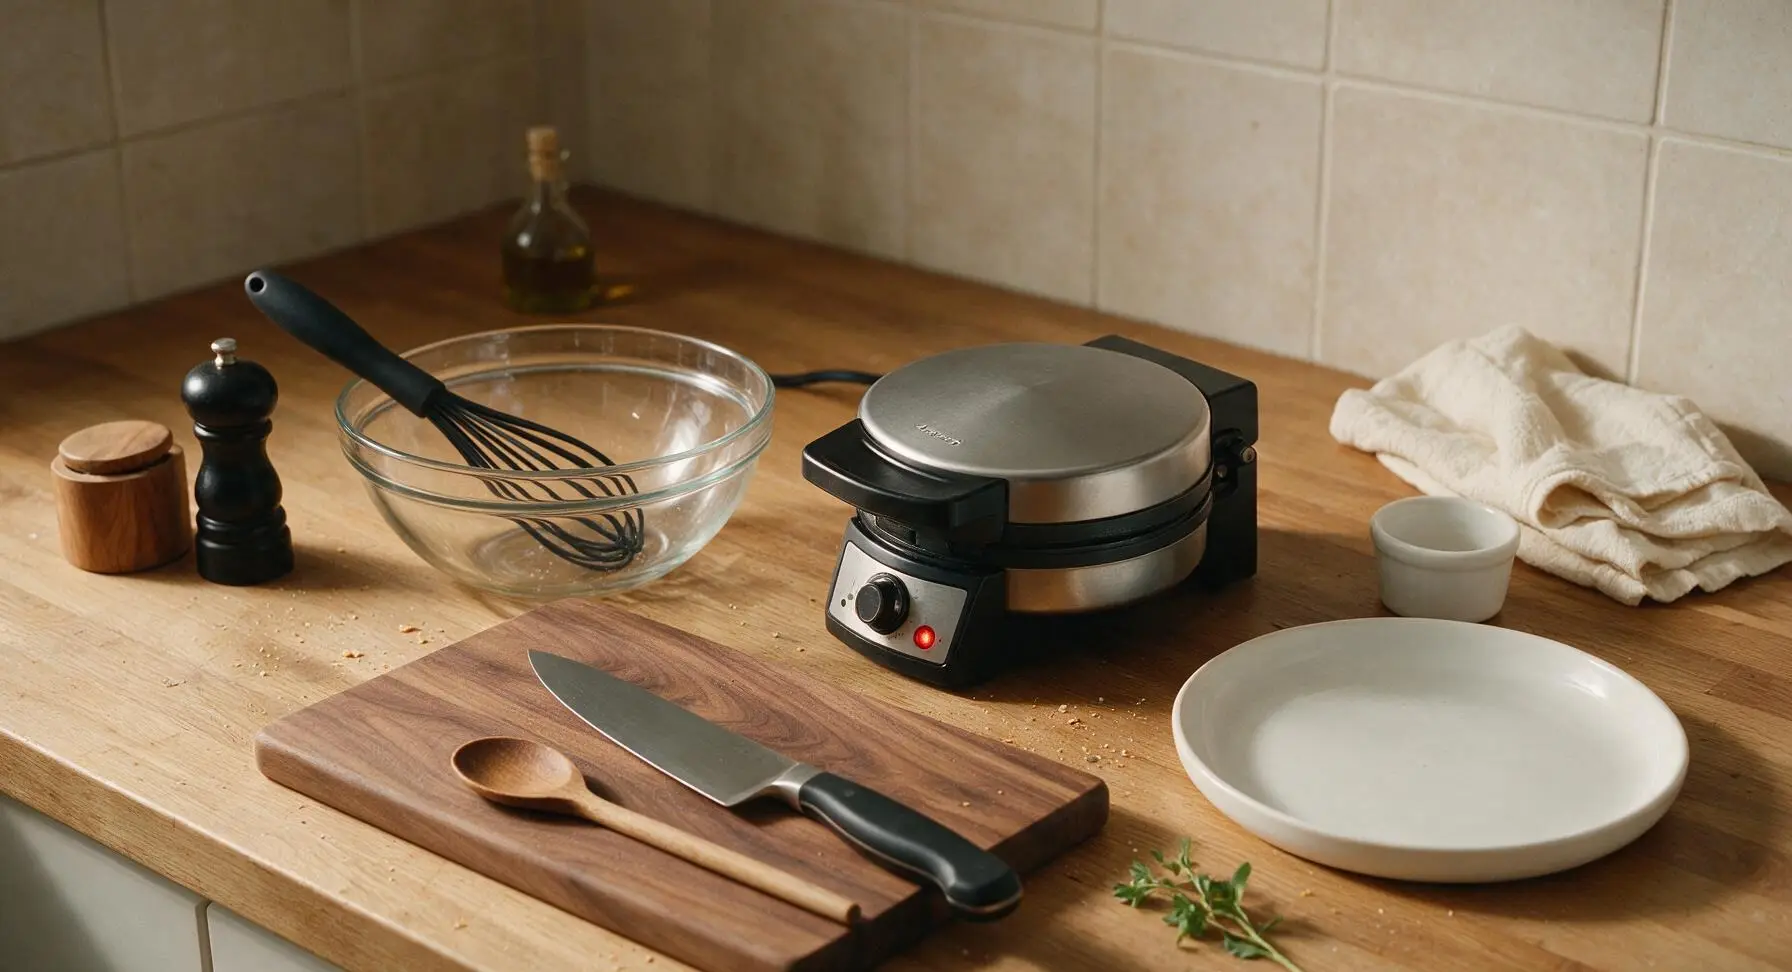
Plug in the 7-inch waffle cone maker and preheat to medium-high heat (375°F / 190°C) while you mix the batter. The ready indicator light will turn on when the plates reach full temperature, about 3 minutes. Do not grease the non-stick plates, as the butter in the batter will prevent sticking.
Step 1
step1:Preheat Waffle Maker
2

Whisk Dry Ingredients

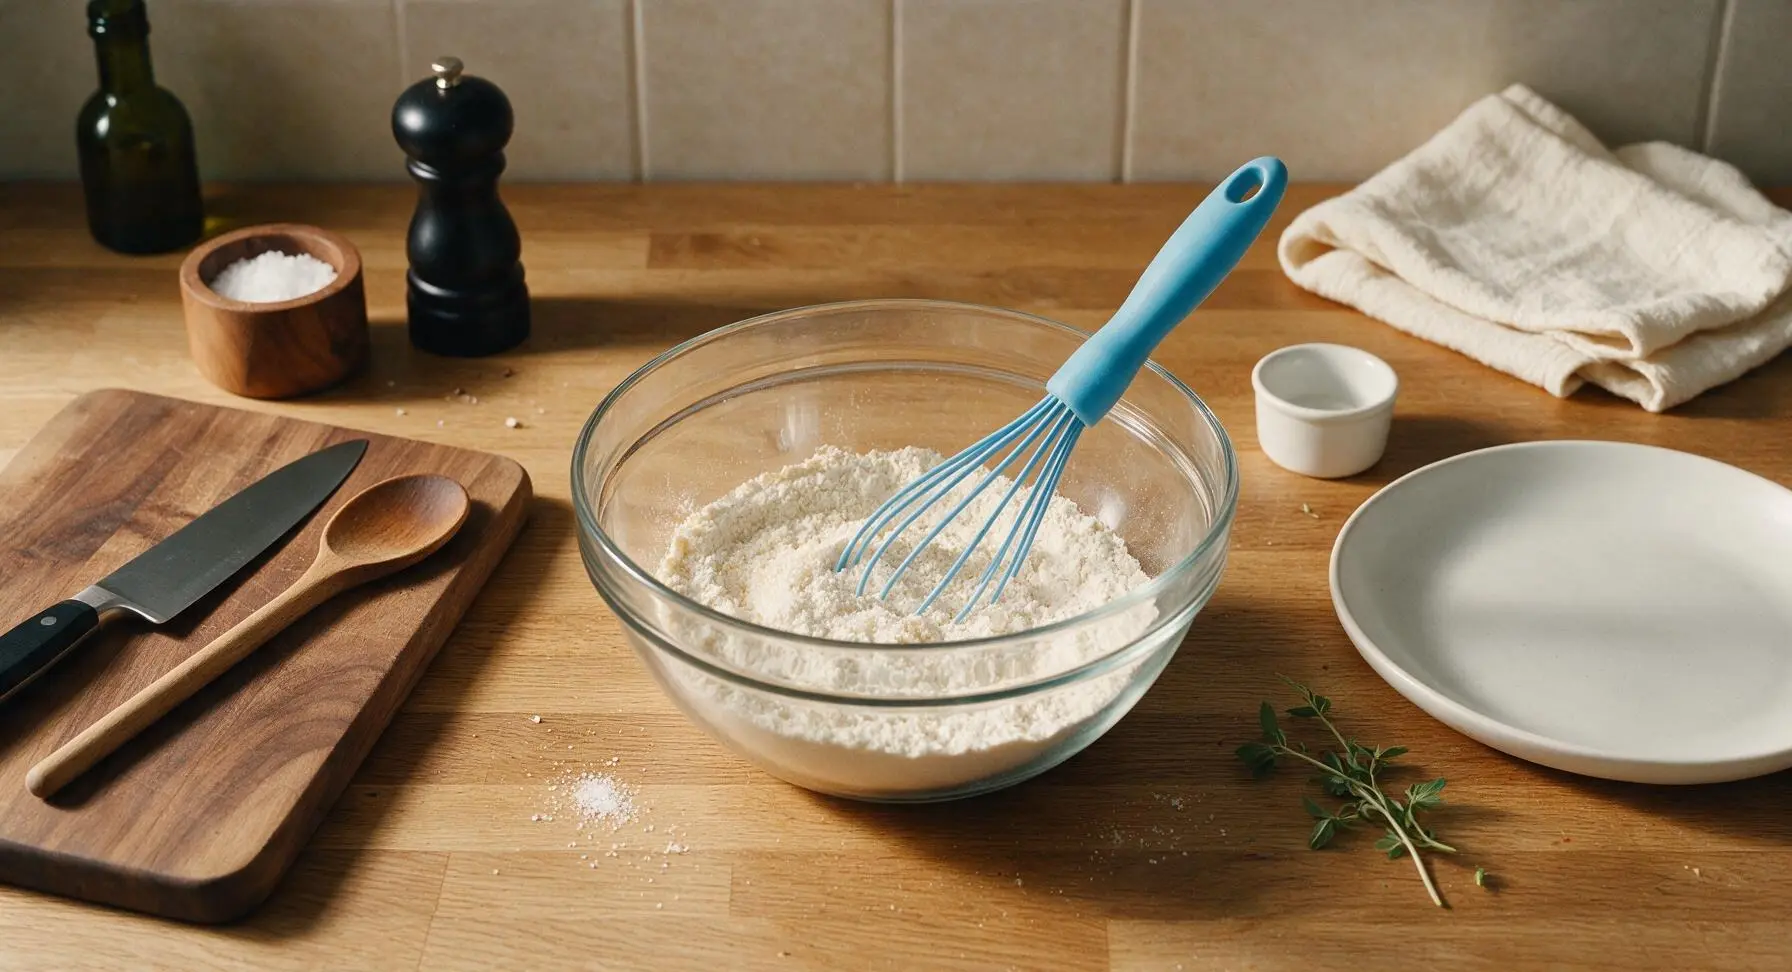
Add the 2/3 cup gluten-free all-purpose flour, ½ cup granulated sugar, and ¼ tsp fine sea salt to the 2-quart glass mixing bowl. Use the sky blue silicone whisk to stir the dry ingredients for 30 seconds until fully combined, with no clumps of flour or sugar visible at the bottom of the bowl.
Step 2
step2:Whisk Dry Ingredients
3

Mix Smooth Batter

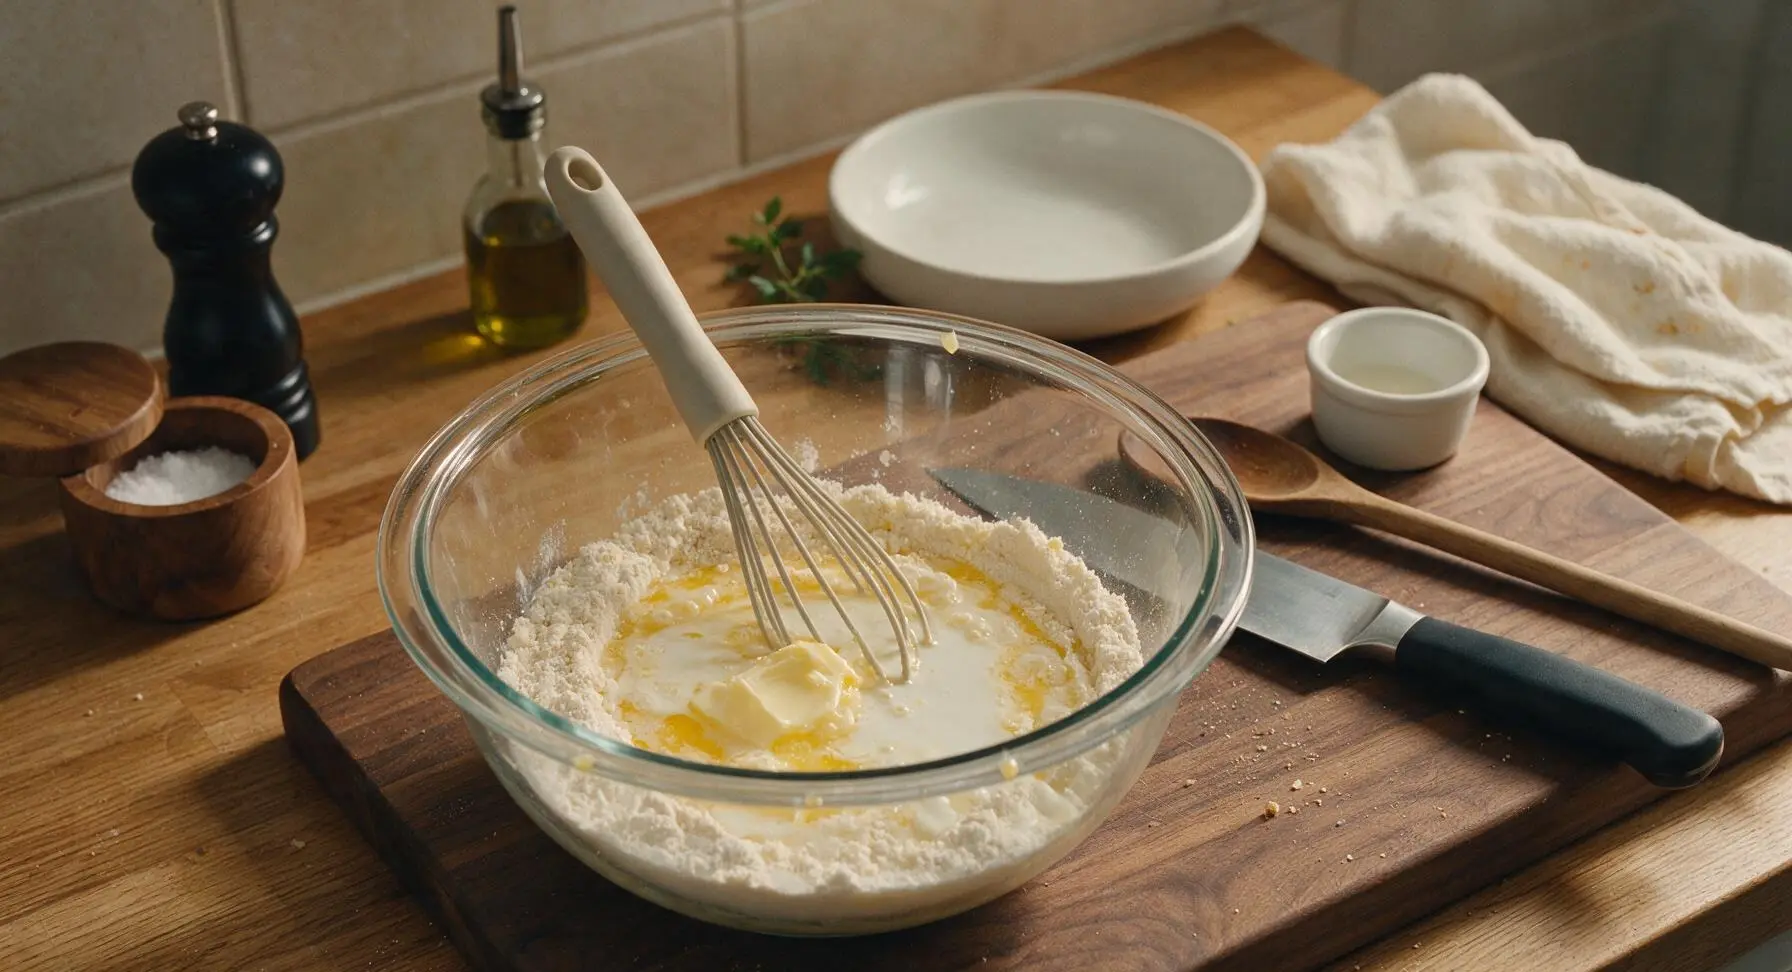
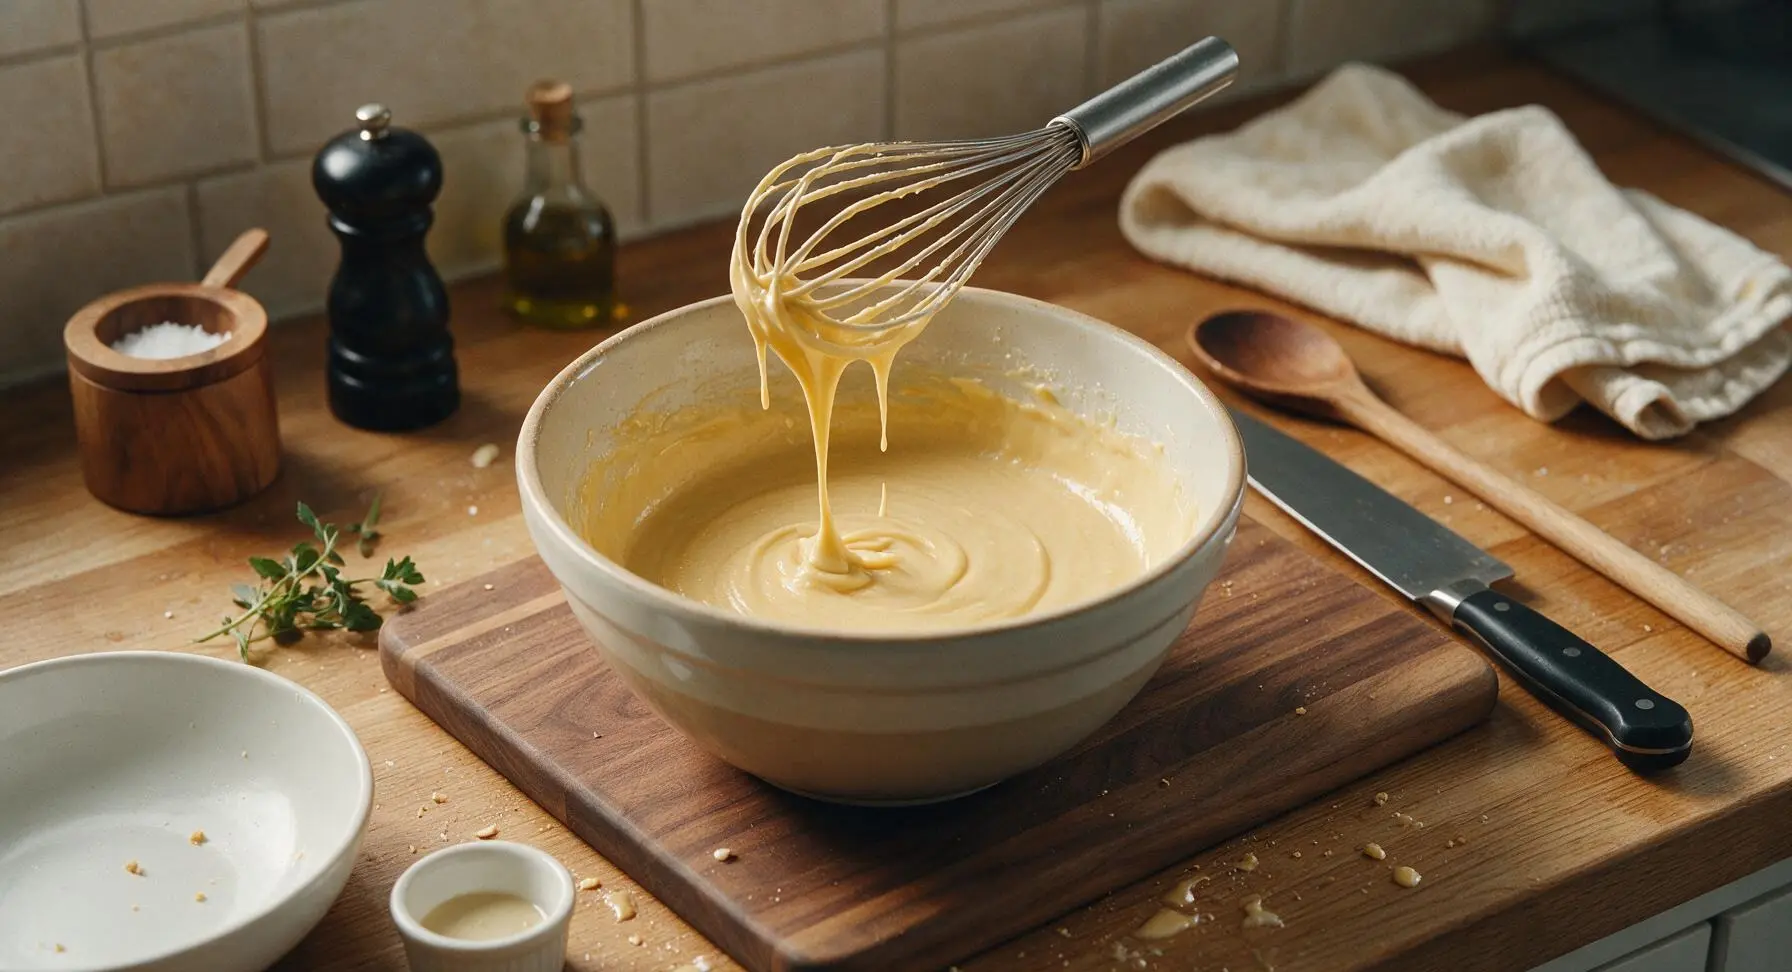
Add the 2 room-temperature egg whites, 2 tbsp whole milk, 1 tsp vanilla extract, and ¼ cup cooled melted butter to the dry ingredients in the mixing bowl. Whisk continuously for 1 minute until the batter is completely smooth, thin, and free of lumps, with the consistency of heavy cream. Let the batter rest for 2 minutes to allow the flour to absorb the liquid.
Step 3
step3:Mix Smooth Batter
Step 3
step3:Mix Smooth Batter
4

Cook Waffle Discs

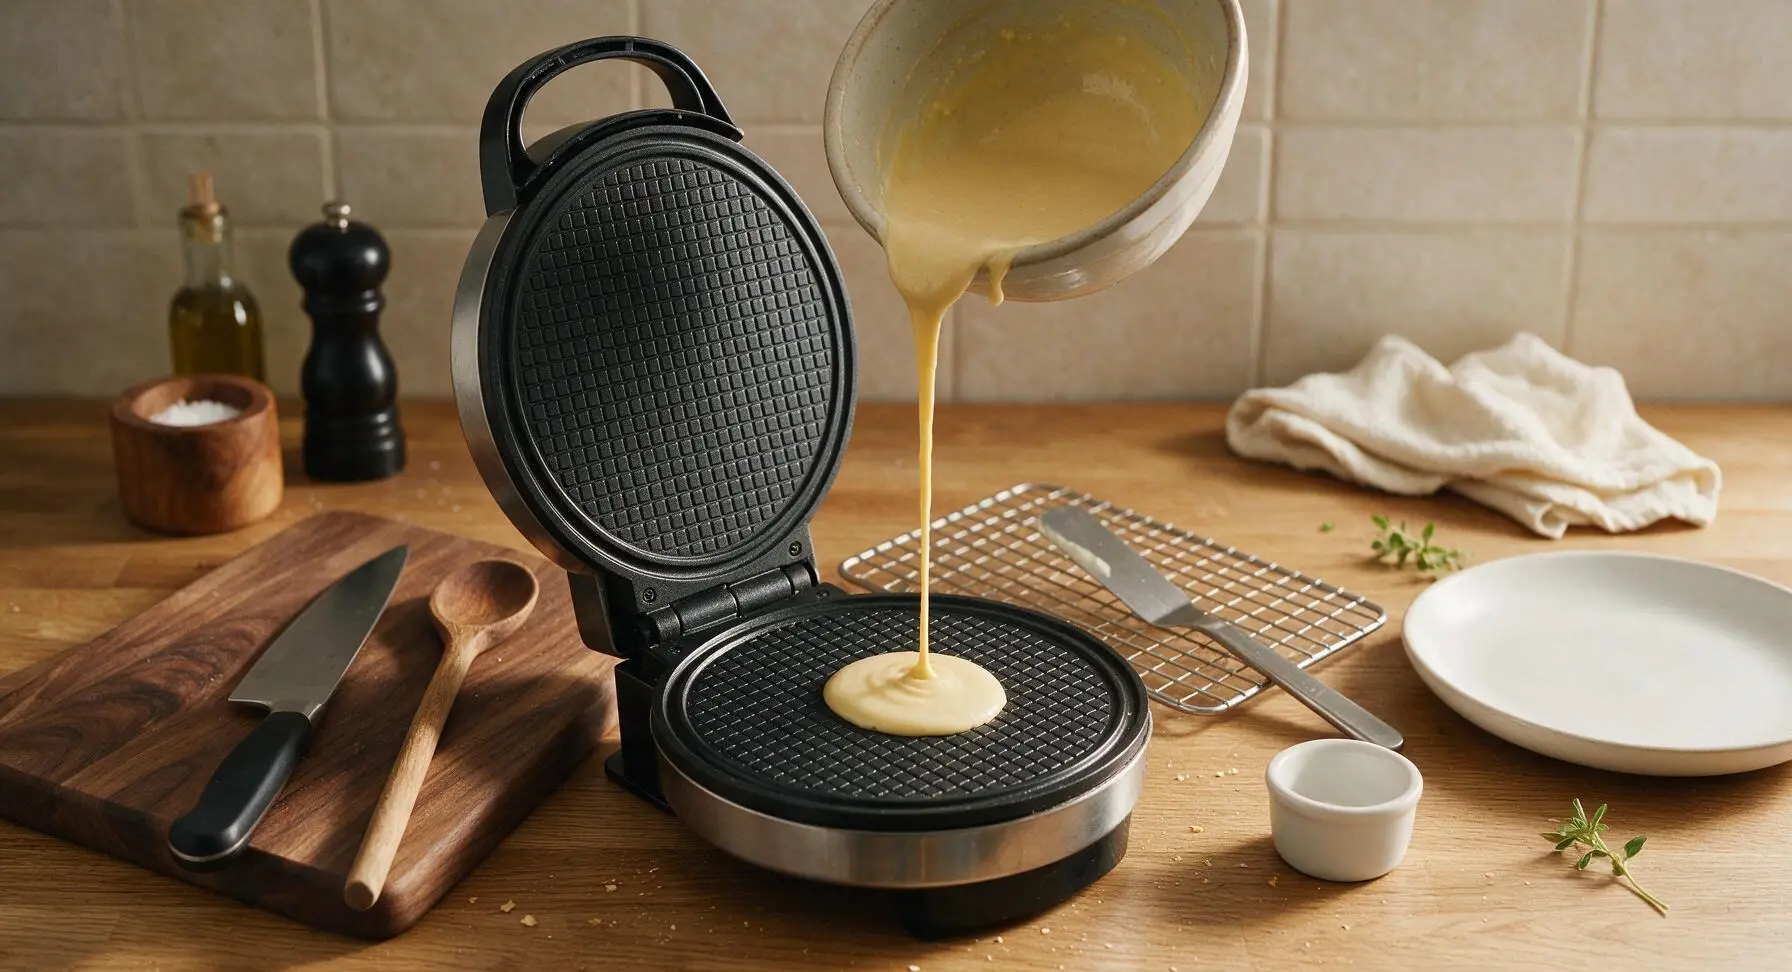
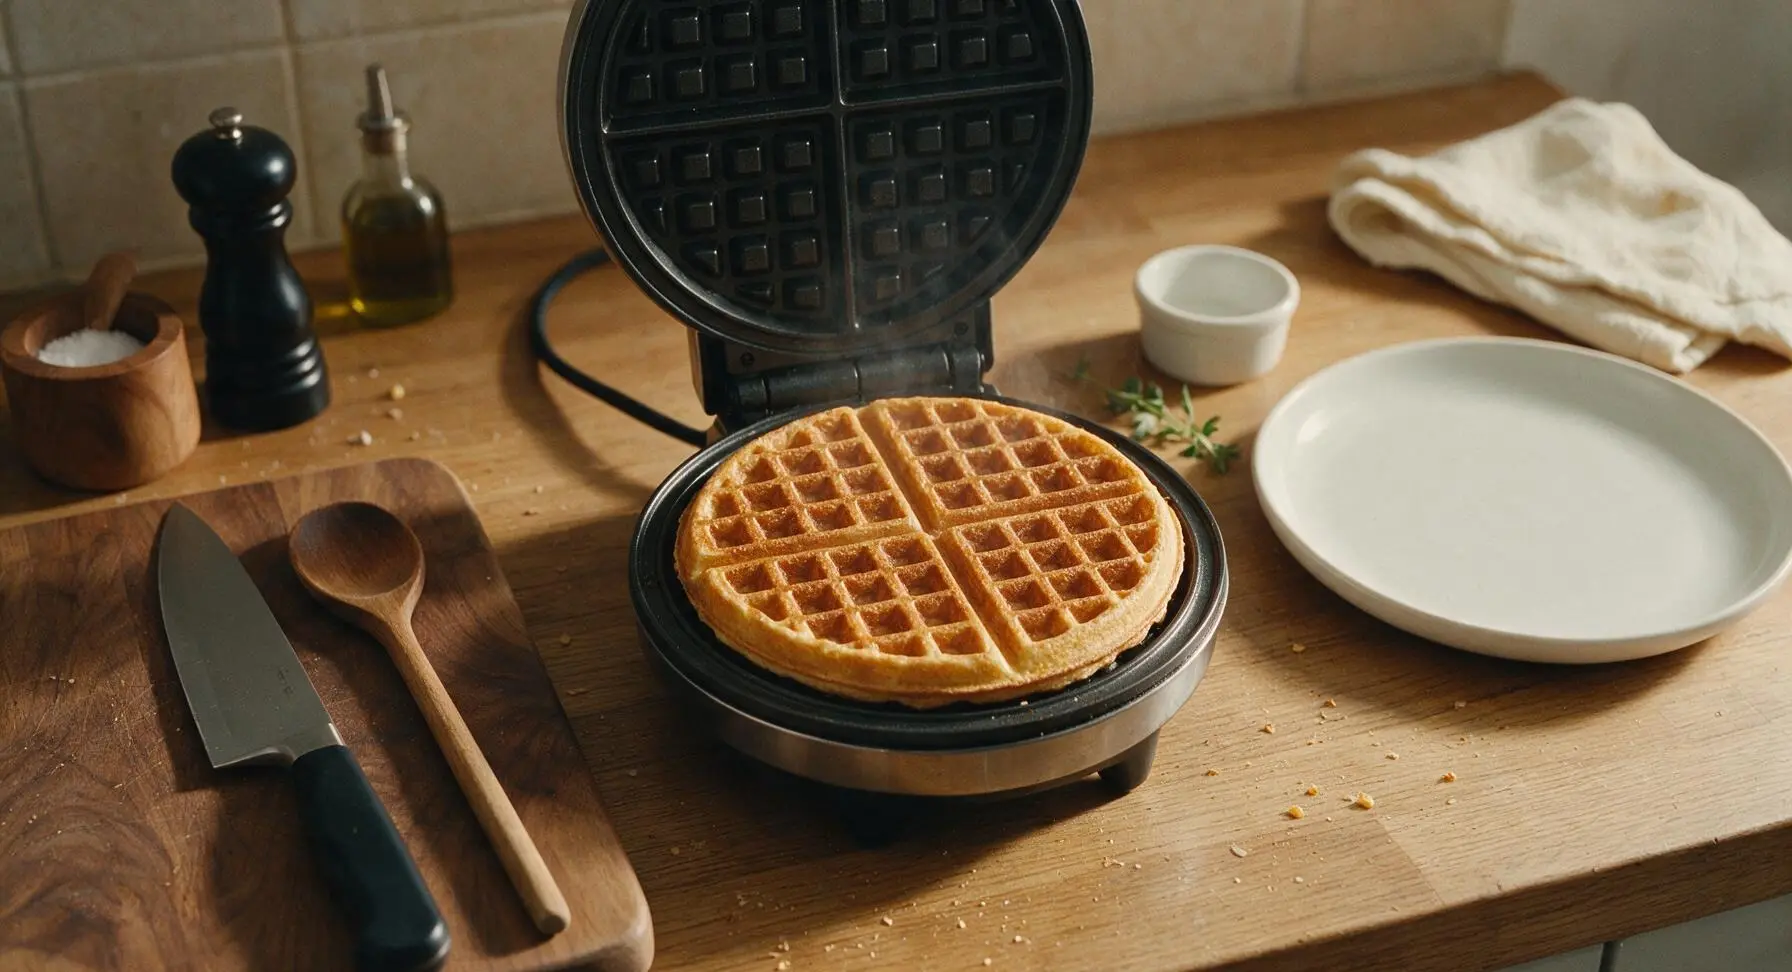
Once the waffle maker is preheated, pour 2 tablespoons of batter directly into the center of the lower cooking plate. Close the lid immediately and cook for 1 minute to 1 minute 15 seconds, until the waffle is deep golden brown all over, not pale blond (pale waffles will not crisp up as they cool). Do not overcook to dark brown, as this will create a bitter taste.
Step 4
step4:Cook Waffle Discs
Step 4
step4:Cook Waffle Discs
5

Shape Hot Cones

Working immediately (the waffle will become stiff and unshapeable after 10 seconds off the heat), use the offset maple-handle spatula to lift the hot waffle disc from the maker and lay it flat on the parchment square next to the beechwood cone form. Position the point of the beechwood cone form at one edge of the waffle, then roll the waffle tightly around the form, using the flat beechwood press to hold the overlapping seam firmly for 5 seconds to seal. Pinch the bottom pointed end of the cone tightly closed to prevent ice cream from leaking out later.
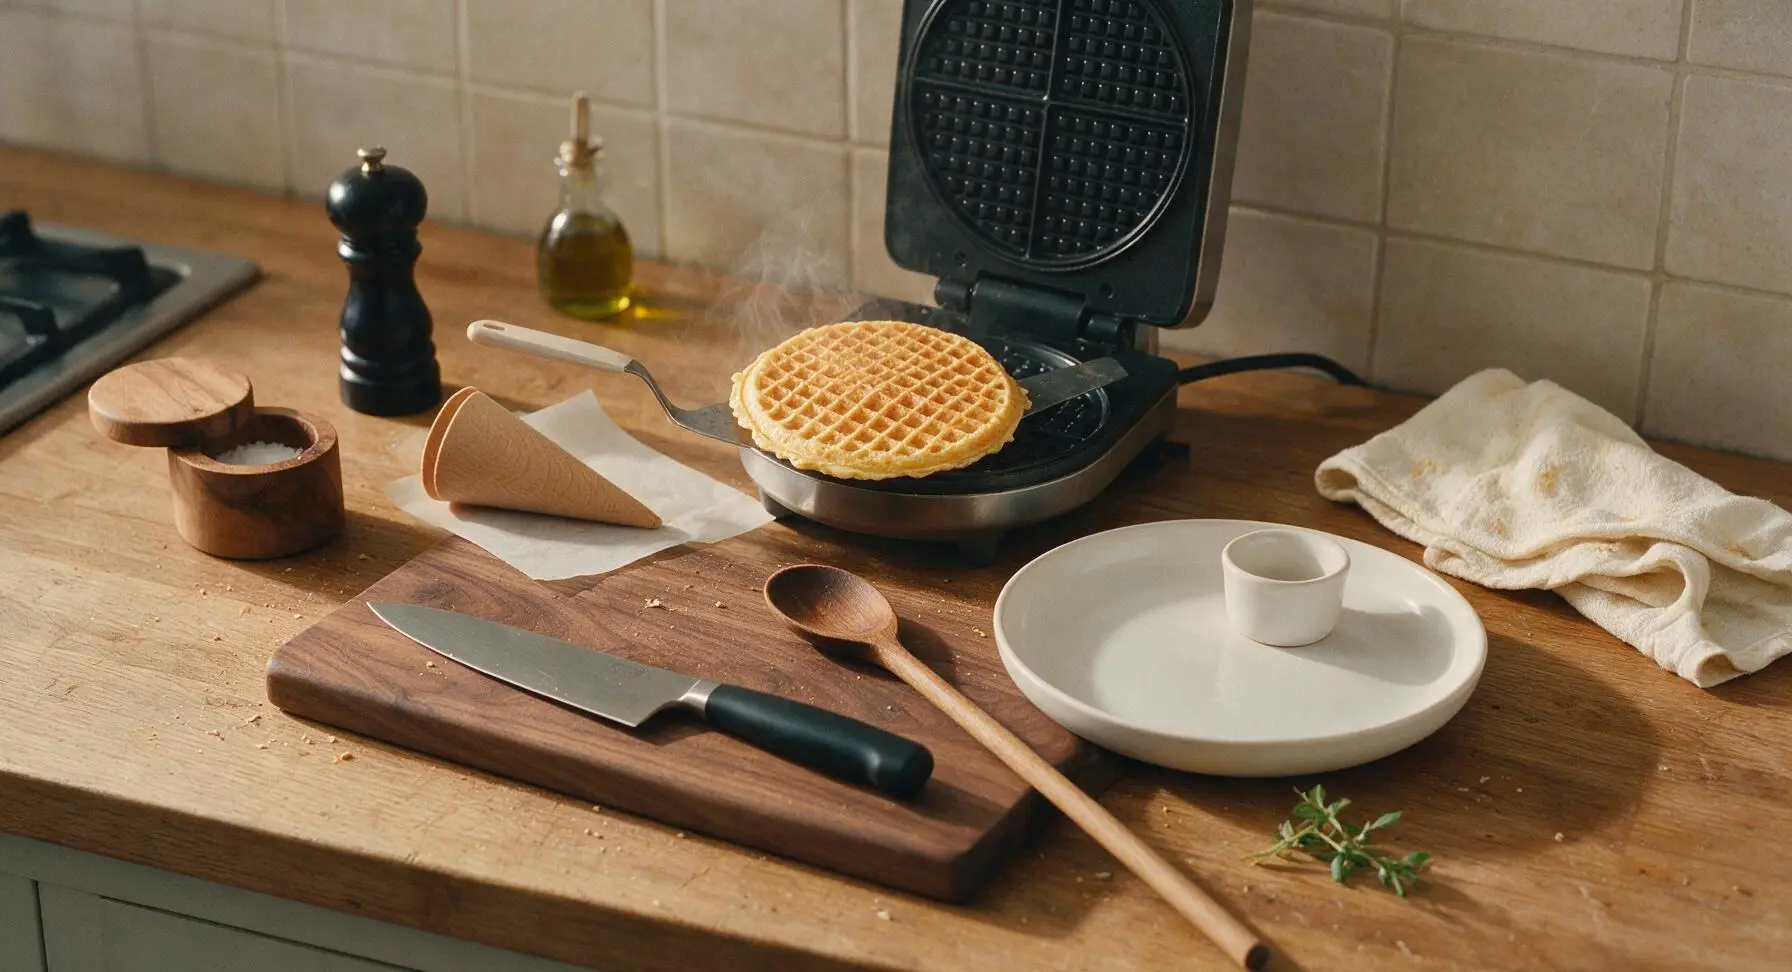
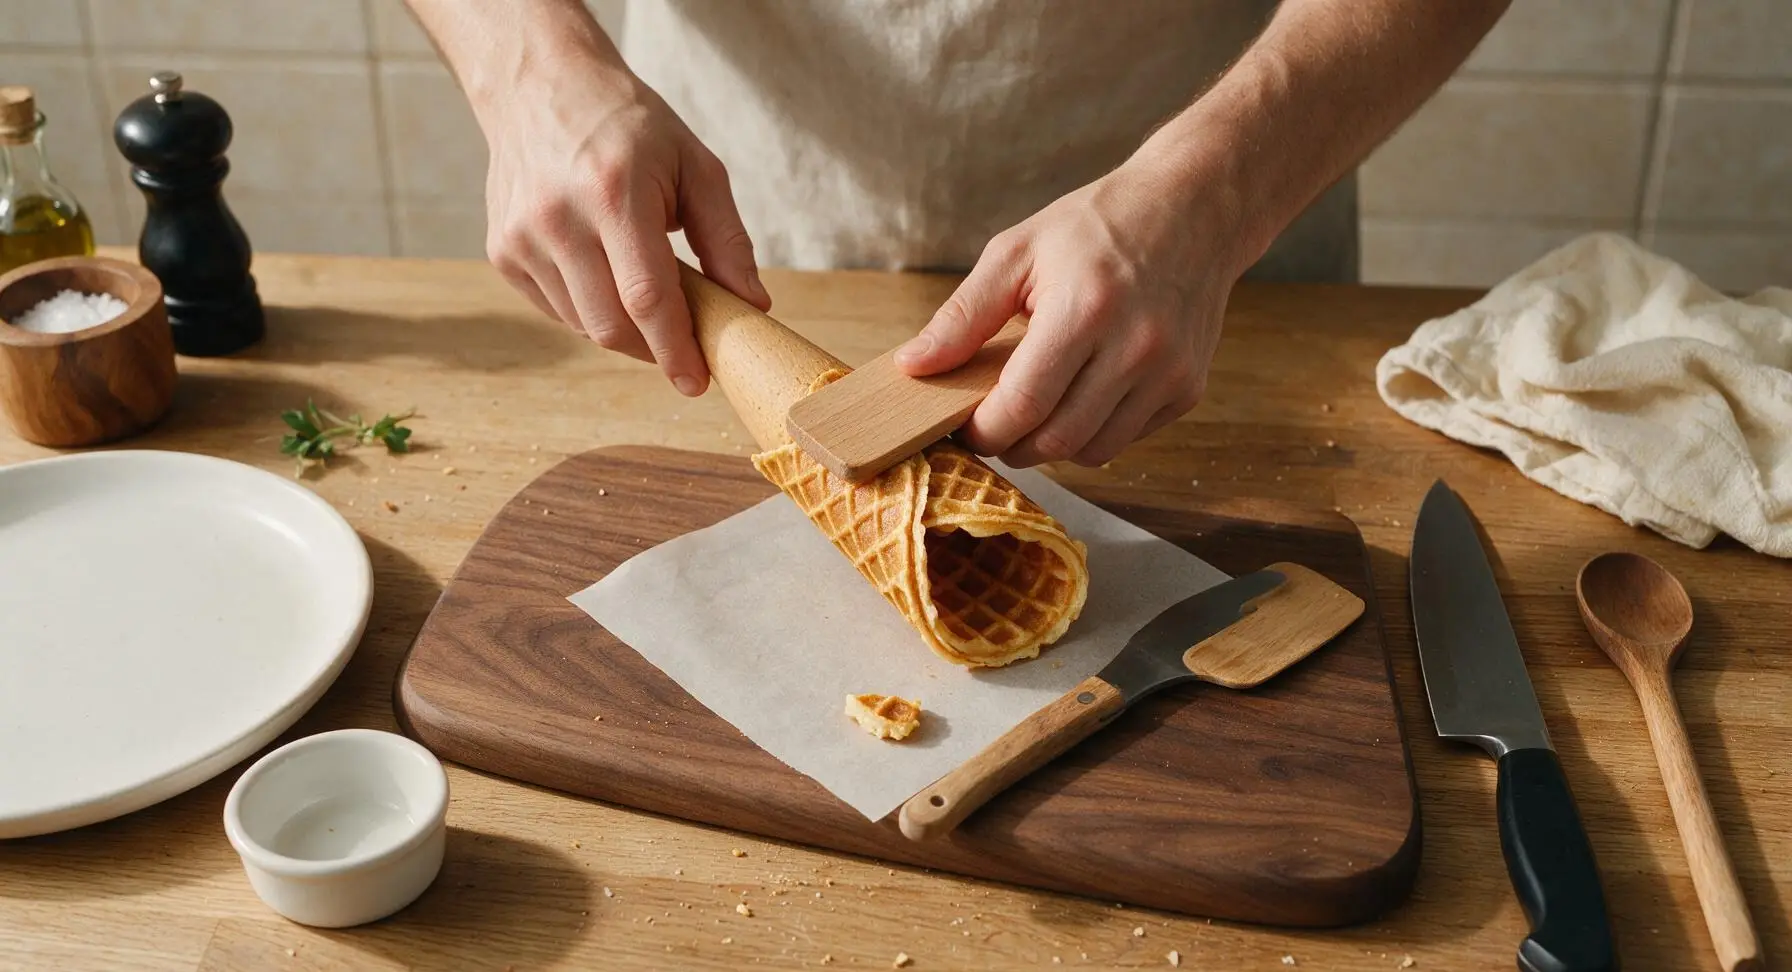
Step 5
step5:Shape Hot Cones
Step 5
step5:Shape Hot Cones
6

Cool Cones Completely

Slide the shaped cone off the beechwood form and stand it upright in the wire cooling rack, with the pointed end facing down to allow air circulation on all sides. Repeat the cooking and shaping process with the remaining batter, spacing cones 1 inch apart on the rack so they do not stick together. Let cones cool completely for 10 minutes before serving; they will harden to a crisp, snappy texture as they cool.
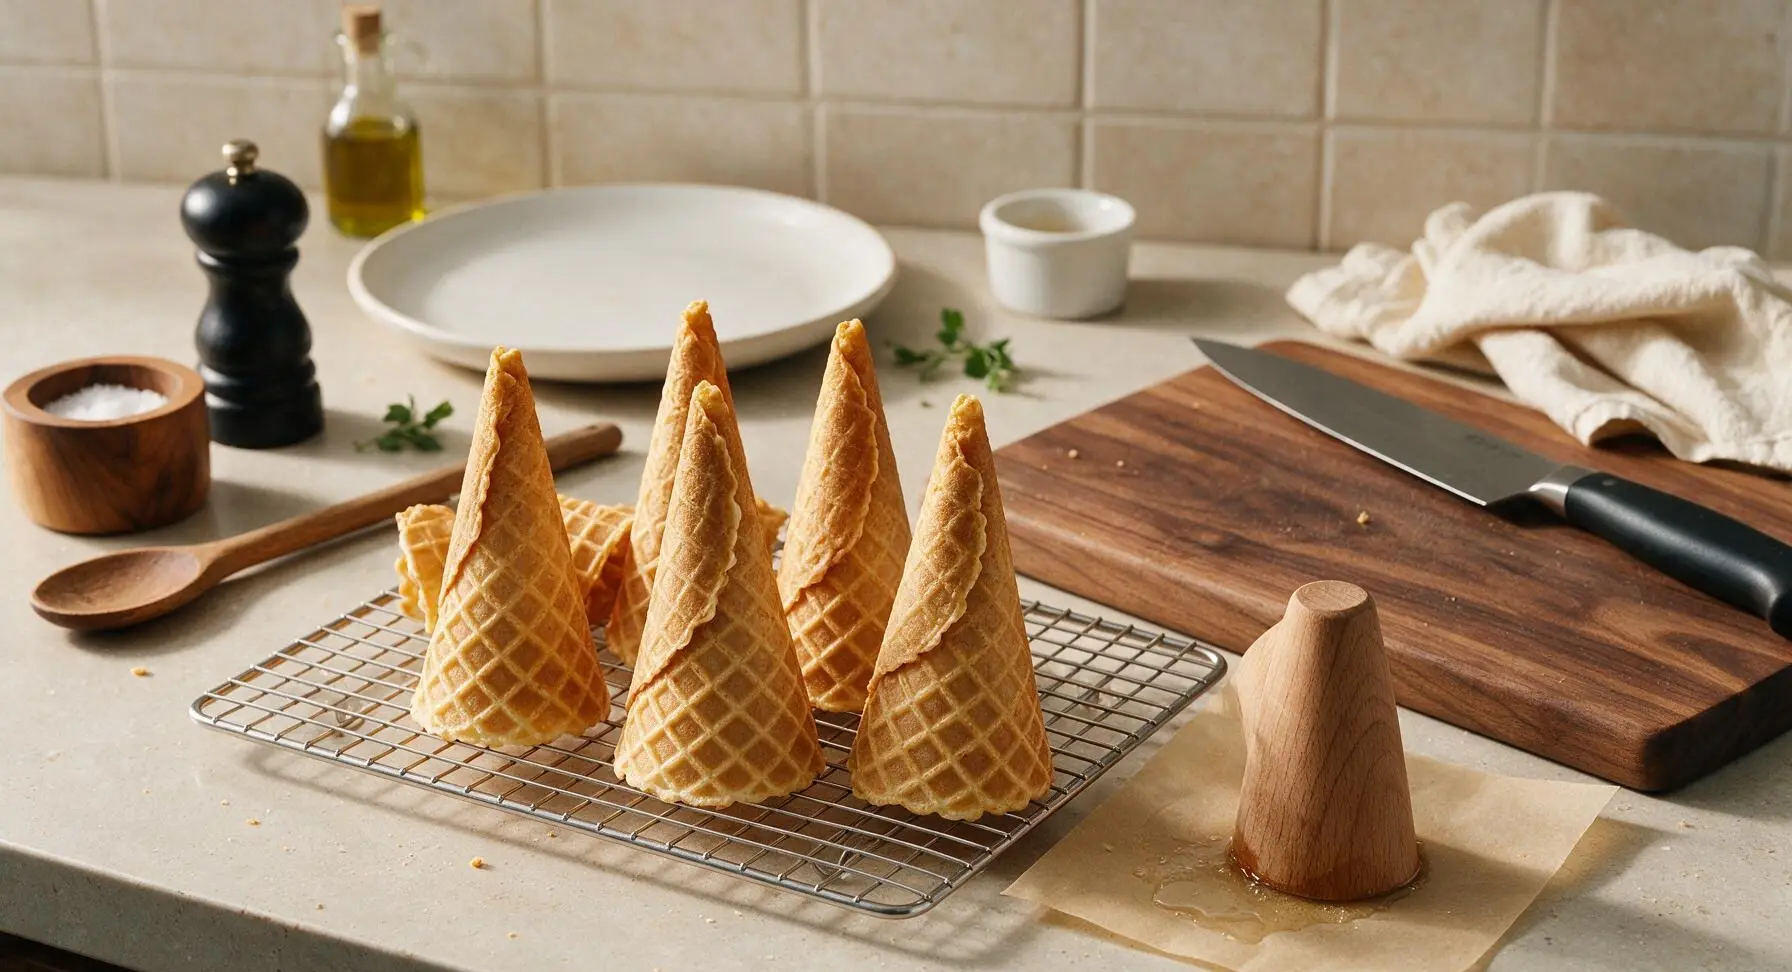
Step 6
step6:Cool Cones Completely

Tips

1.Work within a 10-second window to shape cones immediately after removing them from the waffle maker: hot waffle discs turn rigid and crack easily once they cool below 160°F, so pre-positioning your shaping tools directly next to the waffle maker eliminates fumbling that leads to broken, misshapen cones.
2.If your gluten-free all-purpose flour blend does not contain xanthan gum, add 1/4 tsp to the dry ingredients before mixing: xanthan gum mimics the binding properties of gluten, preventing cones from cracking when rolled and helping them hold a tight seal that stops ice cream from leaking.
3.Use exactly 2 tablespoons of batter per waffle: too much batter will squeeze out the edges of the waffle maker and create thick, doughy cones that stay soft instead of crisping to a snappy texture, while too little batter will create holes that leak ice cream.


✨ You May Also Like

Desserts & Baking
🍜 Italy

Creamy, coffee-kissed classic Northern Italian no-bake dessert, with layers of rum-spiked mascarpone cream, soft ladyfingers, and a rich cocoa dusting.

⏱️ 4 hours 3Desserts & Baking ★ 4.7
Desserts & Baking
🍜 France

Flaky, shatteringly crisp, buttery French croissants with golden exteriors and soft, airy layered interiors, perfect for pairing with coffee for a special morning treat.

⏱️ 12 hours Desserts & Baking ★ 4.5
Desserts & Baking
🍜 United States

Warm, spiced baked apples topped with a fluffy golden biscuit crust, this cozy dessert pairs perfectly with vanilla ice cream for cool-weather comfort.

⏱️ 55 minuteDesserts & Baking ★ 4.6
Desserts & Baking
🍜 United States

A star-spangled classic American blueberry pie with buttery flaky crust and bright sweet-tart filling, perfect for summer patriotic gatherings.

⏱️ 1 hour 25Desserts & Baking ★ 4.7
Desserts & Baking
🍜 United States

A beloved no-bake regional Maine candy with a chewy coconut-potato center coated in rich dark chocolate, a New England holiday staple since the 1870s.

⏱️ 2 hours 3Desserts & Baking ★ 4.8
Desserts & Baking
🍜 France

Luxuriously creamy, floral frozen custard made with aromatic Tahitian vanilla beans, boasting a smooth, rich texture that melts slowly on the tongue.

⏱️ 3 hours 3Desserts & Baking ★ 4.5

gluten free waffle cones:Frequently Asked Questions

1.Why do my gluten-free waffle cones get soft and soggy right after I add ice cream? ▾
That almost always traces to undercooking or insufficient cooling. Cook batter until it’s a deep, even golden (pale batter stays chewy and moisture-heavy), shape immediately around your cone form, then let cones cool fully upright on a wire rack for 10 full minutes before filling—trapped residual steam is the #1 cause of quick sogginess.
2.Can I use a gluten-free flour blend that doesn’t contain xanthan gum? ▾
You absolutely can, you’ll just need to add a binder to keep cones snappy instead of crumbly. For every 1 cup of xanthan-free GF all-purpose blend, stir in ¼ teaspoon of xanthan gum before mixing your batter. Skip this step, and your cones will likely crack apart when you try to shape them around the form.
3.Do I need a special waffle cone maker, or can I use a regular waffle iron? ▾
A standard waffle cone maker with thin, shallow grid plates works best for that classic crisp texture, but a thin-profile regular waffle iron will work in a pinch. Just spread batter extra thin, cook until deep golden, and shape immediately—thicker Belgian waffle grids produce chewier, less sturdy cones that won’t hold shape as well.
4.My egg whites are cold straight from the fridge—do I really need to bring them to room temperature? ▾
Room temperature egg whites mix more smoothly into batter, creating a thinner, even consistency that spreads perfectly on the waffle iron for uniform crispness. If you’re short on time, submerge cold whole eggs in a bowl of warm (not hot) tap water for 5 minutes to bring whites up to temp quickly before separating.
5.The recipe says to cool melted butter for 5 minutes—what happens if I use it piping hot? ▾
Hot melted butter will partially cook room temperature egg whites the second they touch, creating lumpy, uneven batter that bakes up with splotchy, chewy spots instead of a uniform crisp texture. Waiting 5 minutes brings butter down to around 120°F, warm enough to stay liquid but not hot enough to curdle eggs or ruin the batter.
6.How do I keep my cones from cracking when I shape them after cooking? ▾
Cracking happens when you wait too long to shape, or when batter is too thick. As soon as you lift the cooked waffle round off the iron, lay your cone form at one edge, roll tightly, and pinch the bottom tip closed to seal. If rounds crack mid-roll, pop them back on the hot iron for 5 seconds to soften before trying again.
7.Can I make these dairy-free for friends with multiple food allergies? ▾
You absolutely can with two simple swaps. Swap the unsalted butter for melted, cooled vegan buttery sticks (skip liquid oil, which makes cones greasy), and replace whole milk with unsweetened plain oat milk or your preferred dairy-free whole milk alternative. The texture will stay just as crisp and snappy as the original recipe.
8.How long do these gluten-free waffle cones stay fresh after baking? ▾
Stored fully cooled in an airtight container at room temperature, away from humid air, these cones will stay crisp and snappy for up to 5 days. Skip storing them in the fridge, which introduces excess moisture that softens them fast. If they lose a little crispness, pop them in a 300°F oven for 2 minutes to refresh before using.
9.My cones have a weird, gritty texture—what did I do wrong? ▾
Grit almost always comes from using a coarse gluten-free flour blend with large rice flour or whole grain particles, or from skipping a short batter rest. After mixing your batter, let it sit for 10 minutes to give flour time to fully absorb wet ingredients, which dissolves gritty particles and creates a smoother, even final texture.
10.Can I add mix-ins like chocolate chips or sprinkles to the batter? ▾
Keep mix-ins very small and finely chopped to avoid poking holes in the thin waffle or causing uneven cooking. Finely chopped mini chocolate chips, finely crushed nuts, or tiny nonpareil sprinkles work great—stir 2 tablespoons max into the batter right before cooking. Large add-ins make cones crack when rolled, creating leak points for melting ice cream.
11.How do I seal the bottom of the cone so melted ice cream doesn’t leak out the tip? ▾
The easiest, most reliable seal happens right when you shape the cone: as you roll the warm waffle around the form, pinch the pointed tip tightly between your fingers for 3 full seconds until the waffle sets in that closed position. For extra leak protection, dip the cooled tip in melted chocolate and let it harden before adding ice cream.
12.Can I make waffle bowls instead of cones with this same batter? ▾
This batter works perfectly for waffle bowls! Just drape the freshly cooked hot waffle round over the back of a small, heatproof ramekin or dedicated waffle bowl form, press gently to shape the sides, and let it cool fully for 10 minutes before removing. The resulting bowls are sturdy enough to hold multiple scoops and toppings without sogginess.
13.The batter seems really thin—did I measure something wrong? ▾
Don’t worry, this batter is supposed to be thin, almost like heavy cream consistency! A thin batter spreads evenly across the waffle cone iron plates to create that ultra-thin, snappy, crisp texture we want. If your batter is thick like pancake batter, stir in 1 extra tablespoon of room temperature milk at a time until it reaches that smooth, pourable consistency.
14.Can I make this batter ahead of time to save time on a party day? ▾
You can mix the batter fully, store it in a sealed airtight container in the fridge for up to 24 hours, and give it a quick stir before cooking. Just let the chilled batter sit on the counter for 15 minutes to come to cool room temperature first—cold batter cooks unevenly, leading to pale, chewy spots instead of uniform golden crispness.
15.Why do my cones have uneven, pale splotches all over them? ▾
Uneven splotches usually mean you didn’t spread batter evenly across the iron plates, or you opened the iron too early to check doneness. Pour batter right in the center of the preheated iron, close the lid gently, and don’t lift it for the first 45 seconds of cooking. Opening too early pulls partially set waffle, creating thin, pale spots that won’t crisp up.
16.Is there a way to make these lower in sugar without ruining the texture? ▾
You can cut the granulated sugar by up to 25% (about 2 tablespoons per ½ cup sugar in the recipe) without losing that classic snappy texture, but don’t cut it more than that. Sugar is key for that golden, crisp caramelized bite; cutting too much will leave your cones bland, pale, and soft, even if you cook them for extra time.
17.I don’t have a plastic cone shaping form—what can I use instead at home? ▾
You don’t need a specialty form! Make a DIY version by rolling a sheet of heavy cardstock into a tight cone shape, taping it closed, and covering it with a layer of aluminum foil to make it heatproof. It works exactly as well as a store-bought form—just wrap the hot waffle around it, hold to set, and slide the form out once cool.

Comments (19)

2 days ago

OMG these are a total game changer! My youngest has celiac and we’ve been missing waffle cones from our weekly Friday ice cream nights for ages. These turned out perfectly crispy, not crumbly at all! My kids loved it so much they asked for seconds before they even finished their first scoop. 10/10 will make again for our next neighborhood potluck.

yesterday

So glad these worked out for your family’s ice cream nights! They hold up really well to even the gooiest sundae toppings if you let them cool fully before adding ice cream. Enjoy the potluck!

3 days ago

Wait, do these hold their shape if I make them a day ahead? I want to prep them for my sister’s birthday party this weekend but don’t want to be stuck making them last minute while guests are over. They look SO good in the photos!

2 days ago

I made mine 2 days ahead and stored them in an airtight container on the counter, they were totally fine! Just don’t put them in the fridge, they get soggy super fast.

2 days ago

Great tip from BeachBakerBabe! These stay fresh for up to 3 days in an airtight container at room temp, just make sure they’re completely cooled before sealing them up. Happy birthday to your sister!

1 week ago

Took me a couple tries to get the hang of rolling them right (first two cracked on me!) but once I got the timing down, these were incredible. Used a bit of extra vanilla because I love that warm, sweet flavor and they tasted just like the old mall waffle cones I grew up eating. Who needs store bought gluten free cones that cost $8 a box when you can make these?!

2 weeks ago

Made these for our Memorial Day cookout and everyone was shocked they were gluten free! Even my brother-in-law who turns his nose up at any “healthy” baked good ate two full cones piled high with homemade peach ice cream. Only note is I had to cook mine about 10 seconds longer per side than the recipe says to get that perfect golden crisp, might just be my waffle cone maker though.

1 week ago

So happy these were a cookout hit! Cook time can vary a little between different waffle cone makers, so adding a few extra seconds for crispness is a great call. That peach ice cream pairing sounds amazing!

5 days ago

Okay, question for folks who don’t have a dedicated waffle cone maker? Can I use my regular waffle iron for these, or will the pattern be too deep and make them crack when I roll? I live in a tiny apartment and have zero extra storage for another kitchen gadget, but I’m dying to make these.

3 days ago

I used my regular thin waffle maker (the kind for classic Belgian waffles but I don’t fill it super full) and it worked! Just make sure you spread the batter really thin so it cooks evenly, and roll immediately when you pull it out.

2 days ago

Great workaround! A standard waffle iron works as long as you spread the batter thin enough to get that delicate, crisp texture. We recommend keeping a cone form handy to make rolling easier if you go that route.

1 week ago

As someone who’s been gluten free for 12 years, I can confidently say these are the best homemade gluten free cone recipe I’ve ever tried. No weird gritty texture from the flour blend, no weird aftertaste, just perfect buttery, sweet cone goodness. I brought a batch to my local celiac support group meetup and everyone was begging for the recipe.

5 days ago

Ugh I feel that, so many gluten free baked goods have that weird rice flour grit! What flour blend did you use? I’ve had bad luck with a couple off-brand ones lately.

1 week ago

Made a batch of these before our last camping trip and they were the perfect treat around the campfire! We dipped the tops in melted chocolate and sprinkles, then filled them with campfire ice cream for the kids. They held up even when it was 85 degrees out, no sogginess at all. Total win for our weekend trips going forward.

2 hours ago

Help! I tried making these last night and they were super chewy instead of crispy, and they kept cracking when I tried to roll them. Did I do something wrong? I followed the recipe exactly, I think? Medium difficulty is no joke, y’all 😅

30 minutes ago

I had that problem the first time too! I was taking too long to roll them after pulling them off the iron—they harden in like 10 seconds flat! Have your cone form right next to the waffle maker so you can roll immediately.

5 minutes ago

Totally normal to have a learning curve with these! The chewy texture usually means they needed a little extra cook time to evaporate all the moisture, and as HomeCook101 mentioned, you have to roll them right away while they’re still pliable. Give it another try, you’ve got this!

2 days ago

SO good! I made mini cones for my son’s soccer team snack after Saturday’s game and the kids went absolutely wild. I filled them with a scoop of vanilla ice cream and a little drizzle of caramel, and even the kids who don’t have gluten sensitivities were asking for more. Will absolutely be adding this to my regular snack rotation.

yesterday

Mini cones for the team are such a fun idea! So glad the whole squad loved them—those post-game treats hit different after running around for an hour!

yesterday

Has anyone tried making these with a dairy free butter substitute? My daughter is allergic to both gluten and dairy, so I’m always looking for recipes I can adapt for her without them tasting like a “special diet” food. These look amazing!

2 hours ago

I used vegan butter sticks for mine last week and they turned out perfect! No weird taste, just as crispy as the ones I made with regular butter for my husband. I also used oat milk instead of regular and it worked great.

30 minutes ago

Dairy free adaptations work beautifully for this recipe! Just make sure your dairy free butter is at room temp when you mix the batter so it combines smoothly, and you’ll get that same great crisp texture.

2 weeks ago

Game changer for backcountry trips! I made these, let them cool fully, then vacuum sealed them for a 4-day backpacking trip and they stayed perfectly crisp. We ate them with instant chocolate pudding as a fancy backcountry dessert and my trail crew thought I was a professional chef. Only complaint is they’re a little fragile if you cram them in your pack too tight, so pack them on top!

1 week ago

Wait that’s genius! I’m always looking for no-melt trail treats, I would’ve never thought to vacuum seal waffle cones. Adding this to my next trip menu for sure.

1 week ago

Backcountry waffle cones?! That’s easily the coolest use of this recipe we’ve heard yet. So smart to vacuum seal them—we might have to steal that tip for our next camping trip!

5 days ago

These were a hit at our block party last weekend! I set up a little make-your-own sundae bar with these cones, all the toppings, and a couple flavors of ice cream, and people were raving all night. I lost count of how many people asked for the recipe. Pro tip: make double the batch, they go faster than you think!

2 days ago

I’m not gluten free, my wife is, and I was fully expecting these to be a sad, crumbly letdown. Man was I wrong. These are better than the regular waffle cones we get from the ice cream shop down the street. I may have eaten three plain cones straight off the iron before we even got the ice cream out. Don’t judge me.

yesterday

No judgment here! I ate two plain ones too when I made them, they’re so buttery and sweet you don’t even need ice cream. 😂

3 days ago

Made these in my dorm room with my tiny countertop waffle cone maker (yes, I brought it to college, no regrets) and they were chef’s kiss. Way cheaper than buying gluten free cones from the campus grocery store, and my roommates are already begging me to make another batch. Perfect late night study snack with a scoop of mint chocolate chip.

1 week ago

I’ve been baking for 50+ years and I’m always wary of gluten free recipes because so many of them are finicky, but this one was a dream. The batter comes together in 10 minutes, no fancy ingredients, and the final product is just as good as the traditional waffle cone recipe I’ve been using since the 80s. I’ll be making these for my grandkids’ visits all summer long.

5 days ago

That means so much coming from a seasoned baker like you! We’re thrilled this recipe lives up to your classic waffle cone standard—hope your grandkids love them as much as you do!

yesterday

Wait, does this recipe contain any nuts? My son has a severe tree nut and peanut allergy, so I have to be super careful with cross contamination even with flour blends. I’d love to make these for his end-of-school class party, but I need to make sure they’re safe for him.

2 hours ago

I made these for my nut-allergic kid too! Just use a certified nut-free gluten free flour blend, make sure your sugar and other ingredients are nut-free, and keep your surfaces sanitized, and it’s totally safe. No nut ingredients in the base recipe at all!

30 minutes ago

There are no nut ingredients in the base recipe! As AllergySafeBakes noted, just double check that your individual ingredients (especially your gluten free flour blend) are certified nut-free if you’re avoiding cross-contamination, and you’ll be all set for the class party!

2 days ago

Paired these with my homemade smoked vanilla ice cream for our annual 4th of July BBQ prep test run and they were chef’s kiss. Crisp, sweet, that perfect little hint of vanilla, and they don’t get soggy even when loaded with hot fudge, whipped cream, and sprinkles. Already have all the ingredients to make a triple batch for the actual party. 10/10.

5 minutes ago

Tried this recipe yesterday and I have one note: add a tiny pinch of cinnamon to the batter! It gives it that warm, cozy flavor that tastes exactly like the waffle cones from my favorite childhood boardwalk ice cream shop. Trust me on this one, it’s a game changer.

just now

The cinnamon addition sounds incredible! That warm, spicy note pairs so well with basically every ice cream flavor, we might have to test that hack ourselves for our next batch. Thanks for the tip!

just now

I run a small bakery out of my small town kitchen and I’ve been testing gluten free cone options for months to add to our ice cream counter. This recipe is perfect! It holds up to scoops, tastes amazing, and the cost per cone is way lower than ordering pre-made gluten free cones from my supplier. My regular taste testers (aka my neighbors) all gave it two thumbs up.



