
godiva pudding mix
intro
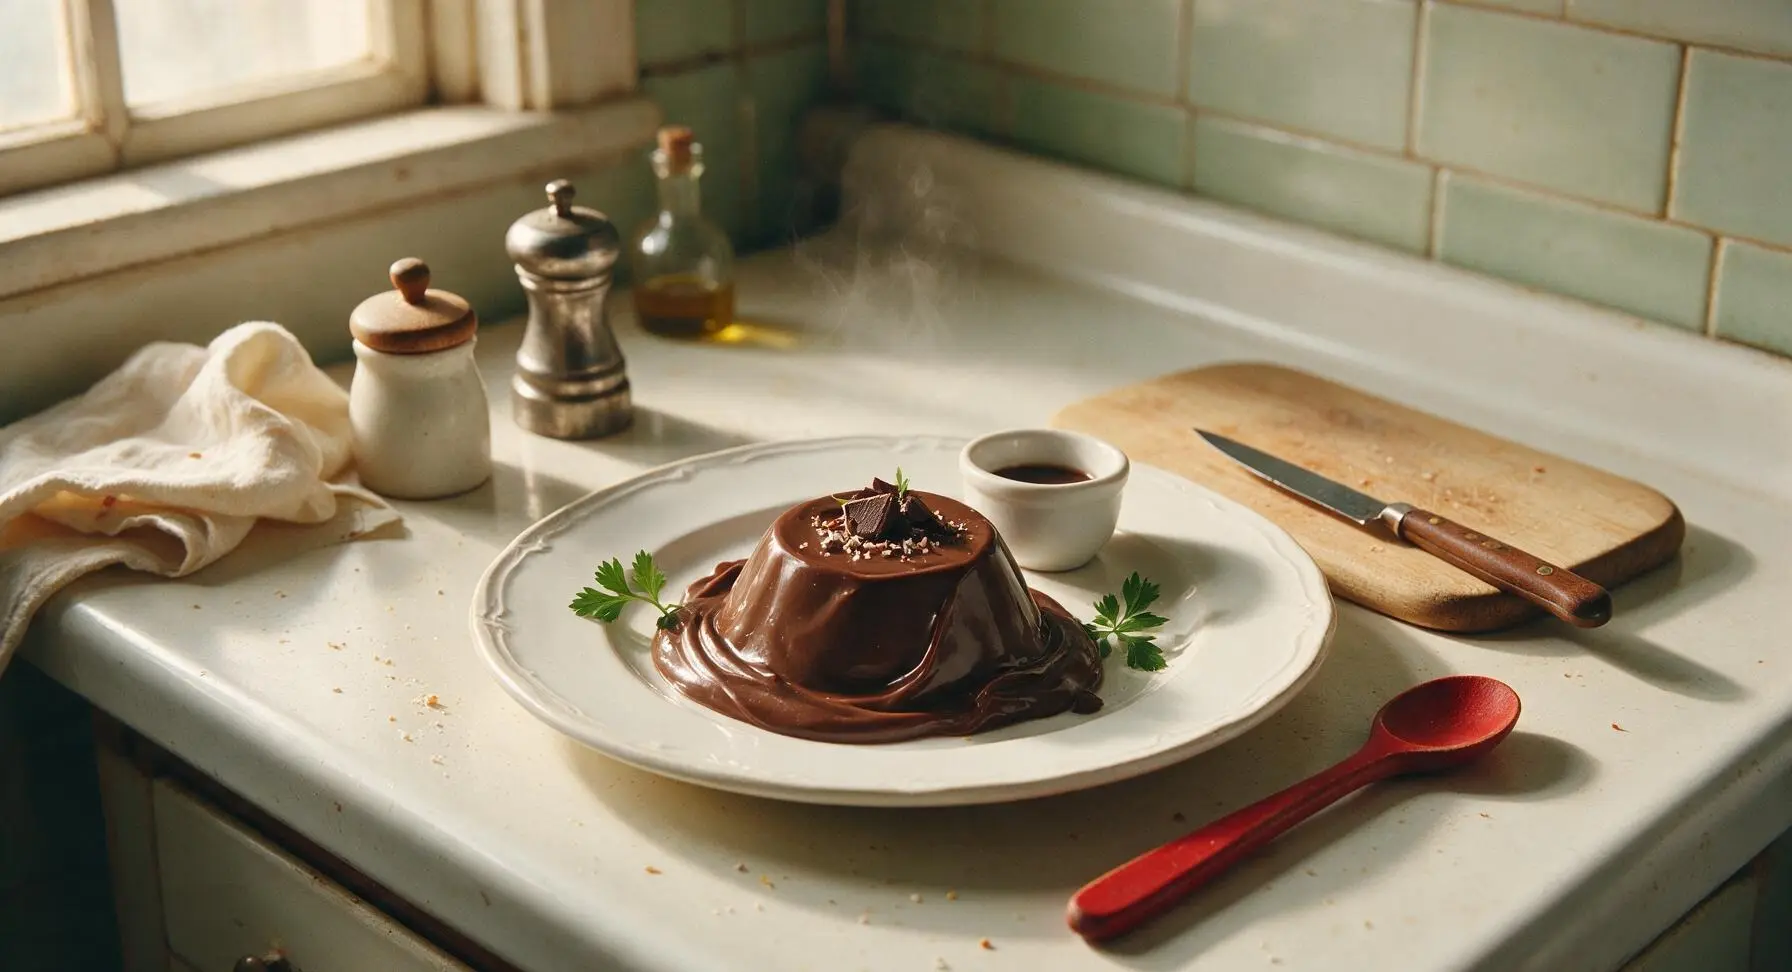
Luxuriously silky dark chocolate pudding made with premium Godiva mix, elevated with simple touches for a velvety, restaurant-worthy date night dessert that takes minimal effort.
Ingredients
Steps
Measure Pudding Base Ingredients
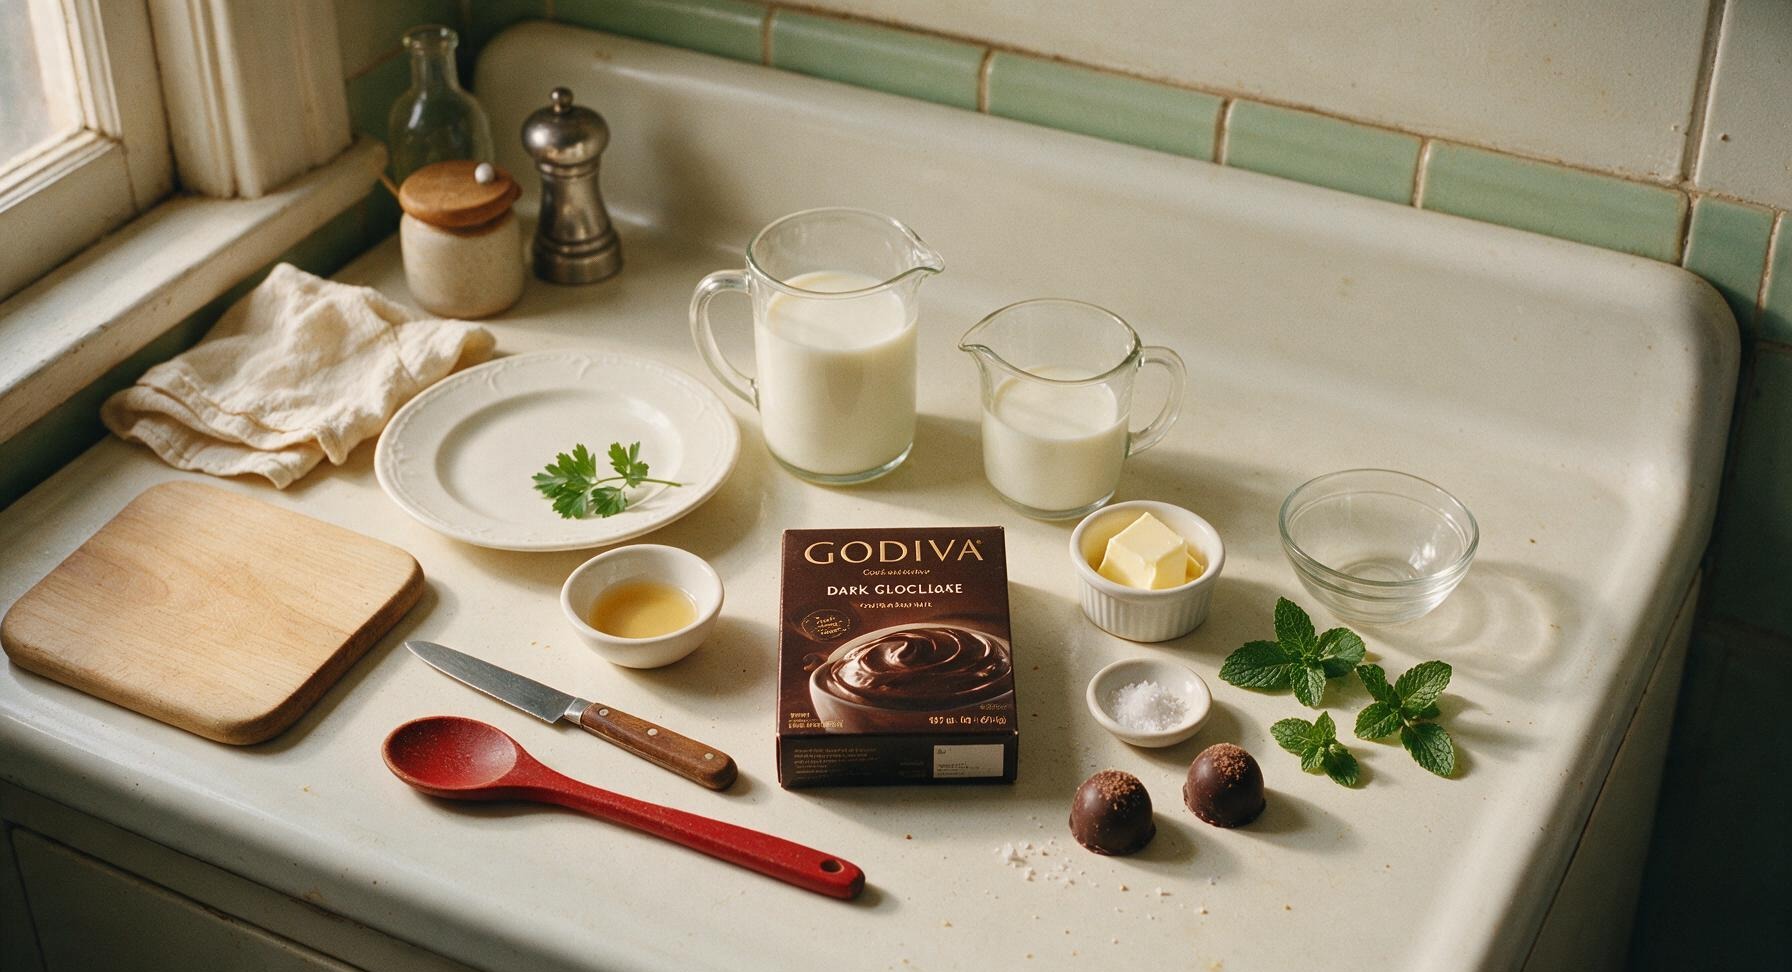
Retrieve the 1.5L stainless steel saucepan from its fixed center-back stovetop position and place it on the central cooking zone. Empty the full 96g (3.4oz) box of Godiva dark chocolate cook-and-serve pudding mix into the pan. Add 1/8 tsp flaky sea salt, then slowly pour in 2 cups (480ml) whole milk and 1/2 cup (120ml) heavy cream, whisking constantly with the stainless steel whisk to combine until no dry lumps of powder remain. The base mixture will be thin, uniform deep brown, with no visible clumps stuck to the pan bottom.
Cook Pudding Until Thickened
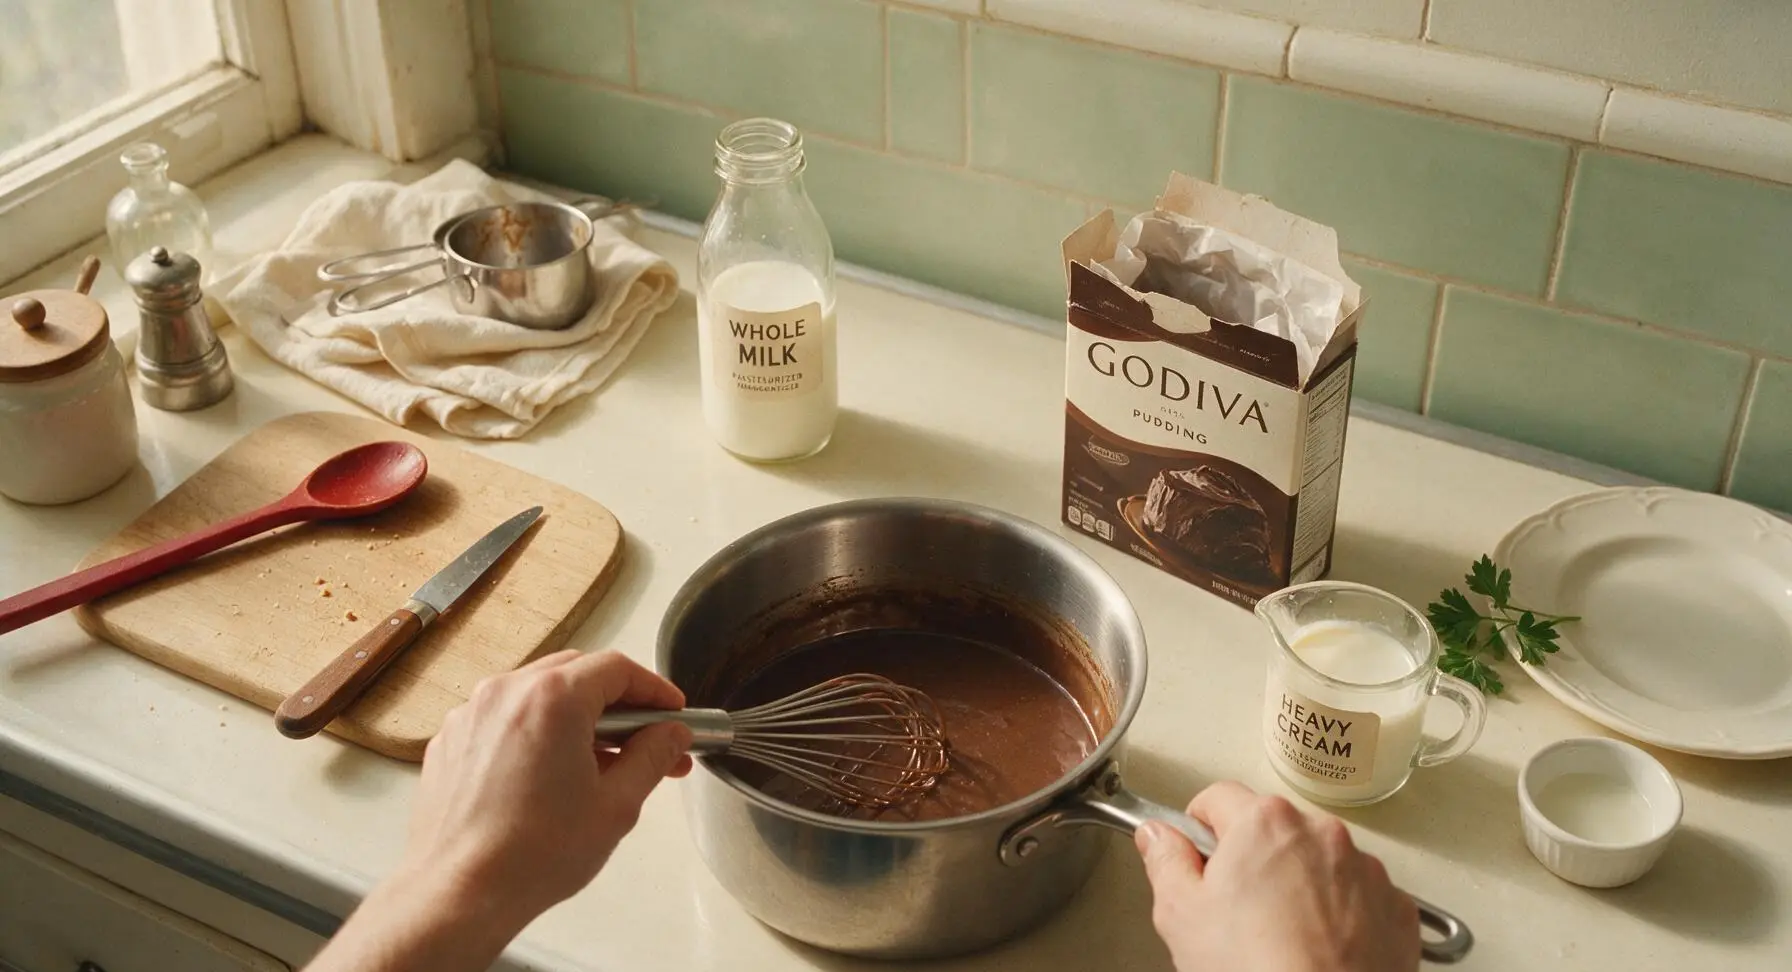
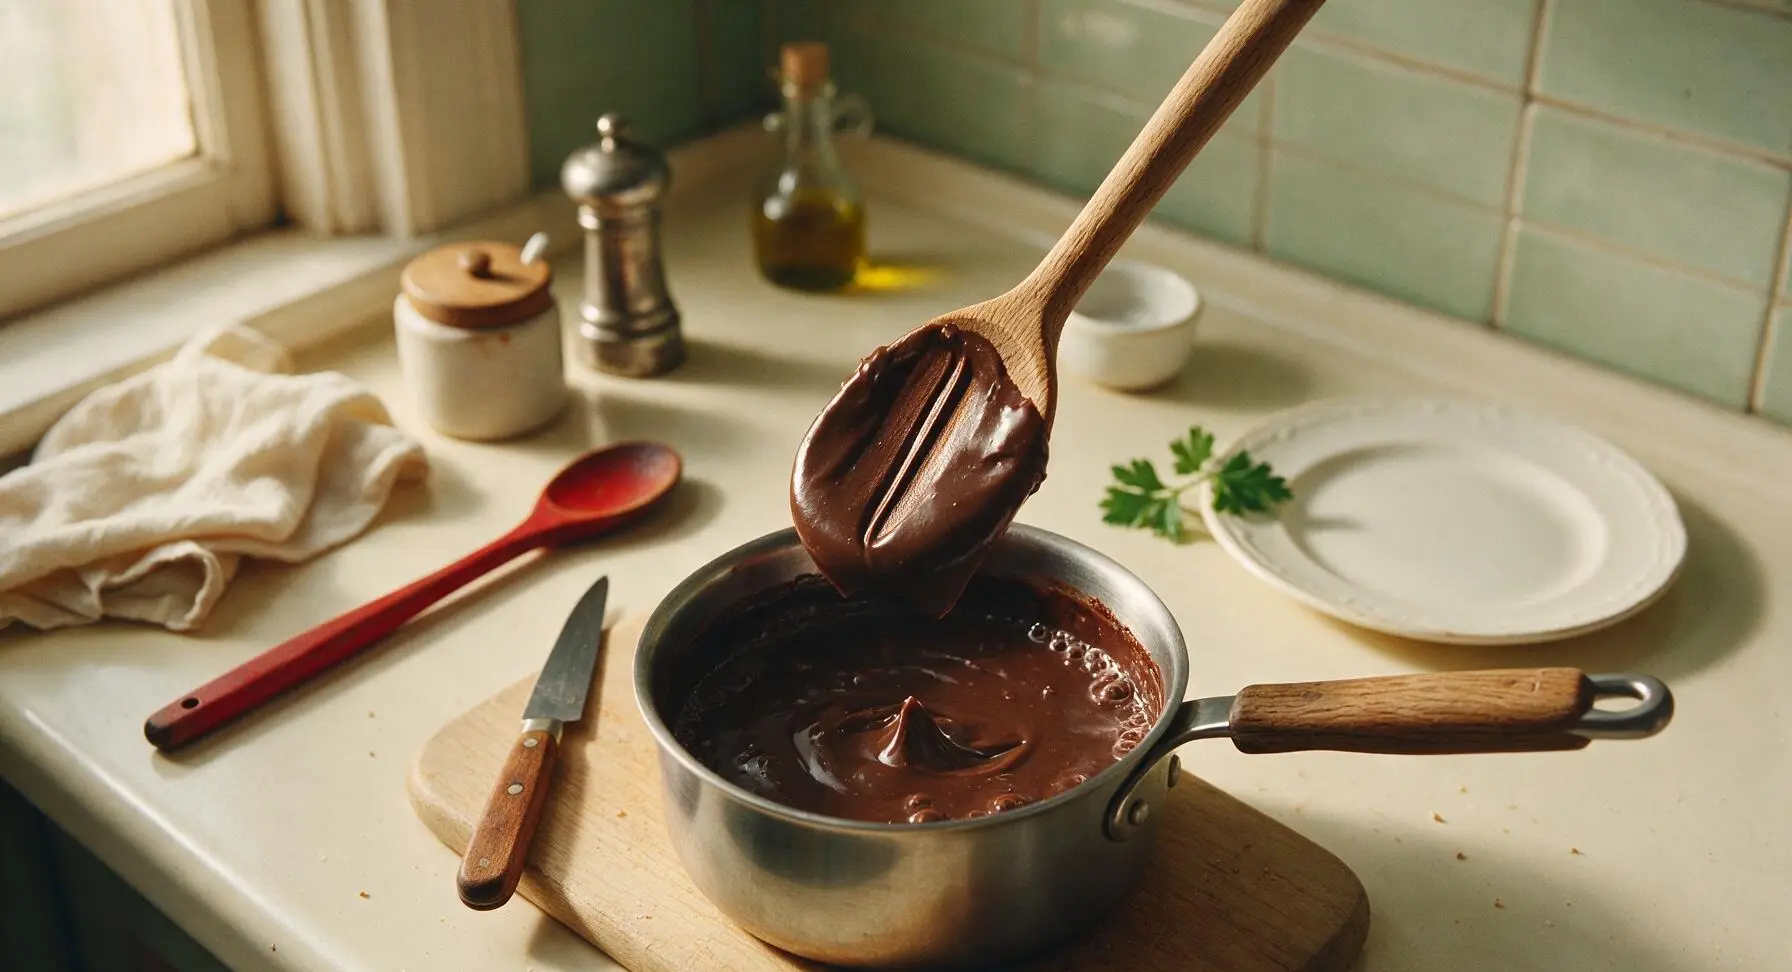
Place the saucepan over medium-low heat (325°F / 160°C), stirring constantly with the oak-grip stirring spoon to prevent burning on the pan bottom. Cook for 7-9 minutes, until the mixture comes to a gentle low rolling bubble and thickens enough to coat the back of the spoon: when you run your finger across the spoon’s pudding coating, it should leave a clean line that does not run or drip. Do not bring to a rapid boil, as high heat will cause grainy, separated texture.
Enrich with Butter and Vanilla
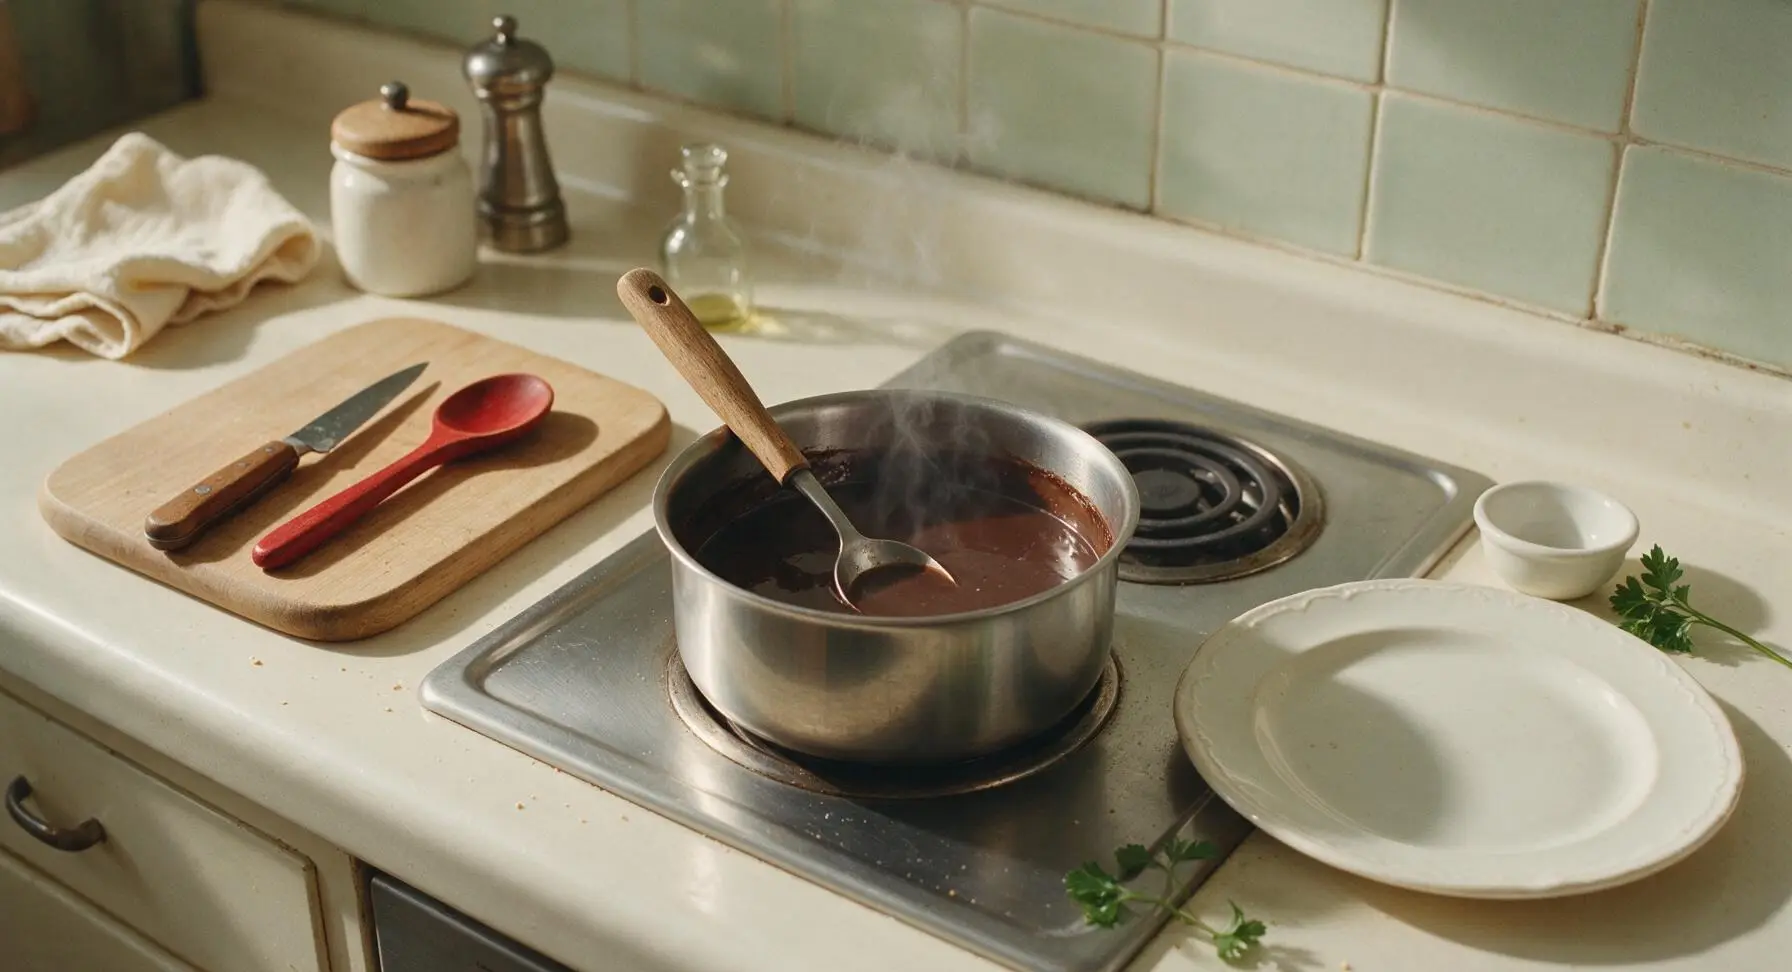
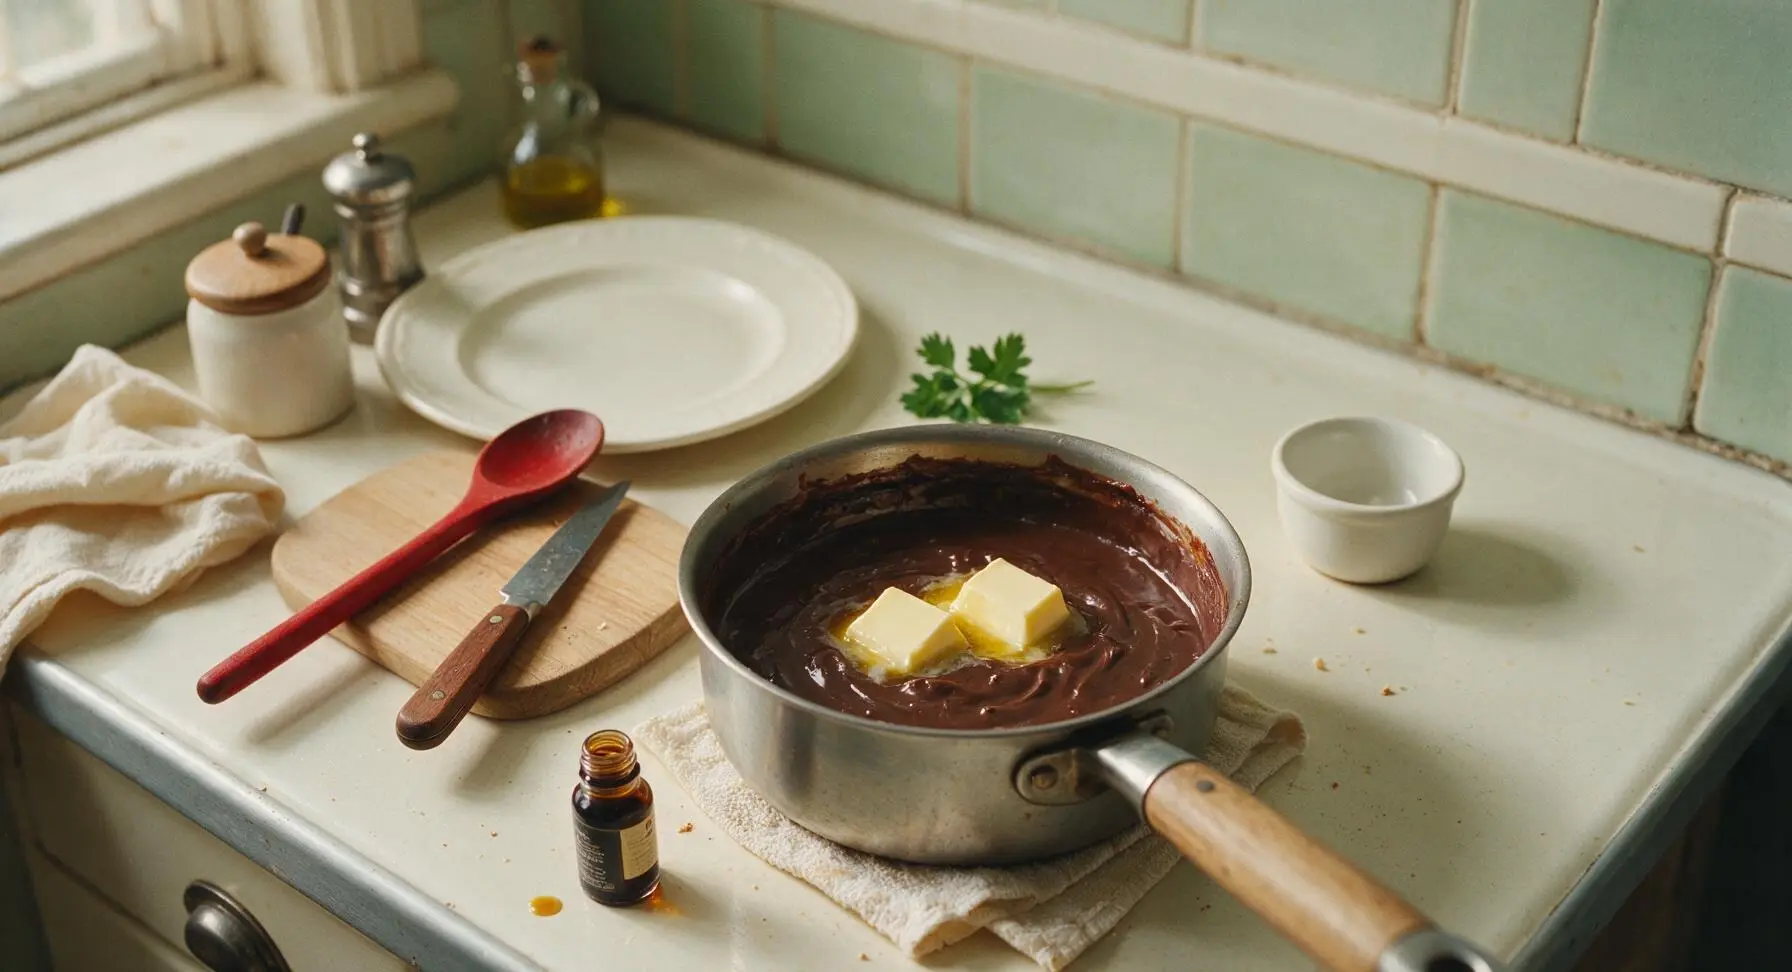
Remove the saucepan from heat immediately once thickened. Add the 2 tbsp (28g) cut unsalted butter and 1 tsp (5ml) pure vanilla extract, stirring gently with the oak-grip spoon until the butter is fully melted and incorporated, and the pudding is perfectly smooth and glossy with no streaks of melted butter visible. The added butter creates a luxuriously velvety mouthfeel that elevates the standard boxed mix.
Strain for Silky Smoothness
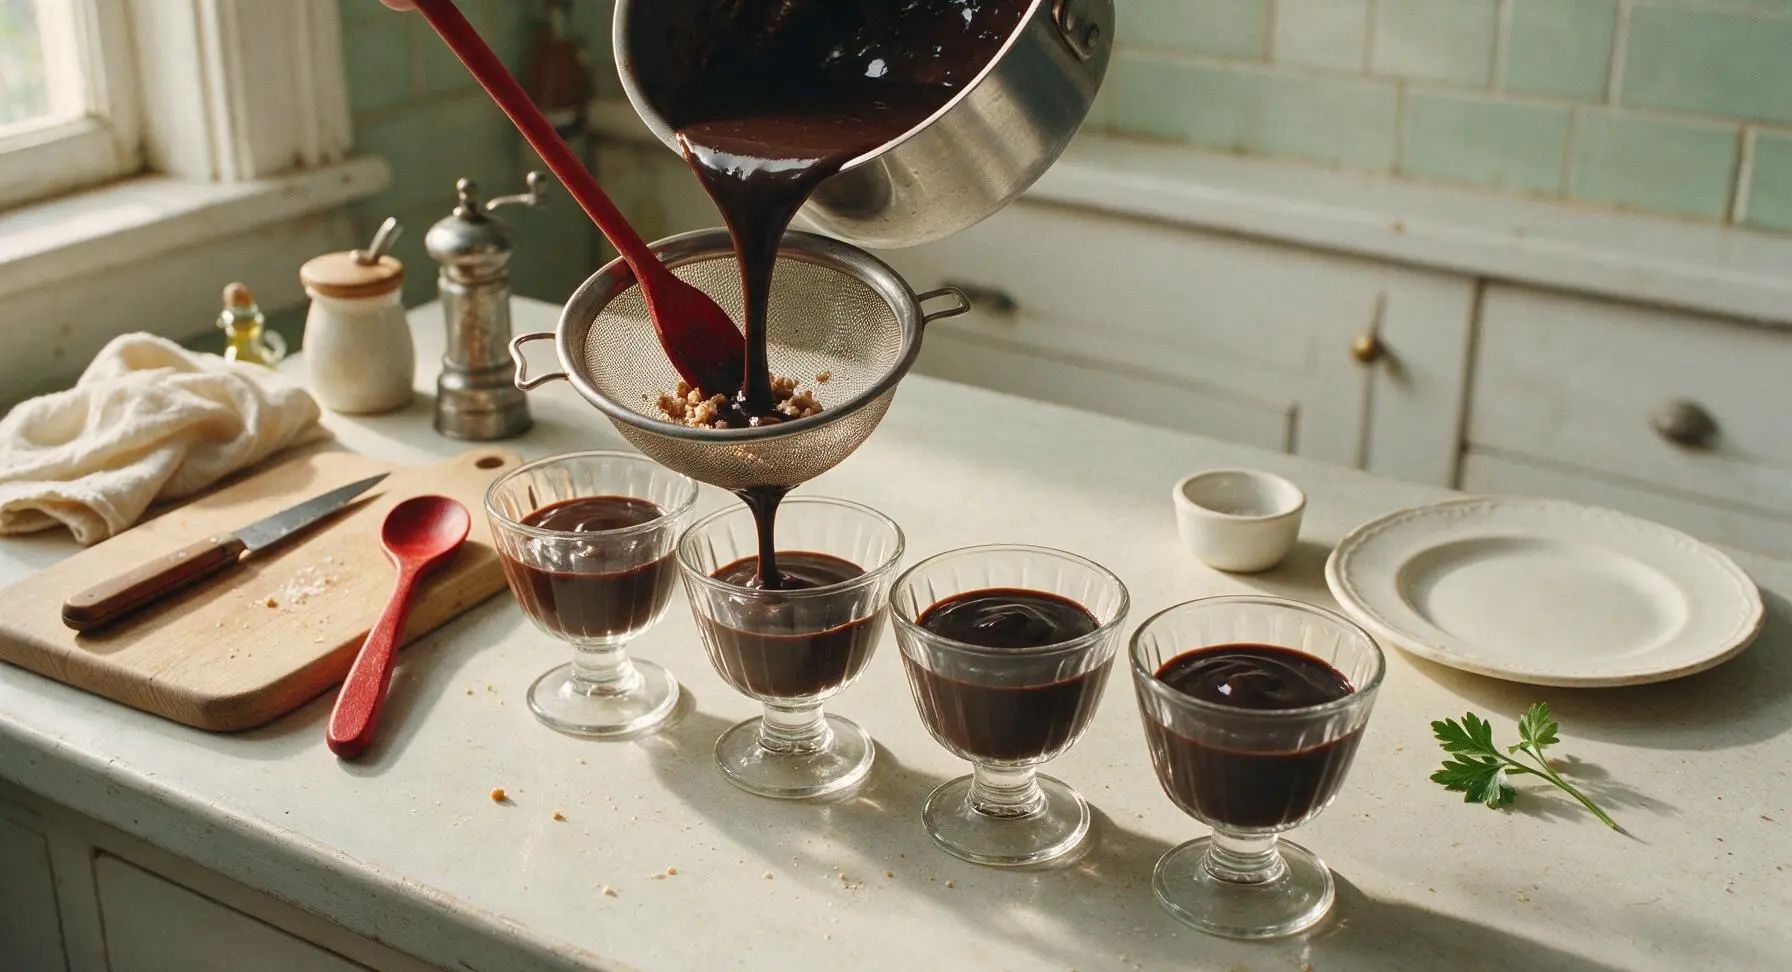
Unstack the four clear ribbed glass dessert cups from their right-back fixed position and arrange them in a straight row in the central cooking zone. Hold the fine-mesh stainless steel sieve over each cup in turn, pouring the hot pudding through the sieve to divide it evenly between the four cups. Use the stirring spoon to gently press pudding through the mesh; this catches any small lumps or overcooked bits from the pan bottom for perfectly silky texture. Discard any small solid bits left in the sieve.
Chill Pudding to Set
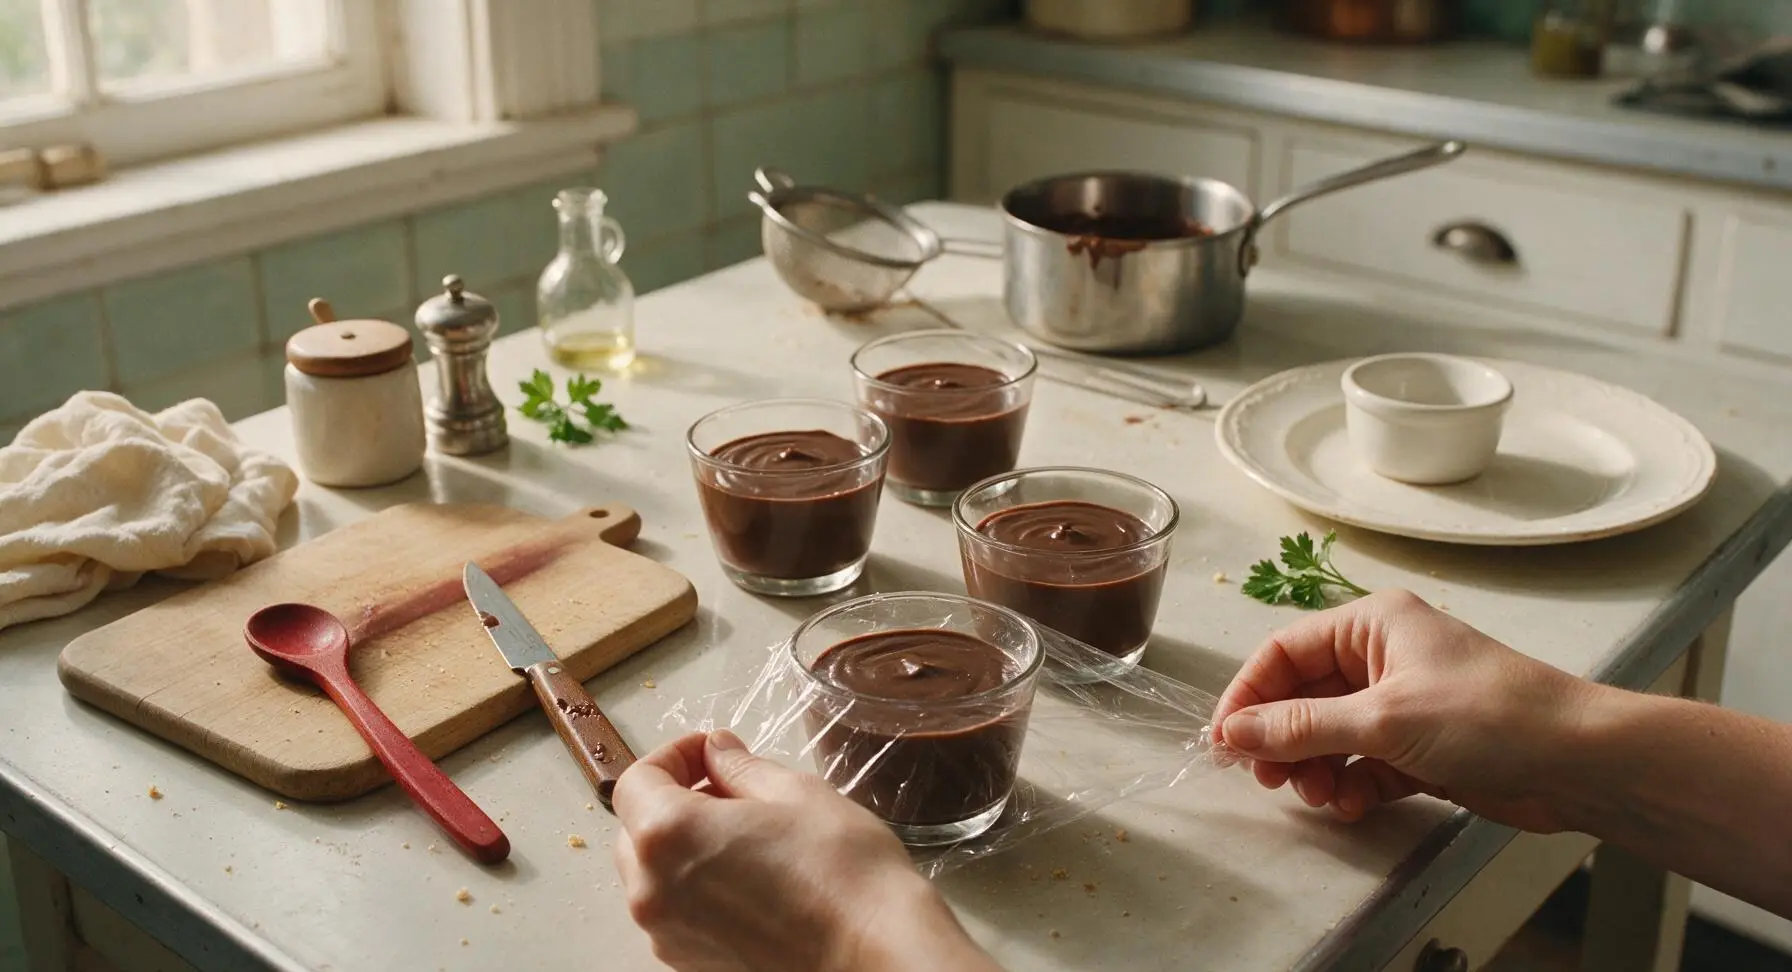
Tear four small squares of plastic wrap, and press one piece directly onto the surface of the pudding in each cup to prevent a thick skin from forming as it cools. Transfer the cups to a refrigerator shelf to chill for a minimum of 2 hours, until fully set: the pudding should jiggle slightly when tapped but not slosh or run, and feel firm to a light touch on the surface. Do not freeze, as this will cause the dairy to separate and create a grainy texture.
Whip Cream for Topping
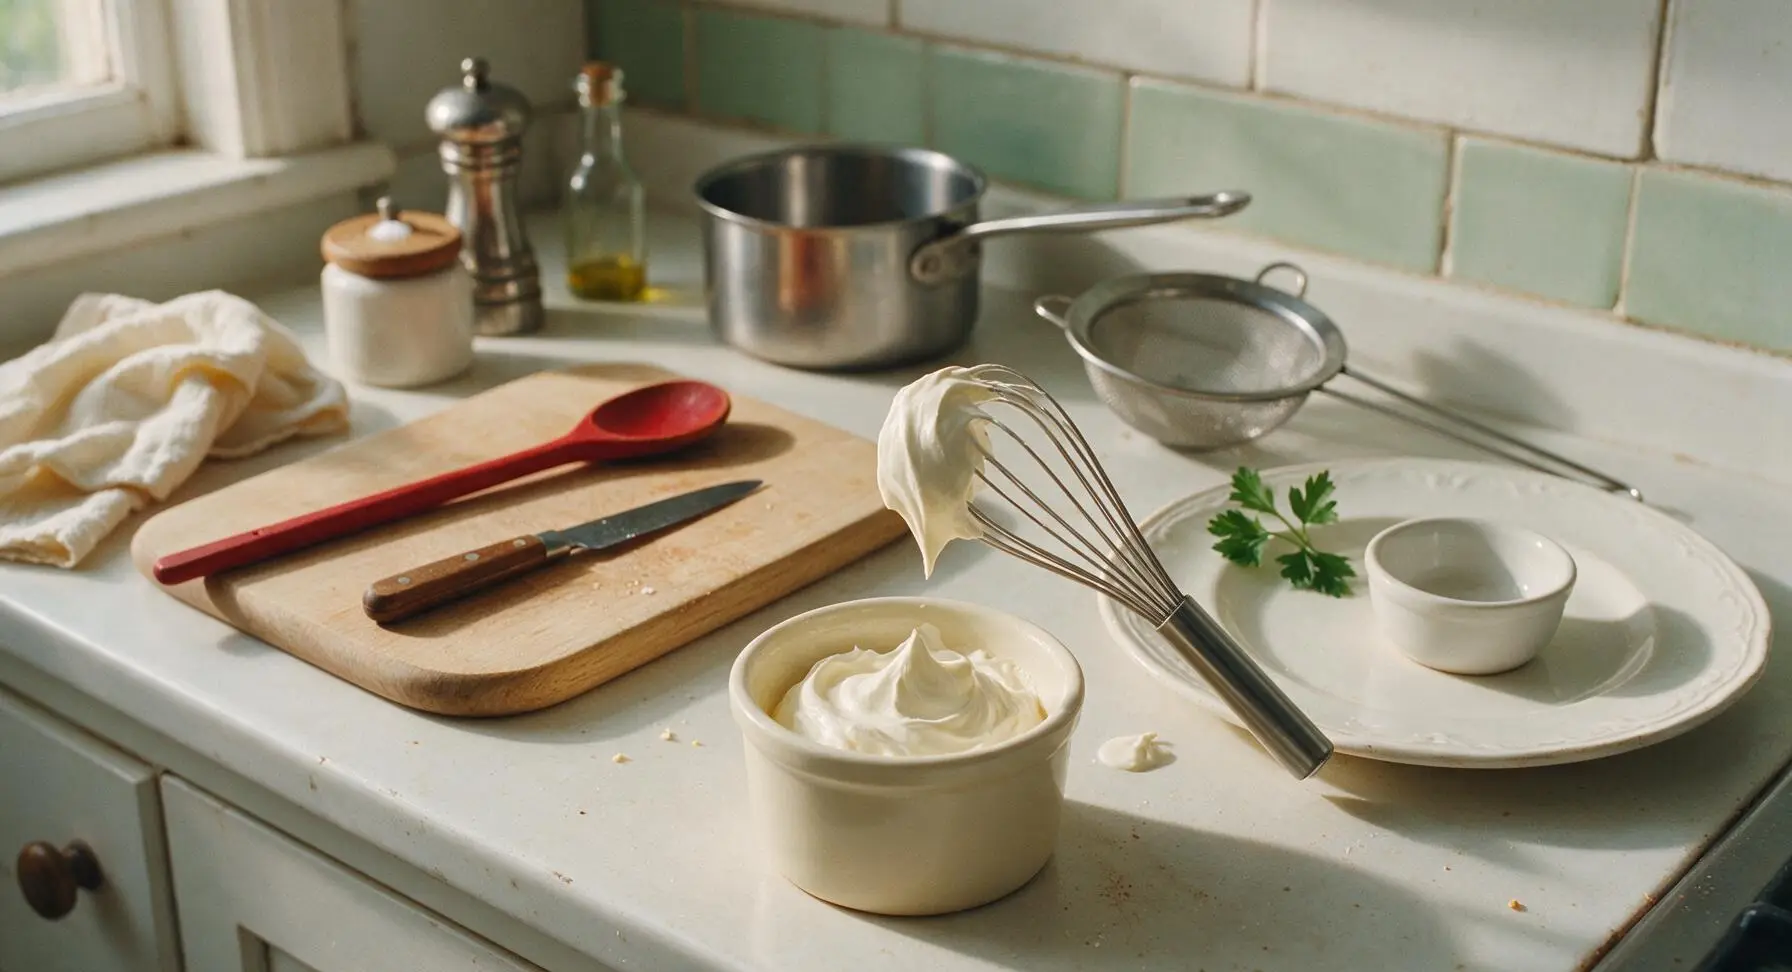
When the pudding has 10 minutes left to chill, add the remaining 1/4 cup (60ml) cold heavy cream to the fixed-position matte cream ceramic ramekin. Whisk vigorously with the stainless steel whisk for 2-3 minutes until soft, billowy peaks form when the whisk is lifted: peaks should droop gently at the tip, not stand straight up. Do not overwhip to stiff, grainy peaks, as this will create a heavy topping that overwhelms the smooth pudding.
Garnish and Serve
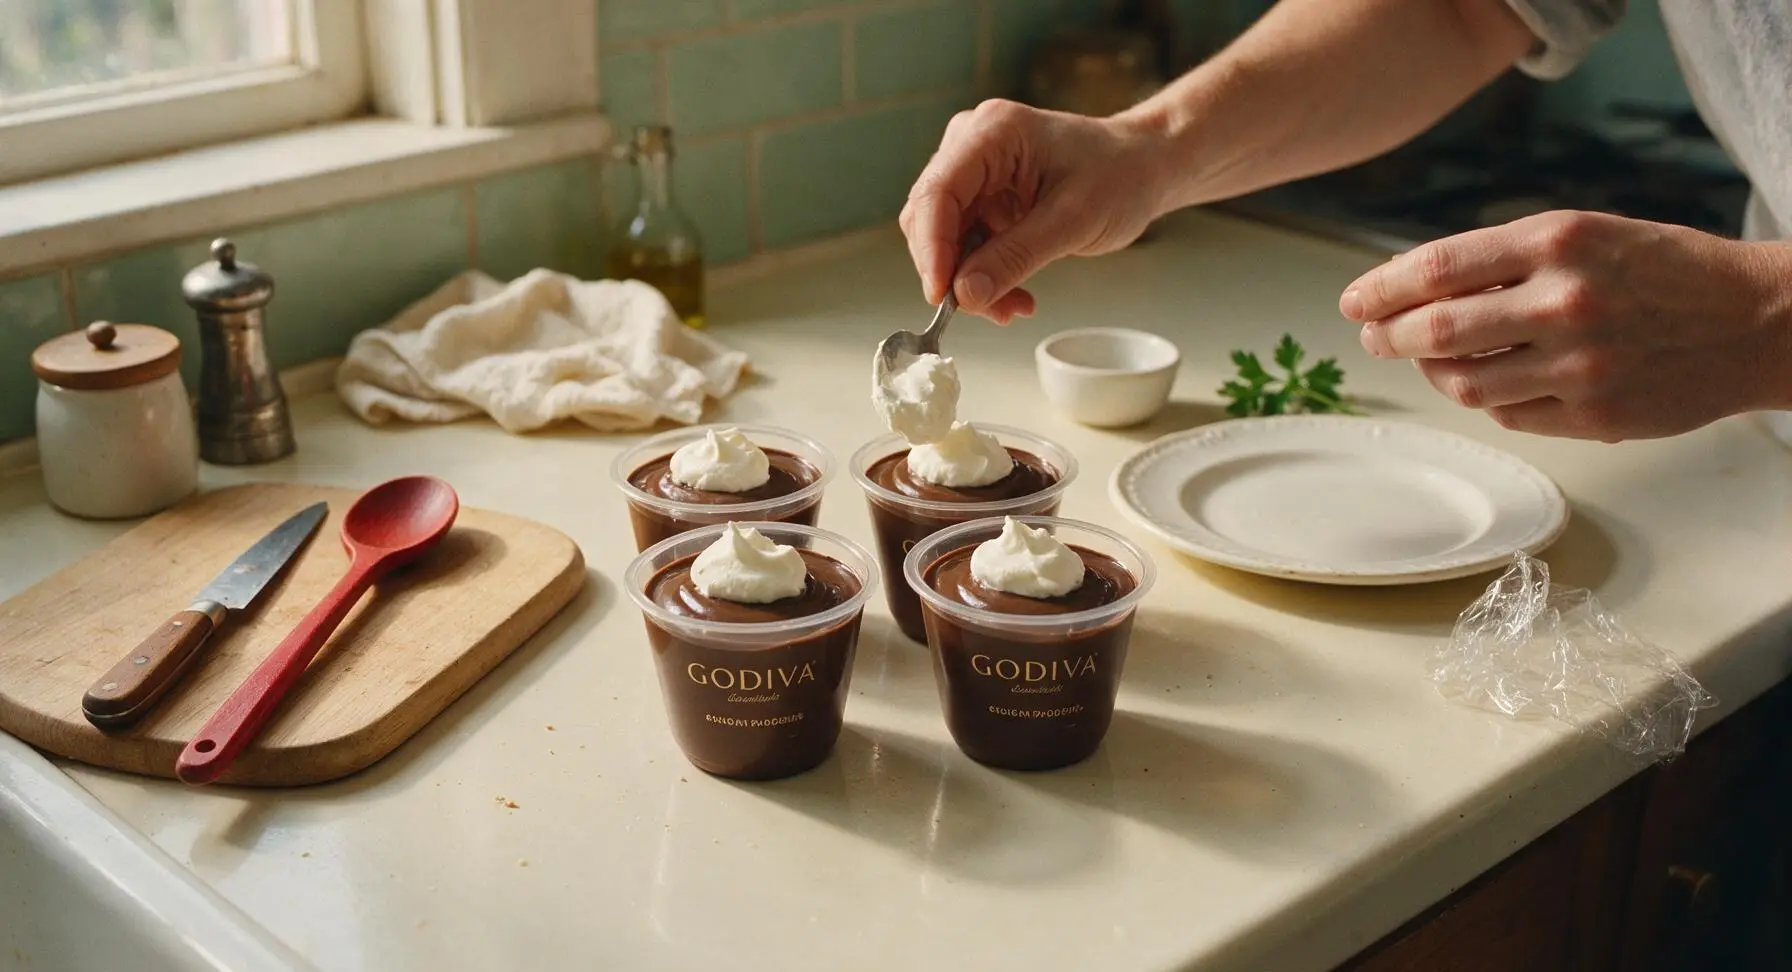
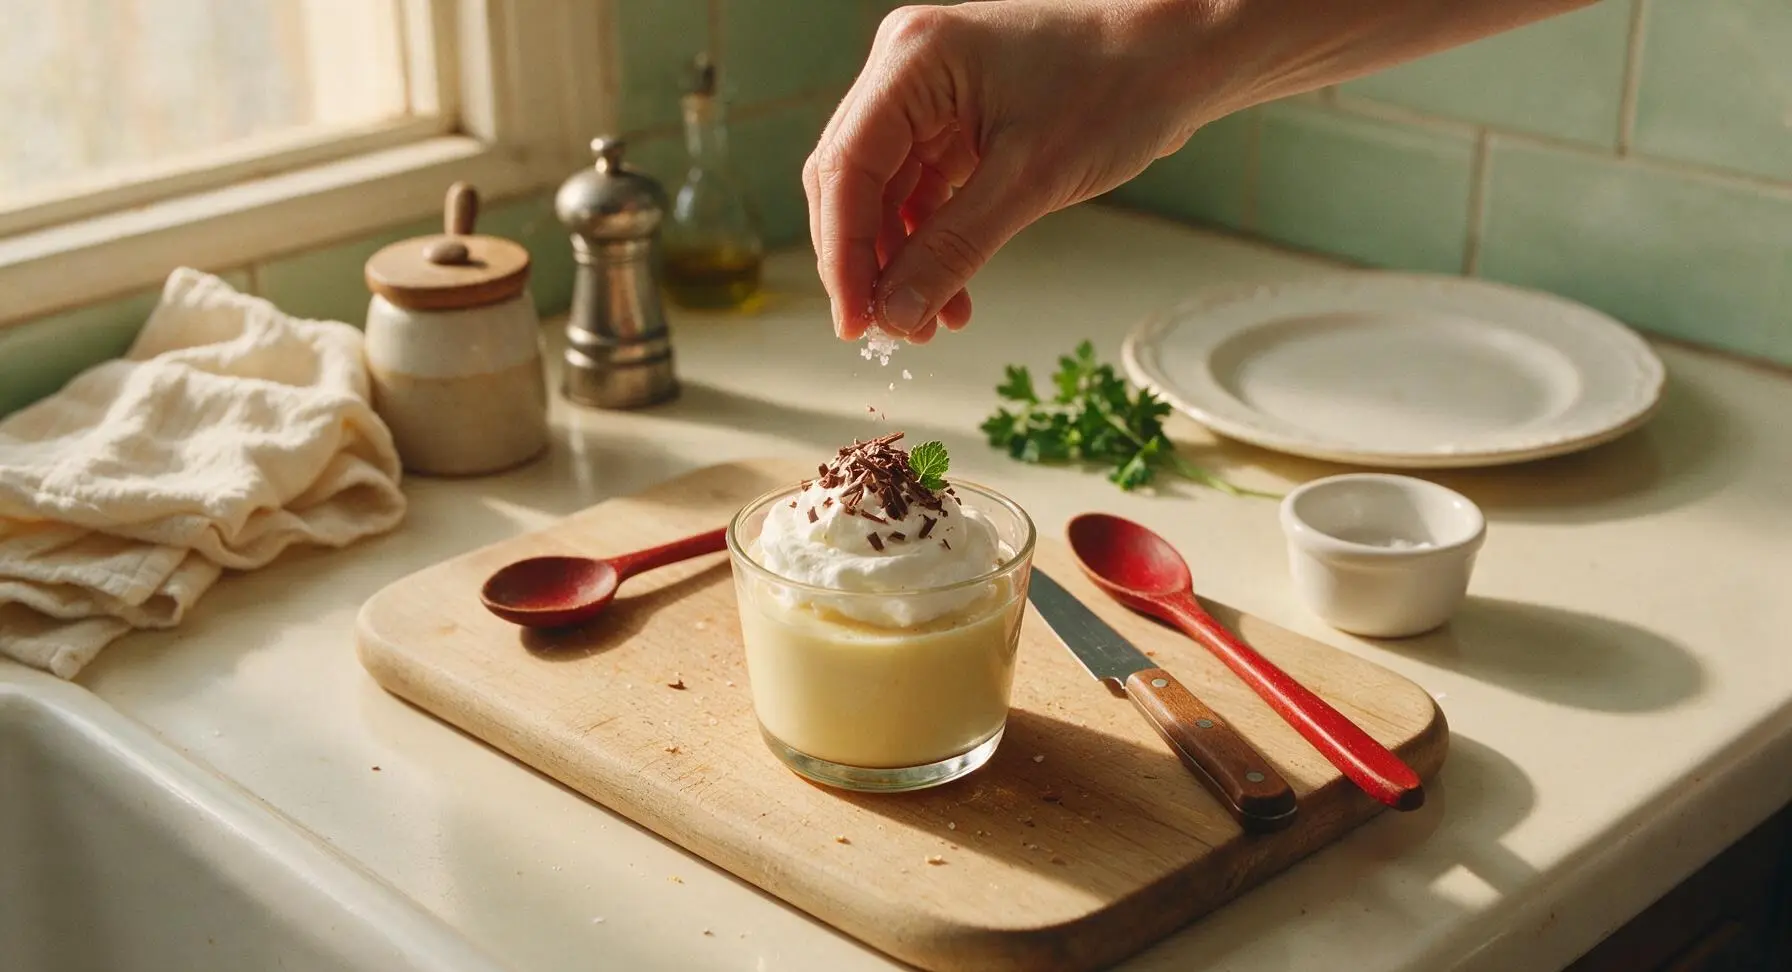
Remove the fully set pudding cups from the refrigerator and peel off the plastic wrap. Top each cup with a 1-tbsp dollop of the freshly whipped cream, 3-4 thin shavings shaved from the Godiva dark chocolate truffles, one small fresh mint leaf, and a tiny pinch of flaky sea salt to cut the richness. Serve immediately, or store covered in the refrigerator for up to 24 hours before serving.
Tips
2.Cook only over medium-low heat, stirring constantly: high heat will scald the dairy and chocolate, creating bitter, grainy pudding instead of the smooth, rich cocoa flavor Godiva is known for.
3.Don’t skip the flaky salt garnish: the sharp, briny salt cuts through the rich chocolate and sweet cream, amplifying deep cocoa notes without making the pudding taste salty.






OMG this pudding is INSANE. I made it for my book club potluck last night and every single person asked for the recipe! It was so easy to throw together too — 10 minutes of active cook time? Game changer, I thought fancy chocolate pudding would take way more effort. Used the Godiva dark chocolate like the recipe said and it tastes like something you’d pay $12 for at a fancy restaurant. 10/10 will be making this every other week from now on.
My kids went absolutely crazy for this! I’ve been trying to find easy after-dinner treats that don’t come from a box, and this checked every box. It was thick, rich, not too sweet, and even my pickiest eater who turns down every chocolate thing asked for seconds. Only note is I had to chill mine a little longer than 2 hours because my fridge runs warm, but that’s totally on me!
Made this for date night with my girlfriend and she said it’s better than the chocolate mousse we had on our first anniversary dinner. Win for me! Super straightforward, no weird ingredients, didn’t make a huge mess in the kitchen. Will definitely be adding this to my regular date night rotation.
Wait, quick question — I made this last night and my pudding came out a little lumpy? Did I do something wrong? It still tasted SO good, but the texture wasn’t perfectly smooth like the photos look. Flavor was 10/10 regardless, I just want to get the texture right next time!
So happy this recipe is naturally gluten free! I’ve been searching for a fancy but easy dessert to bring to my sister’s family dinner next weekend since a few of us have celiac, and this is perfect. No weird flour substitutes, no fancy ingredients, just straight up rich chocolate goodness. Already bought my Godiva bars to make it!
SO good. I’m not much of a baker and I pulled this off no problem. The Godiva dark chocolate makes such a difference, don’t skimp and use cheap chocolate y’all. Worth every penny.
I made a double batch of this for our team snack day and it was gone in 10 minutes. People were literally scraping the bowl. The only thing I did different was add a little espresso powder to amp up the chocolate flavor, and it was chef’s kiss. Will be making this for every office event from now on.
Has anyone tried making these ahead for weekly meal prep? I’m looking for sweet treats I can portion out on Sundays and grab all week, and this seems perfect. How long does it keep in the fridge?
I’ve been making chocolate pudding from scratch for 60 years, and I have to say this recipe is top notch. The Godiva dark chocolate adds such a deep, luxurious flavor that my old recipe just doesn’t have. My granddaughter asked for this instead of cake for her birthday this year, that’s how good it is.
Made this in my dorm room kitchen last night with my roommate and we ate the entire batch while watching a movie. It was so easy even we couldn’t mess it up, and it tasted way fancier than the instant pudding we usually buy. 10/10 would recommend to other broke college kids who want a nice treat without a ton of work.
Wait, quick question before I whip this up tonight — can I use 2% milk instead of whole milk? I only have 2% in the fridge right now and I don’t feel like running to the store just for milk. All the reviews look amazing so I know it’s gonna be good, I just don’t want to mess up the texture!
Took this to a neighborhood potluck over the weekend and I lost count of how many people came up to ask for the recipe. I topped each cup with a little dollop of salted caramel and a piece of Godiva dark chocolate, and people lost their minds. This recipe is such a great base to add fun toppings to!
I cannot believe how easy this was. I avoid any recipe that has more than like 5 steps, and this was so straightforward I didn’t even have to re-read the directions while cooking. The end result tastes like a fancy restaurant dessert, not something I threw together in 10 minutes after work. Absolute new staple in my house.