
Grasshopper Bars
intro
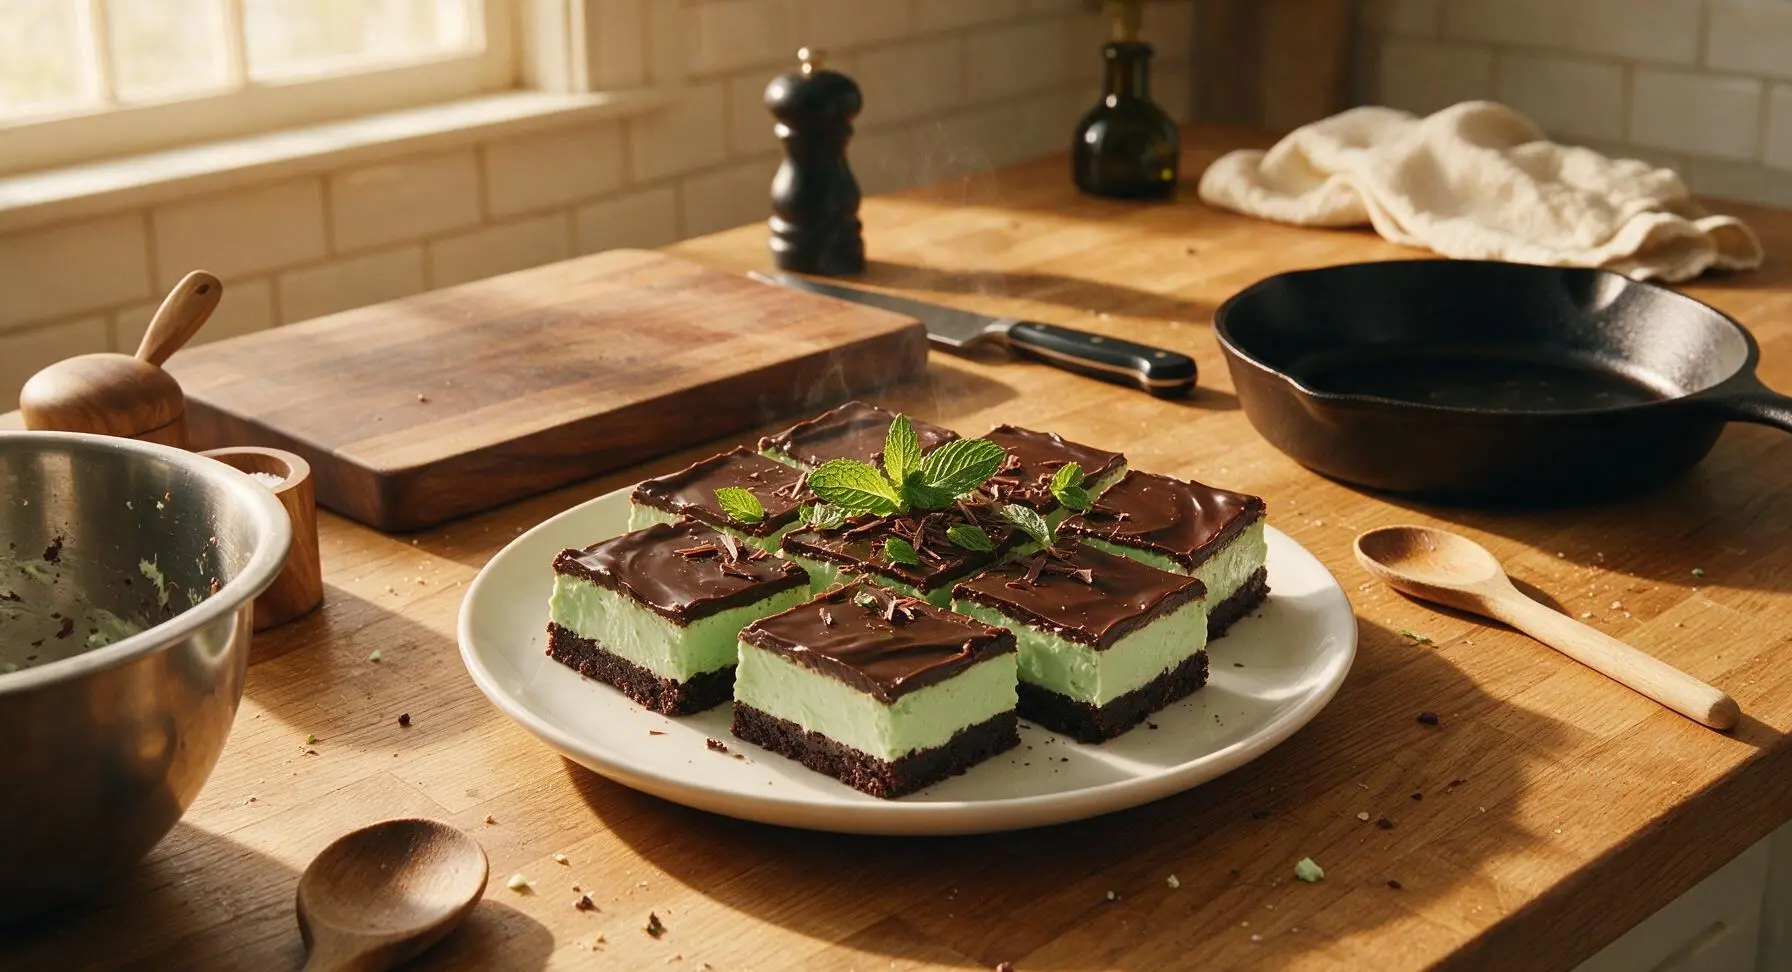
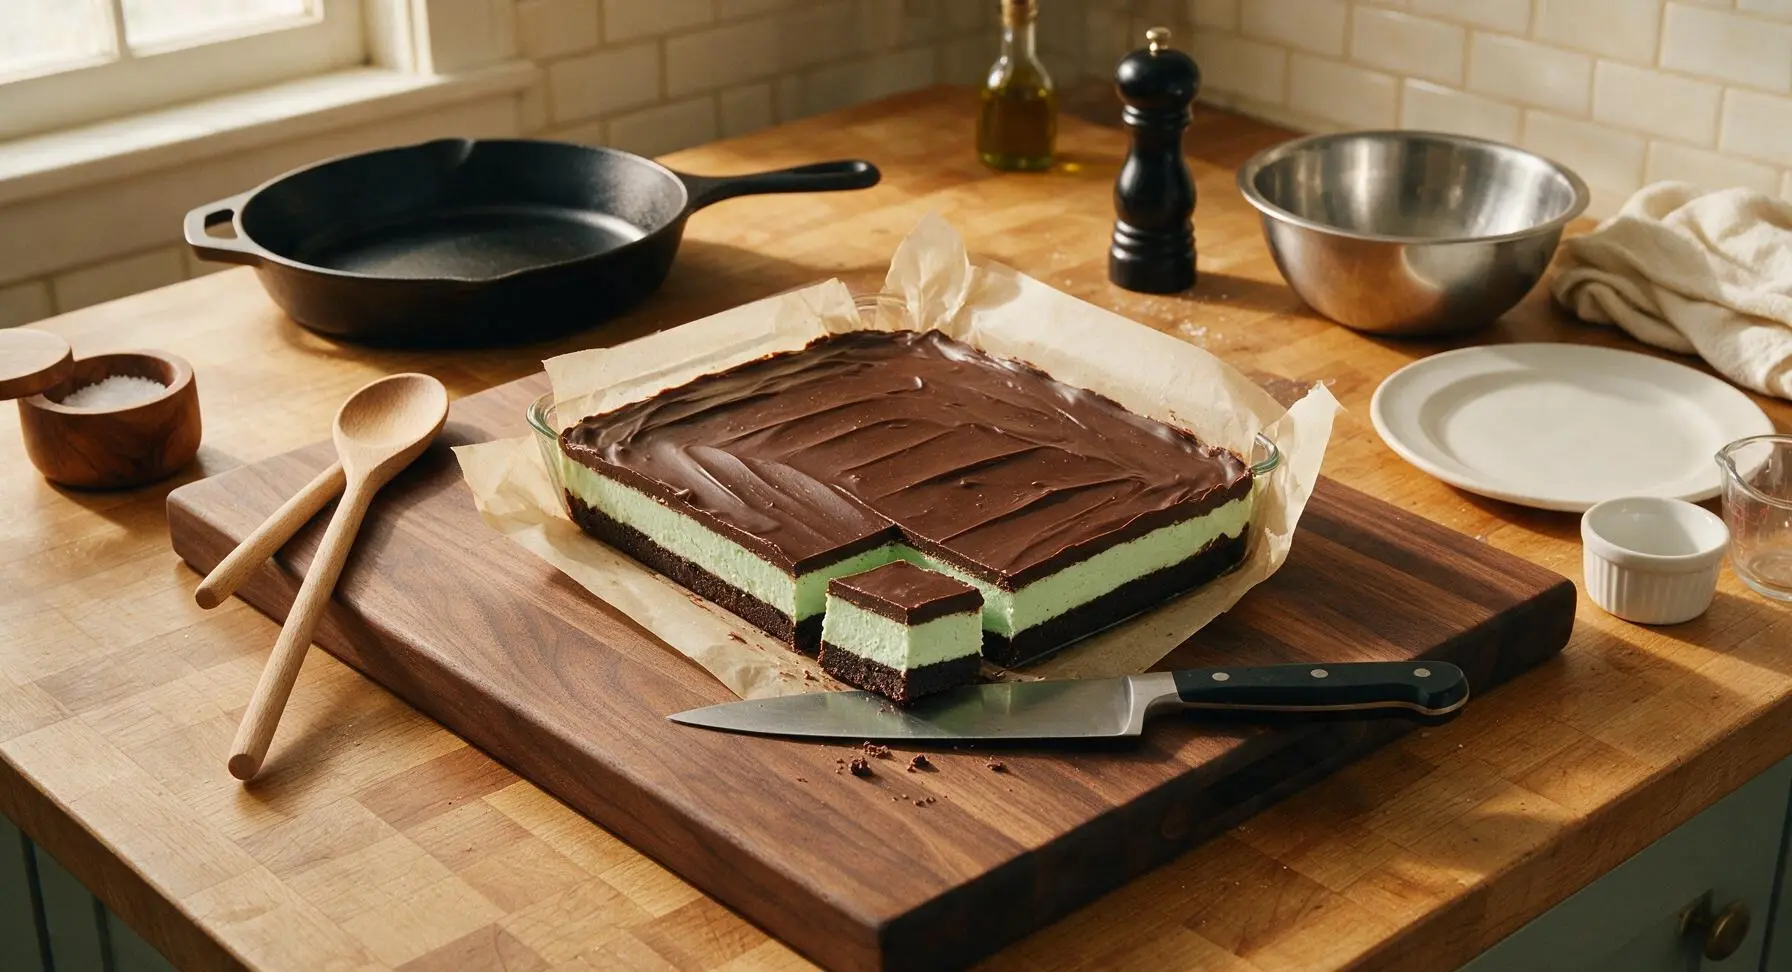
Cool, creamy mint filling sandwiched between a fudgy chocolate cookie crust and snappy dark chocolate ganache—these nostalgic, crowd-pleasing bars are perfectly sweet and refreshing.
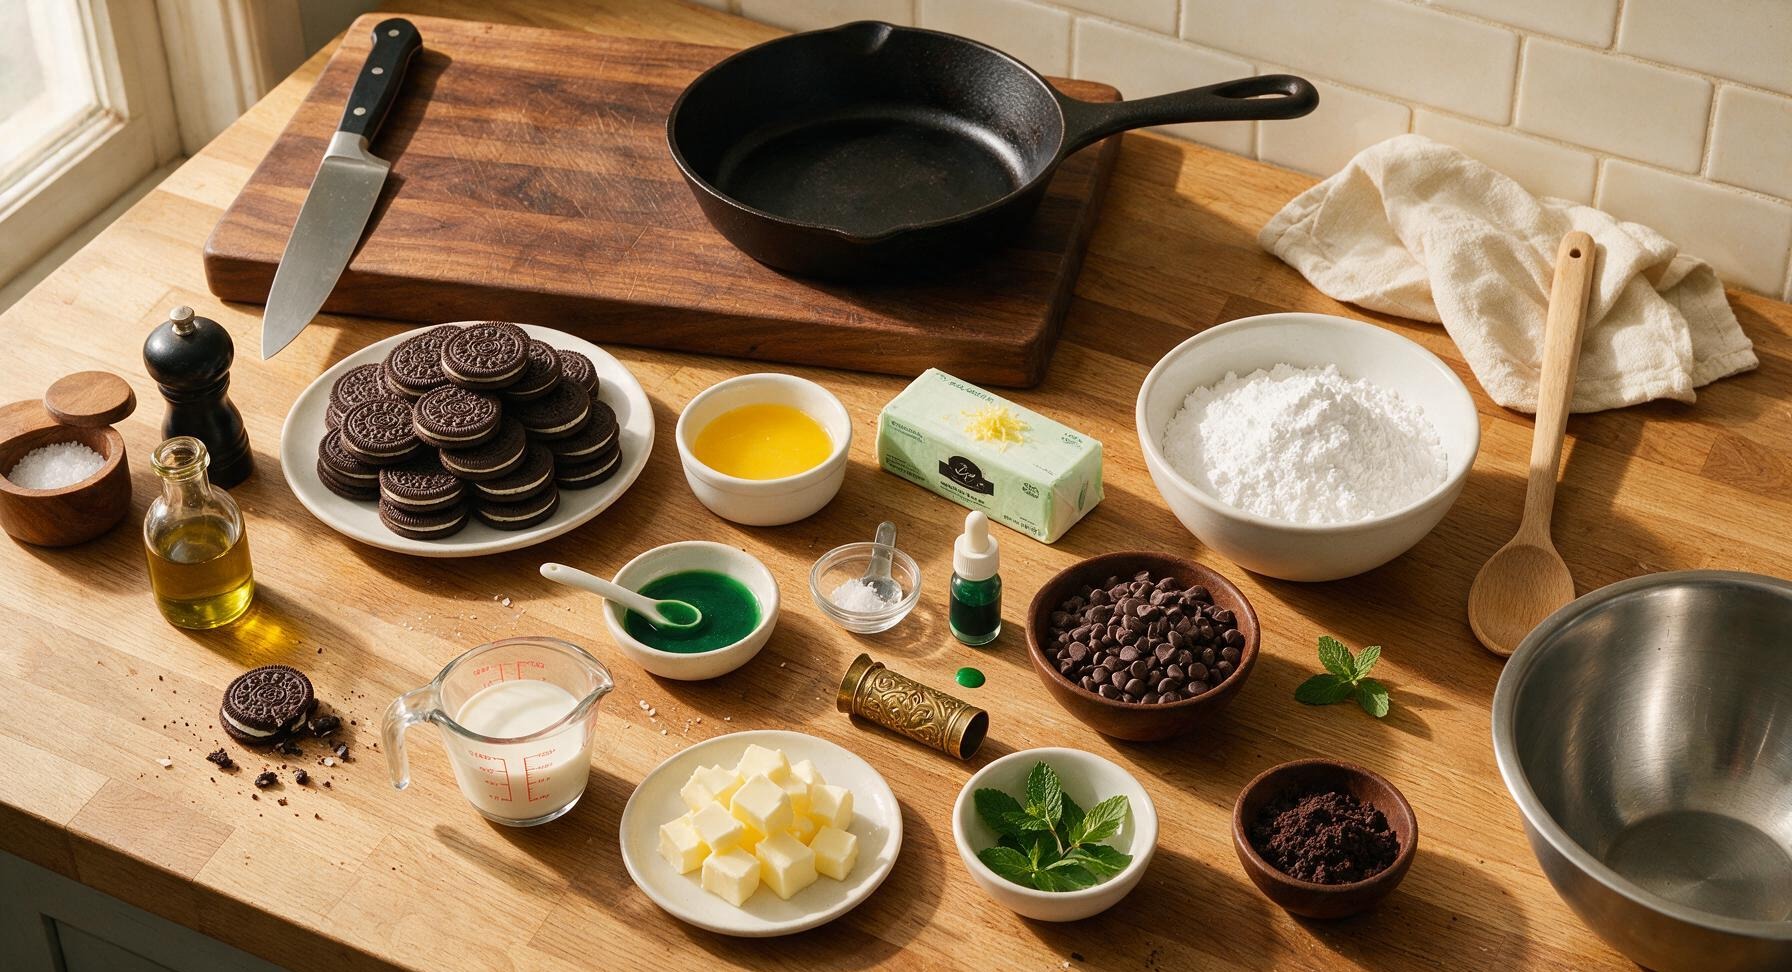
Ingredients
Steps
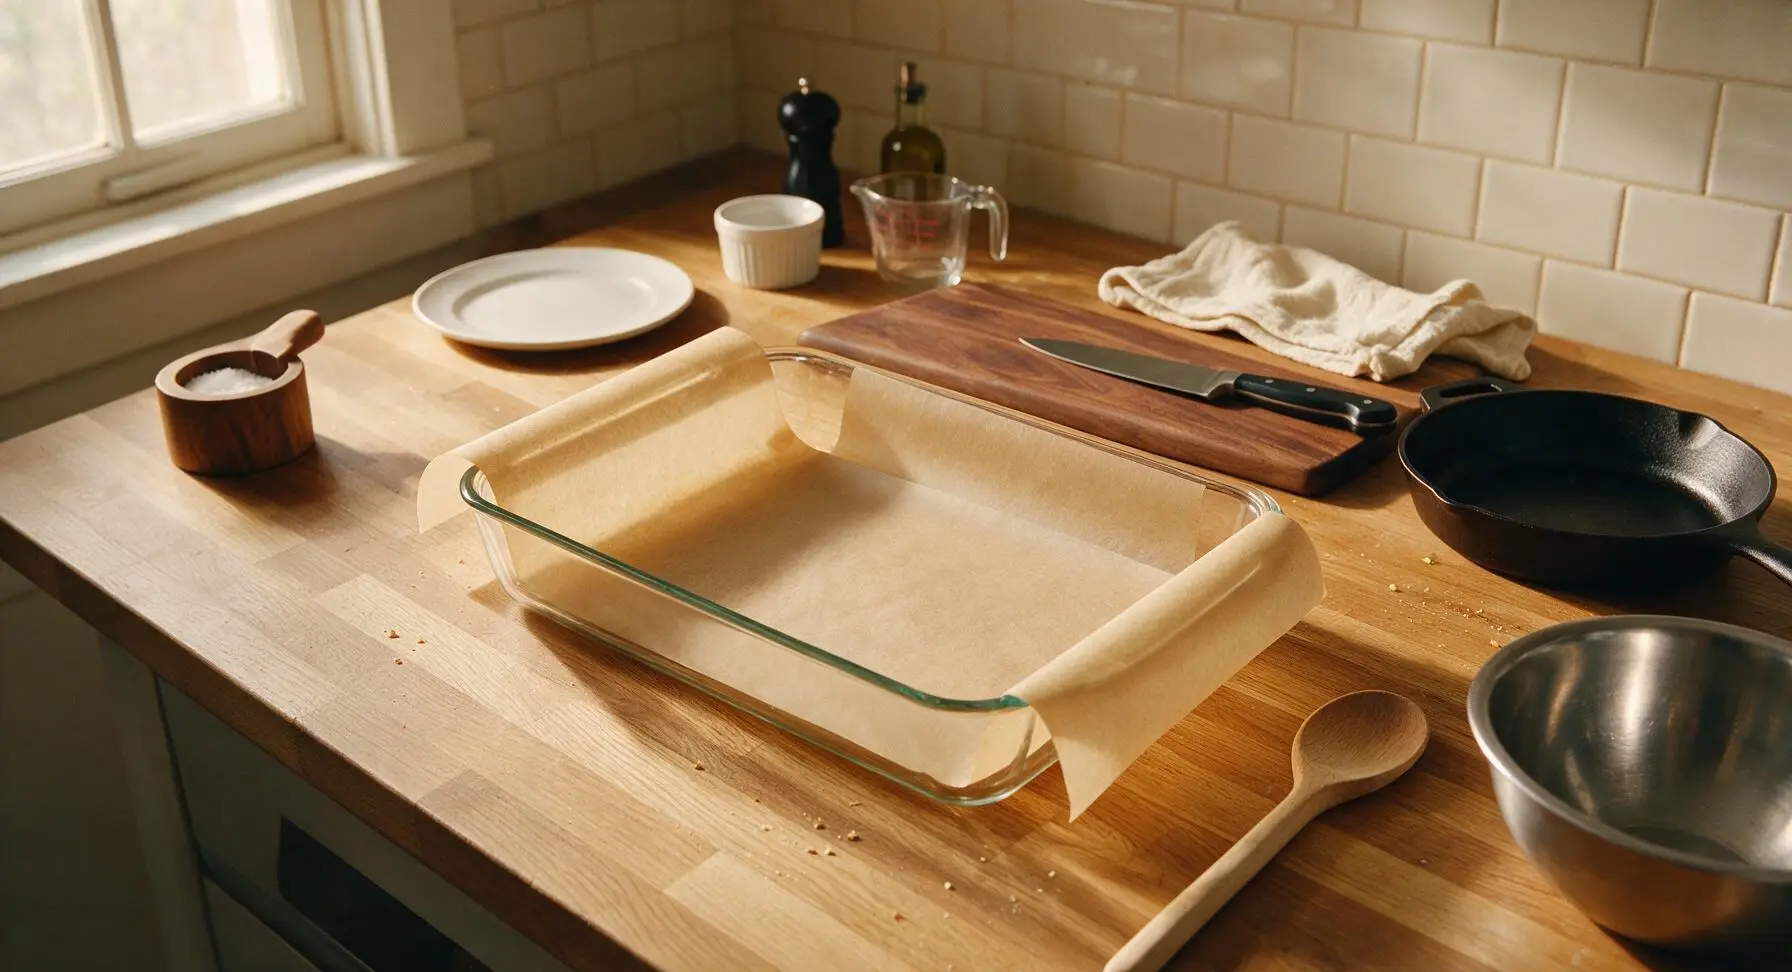
Prep Baking Pan
Line the 9x13 inch clear glass baking dish with the pre-cut unbleached parchment paper, leaving a 5cm (2 inch) overhang on the two long sides to act as handles for lifting the finished bars out later. Smooth the parchment flat against the bottom and sides of the dish, pressing out any air bubbles. Set the prepared dish on the center of the counter.
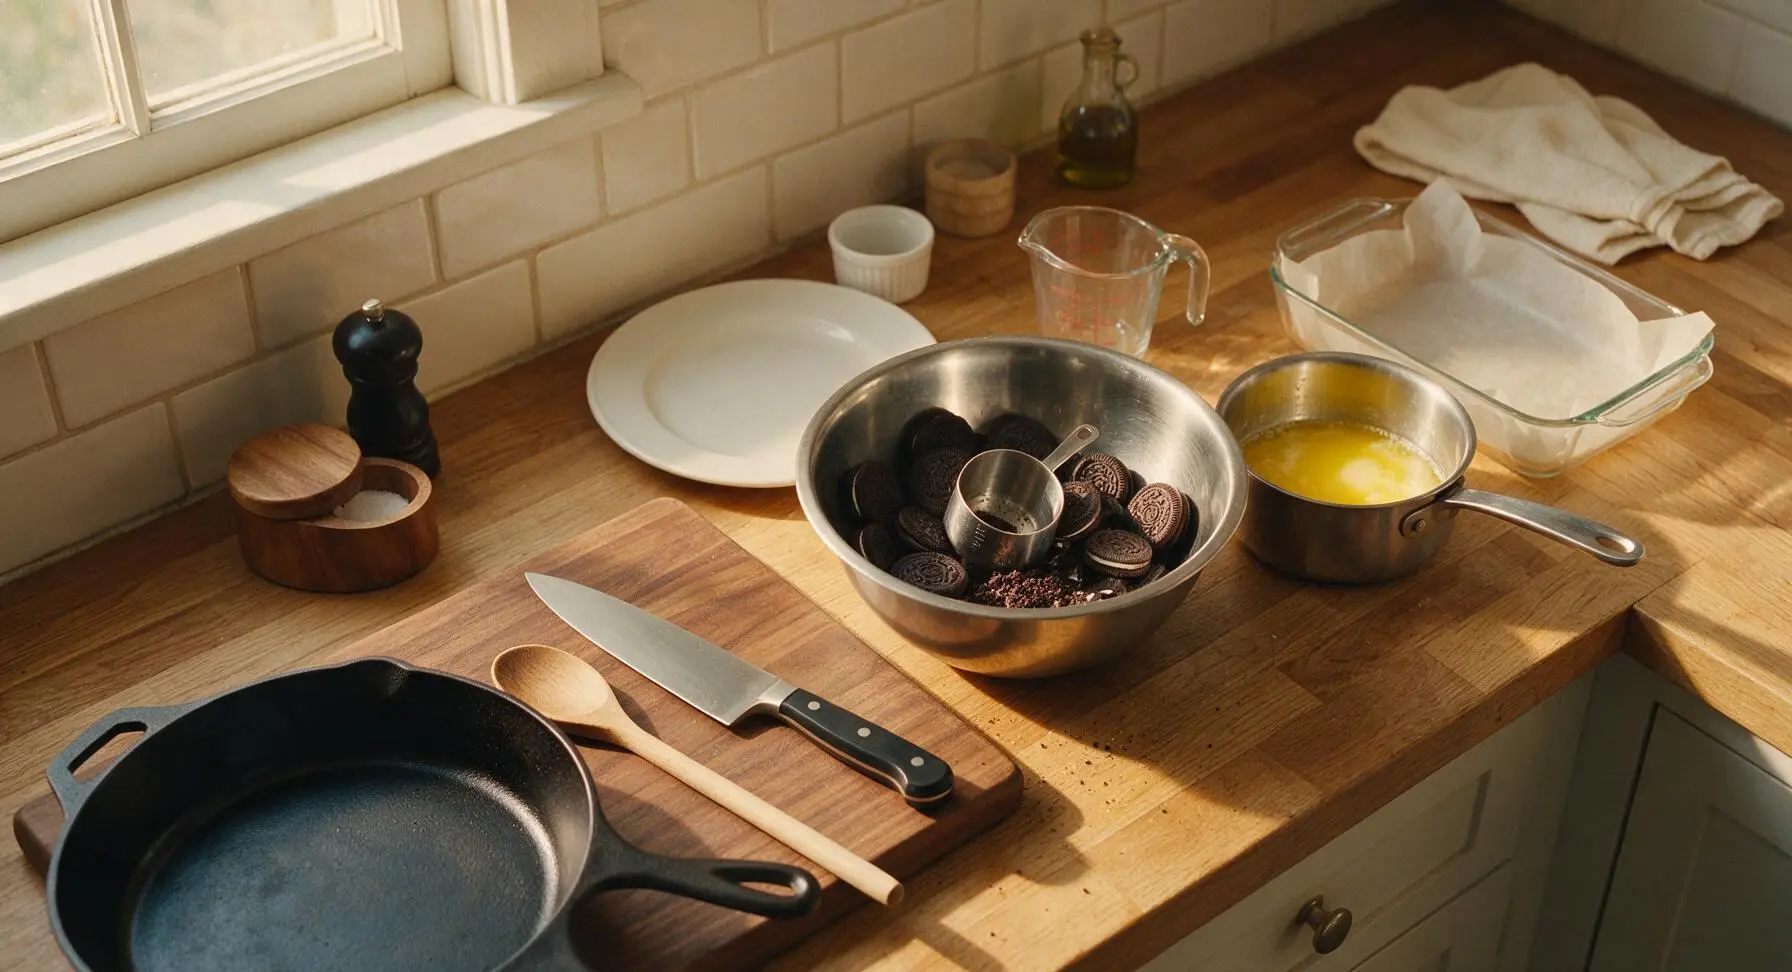
Mix Chocolate Crust
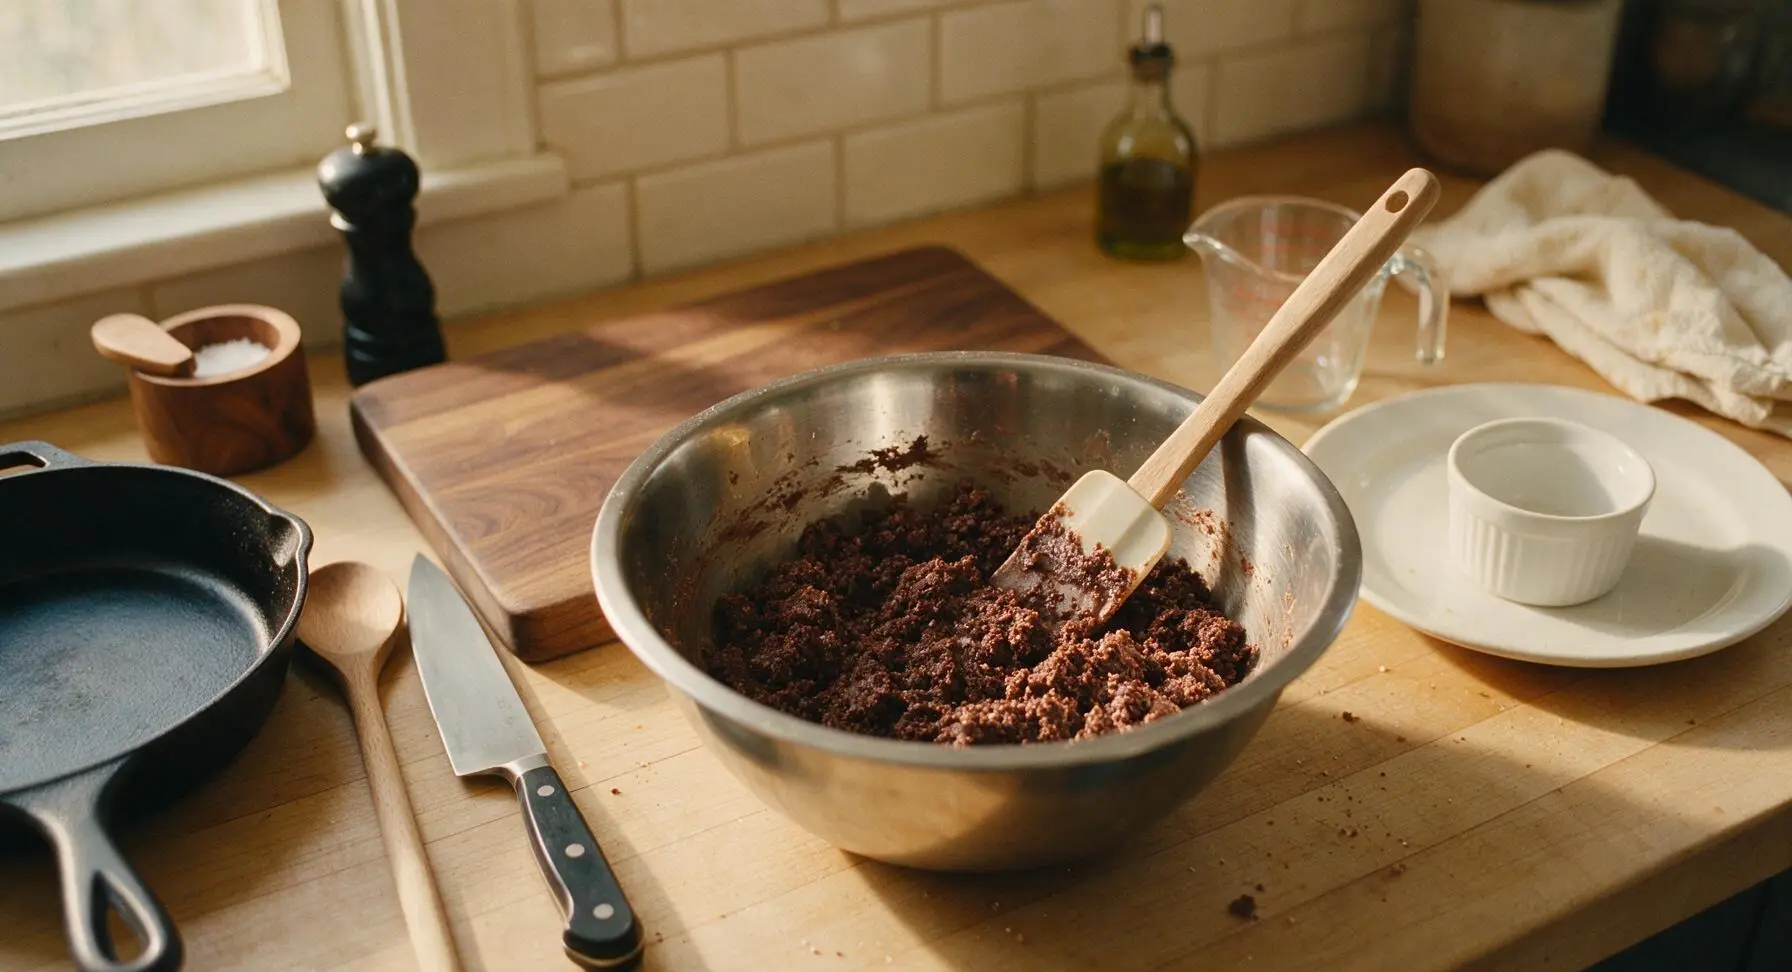
Place all chocolate sandwich cookies (cream filling intact) into the medium stainless steel mixing bowl. Crush into fine, even crumbs using the bottom of a dry measuring cup (no large cookie chunks should remain). Melt the 113g of crust butter in the small stainless steel saucepan over low heat for 2 minutes until fully liquid, then pour over the cookie crumbs. Stir with the silicone spatula until every crumb is evenly moistened — the mixture will clump slightly when squeezed between your fingers.
Press Crust Evenly
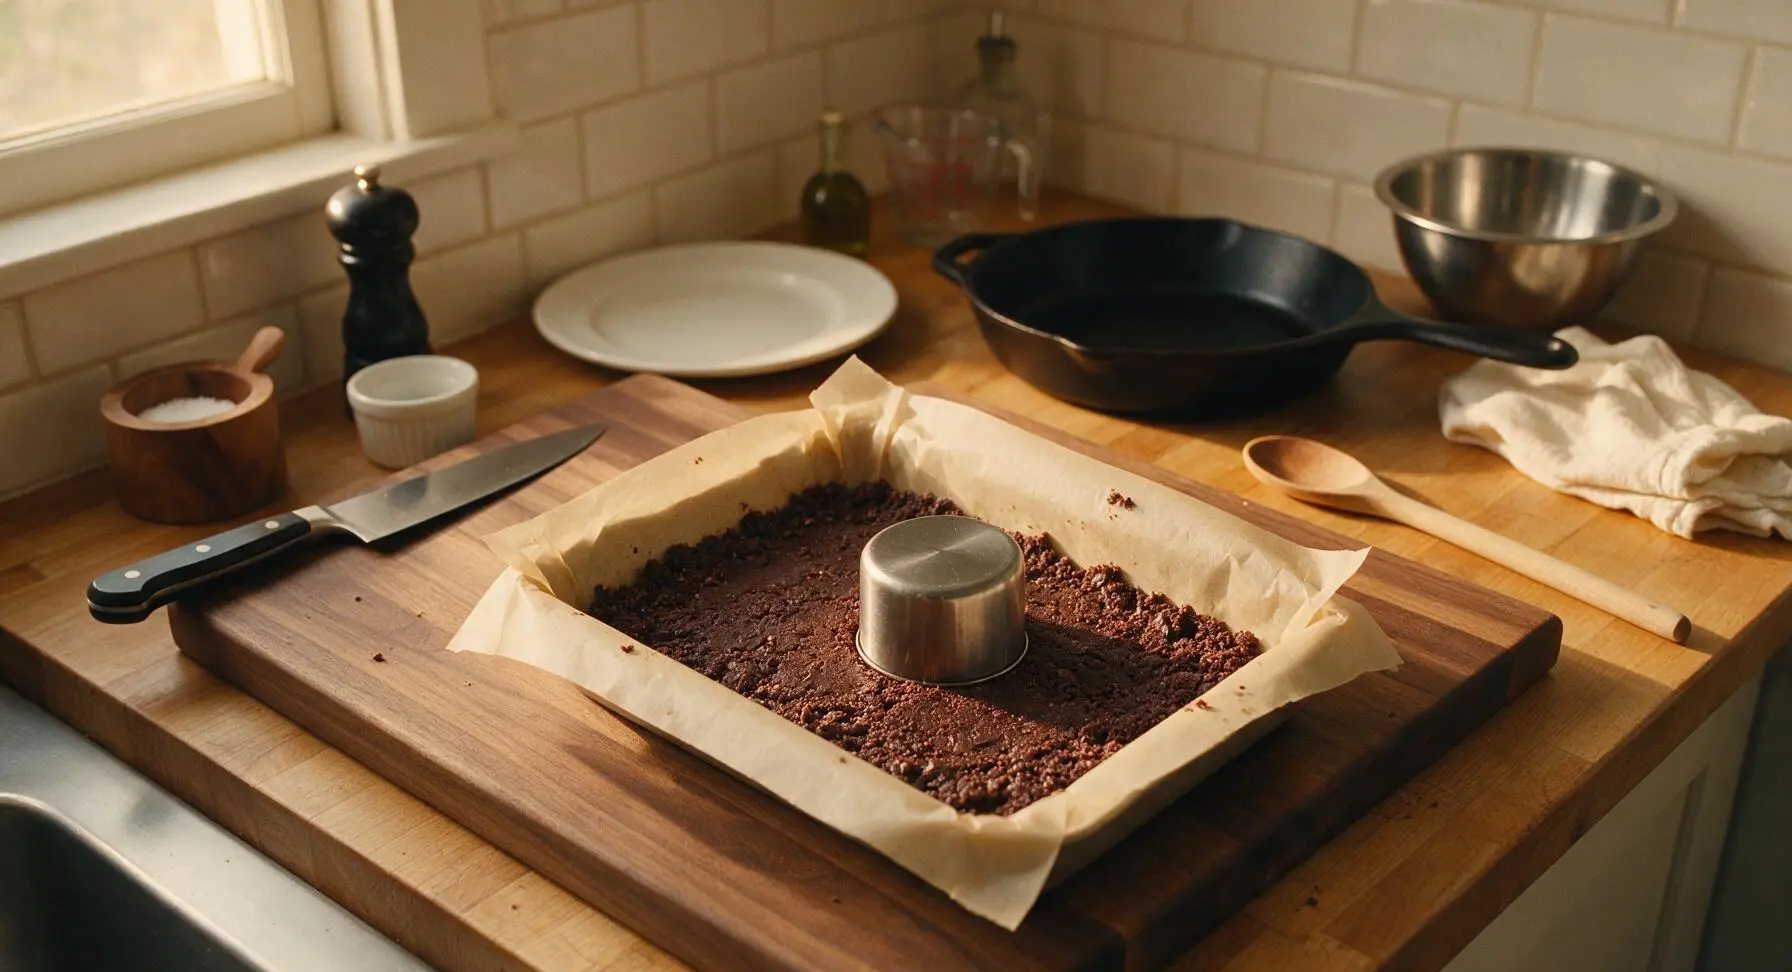
Pour all of the moistened chocolate crumb mixture into the parchment-lined baking dish. Use the flat bottom of a dry measuring cup to press the crumbs firmly into a single, even, compact layer across the entire bottom of the dish, with no thin spots or gaps. Once pressed, place the dish in the refrigerator to chill for 10 minutes while you prepare the filling, so the crust sets firm.
Whip Mint Filling
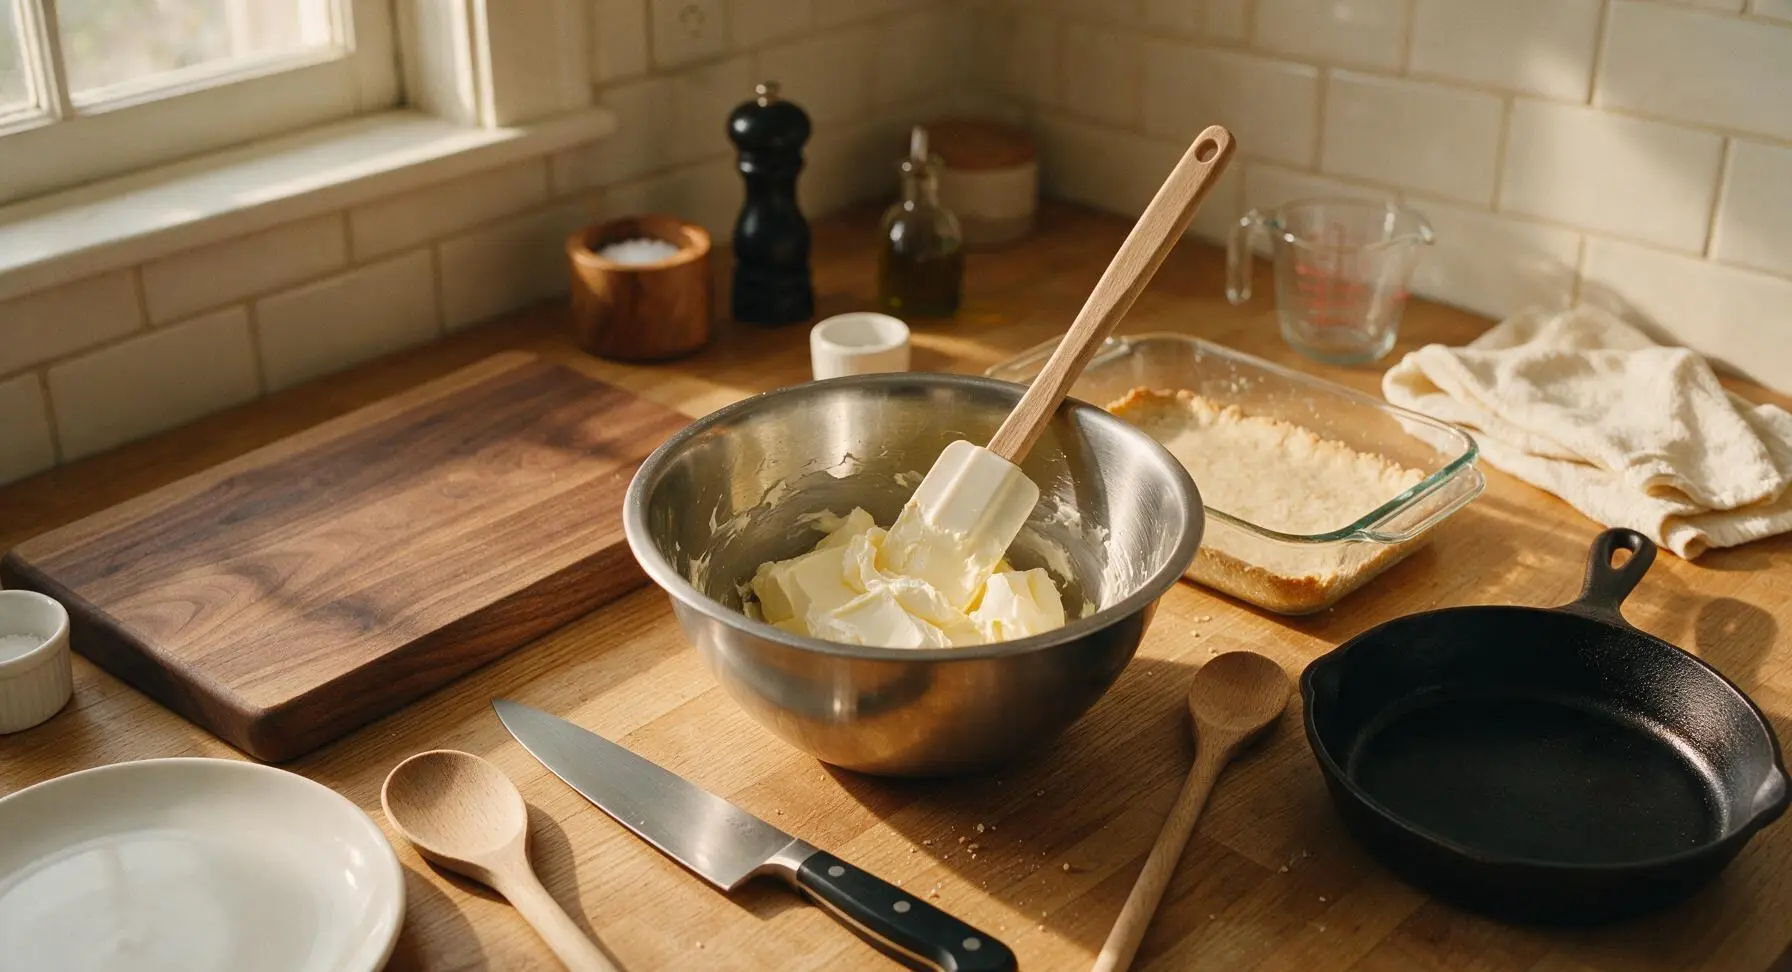
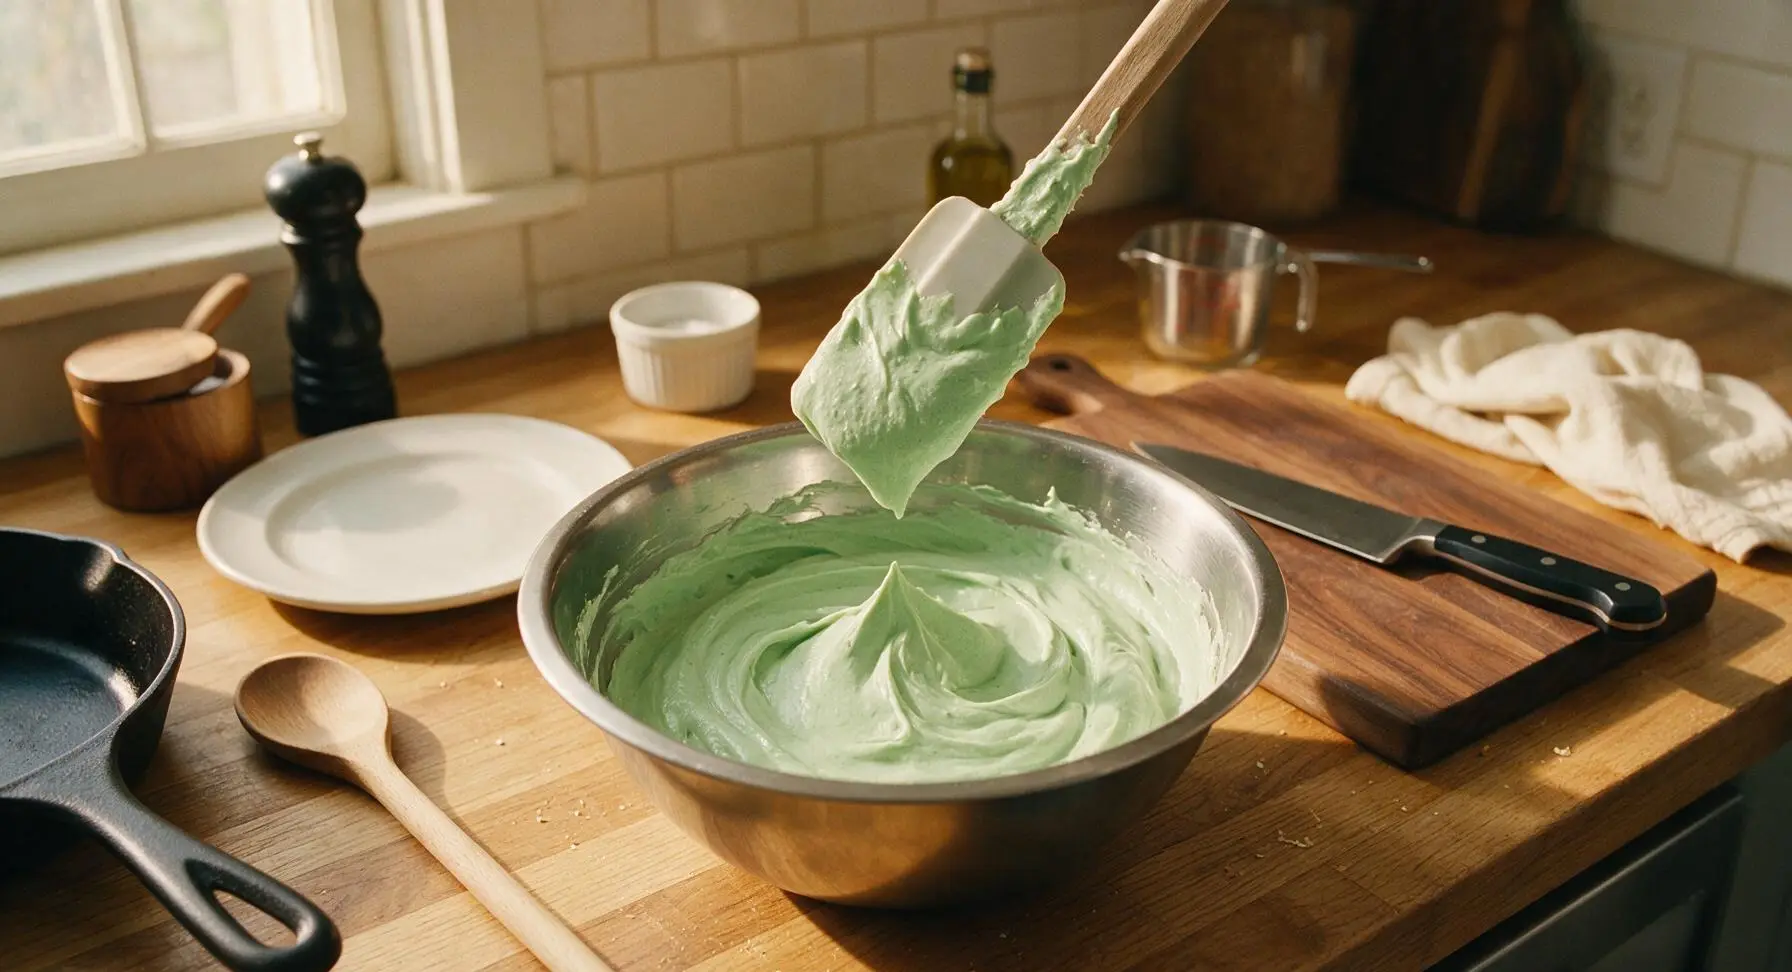
In the now-wiped-clean medium stainless steel mixing bowl, combine the softened 226g cream cheese and 113g softened unsalted butter. Beat with the silicone spatula until completely smooth, with no lumps, about 2 minutes. Add the sifted powdered sugar 1 cup at a time, stirring fully between additions, then mix in the crème de menthe extract, fine sea salt, and optional 2-3 drops green gel food coloring until the filling is a uniform pale pastel mint green, smooth and spreadable.
Layer Mint Filling
Remove the chilled crust from the refrigerator. Scoop all of the mint filling on top of the set chocolate crust. Use the offset metal spatula to spread the filling into an even, smooth layer across the entire surface of the crust, taking care not to press so hard that crumbs lift up into the filling. Return the dish to the refrigerator to chill for 20 minutes, until the filling is firm to the touch.
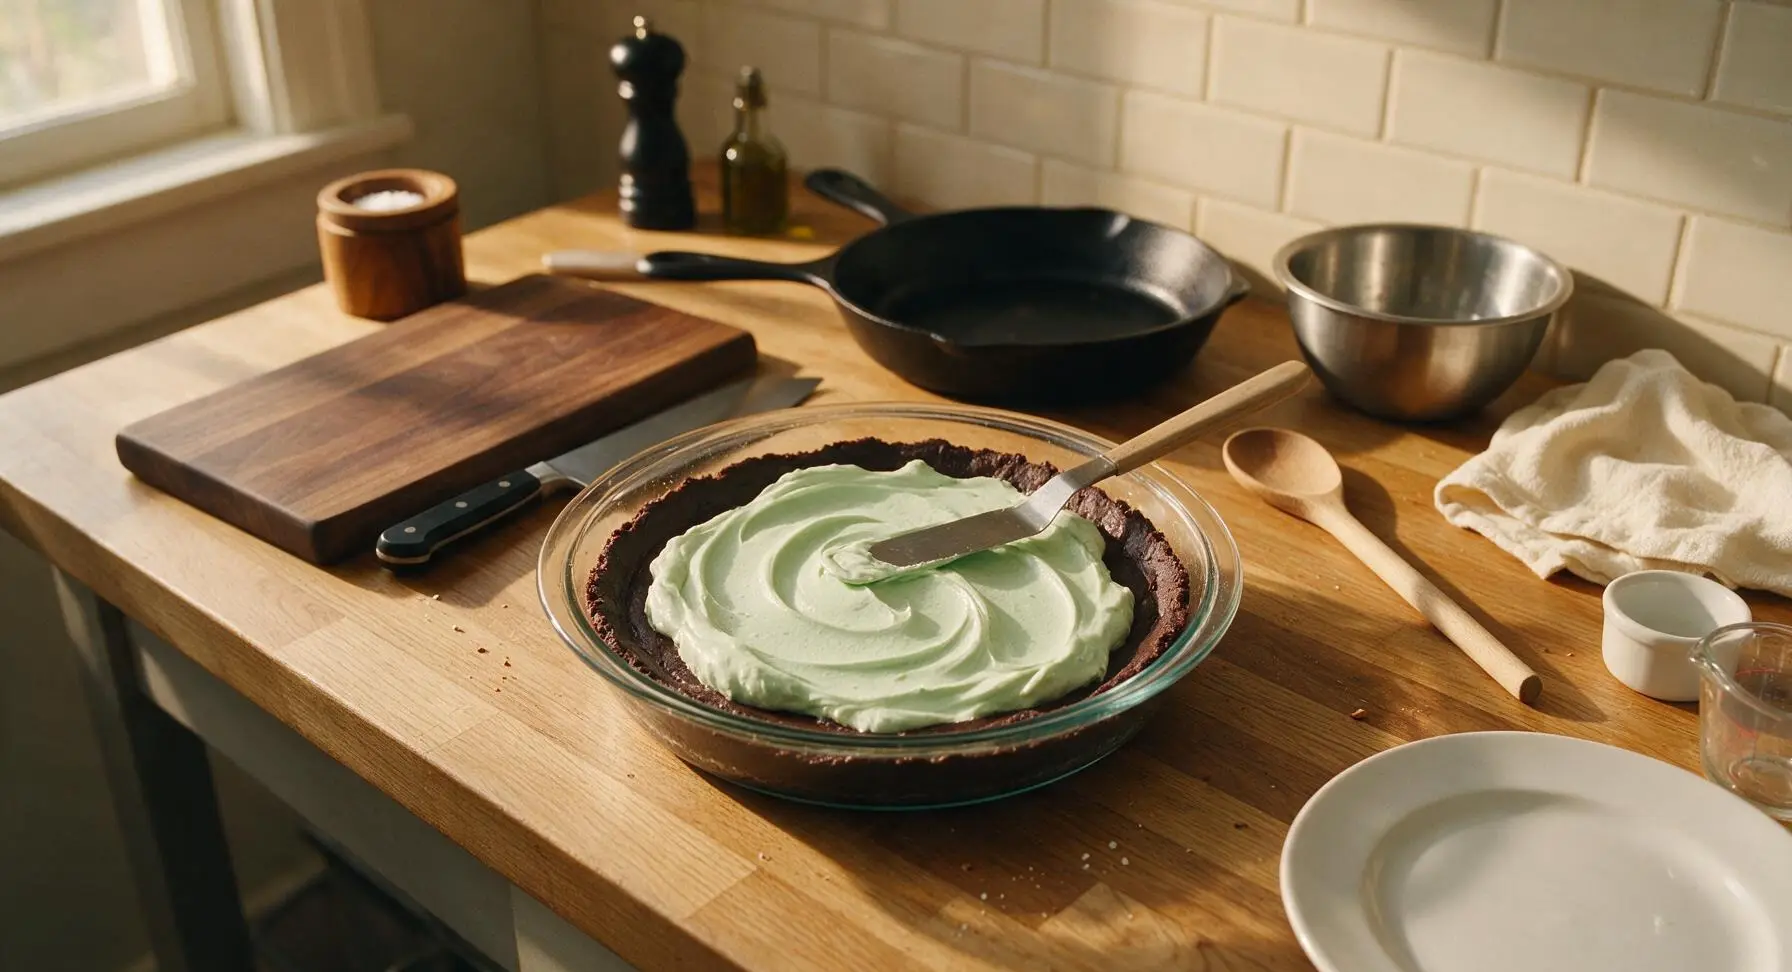
Make Chocolate Ganache
Place the dark chocolate chips in the clean medium stainless steel mixing bowl. Heat the heavy whipping cream in the washed small stainless steel saucepan over medium-low heat until it just begins to simmer around the edges (do not boil, about 3 minutes). Pour the hot cream over the chocolate chips, let sit for 5 minutes to melt, then stir slowly with the silicone spatula until completely smooth, glossy, and free of lumps. Let cool 5 minutes before using.
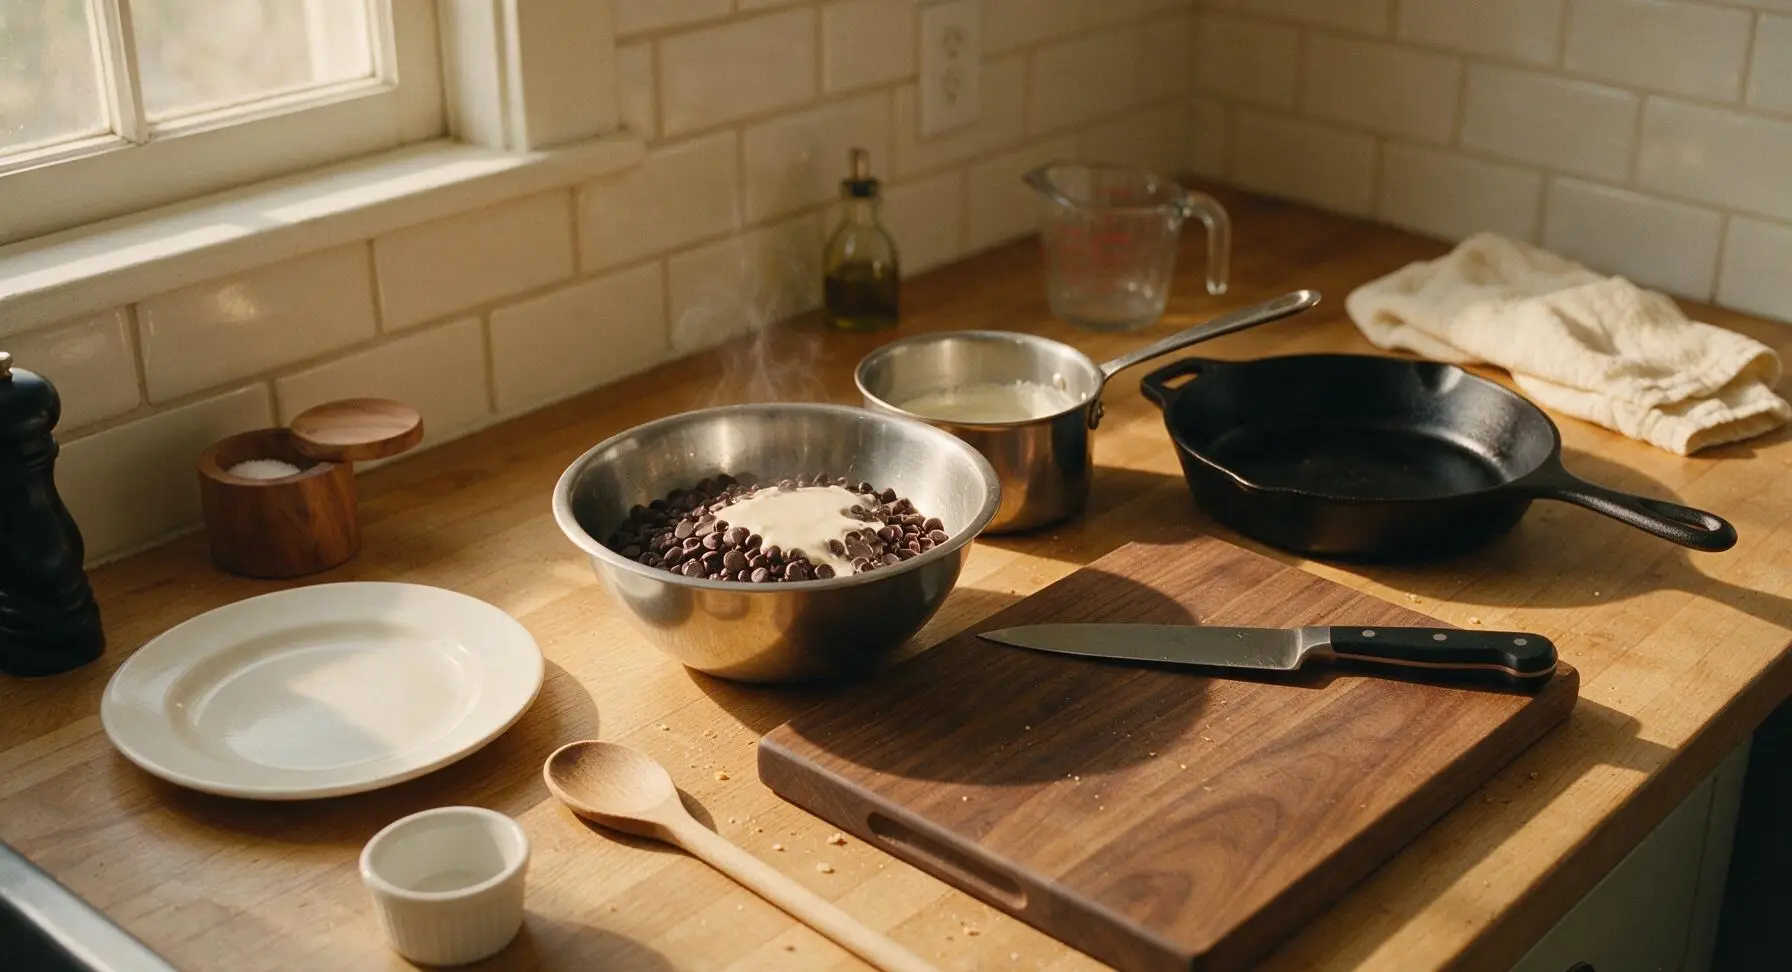
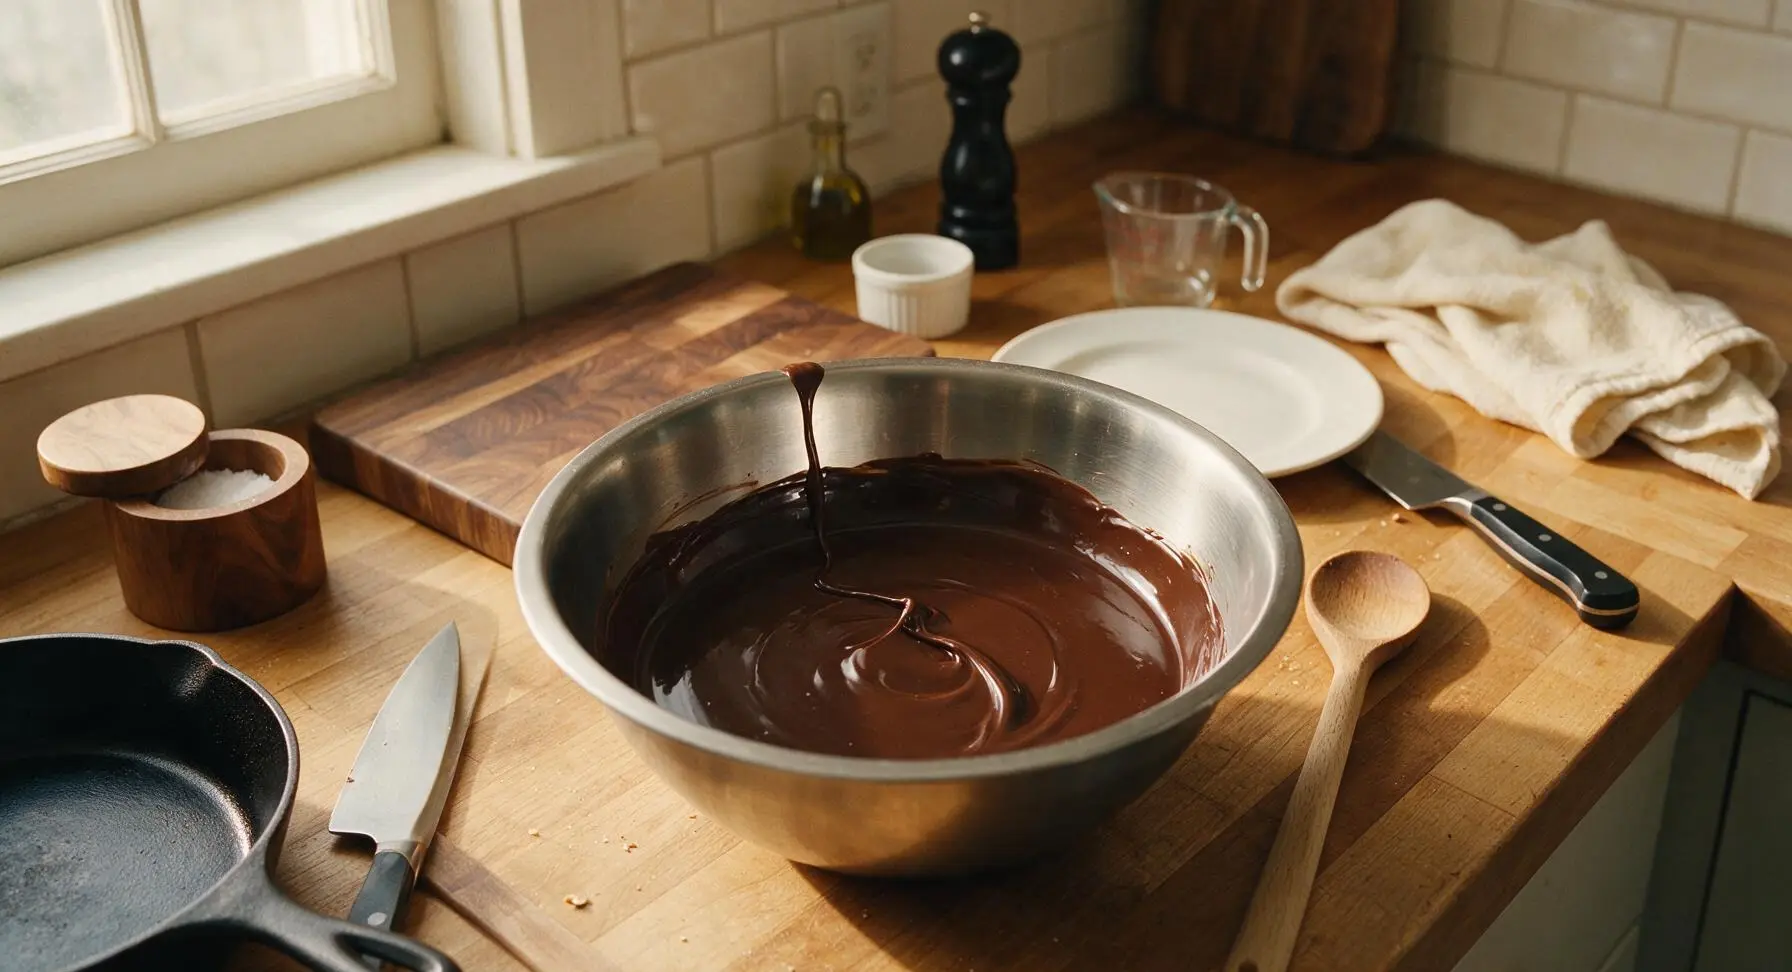
Add Chocolate Top Layer
Remove the dish with the chilled mint filling from the refrigerator. Pour all of the slightly cooled ganache over the top of the mint filling. Use the offset spatula to spread the ganache quickly into a thin, even layer across the entire surface of the mint filling, working before the ganache starts to set. Set the dish on the matte black wire cooling rack for 10 minutes at room temperature, then transfer to the refrigerator to chill for a full 2 hours, until both the filling and ganache are completely firm.
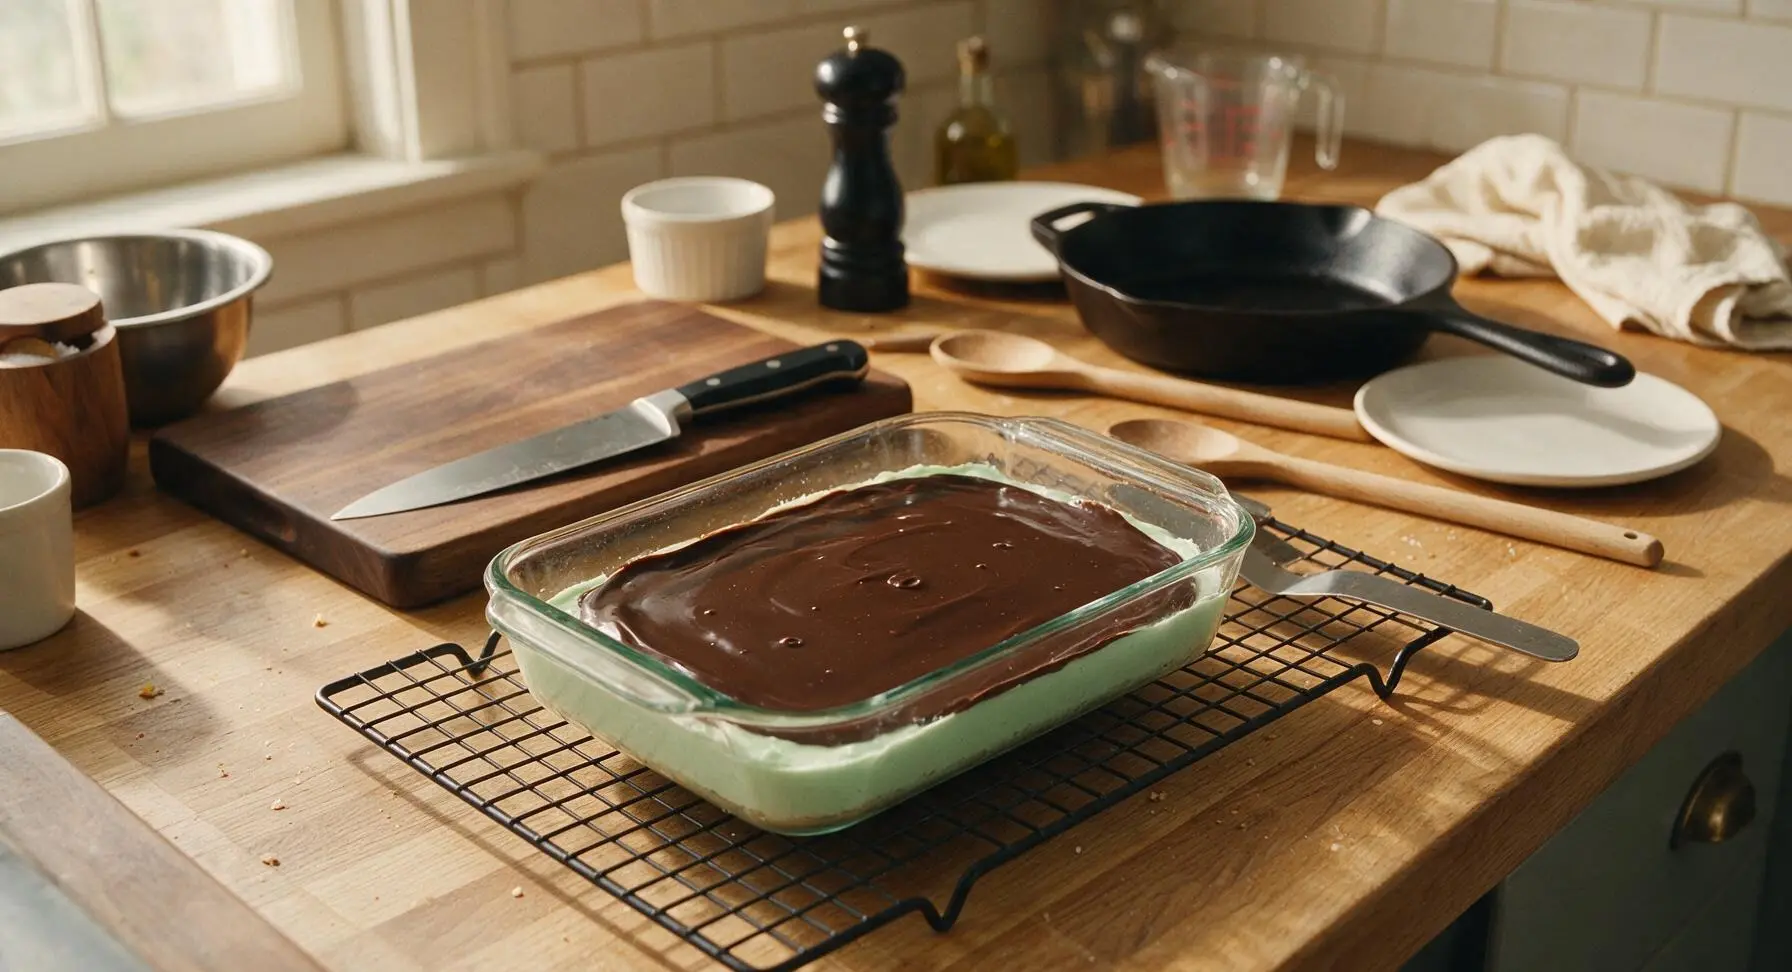
Cut into Even Bars
Once fully chilled, use the parchment paper overhang to lift the entire block of bars out of the baking dish and transfer it to the dark walnut cutting board. Dip the 20cm chef’s knife in hot water, wipe dry, and cut the block into 16 even 2x2 inch squares, wiping the knife clean between cuts for sharp, clean edges with no smearing between layers. Transfer the cut bars to the matte white ceramic serving platter, garnish each with a small fresh mint leaf if desired.
Tips
2.Wipe your chef’s knife with a hot, damp cloth between every cut when portioning bars. This prevents smearing mint filling into the chocolate ganache, resulting in sharp, clean, professional-looking layer lines on every slice.
3.Let the finished ganache cool for 5 minutes at room temperature before pouring it over the chilled mint layer. Hot ganache will melt the surface of the mint filling, causing green streaks in the chocolate top and blurry layer boundaries.






OMG these are SO good! I made them for my kid’s soccer team potluck last weekend and every single last bar was gone before I even got a second one. The mint + chocolate combo is perfectly balanced, not too sweet, and they were so easy to throw together — 10 minute cook time? No wonder it’s labeled easy! Total game changer for last minute event desserts.
Made these last night for movie night with my roommates and we demolished the whole pan in like 20 minutes. The crumbly chocolate base is chef’s kiss, and the green mint layer is so nostalgic, reminds me of the grasshopper cookies my grandma used to keep in her cookie jar. Only note: I let mine chill an extra 30 mins in the fridge before cutting and they sliced perfectly clean, no oozing.
Quick question — can I swap the regular chocolate cookie crumbs for gluten free chocolate graham cracker crumbs? My daughter has celiac and she’s been begging for a mint chocolate treat I can make safely for her.
I brought these to my office holiday party last week and people were asking me for the recipe before I even set the platter down! I sprinkled a little extra dark chocolate shavings on top for a fancy touch and it made them look way more impressive than they were to make. 10/10 will be making these again for St. Patrick’s Day next month!
As someone who can barely boil water without burning it, these were foolproof! I didn’t have peppermint extract on hand so I used crème de menthe baking chips mixed into the top chocolate layer and it still slapped. Super cheap to make too, perfect for a dorm snack when you’re sick of dining hall food.
These are really good but I found the top chocolate layer cracked a little when I cut into them. Did I do something wrong? I followed the recipe exactly, let them cool completely before adding the ganache top and everything.
Do these hold up well in the freezer? I love making sweet treats ahead of time for my kids’ school lunches and it would be so convenient if I could make a big batch and pull one out as needed.
Talk about a throwback! I remember making these exact bars with my 4-H club when I was 10 years old, and this recipe tastes exactly like I remembered. The ratio of mint to chocolate is spot on, none of that artificial toothpaste mint flavor some recipes have. My grandkids went crazy for them.
I was skeptical about mint chocolate desserts for the longest time but my partner convinced me to make these and wow, I’m a convert. The dark chocolate on top cuts the sweetness of the mint filling so nicely, it’s not cloying at all. Next time I might add a tiny pinch of sea salt on top to make the chocolate pop even more.
First time making any kind of bar dessert and these came out perfect! I was worried I’d mess up the layers but the instructions are so straightforward, even a total newbie can pull it off. I did have to run to the store last minute for green food coloring because I forgot, oops.
Made these for our family Sunday dinner and everyone asked for seconds. My husband who swears he ‘doesn’t like mint desserts’ ate three bars and asked when I’d make them again. 10 minute cook time is not a lie either, I had them in the fridge before my oven even finished preheating for the main course.
Just pulled these out of the fridge to cut for my daughter’s Girl Scout meeting tonight and they look perfect! I added a little extra green food coloring to make them extra festive for March, and topped them with mini mint chocolate chips for a little crunch. Can already tell these are going to be a hit, the whole kitchen smells like mint chocolate heaven.