

Grasshopper Cookies

title 1
Grasshopper Cookies
⏱️ cook time 12 minutes
🍽️ servings 18
⚡ Difficulty medium

intro

Fudgy dark chocolate cookies sandwiched around cool, creamy mint buttercream, half-dipped in glossy dark chocolate—these nostalgic Grasshopper Cookies are a mint-chocolate lover’s bake sale favorite.

Ingredients
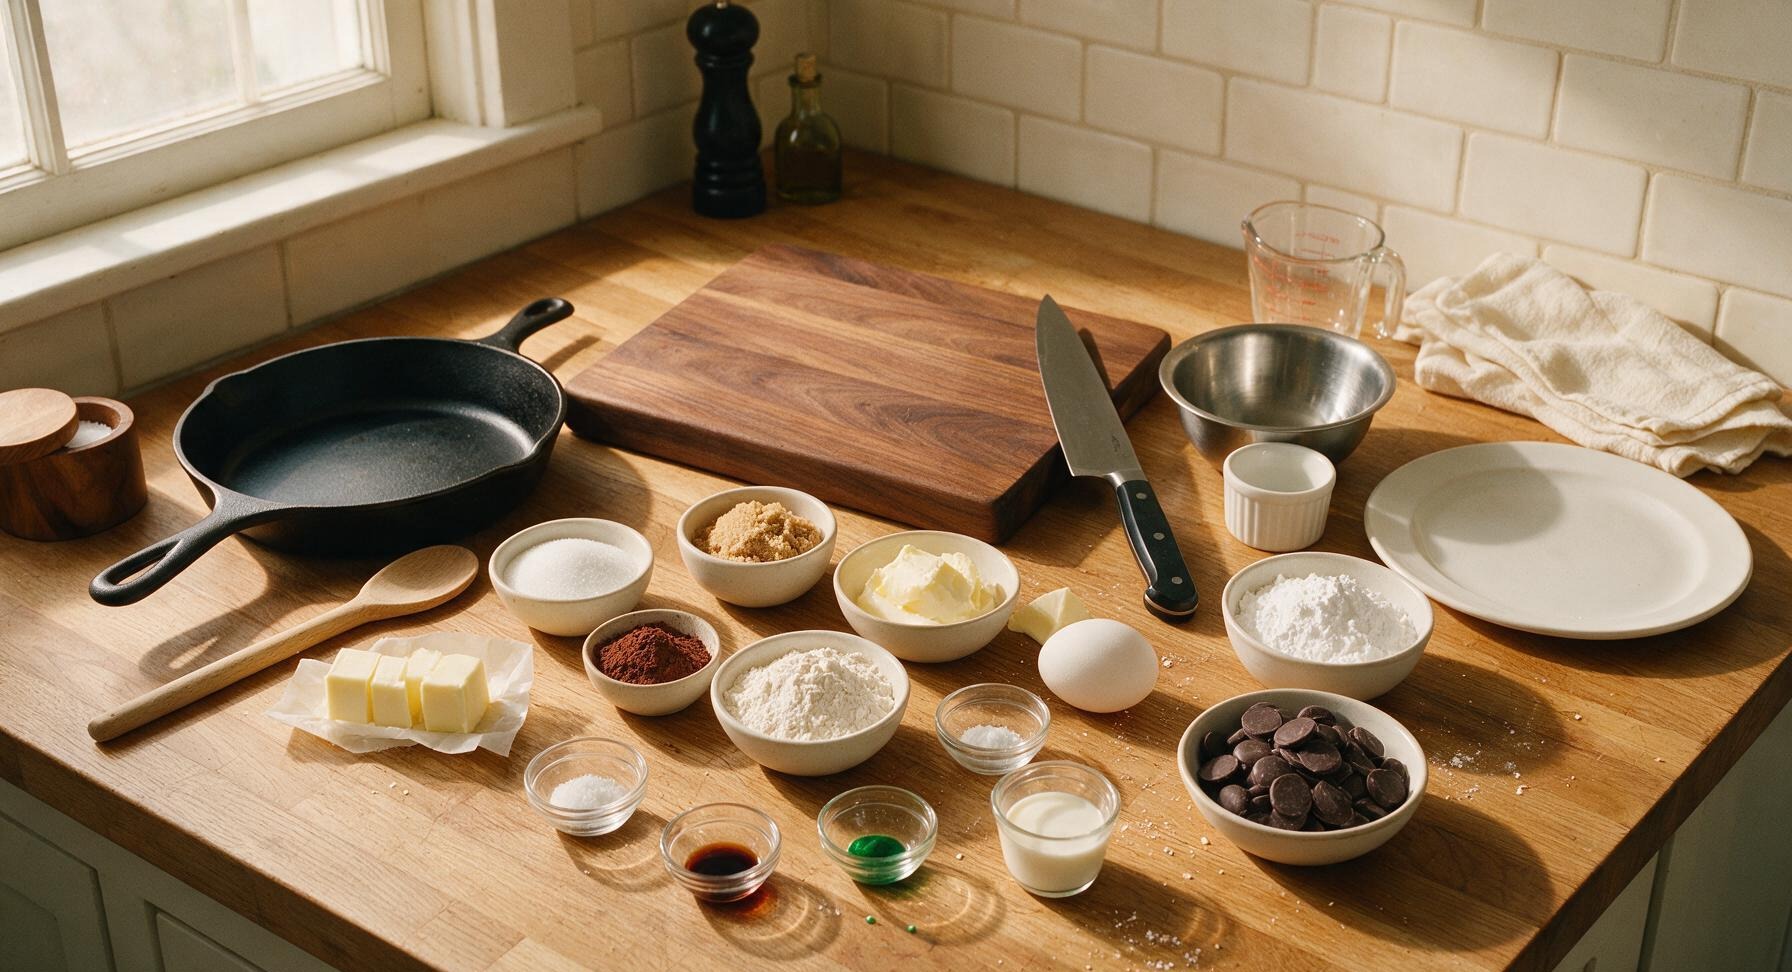
Unsalted butter (for cookies) 113g (1 stick, softened)
Granulated sugar 100g
Packed light brown sugar 100g
Large egg 1, room temperature
Unsweetened cocoa powder 50g
All-purpose flour 150g
Baking soda 1/2 tsp
Fine sea salt 1/4 tsp
Vanilla extract 1 tsp
Unsalted butter (for filling) 56g (1/2 stick, softened)
Powdered sugar 180g
Peppermint extract 1 tsp
Green gel food coloring 1 drop
Heavy cream 1 tbsp
Dark chocolate melting wafers (60% cacao) 170g

Steps

1

Mix Cookie Dough Base

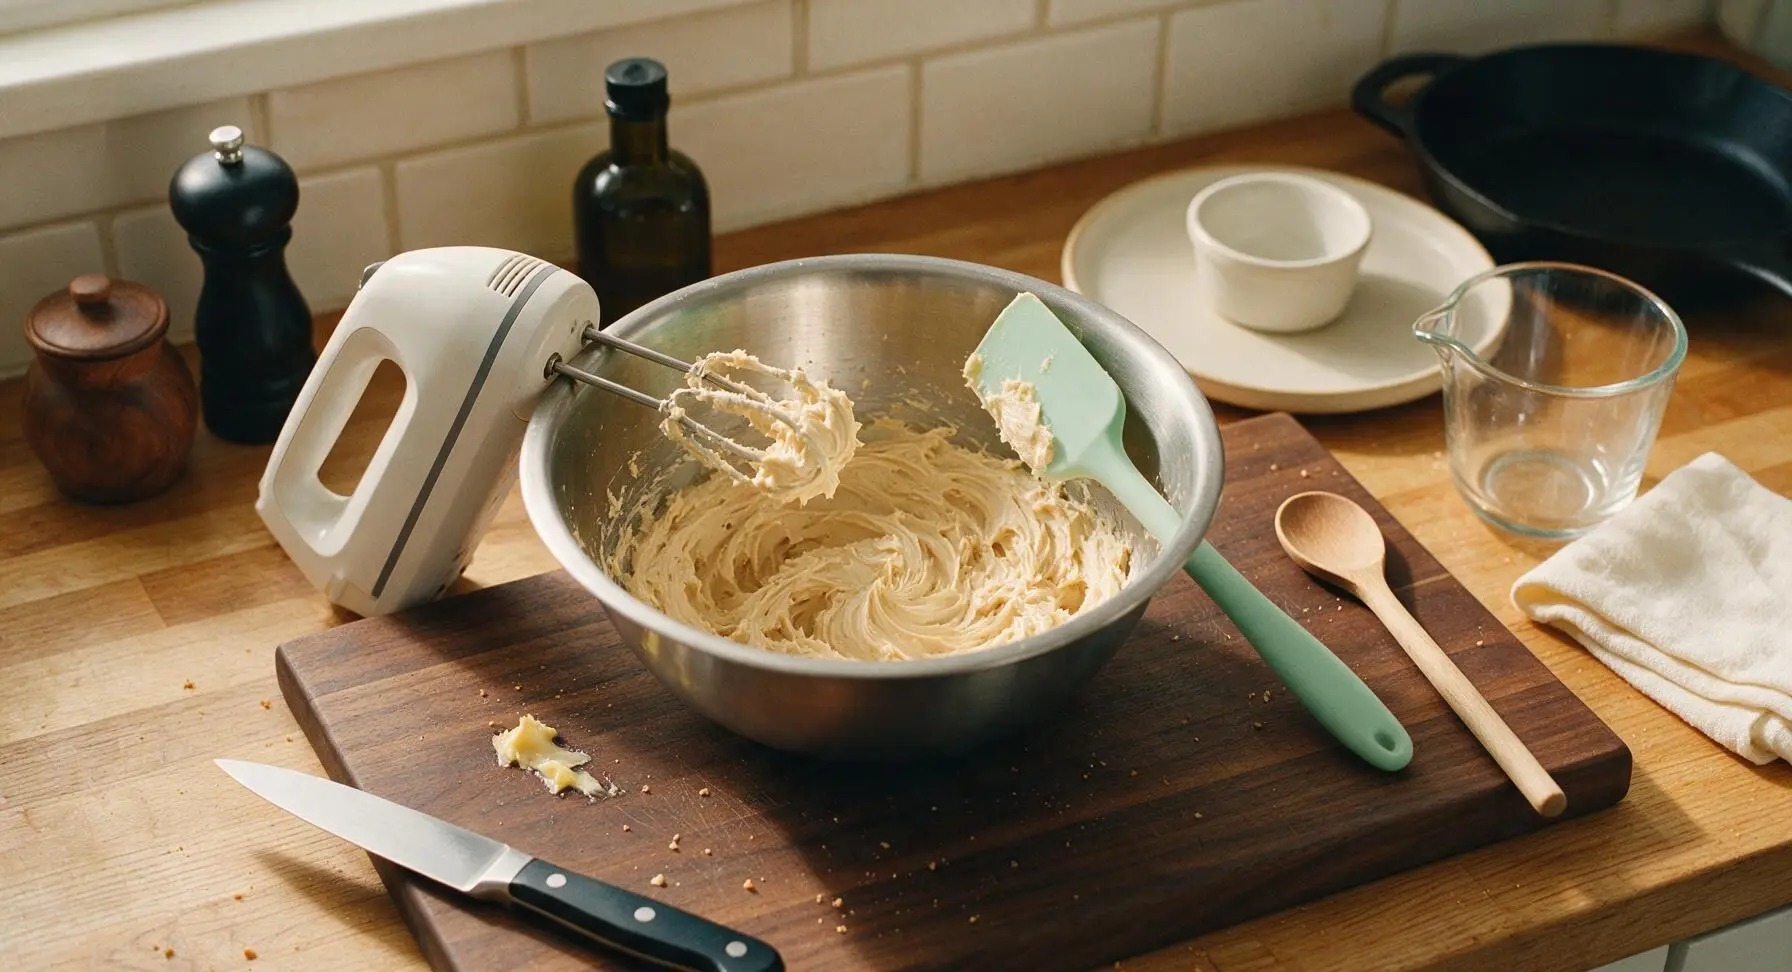
In the large stainless steel mixing bowl, combine 113g softened unsalted butter, granulated sugar, and packed light brown sugar. Use the handheld electric mixer on medium speed to cream the ingredients for 2 minutes, until the mixture is light, fluffy, and pale tan. Scrape down the sides of the bowl with the mint green silicone spatula halfway through mixing to ensure even incorporation. Add the room temperature egg and 1 tsp vanilla extract, then mix on low speed for 30 seconds until fully combined, with no streaks of egg visible.
Step 1
step1:Mix Cookie Dough Base
2

Incorporate Dry Ingredients

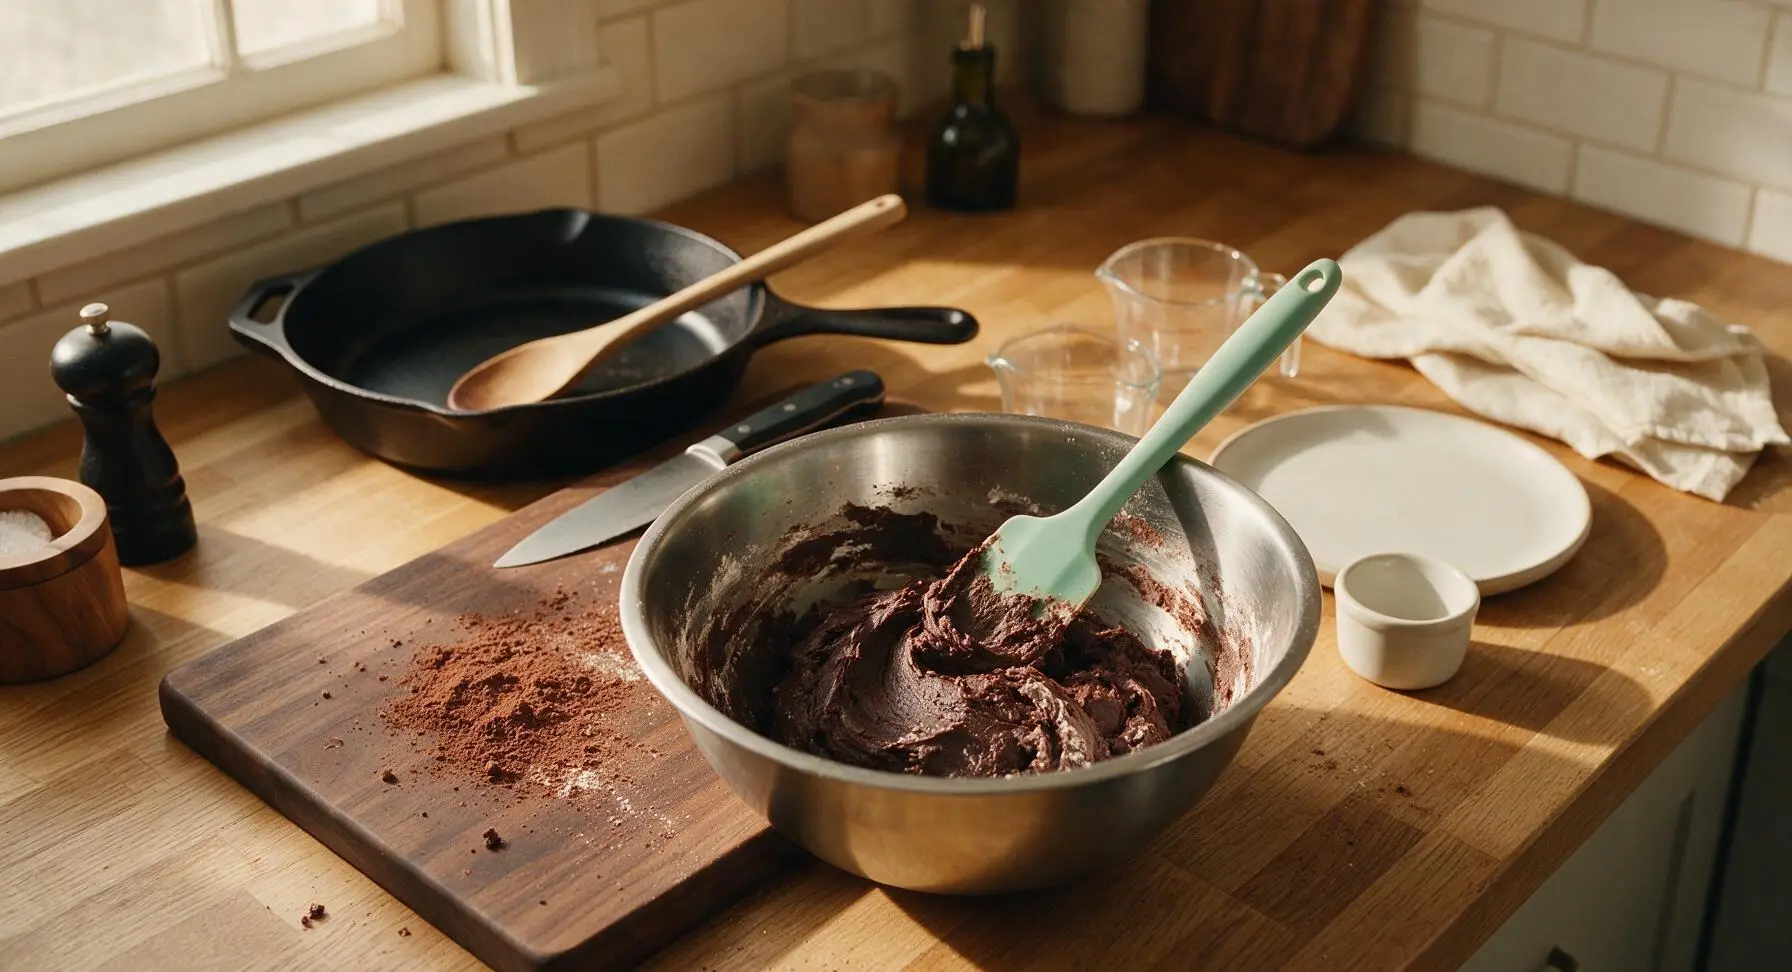
In the medium stainless steel mixing bowl, whisk together all-purpose flour, unsweetened cocoa powder, baking soda, and fine sea salt until evenly mixed, with no clumps of cocoa remaining. Gradually add the dry mixture to the wet butter-sugar mixture in the large bowl, mixing on the lowest speed for 45 seconds, just until no dry flour streaks remain. Do not overmix, as this will produce tough cookies; the finished dough will be thick, fudgy, and deep dark brown.
Step 2
step2:Incorporate Dry Ingredients
3

Scoop and Chill Dough

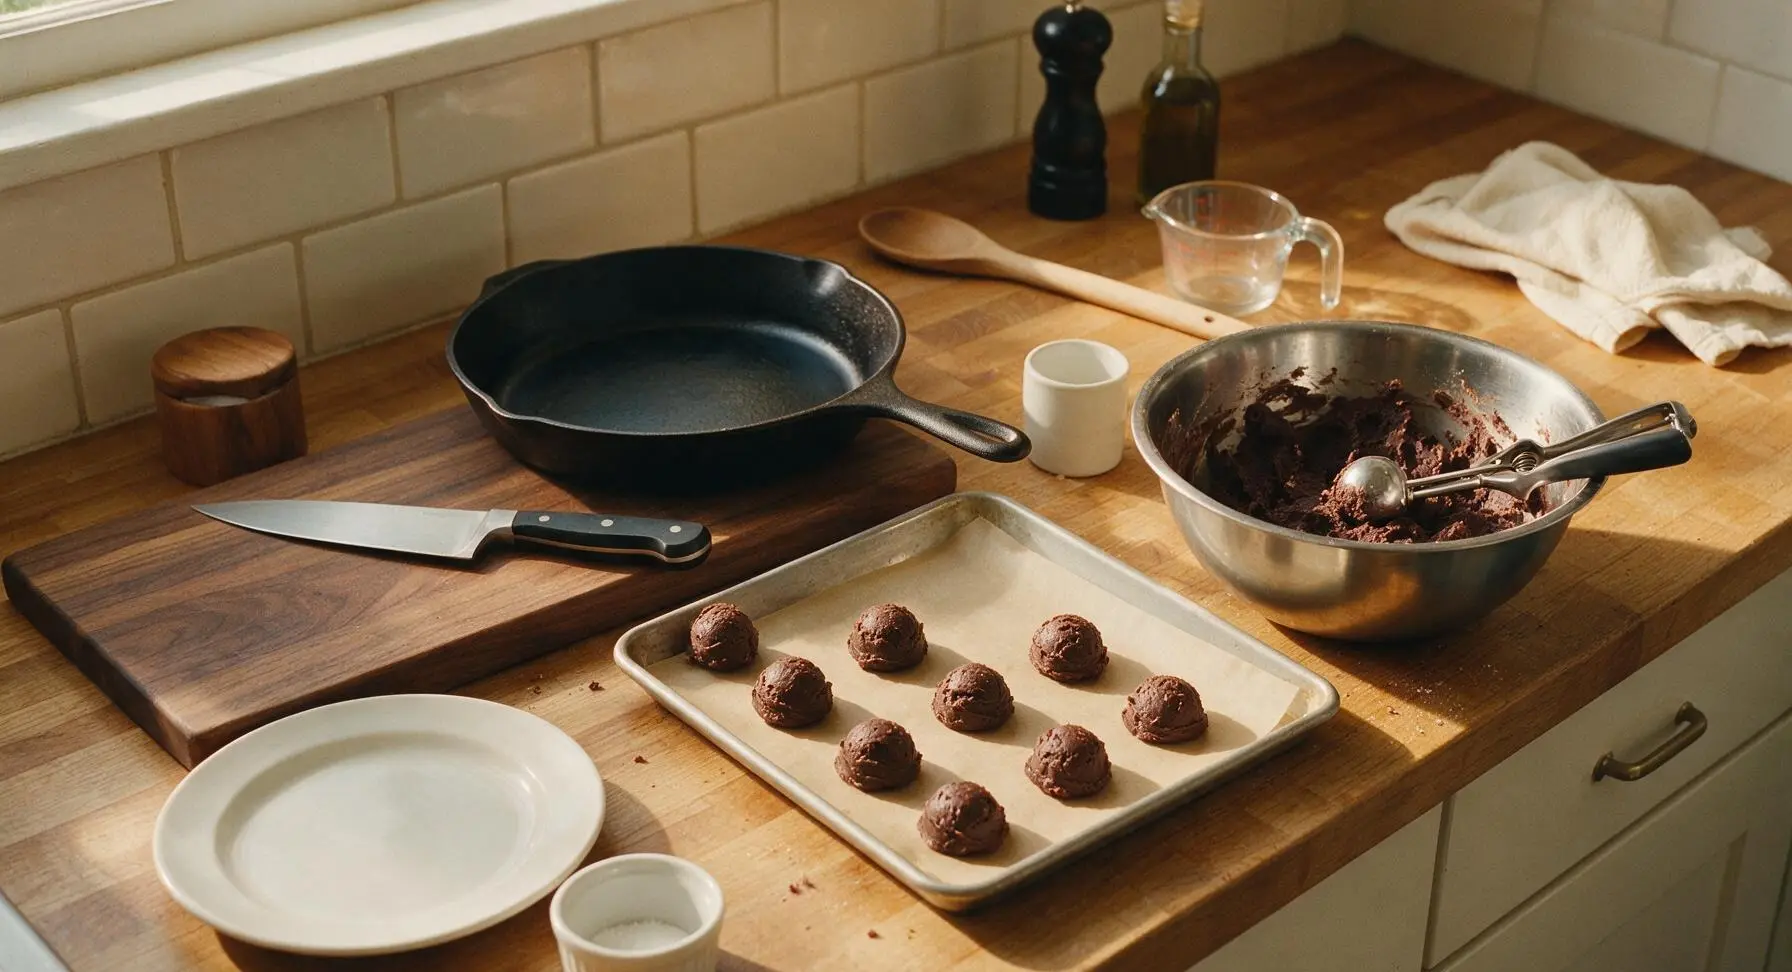
Use the 1-inch spring-loaded cookie scoop to portion the dough into 36 equal 1-tablespoon balls, rolling each lightly between clean palms to form smooth, crack-free rounds. Place dough balls 2 inches apart on the parchment-lined rimmed aluminum baking sheet, then chill in the refrigerator for 20 minutes to prevent excessive spreading during baking. While the dough chills, preheat the oven to 350°F (175°C).

Step 3
step3:Scoop and Chill Dough
Step 3
step3:Scoop and Chill Dough
4

Bake and Cool Cookies

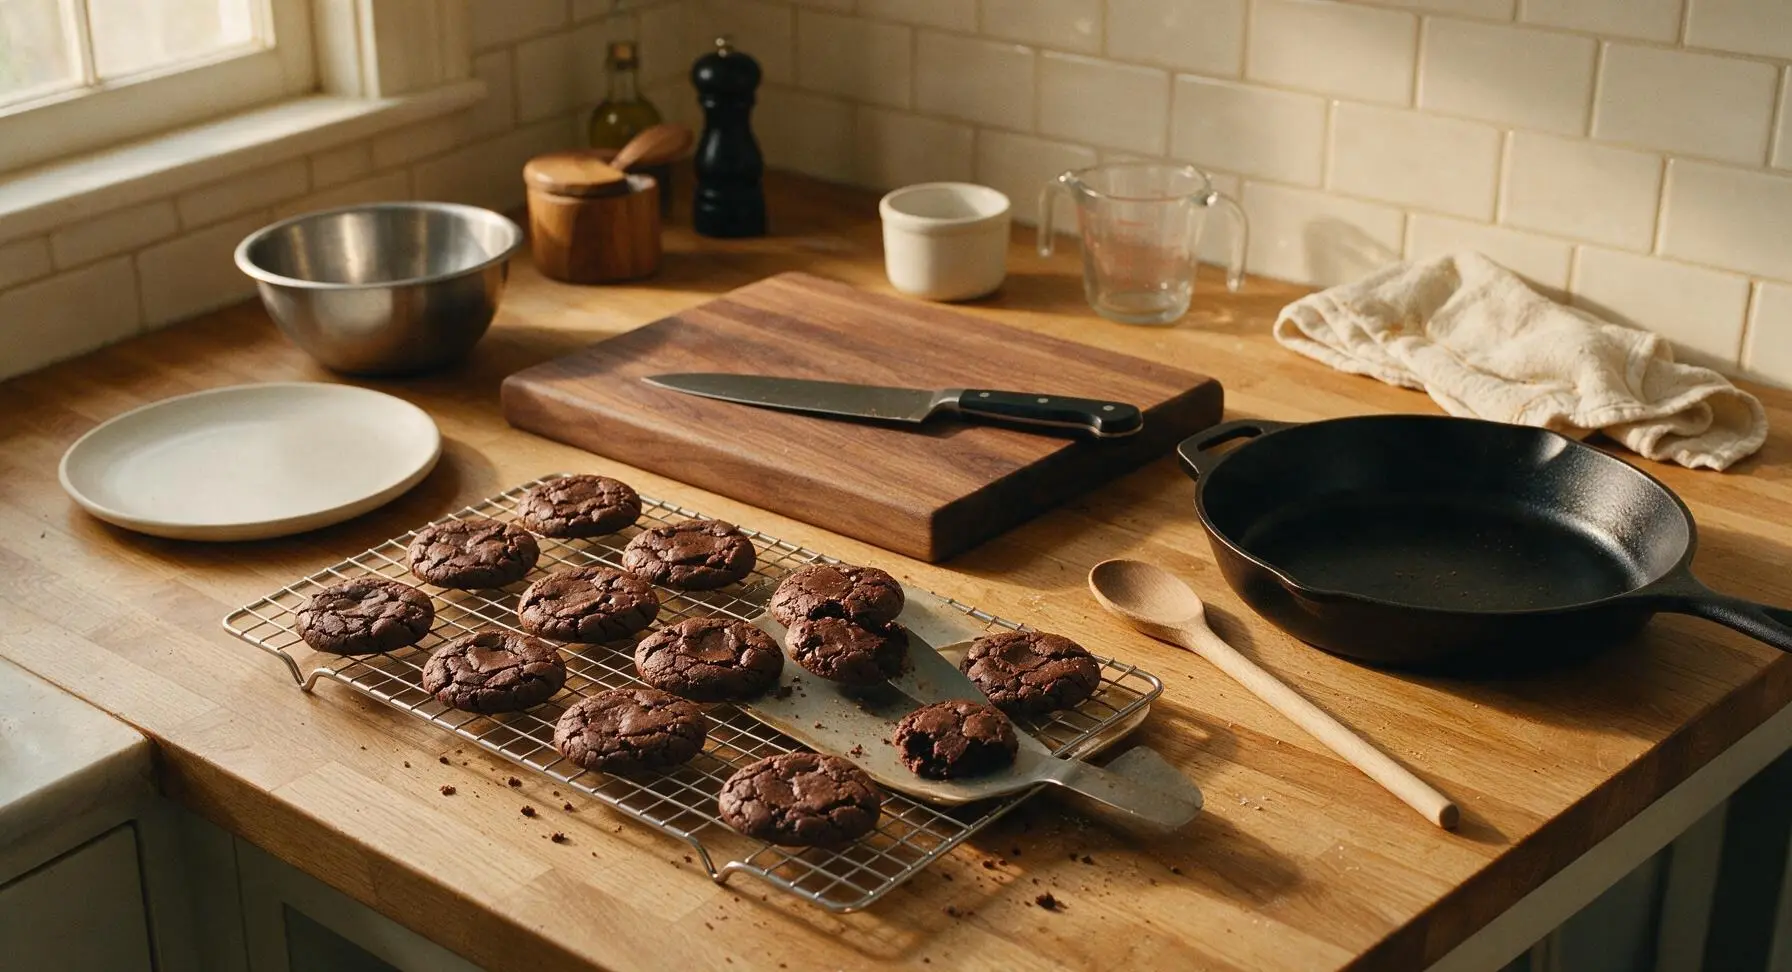
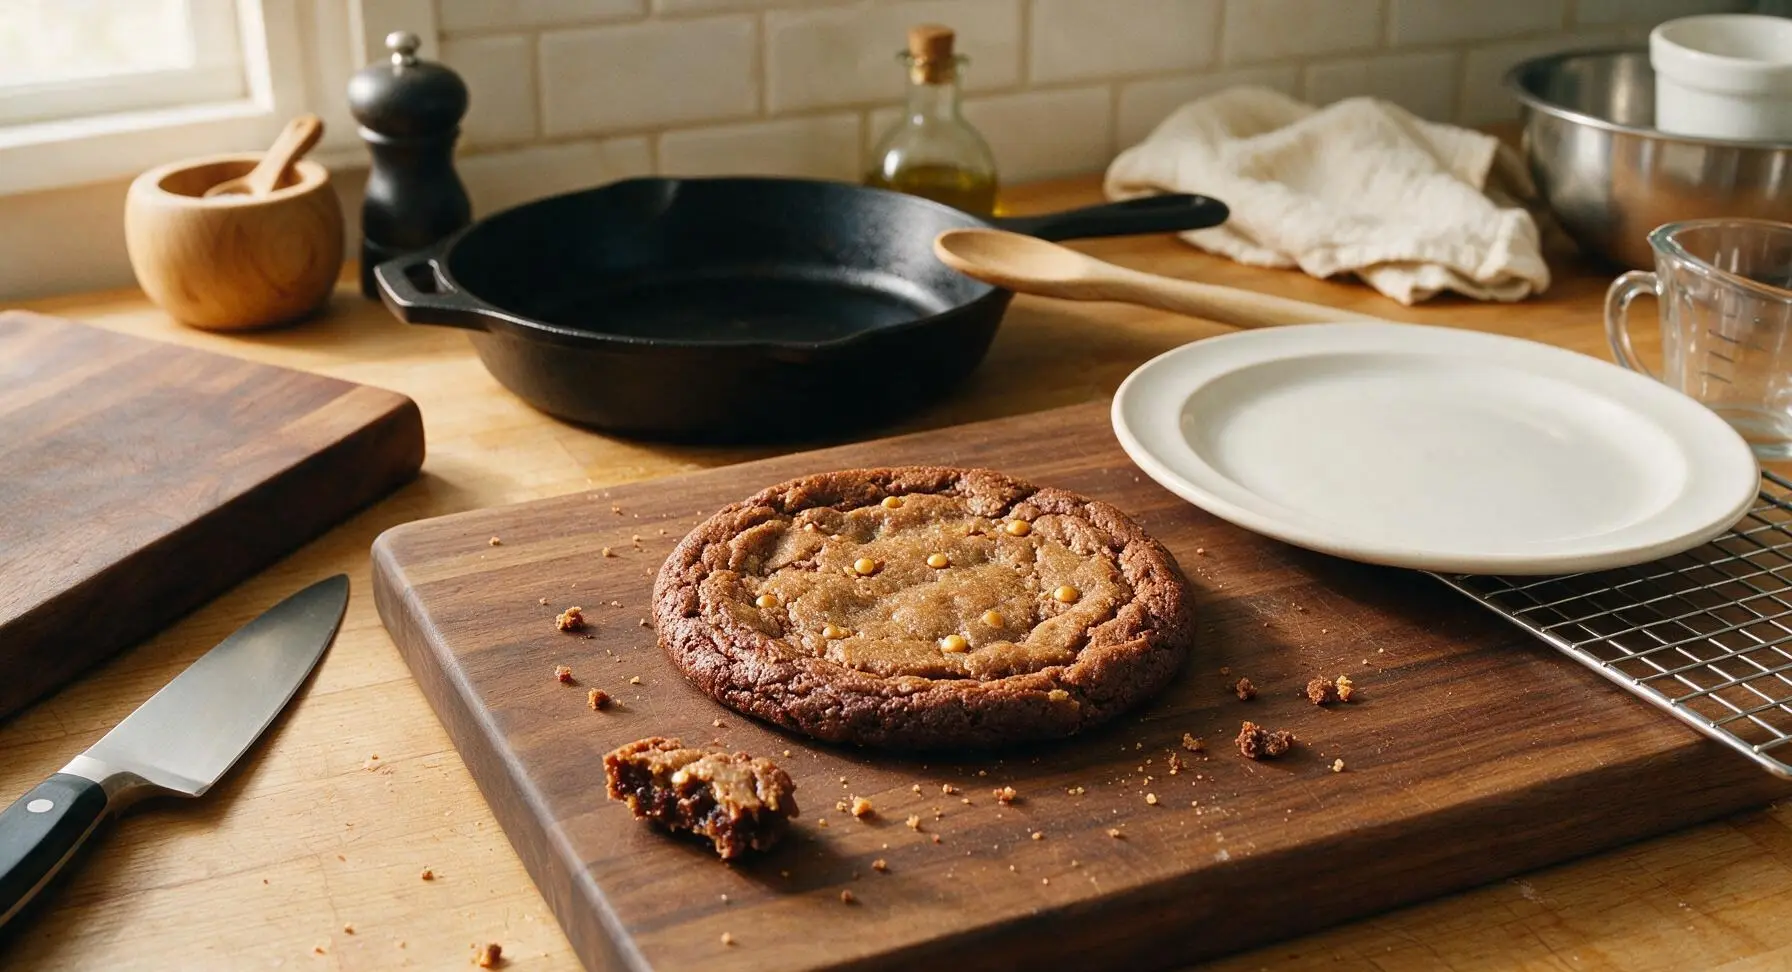
Once chilled, bake the dough balls for 10 to 12 minutes at 350°F (175°C). Cookies are done when the tops are slightly cracked and the centers look barely under-set; do not overbake, as cookies will continue to set as they cool. Remove from the oven, let rest on the baking sheet for 5 minutes, then use the small offset metal spatula to transfer cookies to the chrome wire cooling rack to cool completely to room temperature (approximately 20 minutes) before assembly.
Step 4
step4:Bake and Cool Cookies
Step 4
step4:Bake and Cool Cookies
5

Whip Mint Filling

In the now-clean medium stainless steel mixing bowl, combine 56g softened unsalted butter, powdered sugar, peppermint extract, heavy cream, and 1 drop of green gel food coloring. Use the handheld electric mixer on medium speed to whip the filling for 3 minutes, until it is smooth, fluffy, and a uniform soft pastel mint green. Add an extra 1/2 tsp of heavy cream if needed to reach a thick, spreadable consistency that holds its shape when piped.

Step 5
step5:Whip Mint Filling
6

Assemble Cookie Sandwiches

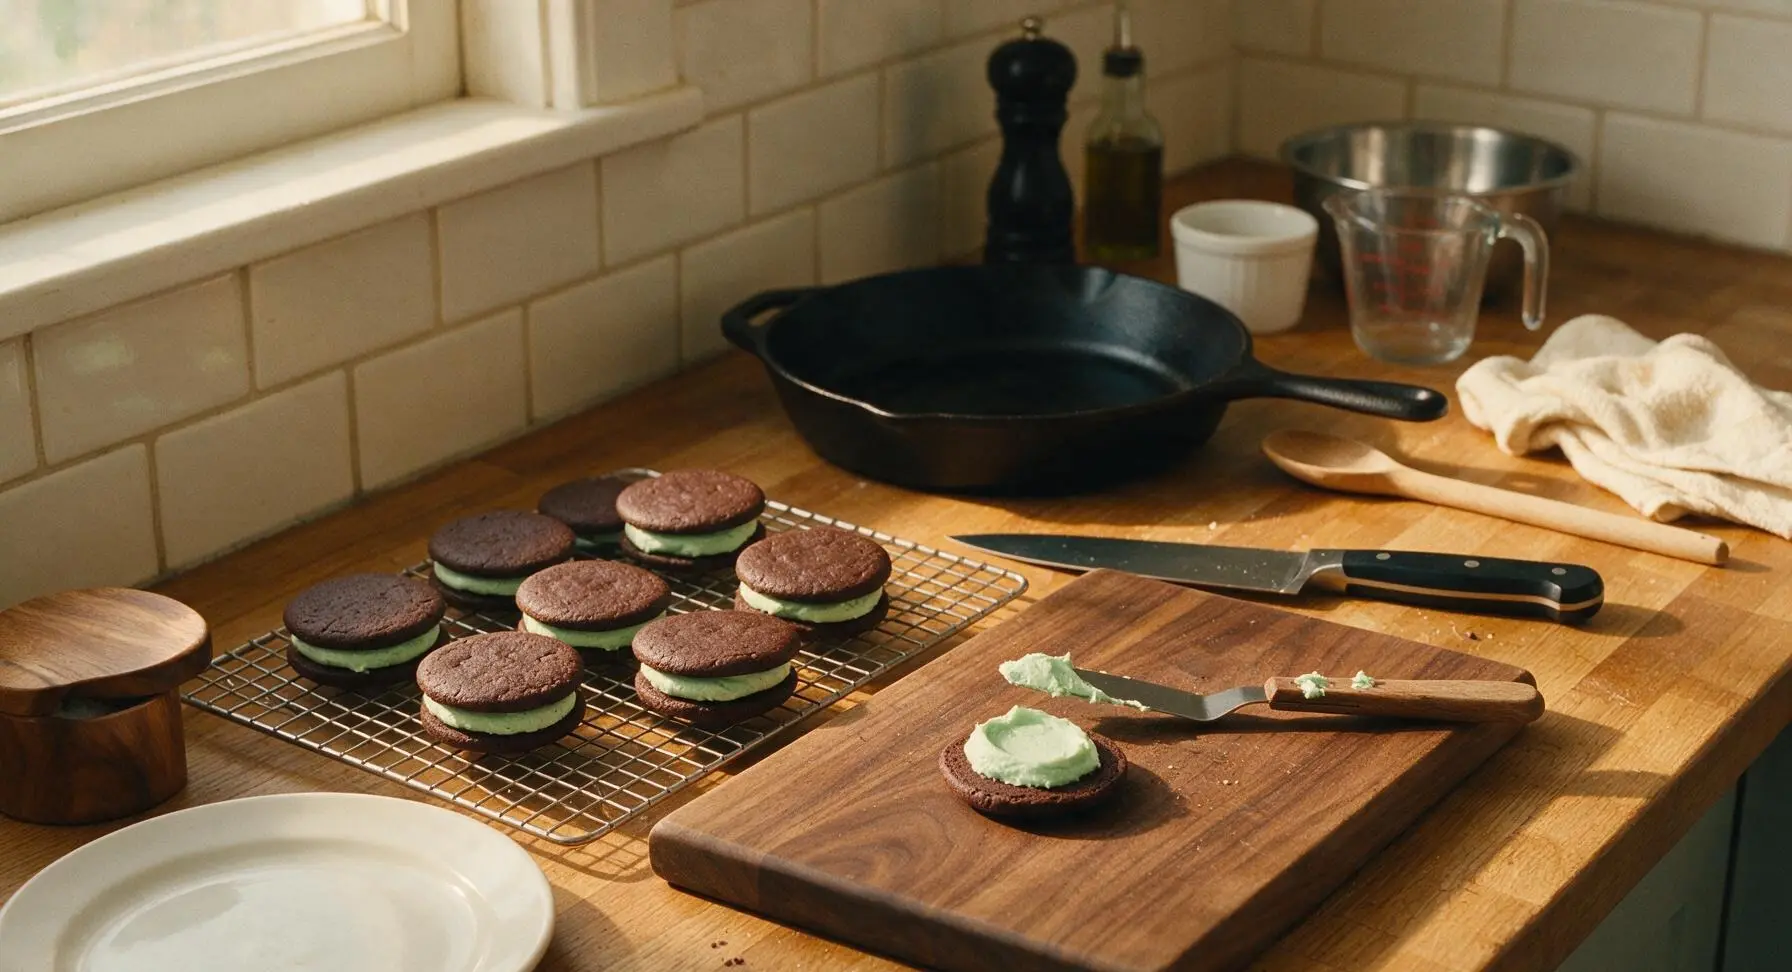
Match fully cooled cookies into pairs of equal size and shape. Spoon 1 teaspoon of mint filling onto the flat bottom side of one cookie per pair, then press the second cookie flat-side down on top of the filling, applying gentle even pressure until the filling spreads to within 1/8 inch of the cookie edge. Set assembled sandwiches back on the wire cooling rack while preparing the chocolate coating.
Step 6
step6:Assemble Cookie Sandwiches
7

Melt Dark Chocolate Coating

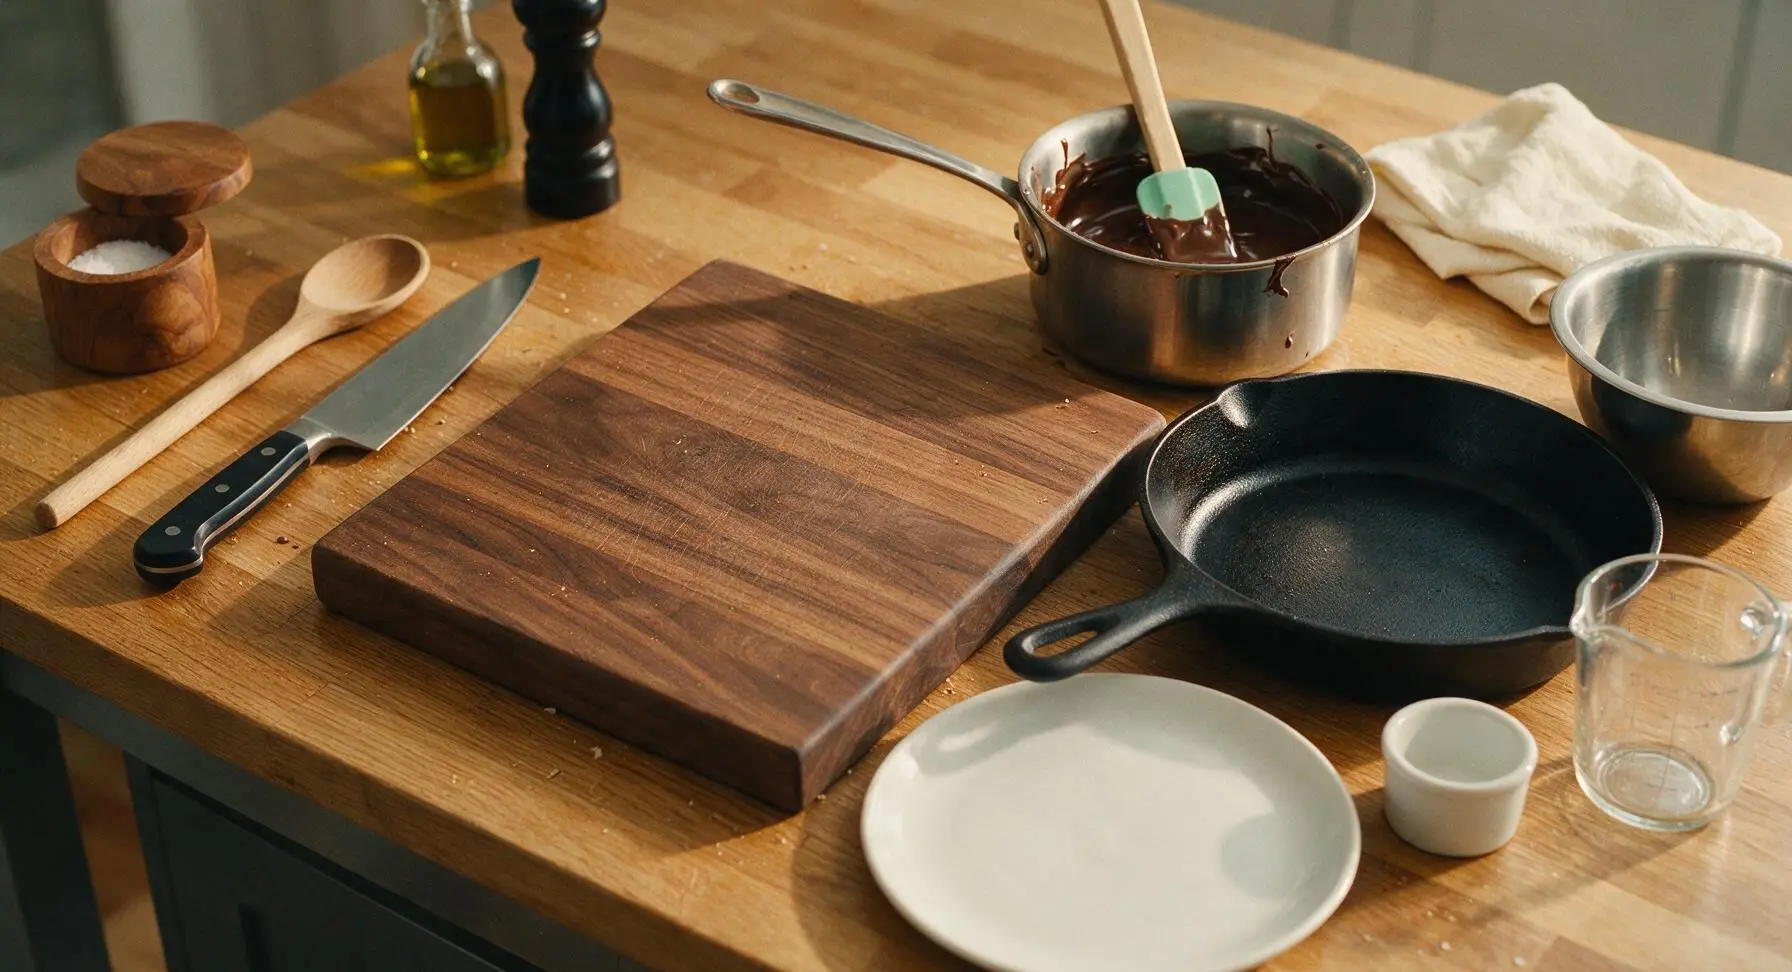
Place the dark chocolate melting wafers in the small heavy-bottomed stainless steel saucepan. Heat over the lowest stovetop setting, stirring constantly with the mint silicone spatula for 3 to 4 minutes, until the chocolate is completely smooth, glossy, and free of lumps. Remove from heat immediately to avoid seizing, and let cool 2 minutes before dipping.
Step 7
step7:Melt Dark Chocolate Coating
8

Dip and Set Cookies

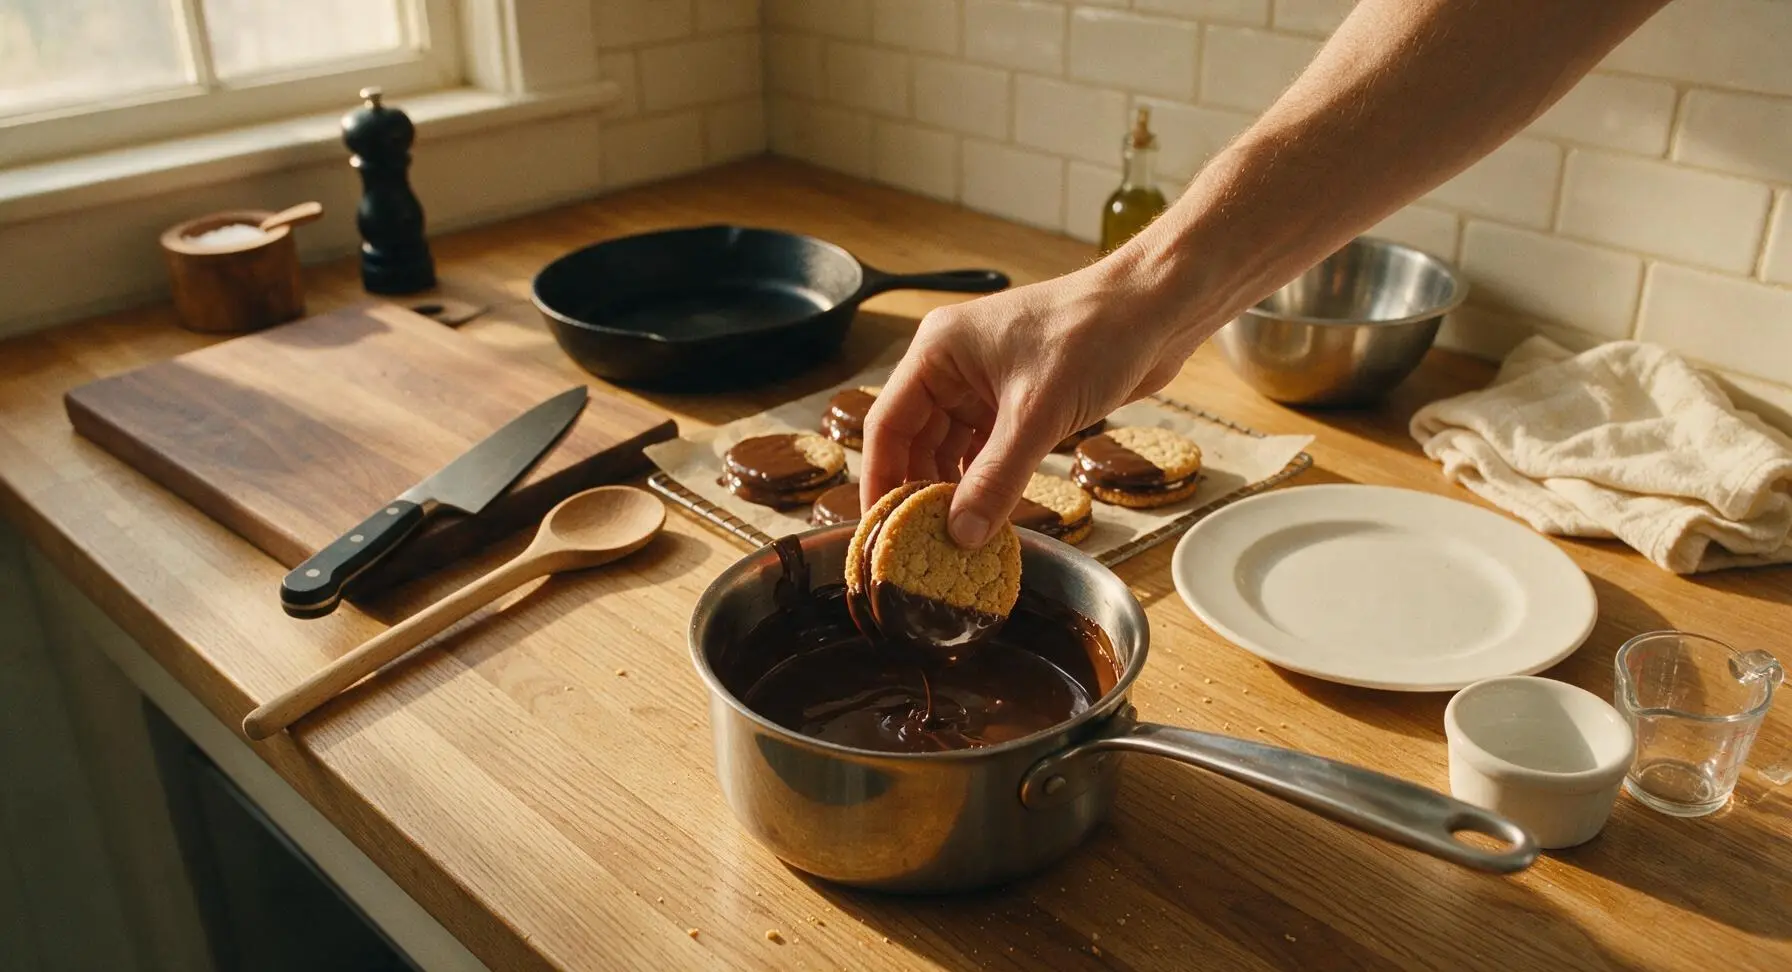
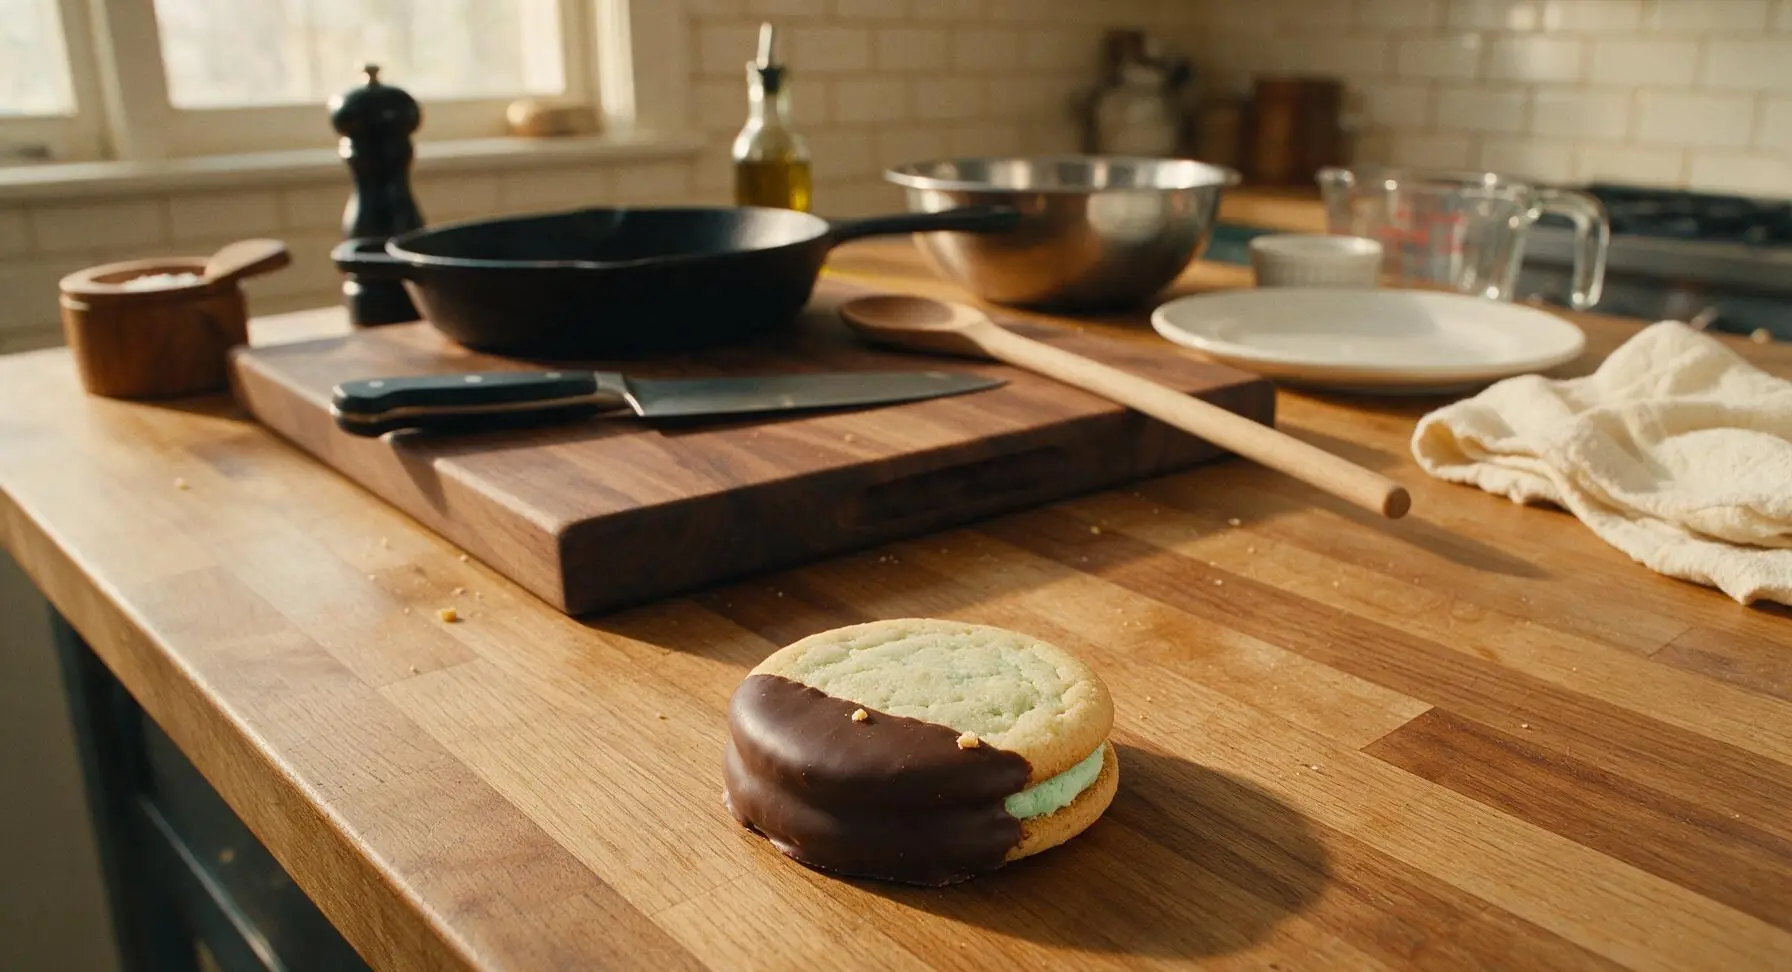
Hold each assembled cookie sandwich by its top uncoated edge, dip half of the cookie straight down into the melted dark chocolate to fully coat one side, then hold it above the pan for 5 seconds to let excess chocolate drip back. Place dipped cookies back on the parchment-lined cooling rack, and let set at room temperature for 15 minutes, until the chocolate coating is firm and matte to the touch.
Step 8
step8:Dip and Set Cookies
Step 8
step8:Dip and Set Cookies

Tips

1.Always let cookie rounds cool completely before adding filling: warm cookies will melt the mint buttercream, causing filling to ooze out the sides and create a slippery surface that prevents the chocolate coating from adhering properly.
2.Use gel food coloring instead of liquid for the mint filling: liquid coloring will thin the buttercream consistency and create streaky, uneven color, while gel delivers a soft pastel mint hue with just one drop without altering texture.
3.Do not overheat melting chocolate: dark chocolate seizes (turns grainy and thick) when heated above 90°F (32°C), so melt on the lowest heat setting and stir constantly to keep the coating smooth and glossy for dipping; if chocolate seizes, stir in 1 tsp of neutral vegetable oil to rescue it.


✨ You May Also Like

Desserts & Baking
🍜 Italy

Creamy, coffee-kissed classic Northern Italian no-bake dessert, with layers of rum-spiked mascarpone cream, soft ladyfingers, and a rich cocoa dusting.

⏱️ 4 hours 3Desserts & Baking ★ 4.7
Desserts & Baking
🍜 France

Flaky, shatteringly crisp, buttery French croissants with golden exteriors and soft, airy layered interiors, perfect for pairing with coffee for a special morning treat.

⏱️ 12 hours Desserts & Baking ★ 4.5
Desserts & Baking
🍜 United States

Warm, spiced baked apples topped with a fluffy golden biscuit crust, this cozy dessert pairs perfectly with vanilla ice cream for cool-weather comfort.

⏱️ 55 minuteDesserts & Baking ★ 4.6
Desserts & Baking
🍜 United States

A star-spangled classic American blueberry pie with buttery flaky crust and bright sweet-tart filling, perfect for summer patriotic gatherings.

⏱️ 1 hour 25Desserts & Baking ★ 4.7
Desserts & Baking
🍜 United States

A beloved no-bake regional Maine candy with a chewy coconut-potato center coated in rich dark chocolate, a New England holiday staple since the 1870s.

⏱️ 2 hours 3Desserts & Baking ★ 4.8
Desserts & Baking
🍜 France

Luxuriously creamy, floral frozen custard made with aromatic Tahitian vanilla beans, boasting a smooth, rich texture that melts slowly on the tongue.

⏱️ 3 hours 3Desserts & Baking ★ 4.5

Grasshopper Cookies:Frequently Asked Questions

1.Why are these called Grasshopper Cookies? ▾
They get their name from the classic bright green, crème de menthe-spiked Grasshopper cocktail, leaning into that iconic mint and dark chocolate flavor combo that’s been a nostalgic favorite for decades. This family-friendly bake sale version skips the alcohol, using cool mint buttercream to nail that signature fresh, bright mint profile paired with rich fudgy chocolate.
2.Do my unsalted butter and large egg need to be at room temperature when making the cookie dough? ▾
Yes, for the best soft, fudgy texture! Room temperature butter creams smoothly with the sugars to create a light, even dough base, and a room-temperature egg mixes in more evenly to avoid tough, dense cookies. Pull both ingredients out of the fridge 45 to 60 minutes before you start baking for perfect, consistent results every time.
3.Can I use Dutch-processed cocoa instead of regular unsweetened cocoa for the cookie base? ▾
You absolutely can, with one small adjustment. If your recipe relies on baking soda for leavening, neutral Dutch-processed cocoa won’t react with it the way natural unsweetened cocoa does, so add 1/4 teaspoon of baking powder per 1/2 cup of Dutch cocoa to keep cookies soft and fudgy, rather than flat and dense. The final flavor will be smoother, milder, and just as chocolatey.
4.I don’t have packed light brown sugar right now—what’s an easy substitute? ▾
You can make a perfect quick stand-in by mixing 1 tablespoon of light molasses into 1 cup of plain granulated sugar for every cup of light brown sugar the recipe calls for. Stir thoroughly until the molasses is fully incorporated, then measure it packed just like regular brown sugar to keep cookies chewy with that subtle, warm caramel note.
5.My mint buttercream keeps coming out too runny to sandwich—how do I fix that? ▾
Start by chilling the loose buttercream for 10 to 15 minutes to firm up the softened butter, then beat it on medium speed for 30 seconds. If it’s still too soft, mix in 2 tablespoons of sifted powdered sugar at a time until it holds a stiff, spreadable peak; go slow, as too much extra sugar will make it grainy and overly sweet.
6.Is the final dark chocolate dip required, or can I skip that step? ▾
That glossy chocolate dip is 100% optional! It adds a wonderful snappy, rich texture contrast to the soft fudgy cookie and creamy mint filling, but the sandwiched cookies are delicious on their own. If you skip the dip, try rolling the exposed buttercream edges in mini chocolate chips or crushed mint candies for a fun, crunchy alternative.
7.How should I store these cookies, and can I make them ahead for a bake sale? ▾
Stack fully cooled, assembled cookies between sheets of parchment paper in an airtight container, and refrigerate for up to 5 days. For make-ahead prep, bake the cookie bases up to 3 days early and store at room temperature, assemble with buttercream the night before, and add the chocolate dip 1 to 2 hours before serving to keep the coating glossy and snappy.

Comments (14)

2 days ago

OMG these grasshopper cookies are SO good!!! I brought them to our neighborhood block party potluck last weekend and every single last one was gone before I even got to grab a second one. The mint and chocolate combo is perfectly balanced, not too overpowering at all. 10/10 will be making these again for my kid’s soccer team snack next week!

yesterday

Wait did you make any adjustments for packing them in a cooler for the field? I’m always worried mint frosting will melt in the Texas heat!

yesterday

Great question! If you’re serving these in warm weather, pop them in the fridge for 30 minutes after assembling and pack them in a hard-sided cooler with an ice pack tucked under a layer of parchment — they hold up perfectly for 3-4 hours that way!

3 days ago

Took me a minute to get the dough consistency right (I think I overmeasured my cocoa powder at first oops) but once I fixed that these turned out amazing! My roommate said they taste exactly like the Girl Scout Thin Mints but chewier? Total game changer for my weekly meal prep sweet treat, I portioned the dough into balls to freeze for later too.

2 days ago

So glad you troubleshooted the cocoa measurement! Pro tip for next time: spoon cocoa into your measuring cup and level it off with a knife instead of scooping directly from the container — it prevents packing that dries out dough. Frozen dough balls bake up perfectly straight from the freezer, just add 2 minutes to the cook time!

1 week ago

My grandkids beg me to make these every time they come to visit! I’ve been making a version of grasshopper cookies for 40 years and this recipe is by far the best one I’ve ever tried. The hint of vanilla in the chocolate cookie base makes all the difference. Don’t skip the green sanding sugar on top, it makes them look so festive for St. Patrick’s Day!

5 days ago

These tasted great but I had a hard time with the cook time? 12 minutes left my cookies super burnt around the edges, even on the middle oven rack. I ended up taking the second batch out at 9 minutes and they were perfect. Wondering if my oven runs hot?

3 days ago

Oh same thing happened to me! I picked up a cheap oven thermometer from the grocery store and turns out my oven runs 25 degrees hot, that was totally the issue. 9 minutes was perfect for me too!

3 days ago

Sorry to hear the first batch burned! Oven temperature calibration varies so much from model to model, so always start checking for doneness 2-3 minutes before the listed cook time. If your edges are set and the centers look just slightly underbaked, they’re ready to pull — they’ll keep setting up on the hot baking sheet!

30 minutes ago

As a total beginner baker I was nervous to try these since the difficulty says medium, but the step by step instructions were so easy to follow! I messed up the mint extract measurement at first (poured way too much lmao) but even with that they still came out edible. My roommates are already asking when I’ll make another batch.

yesterday

Brought these to my book club potluck last night and everyone was hounding me for the recipe! I added a tiny extra splash of peppermint extract because I’m obsessed with super minty treats, and it was chef’s kiss. Perfect texture, crispy edges and soft chewy center, just how I like my cookies.

2 hours ago

Love the extra mint tweak! So many people have told me they love upping the peppermint for that extra cool kick, it’s such an easy customization to match your taste. So glad your book club enjoyed them!

2 weeks ago

Made these for my hiking group post-trail snack last weekend and they were a hit! Only note is that the green food coloring stained my wooden mixing bowl a little, so maybe use a glass bowl if you’re adding dye? Otherwise zero complaints, great energy boost for after a long hike.

1 week ago

My kids loved it!!! They thought the bright green frosting was so fun, they even helped me sprinkle the cookie crumbs on top. We made a double batch so we could leave a plate out for our neighbors too, everyone said it was the best homemade cookie they’d had all month.

5 days ago

Wait do you think a 4 year old could help with the frosting part without making a total mess? My toddler loves helping in the kitchen but I’m lowkey scared of green food coloring all over my white cabinets ?

5 days ago

Oh totally! I put the frosting in a zip top bag with the corner snipped off so my kids could squeeze it on without dipping their fingers in, and I laid down parchment paper all over the counter first. Minimal mess, maximum fun!

2 days ago

Game changer!!! I’ve been buying the pre-made grasshopper cookies from the grocery store for years and these taste a million times better. The chocolate drizzle on top is such a nice touch, it makes them look like they came from a fancy bakery. I’m already planning to make these for our office holiday party in December.

yesterday

I made these for my office potluck last month and people were still talking about them two weeks later! Pro tip: make them the night before and keep them in an airtight container in the fridge, the flavors meld even more overnight.

5 days ago

Wanted to love these but I’m not a huge fan of the mint chocolate combo apparently? My family ate all of them so it’s not the recipe’s fault, just personal taste. I think next time I’ll swap the mint for orange extract to make chocolate orange cookies, the base seems really versatile.

2 hours ago

Just pulled these out of the oven and my whole apartment smells like chocolate and mint, it’s heavenly! I was worried the frosting would be too sweet but it’s the perfect ratio to the rich chocolate cookie. SO good, I already ate two while they were still warm oops.

30 minutes ago

Wait how long do you let the cookies cool before you put the frosting on? I tried making frosted cookies last week and the frosting melted right off because I was too impatient ?

5 minutes ago

Great question! Let the cookies cool completely on the baking sheet for 10 minutes, then transfer them to a wire rack to cool for another 20 minutes before adding frosting. If they’re even slightly warm, the frosting will slide right off — patience pays off here!

5 minutes ago

Made these for my little sister’s birthday party (she’s obsessed with all things mint chocolate) and she said they’re the best cookies she’s ever had. I used dark chocolate cocoa powder instead of regular for an extra rich flavor and it worked so well. 10/10 will be adding this to my regular baking rotation.

just now

The dark cocoa swap sounds incredible! That extra deep chocolate flavor pairs so perfectly with bright mint, I’m definitely going to try that tweak next time I make a batch. Happy birthday to your sister!

3 days ago

These are so tasty! My only small complaint is that the frosting recipe made a little less than I needed to cover all the cookies, so I had to whip up a quick half batch to finish. Otherwise the flavor is unbeatable, my partner has been taking two in his lunch every day this week.

2 days ago

Thanks for the feedback! If you love extra frosting (who doesn’t?) you can easily 1.5x the frosting portion of the recipe without throwing off the texture — that way you’ll have plenty to slather on, plus a little extra for licking the spoon ?

2 weeks ago

I was on cookie duty for my kid’s scout troop meeting and these were such a hit! The green color fits perfectly with their camping theme this month, and none of the kids had nut allergies so it was a great safe treat to bring. I’ll definitely be pulling this recipe out again for future events.

1 week ago

Oh these would be perfect for our troop’s campout next month! Thanks for the idea, I was stuck on what treat to bring that wouldn’t get squished in a cooler.



