
graveyard pudding cups
intro
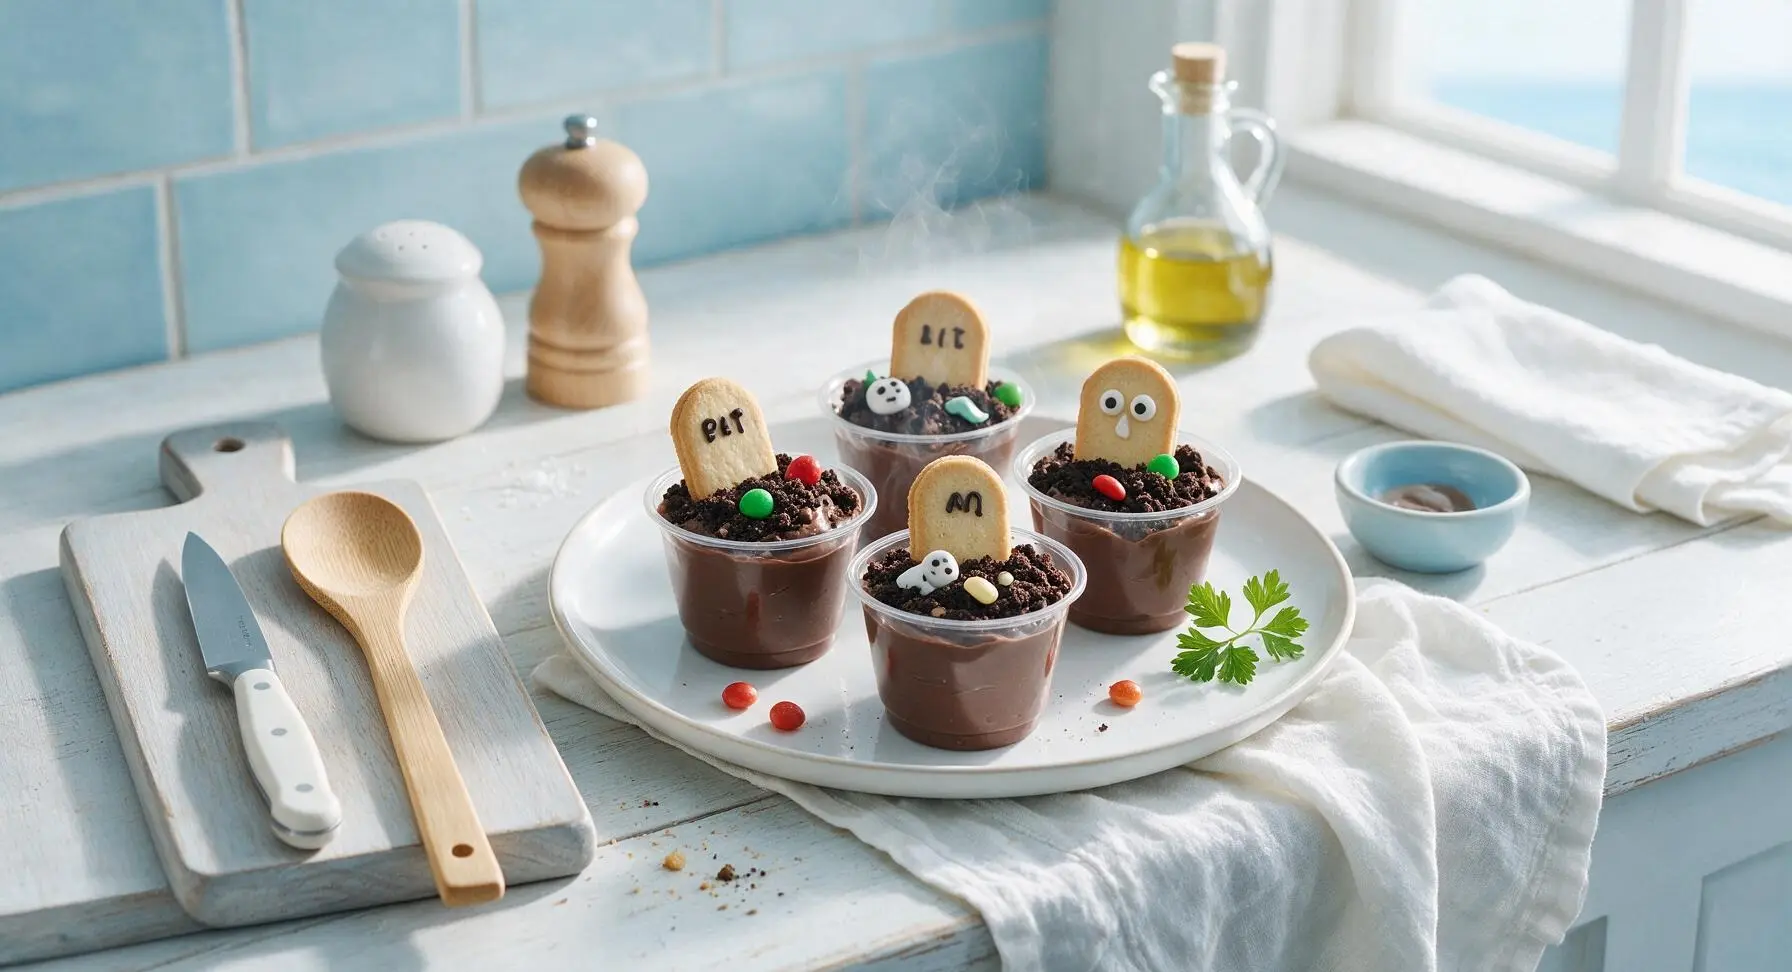
Spooky, creamy chocolate pudding cups topped with crumbly cookie 'dirt', tombstone cookies, and playful candy accents, perfect for lighthearted Halloween gatherings for all ages.
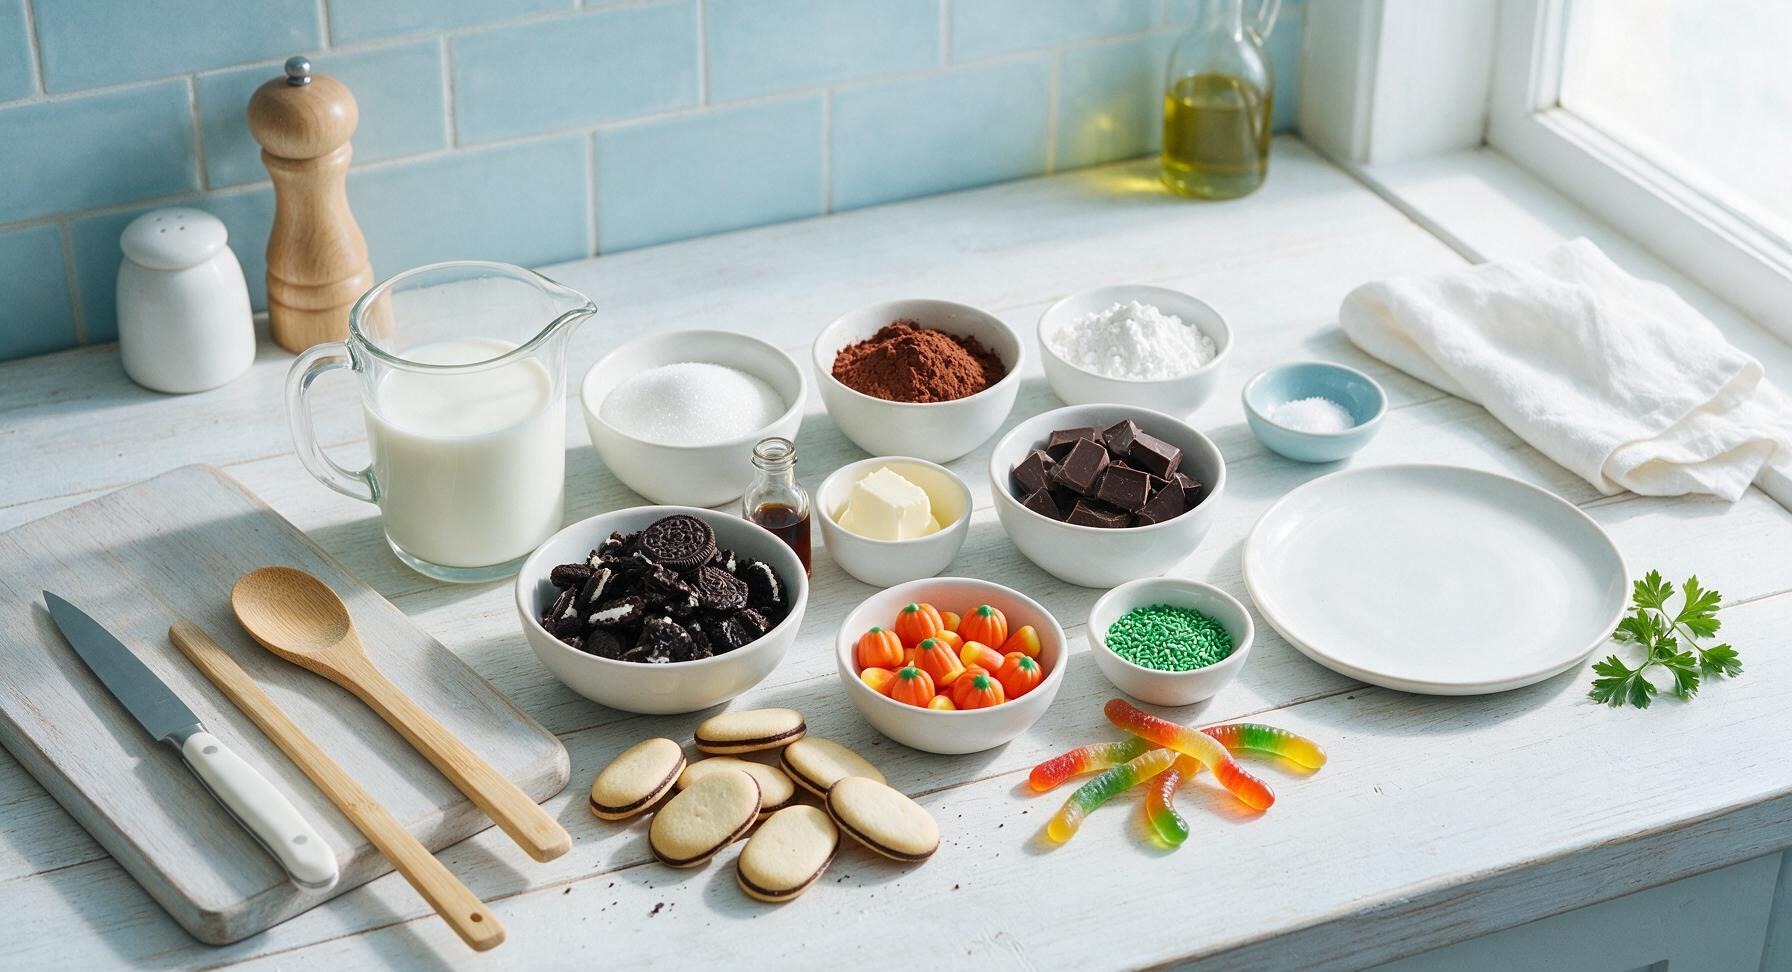
Ingredients
Steps
Whisk Dry Pudding Ingredients
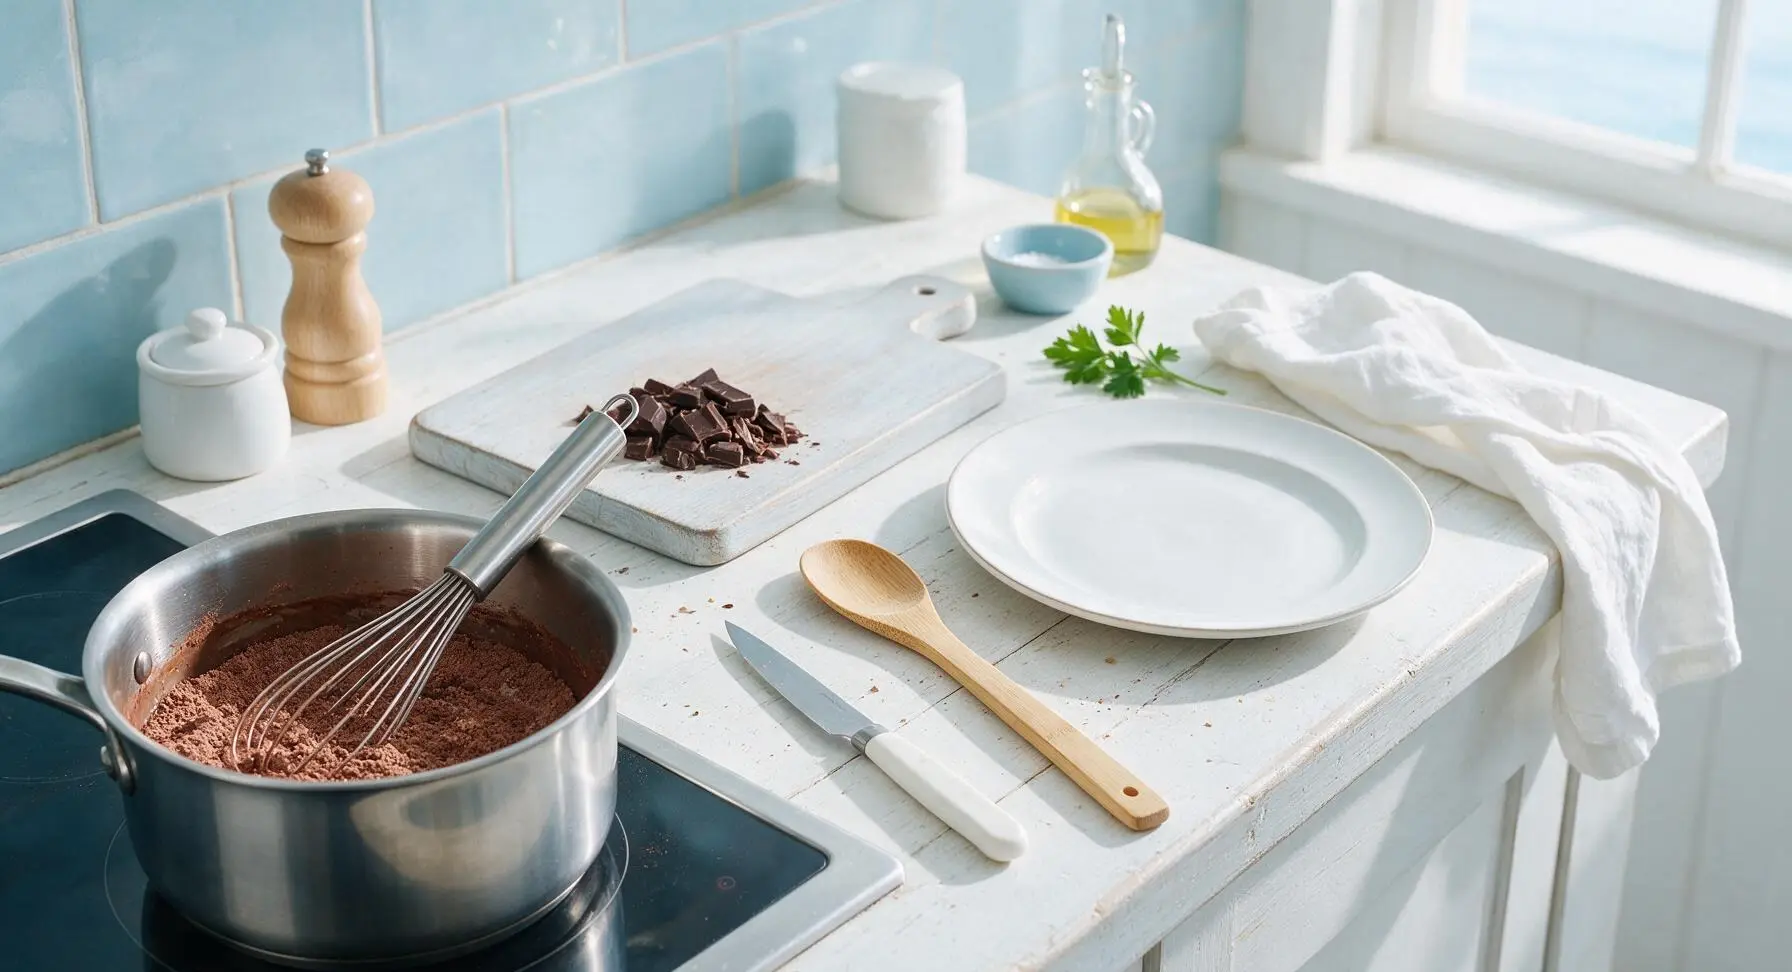
Set the 2-quart stainless steel saucepan on the front-left induction burner over medium-low heat. Add the granulated sugar, unsweetened cocoa powder, cornstarch, and fine sea salt to the pan. Use the stainless steel whisk to stir the dry ingredients together for 30 seconds until fully combined, with no visible clumps of cocoa or cornstarch.
Cook Pudding Until Thickened
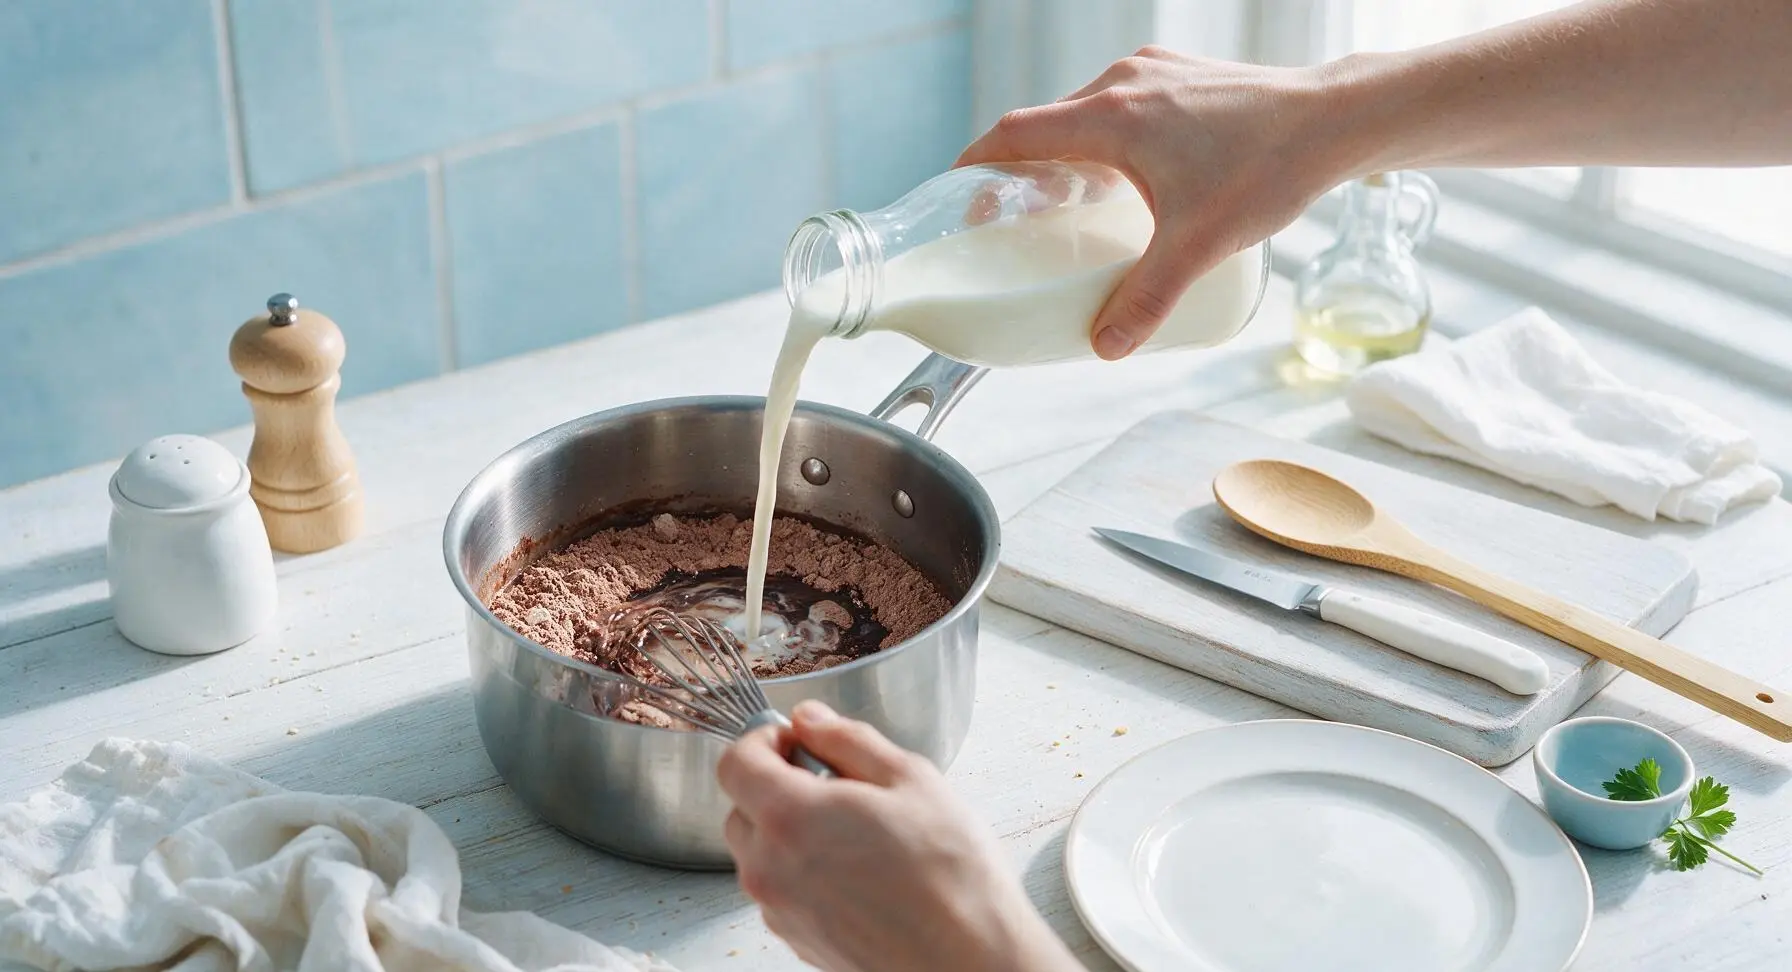
Slowly pour 3 cups of whole milk into the saucepan with the dry ingredients, whisking constantly to avoid lumps. Continue cooking for 7-9 minutes over medium-low heat, stirring nonstop, until the pudding comes to a gentle low boil and thickens to the consistency of loose Greek yogurt. Test for doneness by lifting the whisk from the pudding: it should coat the back of the whisk thickly, and a line drawn with your finger through the coating should hold its shape without running. Remove the pan from heat immediately once thickened to avoid lumps or scorching on the pan bottom.
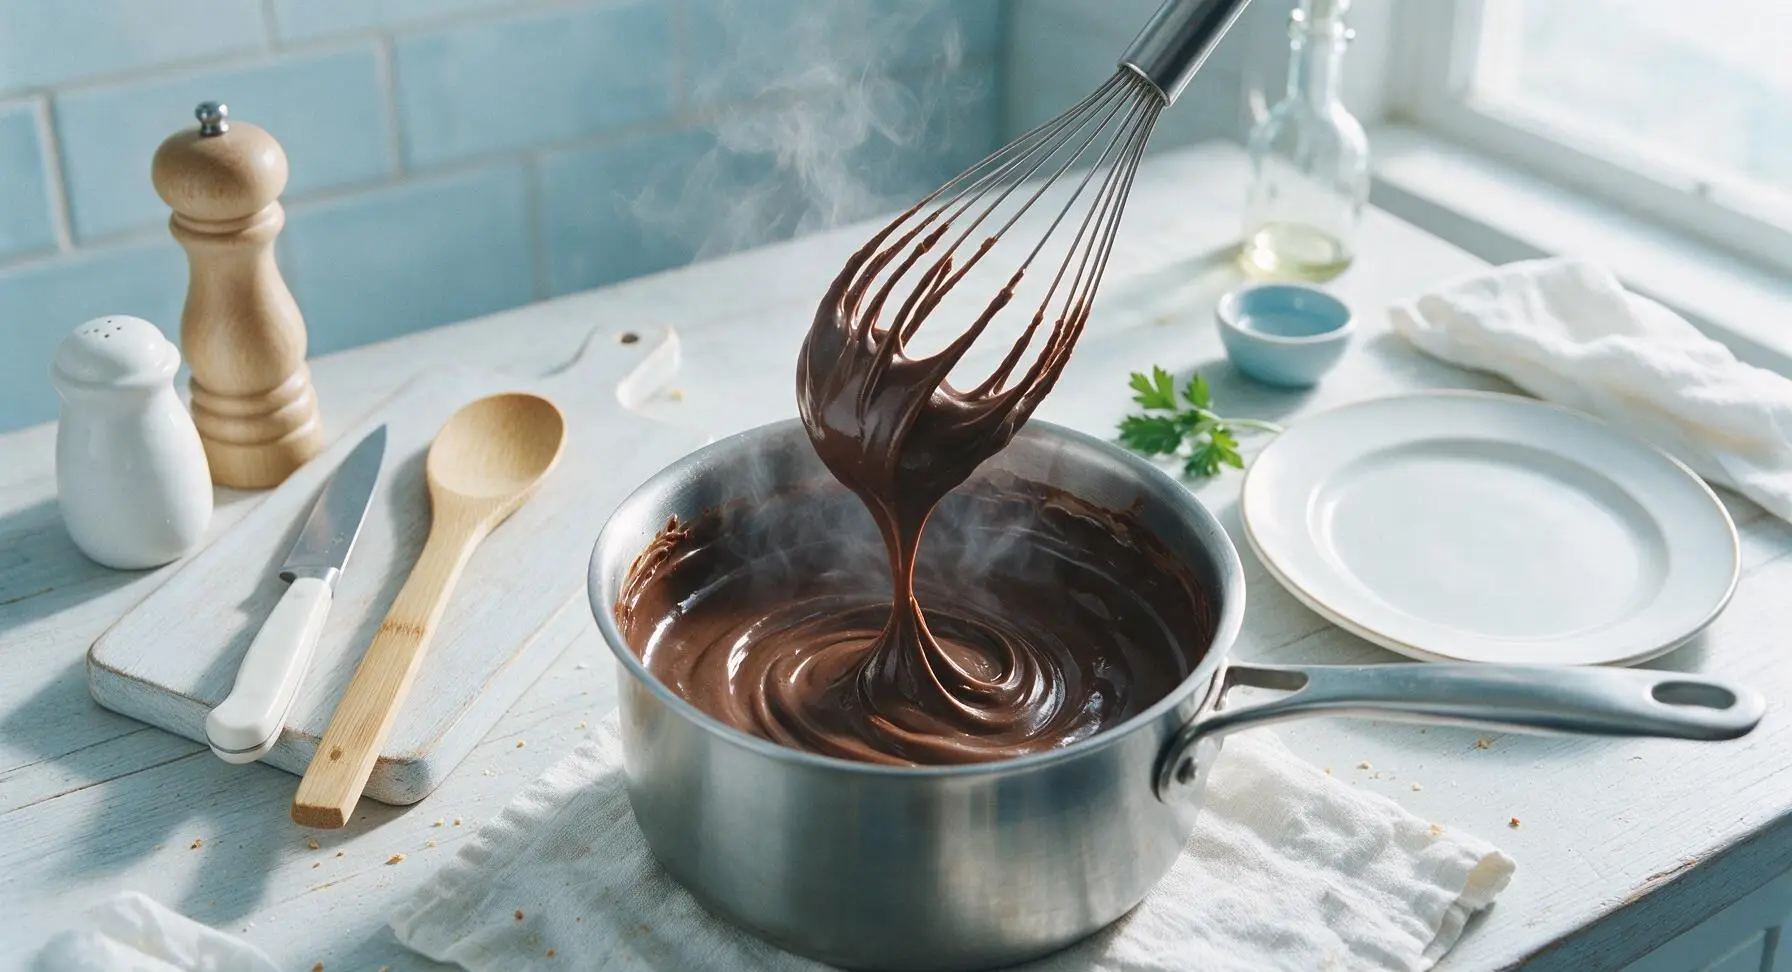
Stir in Chocolate and Butter
Add the chopped 70% dark chocolate, unsalted butter, and vanilla extract to the hot pudding off heat. Stir gently with the whisk for 1-2 minutes until the chocolate and butter are fully melted, and the pudding is smooth, glossy, and completely uniform with no streaks of unmelted butter. Let the pudding cool for 10 minutes at room temperature, stirring once at the 5-minute mark to prevent a thick skin from forming on the surface.
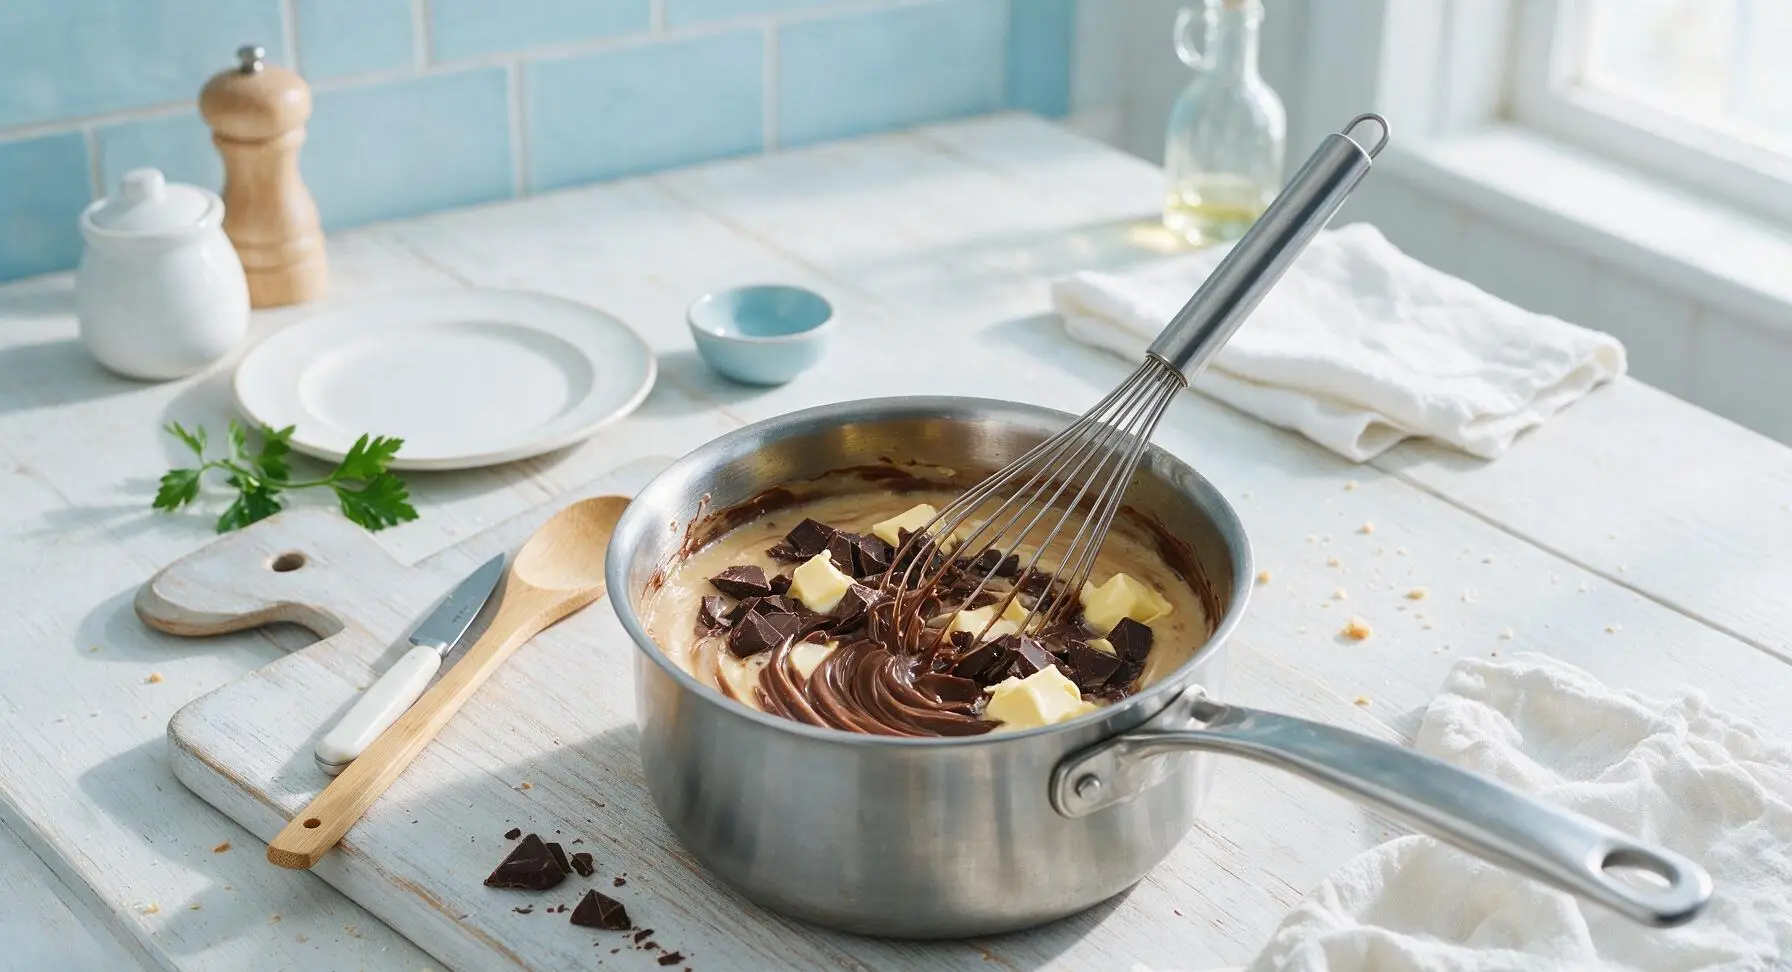
Fill Cups with Pudding
Unstack the 8 clear glass tumblers from their fixed back-right position, and line them up in a row in front of the cutting board. Spoon equal amounts of the cooled chocolate pudding into each cup, filling each to roughly 2/3 capacity (about 6oz per cup). Tap each cup gently on the counter 2-3 times to release trapped air bubbles and create a flat, even pudding surface ready for toppings.
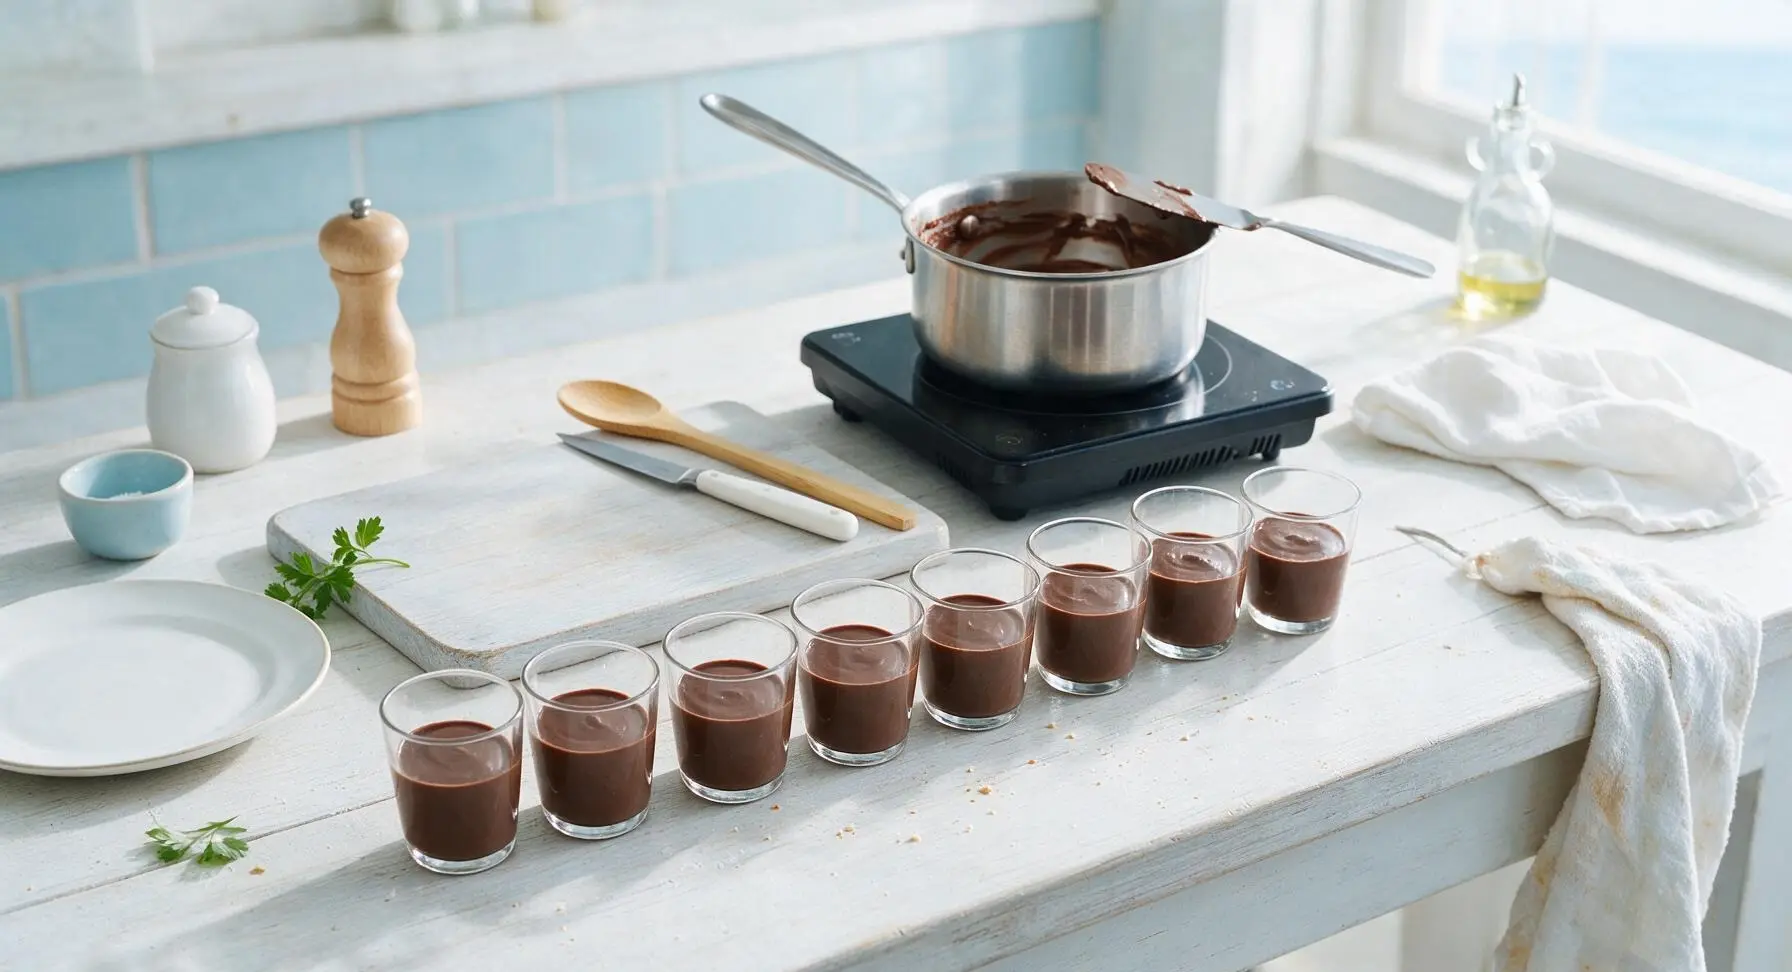
Top with Cookie Dirt
Sprinkle an even 2-tablespoon layer of crushed chocolate sandwich cookies over the pudding in each cup. Gently press the crumbs with the back of a spoon to create a flat, loose 'dirt' surface that fully covers the pudding below, with no dark pudding peeking through the crumbs.
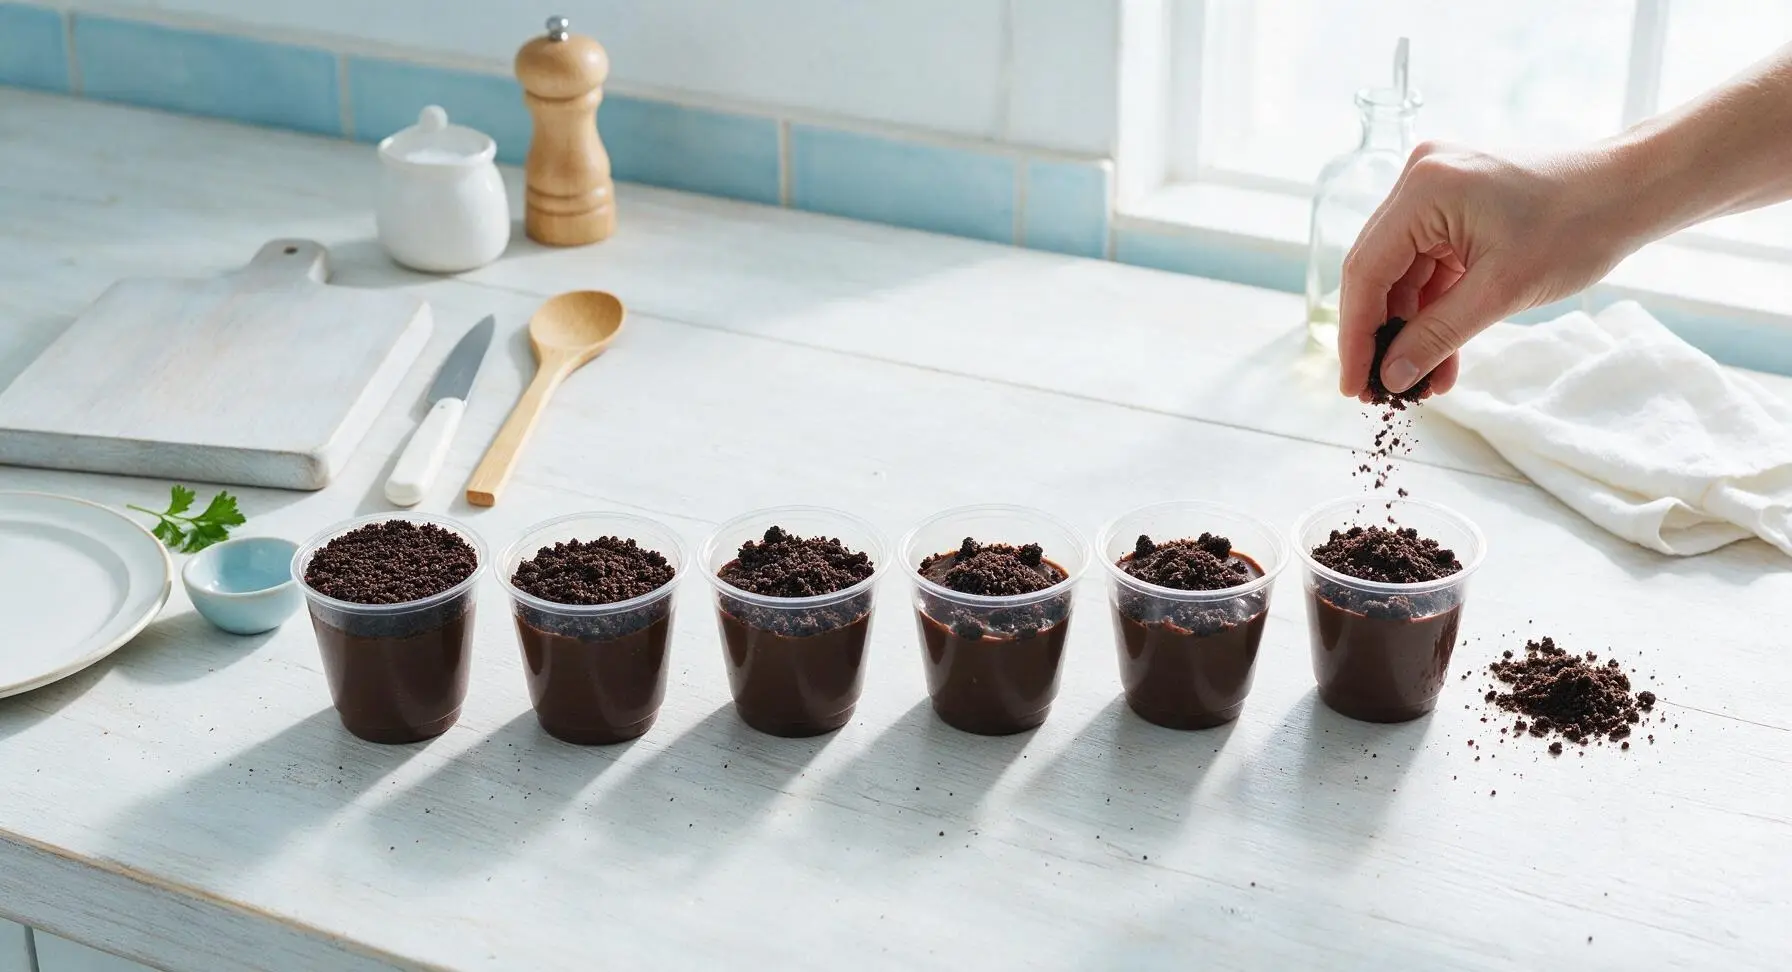
Insert Cookie Tombstones
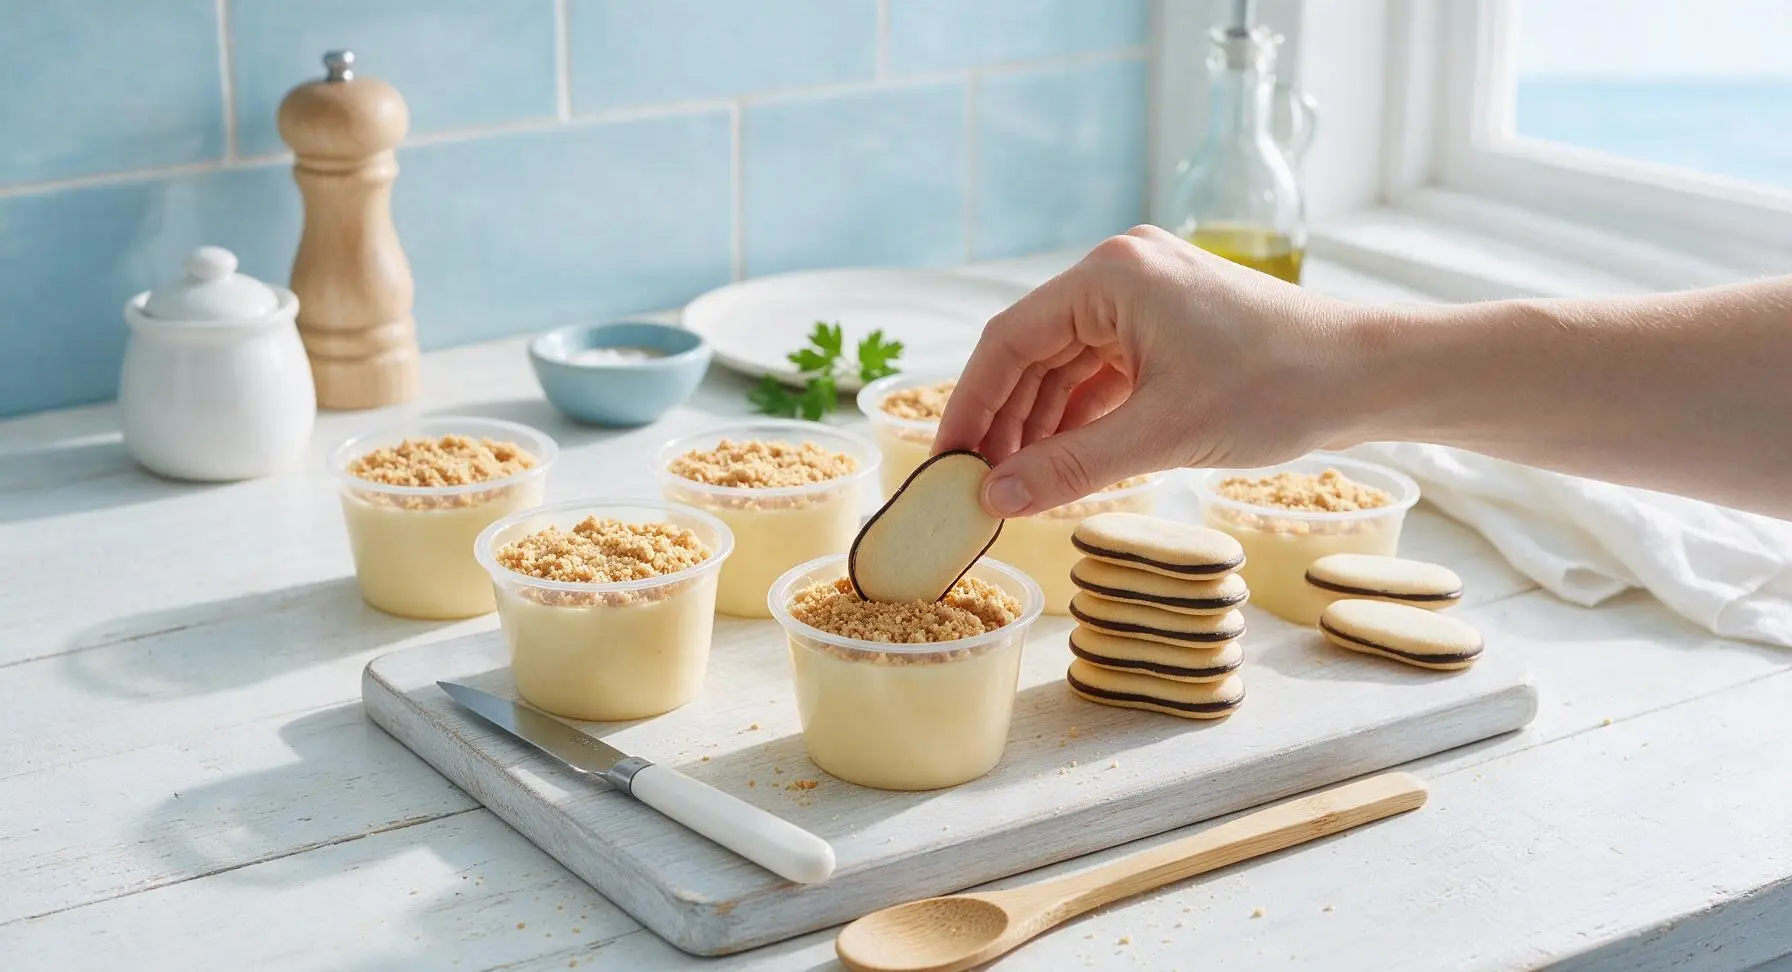
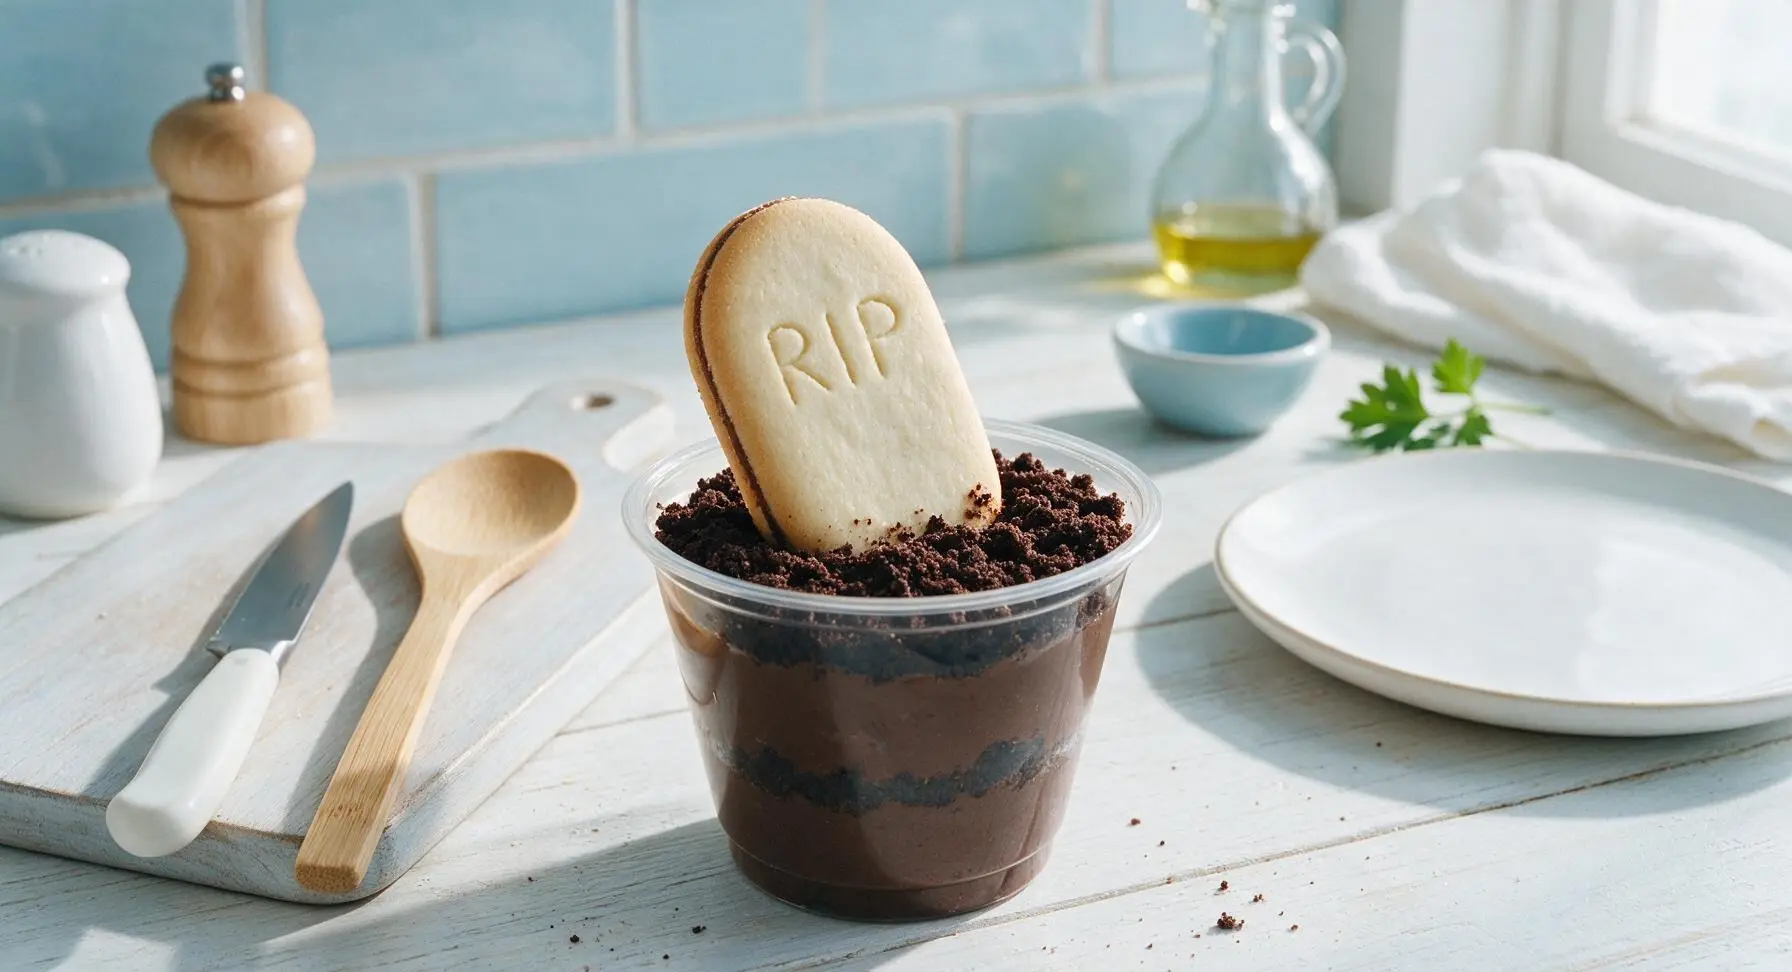
Take one plain Milano cookie per cup, and press the bottom 1/2 inch of the cookie straight down into the pudding and crumb layer at a slight 15-degree angle, so the rounded top of the cookie sticks up like a gravestone. For extra detail, use a small toothpick to etch a faint 'RIP' into the upper surface of each cookie before inserting, if desired.
Add Festive Garnishes
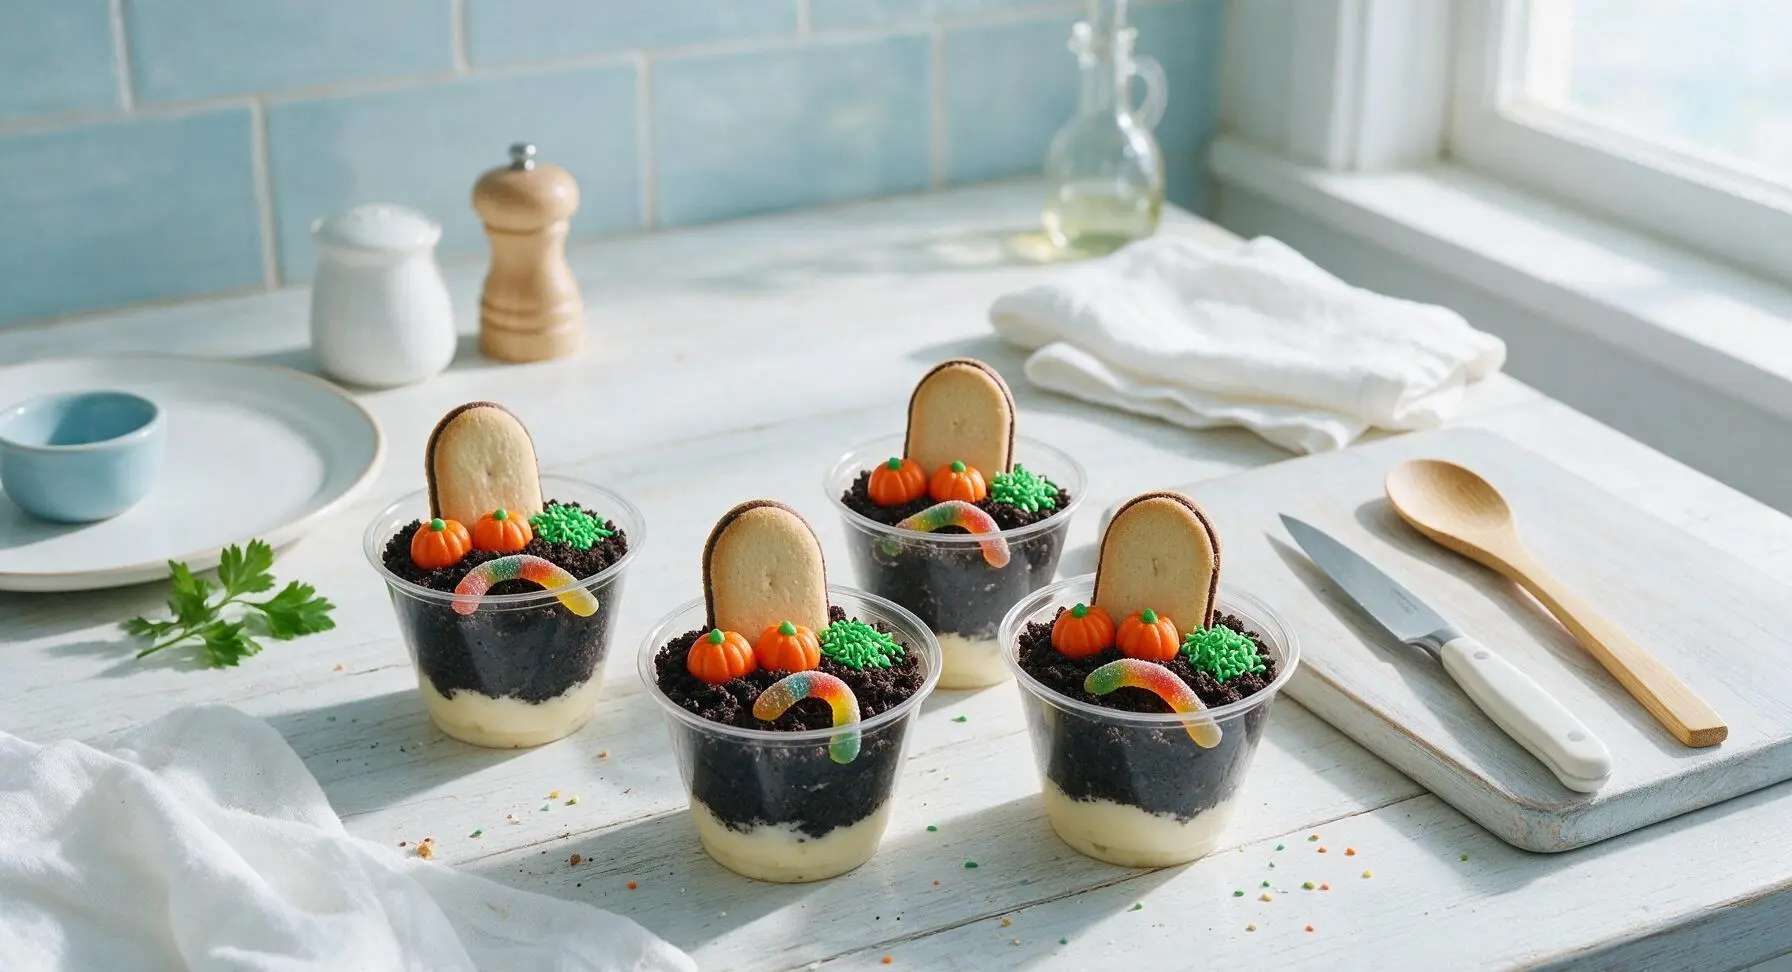
Arrange 2 candy corn pumpkins at the base of each tombstone to look like tiny decorative pumpkins in a graveyard. Sprinkle a pinch of green candy jimmies beside the pumpkins to mimic tufts of wild grass. Tuck one sour gummy worm half under the crumb layer in each cup, leaving half the worm exposed and curled over the dirt for a playful, spooky effect.
Chill Before Serving
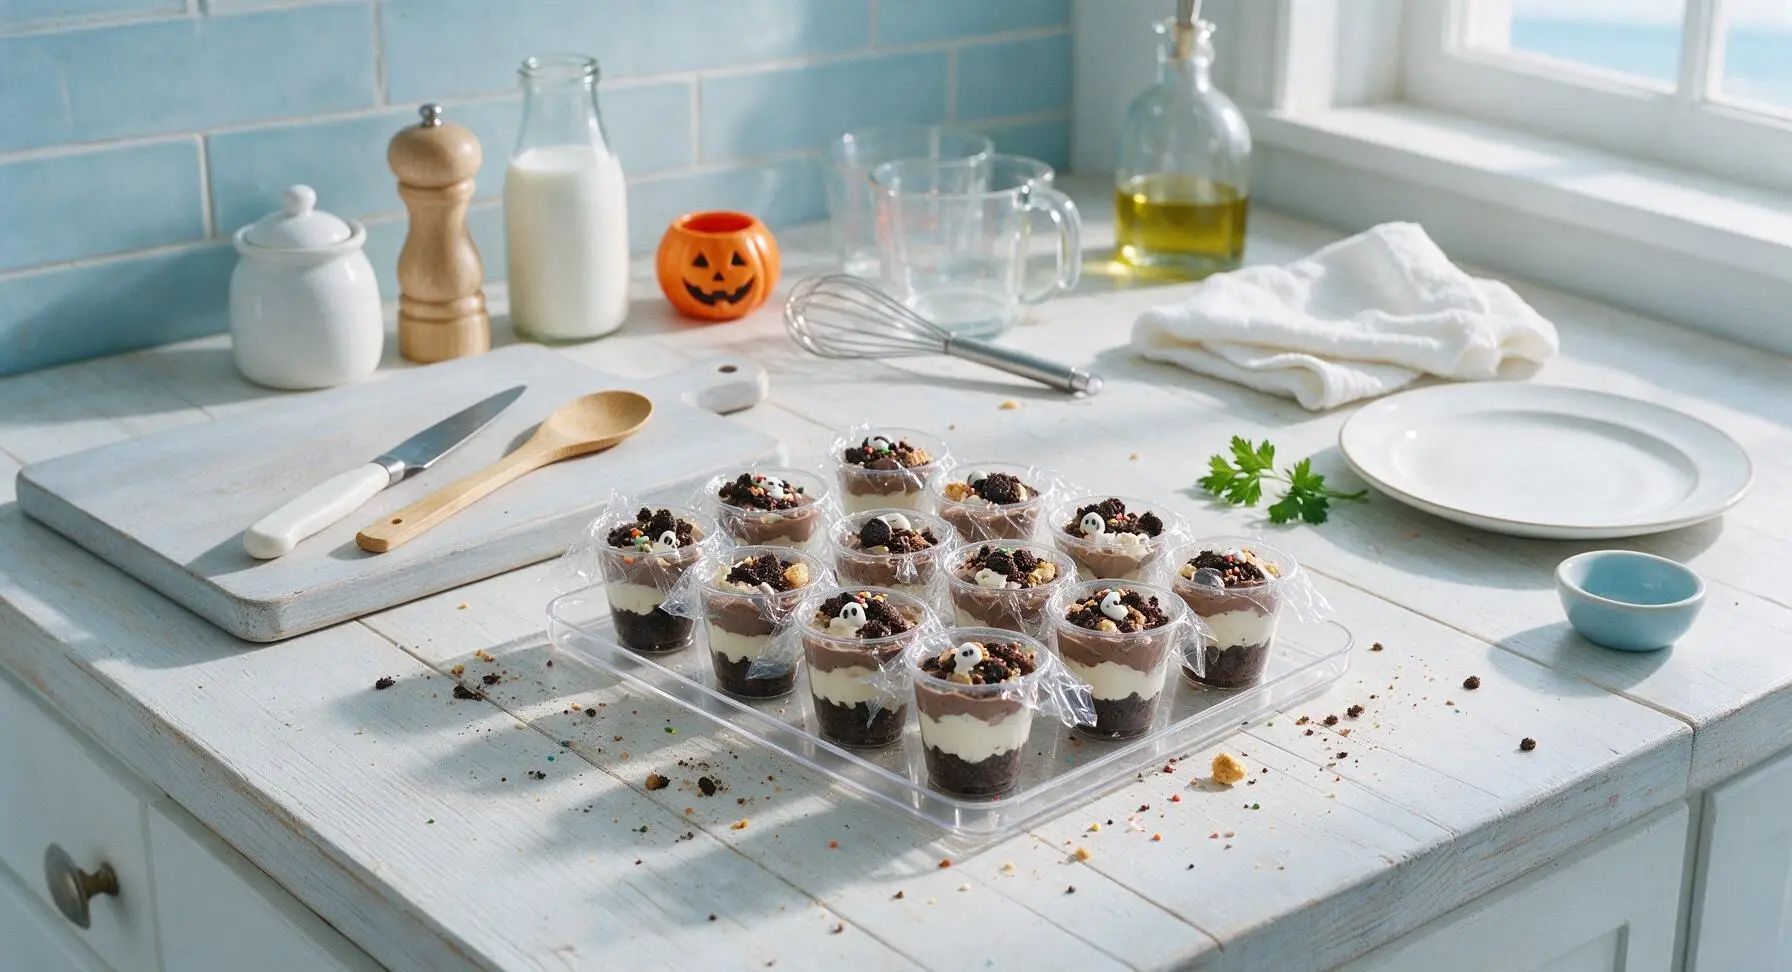
Cover each cup loosely with a small square of clear plastic wrap, and transfer to the refrigerator to chill for a minimum of 2 hours (or up to 24 hours) before serving. Chilling allows the pudding to set to a perfect creamy, scoopable consistency and lets the cookie crumbs soften slightly to mimic the texture of loose graveyard soil.
Tips
2.Always scrape the white cream filling from chocolate sandwich cookies before crushing them to get a deep, realistic dark dirt color. Leaving the cream in will result in lighter, clumpier crumbs that look less like loose graveyard soil; crush cookies in a sealed zip-top bag with a rolling pin for even, coarse crumbs without messy counter spills.
3.Wait to add cookie tombstones and gummy garnishes until 1-2 hours before serving if prepping more than 12 hours in advance. The pudding will stay fresh for up to 3 days covered in the fridge, but the crisp Milano cookies will turn soggy if left submerged in pudding for longer than 24 hours.






OMG these were such a hit at my kid’s 3rd grade class Halloween party yesterday! I swapped the vanilla pudding for double chocolate because my crew is obsessed, added extra crushed Oreos for the dirt layer, and the Milano cookie tombstones were *chef’s kiss*. Zero leftovers, every single kid asked for seconds. SO easy too, I threw the whole thing together in 10 minutes flat before running out the door. 10/10, will make every year!
Game changer for our annual neighborhood block party potluck! I made a big batch of these in little clear disposable cups, added some sour gummy worms peeking out of the dirt and a few candy corn pumpkins for extra flair. People kept coming back to ask for the recipe all night, I can’t believe how little effort this took for how cool it looks. Total showstopper for barely any work.
Made these for my dorm Halloween movie night with my roommates and everyone lost their minds. We didn’t even have fancy Milano cookies on hand, so we used crushed up graham crackers for dirt and cut up chocolate bar pieces for lumpy little tombstones because it was all we could grab at the campus market. Still slapped, 10/10 would make again for our next spooky hang.
My kids loved it so much they begged me to make these two weekends in a row! I do have a quick question though — can I prep these the night before for my son’s elementary school Halloween parade, or will the Oreo dirt get too soggy if it sits in the fridge that long?
SO good. I made these as a quick after-dinner treat for my partner and I, added a tiny splash of Bailey’s to the pudding for a boozy adult version and it was insane. The 10 minute cook time is no joke, this is the easiest festive dessert I’ve made all fall. It’s gonna be in our rotation every October from now on, no question.
Wait this was actually so easy I didn’t mess it up??? I’m notorious for burning even boxed brownies but these came out perfectly for my office Halloween happy hour. My coworkers kept making fun of my lopsided tombstone writing (RIP to my bad handwriting) but they all ate two cups each so who’s laughing now tbh.
Is there an easy swap to make these gluten free? My niece has celiac and I want to make these for our big family Halloween dinner so she can have a fun treat too without worrying about cross contamination. I’m not super familiar with GF baking so any tips help!