
Great Depression Hasty Pudding
intro
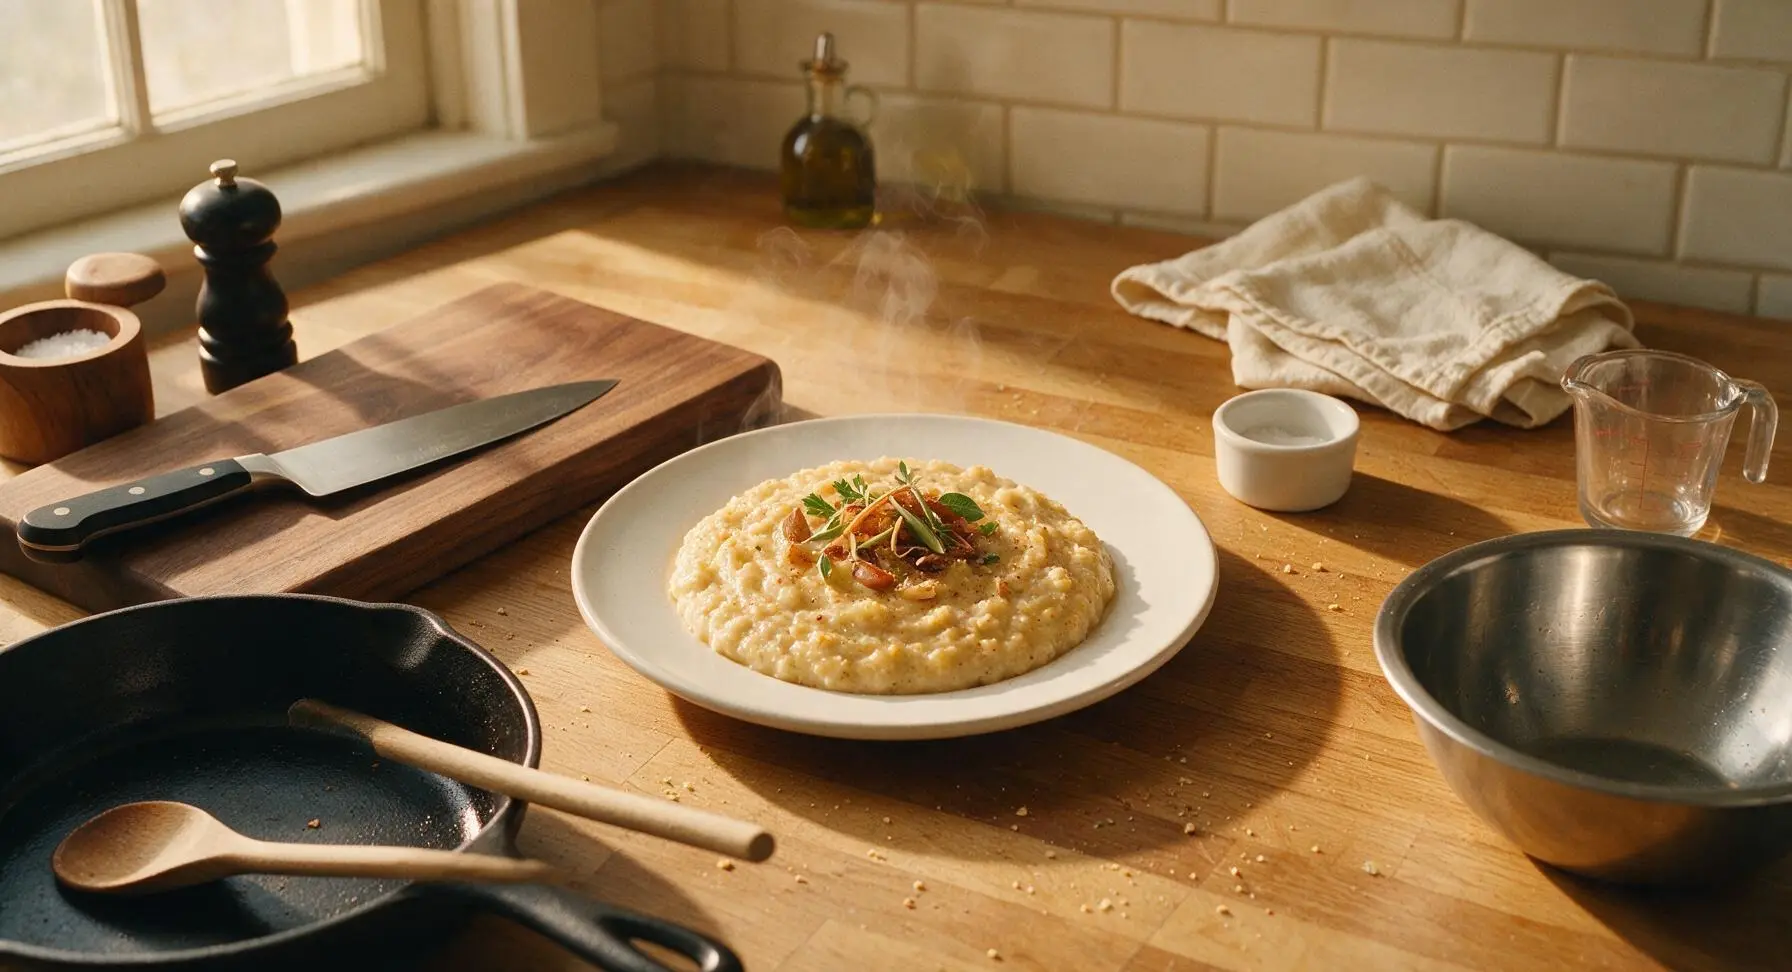
A no-waste, ultra-affordable warm cornmeal pudding born of 1930s American pantry ingenuity—creamy, gently spiced, and made with just seven simple staple ingredients.
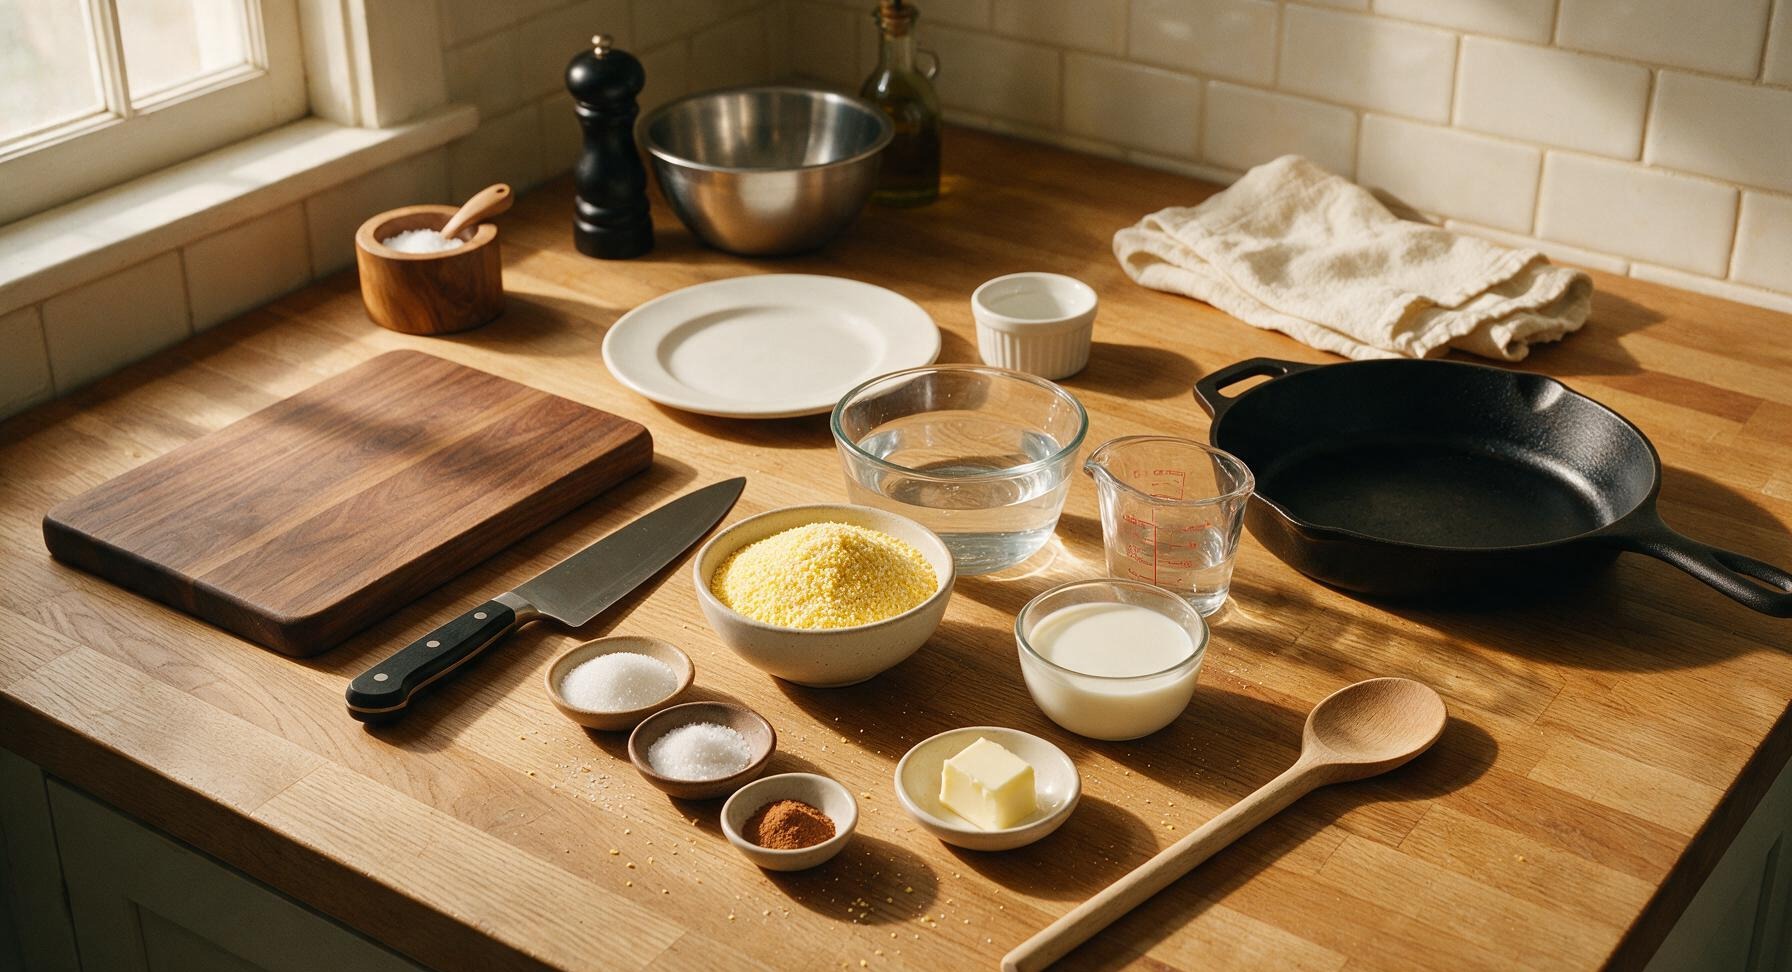
Ingredients
Steps
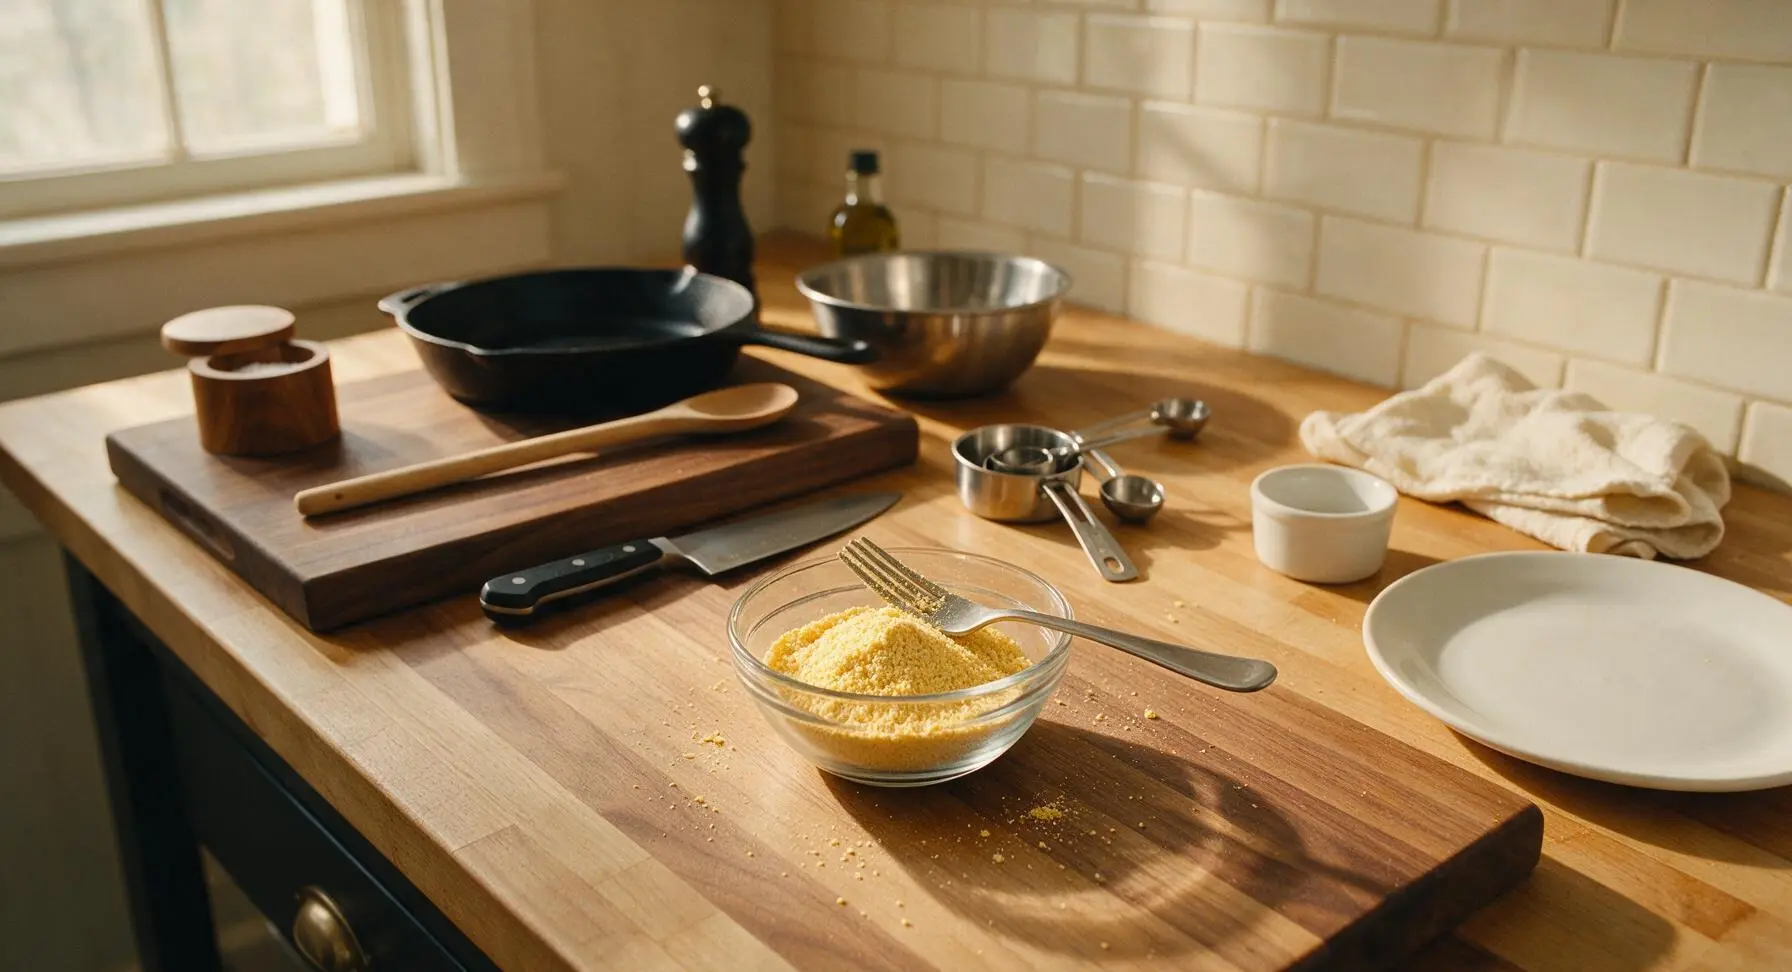
Measure Dry Ingredients
Set out the stainless steel measuring cups and spoons on the counter. Measure 1 cup finely ground yellow cornmeal, 3 tablespoons granulated sugar, 1/2 teaspoon ground cinnamon, and 1/4 teaspoon fine salt into the small clear glass prep bowl. Stir gently with the stainless steel fork to combine evenly, breaking up any small clumps of cinnamon or cornmeal until the mixture is a uniform pale golden-yellow.
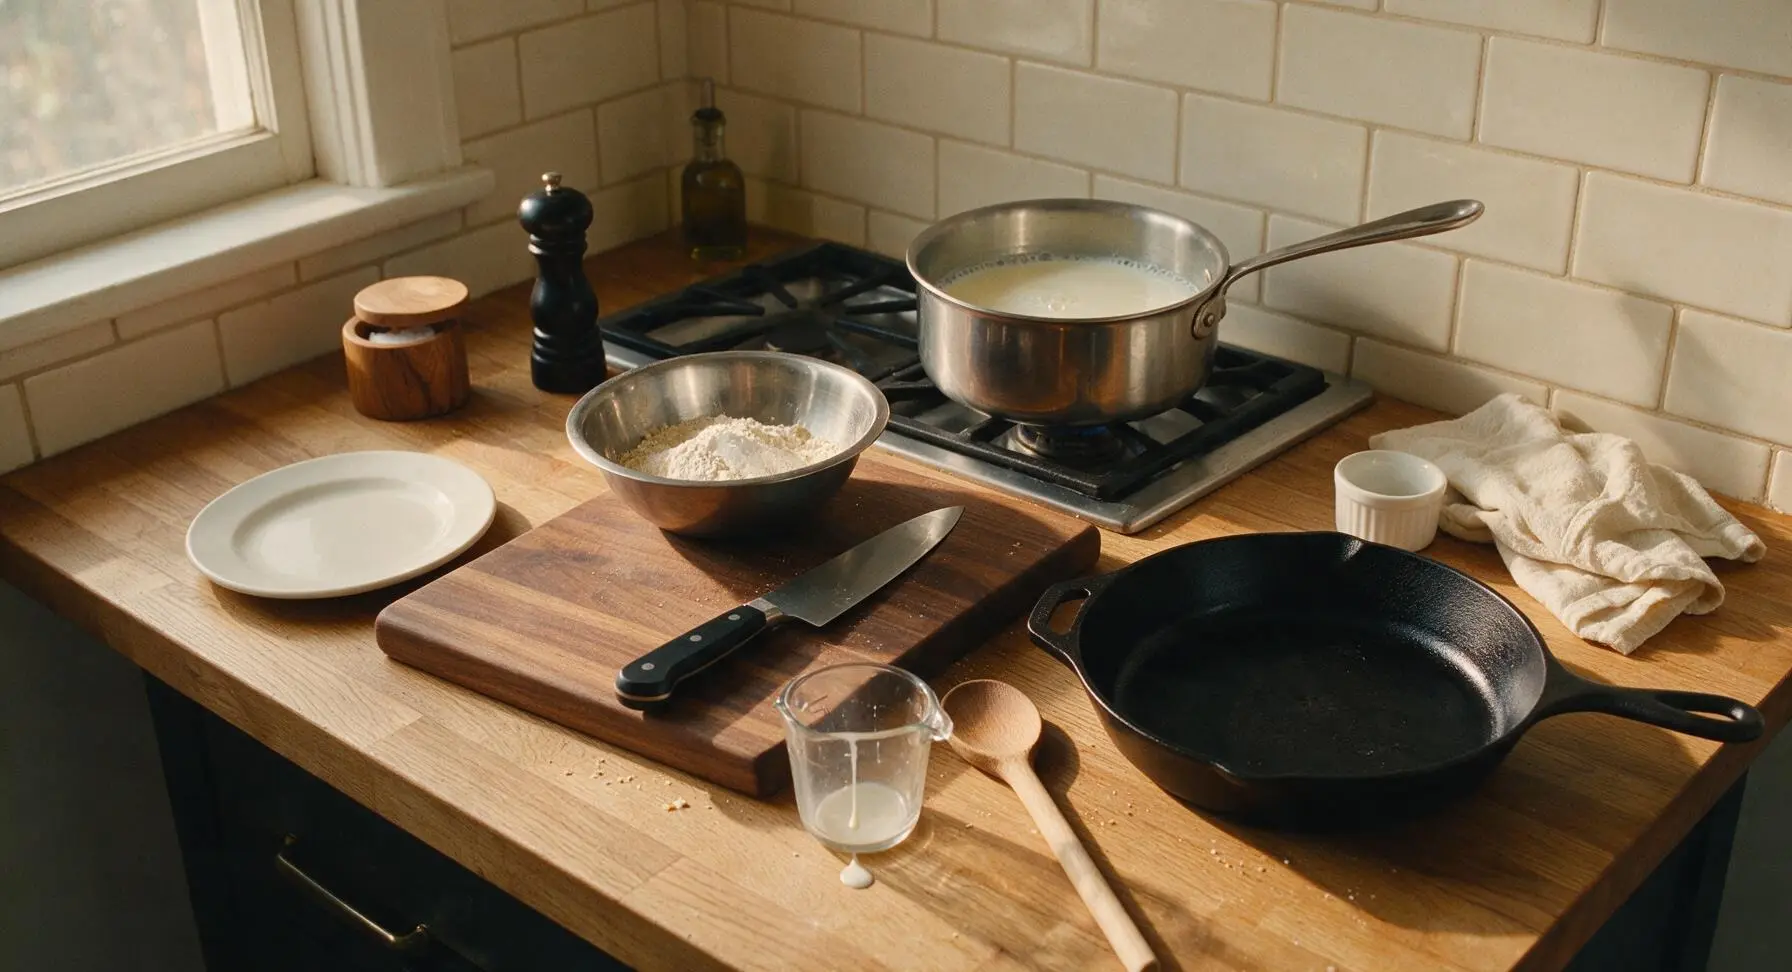
Heat Liquid Base
Place the 2-quart stainless steel saucepan on the stovetop burner positioned directly behind the counter work zone. Pour the combined 2.5 cups water and 1/2 cup whole milk into the saucepan, set heat to medium, and bring to a gentle simmer (185°F, small steady bubbles breaking at the pan edges, no violent rolling boil). This takes 4-5 minutes; do not let the liquid boil over, as this will make a mess and reduce the liquid ratio too much.
Whisk in Cornmeal
Once the liquid reaches a gentle simmer, reduce heat to medium-low to prevent hot splatters. Slowly pour the combined dry cornmeal mixture into the hot liquid in a thin, steady stream, whisking constantly with the fork as you pour to prevent lumps from forming. Never dump the cornmeal in all at once, as this will create hard, dry lumps of uncooked cornmeal that cannot be stirred smooth later.
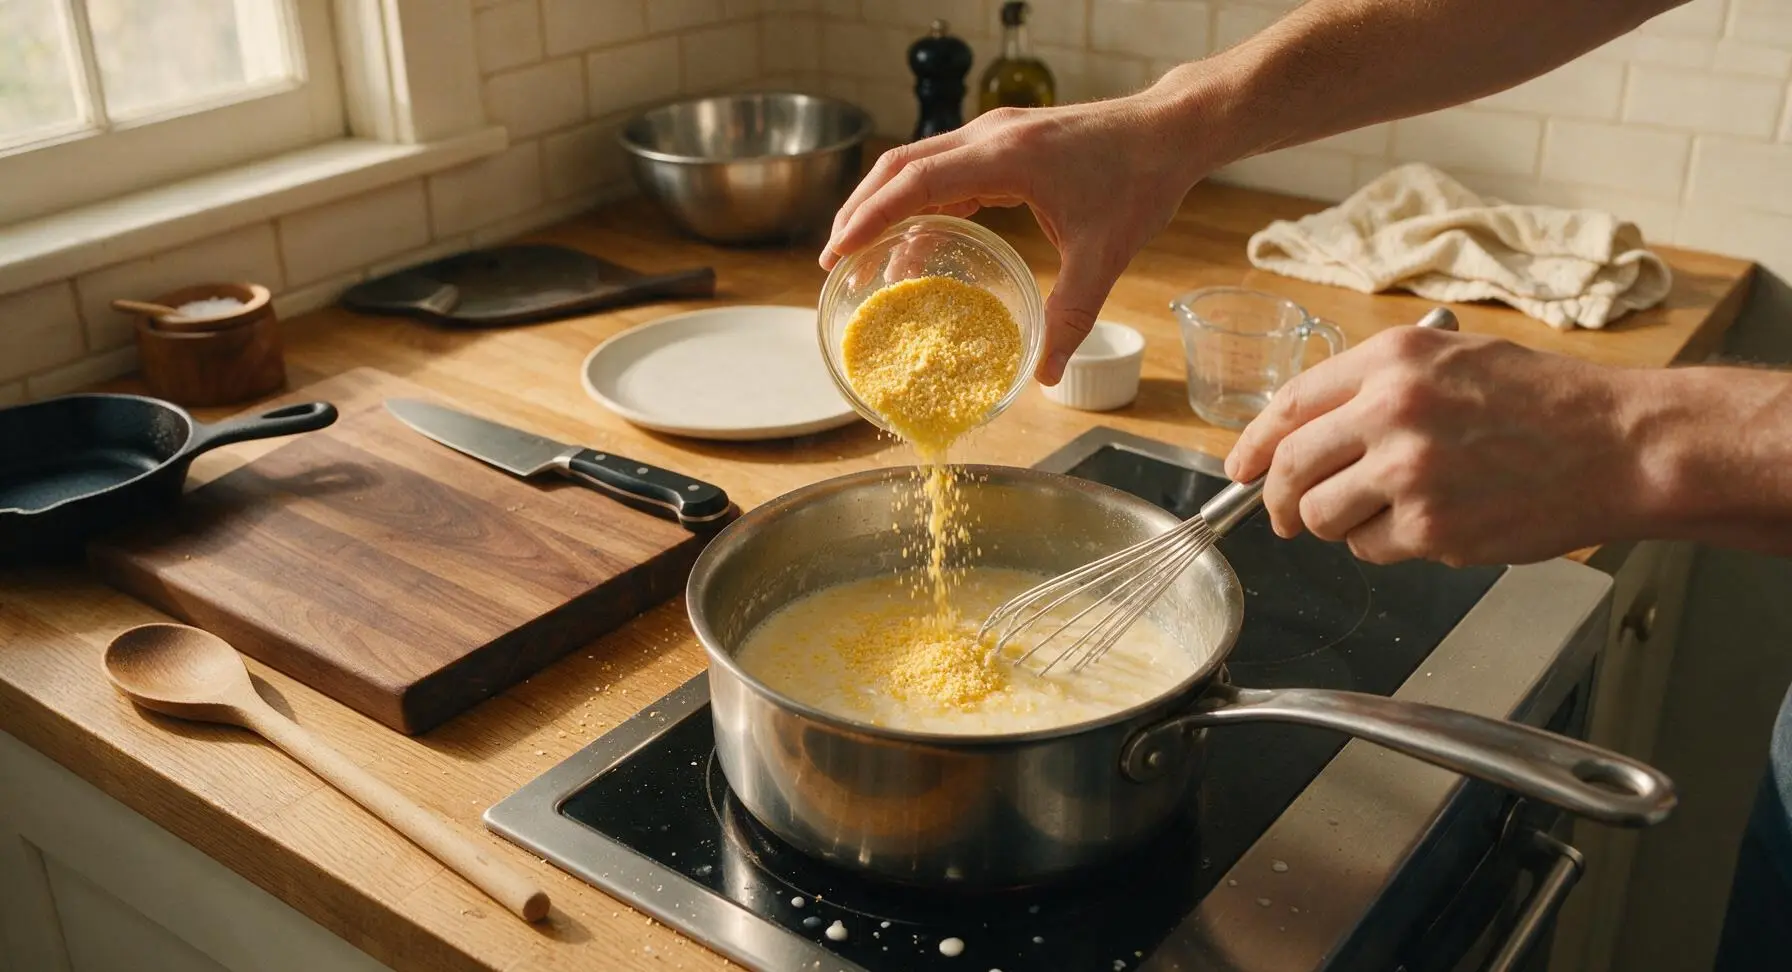
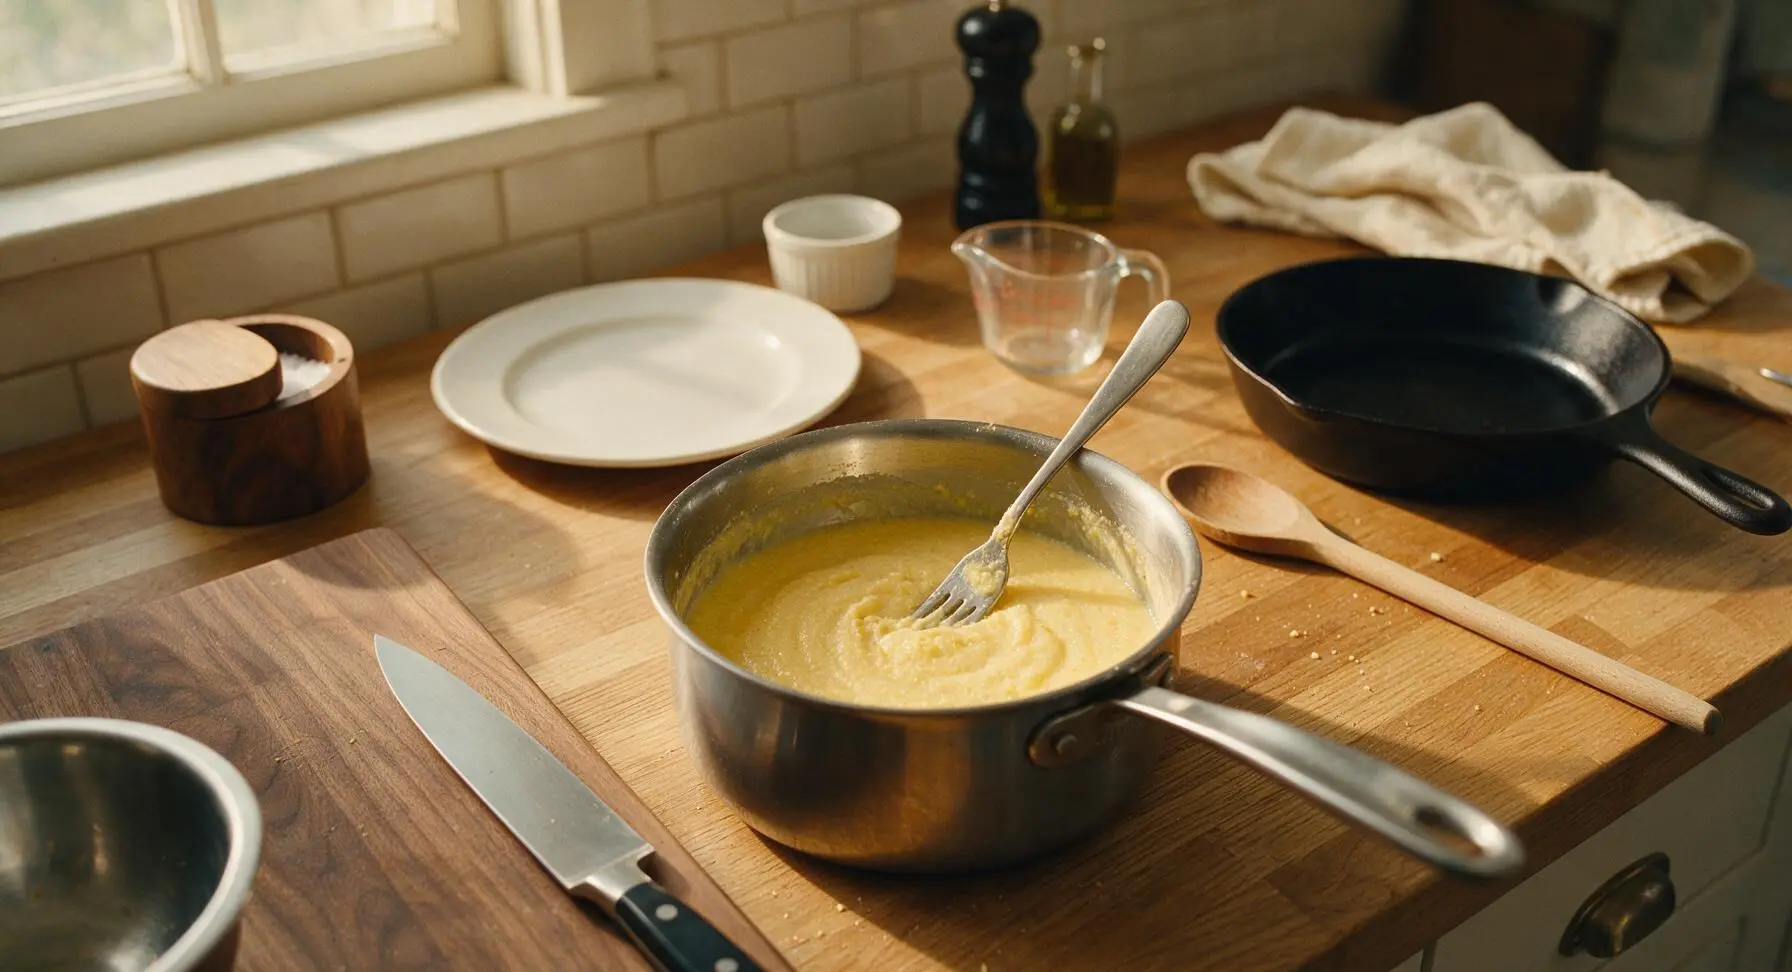
Cook Until Thickened
Switch to the long-handled maple wooden spoon for stirring. Continue cooking the pudding over medium-low heat, stirring constantly in slow figure-8 patterns to scrape the pan bottom and prevent sticking, for 8-10 minutes. The pudding is done when it is thick enough to evenly coat the back of the wooden spoon; a line drawn with your finger through the pudding on the spoon will hold its shape without running. Do not cook over high heat, as this will scorch the cornmeal on the pan bottom and create a bitter, off-flavor.
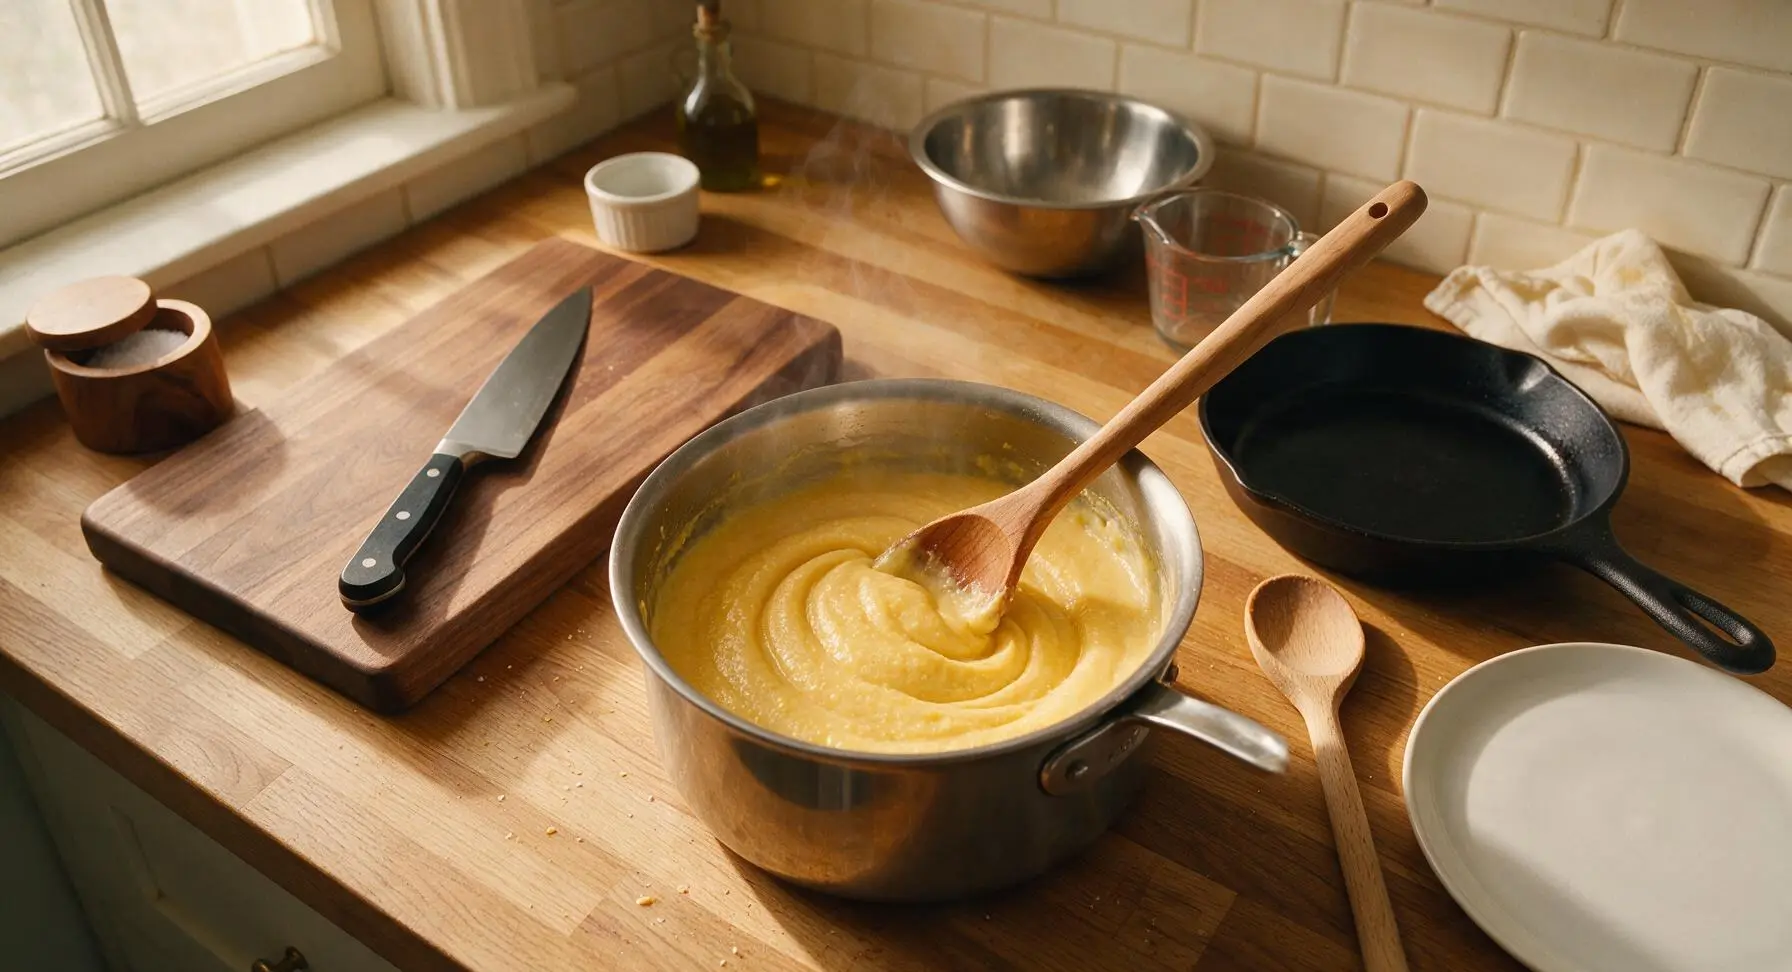
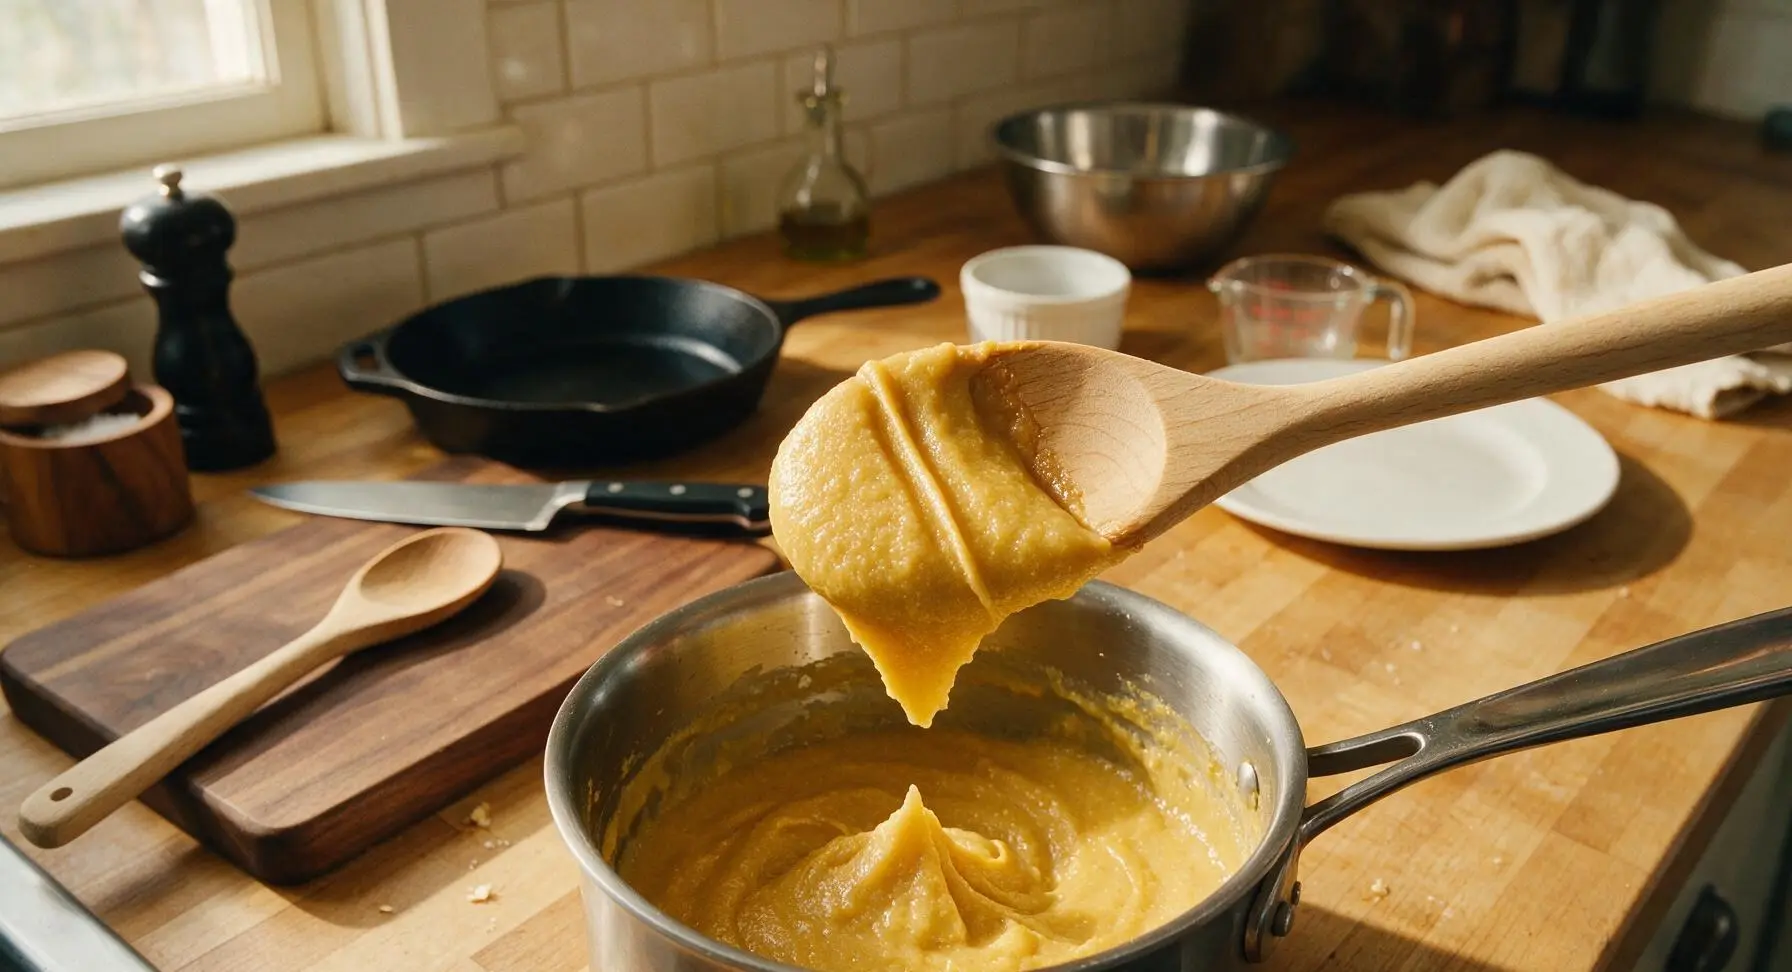
Stir in Butter
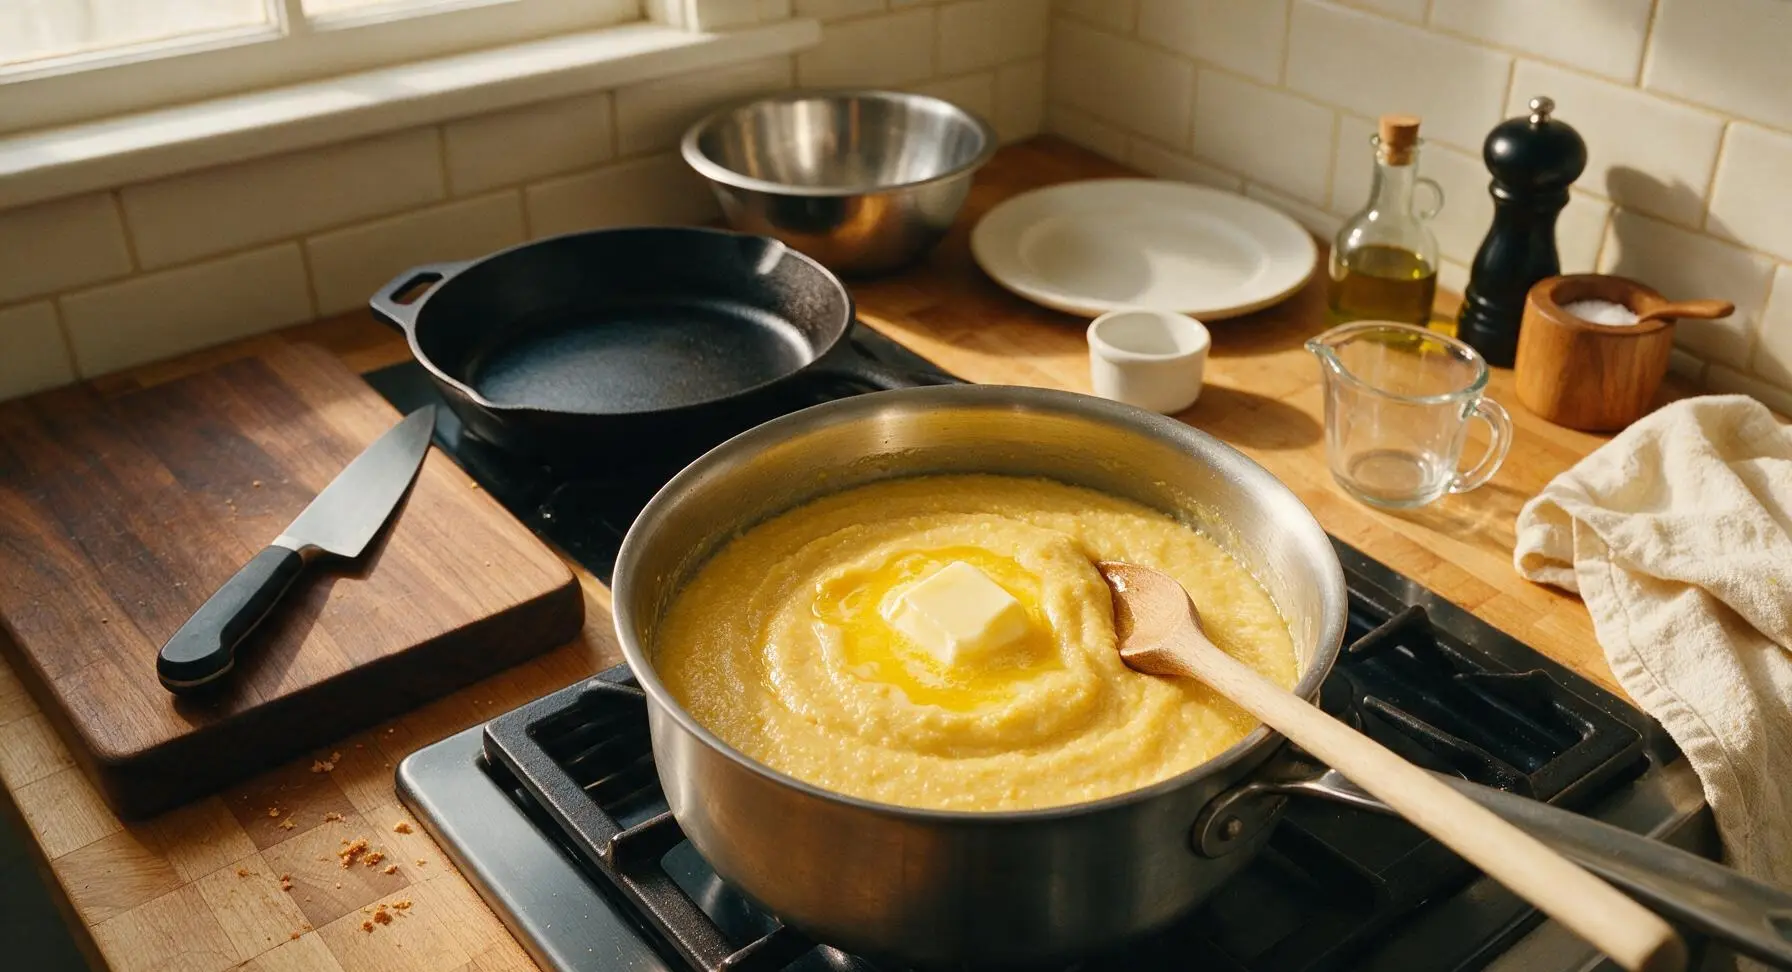
Once the pudding reaches the correct thick consistency, turn off the stovetop heat. Add the 1 tablespoon of unsalted butter to the hot pudding, stirring gently with the wooden spoon until the butter is fully melted and incorporated, creating a smooth, slightly glossy surface across the pudding. Carefully move the saucepan off the hot burner to stop residual heat from overcooking the pudding.
Let Pudding Rest
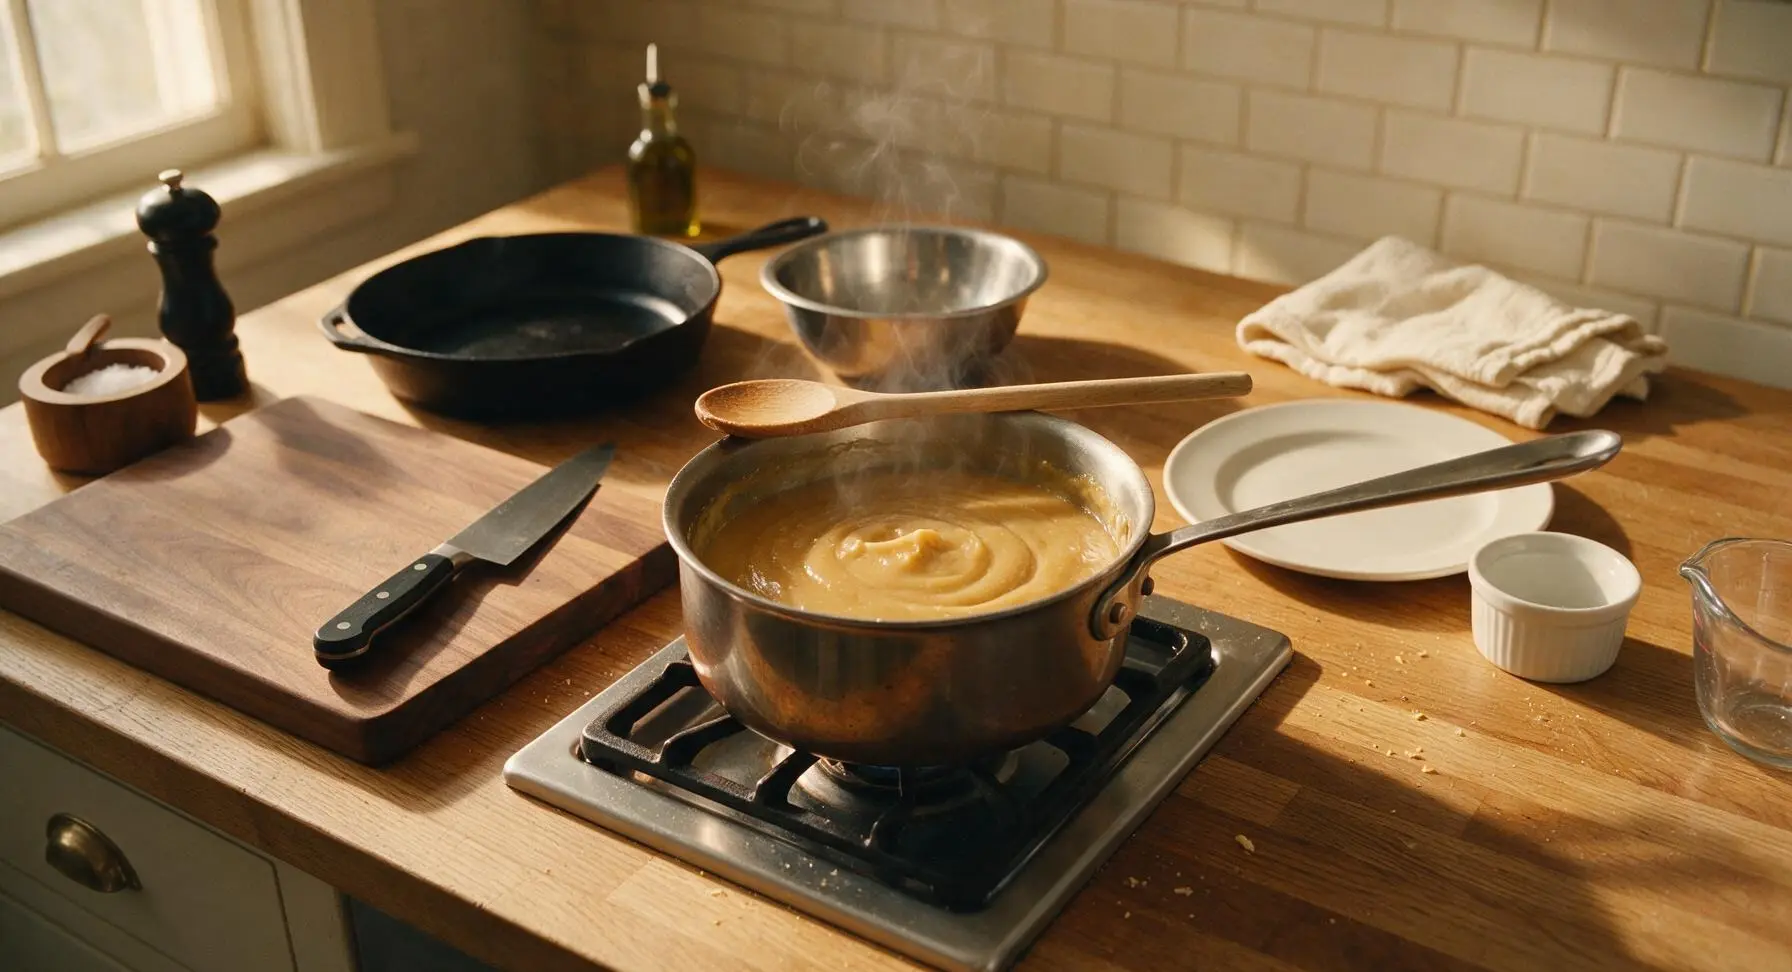
Leave the pudding in the saucepan, uncovered, to rest for 2 minutes. This short rest allows the cornmeal to fully hydrate and the pudding to set to a soft, spoonable consistency, rather than being thin and runny. Do not cover the pan during this rest, as trapped condensation will drip back onto the pudding and create watery pockets on the surface.
Serve Warm Pudding
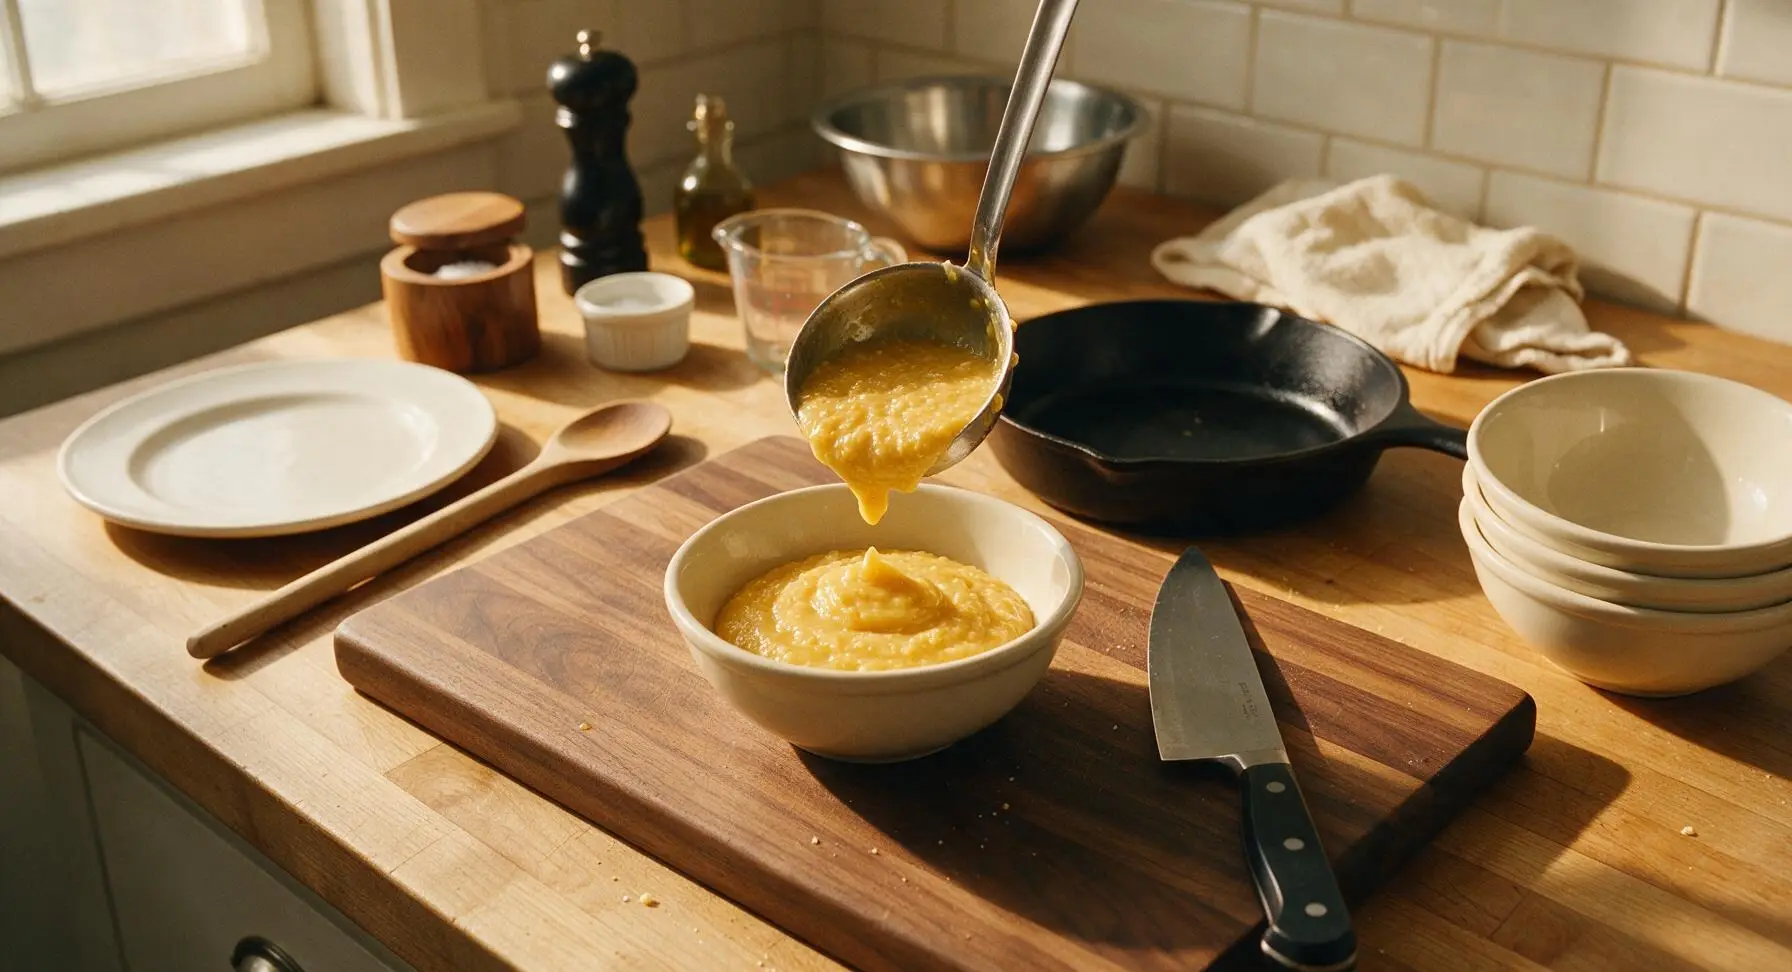
Use the small stainless steel ladle to scoop the warm pudding into the top cream ceramic cereal bowl from the stacked set. Sprinkle a tiny pinch of extra ground cinnamon across the top for garnish, if desired, and serve immediately. The pudding will continue to thicken and set as it cools, so it is best eaten right after cooking.
Tips
2.Always pour cornmeal in a slow, thin stream while whisking constantly: Dumping the full cup of cornmeal into hot liquid at once creates hard, dry lumps of uncooked cornmeal that cannot be stirred smooth, even with extended cooking.
3.Scrape the pan bottom constantly while stirring: Cornmeal sinks quickly and will scorch over medium-low heat if left undisturbed for even 30 seconds, creating a bitter burnt flavor that will ruin the entire batch of pudding.






OMG this is so perfect for quick after-school snacks! I had all the cornmeal, sugar, and milk in the pantry already, threw it together in 12 minutes flat, and my three kids devoured it before I even got a second bowl. They said it’s their new favorite cold-weather treat! Dusted a little cinnamon on top and it tasted like the cozy pudding my grandma used to make. Total game changer for busy weeknights!
Brought this to our neighborhood block party potluck last weekend and people were begging for the recipe! It’s so cheap to make, no fancy ingredients, and even folks who said they hated old-fashioned recipes went back for seconds. I topped mine with a dollop of whipped cream and a sprinkle of nutmeg, chef’s kiss. Only note: make sure you stir constantly so it doesn’t get lumpy!
Added this to my weekly meal prep rotation for work lunches! It’s warm, filling, costs literally pennies per serving, and holds up great in the fridge for 4 days. I was worried 15 minutes cook time was too good to be true, but nope—super straightforward even for someone who burns toast half the time. 10/10, will be making all winter long!
My grandma grew up during the Depression and used to make this exact recipe for my dad when he was a kid, I can’t believe I found it here! Made it last night for Sunday family dinner and my dad teared up it tasted so close to what he remembered. Didn’t change a single thing, followed the directions exactly, and it turned out perfect on the first try. Thank you so much for sharing this little piece of history!
As a broke college student with barely any groceries and a tiny dorm hot plate, this recipe was a literal lifesaver this week. I didn’t even have proper measuring cups and it still turned out SO good. I added a little extra maple syrup on top because I have a sweet tooth, and it tasted like a fancy restaurant dessert for like $0.50 total. Why didn’t I find this sooner?!
Wait, is this naturally gluten free? I have celiac and I’m always looking for quick, cheap desserts I don’t have to buy special flour for. This looks so good but I want to make sure I’m not missing an ingredient that has hidden gluten!