
great hot dog
intro
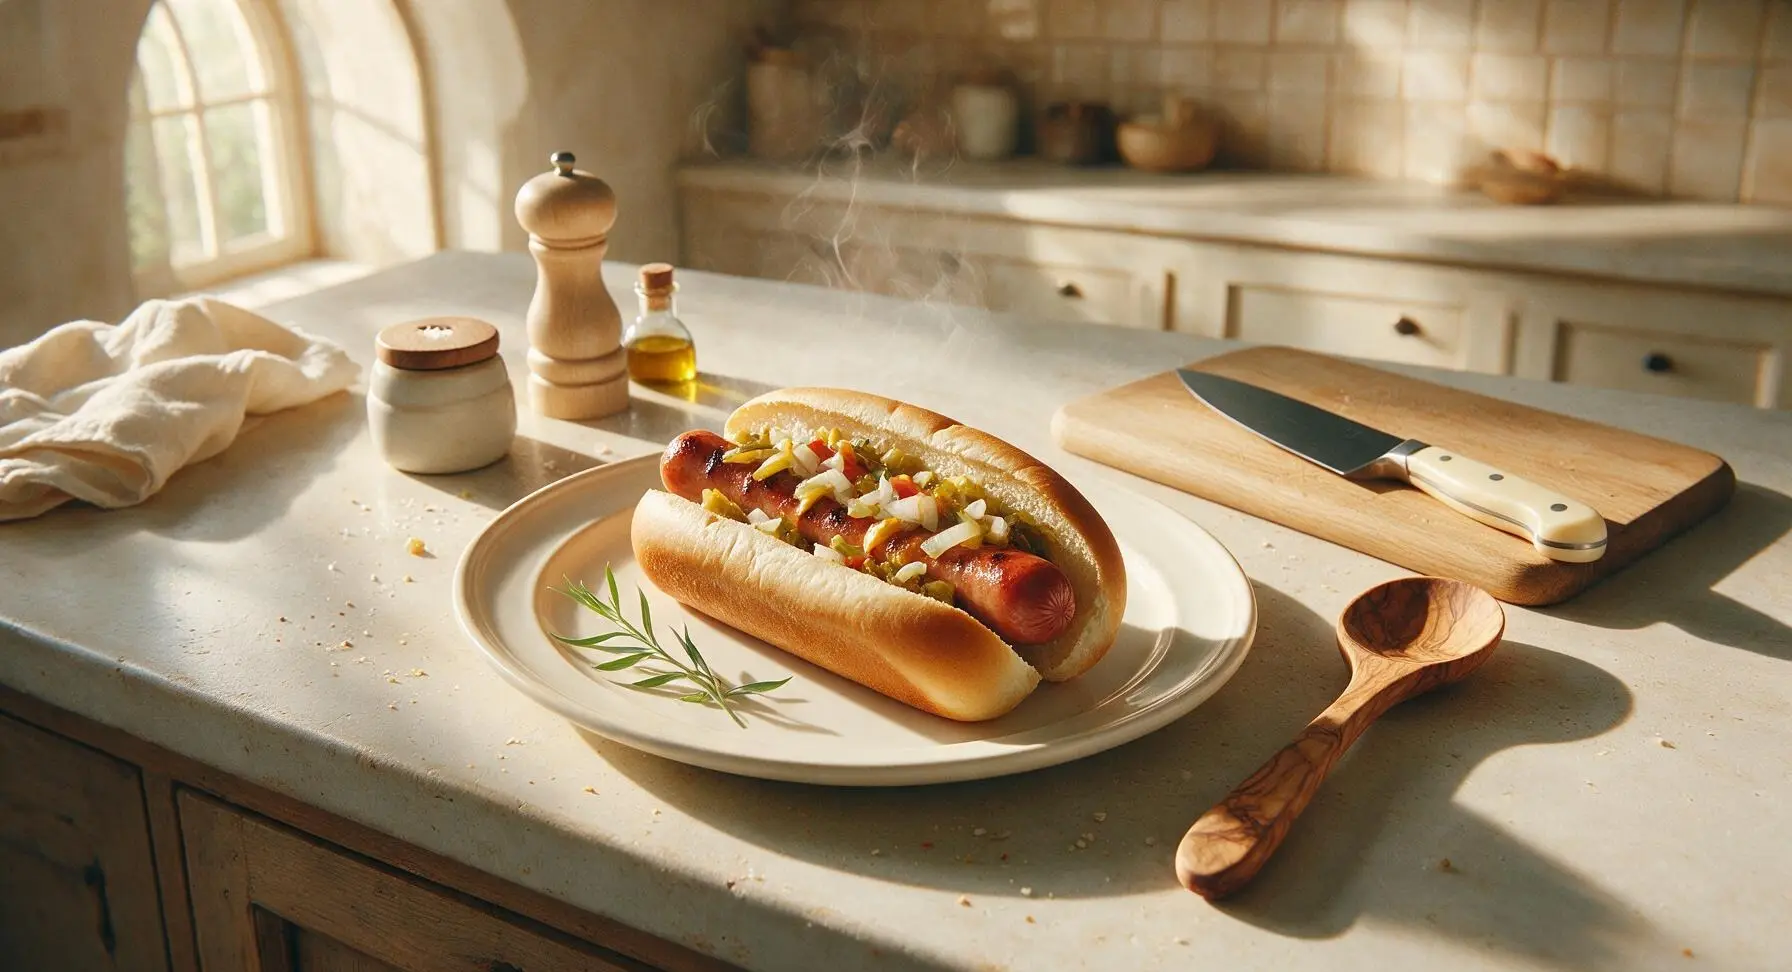
Juicy, snappy natural-casing grilled franks tucked into soft toasted potato buns, loaded with classic tangy toppings for the ultimate nostalgic summer bite.
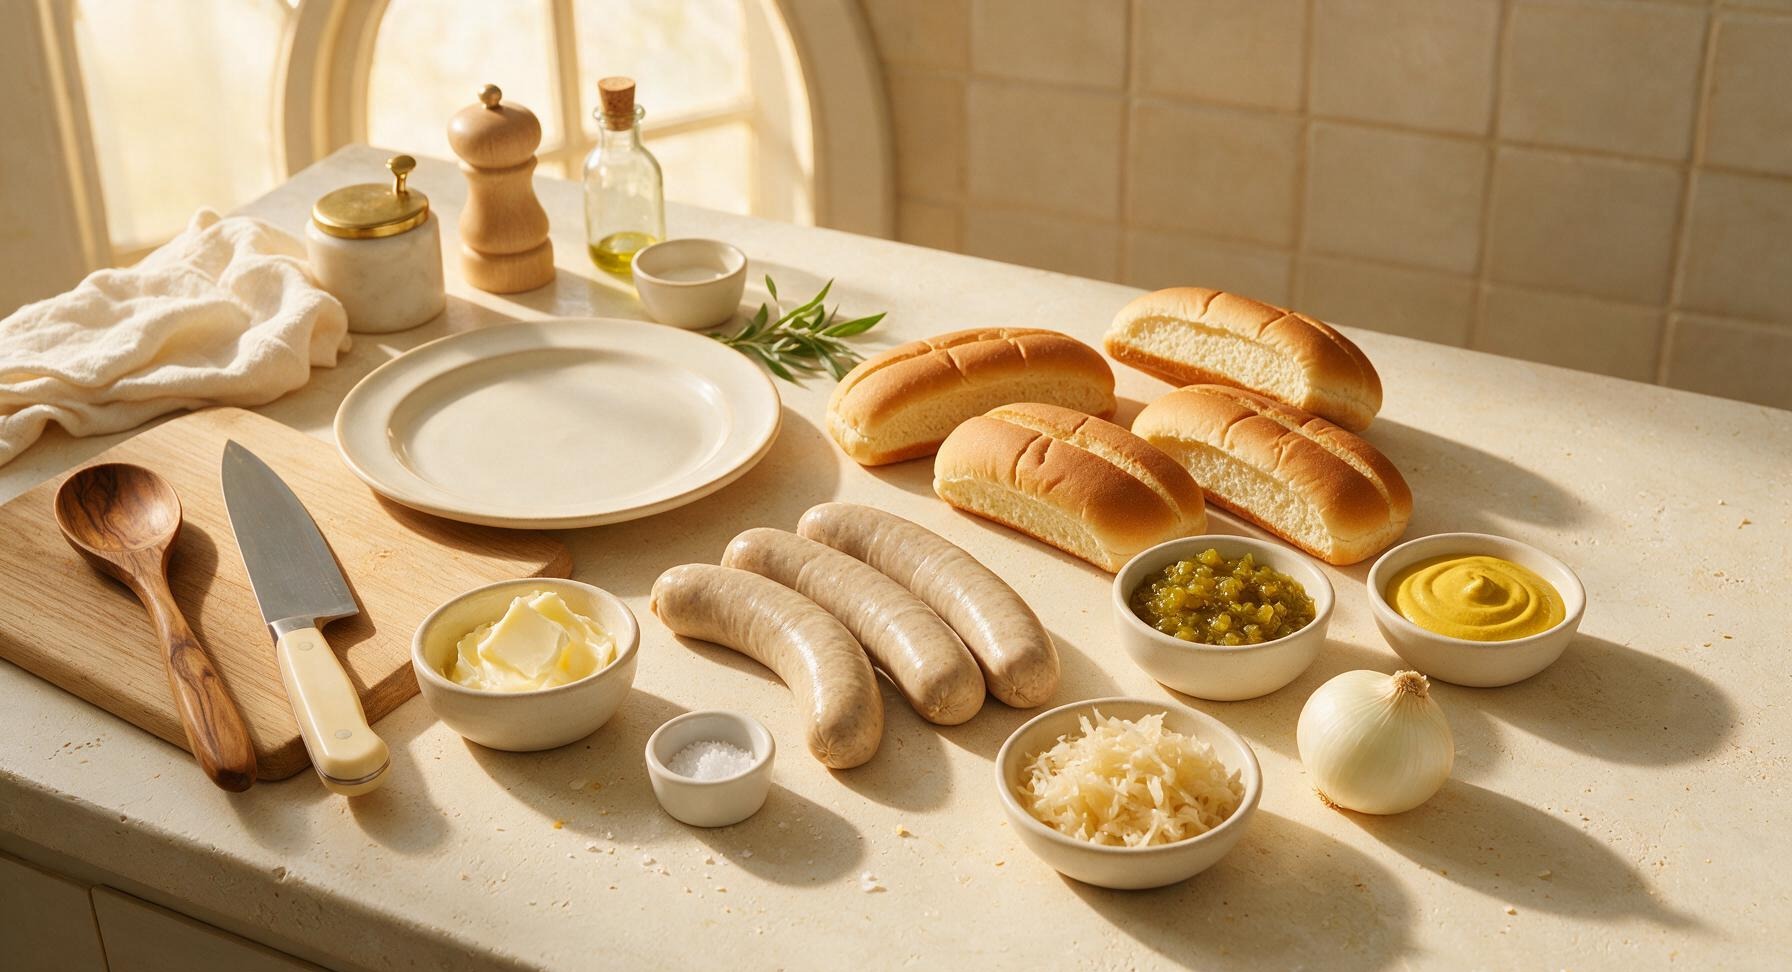
Ingredients
Steps
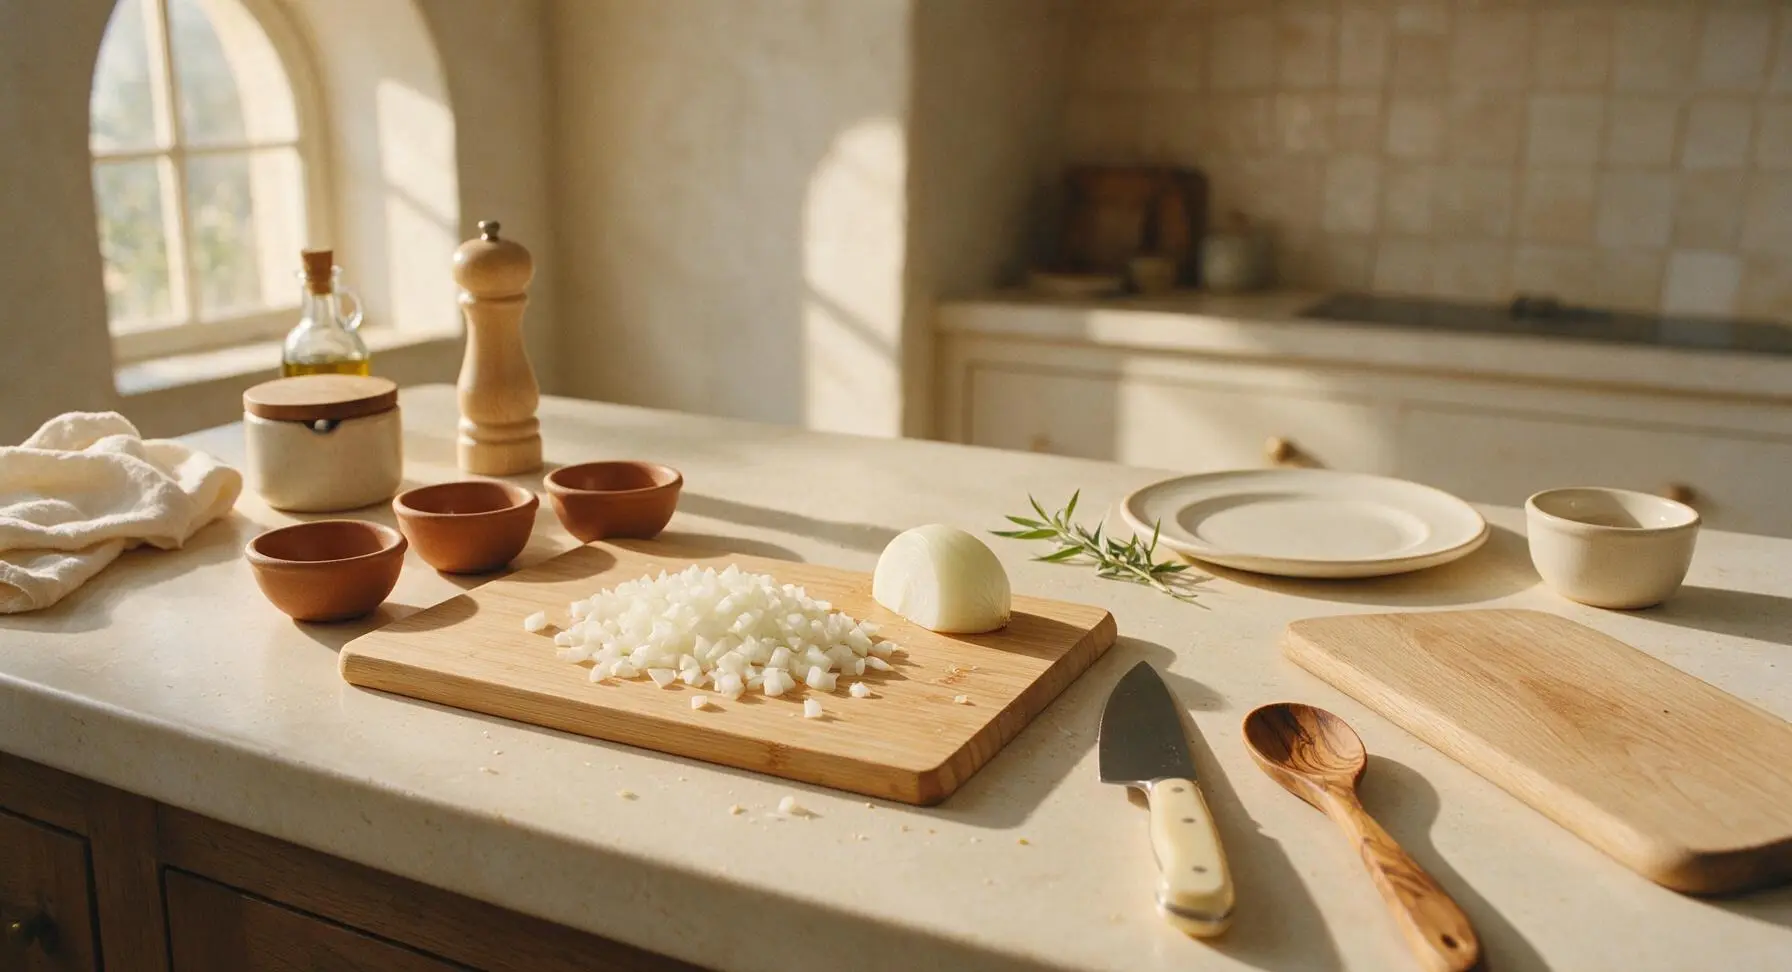
Prep Classic Toppings
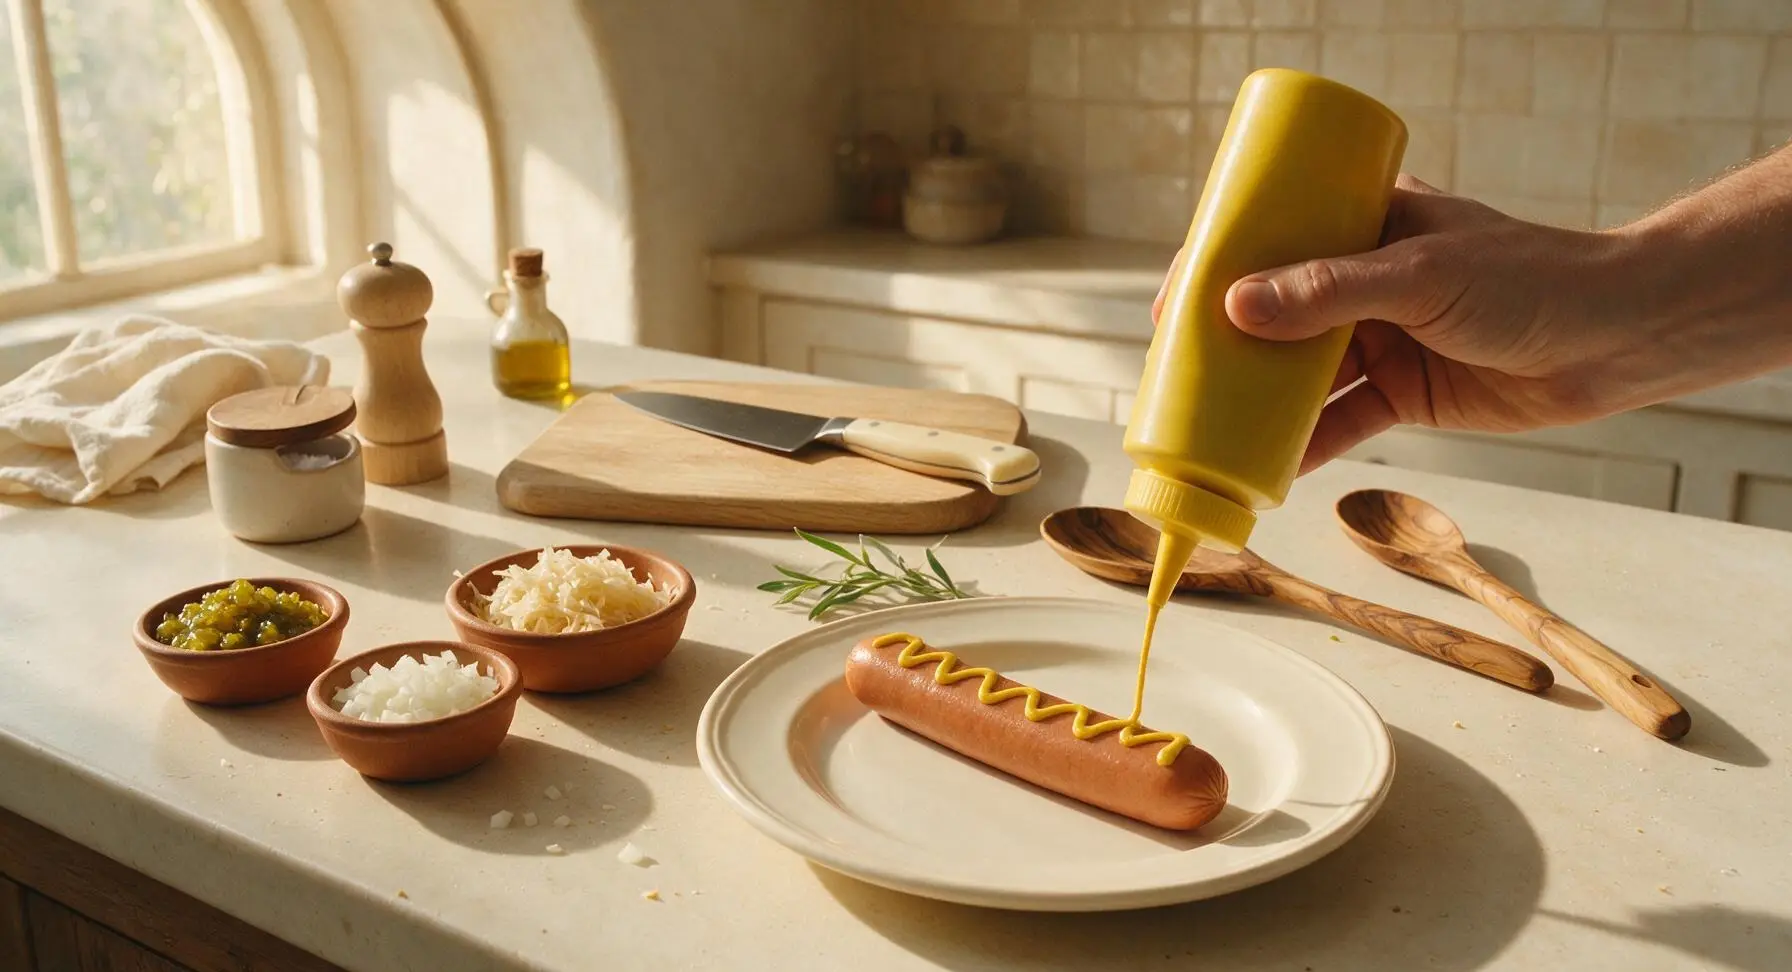
Retrieve the light bamboo cutting board and forged stainless steel paring knife from below the counter, placing the cutting board at center-left of the work surface. Use the paring knife to finely dice the white onion into uniform 1/8-inch pieces. Drain the sauerkraut well, squeezing out excess brine with clean hands to avoid soggy buns, then portion the diced onion, drained sauerkraut, and sweet green relish into the three separate terracotta pinch bowls set to the left of the cutting board.
Preheat Grill Pan
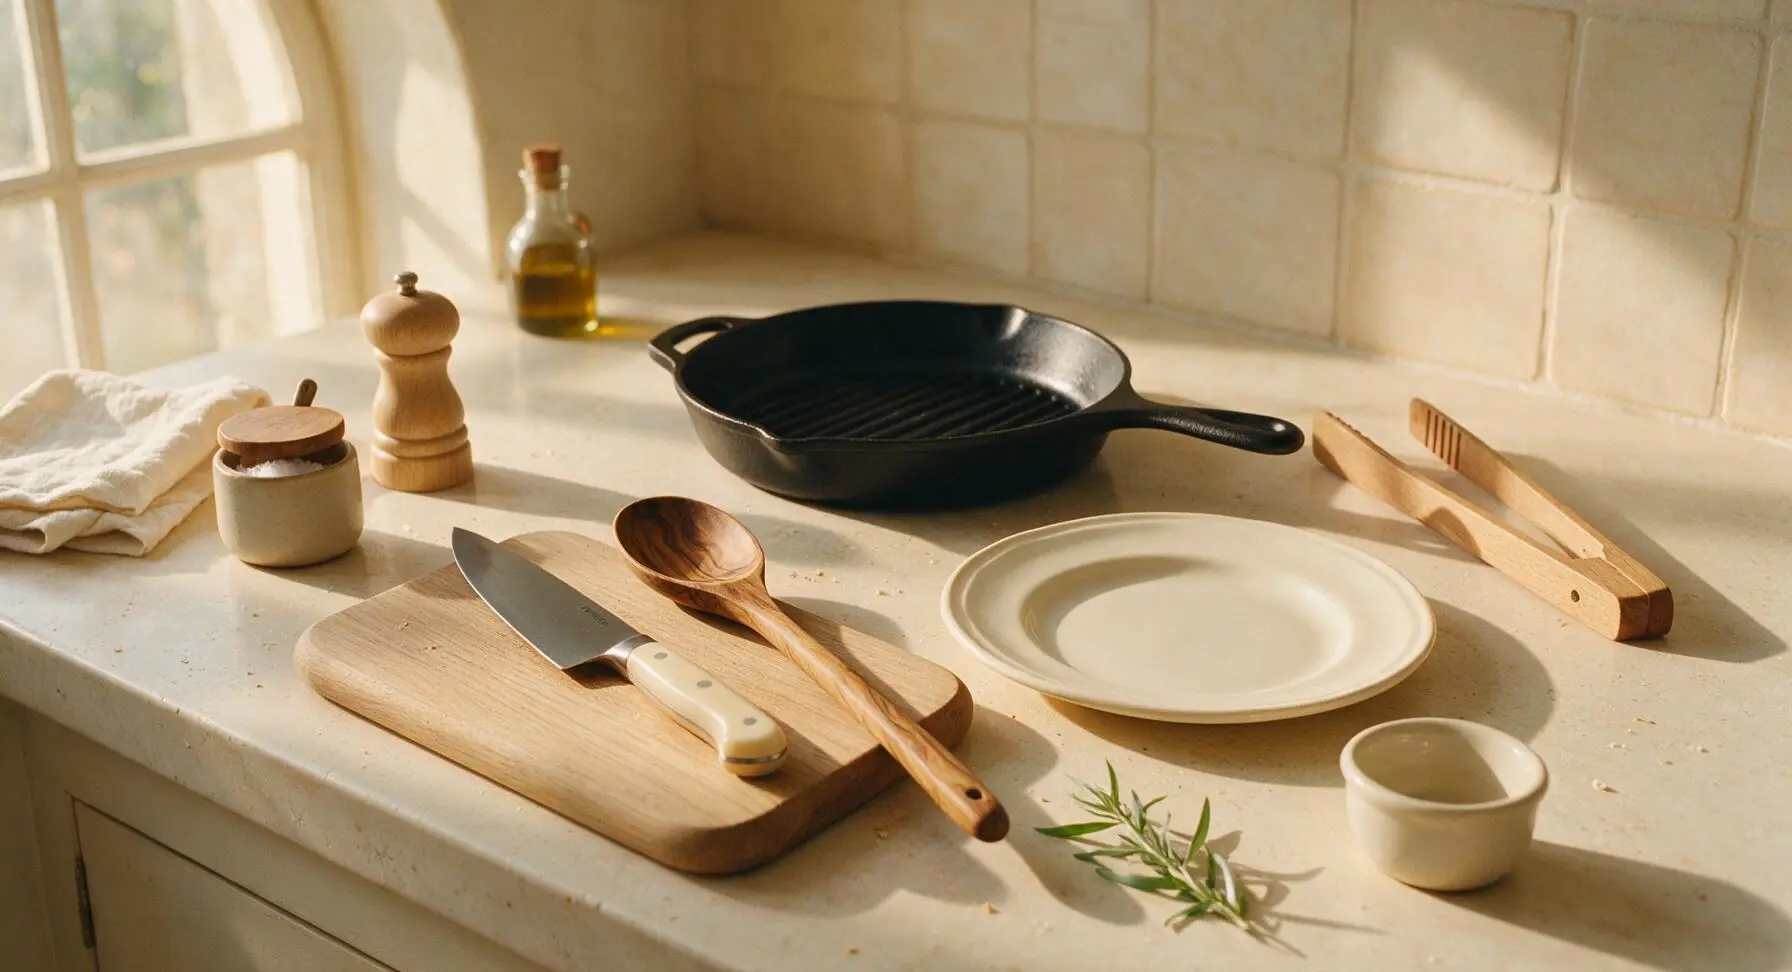
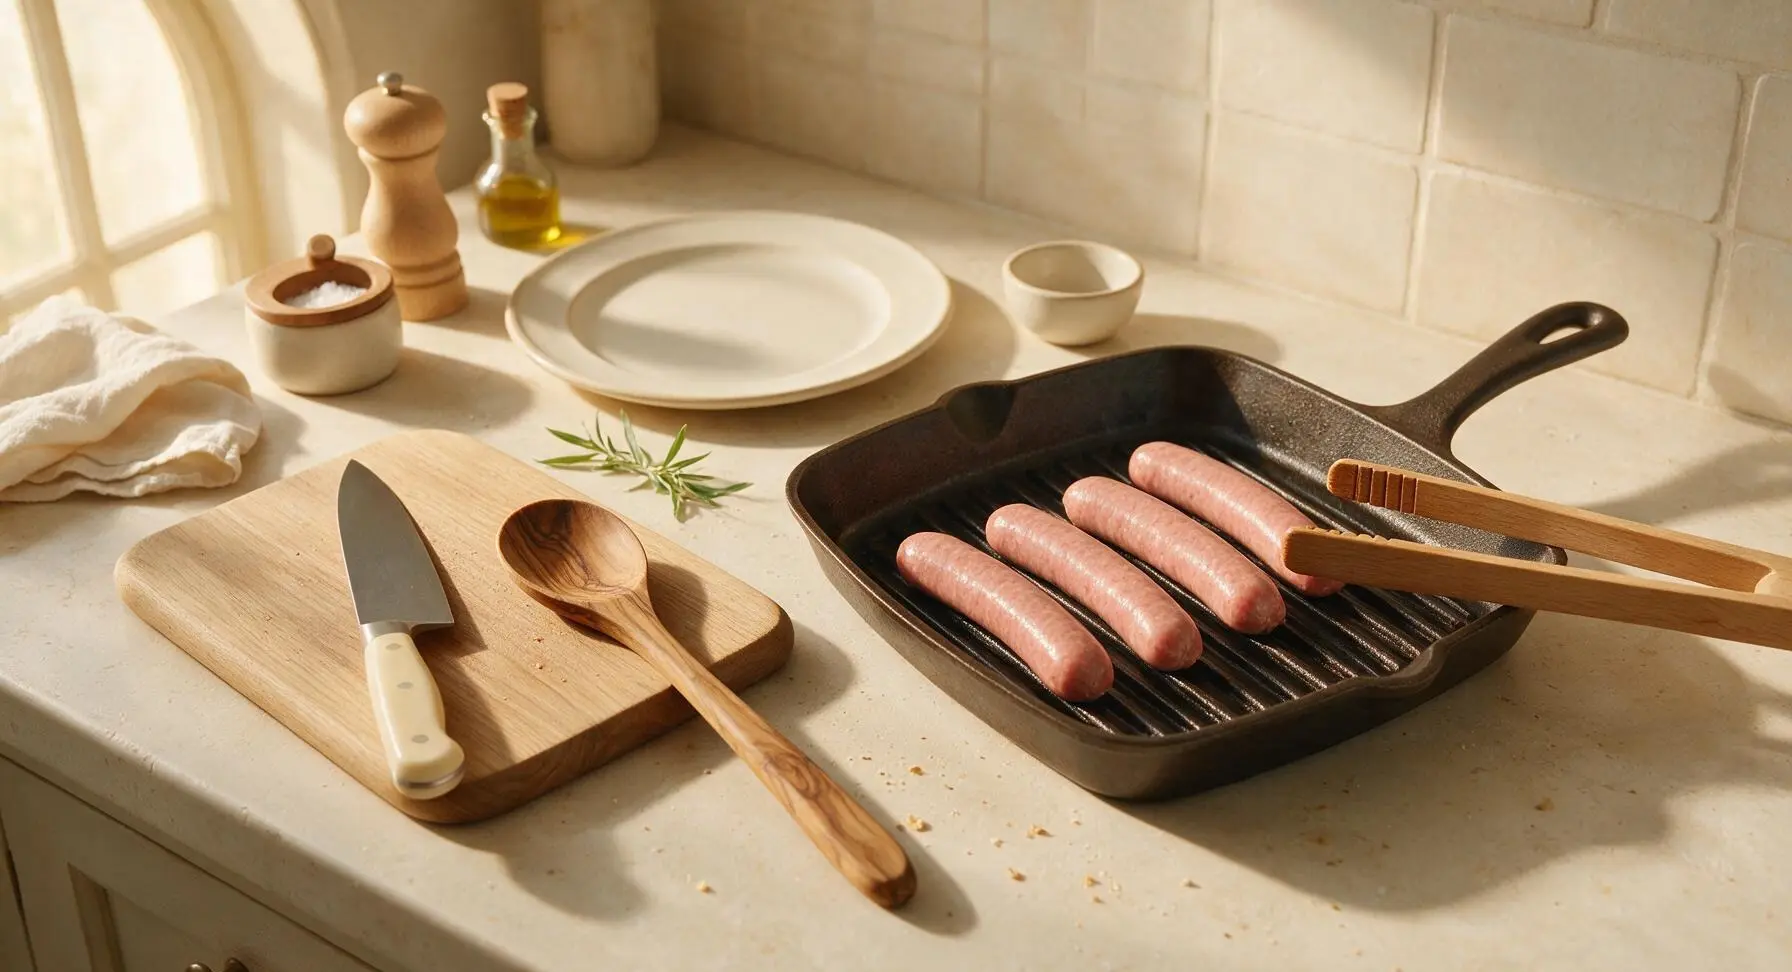
Retrieve the pre-seasoned matte black cast iron grill pan from below the counter and place it center-back on the soapstone surface. Heat over medium heat for 4 minutes, testing readiness by sprinkling a single drop of water on the ridges: the pan is ready when the drop sizzles loudly and dances across the surface instead of evaporating immediately or sitting still. Rest the beechwood tongs on the right edge of the counter adjacent to the pan for easy access.
Grill Plump Franks
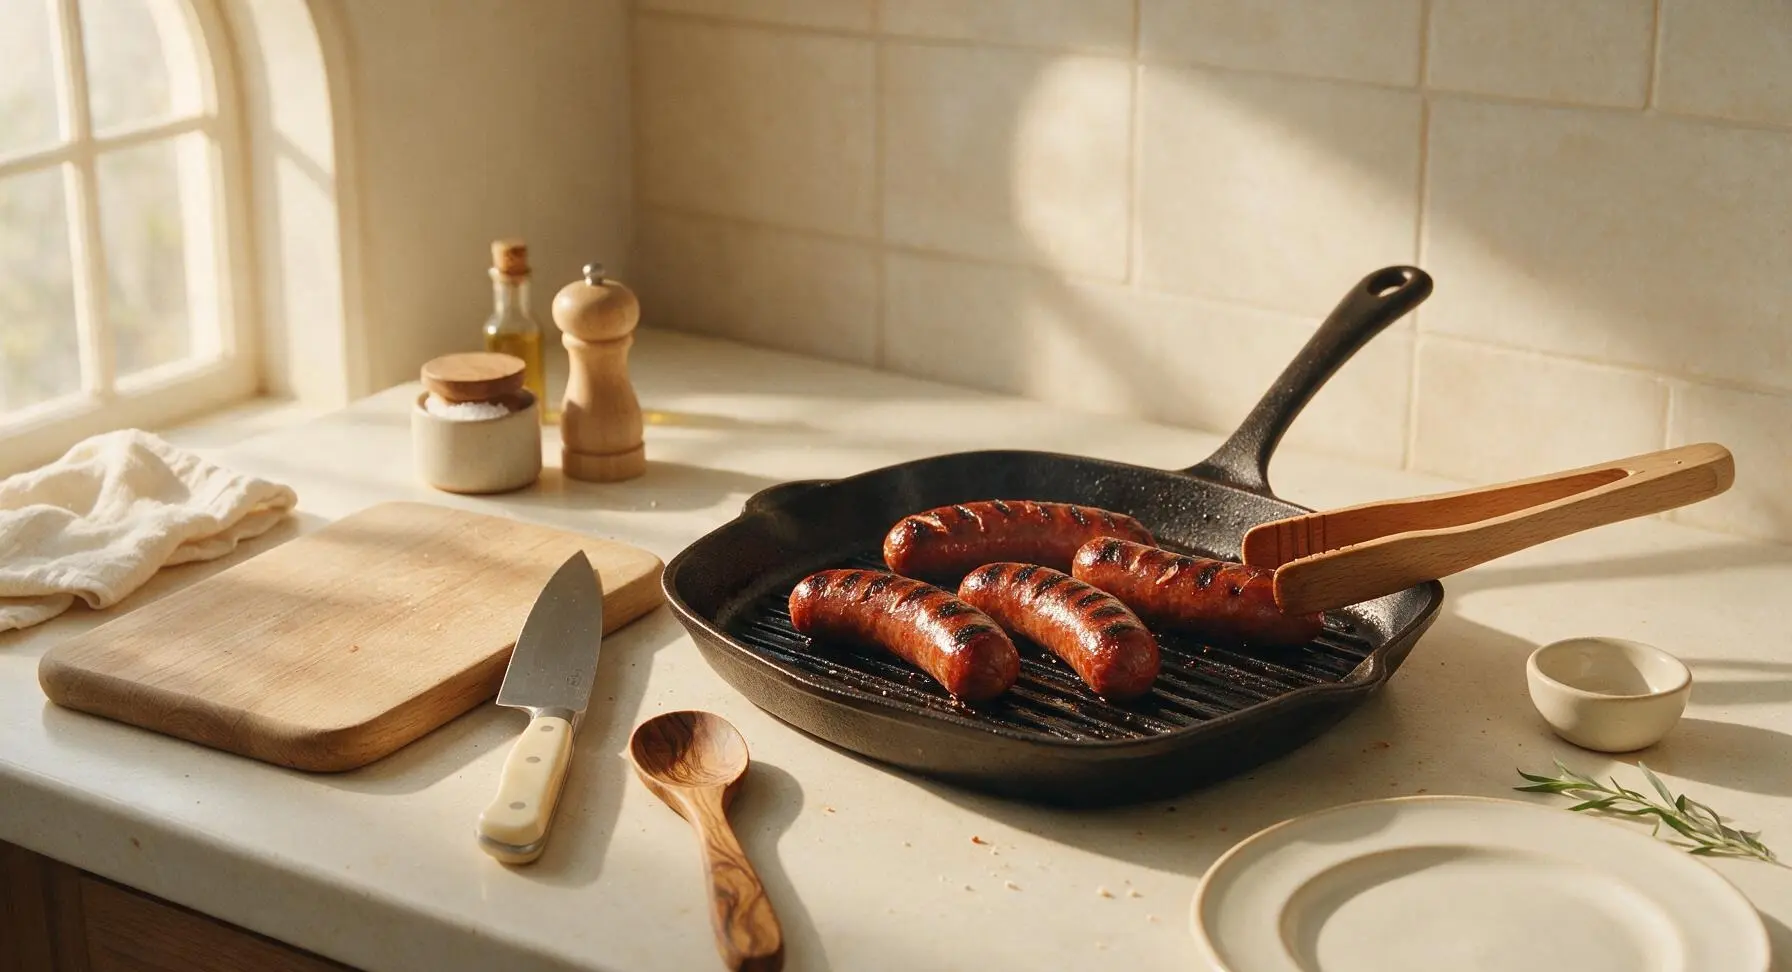
Use the beechwood tongs to place the four natural-casing all-beef franks directly across the grill pan ridges, leaving 1cm of space between each frank for even air flow. Cook for 7-8 minutes total, turning every 2 minutes with the tongs, until the franks are fully plump, have deep golden-brown charred grill marks on all sides, and the casing has split naturally in 1-2 small spots (more than 2 splits means the franks are overcooking and losing juice). Never pierce the franks with a fork while cooking, as this releases flavorful juices and leads to dry franks.
Toast Potato Buns
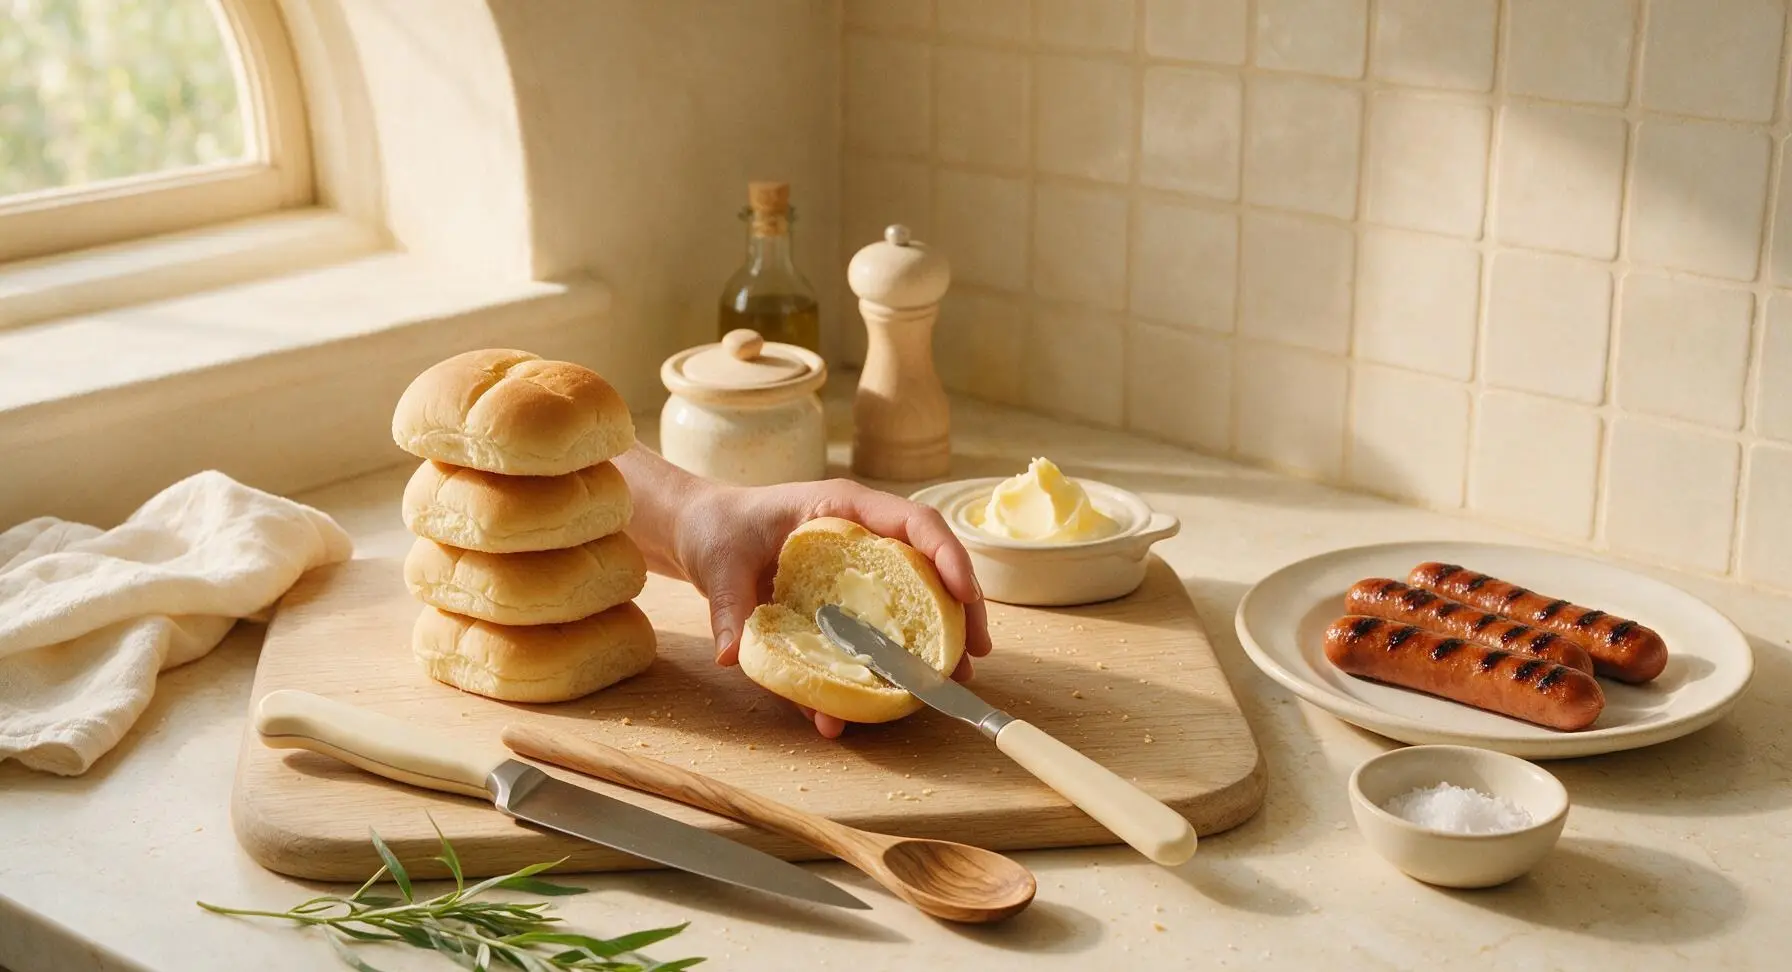
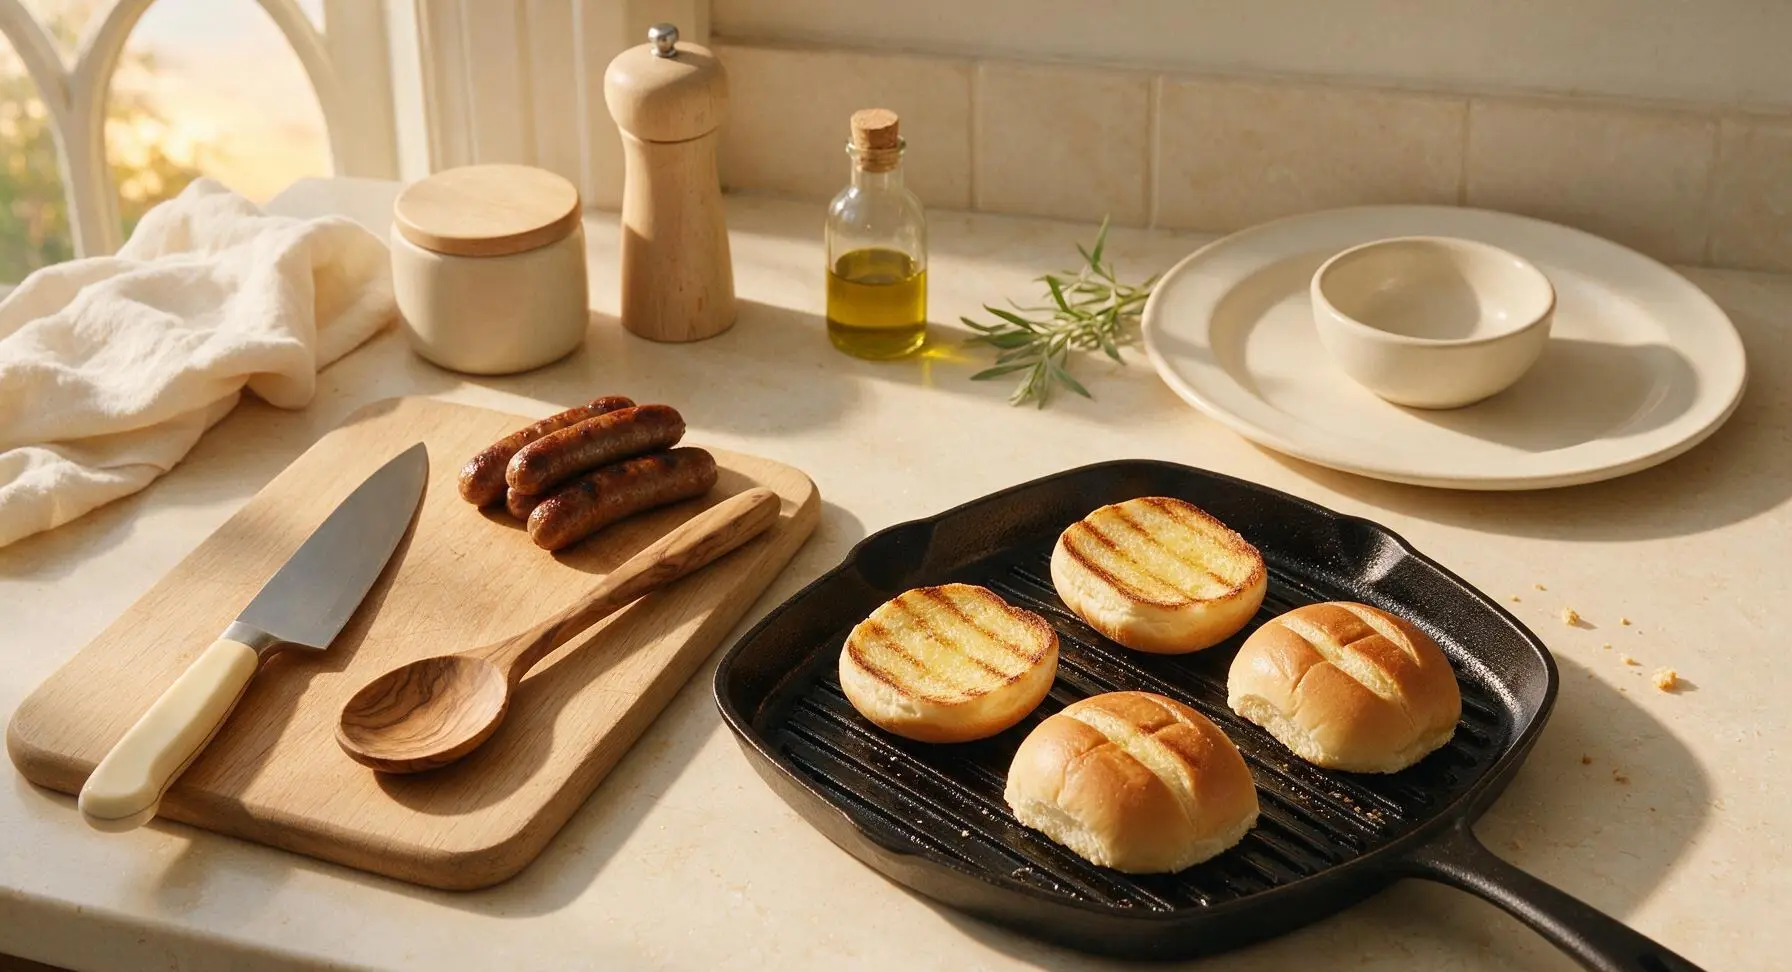
Once the franks are fully cooked, use the tongs to transfer them to the empty edge of the bamboo cutting board to rest. Use the stainless steel butter knife to spread 1/2 tablespoon of softened unsalted butter on the cut inner sides of each split-top potato bun. Place the buns butter-side down directly on the hot grill pan ridges, toasting for 45-60 seconds until the cut surface is golden brown, slightly crisp around the edges, and marked with faint grill lines.
Assemble Hot Dog Base
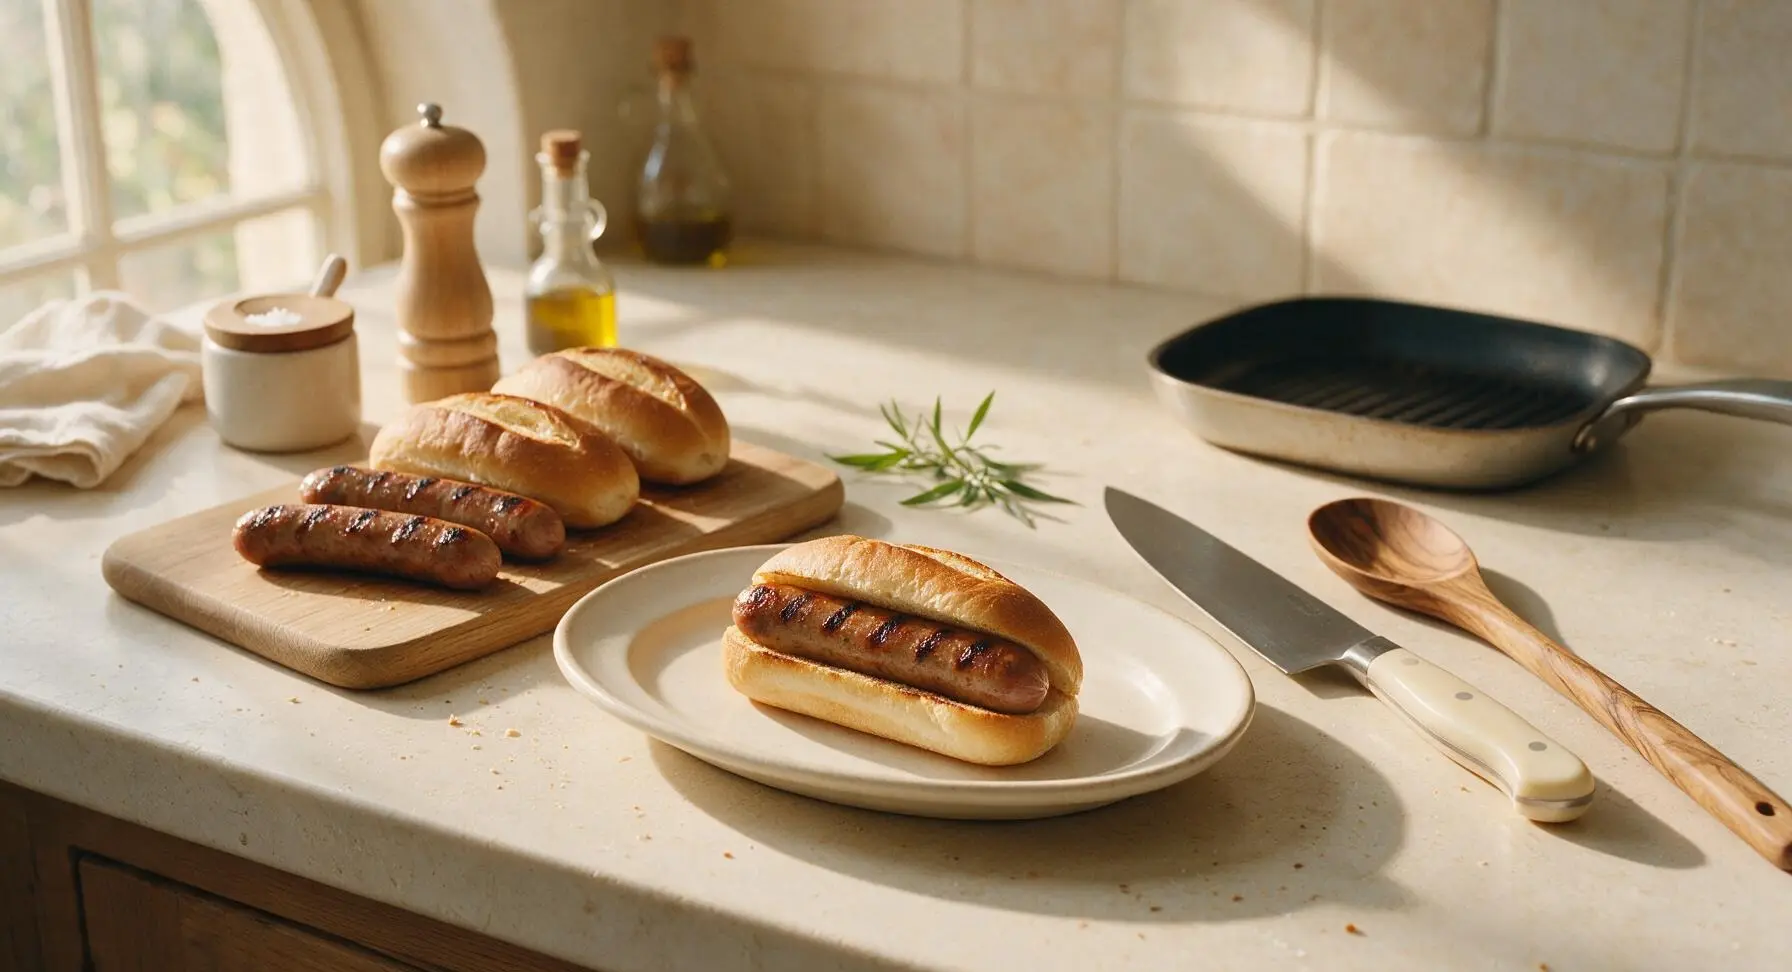
Retrieve the top matte cream white ceramic oval hot dog plate from the stacked set at the far right of the counter, placing it center-front of the work surface. Set one toasted bun cut-side up on the plate, then tuck one grilled frank fully inside the bun split, aligning it evenly with the bun ends so no frank hangs over the plate edge. Set the remaining three franks and toasted buns on the bamboo cutting board for subsequent plating.
Layer Classic Toppings
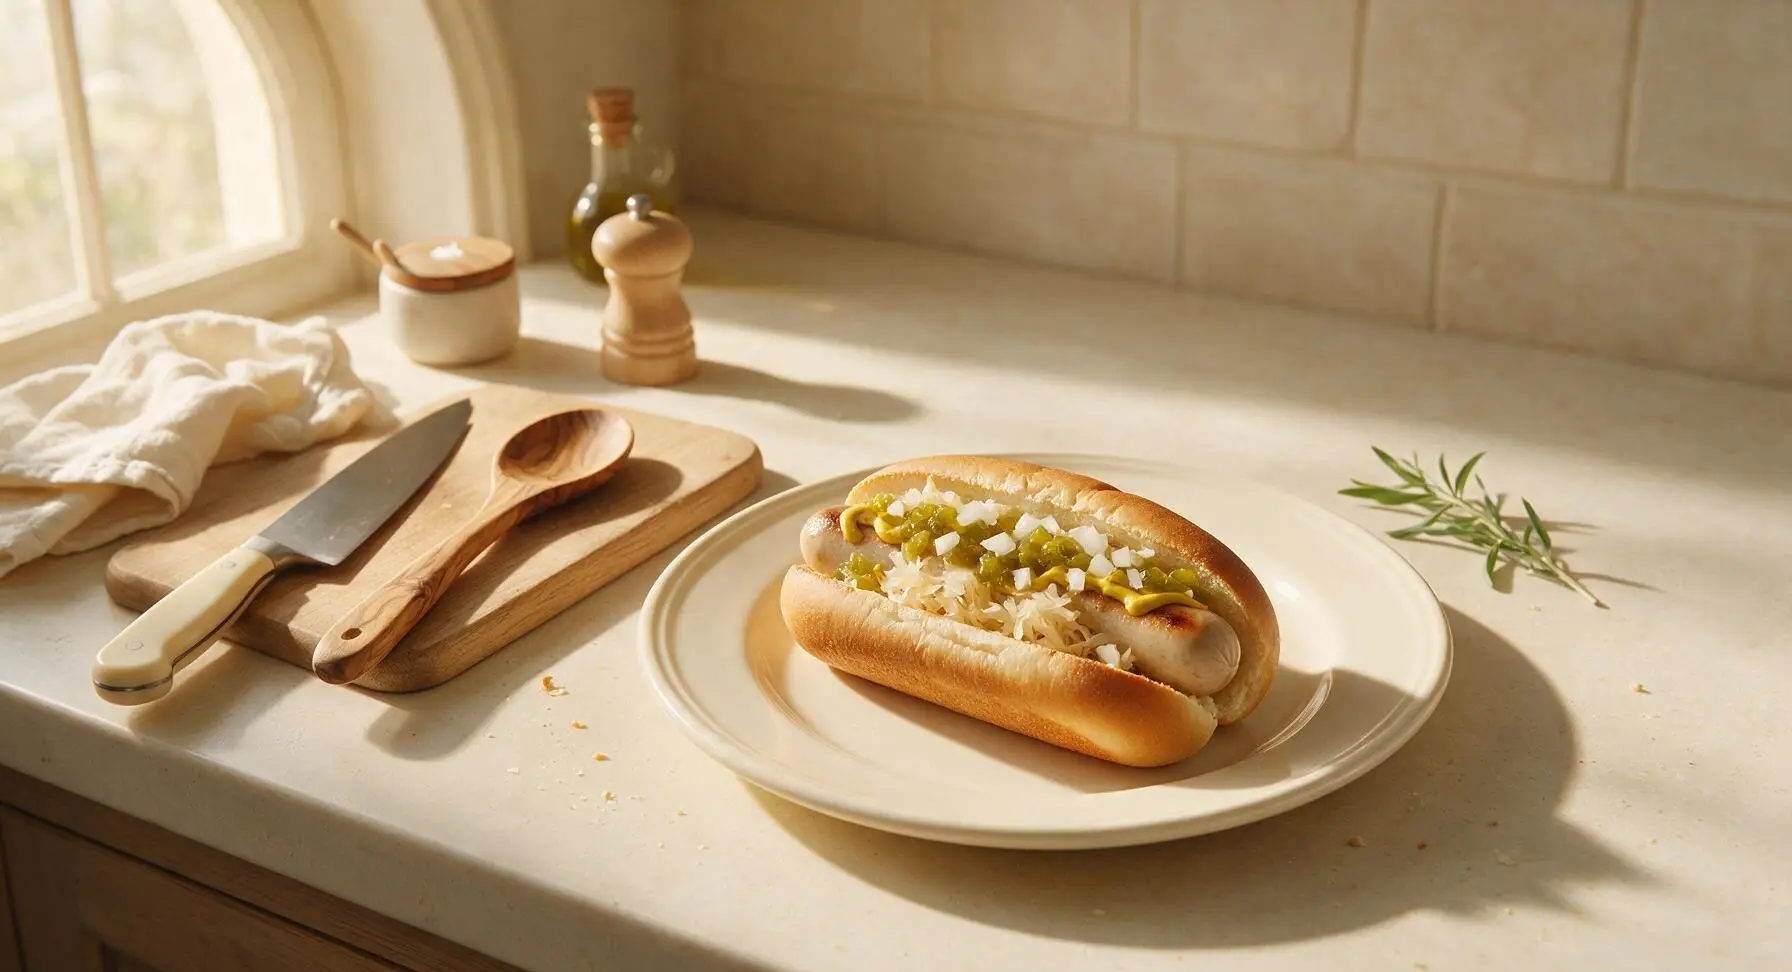
Drizzle 1 tablespoon of yellow mustard in a thin zig-zag line down the full length of the frank. Spoon 1 heaping tablespoon of sweet green relish along the center of the dog, followed by 2 tablespoons of well-drained sauerkraut mounded slightly toward one end. Sprinkle 1 tablespoon of finely diced white onion evenly across the top, adding a tiny pinch of kosher salt to the onion to brighten its flavor if desired.
Garnish and Rest
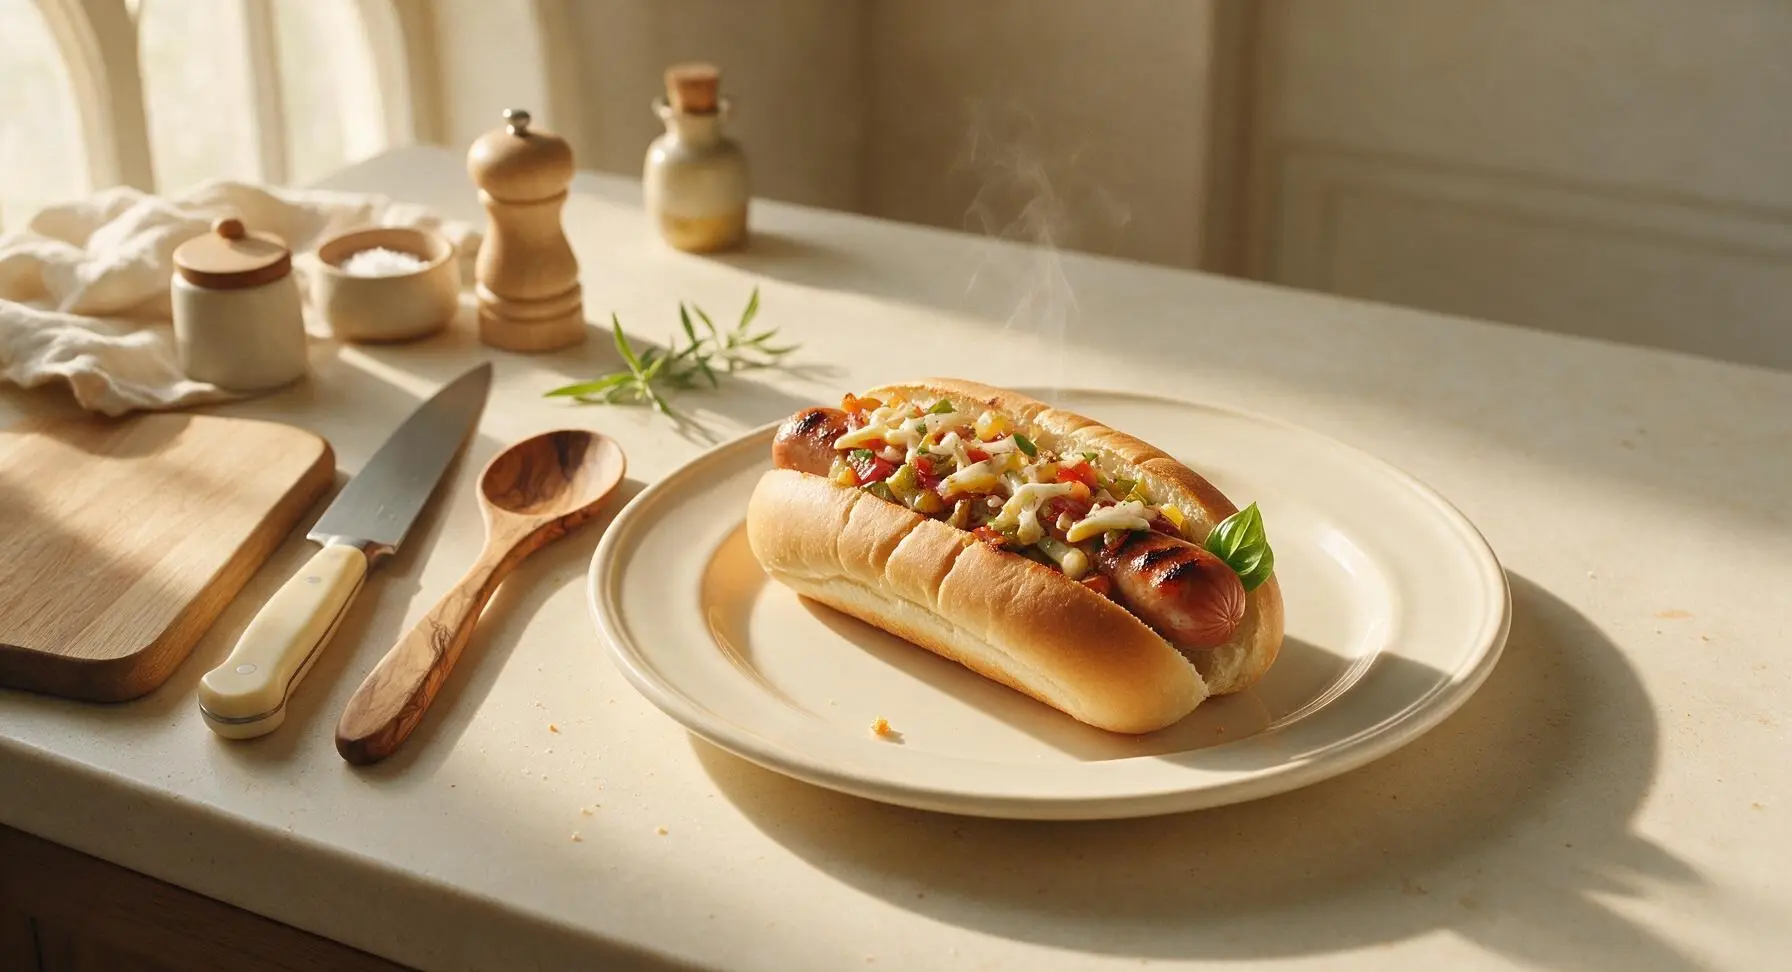
Pluck one small fresh sweet basil leaf from the wall-mounted potted terracotta pot, tucking it at the right edge of the plate as a subtle fresh garnish. Let the assembled hot dog rest for 1 minute before serving, so the bun absorbs a small amount of frank juice and toppings settle, preventing messy spills when picked up. Repeat assembly and topping steps for the remaining three servings.
Tips
2.Squeeze every drop of excess brine out of sauerkraut before adding it to your hot dog: wet, drippy sauerkraut will quickly soak through the bottom of your toasted bun, turning it soggy and ruining the crisp texture you created while toasting.
3.Never pierce franks with a fork while grilling: poking holes in the casing allows flavorful rendered fat and meat juices to leak out into the pan, leaving you with a dry, bland frank instead of a juicy, plump bite.






OMG these were SO good for our backyard cookout this past weekend! I slathered a little garlic butter on the buns before toasting them on the grill grates and my kids loved them so much they went back for seconds before I even finished my first dog. Total game changer for quick summer meals, that 12 minute cook time is no joke even when you’re juggling a yard full of rowdy neighbors. 10/10 will be making these for every potluck the rest of the summer.
Total easy weeknight dinner win! I was worried grilled hot dogs would be too fussy for a quick Tuesday meal, but 12 minutes total cook time meant I had dinner on the table before my teen even finished his after-school gaming session. Topped mine with quick pickled onions and sweet relish, zero complaints from anyone at the table. Will absolutely be adding this to our regular meal rotation.
Brought these to our neighborhood block party last weekend and people were asking me for the recipe left and right! I cooked the dogs over medium heat to get that perfect char just like the recipe said, no burnt ends, perfect snap every single time. Even the super picky eaters at the party cleared their plates. Only reason it’s not 5 stars is I wish the recipe included a few more fun topping suggestions, but otherwise it’s flawless.
Made these on my little portable travel grill at our campsite last week and they turned out just as good as the ones I make on my big fancy backyard grill at home! Super easy to follow directions, no fancy tools needed, even when you’re working with super limited campsite kitchen space. My wife said they were the best dogs I’ve made all summer. Can’t beat that.
As someone who’s literally never grilled anything in my life before this, these turned out amazing! I was so nervous I’d mess them up for my partner’s little backyard birthday get-together, but the steps were so straightforward, no weird ingredients, and the cook time was totally accurate. Everyone raved about how good the dogs were, I felt like a total grill pro. So glad I found this easy recipe!