
greek cheese pie
intro
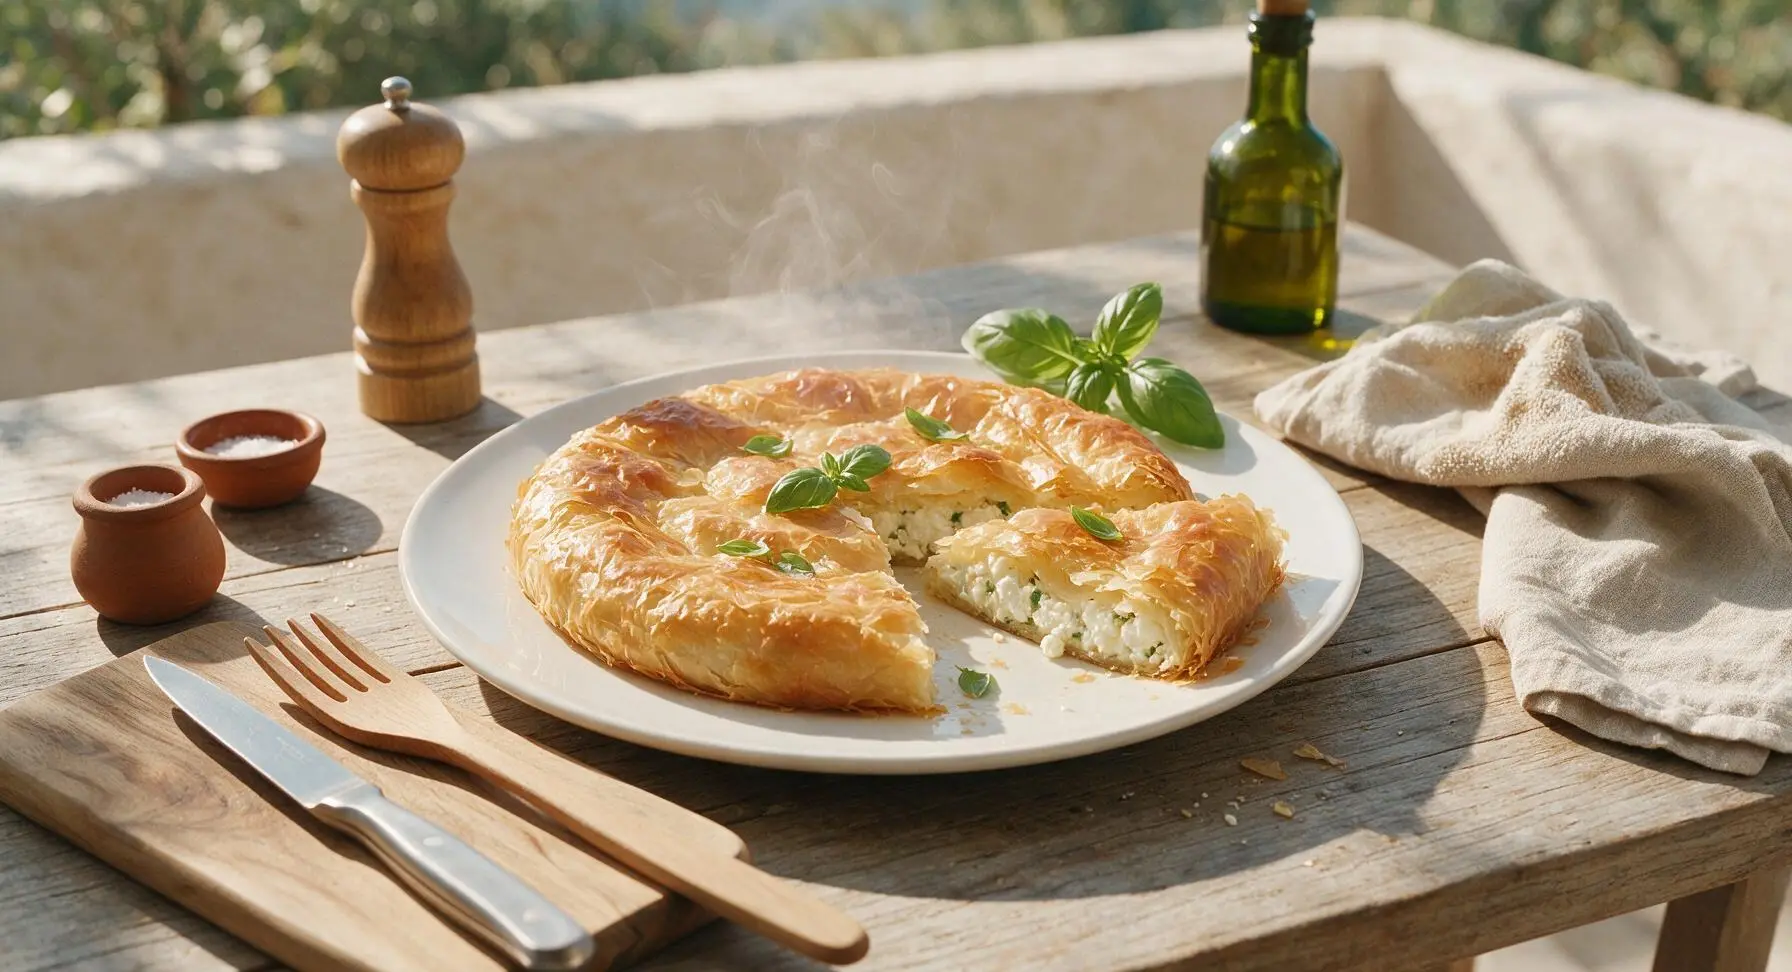
Crisp, flaky golden phyllo wrapped around a salty, creamy feta filling, this classic Greek cheese pie is buttery, comforting, and perfect for sharing.
Ingredients
Steps
Prepare Cheese Filling
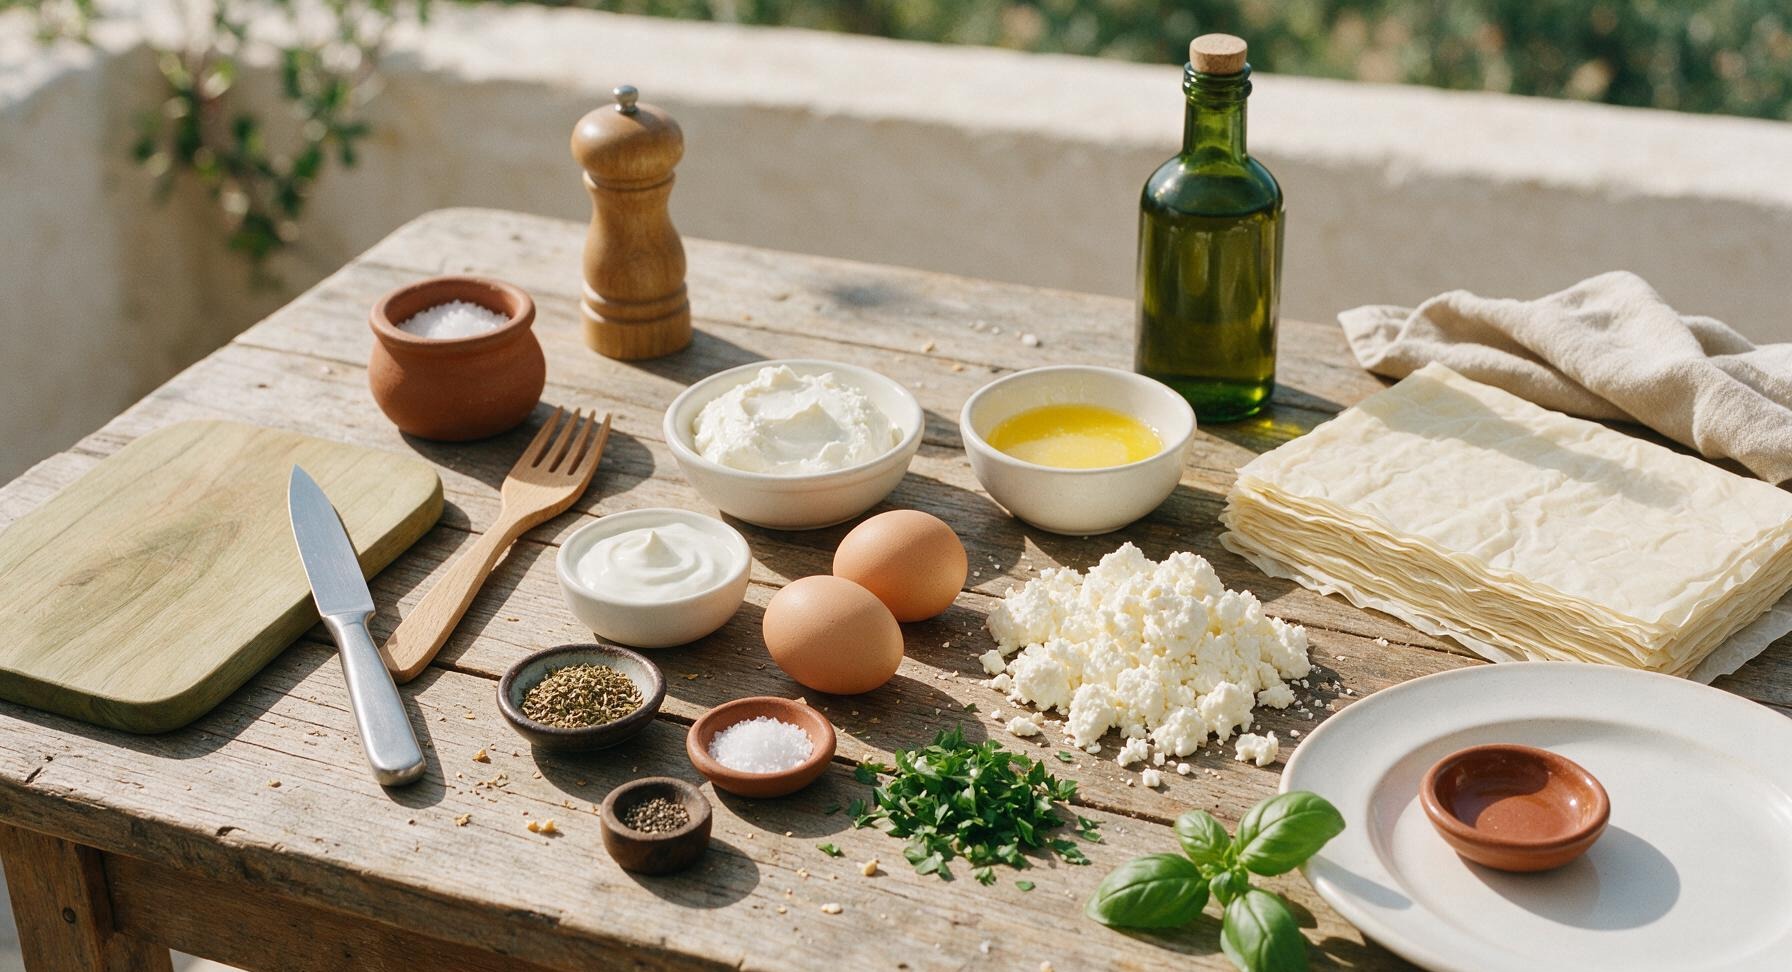
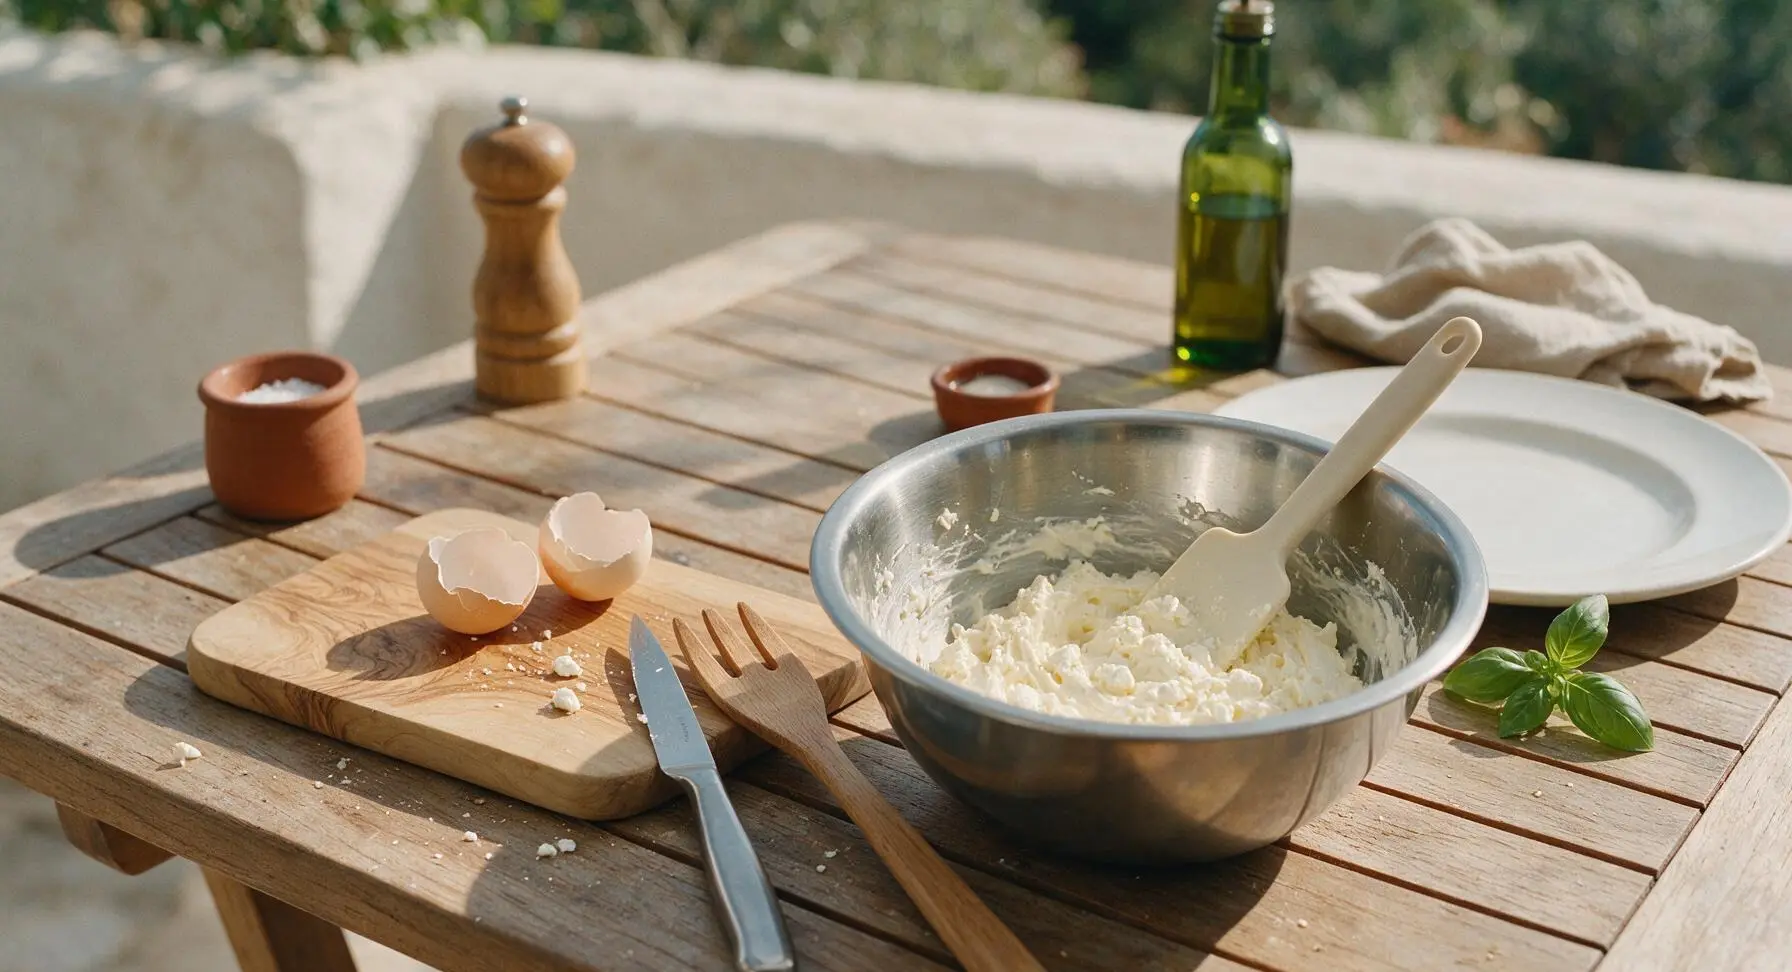
In the polished stainless steel mixing bowl, combine 200g crumbled Greek feta, 150g drained whole-milk ricotta, 50g full-fat plain Greek yogurt, 2 lightly beaten room-temperature large eggs, 1 tsp dried Greek oregano, 1/4 tsp freshly ground black pepper, and 1/4 tsp fine sea salt. Stir gently with the off-white silicone spatula until evenly combined, taking care not to overmix — small, visible lumps of feta are desirable for texture. Set the filling aside while you prep the crust.
Prep Butter and Phyllo
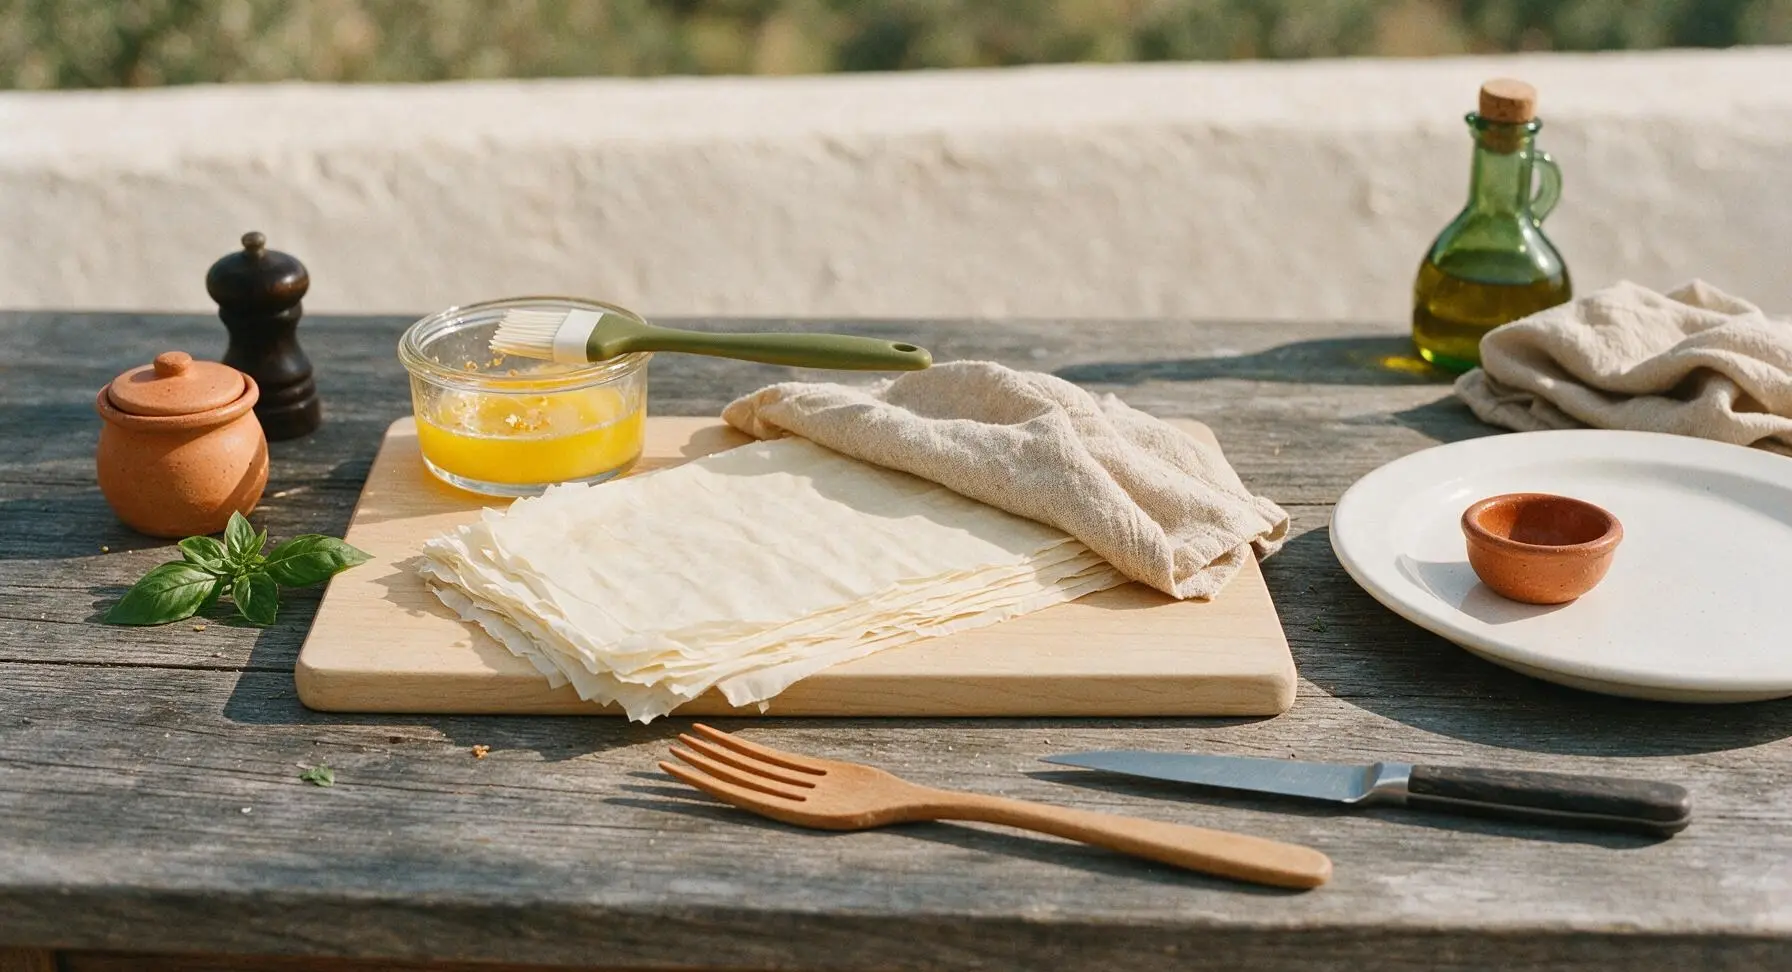
Melt 100g unsalted butter over low heat (or in 30-second microwave bursts) until fully liquid, then pour into the clear glass butter dish. Unroll the fully thawed phyllo dough onto the light birch cutting board, and immediately cover the stack with the slightly damp (not soaking wet) oatmeal linen towel to prevent thin sheets from drying out and cracking as you work.
Butter the Baking Pan
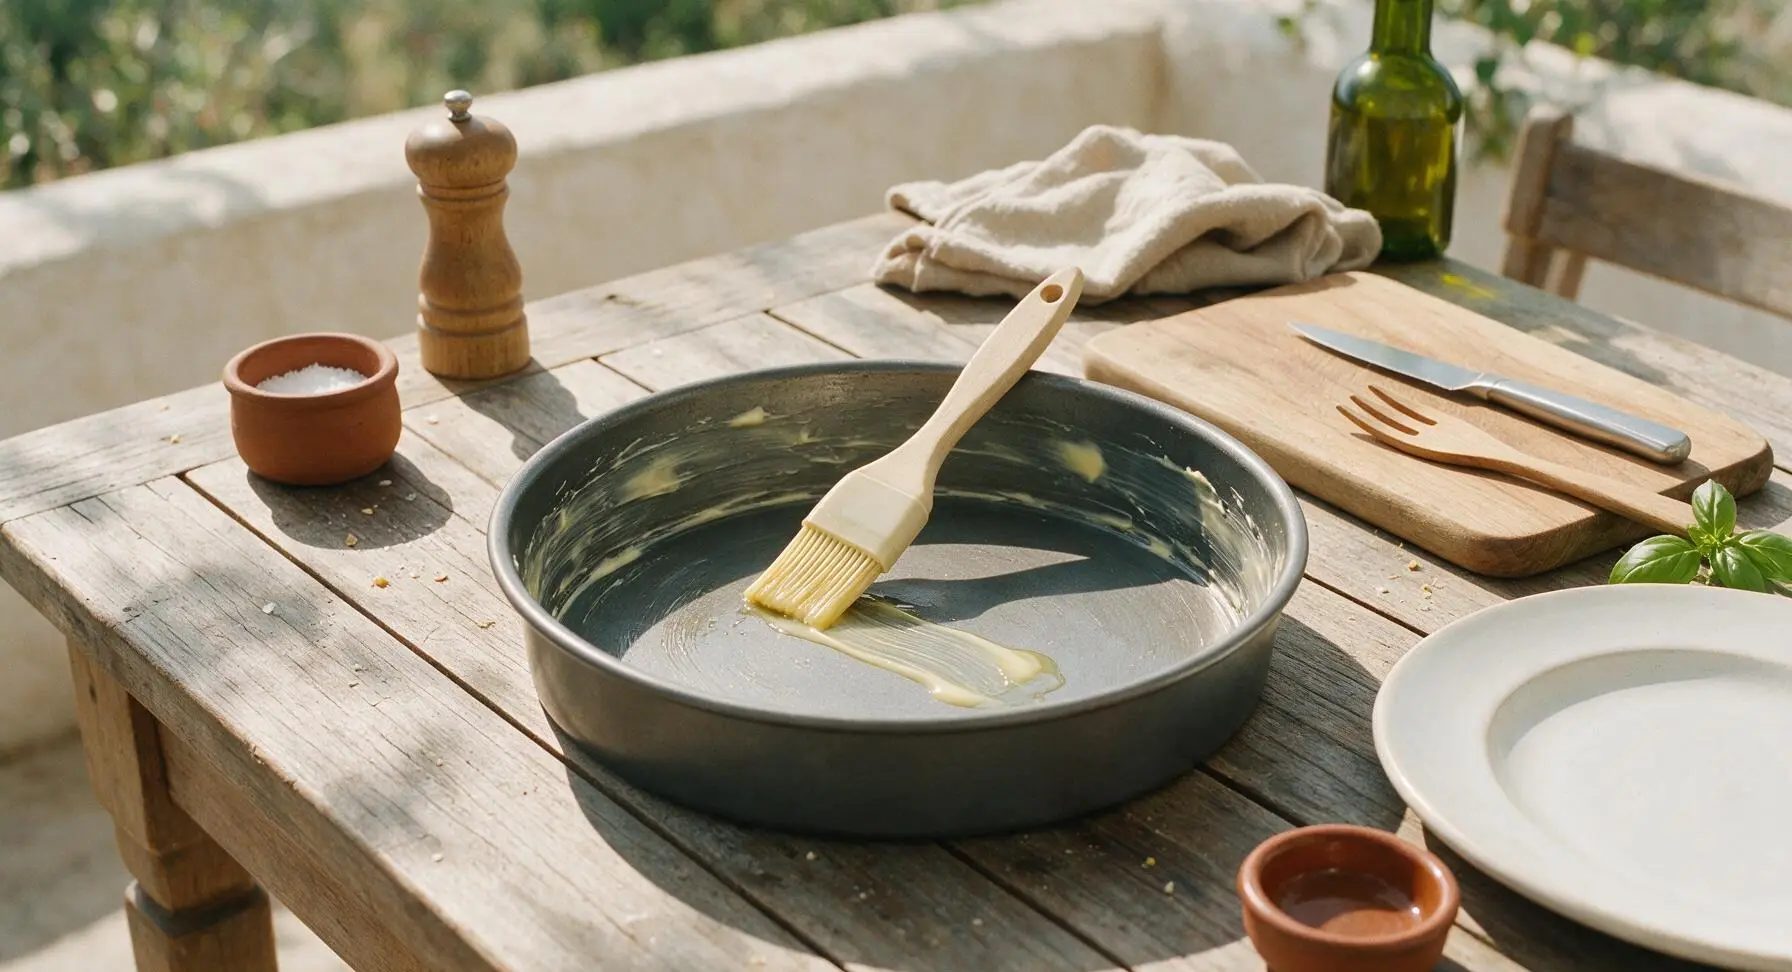
Retrieve the 9-inch round carbon steel baking pan from off-frame storage. Use the silicone basting brush to coat the entire inner surface (bottom and 4cm sides) of the pan with a thin, even layer of melted butter, ensuring no dry spots remain that would cause the pie to stick during baking.
Layer Phyllo Base
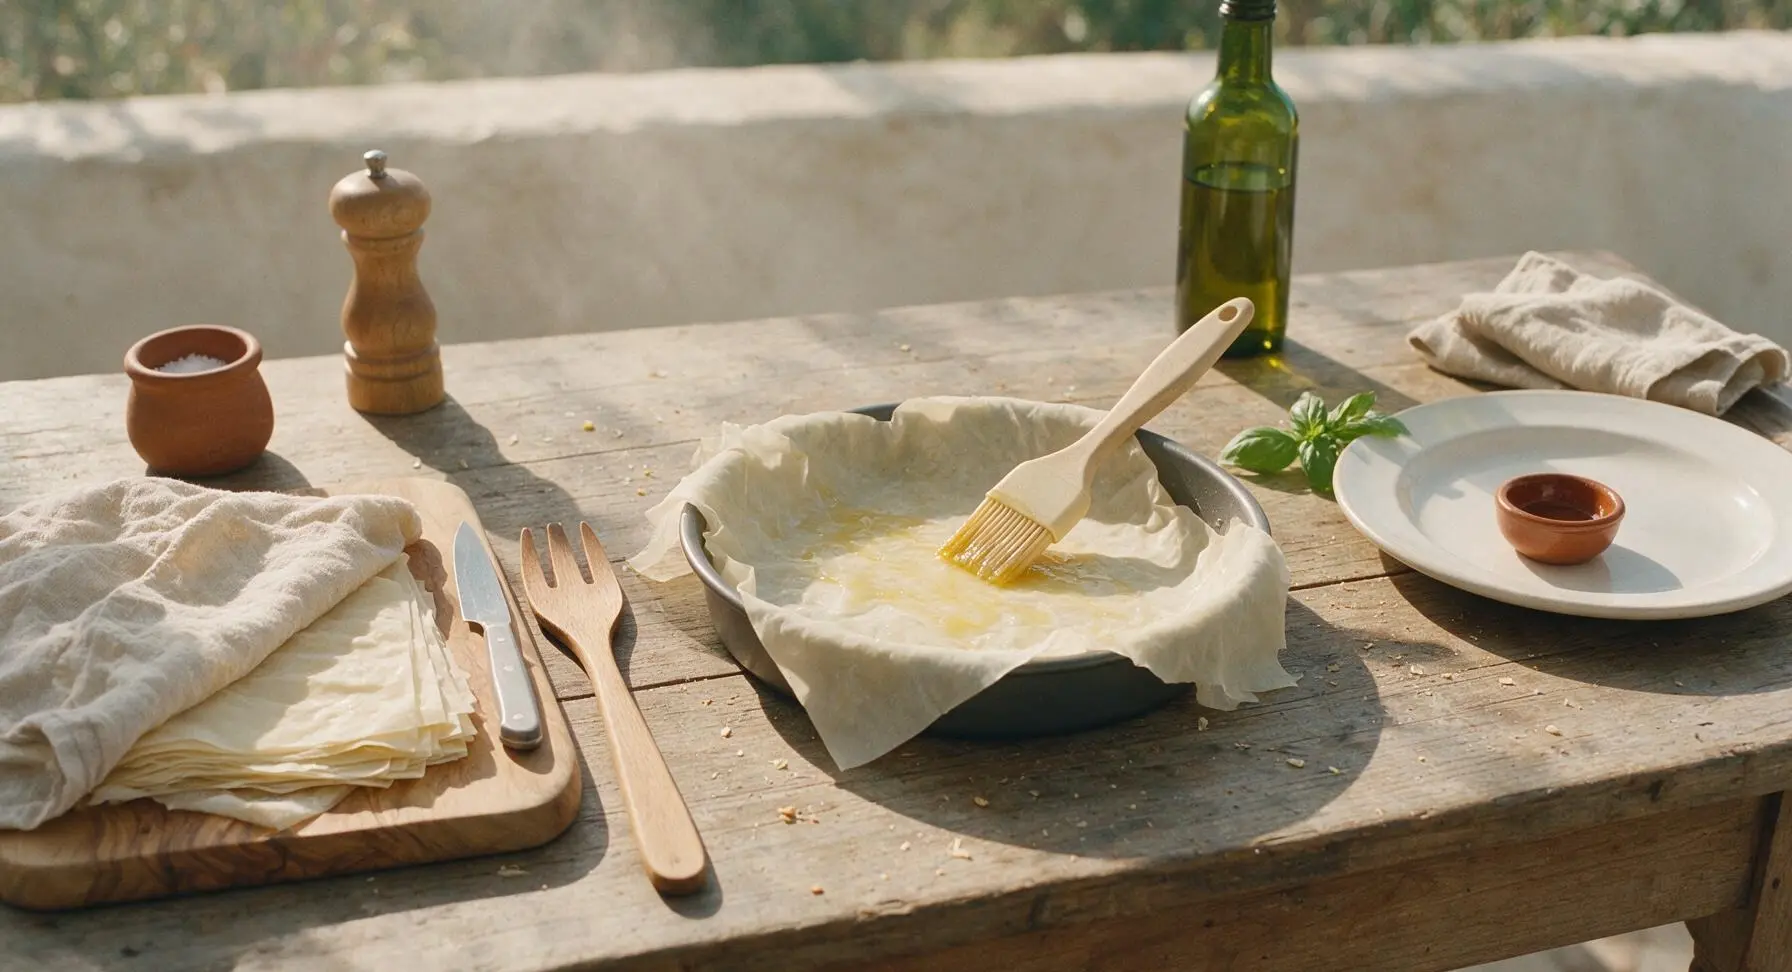
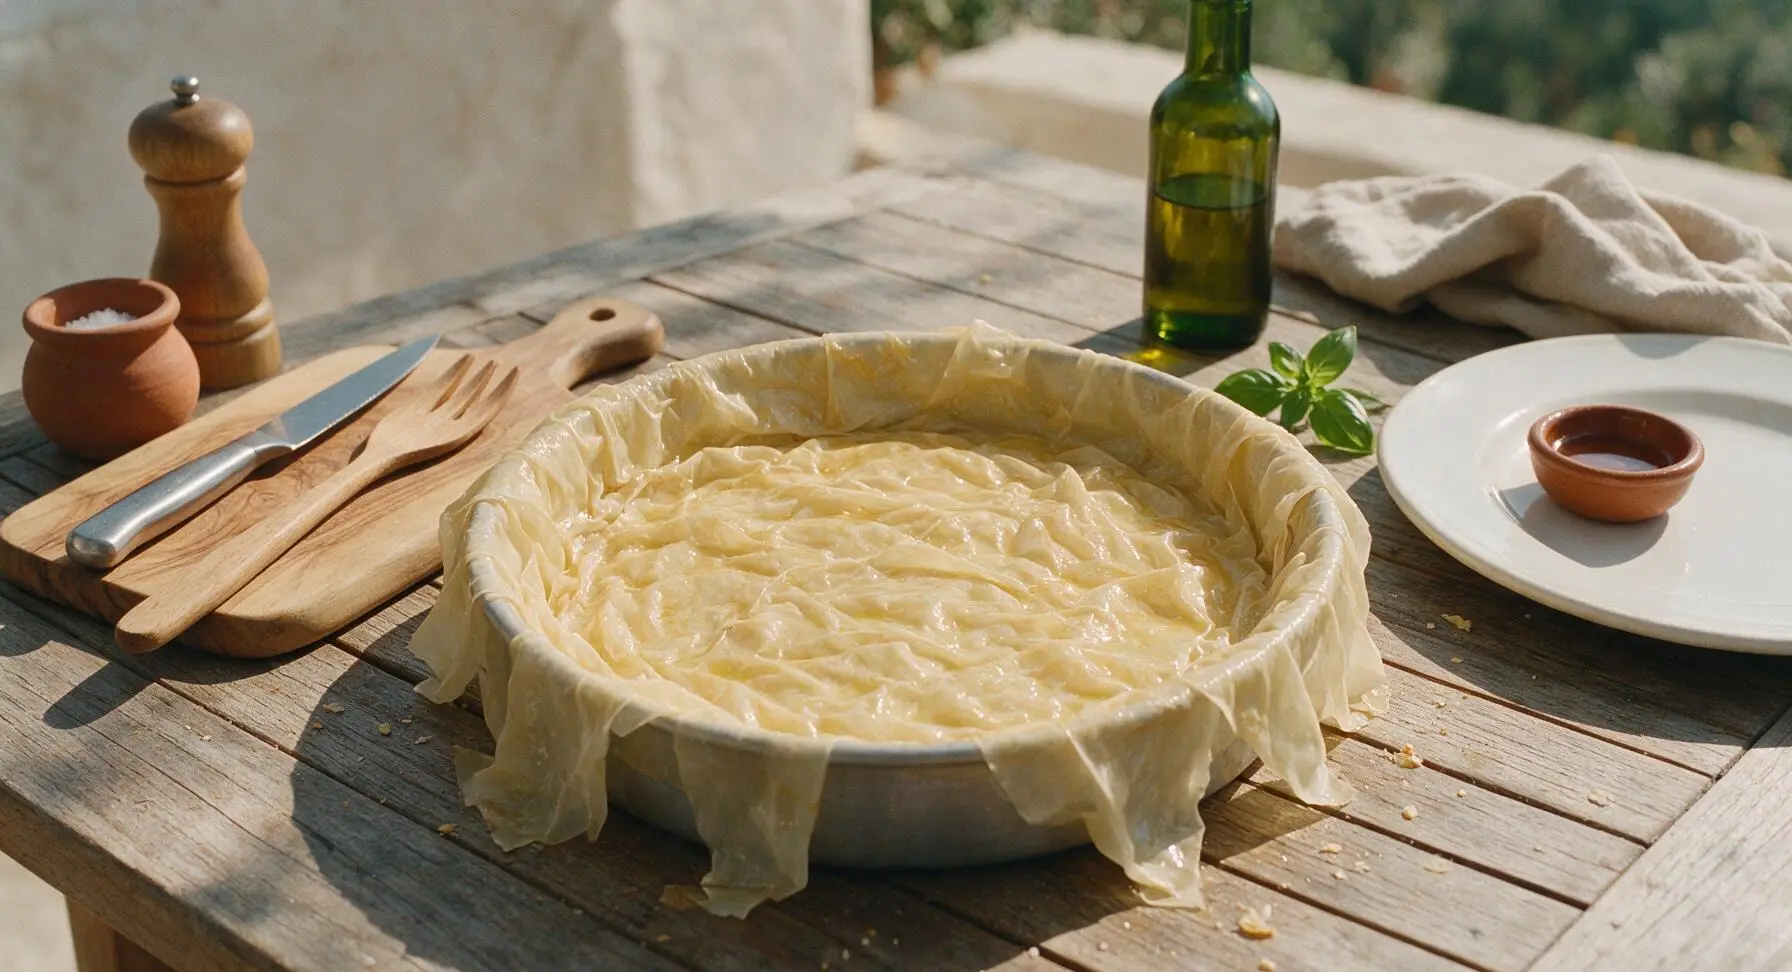
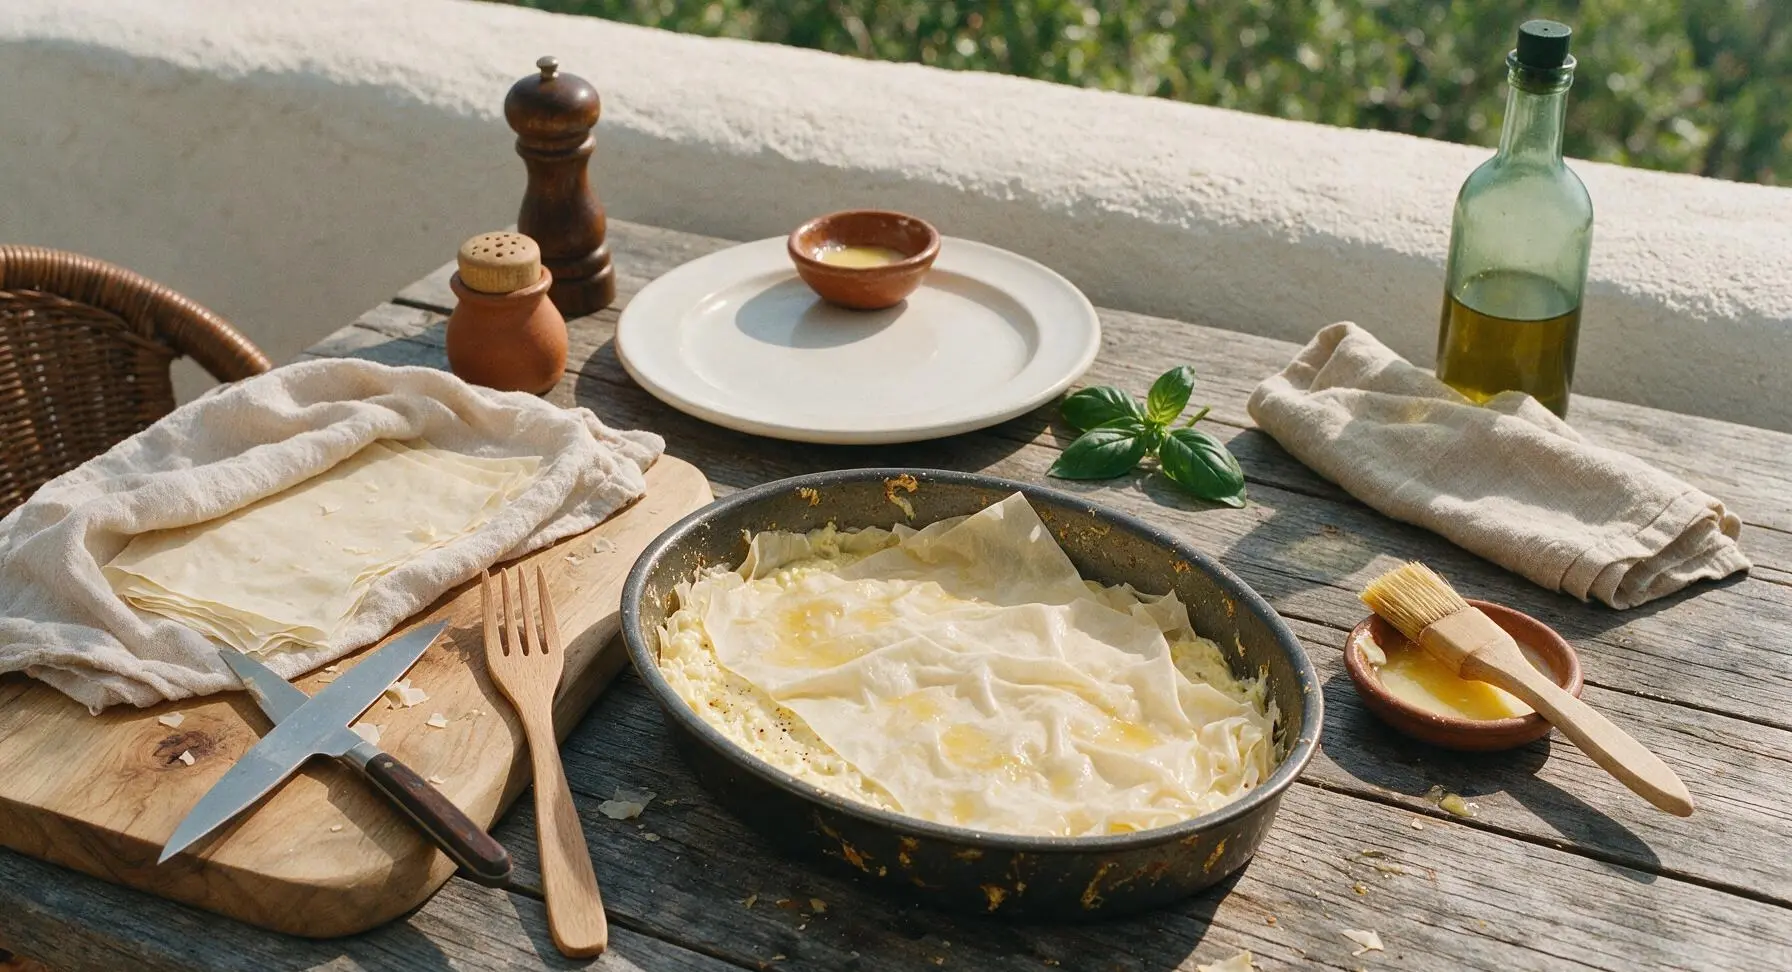
Take one sheet of phyllo from the covered stack (keep remaining sheets under the damp towel at all times) and lay it across the buttered pan, letting excess phyllo hang loosely over the pan edges. Brush the entire surface of the phyllo sheet lightly with melted butter. Repeat this process to build 7 total phyllo layers for the base, rotating each sheet slightly so overhang is evenly distributed around the pan rim. Do not press phyllo layers firmly — loose, slightly wrinkled layers create a lighter, flakier final texture.
Add Cheese Filling
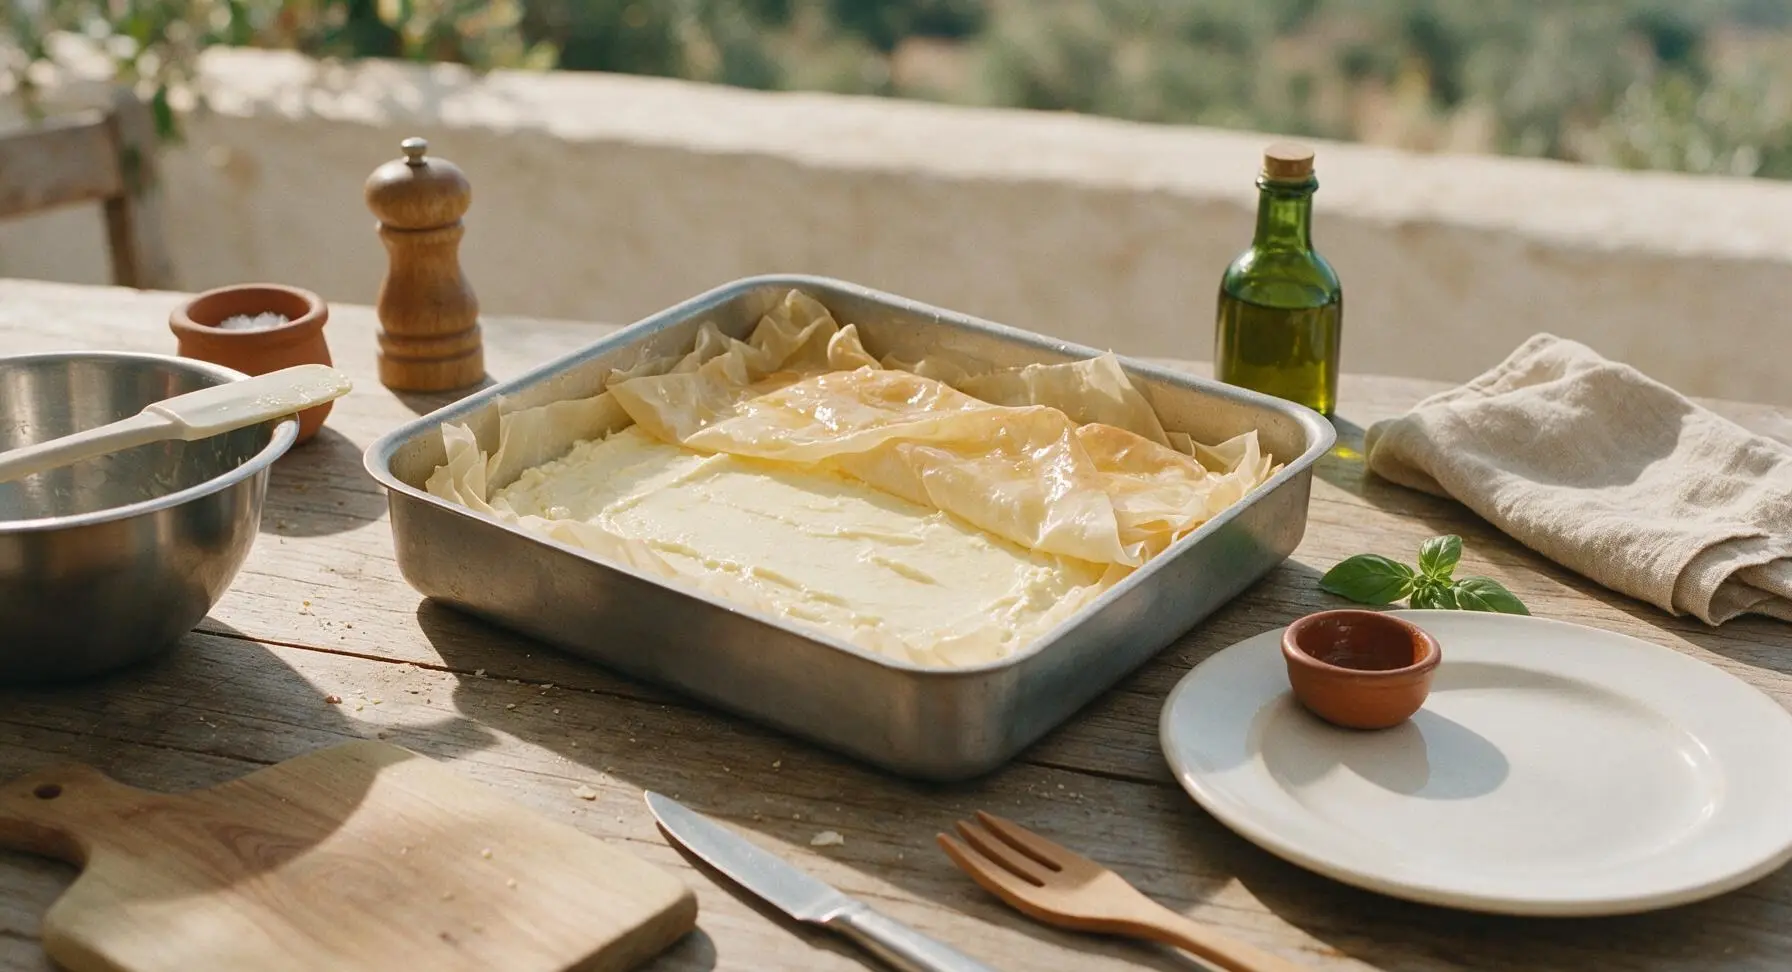
Pour the prepared cheese filling from the stainless steel mixing bowl into the phyllo-lined pan, spreading it evenly across the base with the silicone spatula into a smooth, level layer that sits 1cm below the pan rim. Fold the overhanging phyllo edges up and over the top of the filling, brushing the folded edges lightly with butter to seal.
Top and Score Pie
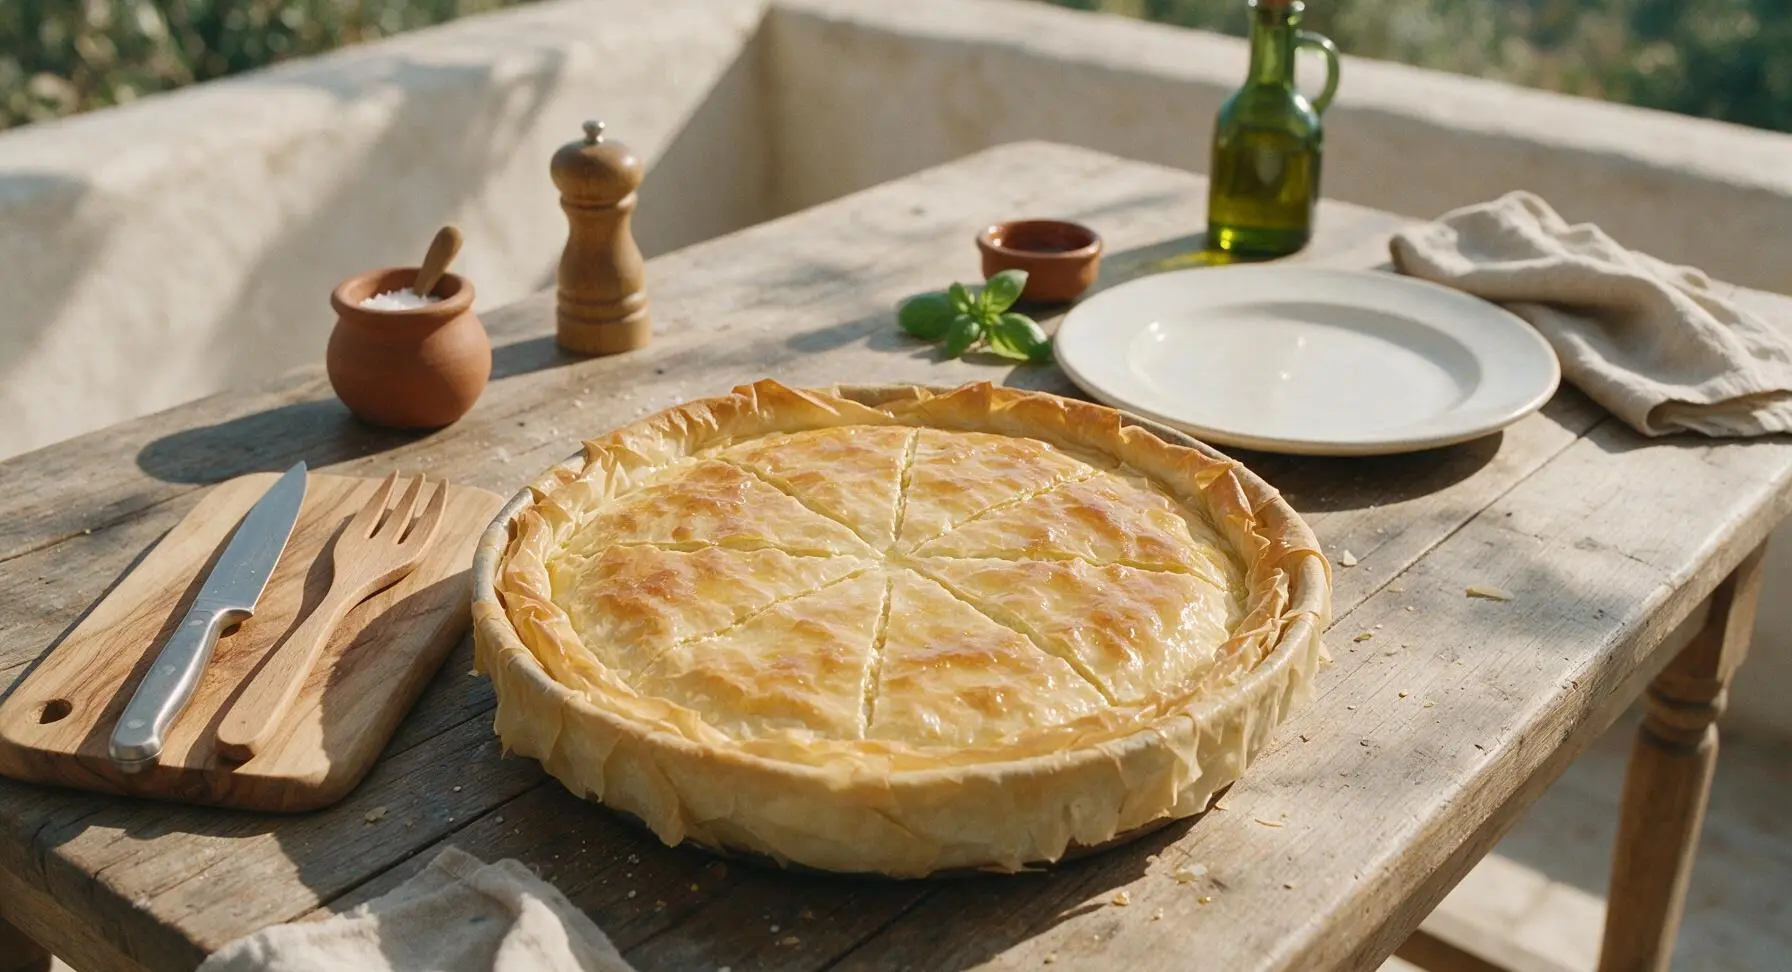
Layer 5 more phyllo sheets on top of the filling, brushing each individual sheet with melted butter as you go, tucking edges down gently between the filling and pan sides to create a neat top crust. Use the 7-inch chef's knife to score the top of the pie through the phyllo layers into 8 equal wedges, being careful not to cut all the way through to the filling. Brush the entire top surface with a final generous coat of melted butter.
Bake Until Golden
Place the pan in a preheated 180°C (350°F) oven on the middle rack, and bake for 35 minutes, rotating the pan 180 degrees halfway through cooking to ensure even browning. The pie is done when the top phyllo is a deep, even golden brown, and the filling shows no visible jiggling when you gently nudge the pan edge. Remove from the oven and transfer immediately to the matte silver wire cooling rack to cool for 15 minutes before serving, which allows the filling to set properly.
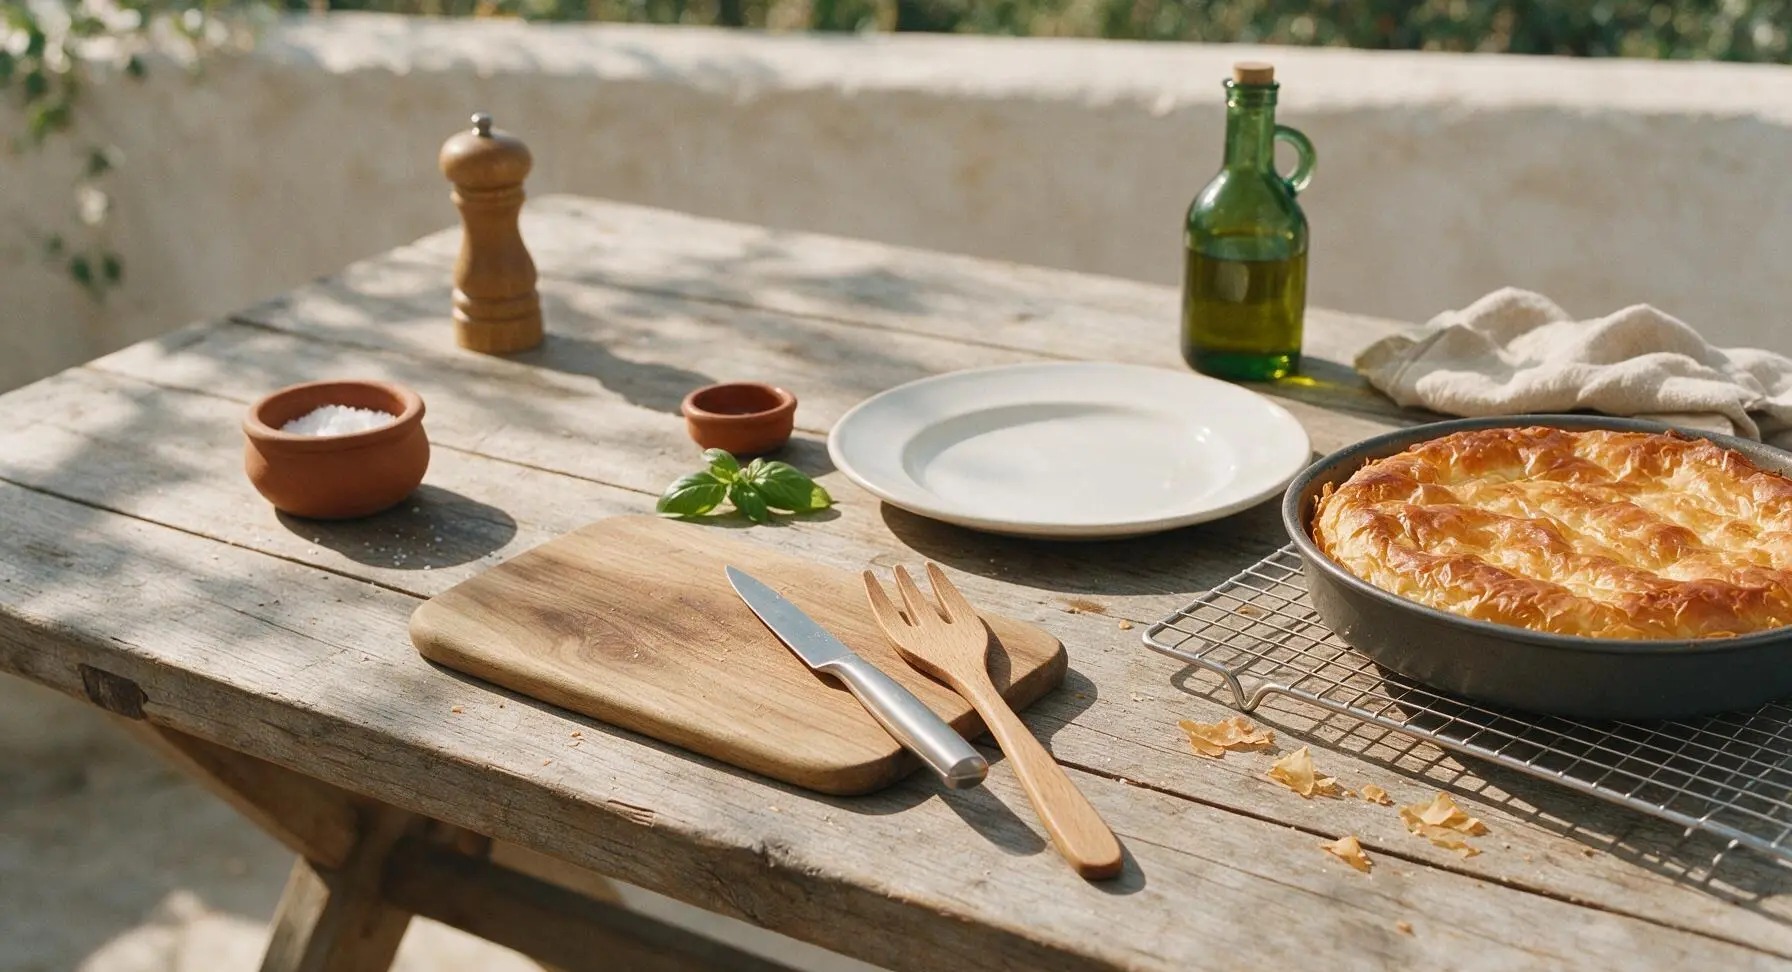
Plate and Serve
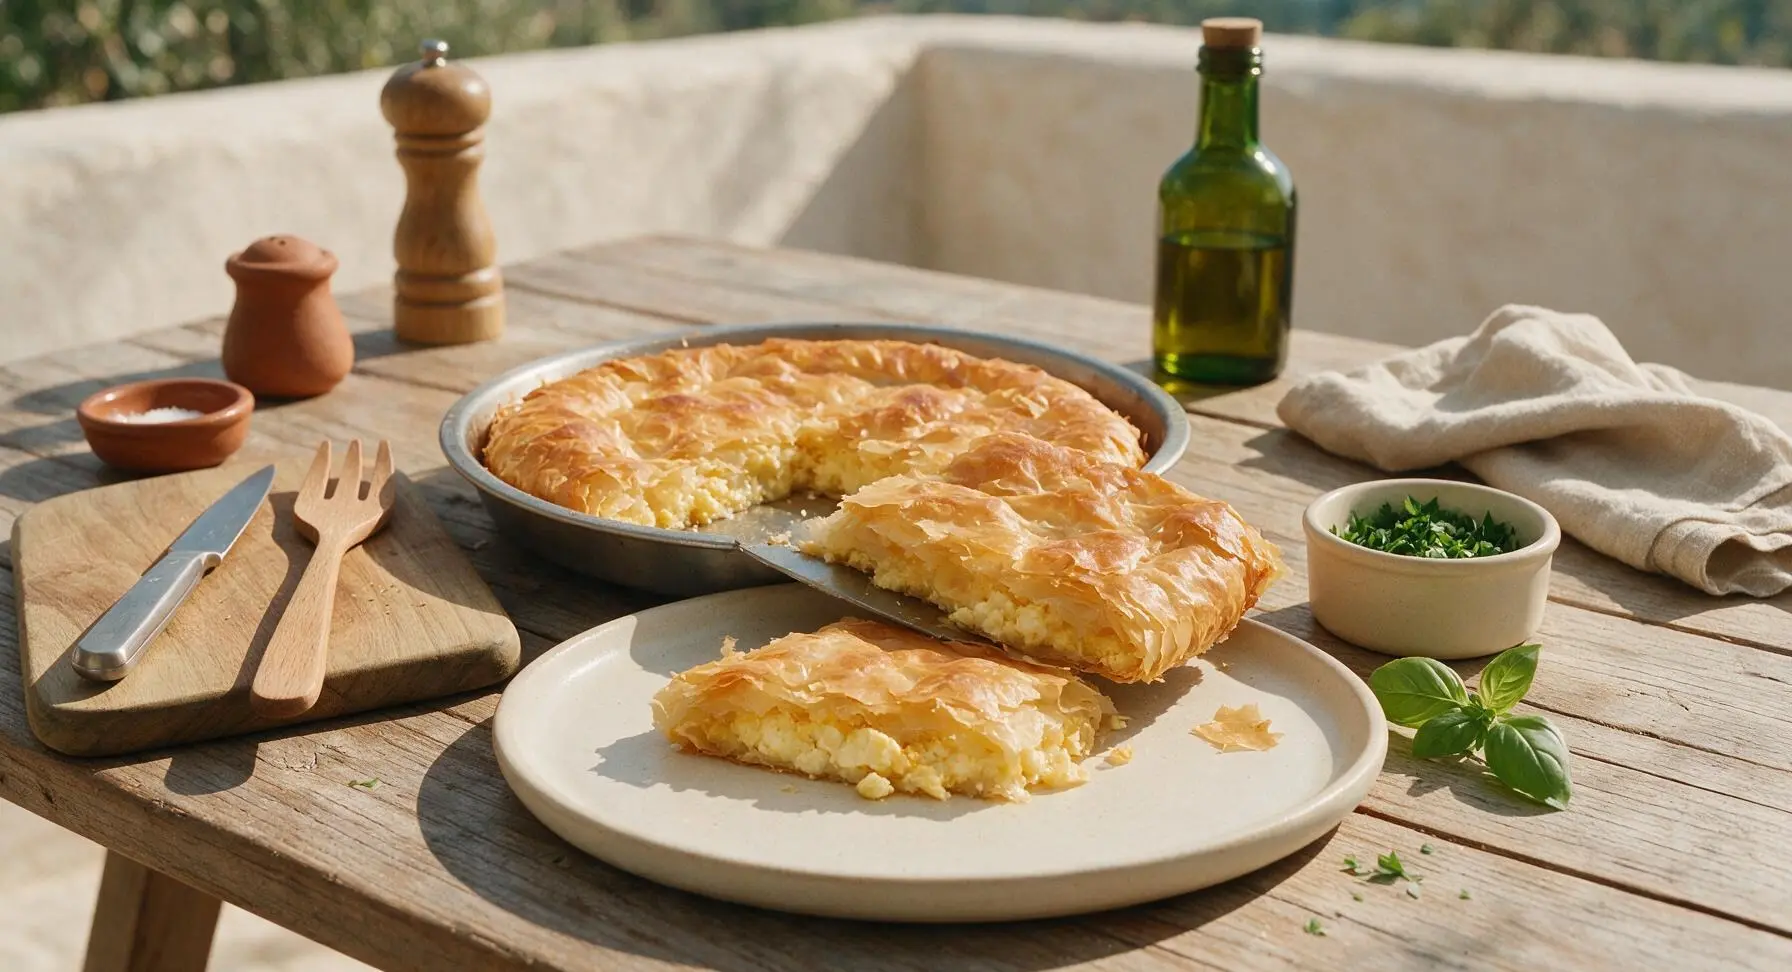
After 15 minutes of cooling, carefully slide the pie out of the baking pan onto the off-white matte ceramic serving platter. Sprinkle the top lightly with a pinch of extra dried oregano and 2 tbsp chopped fresh parsley for garnish. Serve warm or at room temperature.
Tips
2.Keep unused phyllo sheets covered with a slightly damp (not wringing wet) linen towel at all times during assembly. Exposed phyllo dries out and cracks in as little as 2 minutes in dry kitchen air, leading to broken, uneven crust layers.
3.Resist the urge to slice the pie immediately after taking it out of the oven. Let it rest the full 15 minutes on the cooling rack to allow the hot, runny cheese filling to set into firm, clean slices that hold their shape instead of oozing out when cut.






OMG this tiropita was such a game changer for our last family dinner! I was nervous working with phyllo for the first time since I’ve heard it’s super fussy, but the instructions were so clear I didn’t mess it up at all! My kids devoured half the pan before my husband even got to the table, and my mother in law asked for the recipe before she left. SO good, I’m already planning to make this for our church potluck next Sunday!
Really solid tiropita recipe, flavor was 10/10! Only reason I’m not giving 5 stars is I feel like the cook time was a little off for my oven — mine took closer to 45 minutes to get that golden crispy top instead of 35. I ended up adding a little extra feta because I’m a cheese fiend, and that worked out great. Already added this to my weekly meal prep rotation!
Y’all, I made this for my Greek boyfriend’s birthday dinner and I was so nervous it wouldn’t live up to his yiayia’s version, but he said it was almost as good as hers!!! I did the mix of feta and ricotta like the recipe says, and the butter layers between the phyllo came out so flaky I could cry. We had leftovers for breakfast the next day and it was even better cold, who knew? 10/10 will make again.
This was SO good when I made it last week, quick question — has anyone tried making this ahead and freezing it before baking? I want to stock my freezer with easy weeknight meals now that school is starting back up, and this seems like it would be perfect if it freezes well!