
grill corn on the cob in husk

title 1
grill corn on the cob in husk
⏱️ cook time 20 minutes
🍽️ servings 4
⚡ Difficulty easy

intro

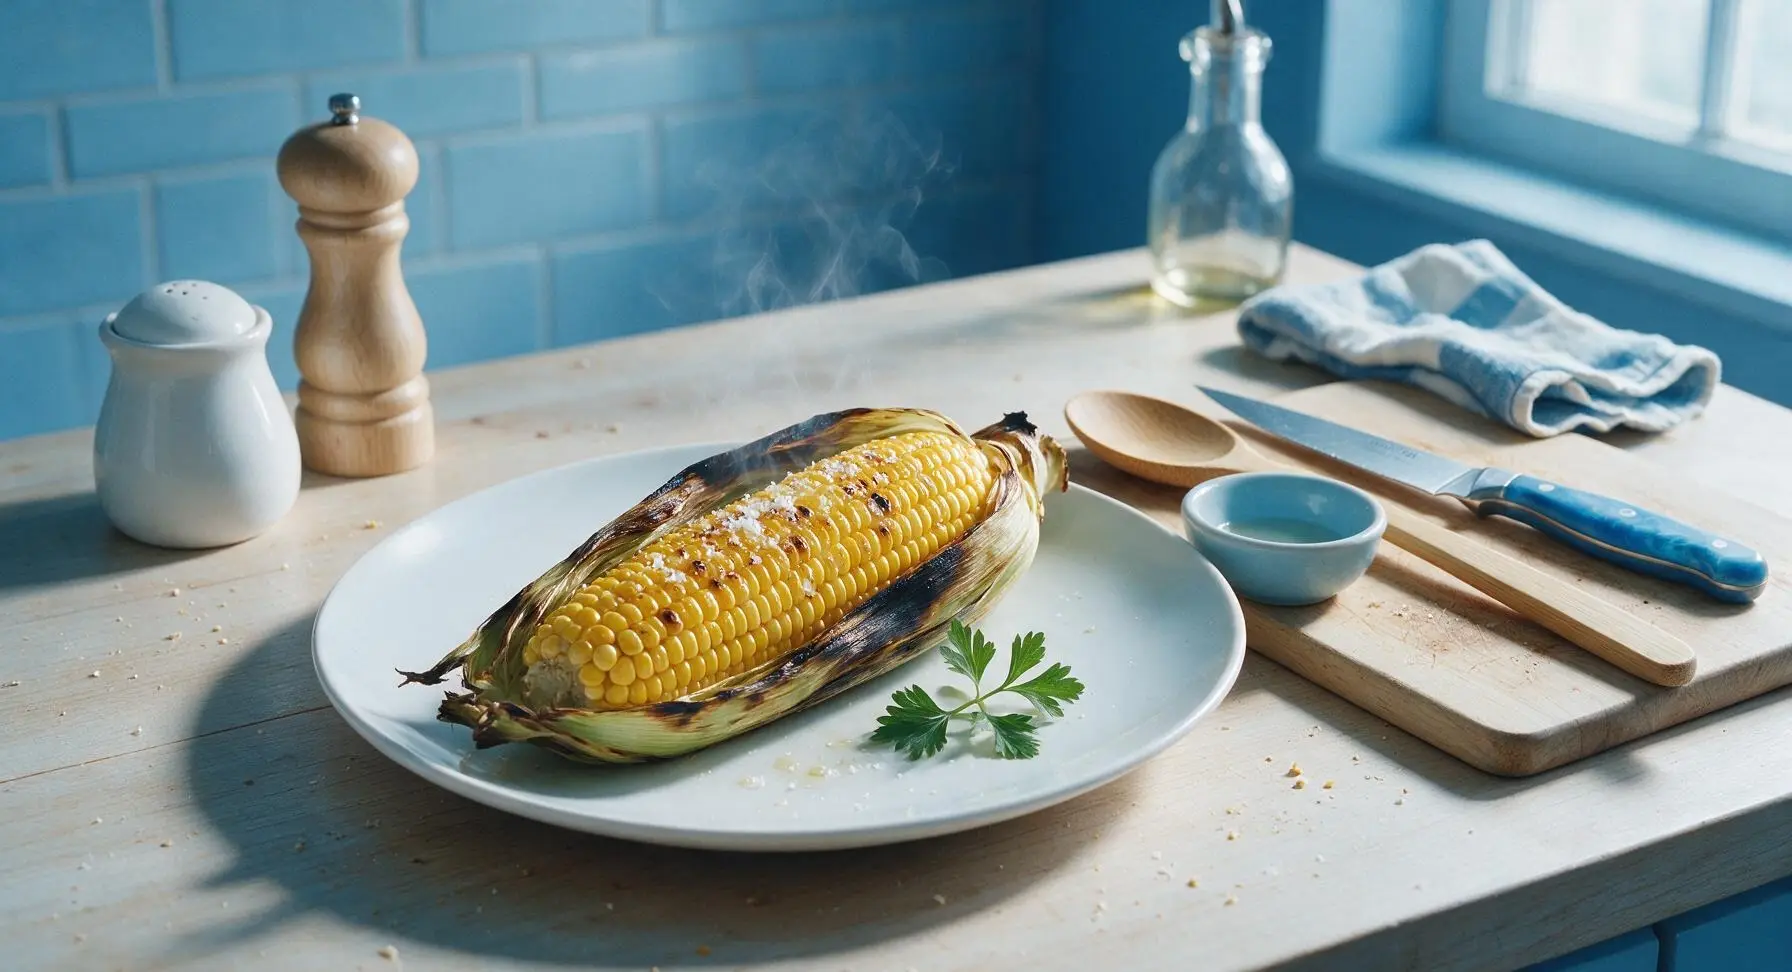
Smoky, tender sweet corn steamed inside its charred husk on the grill, kissed with subtle kernel char, finished with melted butter and flaky salt—summer’s juiciest, most iconic BBQ side.

Ingredients
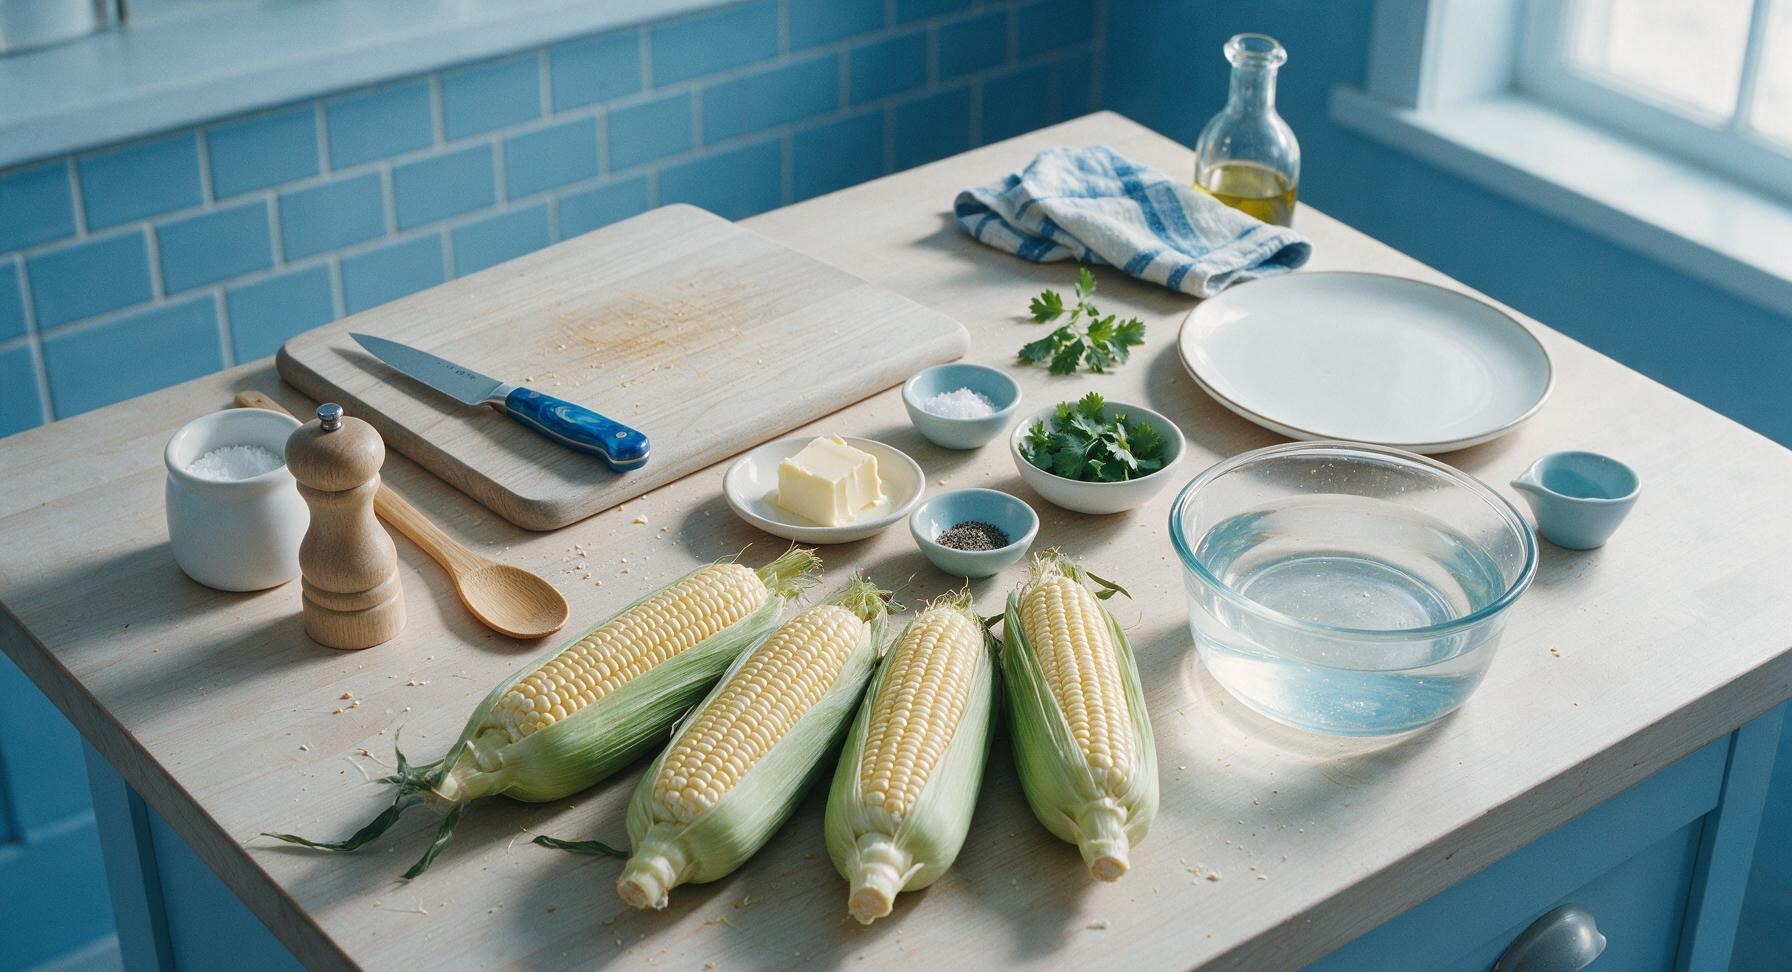
Fresh sweet corn (in husk) 4 large ears
Unsalted butter 4 tbsp (57g)
Flaky sea salt 1 tsp
Freshly ground black pepper 1/2 tsp
Fresh cilantro 1/4 cup leaves
Cool tap water 4 quarts (for soaking)

Steps

1

Prep Corn Husks

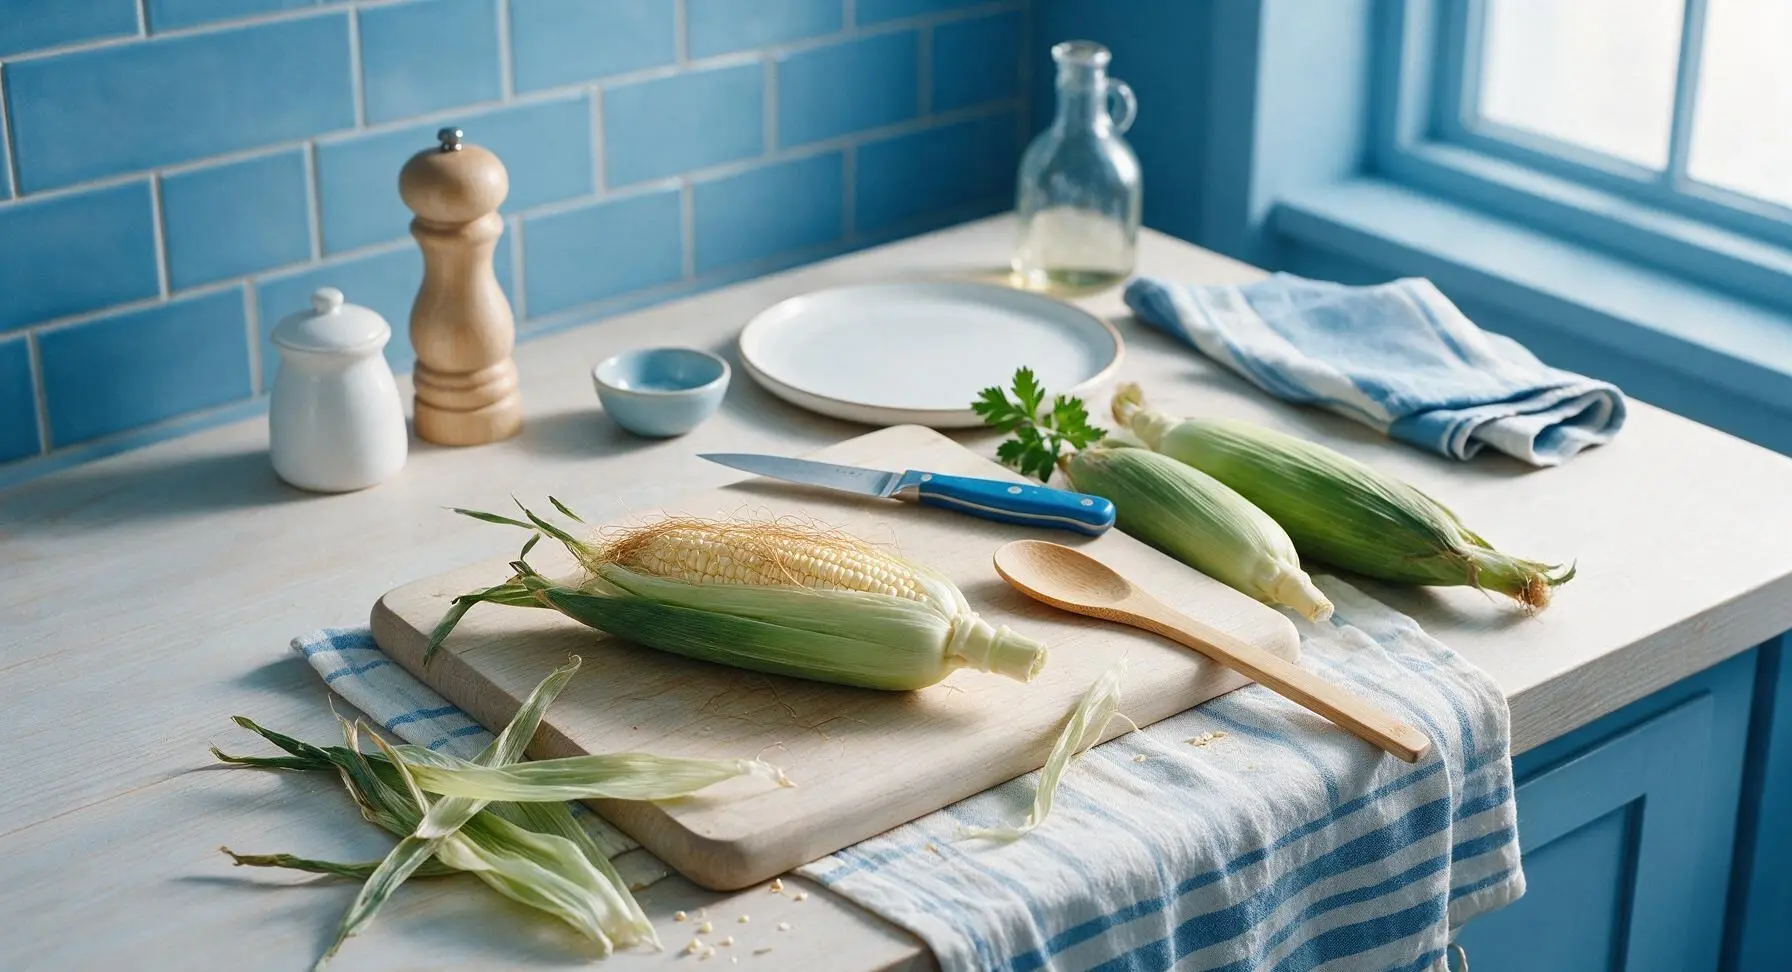
Working one ear at a time on the bamboo cutting board, gently peel back the outer green husk leaves from the tassel end down to the base of the ear, taking care not to tear the leaves or detach them from the corn cob base. Remove any thick, tough outer husk leaves that feel dry or papery, leaving 3-4 layers of tender inner husk leaves attached. Discard loose husk debris onto the striped linen towel.
Step 1
step1:Prep Corn Husks
2

Remove Corn Silk

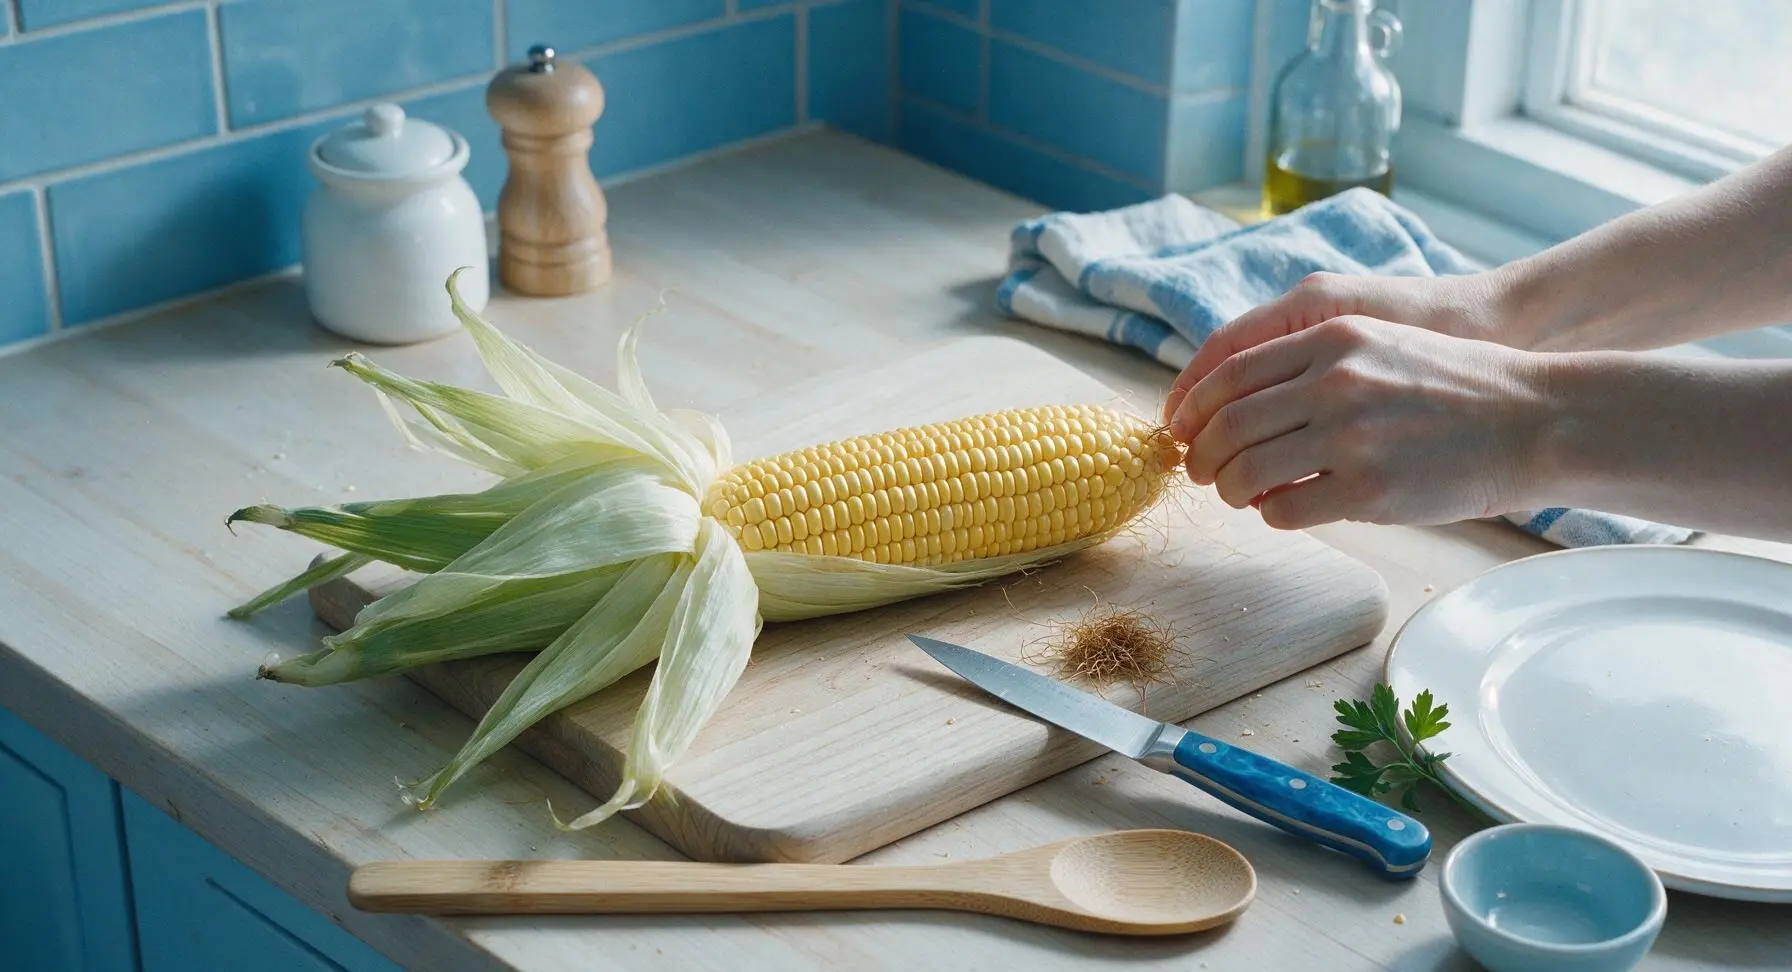
Use your fingers or the tip of the paring knife to gently brush and pull all fine, stringy corn silk away from the surface of each corn cob, discarding the silk strands onto the linen towel. Take care not to nick or cut the tender corn kernels as you work. The cob should be completely smooth, with no silk strands left clinging to kernels.
Step 2
step2:Remove Corn Silk
3

Secure Husks Closed

Fold the peeled inner husk leaves back up over the exposed corn cob, overlapping them slightly to fully cover all kernels. Tear one thin 1cm wide strip from a discarded outer husk leaf, or cut a length of cotton kitchen twine from the spool, and tie it tightly around the tapered tip of the husk to hold the leaves closed during grilling. Repeat for all 4 ears of corn.
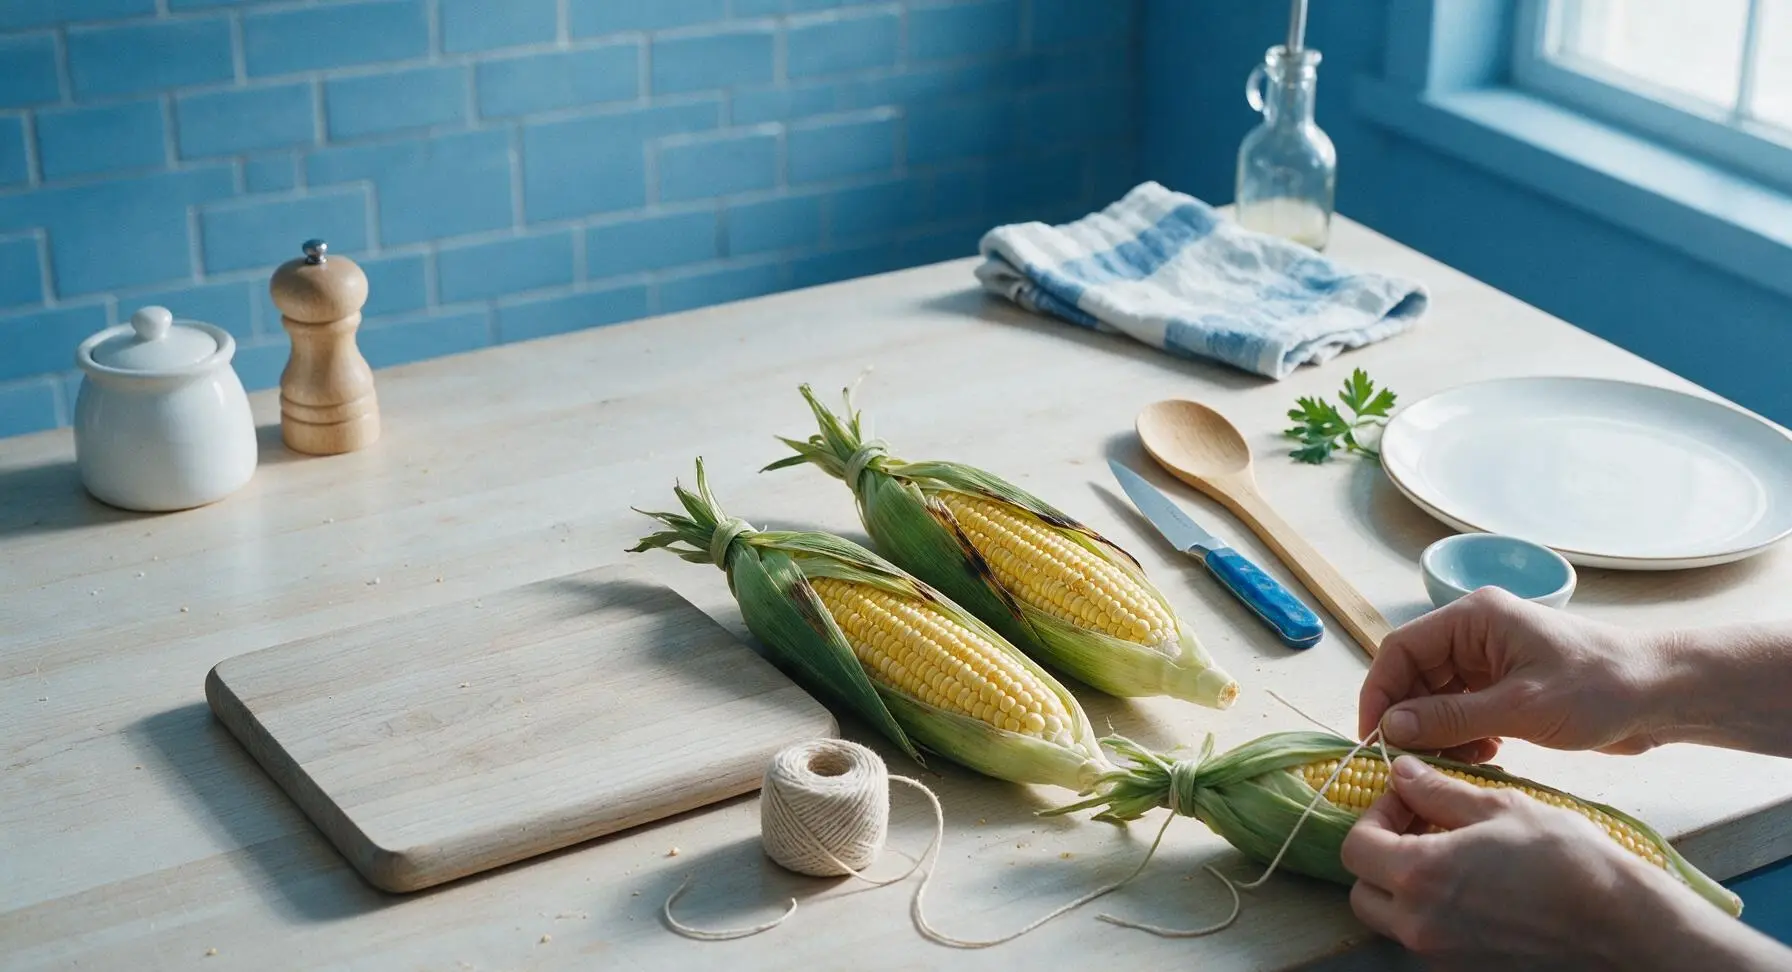
Step 3
step3:Secure Husks Closed
4

Soak Corn Thoroughly

Place all tied, husk-covered corn ears into the 12-quart clear plastic tub filled with 4 quarts of cool tap water. Weigh the corn down with a small plate if needed to keep all ears fully submerged. Let soak for 15 minutes—this saturates the husks to prevent them from catching fire on the grill, and creates steam to cook the corn evenly. While corn soaks, preheat the charcoal grill to medium heat (350°F/175°C), with coals spread evenly across the bed for direct cooking.
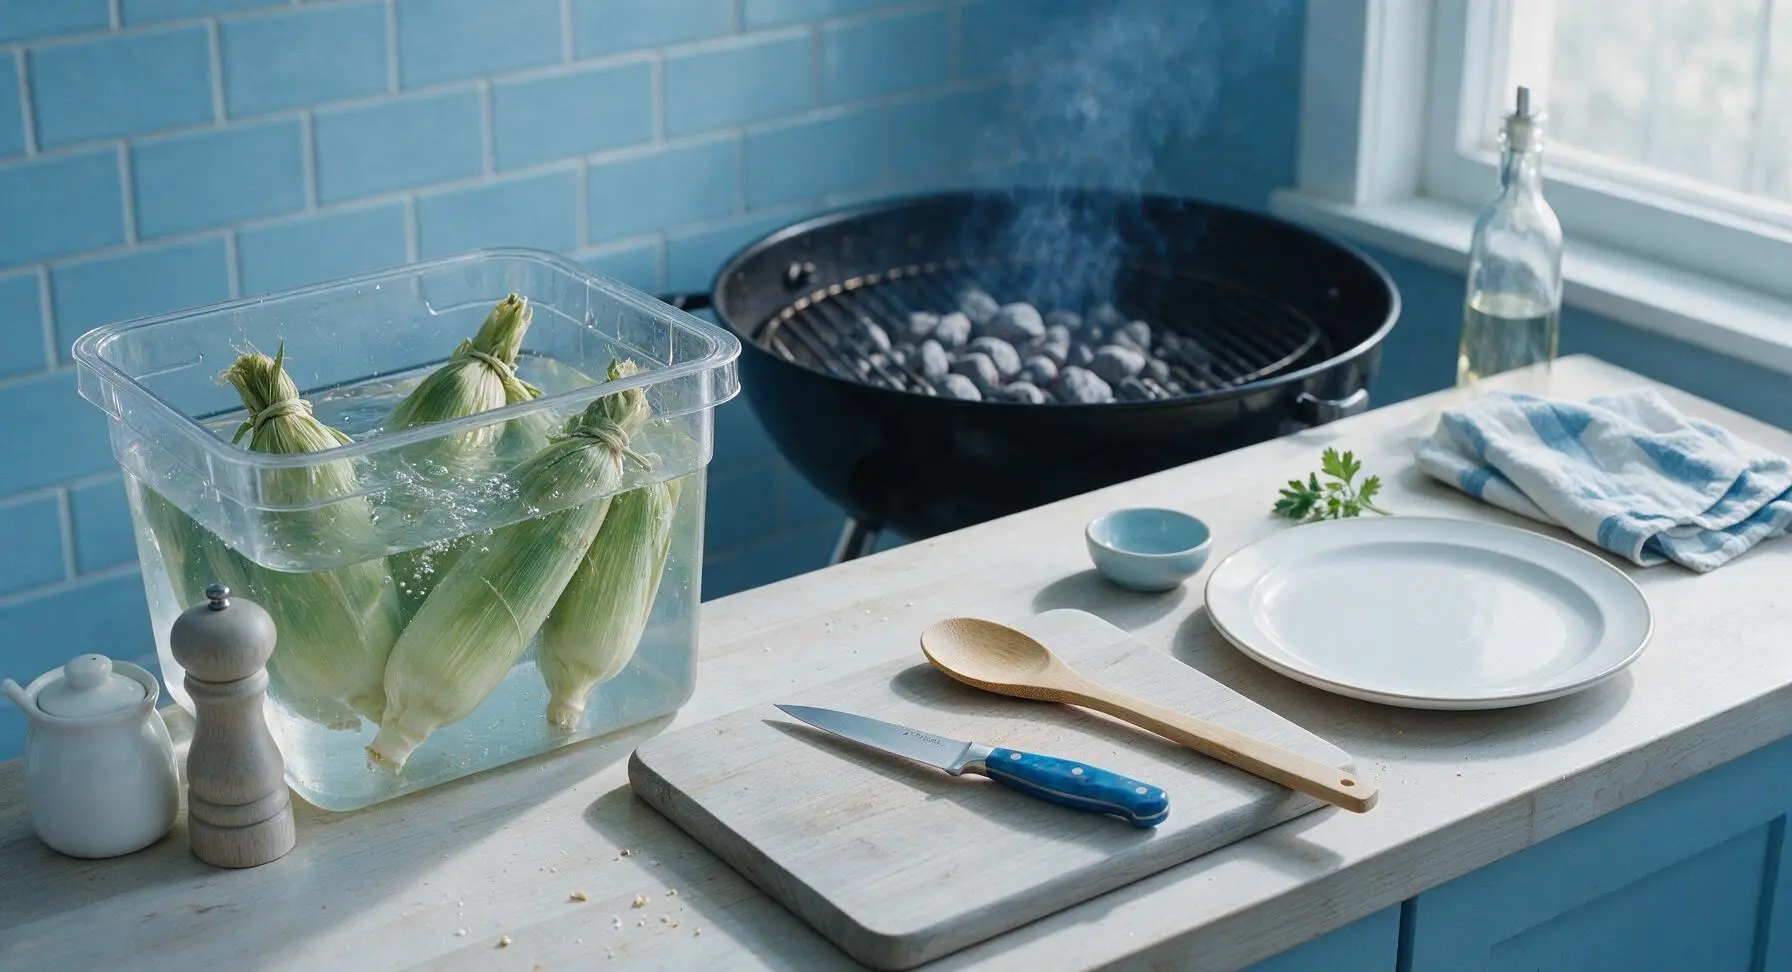
Step 4
step4:Soak Corn Thoroughly
5

Grill Corn Evenly

Remove corn from the soak, shaking off excess water from the husks. Use the long-handled grill tongs to place the ears directly on the preheated grill grate over medium coals. Close the grill lid and cook for 15-20 minutes, turning the ears every 5 minutes with the tongs, until the outer husks are charred in dark black patches, feel slightly soft when squeezed with tongs, and steam escapes from the tied husk tip. Avoid placing corn directly over roaring flames to prevent husks from burning through too quickly.
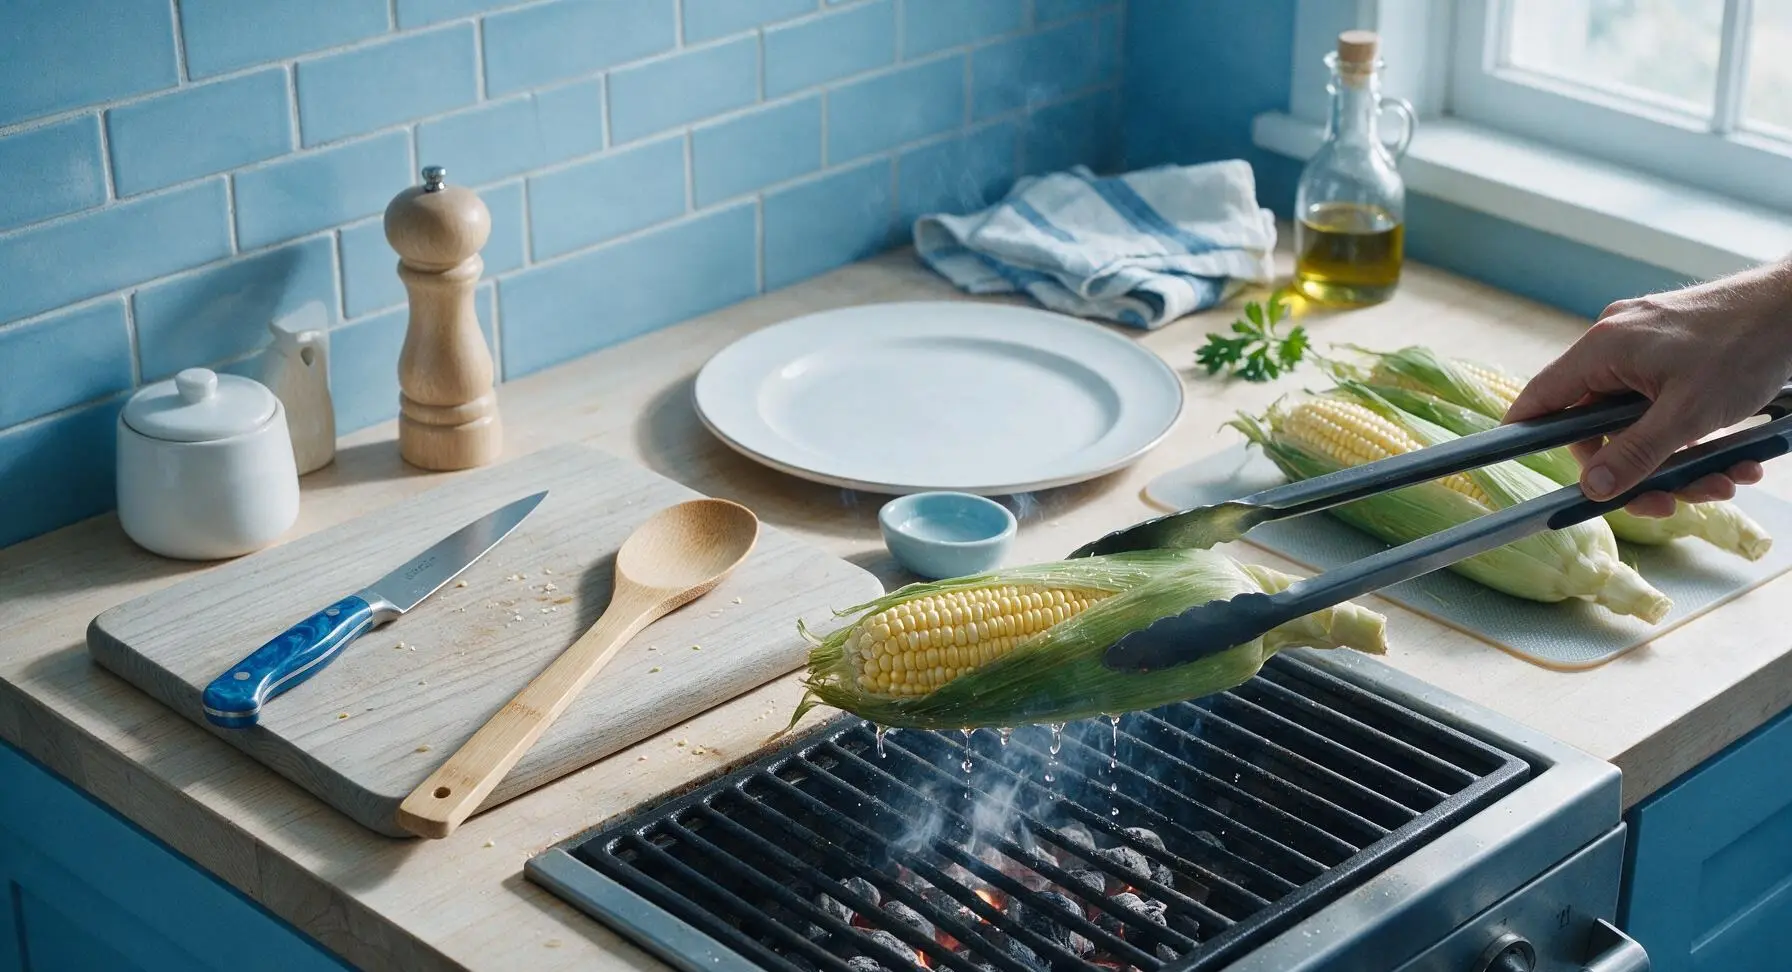
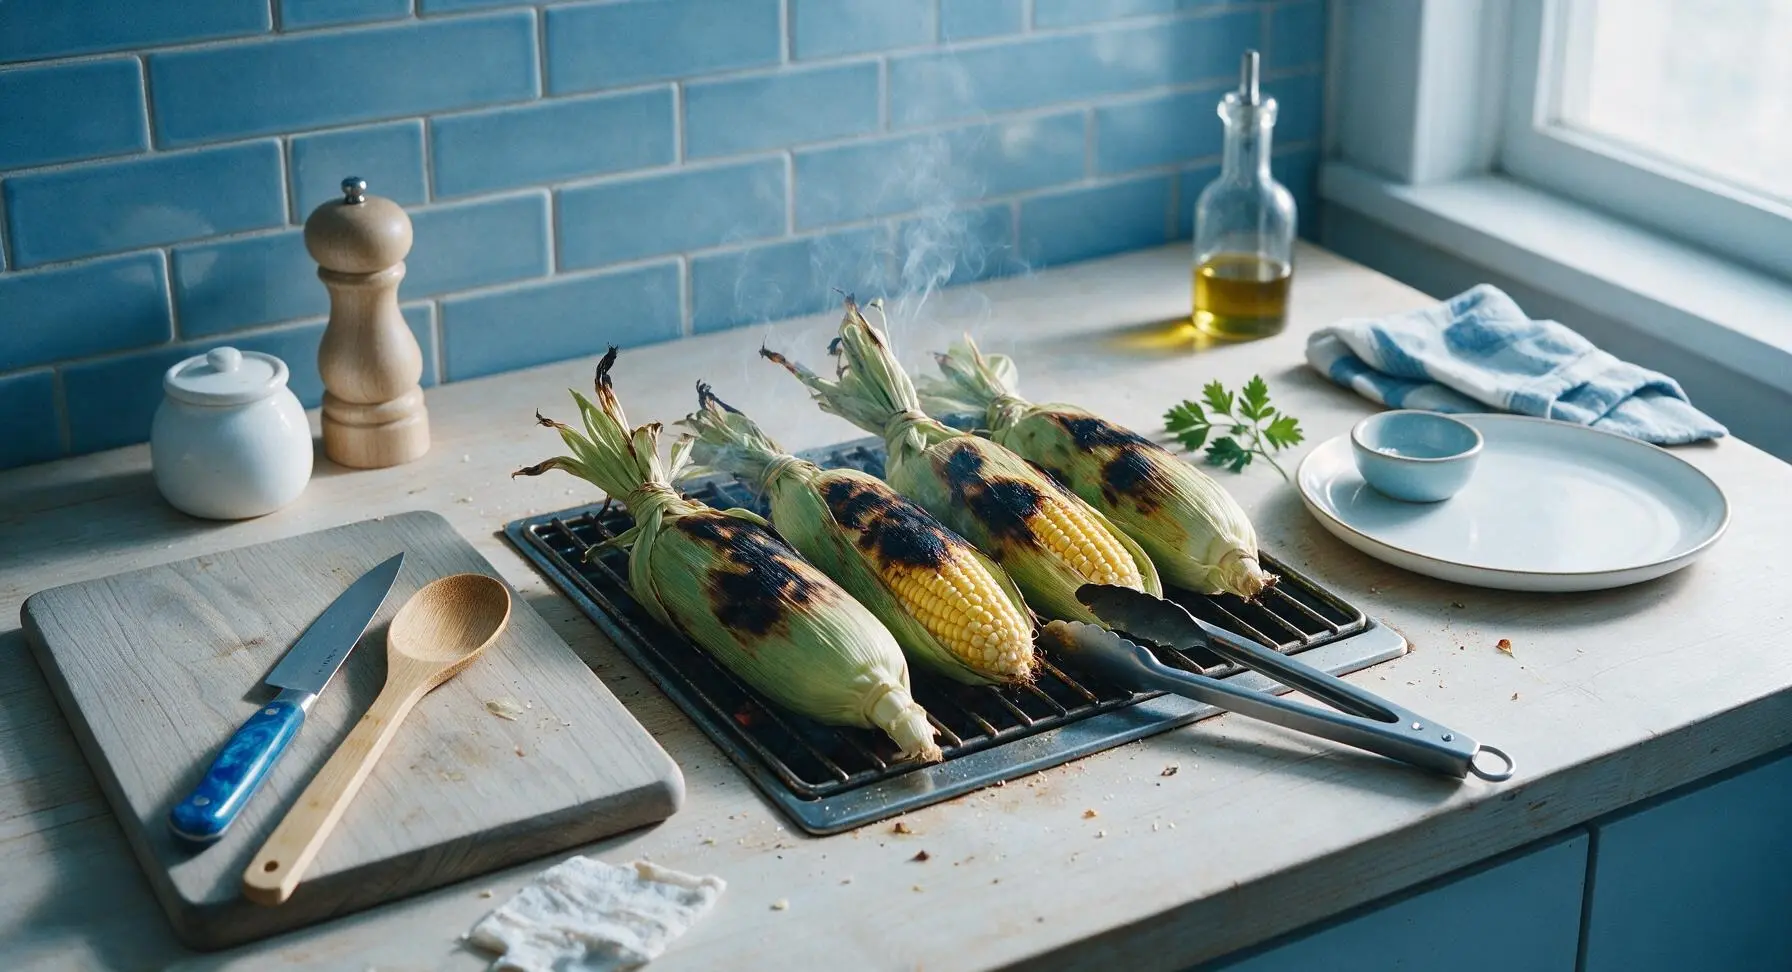
Step 5
step5:Grill Corn Evenly
Step 5
step5:Grill Corn Evenly
6

Let Corn Rest

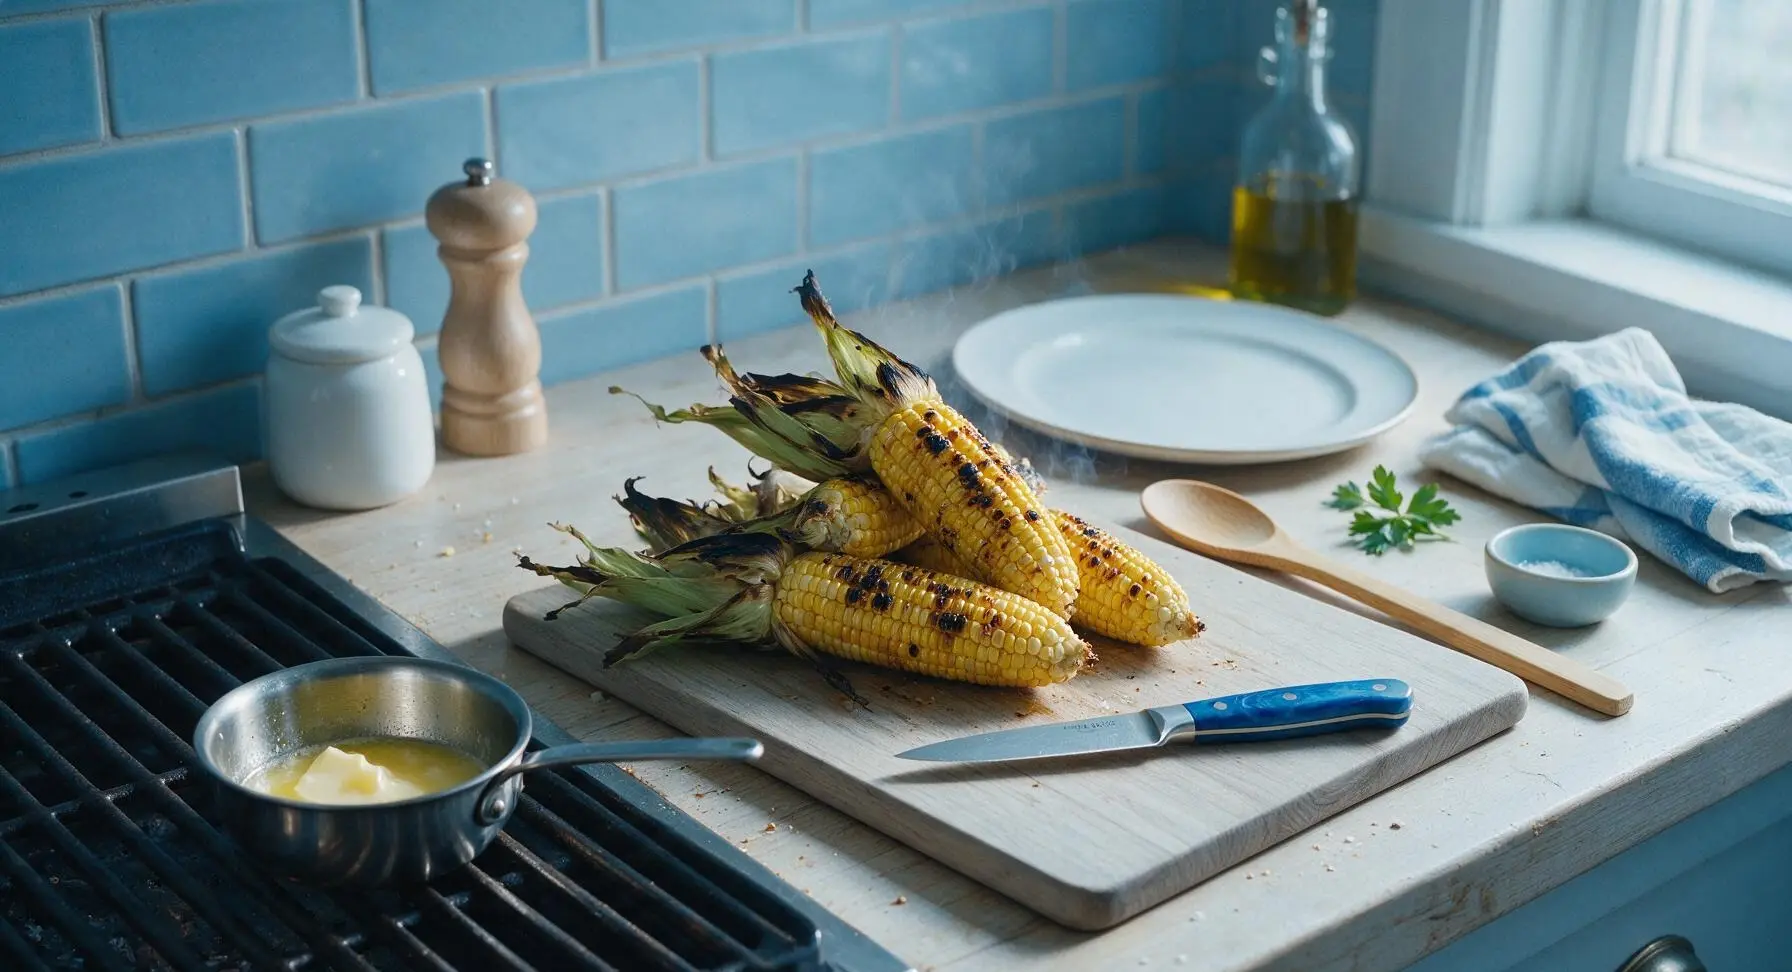
Use the grill tongs to transfer the cooked corn from the grill to the bamboo cutting board. Let rest for 5 minutes to allow the steam inside the husks to subside slightly, so the corn is cool enough to handle, and the kernels finish setting. While corn rests, melt the 4 tablespoons of unsalted butter in the small stainless steel butter warmer over the low edge heat of the grill, until fully liquid and warm.
Step 6
step6:Let Corn Rest
7

Peel and Season

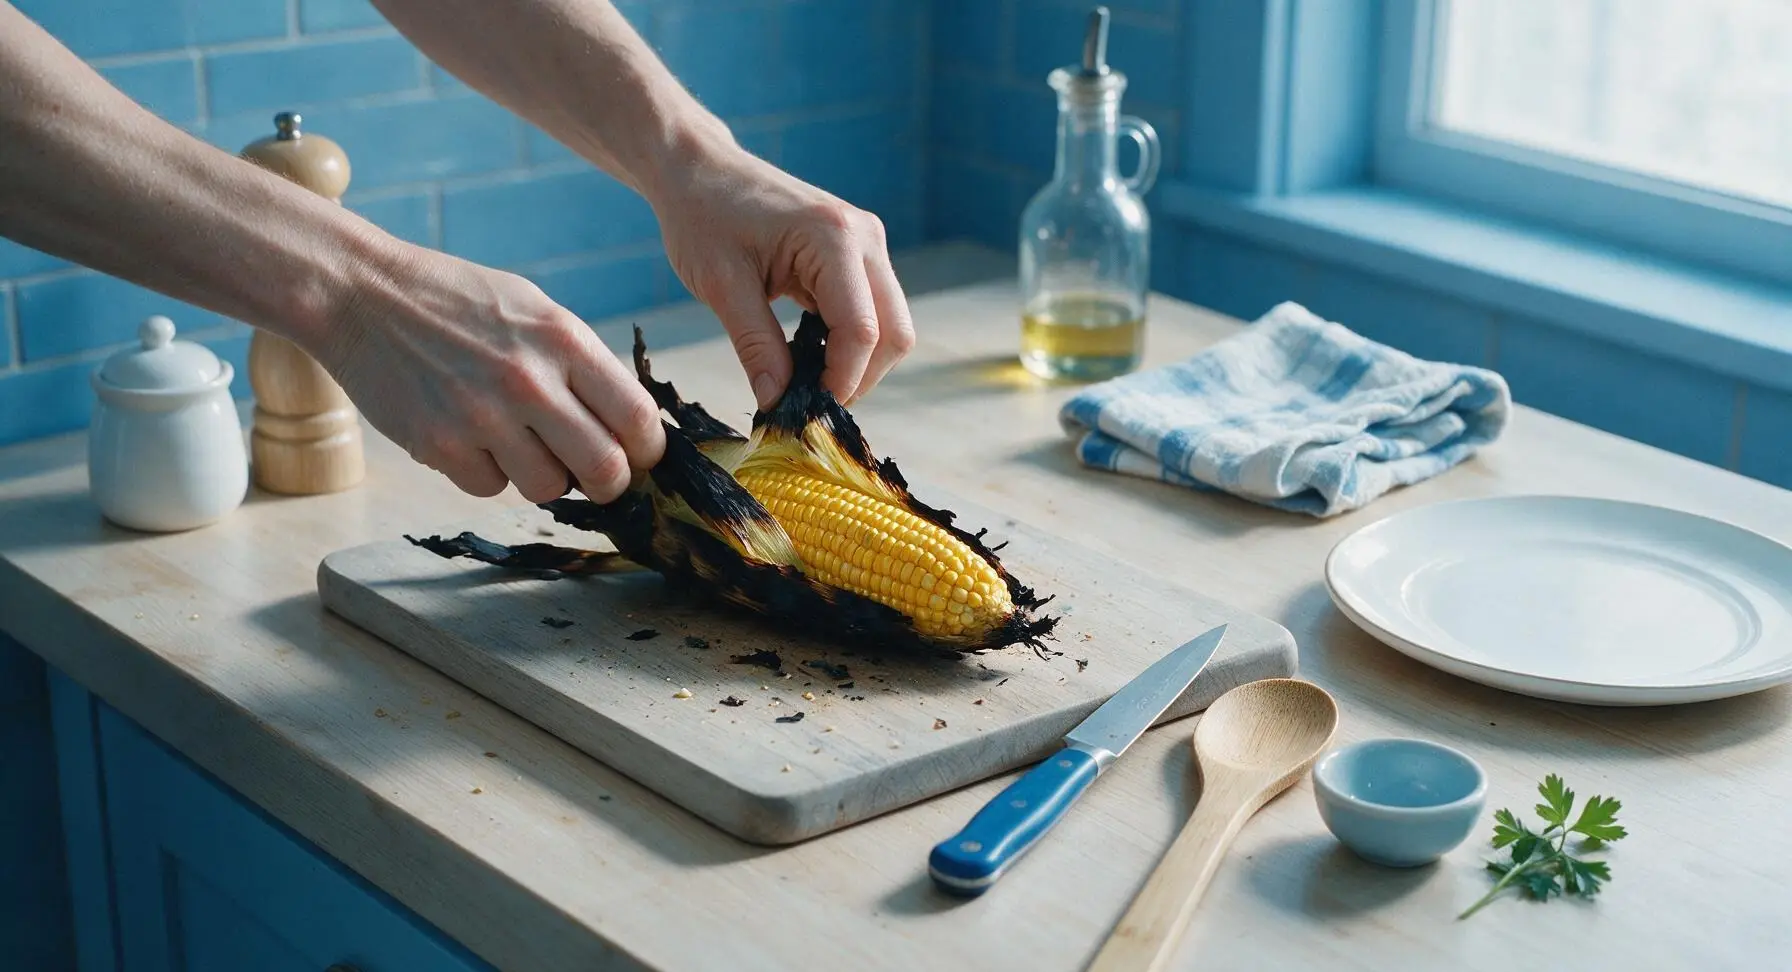
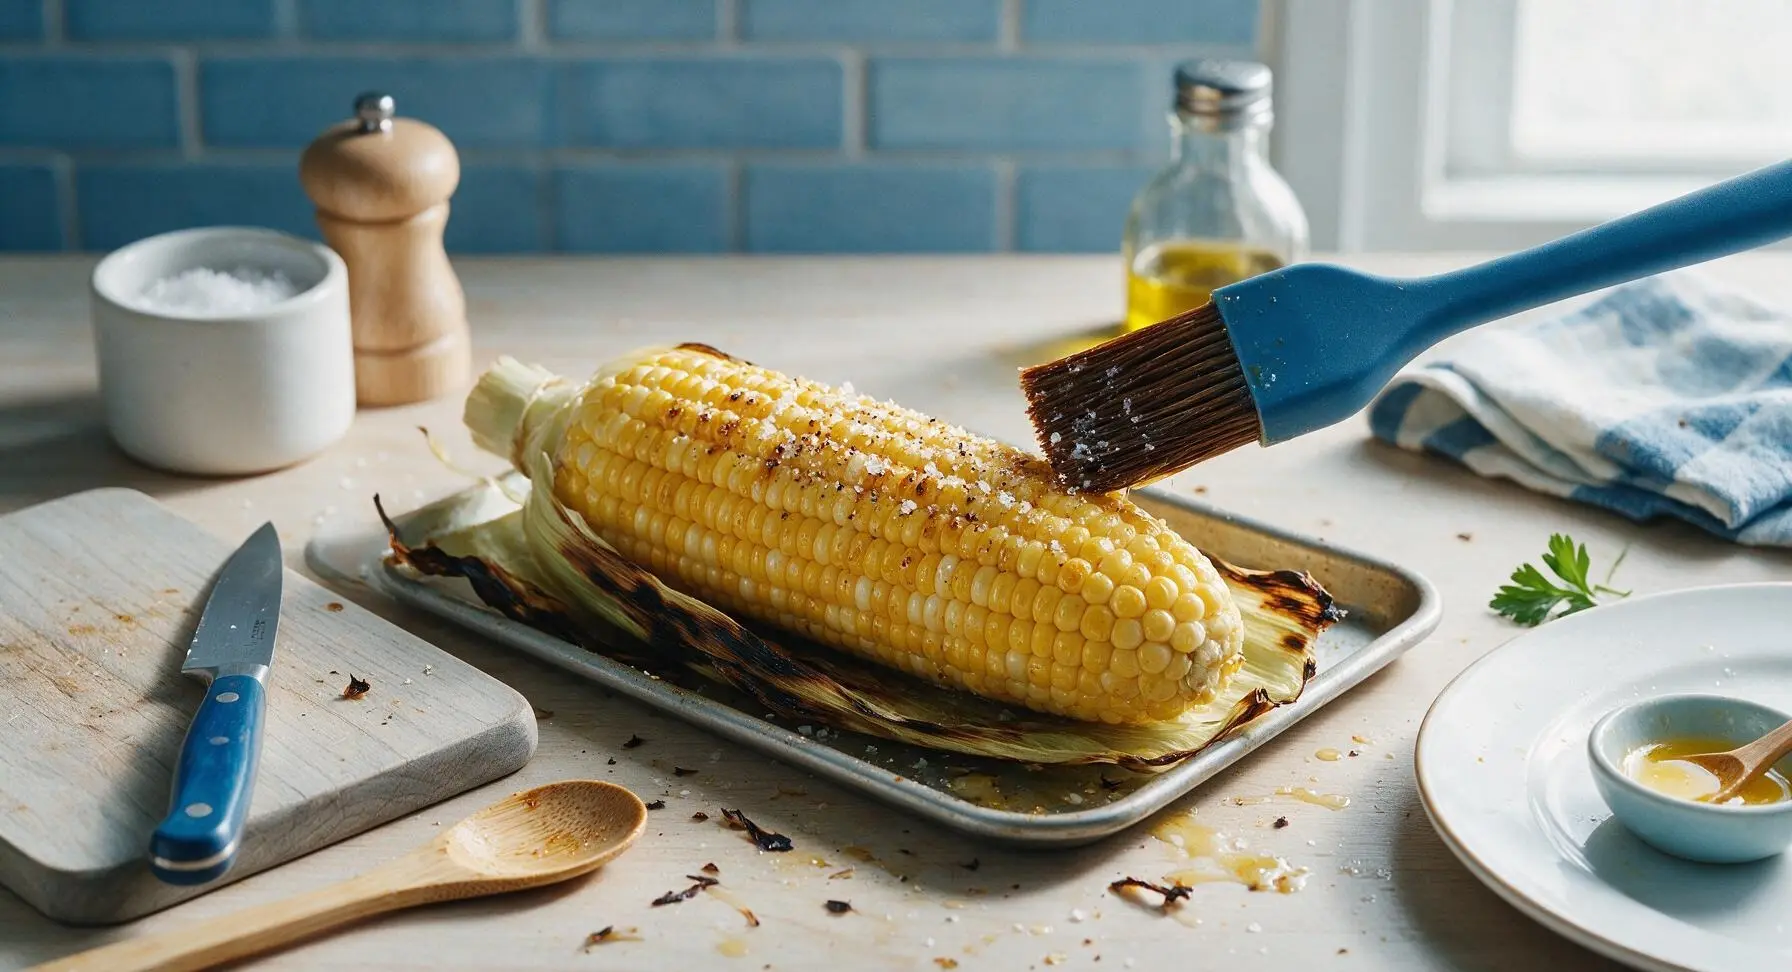
Once cool enough to handle, untie the husk tips and peel the charred husk leaves back down to the base of each cob, using the husks as a built-in handle. Brush each ear generously with the melted butter, using a leftover clean husk leaf as a brush if desired, then sprinkle evenly with flaky sea salt and freshly ground black pepper. Discard any remaining charred husk bits that fall onto the counter.
Step 7
step7:Peel and Season
Step 7
step7:Peel and Season
8

Plate and Serve

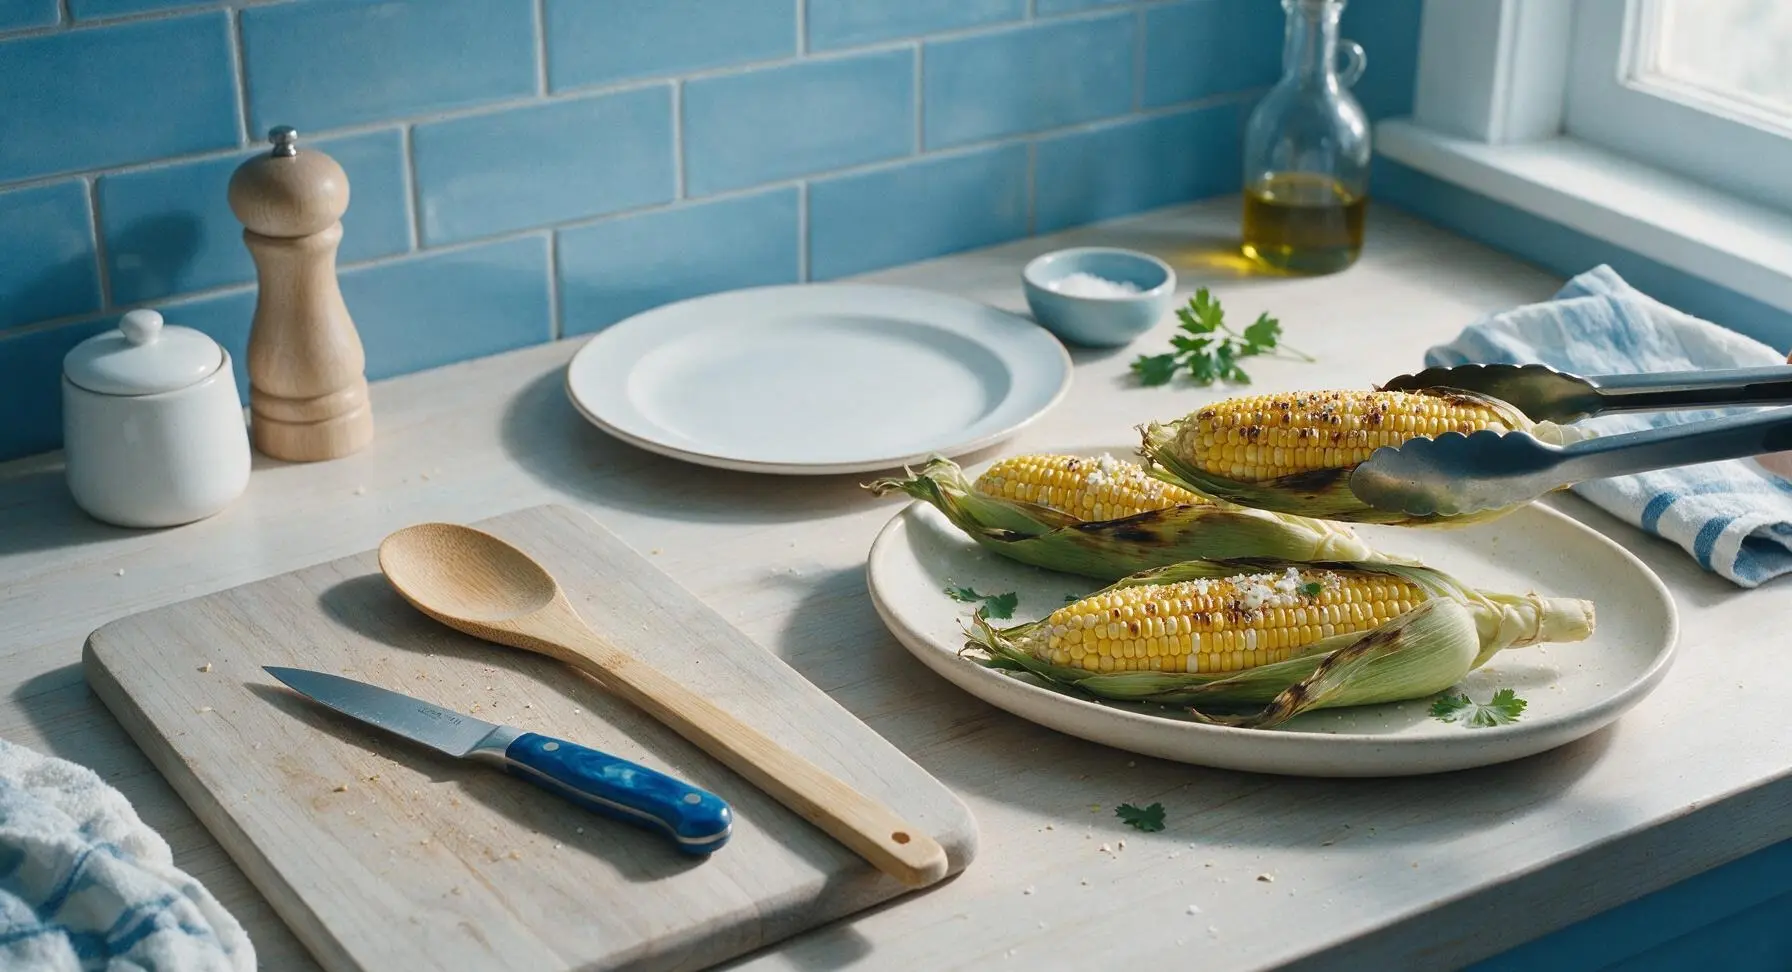
Arrange all seasoned corn ears on the matte cream oval ceramic serving platter, tucking a few fresh cilantro leaves between the ears for a bright garnish if desired. Serve immediately while warm, with extra butter and salt on the side for guests to add to taste.
Step 8
step8:Plate and Serve

Tips

1.Don’t skip the 15-minute cold water soak: fully saturated husks smolder slowly instead of catching fire over hot coals, and create trapped steam that cooks corn evenly from all sides, preventing dry, tough kernels.
2.Select corn with bright, tightly wrapped green husks and slightly sticky, pale golden tassels for the sweetest flavor; dry, brown, loose husks indicate older, starchy corn that will taste bland and mealy even when perfectly grilled.
3.Resist the urge to overcook corn: 15-20 minutes over medium heat is ideal. Overcooked kernels become chewy and leak their sweet, milky juice. You’ll know corn is done when you can smell sweet, toasty corn aroma through the husks and thin, steady steam escapes from the tied husk tip.


✨ You May Also Like

BBQ & Grilling
🍜 United States

Tender, melt-in-your-mouth beef brisket with a crisp, spiced bark, slow-smoked to deep smoky perfection, the iconic centerpiece of Texas backyard barbecue.

⏱️ 12 hours BBQ & Grilling ★ 4.4
BBQ & Grilling
🍜 Korea

Tender, sweet-savory marinated beef short ribs, a beloved Korean BBQ staple with caramelized, slightly charred edges and deep umami flavor, perfect for outdoor summer gatherings.

⏱️ 4 hours 2BBQ & Grilling ★ 4.8
BBQ & Grilling
🍜 United States

Juicy grilled beef patties topped with smoky homemade chili, melted cheddar, and tangy pickles on toasted brioche buns for a hearty, flavor-packed handheld meal.

⏱️ 40 minuteBBQ & Grilling ★ 4.7
BBQ & Grilling
🍜 United States

A sweet, smoky, tangy BBQ sauce brightened with peak-season dark cherries, ideal for glazing grilled ribs, chicken, pork, or summer roasted veggies.

⏱️ 35 minuteBBQ & Grilling ★ 4.7
BBQ & Grilling
🍜 United States

Rich, smoky, slightly sweet homemade bourbon BBQ sauce with deep caramel notes, ideal for glazing grilled ribs, chicken, and burgers at cookouts.

⏱️ 25 minuteBBQ & Grilling ★ 4.7
BBQ & Grilling
🍜 United States

Iconic Alabama-style BBQ featuring tender hickory-smoked chicken slathered in tangy creamy white sauce, a beloved regional Southern cookout staple.

⏱️ 3 hoursBBQ & Grilling ★ 5

grill corn on the cob in husk:Frequently Asked Questions

1.Do I need to soak corn in its husk before grilling? ▾
Absolutely—submerge whole, untrimmed ears in cold water for 15 to 20 minutes before grilling. This soak saturates husk fibers so they don’t catch fire and burn to ash too quickly, and creates gentle internal steam that cooks kernels evenly without drying them out. Pat husks lightly dry before placing on grates for better char.
2.Do I have to peel the husk all the way back before putting corn on the grill? ▾
No need to fully peel husks back ahead of grilling! Just strip off the outer 1-2 layers of tough, dry outer husk leaves, trim off the dry, stringy tassel end, and snip any long, loose husk strands that could dangle and burn. Leave the inner 3-4 layers of husk tightly wrapped around kernels to lock in steam as it cooks.
3.What grill temperature works best for husk-on grilled corn? ▾
Aim for a medium-high grill temperature between 400°F and 450°F. This is hot enough to char the outer husk nicely and build that classic smoky summer flavor, but not so hot that the husk incinerates before kernels inside turn tender and juicy. For charcoal grills, wait until coals are covered in light gray ash before adding corn.
4.How long does husk-on corn take to grill, and how often should I flip it? ▾
Plan for 15 to 20 minutes of total cook time, turning ears every 3 to 4 minutes with long, heatproof tongs. You’ll know it’s cooking properly when the outer husk turns deep charred black in spots and pulls slightly away from the cob tip, revealing plump, bright kernels. Avoid overcooking, or kernels will turn mushy.
5.Will the corn silk get stuck to kernels if I grill with the husk on? ▾
Great question—grilling actually makes silk removal way easier! Once corn is done cooking and cool enough to handle (about 2 minutes off the grill), peel the husk back and the fine, stringy silk will wipe right off kernels in one easy pass with a paper towel. The internal steam loosens every last stubborn strand.
6.Can I add seasonings under the husk before grilling, or do I only season after? ▾
You absolutely can add flavor under the husk before grilling for deeper, more infused taste! Gently pull back inner husk layers (don’t detach them) to spread a thin layer of softened butter, a pinch of salt, or a crack of black pepper on kernels, then fold husks back in place. Skip delicate herbs like cilantro until after cooking, though, so they don’t burn.
7.How do I keep loose husks from unraveling or flying open on the grill? ▾
If you pull husks back to add seasoning, or if your husks are loose after trimming, simply tear one thin, flexible strand from an outer husk leaf and use it to tie the top of the husk closed snugly around the cob. No need for kitchen twine—this natural tie is heatproof and won’t leave odd residue on your finished corn.
8.Are the slightly charred kernel spots safe to eat after peeling back the husk? ▾
Those light, golden-brown charred spots on kernels are not just safe—they’re the best part! That subtle char is where all the deep, smoky grill flavor comes from. Just skip fully blackened, brittle kernels that sat too close to a direct flame, as those will taste bitter instead of sweet and smoky.
9.Can I make this recipe on a gas grill if I don’t have a charcoal grill? ▾
Of course! This recipe works perfectly on gas grills, too. Preheat your gas grill to medium-high (400–450°F) with the lid closed, then arrange corn directly on the grates. For extra smoky flavor that mimics charcoal, tuck a small foil packet of soaked wood chips directly on one burner bar before preheating.
10.How long should I let corn rest after grilling before peeling back the husk? ▾
Let grilled ears rest for 2 to 3 minutes after pulling them off the grill before you peel back husks. This short rest lets built-up steam settle a little so you don’t burn your fingertips, and gives kernels time to reabsorb their sweet, starchy juice so it doesn’t run down your wrist once you add butter, flaky salt, pepper, and cilantro.
11.What if my grocery store corn already has most of its husk removed? ▾
If your store-bought corn only has a thin layer of husk left, you can still make this recipe! Just wrap each ear loosely in a layer of aluminum foil over the remaining husk to trap steam, then grill as directed. Unwrap the foil for the last 2 minutes of cook time to get that perfect light kernel char.
12.Do I have to use cilantro as a finishing herb? I don’t like its taste. ▾
Not at all! Cilantro adds a bright, fresh, citrusy note that pairs beautifully with sweet corn, but you can swap it for any soft fresh herb you love. Chopped fresh chives, flat-leaf parsley, basil, or even a light sprinkle of chopped fresh thyme all make delicious, fresh finishes for the smoky, buttery corn.
13.Can I grill this corn ahead of time for a BBQ, or does it have to be served immediately? ▾
It tastes best served within 30 minutes of coming off the grill for maximum juiciness, but you can hold it for a crowd. Keep peeled, buttered ears wrapped in a clean kitchen towel in an insulated cooler for up to an hour. Skip refrigerating it, as cold temps will make kernels turn tough and starchy.
14.My grilled corn came out chewy and dry instead of tender—what went wrong? ▾
Dry, chewy kernels usually come from one of two common missteps: either you skipped soaking the husks, so there wasn’t enough moisture to create that all-important internal steam, or you grilled over too-high heat for too long, which dried out kernels before they could cook through. Stick to the 20-minute soak and 400–450°F temp next time for juicy results.

Comments (16)

2 days ago

OMG this is such a game changer! I used to shuck all my corn before grilling and end up with half the kernels charred to a crisp, plus so many silks stuck everywhere. Did this for our 4th of July family cookout, everyone kept asking how I got the corn so juicy and sweet. My kids ate two ears each no complaints! SO good.

1 day ago

Wait did you soak the corn first like the recipe says? I’m nervous I’ll burn the husks if I don’t!

1 day ago

Great question! Soaking the corn in cold water for 15-20 minutes before grilling prevents the husks from catching fire and helps steam the kernels perfectly as they cook. No burnt husks, promise!

1 week ago

Perfect easy side for weeknight dinners! Cook time is exactly 20 minutes like the recipe says, no fancy ingredients needed. I made a batch on Sunday to pair with grilled chicken for my lunches all week, and the corn stayed sweet even after reheating. Will 100% be making this all summer.

6 days ago

Love that this works for your meal prep! A quick tip: if you’re reheating, wrap the corn in a damp paper towel for 30 seconds in the microwave to keep that juicy texture.

3 days ago

Brought this to our neighborhood potluck last weekend and it was the first dish gone! People couldn’t believe how easy it was—no foil, no fancy seasonings, just the corn in the husk on the grill. I sprinkled a little cotija and lime on after pulling the husks back for serving, chef’s kiss.

5 days ago

Wait, hold on—am I the only one who still had a ton of silk left after grilling? I followed the directions exactly, pulled the husks back once it cooled a little, and half the silks were still stuck to the kernels. Flavor was great, but the silk mess was annoying.

4 days ago

Oh I had that problem the first time too! If you let the corn rest for 5 minutes after taking it off the grill, the silks slide right off when you pull the husk down. Don’t try to shuck it right away when it’s piping hot!

4 days ago

Great tip from GardenGal_Sue! Letting the corn rest 5 minutes post-grill lets the steam loosen all those stubborn silks, making shucking super easy with zero mess.

2 weeks ago

So easy even I can’t mess this up! I live in a rental with a tiny balcony grill, and this turned out way better than the boiled corn I’ve been making. Put a little butter and salt on after, tastes like summer in a bite. Zero skill required, 10/10.

2 weeks ago

So glad this worked for your small balcony setup! This method is totally forgiving for new cooks, which is why we love it so much.

1 week ago

Was worried this wouldn’t work in our 105 degree summer heat where the grill runs super hot, but it turned out perfect! I turned the ears every 5 minutes like the recipe said, no burnt spots, kernels were tender all the way through. No more standing over a boiling pot in a hot kitchen for me!

yesterday

This is my new go-to corn recipe for our family cookouts! It’s naturally gluten free, no weird additives, and even my super picky 7 year old who hates veggies asks for seconds. I did add a little paprika to the butter I brushed on after, and it was chef’s kiss.

2 hours ago

That paprika butter addition sounds incredible! We love hearing how people customize the recipe to fit their family’s tastes.

30 minutes ago

Help! I tried this last night and my husks caught on fire a little bit? Did I not soak them long enough? The corn still tasted okay but I panicked when I saw flames coming out the grill grate lol.

10 minutes ago

Happened to me the first time too! I only soaked mine for 5 minutes because I was in a hurry. Upped it to 20 minutes after that, zero flames ever since. Make sure the whole ear is submerged, not just the top!

5 minutes ago

Exactly right! A full 15-20 minute soak in cold water, fully submerged, is the trick to prevent husk fires. You can also give the ears a quick shake to get excess water off before putting them on the grill to avoid flare-ups from dripping.

5 days ago

Tried this with the fresh sweet corn from the farmers market this weekend and wow, it tasted like pure summer. The husk locks in all that natural sweetness so you don’t even need a ton of butter. Way better than the foil-wrapped version I’ve done in years past.

1 week ago

Made this for our college football tailgate last weekend! I pre-soaked the corn at home, threw it in a cooler, then grilled it in the parking lot before the game. It was so easy to make for a crowd, everyone was raving. Way less cleanup than foil packs too.

6 days ago

Tailgates are the perfect spot for this recipe! Love that you pre-soaked at home to cut down on prep time at the parking lot—genius hack.

2 hours ago

I’ve tried every grilled corn method out there, and this is hands down the best. No dried out kernels, no messy silk, perfect char on the edges when you pull the husks back at the end to crisp it a little. I’ll never go back to shucking first again.

just now

Wait, can I do this on a charcoal grill or does it only work on gas? I only have a charcoal kettle grill in my backyard and I’m dying to try this this weekend for my kids’ end of summer party.

just now

Works amazing on charcoal! I do it all the time. Just make sure your coals are ashed over and you don’t put the corn directly over super hot flame spots, keep it over medium heat, turn every 5 minutes. Turns out even smokier and better than gas in my opinion!

just now

Couldn’t have said it better! This method works beautifully on charcoal, gas, and even pellet grills as long as you’re cooking at medium heat (around 400°F). The extra smokiness from charcoal is such a nice touch.

2 days ago

Love that this is zero-fuss. I don’t have to shuck ahead, don’t have to wrap in foil, just throw it on the grill while my burgers are cooking. Total set it and forget it side that doesn’t take any extra prep space on my tiny counter. 10/10 for lazy cooks like me.

2 days ago

Low-fuss is the name of the game for summer grilling! It’s the perfect side to toss on the grill while your main dish cooks, no extra work required.

3 days ago

I was skeptical because I thought the husks would make the corn taste grassy or weird, but no! It was so sweet and tender, no weird flavor at all. I even added a little chili lime seasoning after shucking and it tasted just like the street corn I get from my local food truck, minus the mess.

2 weeks ago

Made this at our cabin last week where we only have a tiny old tabletop grill, and it turned out perfect! We picked the corn right from the farm stand down the road, cooked it up, and ate it on the porch watching the sunset. Doesn’t get much better than that.

2 weeks ago

That sounds like the perfect summer evening! Fresh farm corn cooked on a small grill hits different, we’re so glad this recipe worked out for your cabin trip.

5 minutes ago

Quick question—do I have to pull the silks out before grilling? I saw some recipes say to peel back the husk, remove silk, then put the husk back, but this recipe says to just grill it whole. Which is it?

2 minutes ago

Honey, just do what the recipe says! No need to peel back ahead of time. The steam from grilling makes all the silks slide right off once it’s done, it’s like magic. I’ve been making corn this way for 40 years, saves so much time.

1 minute ago

GrandmaCooksBest is exactly right! There’s no need to peel back the husk or remove silks before grilling. The cooking process loosens every last silk so they come off in seconds once you’re ready to eat, which cuts down so much prep work.



