
grill vegetable basket

title 1
grill vegetable basket
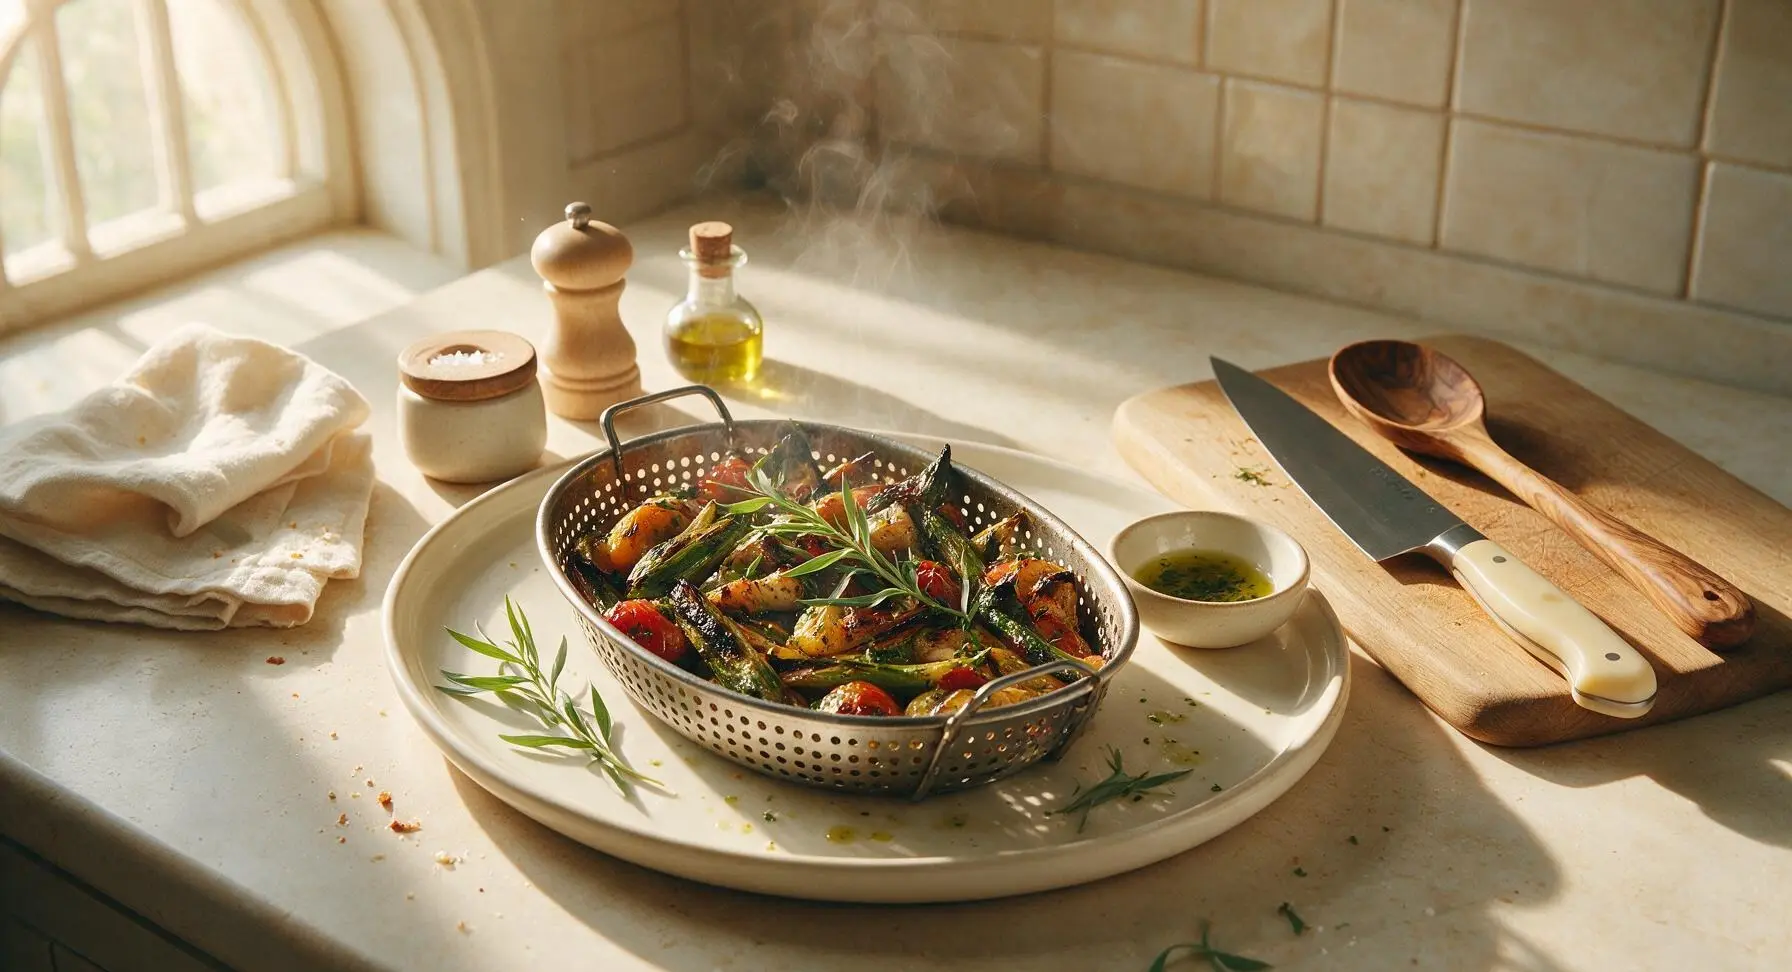
⏱️ cook time 12 minutes
🍽️ servings 4
⚡ Difficulty easy

intro

Smoky, char-kissed seasonal vegetables tossed in herby olive oil, cooked in a perforated grill basket for no-fuss, non-stick results—bright, flavorful, and made for summer cookouts.

Ingredients
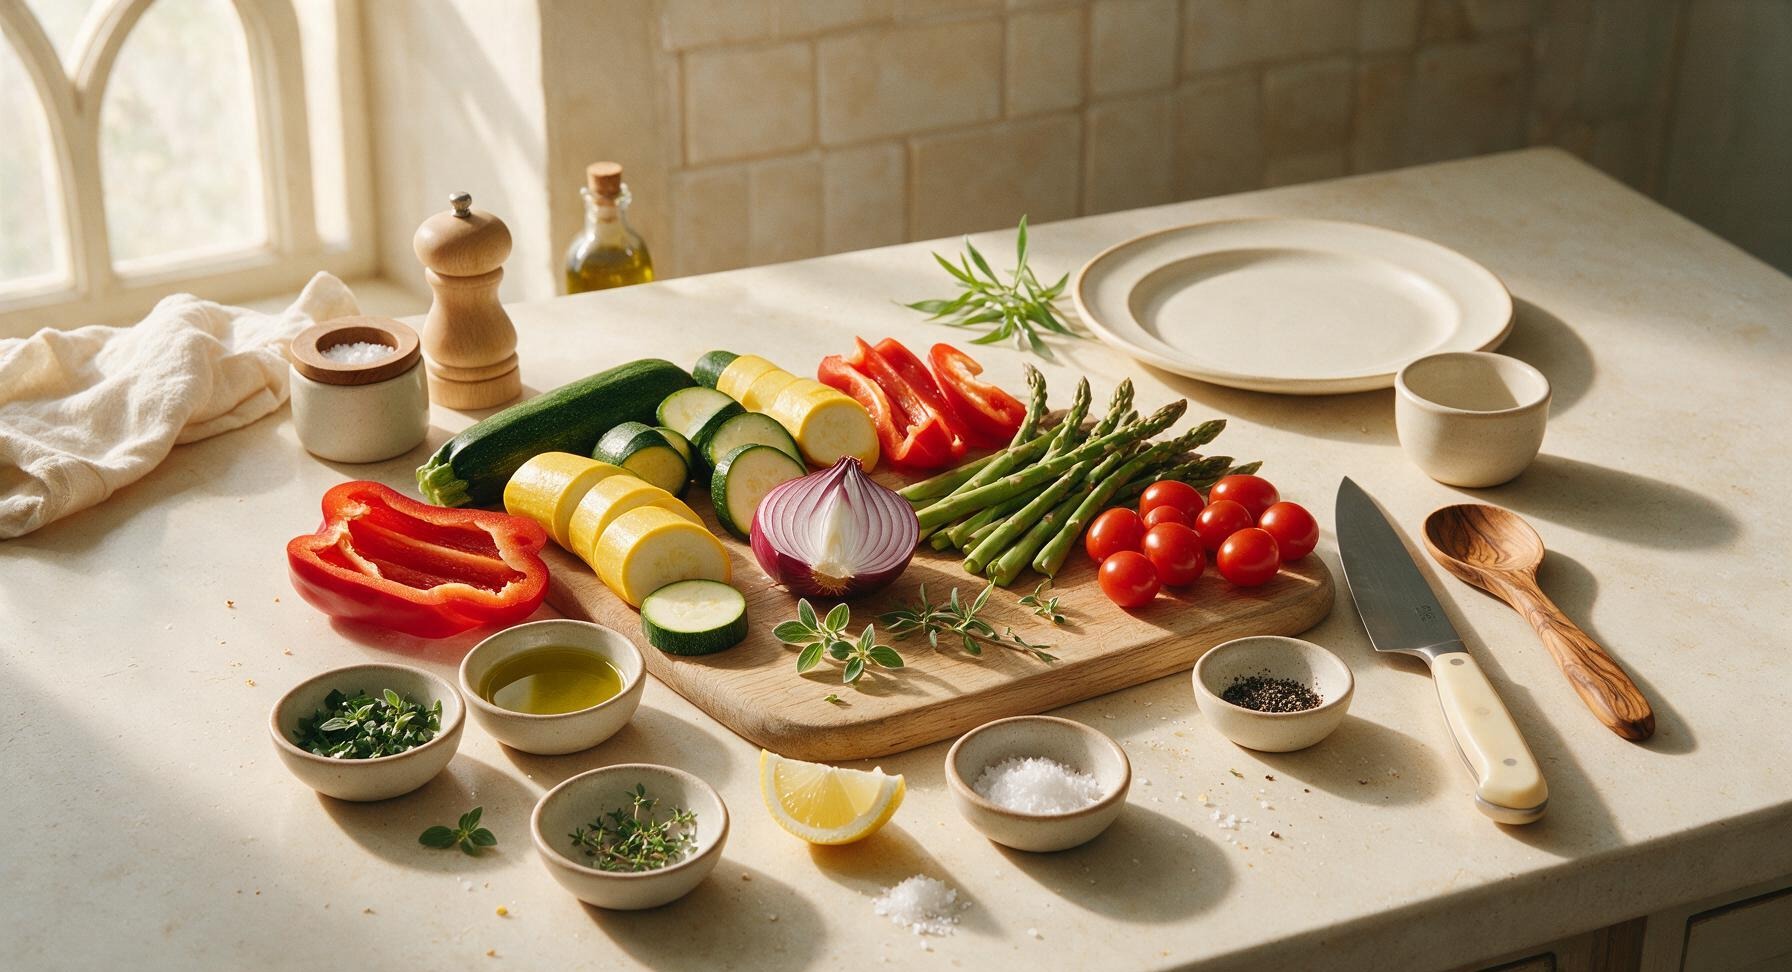
Zucchini 2 medium (300g total)
Yellow summer squash 1 medium (150g)
Red bell pepper 1 large (200g)
Red onion 1 small (120g)
Thin asparagus 1 bunch (200g, woody ends trimmed)
Cherry tomatoes 1 cup (150g)
Extra-virgin olive oil 3 tablespoons
Fresh oregano 1 tablespoon chopped, plus extra for garnish
Fresh thyme 1 teaspoon chopped
Flaky sea salt 1 teaspoon, plus extra to taste
Freshly ground black pepper 1/2 teaspoon
Lemon 1 whole, cut into wedges

Steps

1

Chop Vegetables Evenly

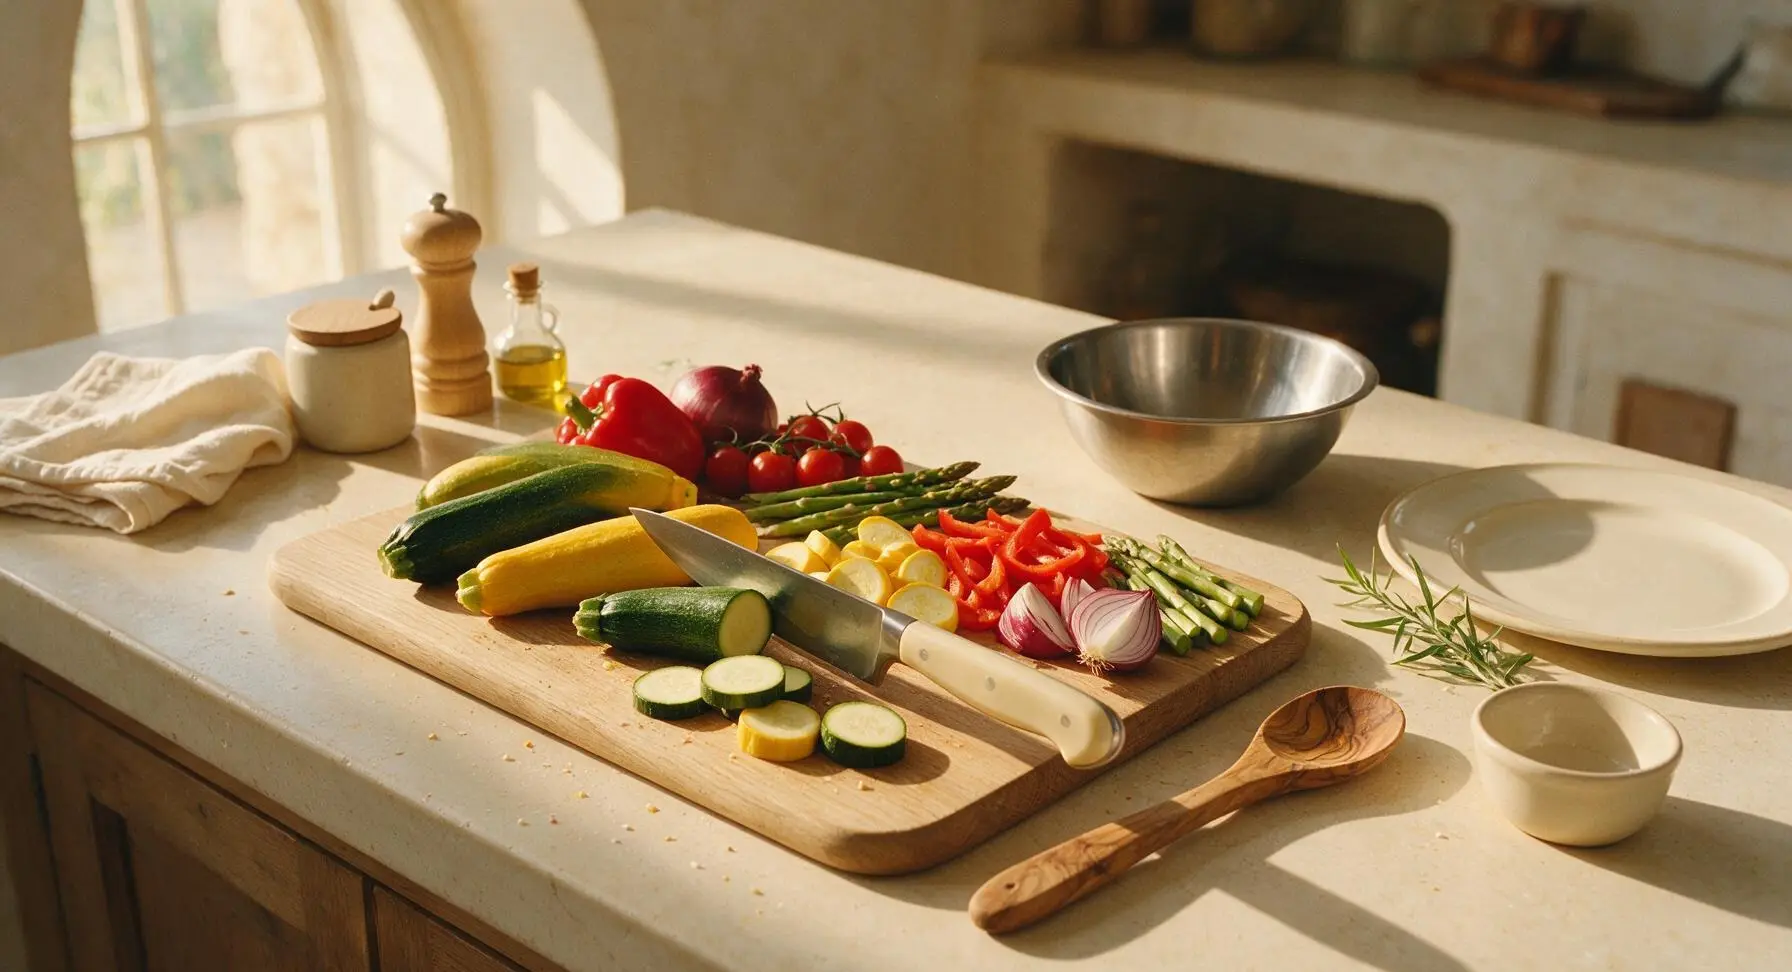
Wash all produce and pat dry with a clean corner of the gingham linen napkin. Place vegetables on the teak cutting board. Using the 8-inch stainless steel chef’s knife, cut zucchini and yellow summer squash into 1/2-inch thick rounds, seed and slice red bell pepper into 1-inch wide strips, cut red onion into 1-inch thick wedges (leave the root end intact to hold wedges together during grilling), trim the woody 1-inch ends from asparagus spears, and leave cherry tomatoes whole. Cut all pieces to a uniform 1/2-1 inch size to ensure even cooking and prevent small pieces from falling through the grill basket mesh.
Step 1
step1:Chop Vegetables Evenly
2

Preheat Grill and Basket

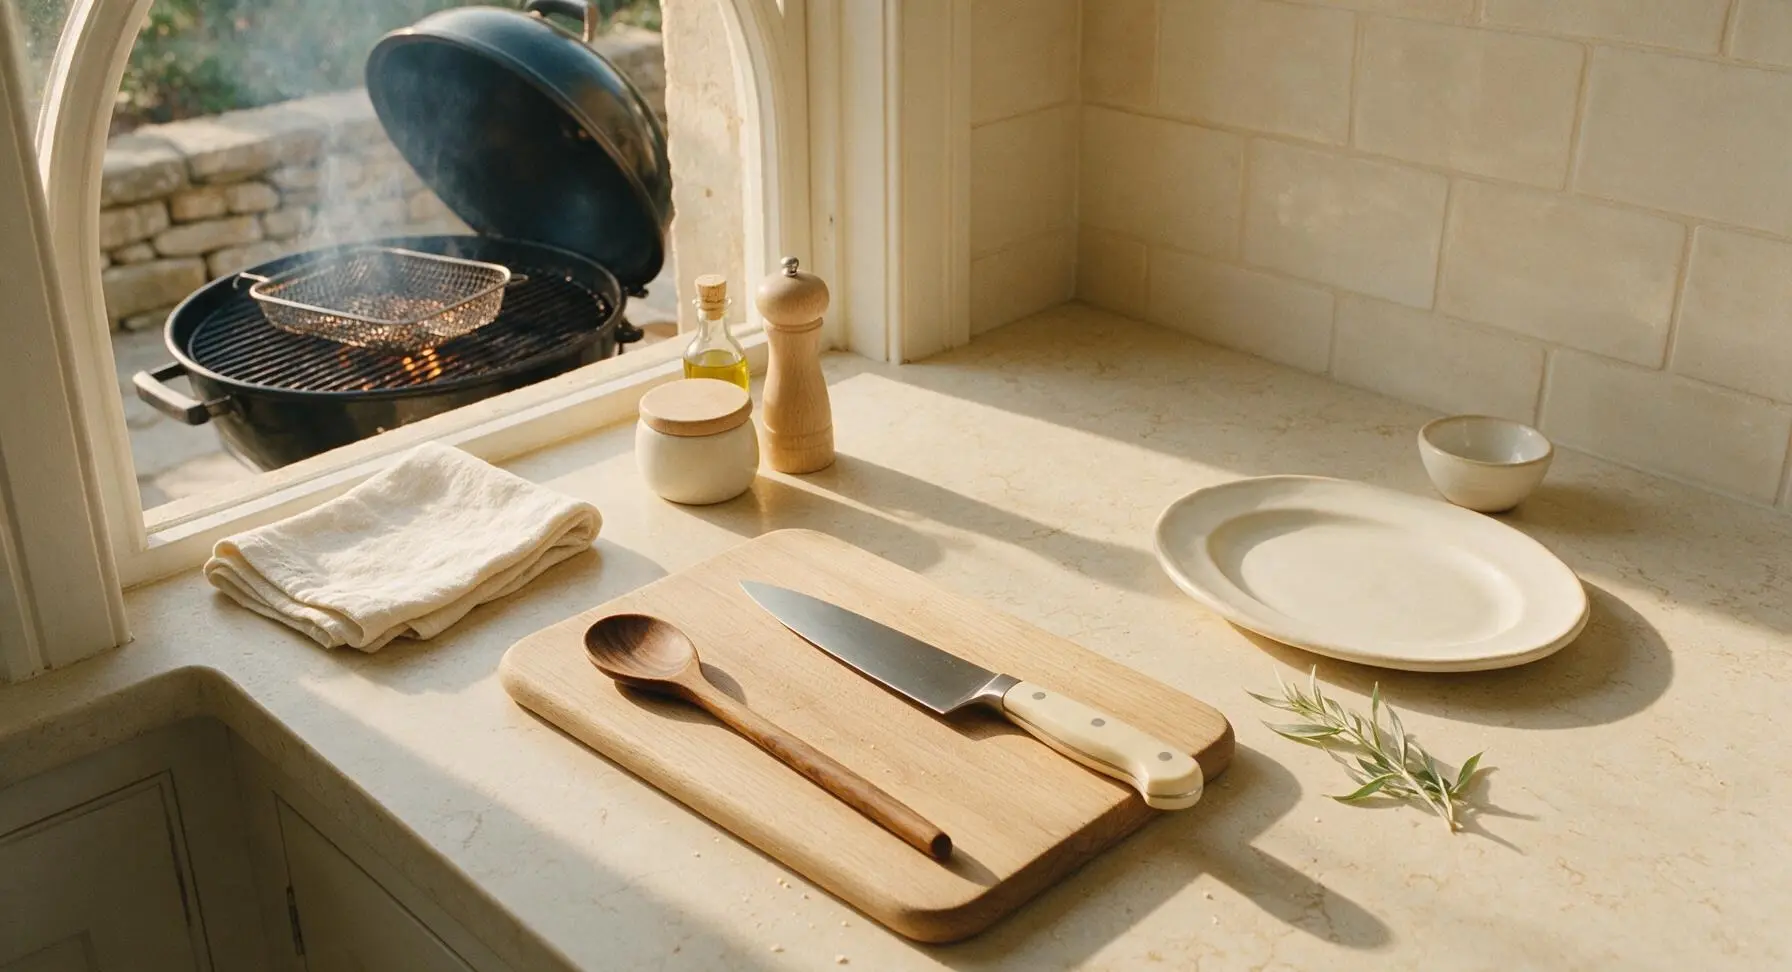
While prepping vegetables, preheat a gas or charcoal grill to medium-high heat (450°F / 230°C). Set the stainless steel mesh grill basket directly on the grill grates, close the grill lid, and let the basket preheat for 3 full minutes. A fully preheated basket creates instant char and prevents vegetables from sticking to the mesh.
Step 2
step2:Preheat Grill and Basket
3

Toss with Herb Seasoning

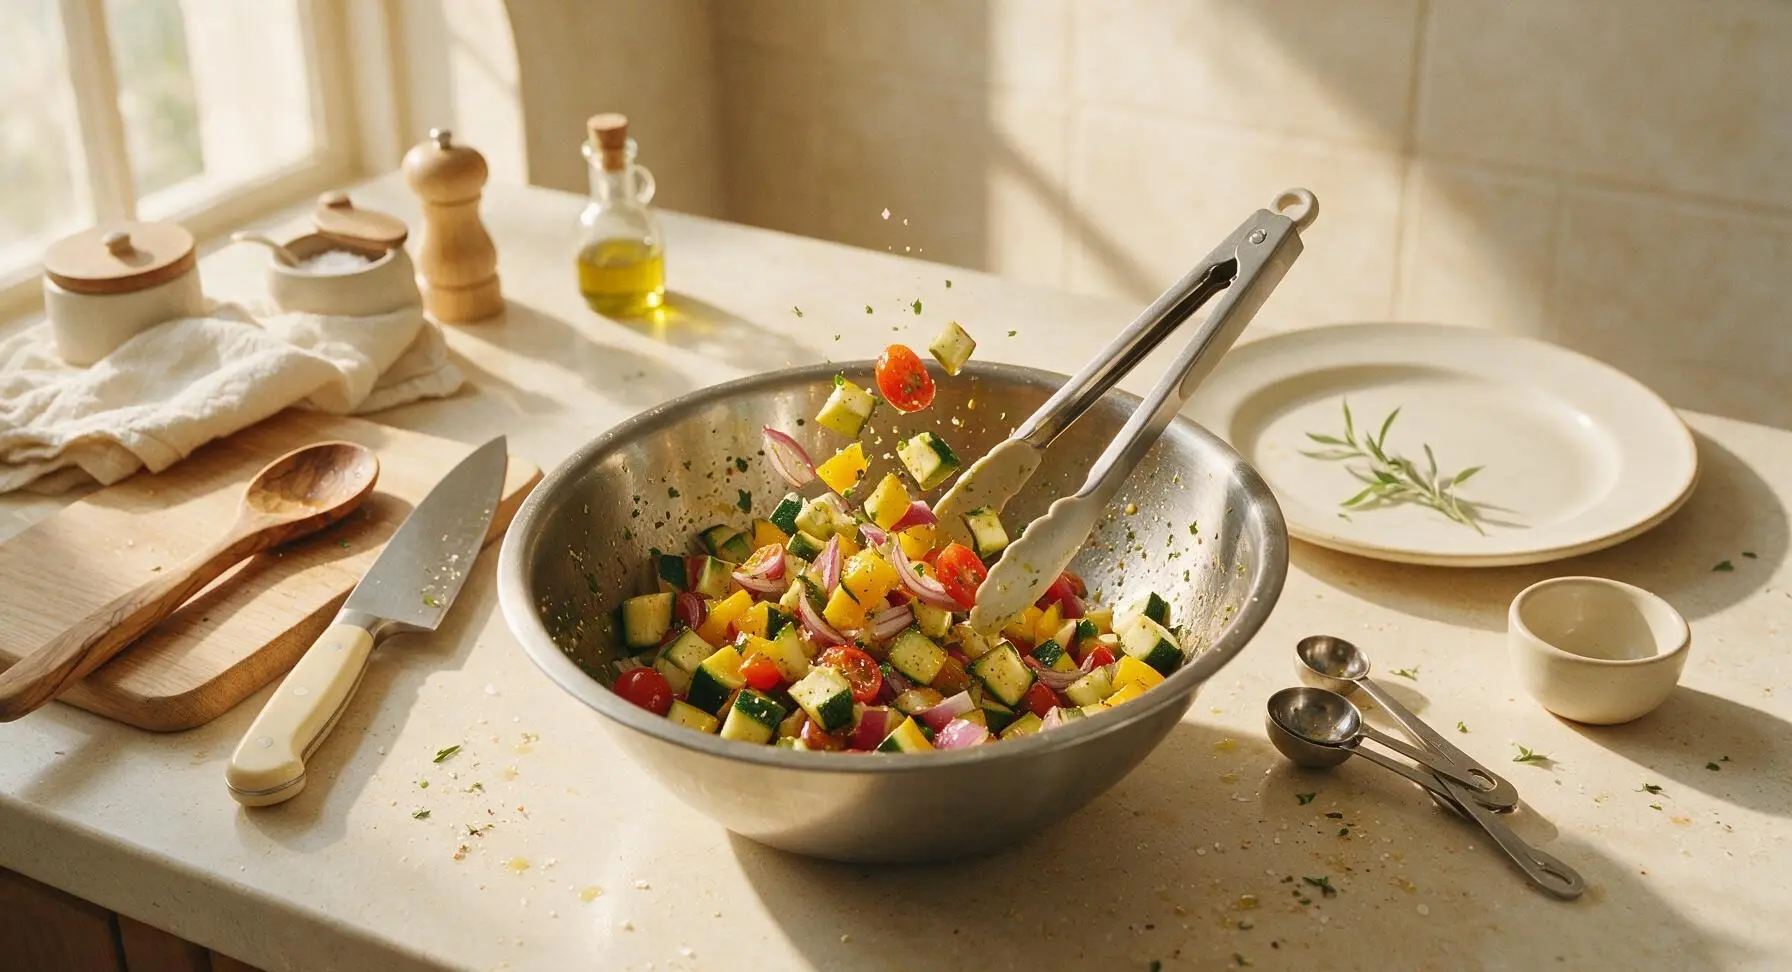
Transfer all uniformly chopped vegetables to the brushed stainless steel mixing bowl. Drizzle with 3 tablespoons extra-virgin olive oil, add 1 tablespoon chopped fresh oregano, 1 teaspoon chopped fresh thyme, 1 teaspoon flaky sea salt, and 1/2 teaspoon freshly ground black pepper. Use the stainless steel silicone-tipped tongs to toss gently for 30 seconds, until every vegetable piece is lightly and evenly coated in oil and herbs. Take care not to squeeze the cherry tomatoes or break apart the onion wedges during tossing.
Step 3
step3:Toss with Herb Seasoning
4

Load Hot Grill Basket

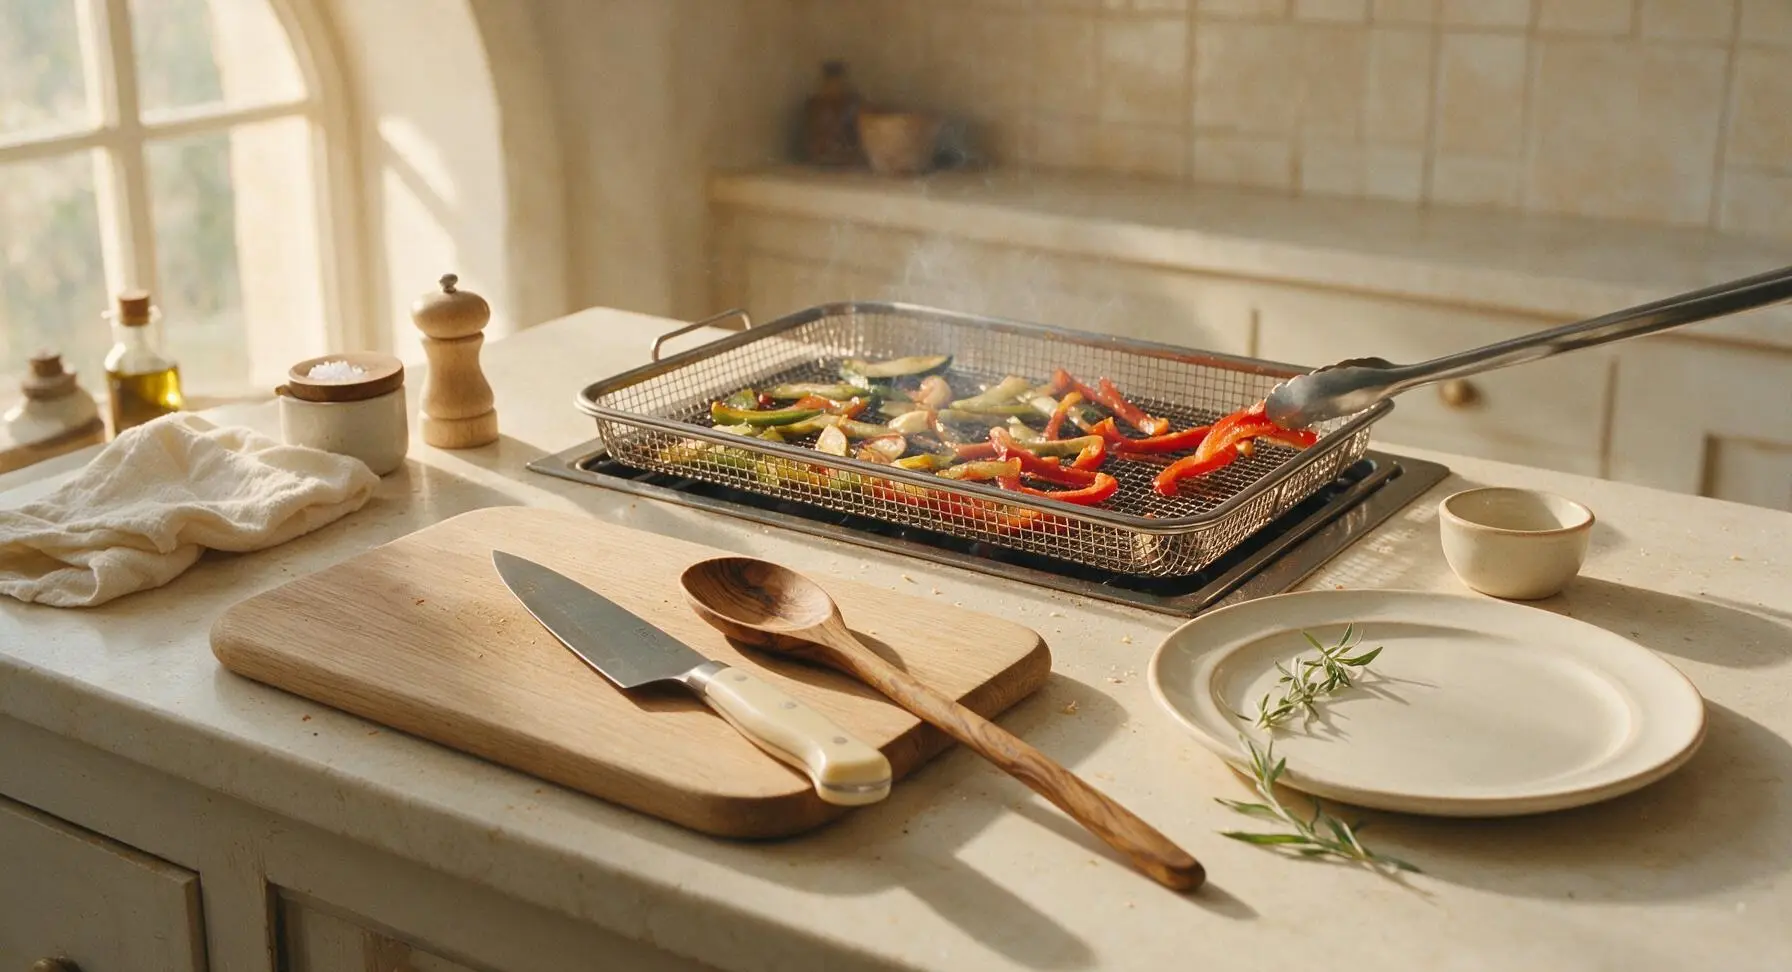
Carefully pull the preheated grill basket from the grill using the rosewood handle, setting it temporarily on the back edge of the soapstone counter. Use the tongs to transfer all oiled, seasoned vegetables from the mixing bowl into the hot basket, spreading them in a single even layer across the mesh bottom. Do not overpack: leave small gaps between pieces to let steam escape and encourage char formation; cook in two small batches if your basket is too small to hold all veg in a single layer.
Step 4
step4:Load Hot Grill Basket
5

Grill to Perfect Char

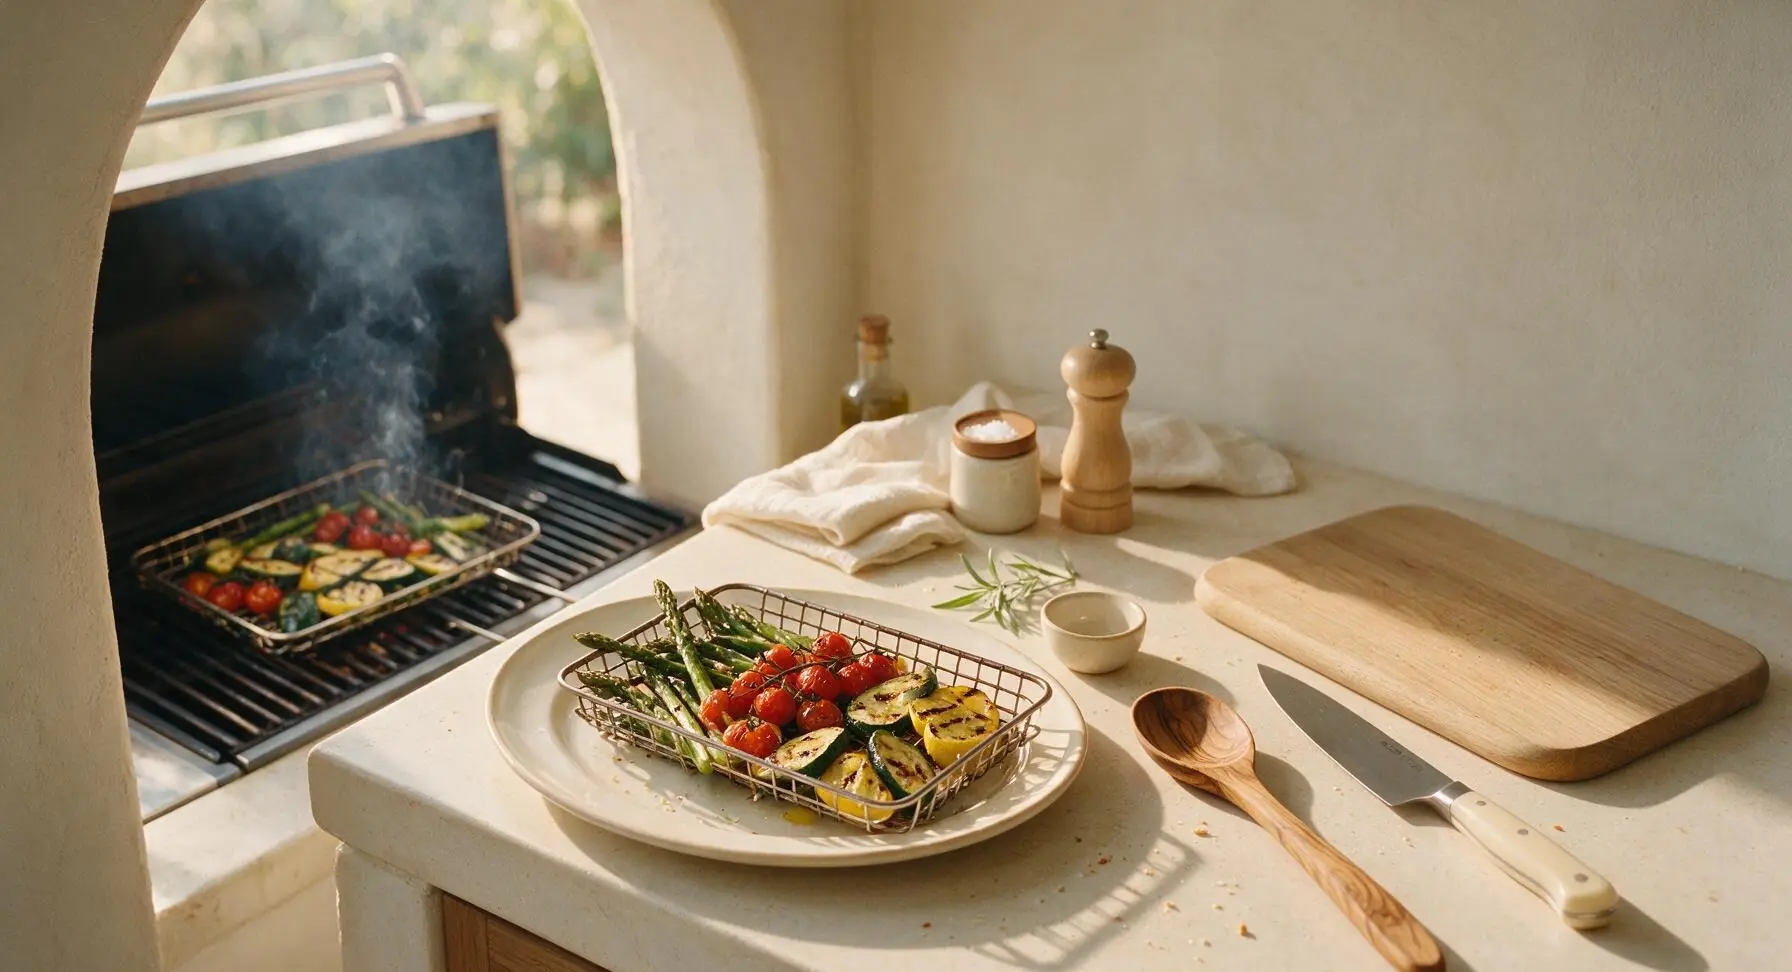
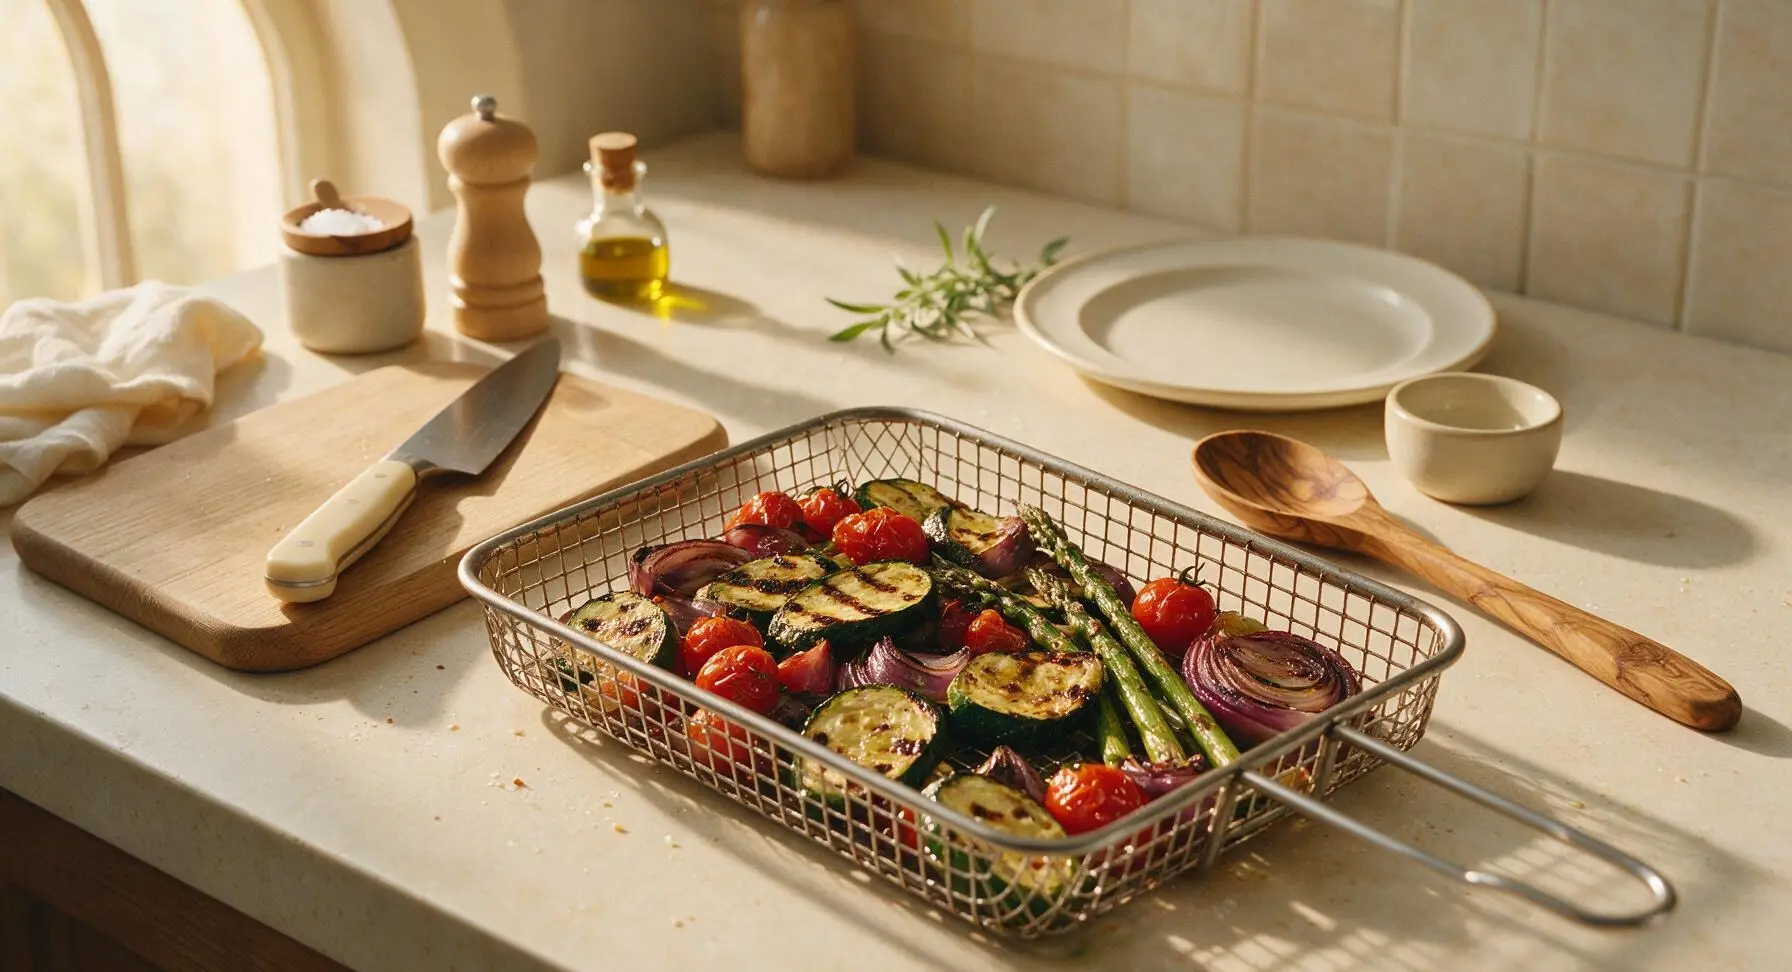
Return the filled grill basket to the 450°F (230°C) grill grates. Close the grill lid and cook for 6 minutes, then use the tongs to grip the basket handle and shake firmly to flip and rotate the vegetables. Close the lid and cook for an additional 5-6 minutes, until vegetables are crisp-tender with dark golden char marks along edges, cherry tomatoes are slightly blistered and just starting to burst, and asparagus yields easily when pierced with the tip of a knife. Total cook time is 11-12 minutes; do not overcook, as vegetables will turn mushy if left on the heat too long.
Step 5
step5:Grill to Perfect Char
Step 5
step5:Grill to Perfect Char
6

Rest and Adjust Seasoning

Carefully lift the hot grill basket from the grill using oven mitts, setting it on the corner of the folded red gingham napkin to protect the countertop from heat damage. Let vegetables rest in the basket for 2 minutes to allow juices to redistribute, then taste a small piece and add a pinch more flaky sea salt if needed. Squeeze 1 teaspoon of fresh lemon juice from the lemon in the galvanized cup over the top for bright, acidic balance.
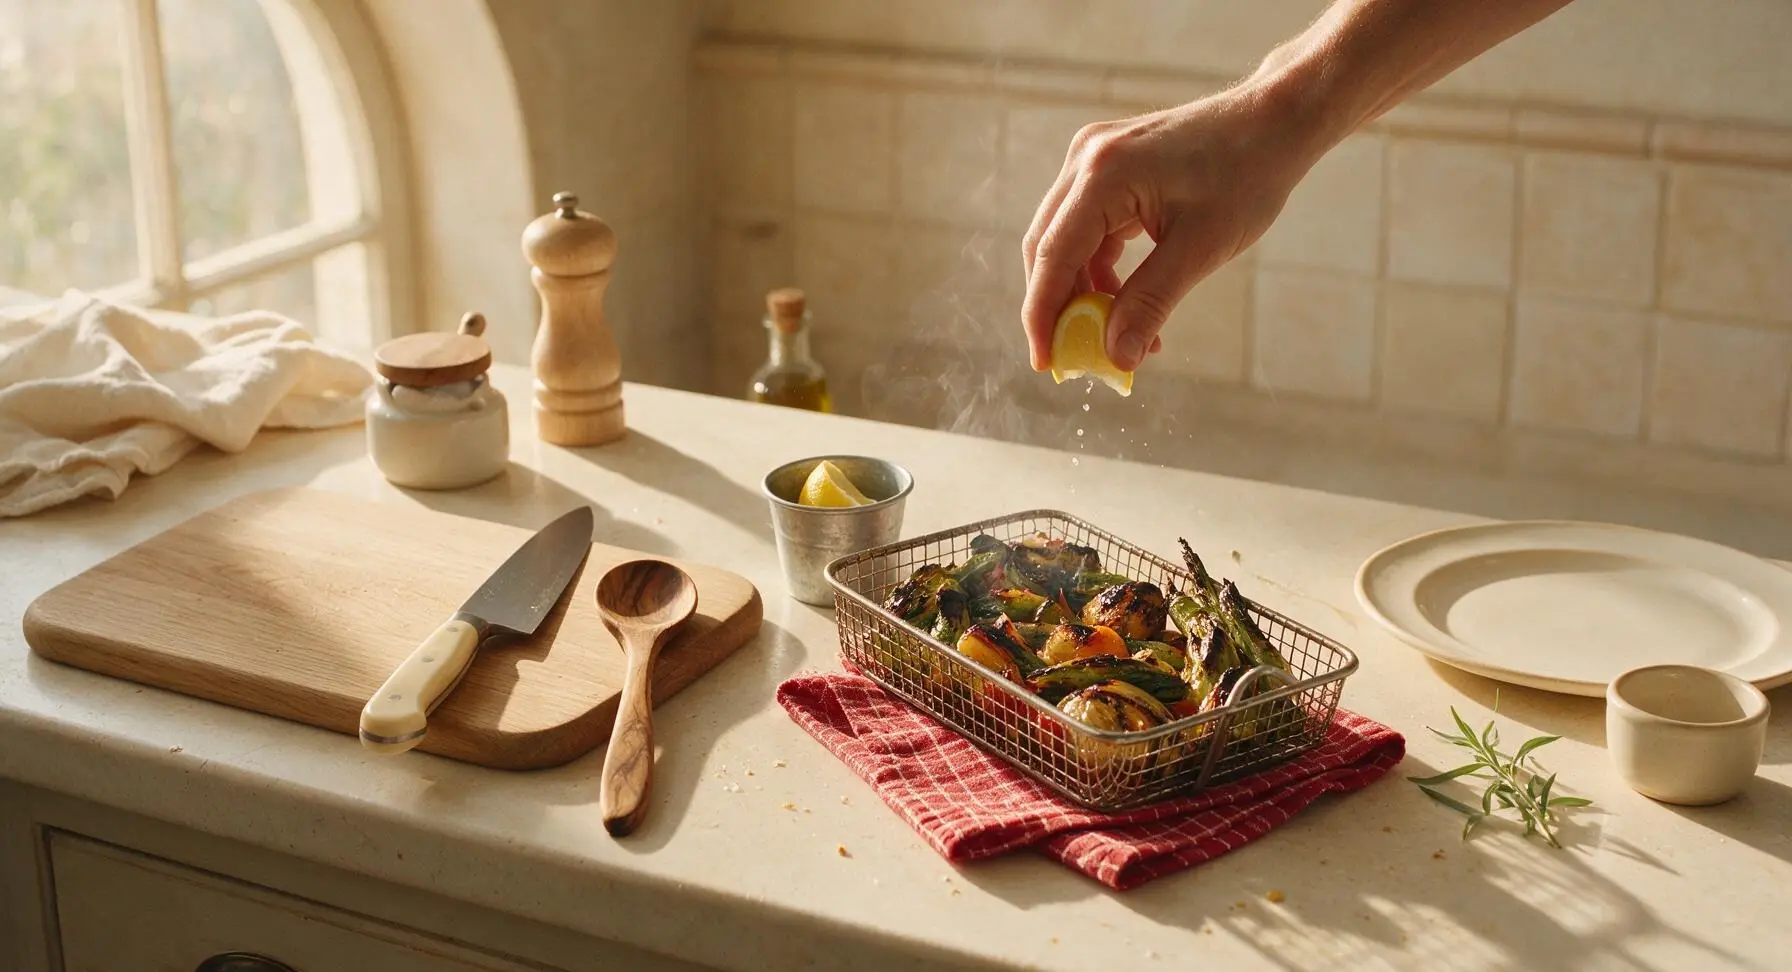
Step 6
step6:Rest and Adjust Seasoning
7

Plate and Garnish

Use the tongs to transfer all grilled vegetables from the basket to the matte terracotta serving platter, piling them loosely for an abundant, casual presentation. Scatter a few whole fresh oregano leaves over the top, and tuck remaining lemon wedges around the platter edge for guests to squeeze over their portions as desired.
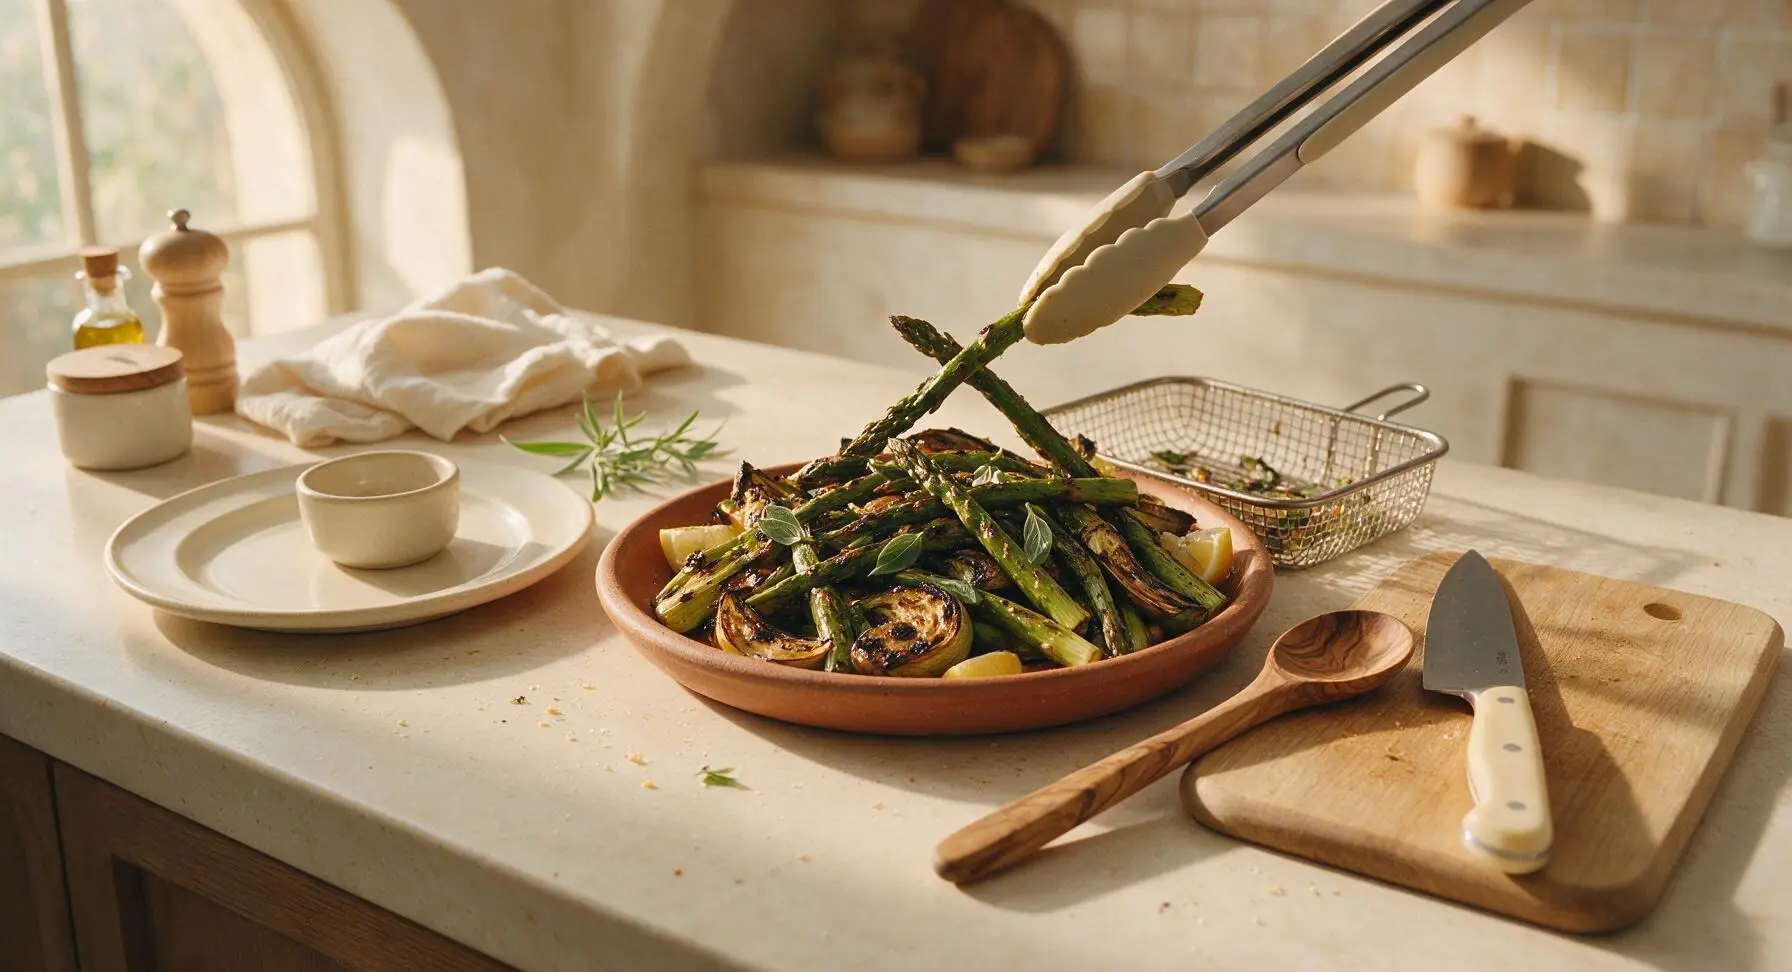
Step 7
step7:Plate and Garnish

Tips

1.Cut all vegetables to a uniform 1/2–1 inch size: pieces smaller than 1/2 inch will fall through the grill basket mesh and burn on the grill grates, while pieces larger than 1 inch will cook unevenly, leaving raw centers and over-charred edges.
2.Always preheat your grill basket for 3 full minutes before adding vegetables: a cold mesh surface will cause delicate veggie skins to stick and tear, while a hot surface creates an instant seared crust and signature smoky char without sticking.
3.Resist the urge to stir or shake the vegetables for the first 6 minutes of grilling: letting them sit undisturbed allows deep, flavorful char marks to form; frequent stirring leads to pale, steamed-tasting vegetables with none of the signature grilled smokiness.


✨ You May Also Like

BBQ & Grilling
🍜 United States

Tender, melt-in-your-mouth beef brisket with a crisp, spiced bark, slow-smoked to deep smoky perfection, the iconic centerpiece of Texas backyard barbecue.

⏱️ 12 hours BBQ & Grilling ★ 4.4
BBQ & Grilling
🍜 Korea

Tender, sweet-savory marinated beef short ribs, a beloved Korean BBQ staple with caramelized, slightly charred edges and deep umami flavor, perfect for outdoor summer gatherings.

⏱️ 4 hours 2BBQ & Grilling ★ 4.8
BBQ & Grilling
🍜 United States

Juicy grilled beef patties topped with smoky homemade chili, melted cheddar, and tangy pickles on toasted brioche buns for a hearty, flavor-packed handheld meal.

⏱️ 40 minuteBBQ & Grilling ★ 4.7
BBQ & Grilling
🍜 United States

A sweet, smoky, tangy BBQ sauce brightened with peak-season dark cherries, ideal for glazing grilled ribs, chicken, pork, or summer roasted veggies.

⏱️ 35 minuteBBQ & Grilling ★ 4.7
BBQ & Grilling
🍜 United States

Rich, smoky, slightly sweet homemade bourbon BBQ sauce with deep caramel notes, ideal for glazing grilled ribs, chicken, and burgers at cookouts.

⏱️ 25 minuteBBQ & Grilling ★ 4.7
BBQ & Grilling
🍜 United States

Iconic Alabama-style BBQ featuring tender hickory-smoked chicken slathered in tangy creamy white sauce, a beloved regional Southern cookout staple.

⏱️ 3 hoursBBQ & Grilling ★ 5

grill vegetable basket:Frequently Asked Questions

1.Do I have to use a perforated grill basket, or can I cook these veggies directly on grill grates? ▾
You can cook these veggies directly on well-oiled grates, but a perforated grill basket cuts down on lost small pieces (like thin asparagus tips), prevents messy sticking without constant re-oiling, and lets you toss all the veggies at once for even char without flipping every piece individually. It’s especially handy for soft squash slices that tear easily when moved mid-cook.
2.How small should I cut the vegetables to make sure they cook evenly? ▾
Cut zucchini and yellow squash into ½-inch thick half-moons, bell pepper into 1-inch chunks, red onion into ¾-inch wedges (leave the root end intact to hold layers together), and trim asparagus to 2-inch lengths. This size ensures no pieces fall through basket holes, and everything finishes cooking at the same rate without mushy spots or undercooked crunch.
3.Can I prep these vegetables ahead of time for a summer cookout? ▾
Absolutely! You can chop all the veggies up to 24 hours in advance, storing them in an airtight container lined with paper towels in the fridge to absorb excess moisture. Don’t toss them with oil and herbs until right before grilling, though—oiling or salting too early will draw out water and make them steam instead of developing nice char.
4.What type of oil is best for tossing these veggies before grilling? ▾
Reach for a high-smoke-point oil to avoid burnt, bitter flavors—extra-light olive oil, avocado oil, or grapeseed oil all work perfectly. Skip regular extra-virgin olive oil for the pre-grill toss if you’re cooking over 425°F, since its lower smoke point can break down over high heat; save it for a light final drizzle if you love its bright flavor.
5.My grilled veggies always turn out mushy instead of charred—what am I doing wrong? ▾
The two most common culprits are overcrowding the basket and cooking over too-low heat. Make sure your grill is preheated to medium-high (425–450°F), don’t pack veggies more than 1 inch deep in the basket (cook in batches if needed), and resist stirring too often—let them sit 3–4 minutes between tosses to build that smoky, crisp char.
6.Can I add other vegetables to the basket besides the zucchini, squash, peppers, onion, and asparagus listed? ▾
Of course! This recipe is built for flexible seasonal summer produce, so feel free to swap in or add halved cherry tomatoes, trimmed green beans, 1-inch cubed eggplant, or small button mushrooms. Just stick to the ½–1 inch cut size for even cooking, and pat extra-moist veggies like eggplant dry before tossing in oil.
7.How do I keep the thin asparagus from getting overcooked and floppy? ▾
Since thin asparagus cooks faster than squash and peppers, cut it into 2-inch pieces, and make sure your grill is fully preheated before adding the basket. The high heat will char the exterior quickly over 8–10 total minutes of cook time, leaving asparagus tender-crisp instead of limp; avoid keeping the grill covered the whole time, which traps steam and causes sogginess.
8.What seasonings work well with these veggies besides the basic herby olive oil? ▾
The herby oil base is super versatile—try adding ½ teaspoon of smoked paprika for extra smokiness, a pinch of red pepper flakes for gentle heat, a sprinkle of garlic powder, or a light dusting of parmesan in the last minute of cooking. A squeeze of fresh lemon juice right when you pull the basket off the grill also brightens every bite perfectly.
9.Do I need to oil the grill basket itself before adding the veggies? ▾
It’s a smart extra step for zero sticking, even if your basket is marketed as non-stick. Once the grill is preheated, use tongs to rub a paper towel dipped in a little high-smoke-point oil over the basket interior before adding your oil-tossed veggies. Skip cooking spray directly on hot grill parts, since most sprays have a low smoke point and leave sticky residue.
10.How long do these veggies take to cook fully on the grill? ▾
At a steady medium-high heat (425–450°F), they’ll take 10–12 minutes total, tossed every 3–4 minutes, until they have dark golden char marks and are crisp-tender when poked with a fork. If you prefer softer, more well-done veggies, you can cook them for up to 15 minutes, but move the basket to a cooler grill zone to avoid burning onion and pepper edges.
11.Can I make this vegetable basket on a charcoal grill instead of a gas grill? ▾
Absolutely—charcoal will actually give the veggies an even deeper, smokier flavor that’s perfect for summer cookouts. Wait for the coals to turn ashy gray and spread them in an even layer before setting your basket over the heat, and keep a small cool zone on one grill side so you can move the basket if oil-drip flare-ups char veggies too fast.
12.What’s the best way to serve these grilled veggies? ▾
They’re delicious served straight from the basket as a classic cookout side for burgers, brats, or grilled chicken, but you can also toss them with cooked pasta and pesto, pile them on toasted ciabatta for a veggie sandwich, serve them over hummus as an appetizer, or toss with a little balsamic glaze for a bright, tangy kick.
13.How do I stop annoying grill flare-ups when cooking the veggie basket? ▾
First, don’t douse the veggies in excess oil—2–3 tablespoons per full batch is all you need to get good char without drips that spark flames. If you get sudden flare-ups, slide the basket over to your grill’s cool zone for 30–60 seconds until flames die down; never spray water on flare-ups, which kicks up ash and makes veggies taste sooty.
14.Can I make this recipe indoors if I don’t have access to an outdoor grill? ▾
You can get very similar results indoors! Use a stovetop grill pan with raised ridges, or a perforated grill basket designed to fit over a gas stovetop burner, and run your kitchen exhaust fan on high to cut down on smoke. Cook over medium-high heat with the same toss frequency, and you’ll get nice charred, tender veggies without an outdoor setup.
15.How should I store leftover grilled veggies, and how long will they stay good? ▾
Let the veggies cool completely to room temperature, then transfer them to an airtight container and store them in the fridge for up to 4 days. They’re great cold tossed into green salads, or reheated quickly in a dry skillet over medium heat for 2–3 minutes—avoid microwaving them, which turns them mushy and erases that nice charred texture.
16.Should I salt the vegetables before grilling, or wait until they’re done cooking? ▾
Lightly salt the veggies right as you toss them with oil, immediately before they go on the grill—salting more than 15 minutes before cooking will draw out excess moisture that makes veggies steam instead of char. Use coarse kosher salt for even seasoning, and do a quick taste test off the grill to add a tiny extra pinch and fresh black pepper if needed.
17.My grill basket has really small perforations—do I need to adjust my prep or cook time? ▾
If your basket has perforations smaller than ¼ inch, you can cut veggies a little smaller if you prefer, just double check that no tiny asparagus tips or squash bits are sticking through the holes before cooking. Smaller holes reduce airflow a bit, so add 2–3 minutes of cook time to get that same crisp char, and toss slightly more often to avoid steaming.

Comments (3)

2 days ago

OMG this grill vegetable basket was such a game changer for our weekend cookout! I tossed in zucchini, bell peppers, red onion and a handful of cherry tomatoes, tossed with that garlic olive oil mix the recipe calls for, and it was done in literally 12 minutes flat. My kids loved it – they usually turn their nose up at veggies but went back for SECONDS. No more veggies falling through the grill grates, hallelujah! 10/10 will be making this every time we grill out this summer.

yesterday

Wait did you add any extra seasoning? I’m making this for a neighborhood potluck next weekend and wondering if a little Cajun kick would work here!

2 hours ago

Great question, Jake! A little Cajun seasoning would be absolutely delicious with these veggies – we’ve also tested it with smoked paprika for a smoky, deep flavor that pairs perfectly with burgers and grilled chicken. So happy the recipe was a hit for your family cookout, BBQMomma2024, it makes our day to hear even veggie-skeptical kids love it!

3 days ago

So easy to throw together for weeknight meal prep! I was worried grilled veggies would get too mushy when reheated, but cooking them for exactly 12 minutes like the recipe says leaves them perfectly crisp-tender. I portion them out with grilled chicken and quinoa for my work lunches all week, and they hold up so well. SO good, way better than steaming veggies in the microwave every night.

2 days ago

Love that you’re using this for meal prep, Mia! Pro tip: if you plan to reheat the veggies later, pull them off the grill a minute early to keep that perfect crisp-tender texture all week long. Thanks for leaving such a thoughtful review!

1 week ago

Made this on our camping trip last weekend using our portable tabletop grill, and it was perfect! We threw in some mushrooms and summer squash from a local farmers market on the drive up to the campground, tossed a little grated parmesan on top right when it came off the heat, and everyone at our adjacent campsites was asking for the recipe. Super quick, barely any cleanup, which is exactly what you want when you’re camping without a full kitchen setup. Would absolutely make again for our next outdoor trip.



