
Grilled Cheese Panini
intro
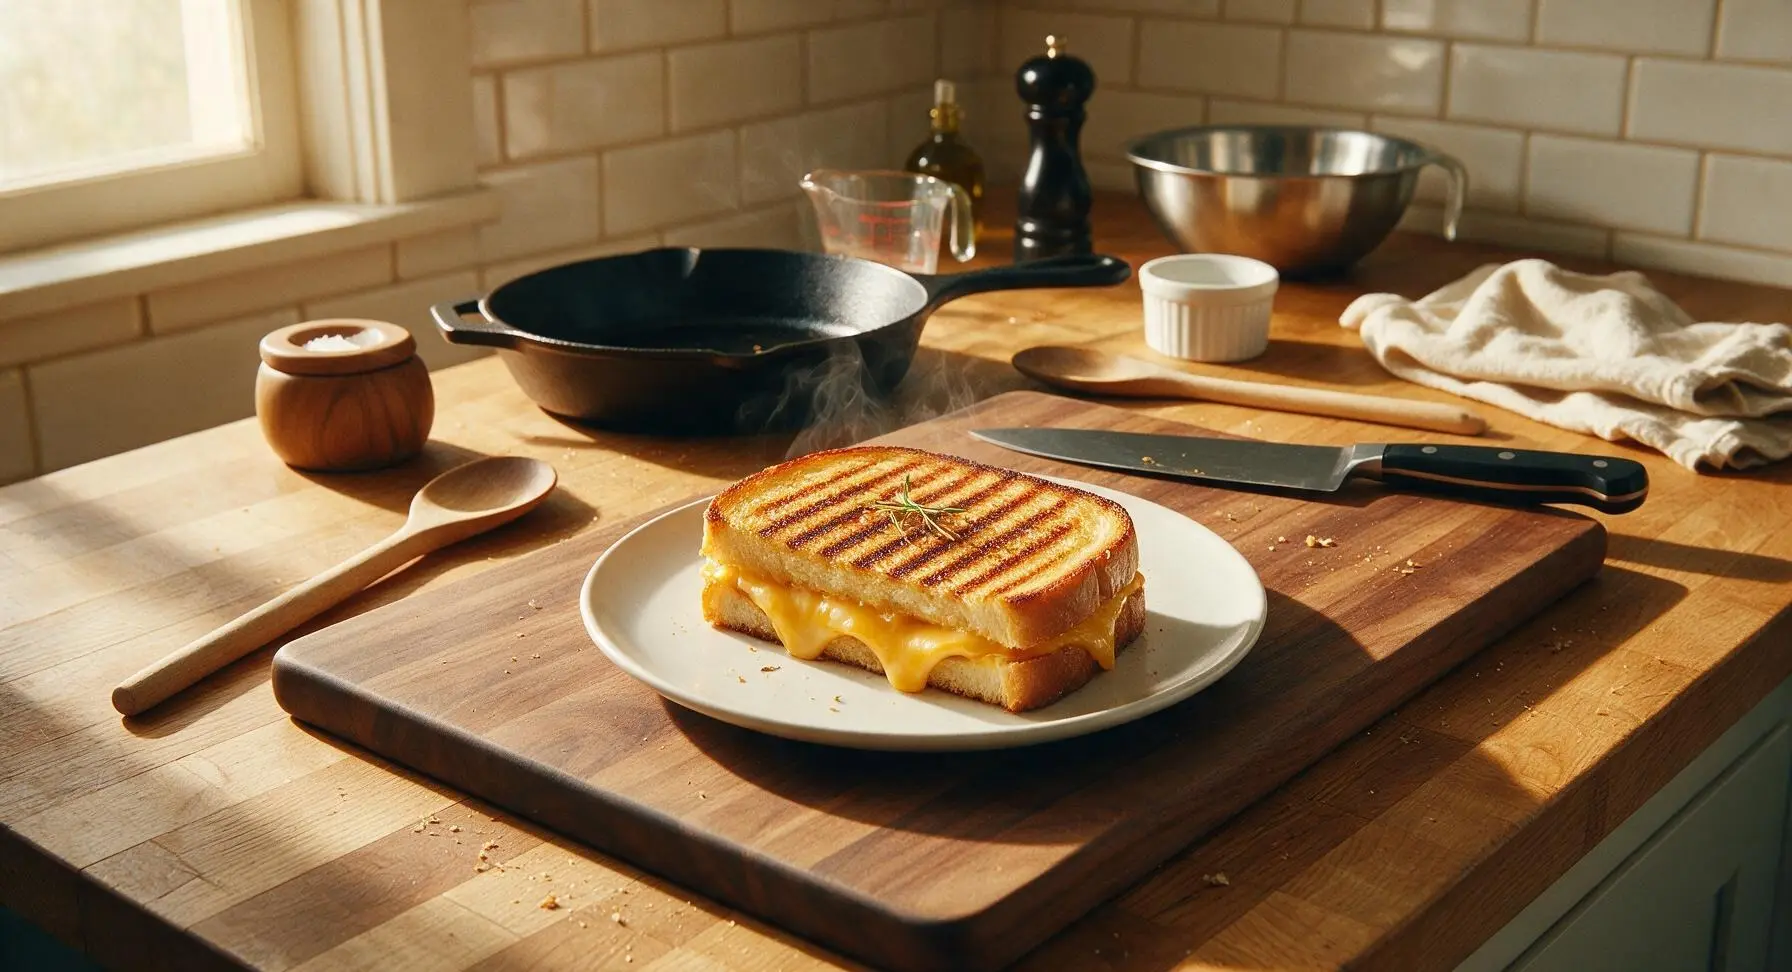
Crisp, golden ridged bread oozing with melted, stretchy cheese, pressed to toasty perfection. This classic grilled cheese panini is cozy, fast, and endlessly satisfying.
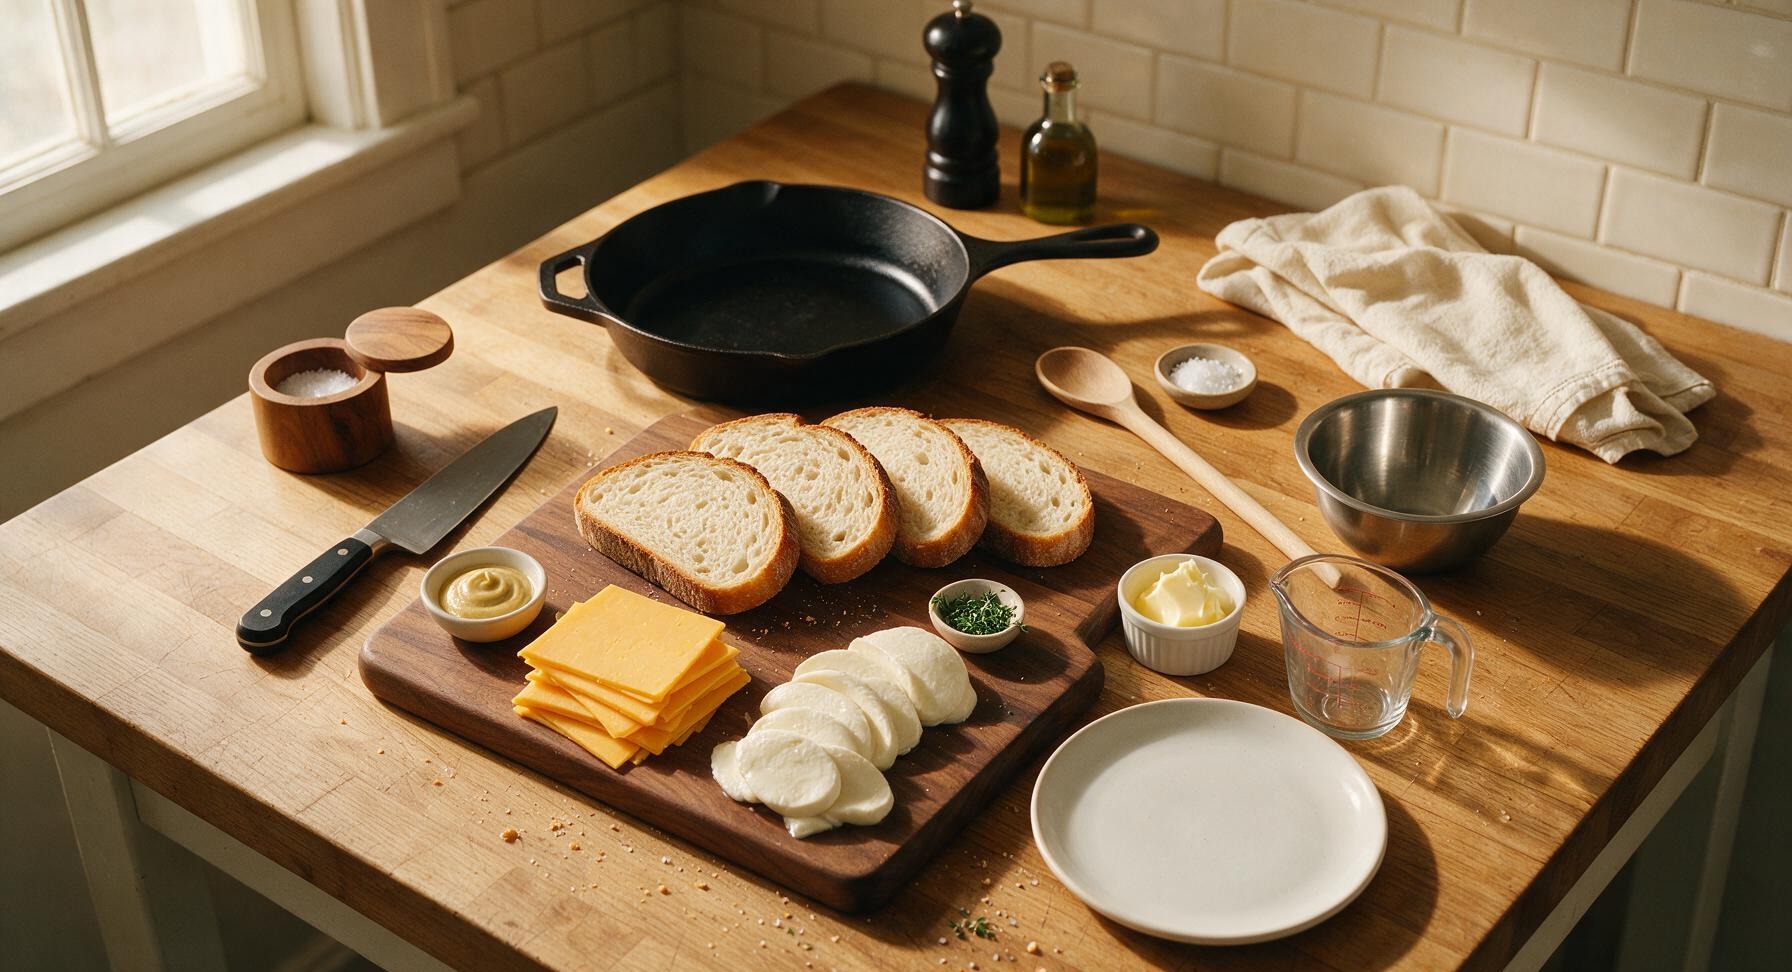
Ingredients
Steps
Preheat Panini Press
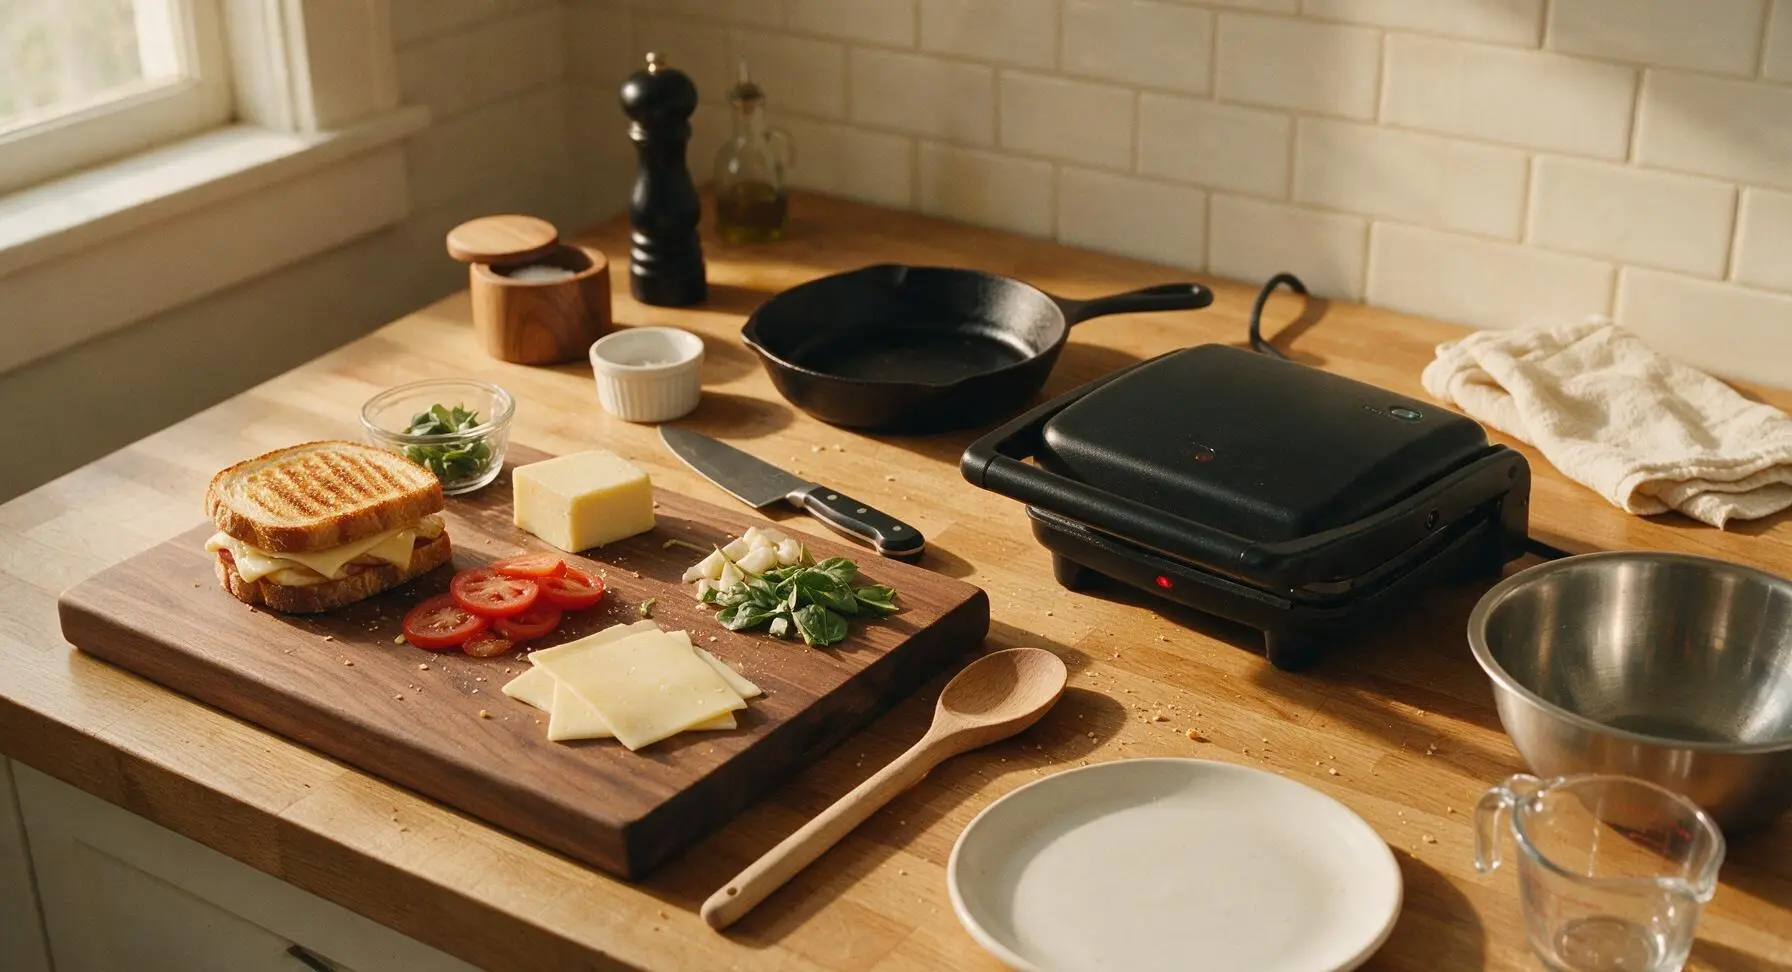
Place the panini press on the right side of the counter and plug it in to preheat to 190°C (375°F). Close the lid and allow the ridged cast iron plates to heat fully for 3 minutes while you assemble the sandwiches; a fully hot press creates an immediate crisp sear to prevent soggy, steamed bread.
Butter Bread Slices
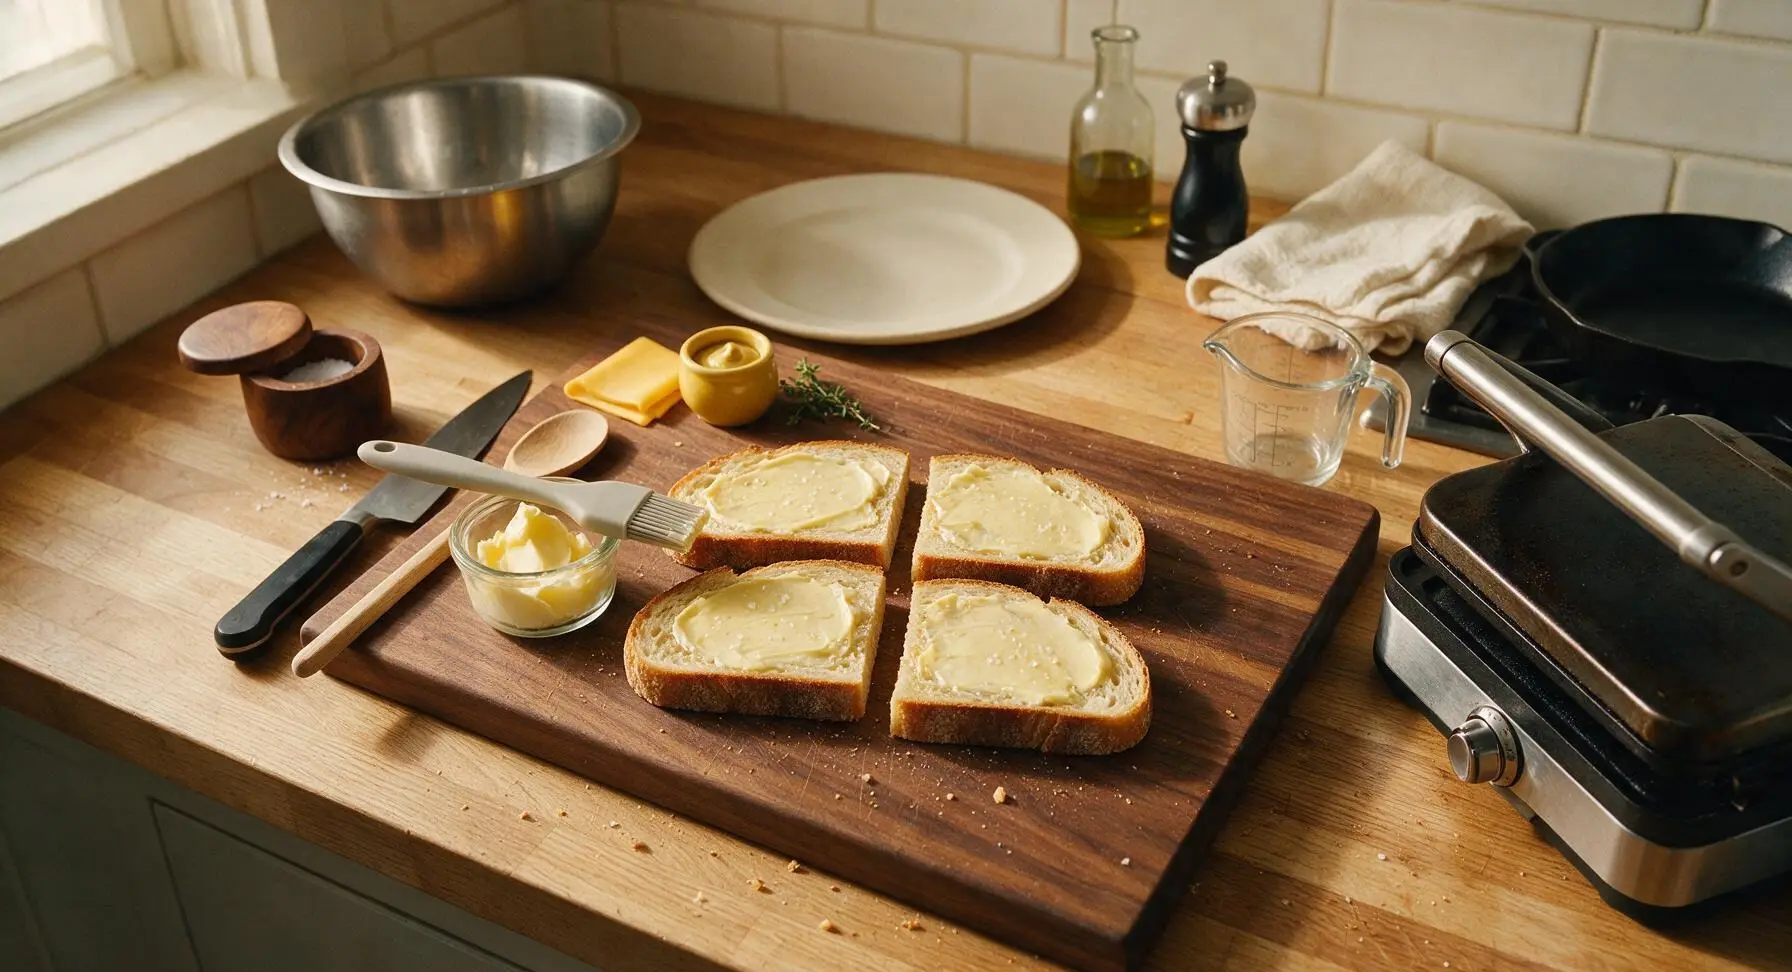
Arrange all 4 sourdough slices flat on the center of the maple cutting board. Use the silicone butter brush to spread 30g softened unsalted butter evenly across one full side of each slice, spreading all the way to the crust edges. Sprinkle a tiny pinch of flaky sea salt over the buttered surfaces to enhance the bread’s nutty, toasty flavor.
Spread Mustard Base
Flip two of the buttered bread slices over so the unbuttered side faces up. Spread 1 teaspoon of Dijon mustard evenly across the unbuttered surface of each of these two slices, which will form the interior base of the sandwiches. Sprinkle 1 teaspoon finely chopped fresh thyme and 1/8 tsp cracked black pepper over the mustard for subtle herby, tangy depth.
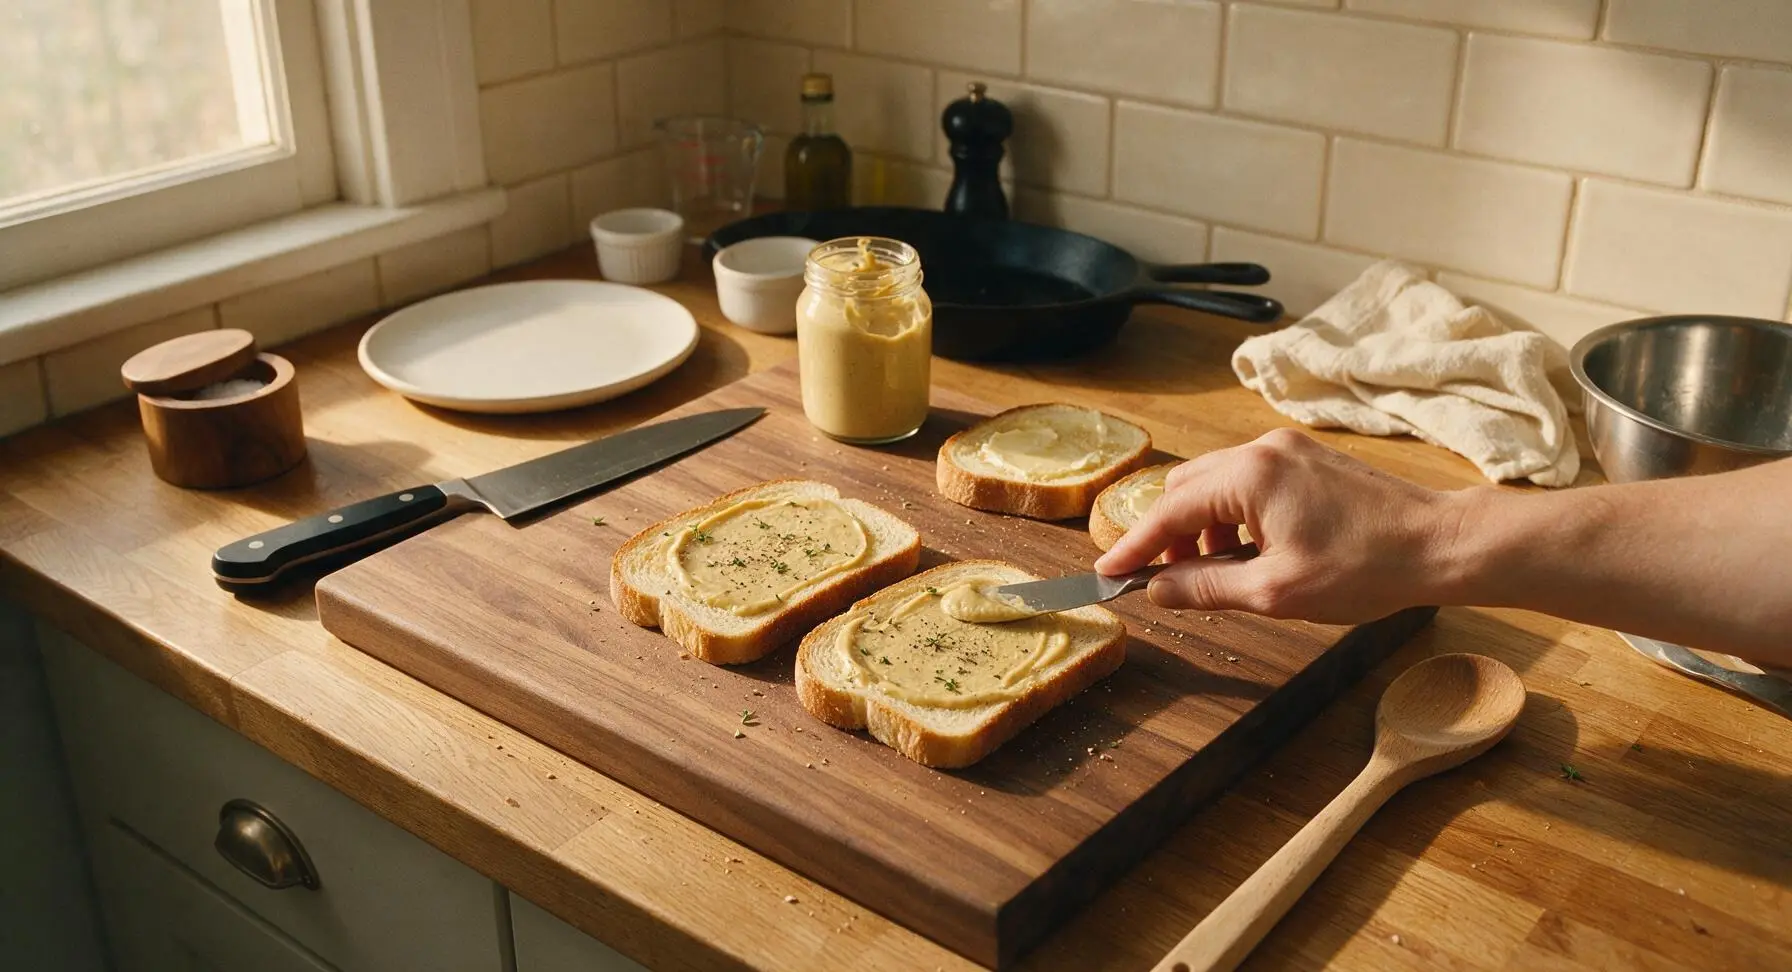
Layer Cheese Evenly
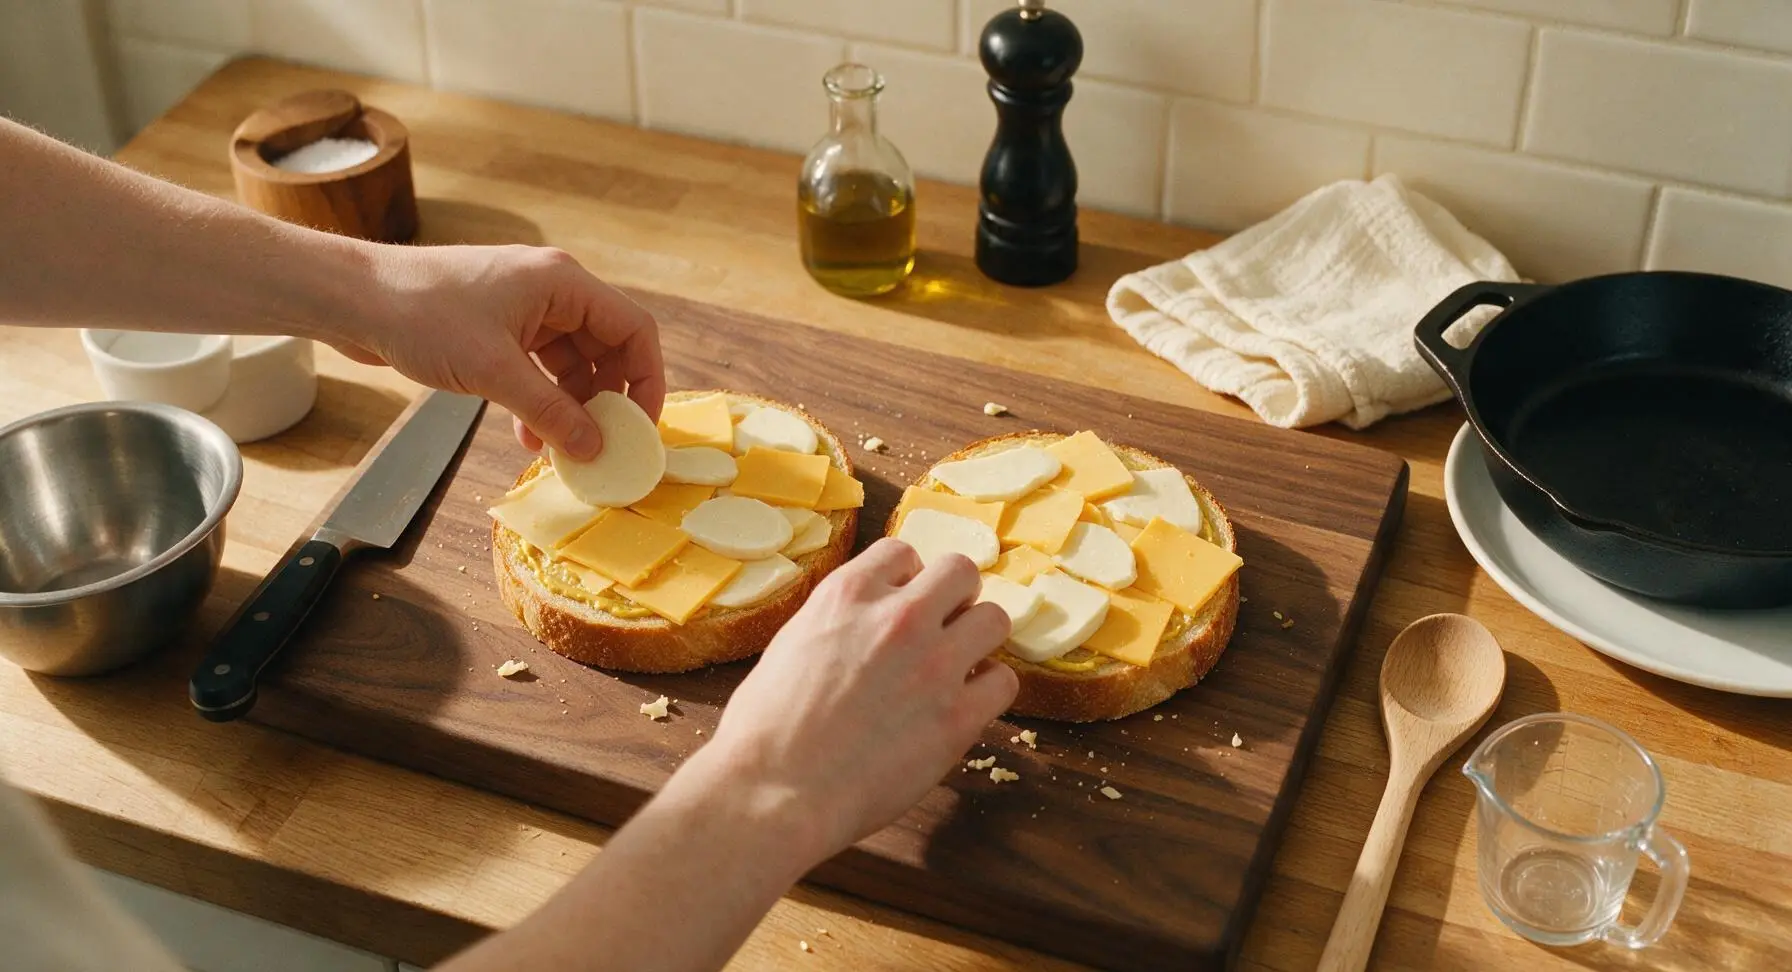
Divide the 120g thinly sliced sharp cheddar and 80g patted-dry fresh mozzarella evenly across the mustard-coated bread slices, arranging cheese in a single even layer all the way to the crust edges to eliminate bare, uncheesy bites. Top each cheese-covered slice with the remaining two bread slices, buttered side facing outward, to form two complete, evenly thick sandwiches.
Grill Until Golden
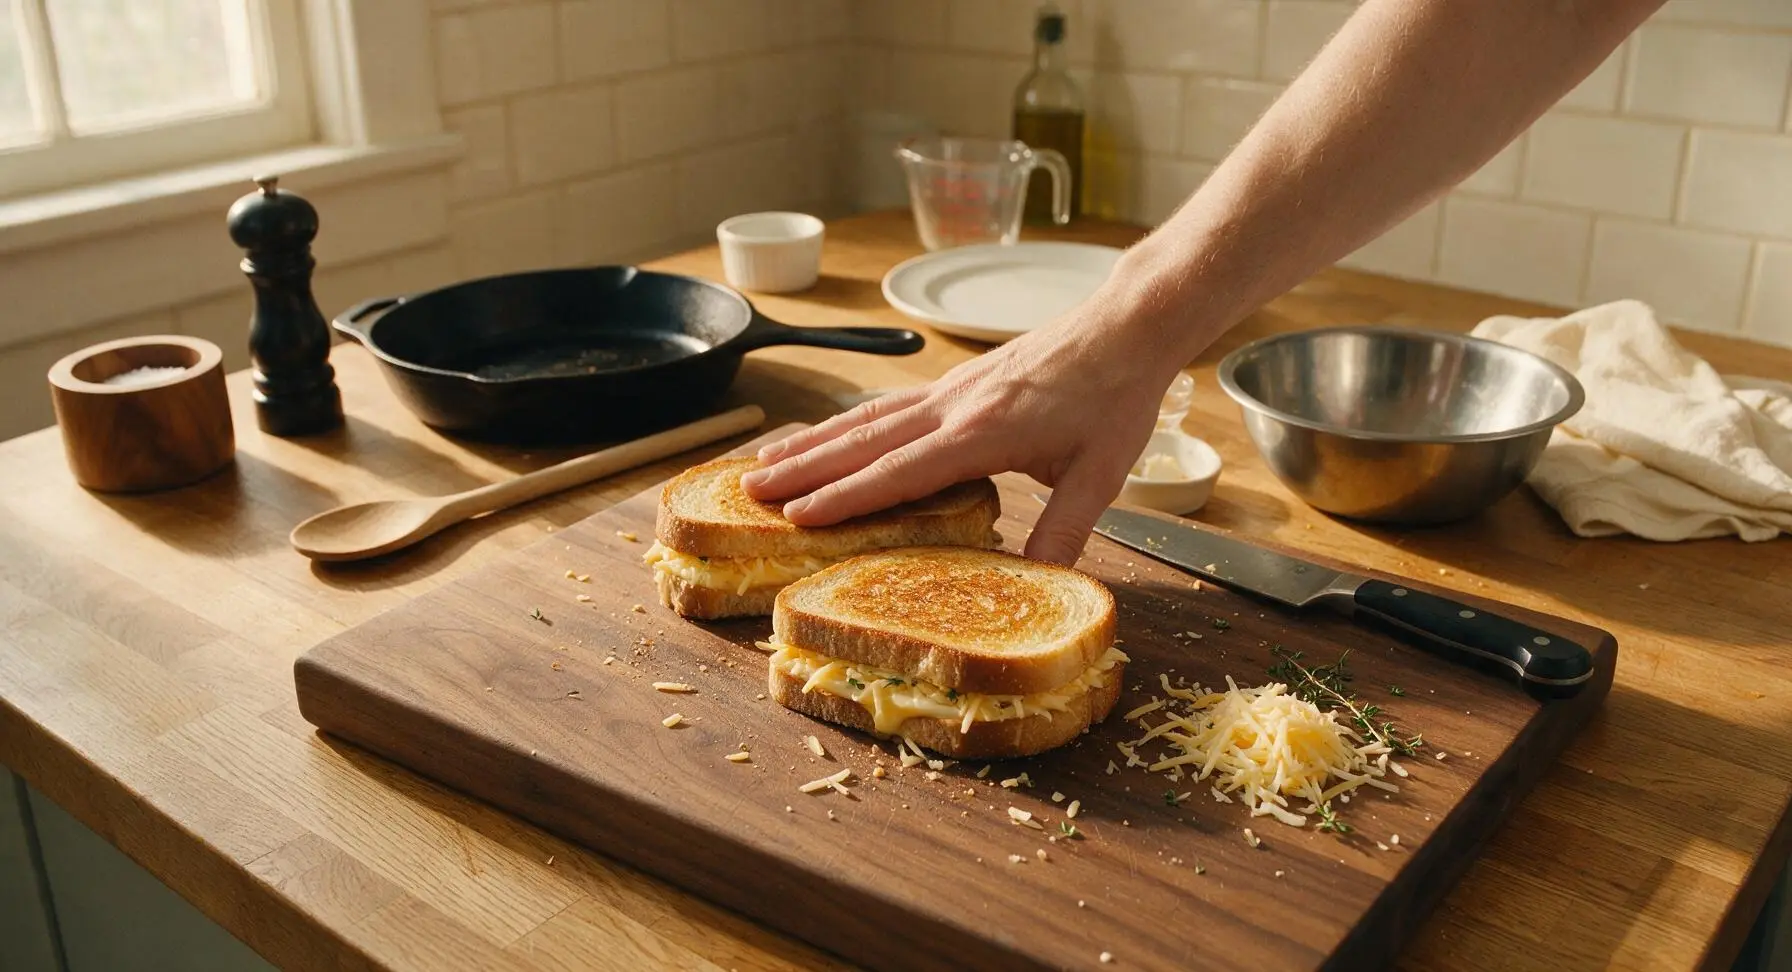
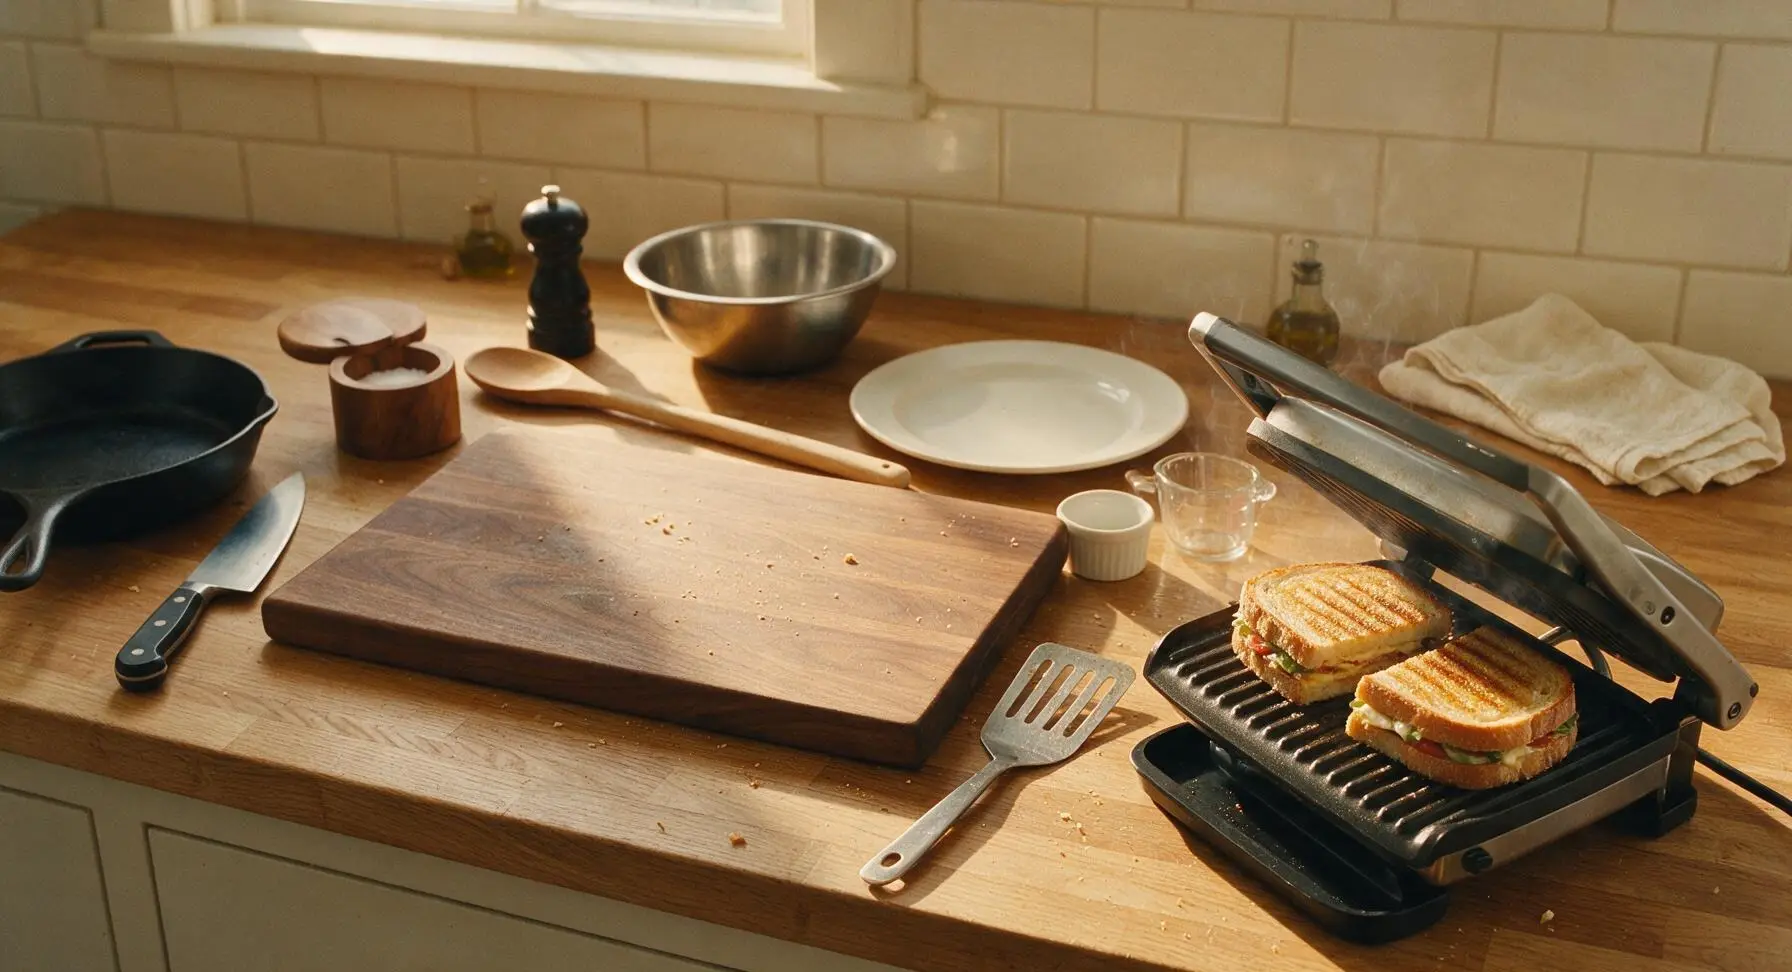
Carefully lift both assembled sandwiches and place them directly onto the preheated, ridged panini press plates. Close the lid gently, applying only light, even pressure, and cook for 4 to 5 minutes. Do not press down hard on the lid while cooking, as this will squeeze melted cheese out of the sandwich edges. The panini are done when the bread is deep golden brown with distinct dark grill ridges, and cheese bubbles slightly at the seams.
Rest Cooked Panini
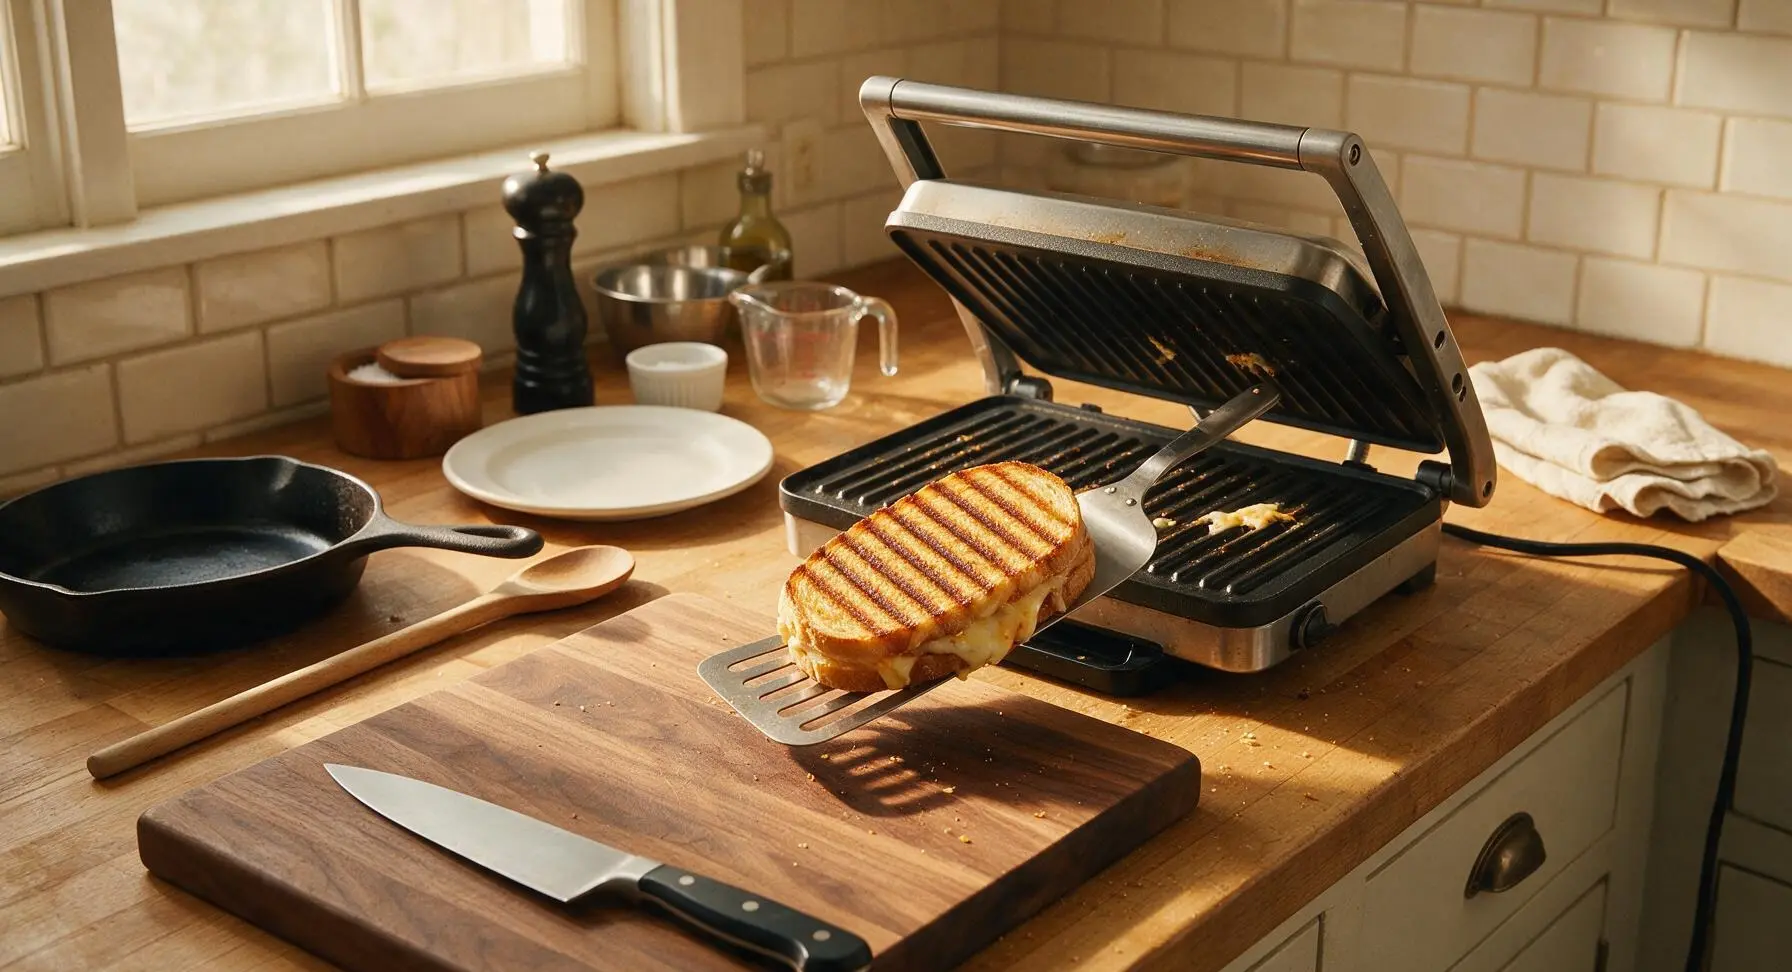
Once cooked, open the panini press lid and use the slotted stainless steel spatula to carefully lift both panini from the grill plates, transferring them back to the center of the maple cutting board. Let the panini rest for 1 full minute before cutting; this short rest allows melted cheese to set slightly so it does not gush out when sliced.
Slice and Plate
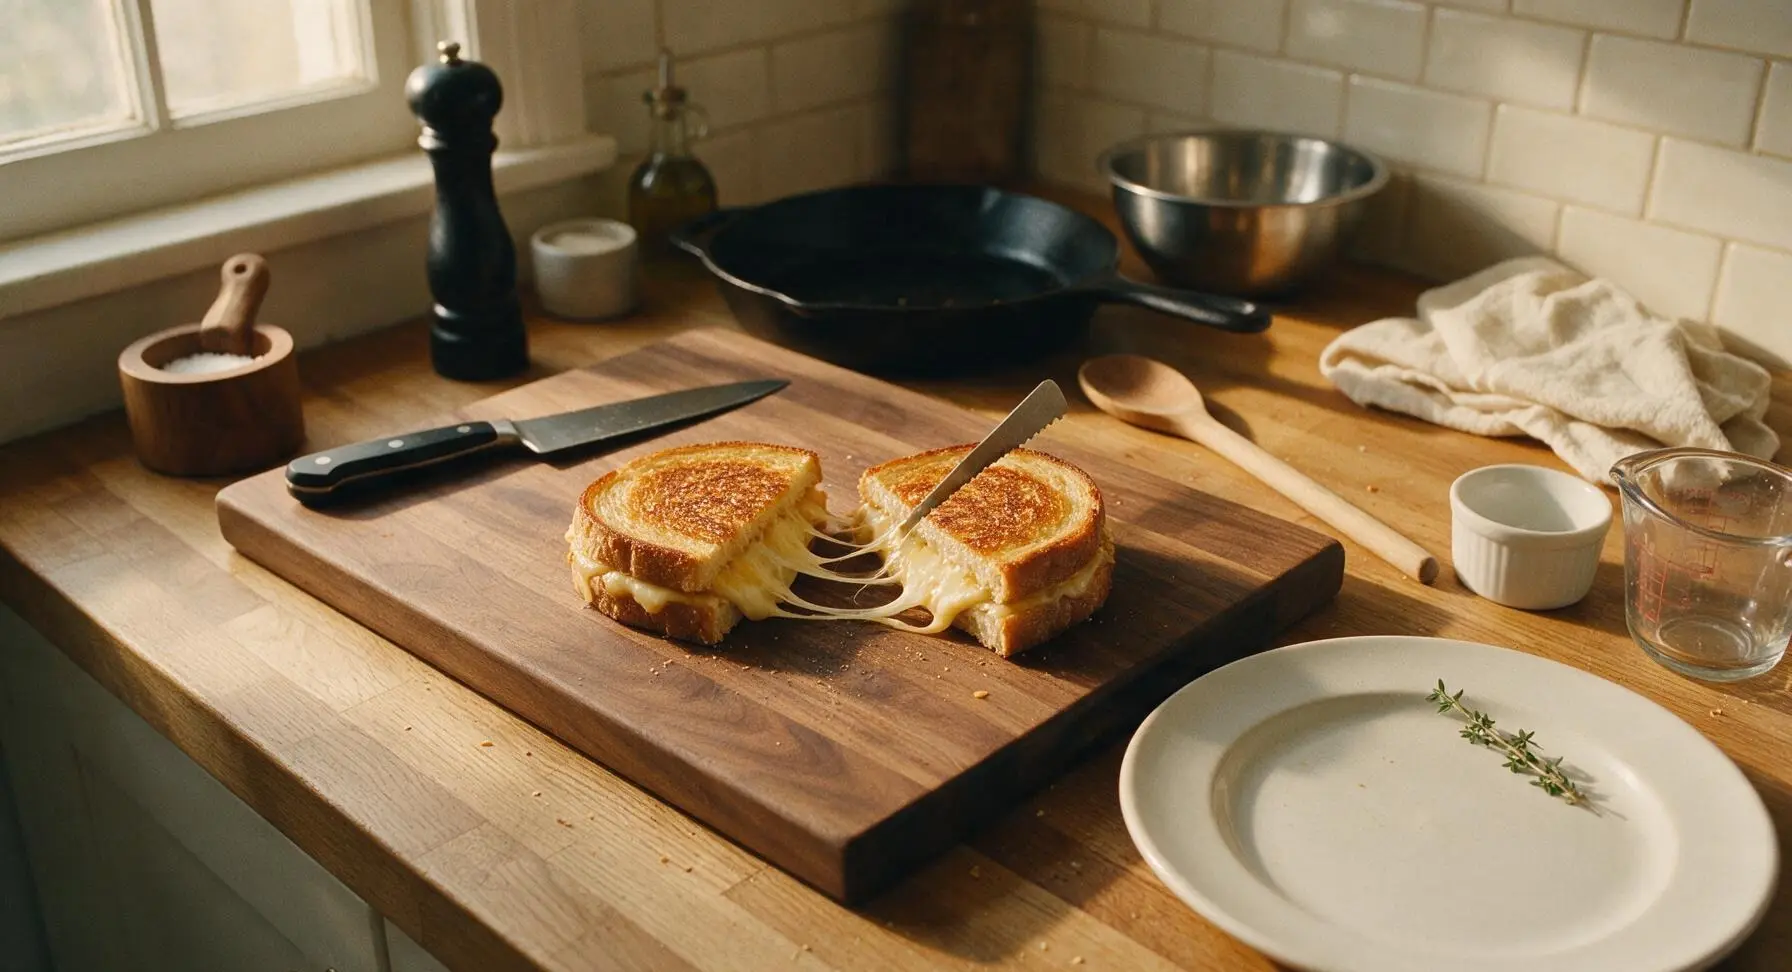
Use the serrated bread knife to cut each rested panini diagonally into two equal triangular halves. Transfer the cut panini to the matte off-white ceramic dinner plate, arranging the halves to show the melted cheese interior. Garnish with a small fresh thyme sprig and serve immediately.
Tips
2.Spread butter all the way to the very edges of every bread slice: unbuttered bread spots will not brown evenly, leaving pale, dry, soft patches instead of a uniform, crispy golden crust across the entire surface.
3.Let cooked panini rest for 1 minute before slicing: cutting immediately after removing from the press will cause runny, oozing cheese to spill out of the sandwich, leaving you with less cheese filling and a messy plate.






OMG this grilled cheese panini is SO good! I made it for my kids’ after-school snack yesterday and they begged for seconds. I added a little crispy bacon and sliced tomato like I saw someone mention in another review, total game changer. It only took 8 minutes exactly like the recipe said, perfect for busy weeknights when I don’t feel like slaving over the stove.
This is my new go-to meal prep lunch! I make a batch of these on Sunday, wrap them up tight in foil, and they reheat perfectly on the office panini press all week. Super easy even for someone like me who burns toast half the time, lmao. Quick note: I used a mix of sharp cheddar and low-moisture mozzarella and the cheese pull was absolutely insane.
Was worried this wouldn’t work with my go-to gluten-free sourdough but it turned out amazing! I brushed a tiny bit of garlic butter on the outside of the bread instead of plain butter and wow, next level. My partner who swears he hates all gluten-free bread didn’t even notice a difference, total win for us both.
Literally saved me during finals week. I don’t have a fancy panini press in my dorm, just used my regular cast iron skillet and a heavy can of baked beans to press it down, worked like a charm. So cheap to make, way better than the sad campus grilled cheese that costs $12. 10/10, will be making this nonstop.