
grilled chicken tender

title 1
grilled chicken tender
⏱️ cook time 10 minutes
🍽️ servings 4
⚡ Difficulty easy

intro

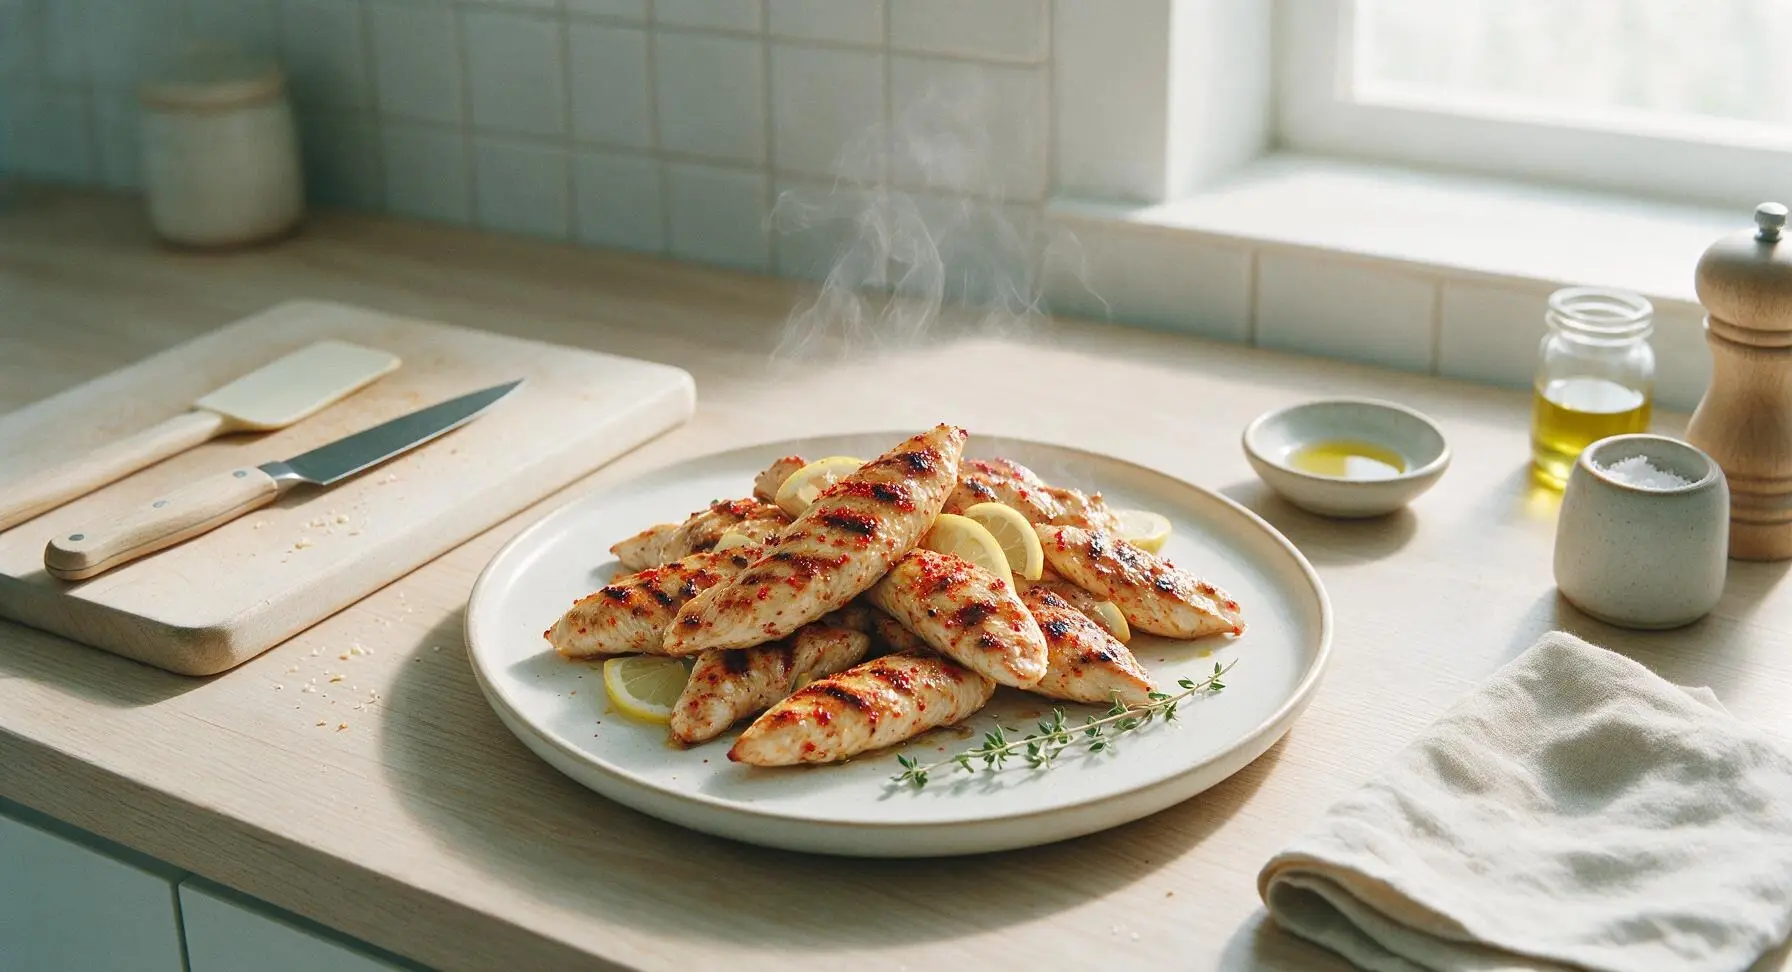
Juicy, smoky grilled chicken tenders with crisp charred grill marks, seasoned with bright lemon and smoked paprika—no dry, tough bites, perfect for summer cookouts.

Ingredients
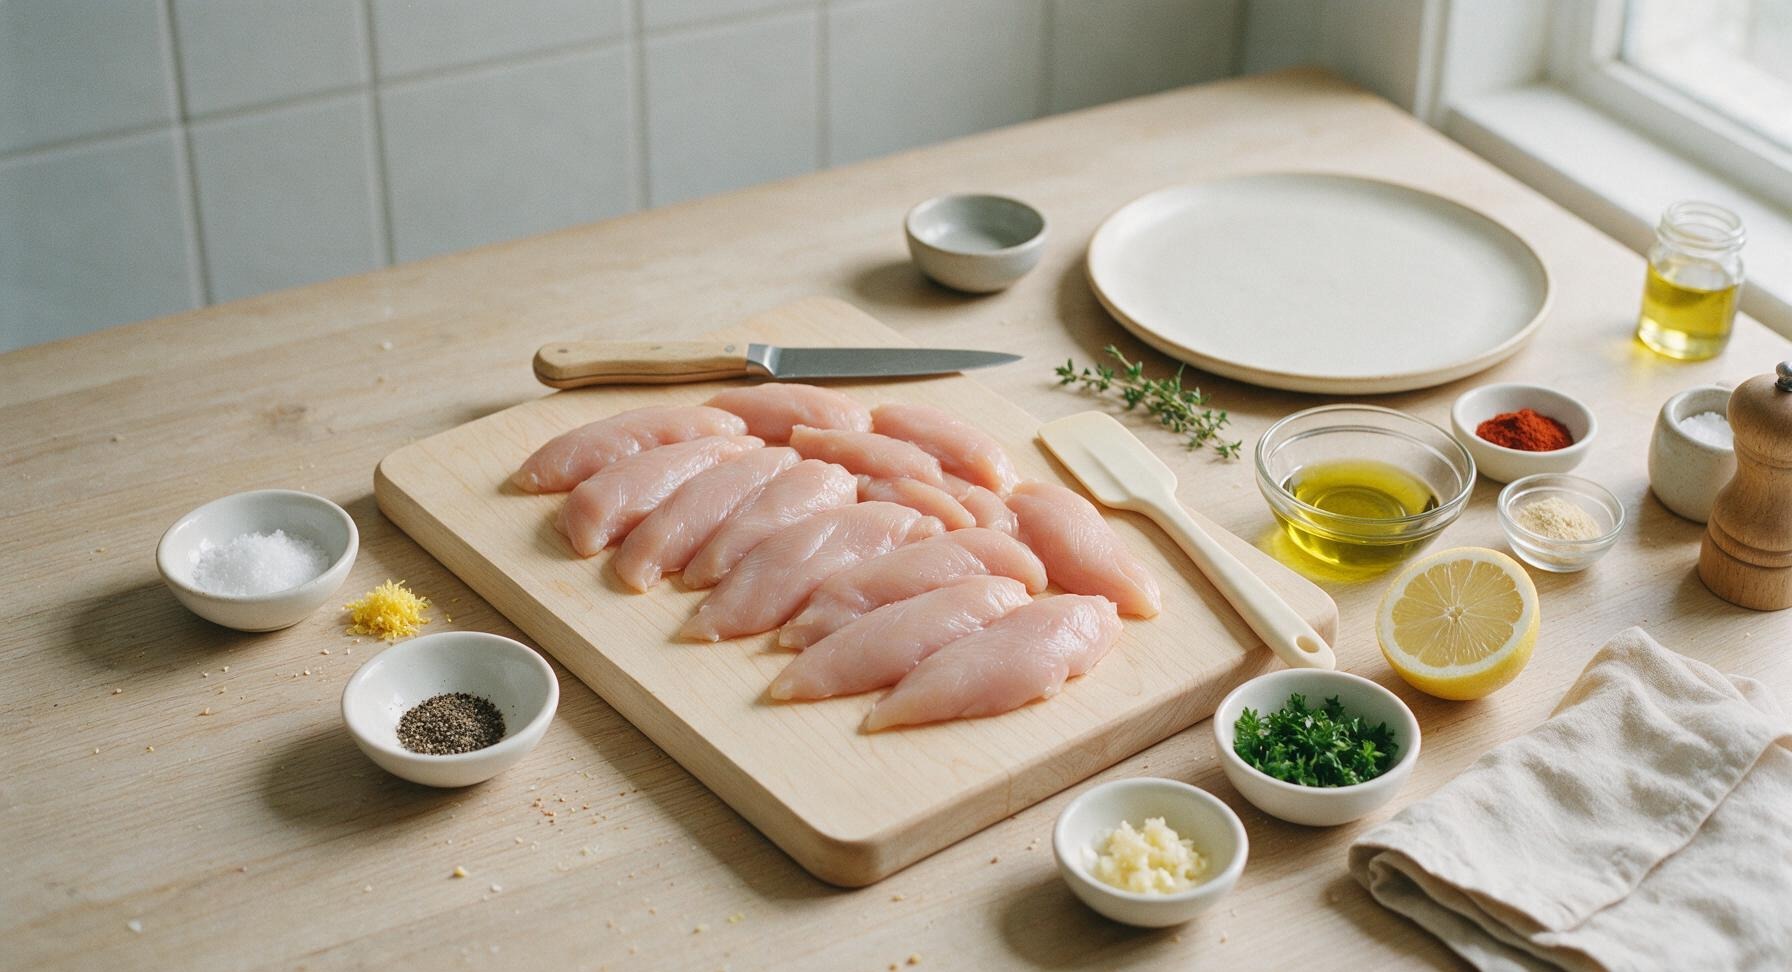
Boneless skinless chicken tenders 680g (approx 12-14 tenders)
Extra-virgin olive oil 2 tablespoons
Kosher salt 1 teaspoon
Freshly ground black pepper 1/2 teaspoon
Smoked paprika 1/2 teaspoon
Garlic powder 1 teaspoon
Fresh garlic 2 cloves, minced
Fresh lemon 1 whole (1 tsp zest + 1 tbsp juice)
Fresh curly parsley 2 tablespoons, chopped (for garnish)

Steps

1

Trim Chicken Tenders

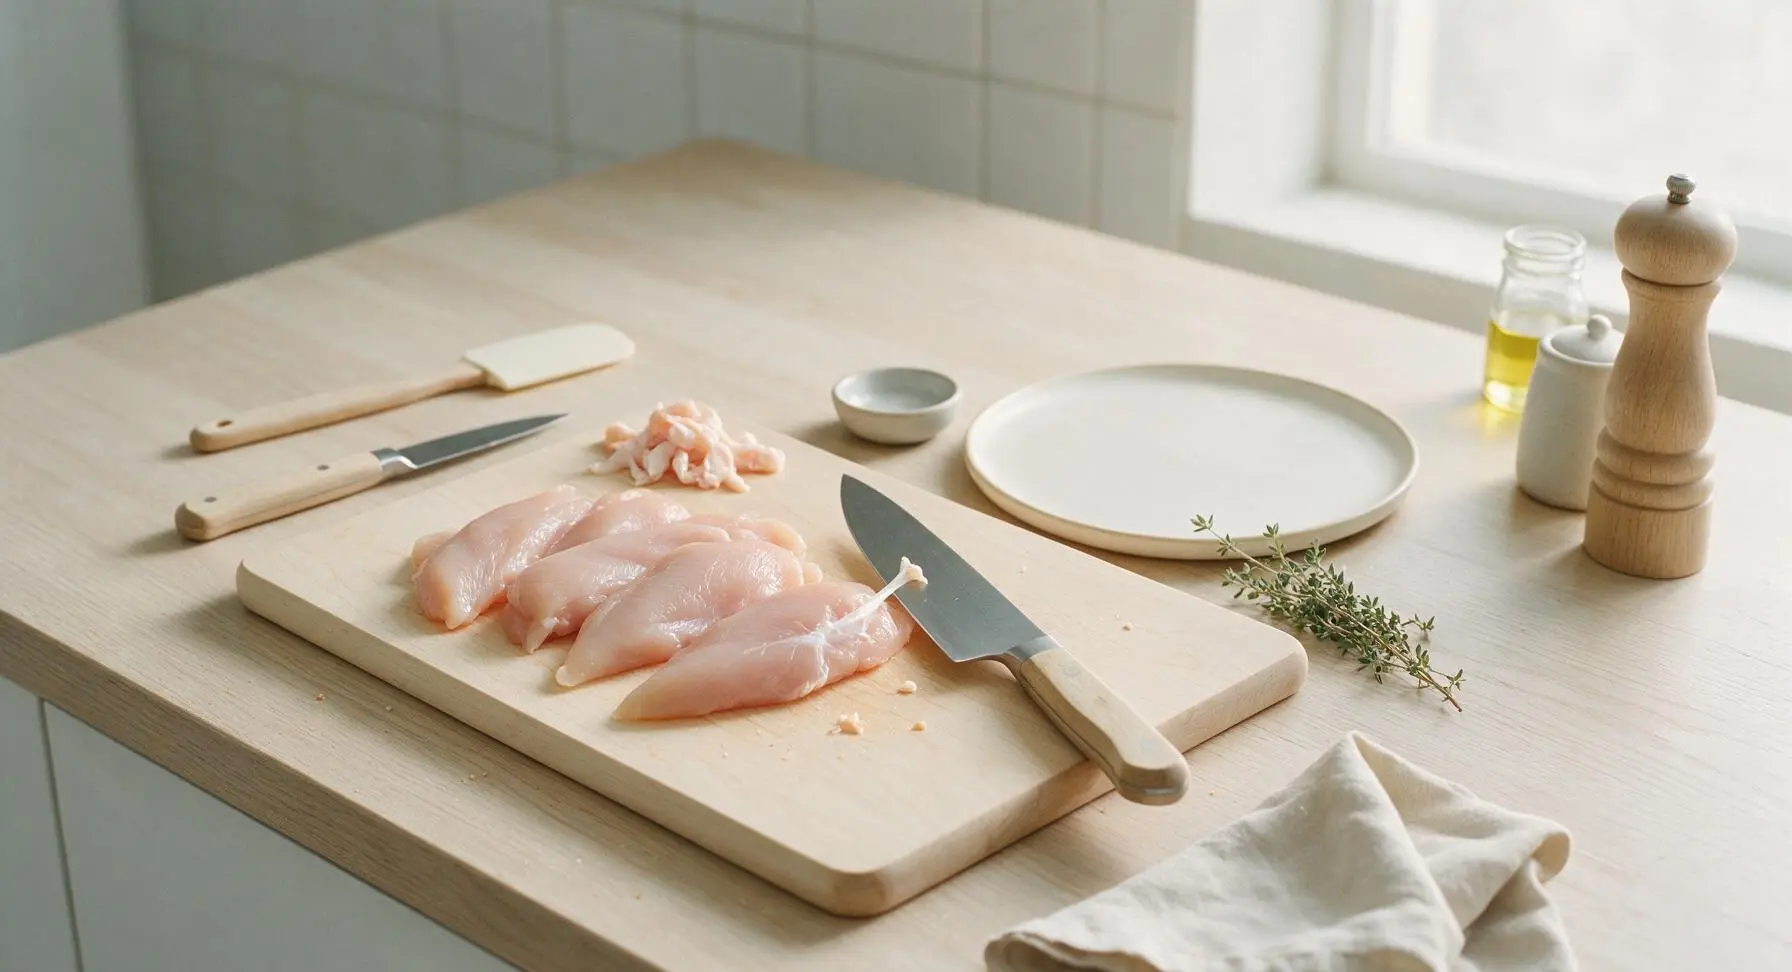
Place raw chicken tenders on the light grey cutting board. Use the 8-inch chef knife to trim away any visible white tendons, excess fat, or ragged edges from each tender. Pat all tenders completely dry with a corner of the indigo linen towel; a fully dry surface ensures better searing and defined grill marks. Discard trimmings in a waste bowl out of frame.
Step 1
step1:Trim Chicken Tenders
2

Mix Flavorful Marinade

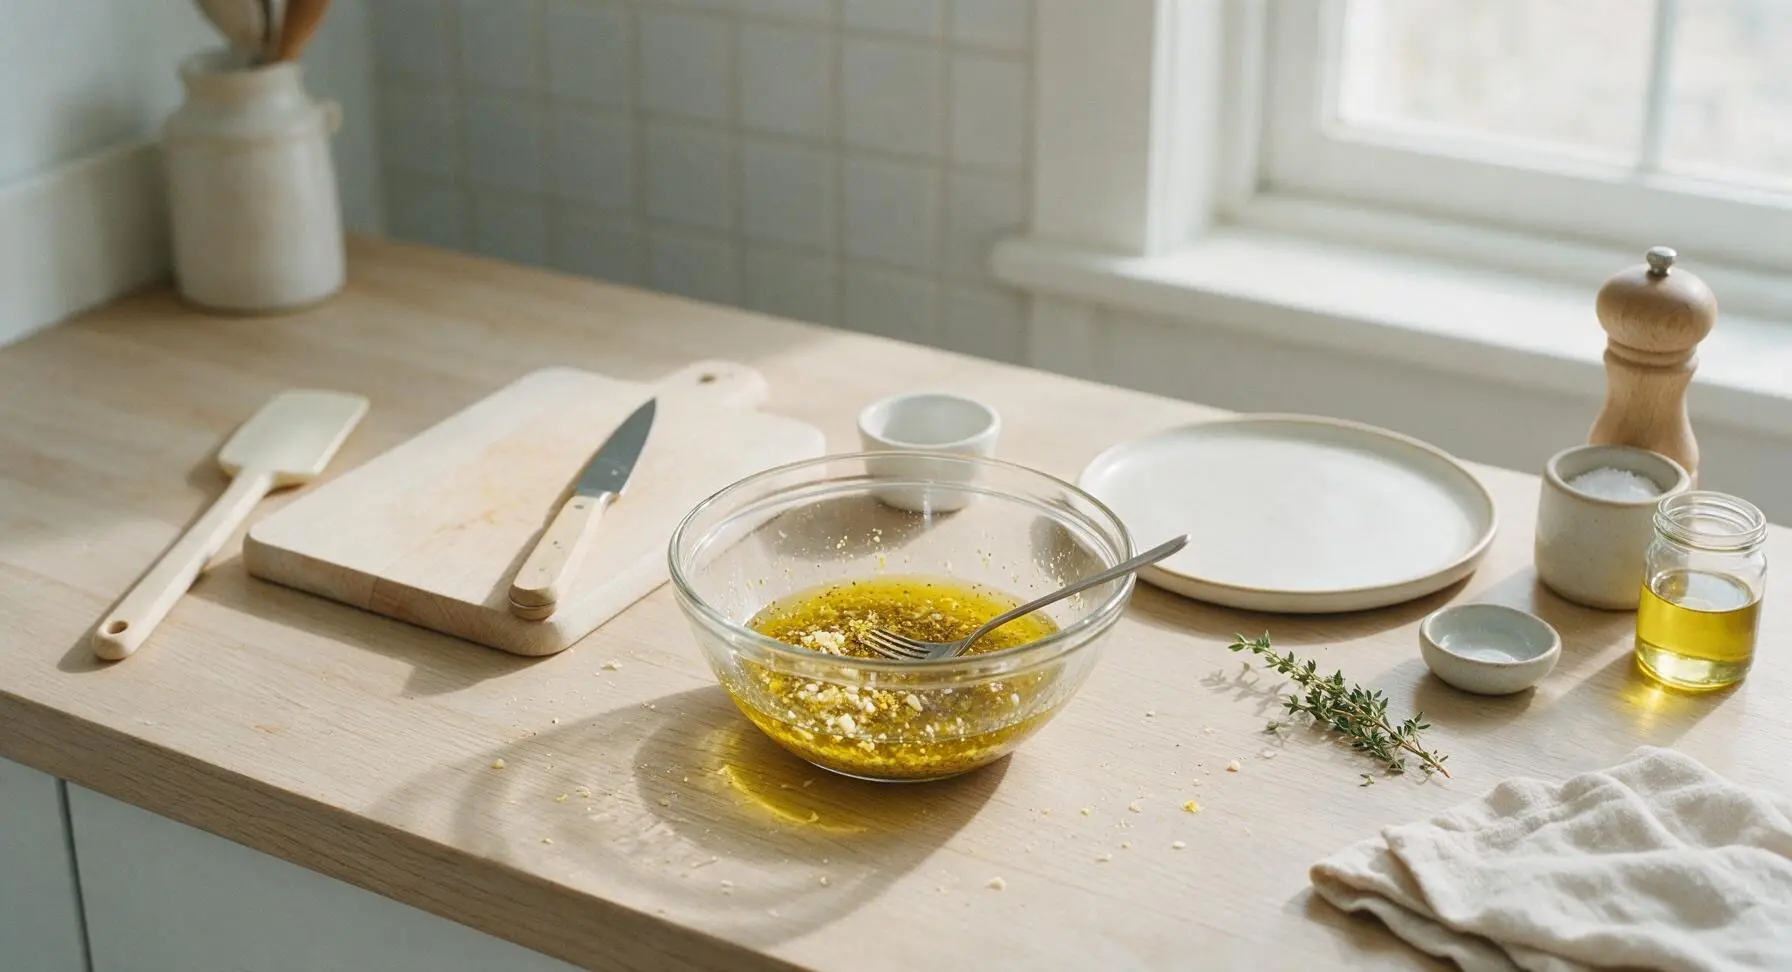
In the clear glass mixing bowl, combine 2 tablespoons extra-virgin olive oil, 1 teaspoon kosher salt, 1/2 teaspoon freshly ground black pepper, 1/2 teaspoon smoked paprika, 1 teaspoon garlic powder, 2 cloves minced fresh garlic, 1 teaspoon lemon zest, and 1 tablespoon fresh lemon juice. Whisk with a small fork until fully combined, with no dry spice clumps remaining at the bottom of the bowl.
Step 2
step2:Mix Flavorful Marinade
3

Coat Tenders in Marinade

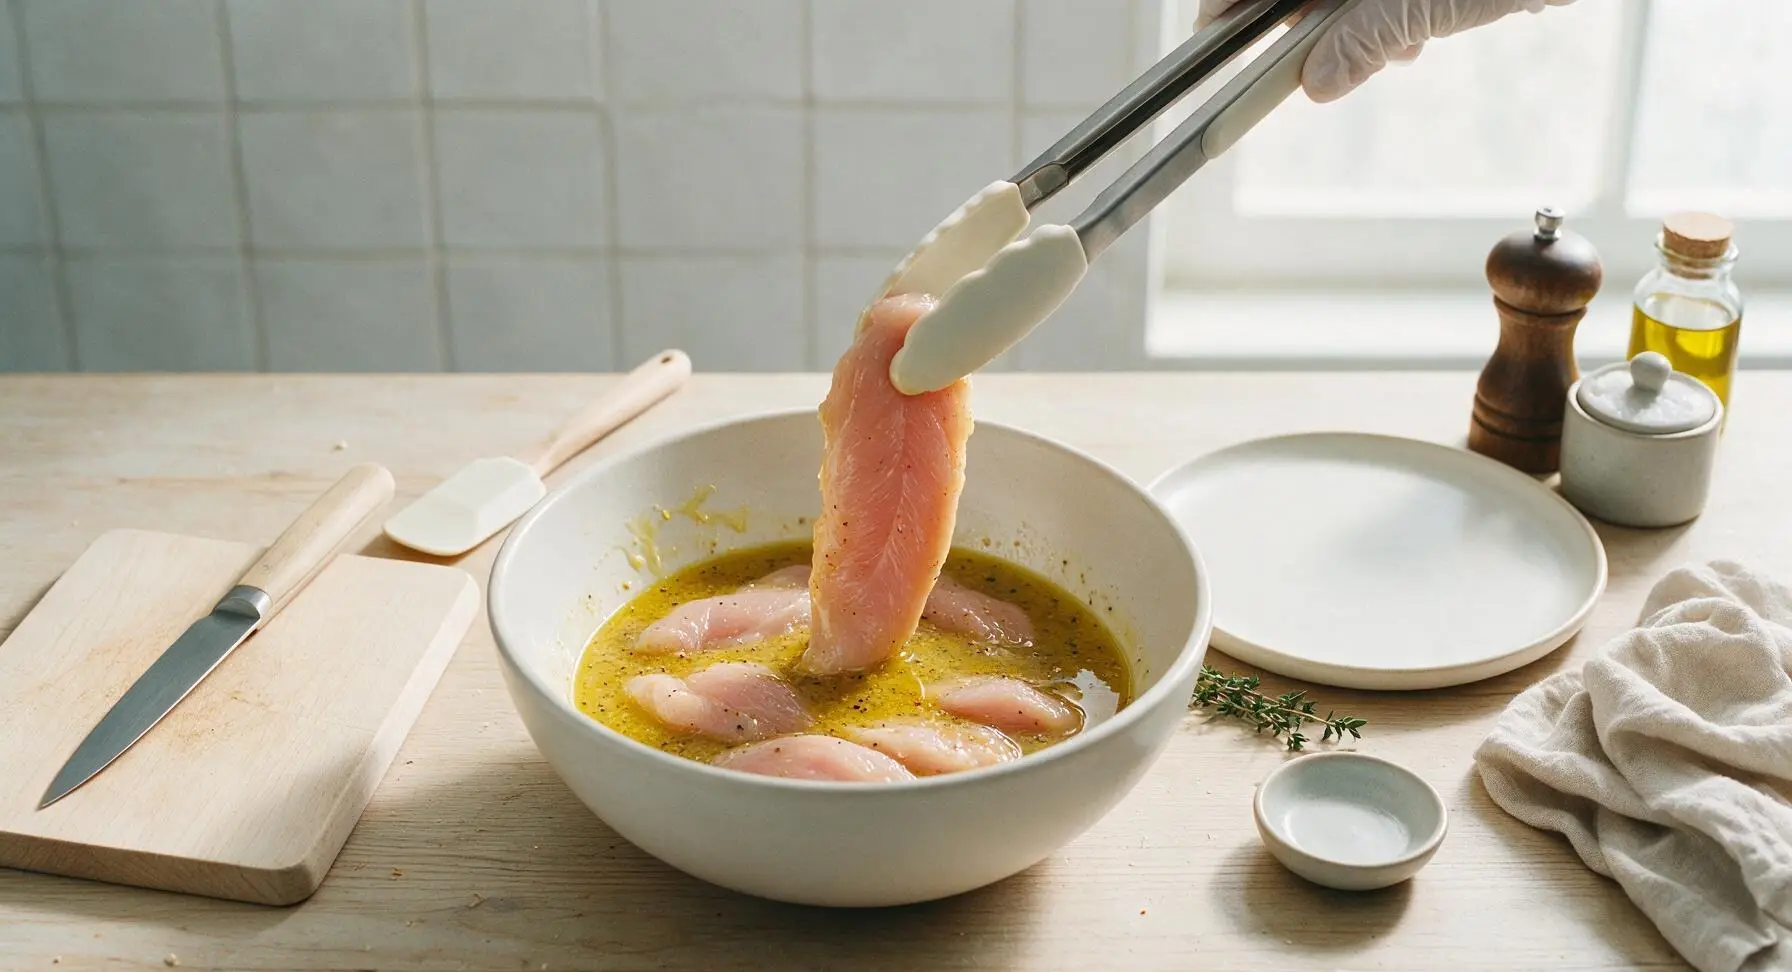
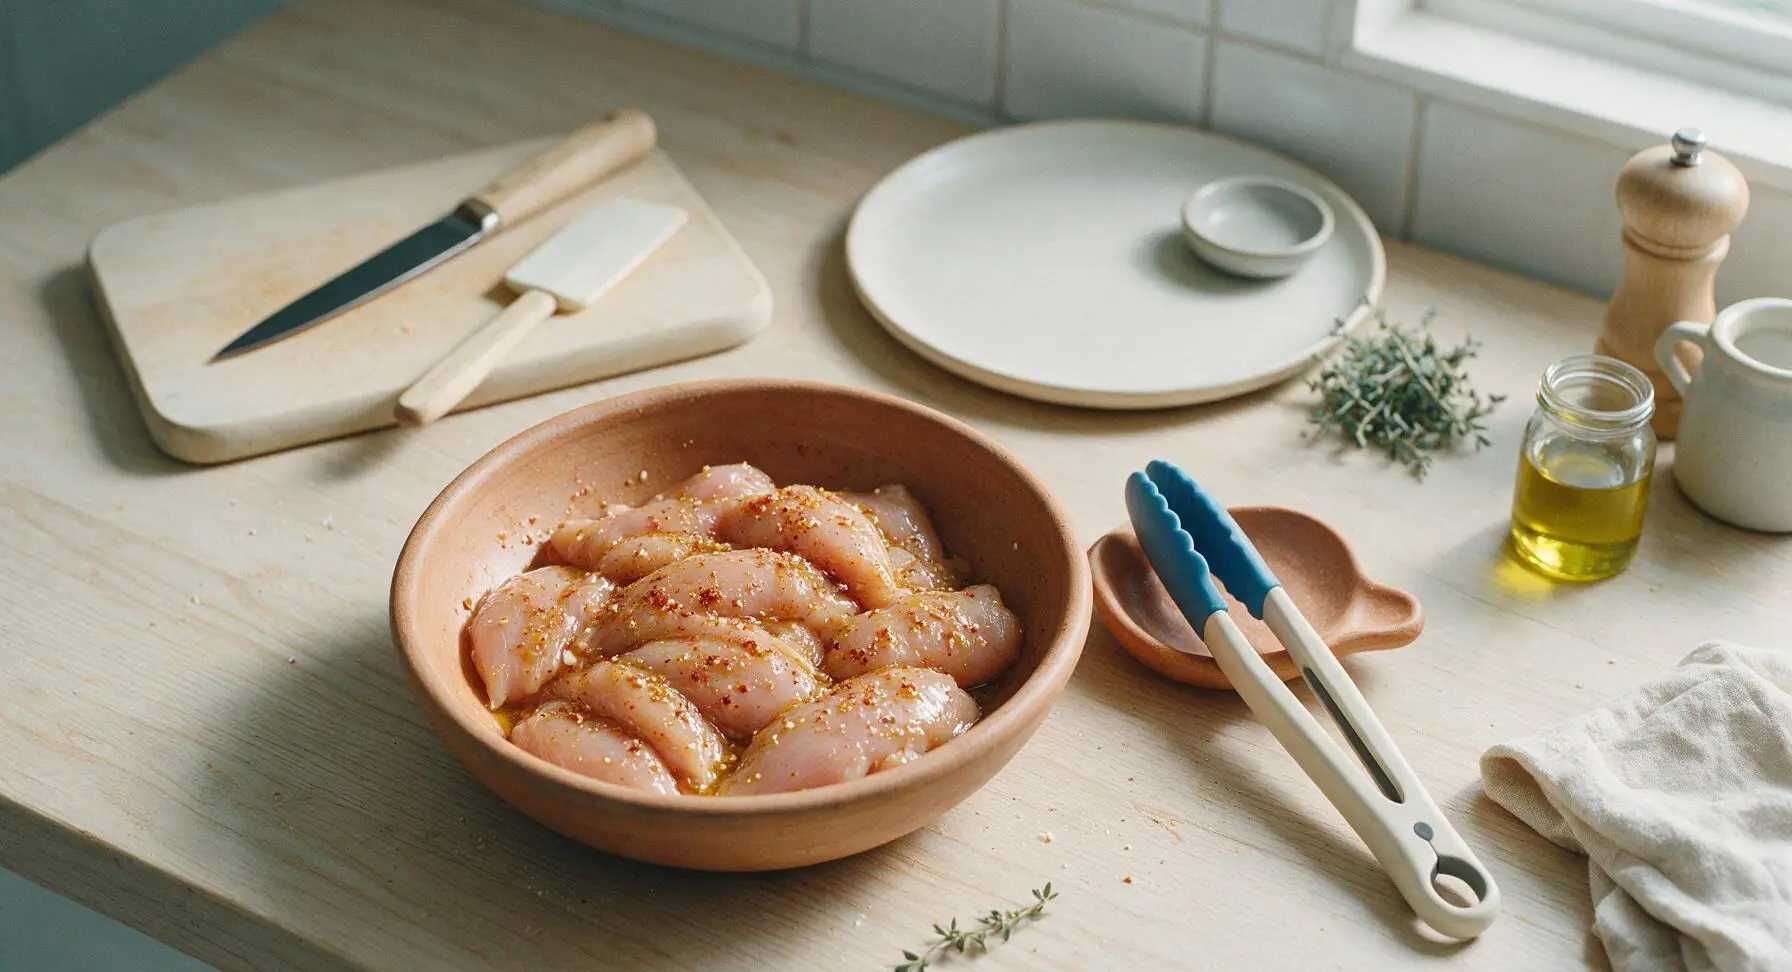
Add all trimmed, dried chicken tenders to the mixing bowl with the marinade. Use the silicone-tipped tongs to toss the tenders thoroughly, ensuring every piece is fully coated in the oil and spice mixture. Let the tenders rest in the marinade for 10 minutes at room temperature; do not marinate longer than 30 minutes, as the lemon acid will begin to break down the chicken protein and create a mushy texture.
Step 3
step3:Coat Tenders in Marinade
Step 3
step3:Coat Tenders in Marinade
4

Preheat Grill Pan

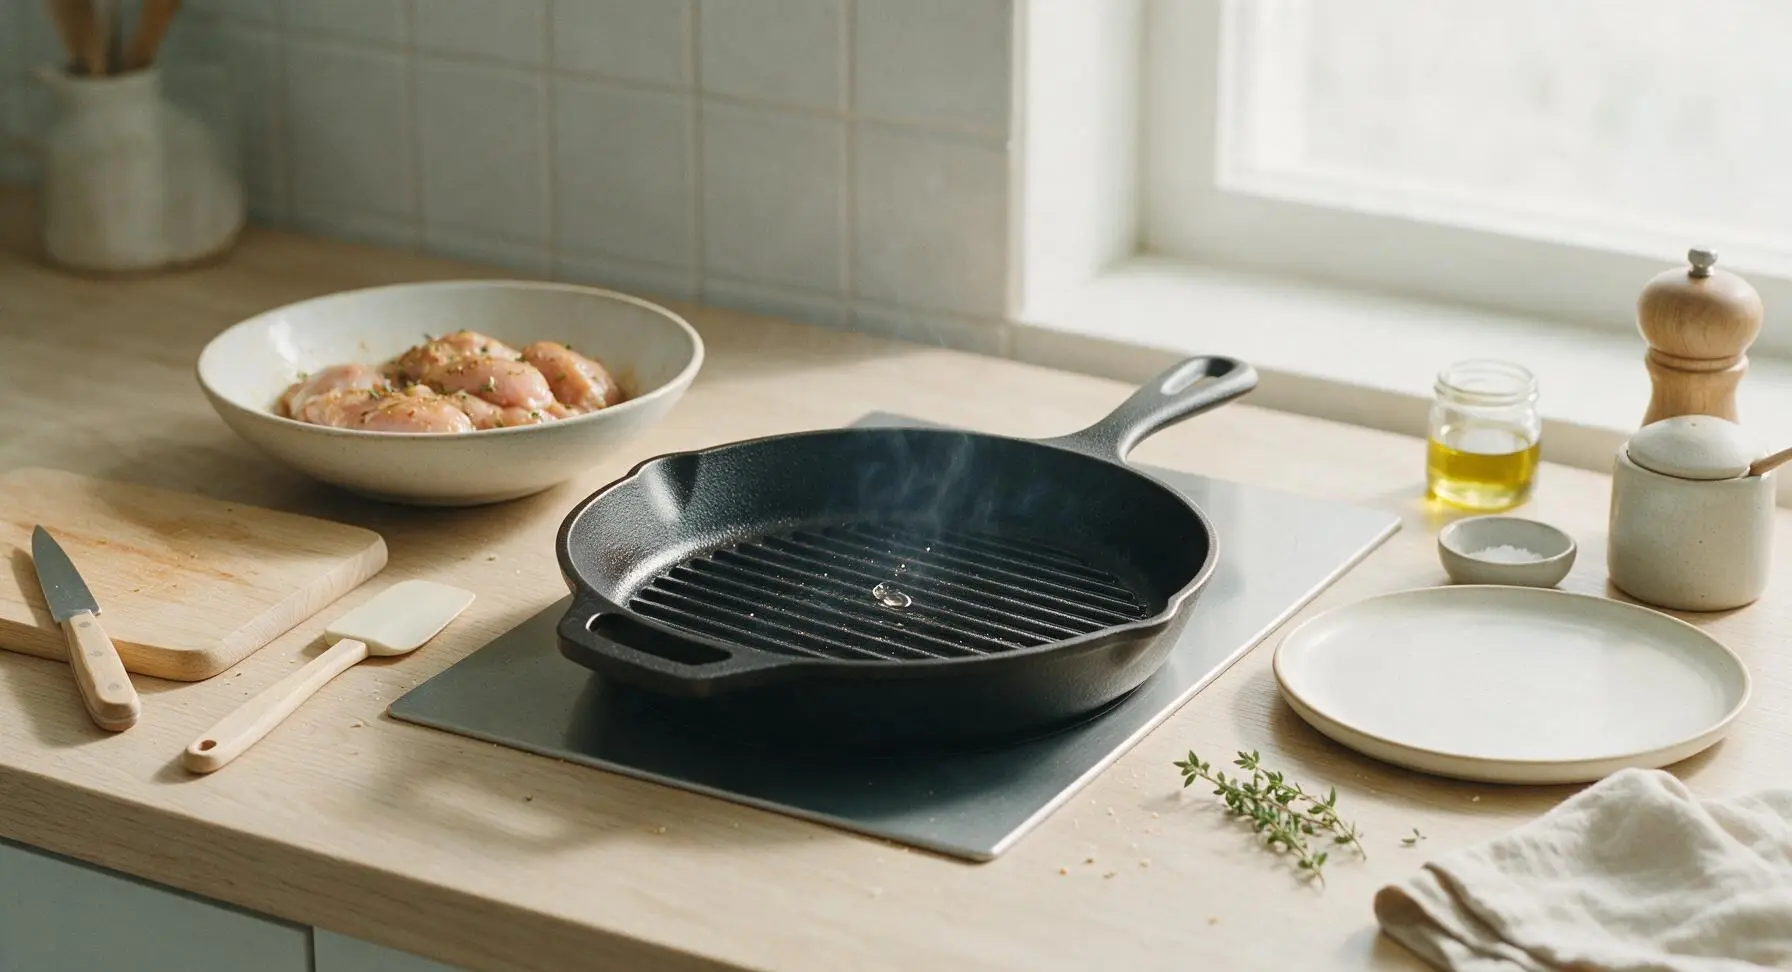
Place the pre-seasoned cast iron grill pan on the center induction cooktop, heat over medium-high heat (375°F / 190°C) for 5 minutes, until the pan is evenly hot. Test heat by sprinkling a single drop of water: it should skitter across the pan surface and evaporate in 1-2 seconds when ready. Do not add extra oil to the pan, as the marinade contains enough oil to prevent sticking.
Step 4
step4:Preheat Grill Pan
5

Grill First Side

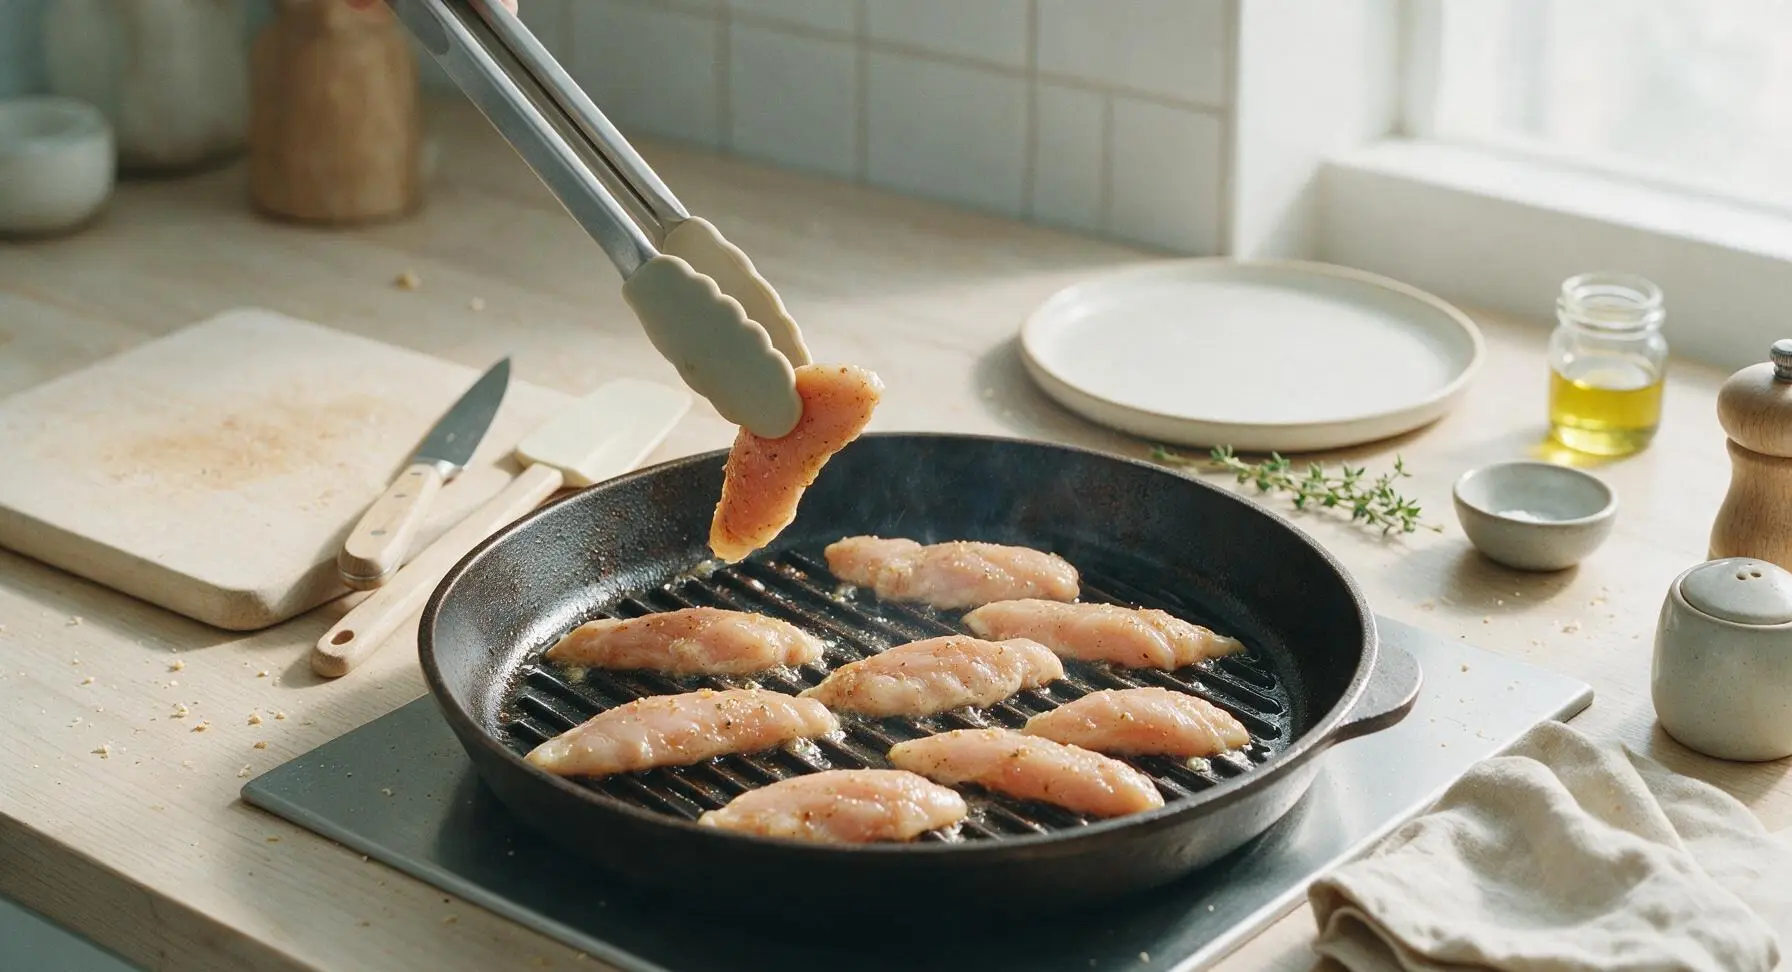
Use the silicone-tipped tongs to arrange marinated chicken tenders on the hot grill pan in a single layer, leaving 1cm of space between each piece to avoid steaming. Do not overcrowd the pan; cook in 2 batches if your pan is smaller than 28cm. Cook undisturbed for 4 minutes, until deep golden-brown grill marks form on the bottom surface, and the chicken is opaque 1/3 of the way up the sides.
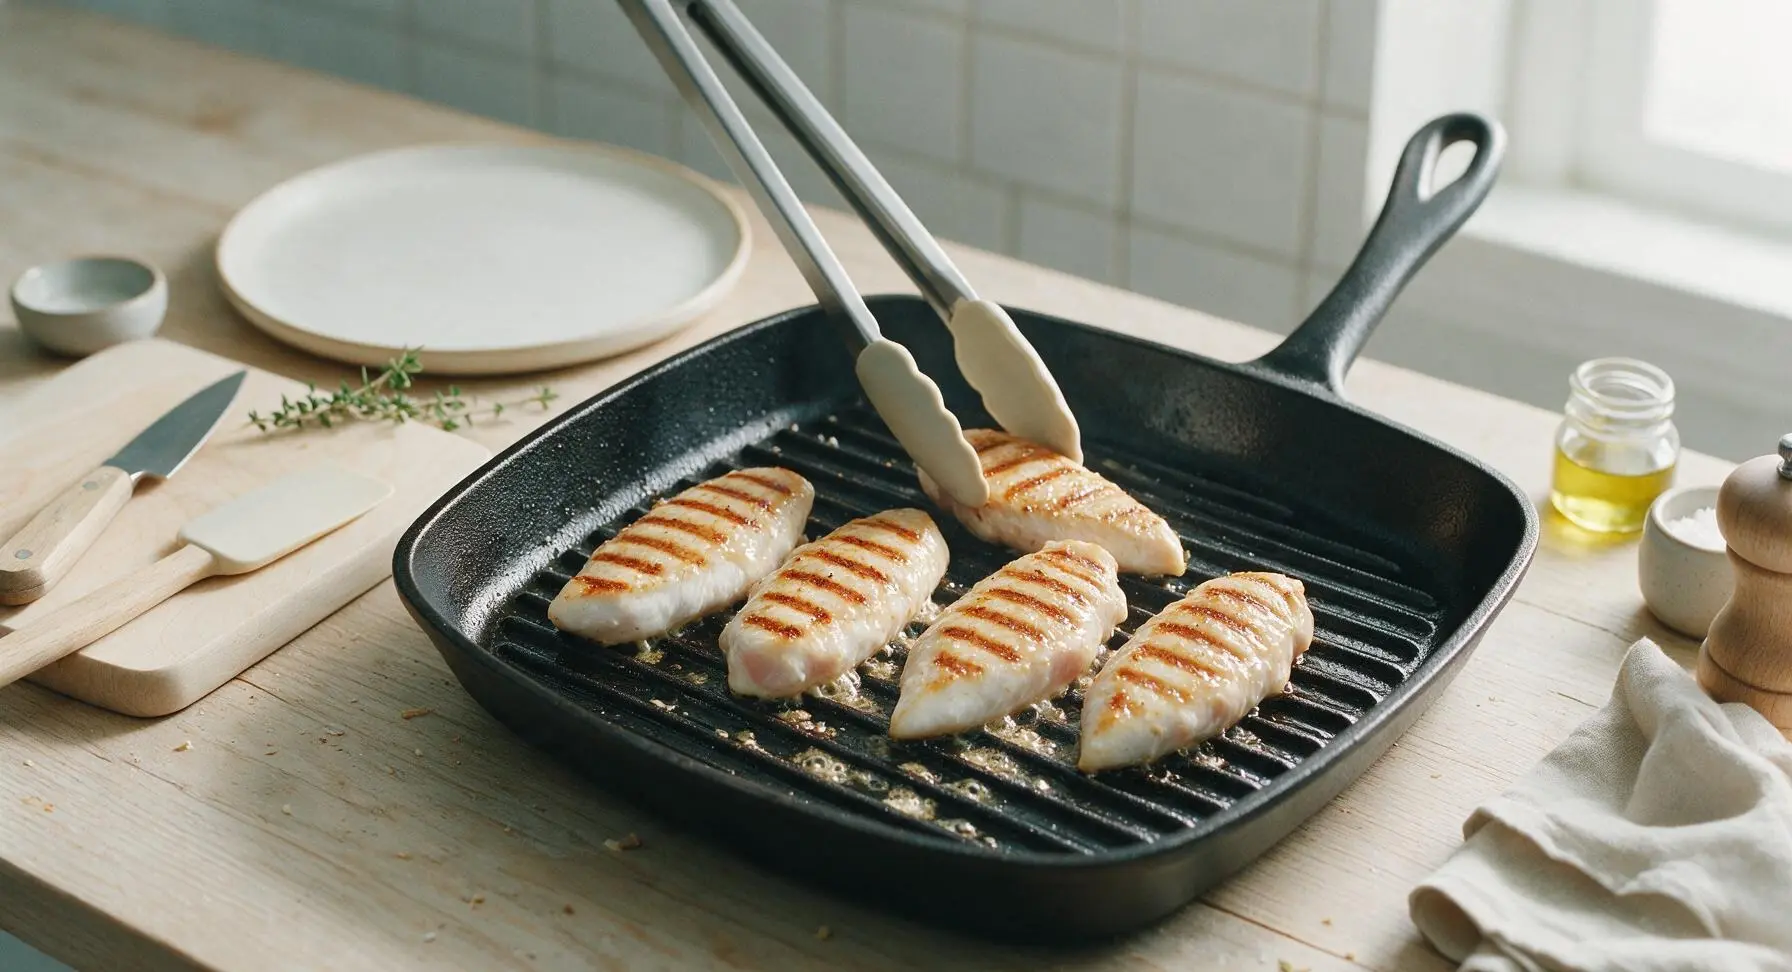
Step 5
step5:Grill First Side
Step 5
step5:Grill First Side
6

Flip and Cook Through

Use the tongs to flip each chicken tender to the second side. Cook for an additional 3-4 minutes, until the internal temperature reaches 165°F / 74°C when checked with the instant-read meat thermometer inserted into the thickest part of the largest tender. Avoid pressing down on the tenders with the tongs while cooking, as this squeezes out flavorful juices and leads to dry chicken.
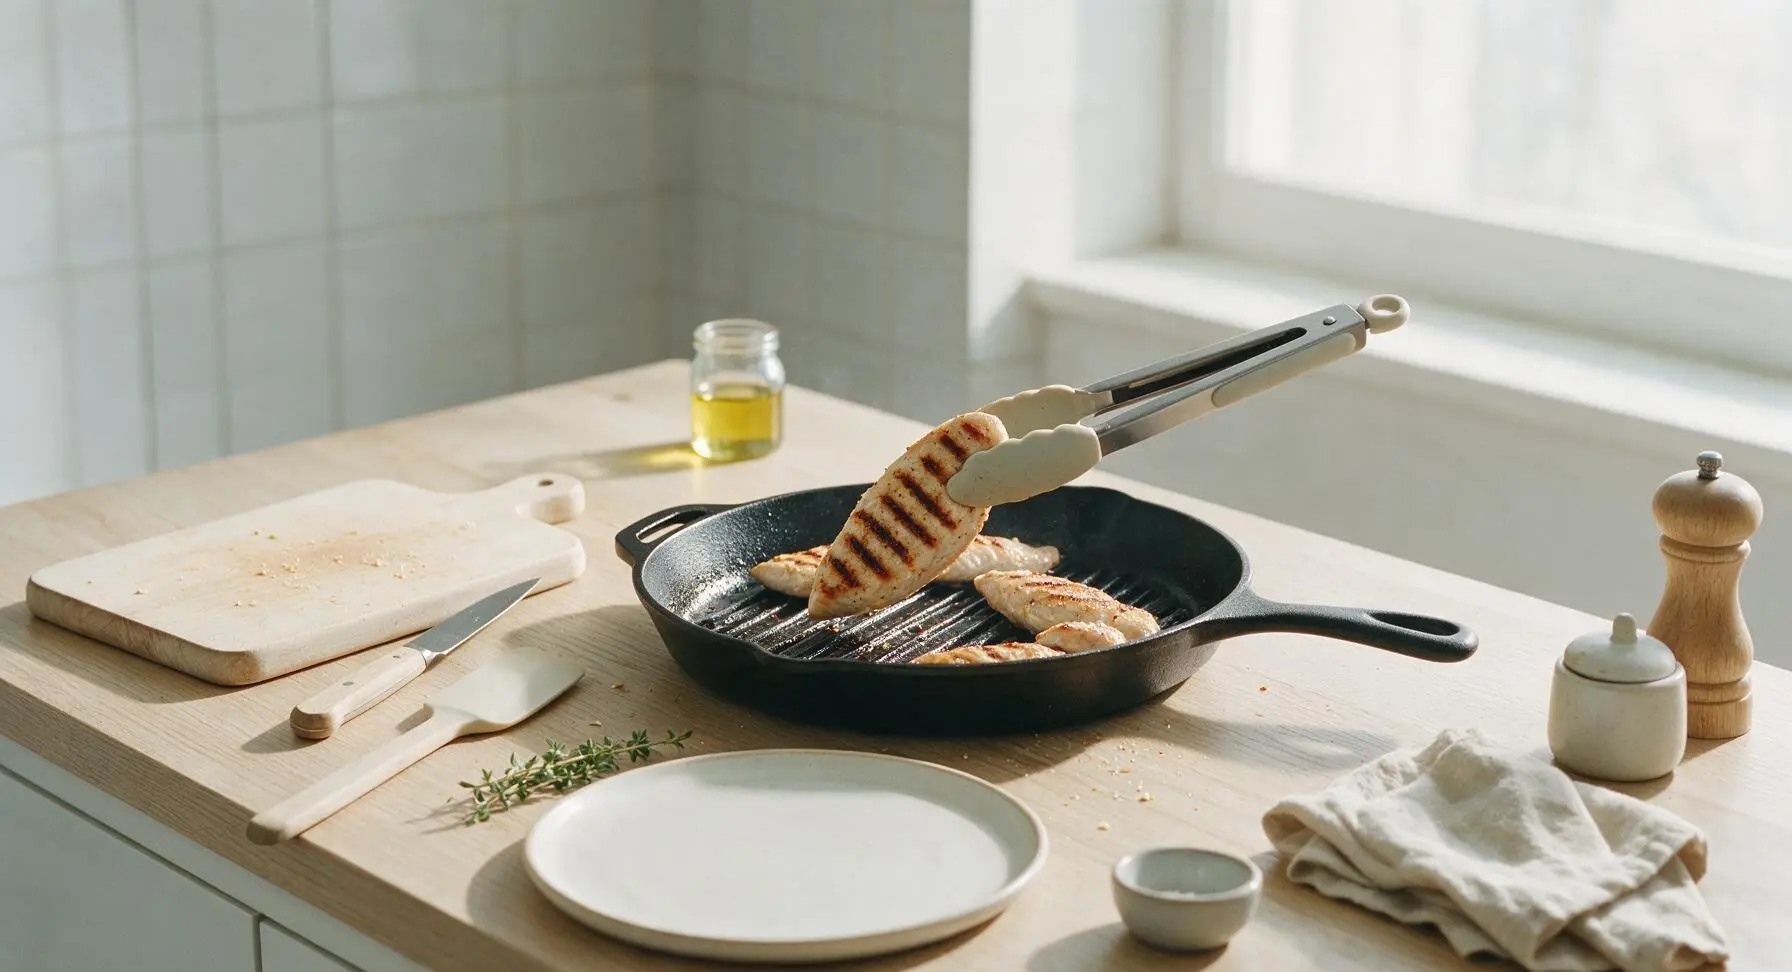
Step 6
step6:Flip and Cook Through
7

Rest Grilled Tenders

Use the tongs to transfer all cooked chicken tenders from the grill pan to the matte off-white ceramic dinner plate. Loosely tent a small piece of aluminum foil over the plate (held out of frame) and let the tenders rest for 3 minutes to allow juices to redistribute through the meat, ensuring every bite is juicy rather than dry.
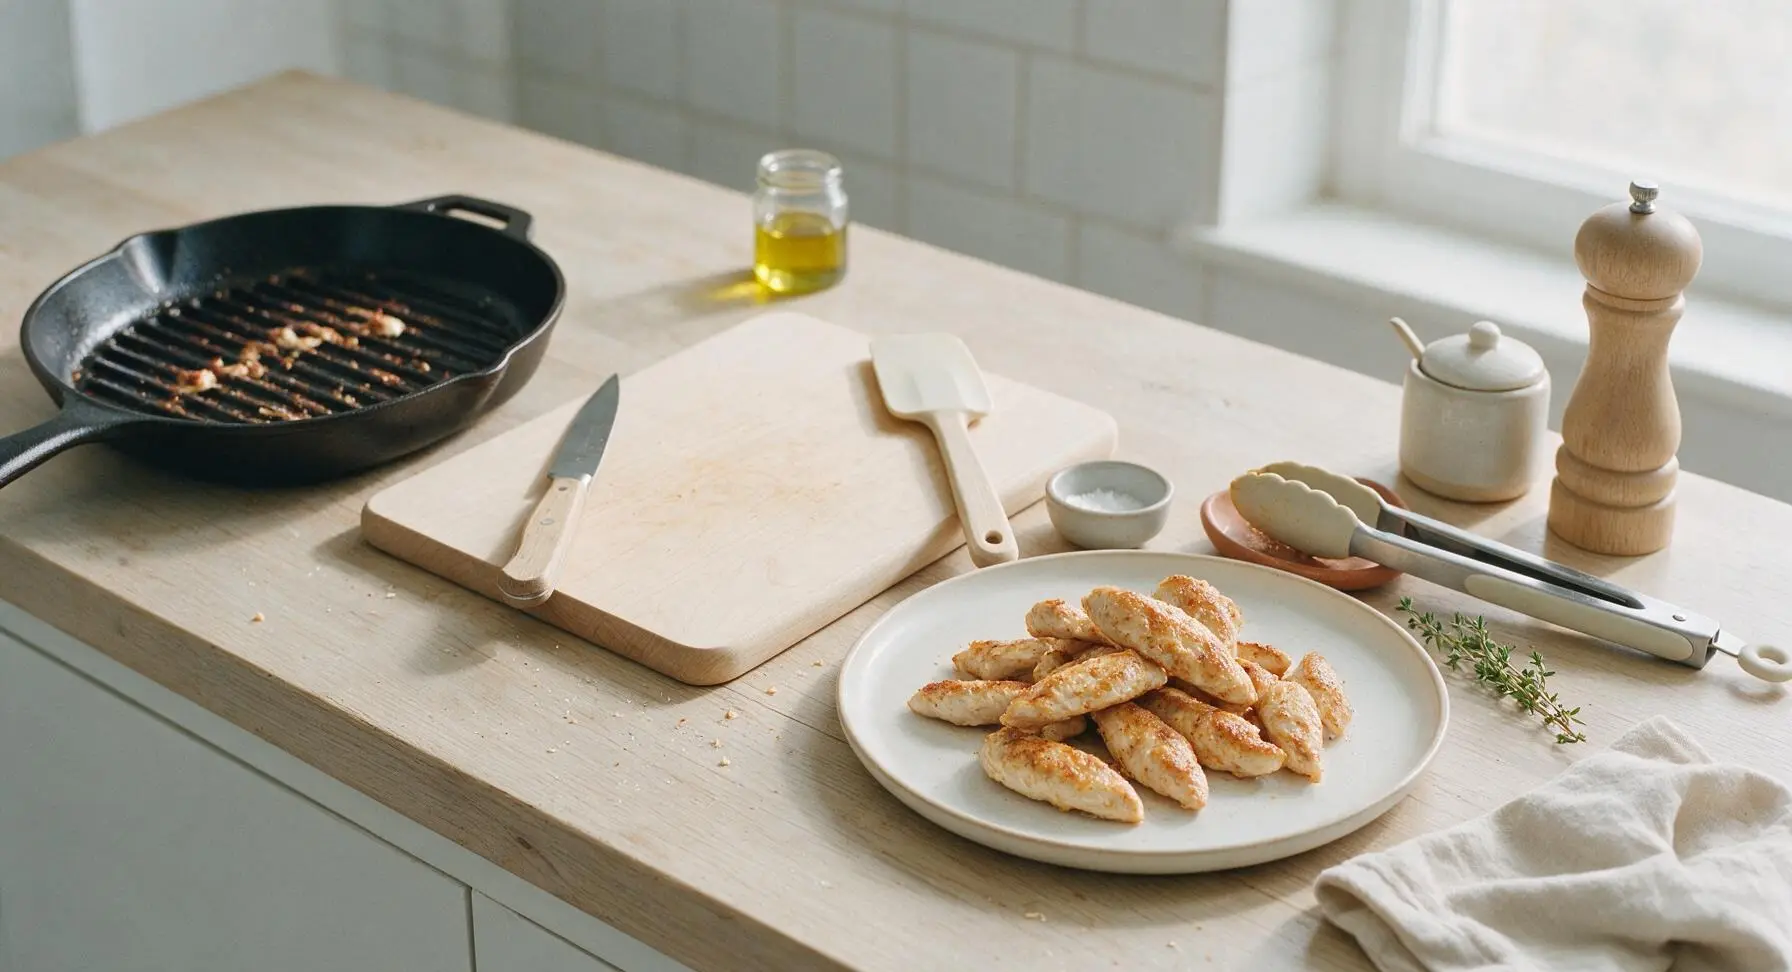
Step 7
step7:Rest Grilled Tenders
8

Garnish and Serve

Remove the foil tent from the plate. Sprinkle 2 tablespoons of chopped fresh parsley over the warm tenders, tuck a thin lemon wedge (cut from the zested lemon) at the edge of the plate for squeezing, and serve immediately while hot.
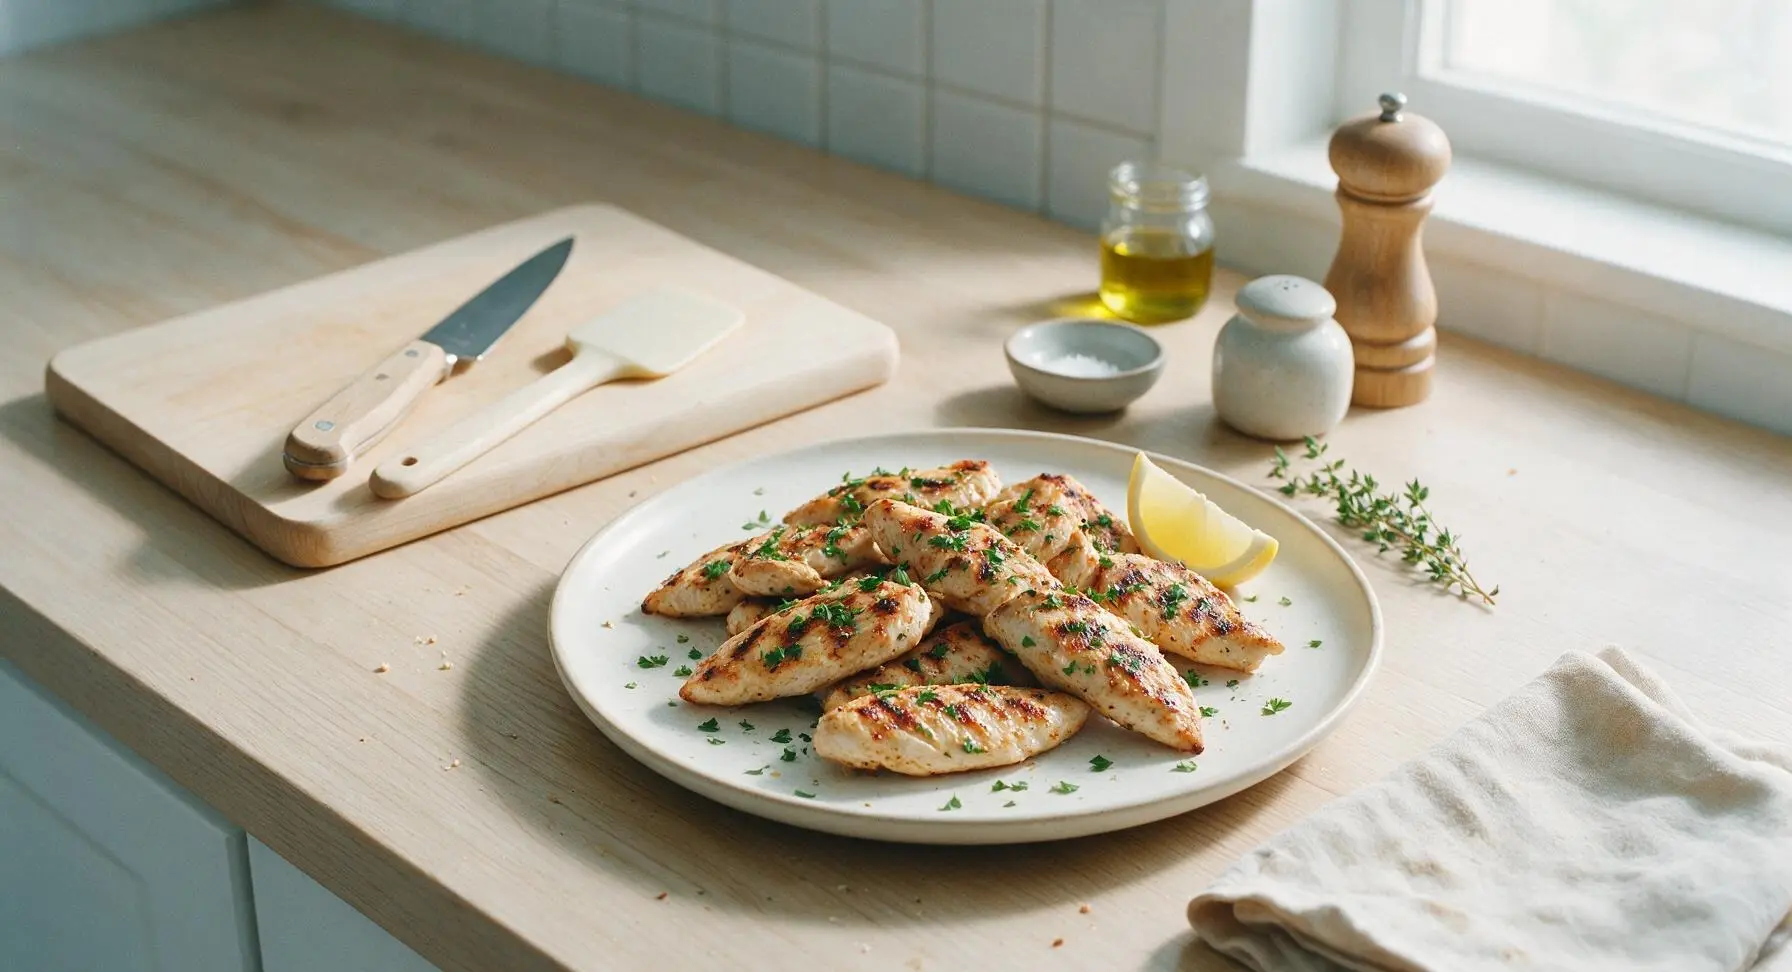
Step 8
step8:Garnish and Serve

Tips

1.Pat chicken tenders completely dry with the linen towel before adding to marinade: Excess surface moisture from chicken packaging will create steam instead of a hard sear on the grill pan, preventing crisp, flavorful dark grill marks from forming.
2.Resist the urge to overcook: Chicken tenders are extremely lean, and just 60 seconds of extra cooking over high heat will cause the muscle fibers to seize up, resulting in tough, dry bites. Pull them immediately when the thickest part hits 165°F, as residual carryover cooking will raise the temp 5°F during resting.
3.Leave tenders undisturbed while grilling the first side: Flipping or moving them too early breaks the Maillard reaction (the browning process that creates smoky, deep flavor) and leaves pale, uneven grill marks. Wait the full 4 minutes before flipping for perfect, restaurant-worthy marks.


✨ You May Also Like

BBQ & Grilling
🍜 United States

Tender, melt-in-your-mouth beef brisket with a crisp, spiced bark, slow-smoked to deep smoky perfection, the iconic centerpiece of Texas backyard barbecue.

⏱️ 12 hours BBQ & Grilling ★ 4.4
BBQ & Grilling
🍜 Korea

Tender, sweet-savory marinated beef short ribs, a beloved Korean BBQ staple with caramelized, slightly charred edges and deep umami flavor, perfect for outdoor summer gatherings.

⏱️ 4 hours 2BBQ & Grilling ★ 4.8
BBQ & Grilling
🍜 United States

Juicy grilled beef patties topped with smoky homemade chili, melted cheddar, and tangy pickles on toasted brioche buns for a hearty, flavor-packed handheld meal.

⏱️ 40 minuteBBQ & Grilling ★ 4.7
BBQ & Grilling
🍜 United States

A sweet, smoky, tangy BBQ sauce brightened with peak-season dark cherries, ideal for glazing grilled ribs, chicken, pork, or summer roasted veggies.

⏱️ 35 minuteBBQ & Grilling ★ 4.7
BBQ & Grilling
🍜 United States

Rich, smoky, slightly sweet homemade bourbon BBQ sauce with deep caramel notes, ideal for glazing grilled ribs, chicken, and burgers at cookouts.

⏱️ 25 minuteBBQ & Grilling ★ 4.7
BBQ & Grilling
🍜 United States

Iconic Alabama-style BBQ featuring tender hickory-smoked chicken slathered in tangy creamy white sauce, a beloved regional Southern cookout staple.

⏱️ 3 hoursBBQ & Grilling ★ 5

grilled chicken tender:Frequently Asked Questions

1.How do I keep these grilled chicken tenders from turning out dry and tough? ▾
Start by patting the tenders fully dry before coating them in olive oil and seasonings, so they sear instead of steam. Never press the tenders with a spatula while grilling—that squeezes out all the precious, flavor-packed juice. Pull them when they hit 165°F internal temp, then let them rest 5 minutes so juices redistribute instead of running out at first bite.
2.Can I substitute regular paprika if I don’t have smoked paprika? ▾
You can absolutely use regular paprika in a pinch, though you’ll miss that warm, campfire-style smokiness that pairs so well with grill char. To mimic that signature smoked note, mix a tiny pinch of ground cumin or 1/8 teaspoon of liquid smoke into regular paprika before seasoning the chicken.
3.How long should I marinate these chicken tenders before grilling? ▾
You don’t need a long, fussy marinade here! Toss the tenders with olive oil, kosher salt, pepper, smoked paprika, and bright lemon juice 15 to 30 minutes before cooking. Don’t marinate longer than an hour—the lemon’s acid will break down the delicate chicken, leading to mushy, not juicy, texture.
4.What grill temperature gives the best char without burning the tenders? ▾
Preheat your gas or charcoal grill to medium-high, about 400 to 450°F, for best results. This temp is hot enough to form crisp, deep golden grill marks in 2 to 3 minutes per side, but not so scorching that the outside burns before the inside cooks through to safe, juicy doneness.
5.Do I need to oil my grill grates to keep the tenders from sticking? ▾
Absolutely—even with the olive oil coating on the chicken, oiling preheated grates prevents sticking and helps clean, defined grill marks form. Fold a paper towel, dip it in neutral oil, hold it with tongs, and wipe it evenly across the grates right before you lay the tenders down.
6.How do I tell when the tenders are done without cutting into them? ▾
An instant-read thermometer is the most reliable tool: stick it into the thickest part of the largest tender, and pull them when it hits 165°F. If you don’t have a thermometer, look for firm (not squishy) texture and completely clear, pink-free juices running from the meat.
7.Can I make these if I don’t have an outdoor grill? ▾
Totally! A cast iron stovetop grill pan works almost as well as an outdoor grill for this recipe. Preheat the pan for 5 full minutes over medium-high heat, oil it lightly, and cook the tenders 2 to 3 minutes per side—you’ll still get great char marks and that bright, smoky flavor.
8.Why do my grill marks always turn out pale and uneven? ▾
The two most common culprits are not preheating the grill enough, and moving the chicken too early. Once you set the tenders on the hot, oiled grates, leave them completely undisturbed for 2 full minutes before flipping. Don’t nudge or shift them early, and crisp, dark grill marks will set perfectly.
9.How long do leftover grilled tenders last in the fridge? ▾
Let the cooked tenders cool to room temperature within 2 hours of cooking (standard food safety guidance), then tuck them into an airtight container in the fridge. They’ll stay juicy and fresh for 3 to 4 days, perfect for chopping on salads, stuffing in wraps, or grabbing as a quick high-protein snack.
10.Can I add extra seasonings to this base recipe? ▾
This simple lemon and smoked paprika base is super flexible! Feel free to add garlic powder, dried oregano, a pinch of cayenne for heat, or extra lemon zest before grilling. Just hold off on sugary barbecue sauces until the last minute of cooking—sugar burns fast and leaves a bitter, burnt crust.

Comments (5)

3 days ago

OMG these were SO good! I made them for my kid’s soccer team potluck last weekend and every single parent asked for the recipe. The 10 minute cook time is no joke—perfect for when I’m scrambling to get dinner on the table after practice too. Total game changer for weeknight meals! Did anyone try marinating them for a couple hours first instead of the 30 mins the recipe says?

2 days ago

I marinated mine for 4 hours yesterday for my weekly meal prep! They were even juicier, no dry bits at all. I added a little extra smoked paprika too, chef’s kiss.

2 days ago

So glad these were a hit at the potluck! Marinating longer is totally fine—just don’t go over 24 hours or the acid in the marinade can start to break down the chicken too much and make it mushy. Great call adding extra smoked paprika, Jake!

1 week ago

As someone who always manages to burn or dry out chicken on the grill, I was shocked how juicy these turned out! Super easy to follow, no fancy ingredients required. My only note is that my grill runs a little hot, so I only needed 8 minutes total instead of 10. Will definitely be making these all summer.

1 week ago

That’s such a great tip about hotter grills! Every grill runs a little differently, so checking for an internal temp of 165°F at the thickest part is always the most reliable way to know they’re done, no matter the cook time. So proud you got juicy chicken on the first try!

2 weeks ago

I make a big batch of these every Sunday for my work lunches and they hold up perfectly all week! I toss them on salads, wrap them in tortillas, even eat them cold as a quick snack when I’m running out the door. No sad dry meal prep chicken here, people. 10/10.

yesterday

Made these for our family dinner last night and even my super picky 7 year old ate three tenders! That’s basically a miracle in my house. I served them with grilled corn and coleslaw, total perfect summer meal. Only thing I changed was brushing a little honey on them the last minute of grilling for a tiny sweet kick.

2 hours ago

Oh the honey addition sounds incredible! I’m making these for my Fourth of July cookout tomorrow, I’m totally stealing that idea. Thanks for the pro tip!

2 hours ago

I made these last night on my indoor grill pan (no outdoor grill access at my apartment) and while the flavor was amazing, they came out a tiny bit rubbery. Any tips to get them juicier and less chewy next time without an outdoor grill?

30 minutes ago

I make mine on a cast iron grill pan every single week! The trick is to get the pan screaming hot before you lay the tenders down, and don’t flip them more than once. I also pat the chicken totally dry with paper towels before it goes on, that helps get a good sear instead of steaming the meat. Mine turn out perfectly juicy every time!

5 minutes ago

So glad you loved the flavor! SmallSpaceCook’s tips are absolutely spot on—patting the chicken dry and preheating your pan well are total game changers for grill pan cooking. You also want to make sure you’re not crowding the pan; cook in batches if you need to so the chicken sears instead of steaming. Hope that helps for next time!



