
grilled panini
intro
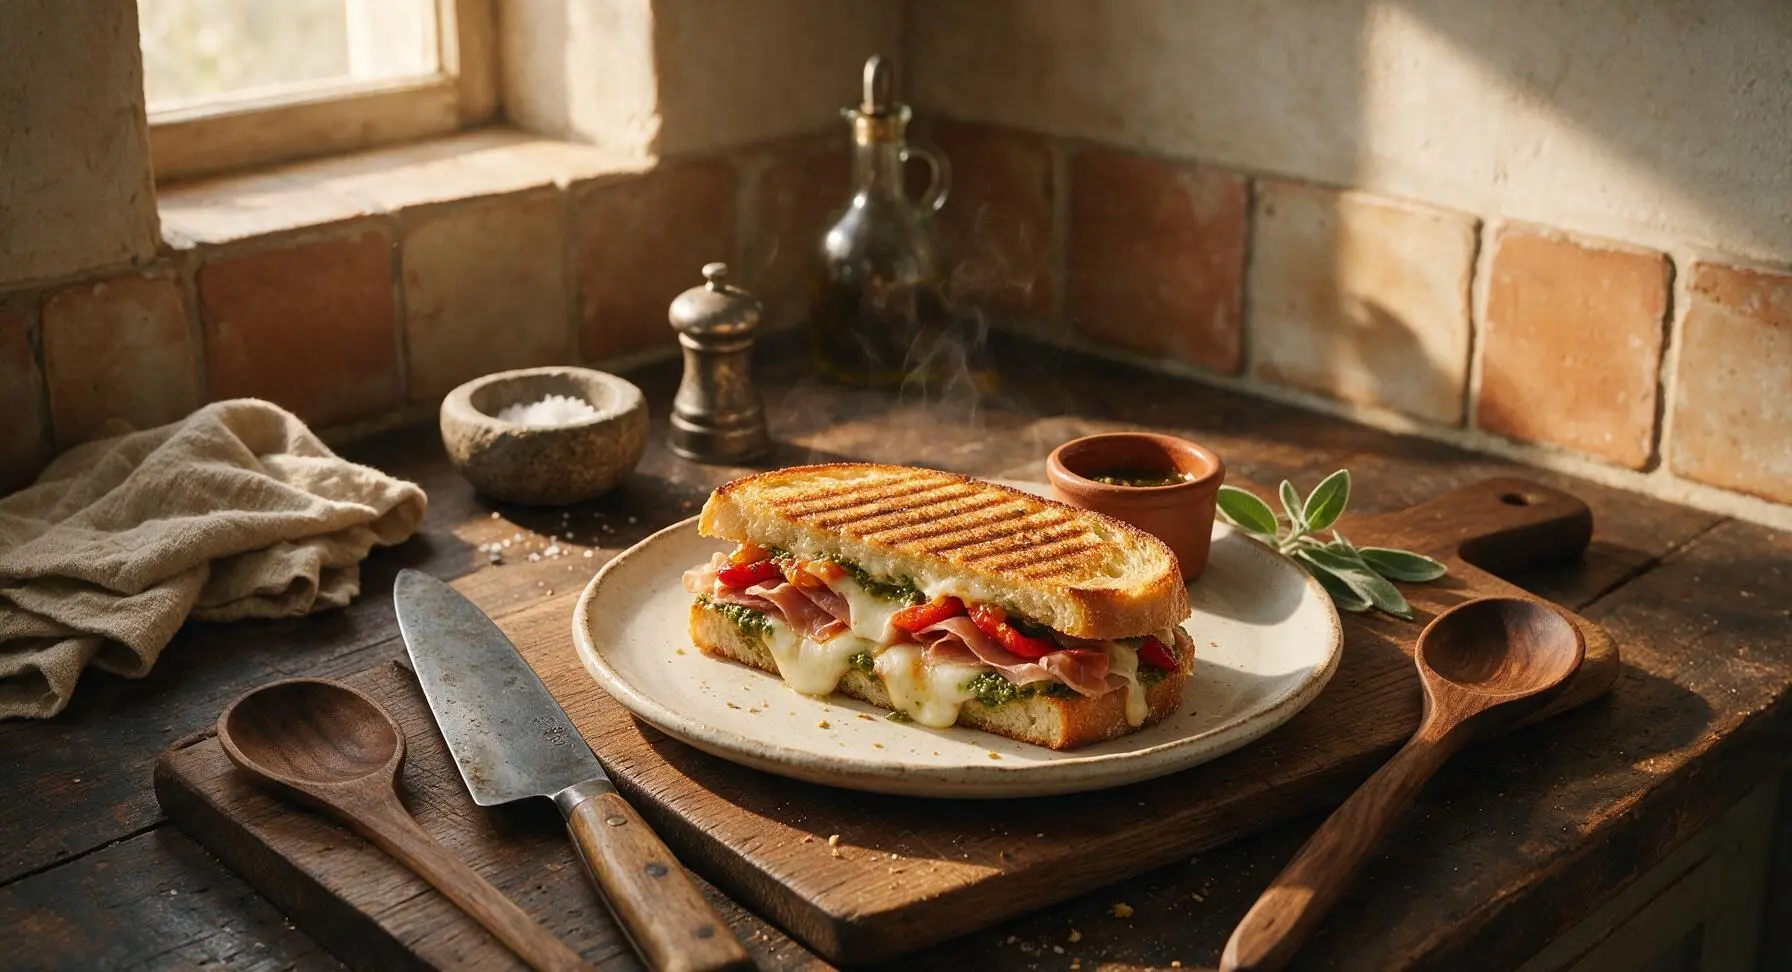
Crispy, golden pressed bread oozing with melted mozzarella, layered with savory prosciutto, bright pesto, and sweet roasted peppers—this classic grilled panini is fast, satisfying, and endlessly customizable.
Ingredients
Steps
Prep Sandwich Ingredients
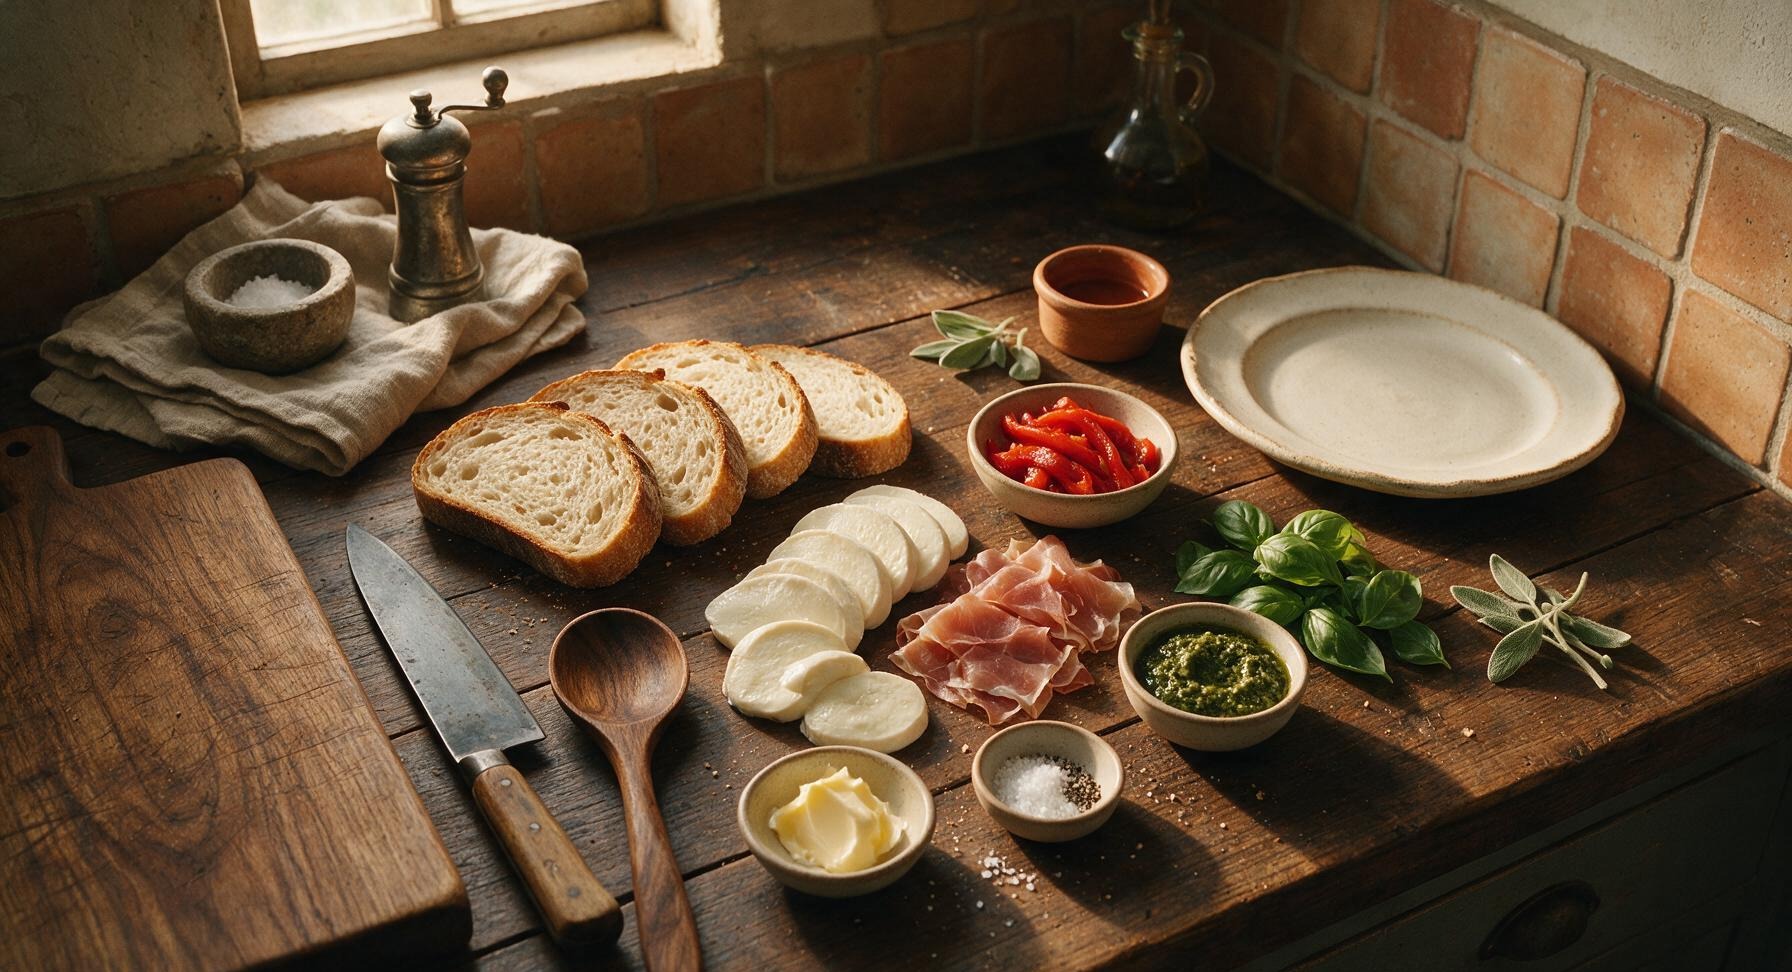
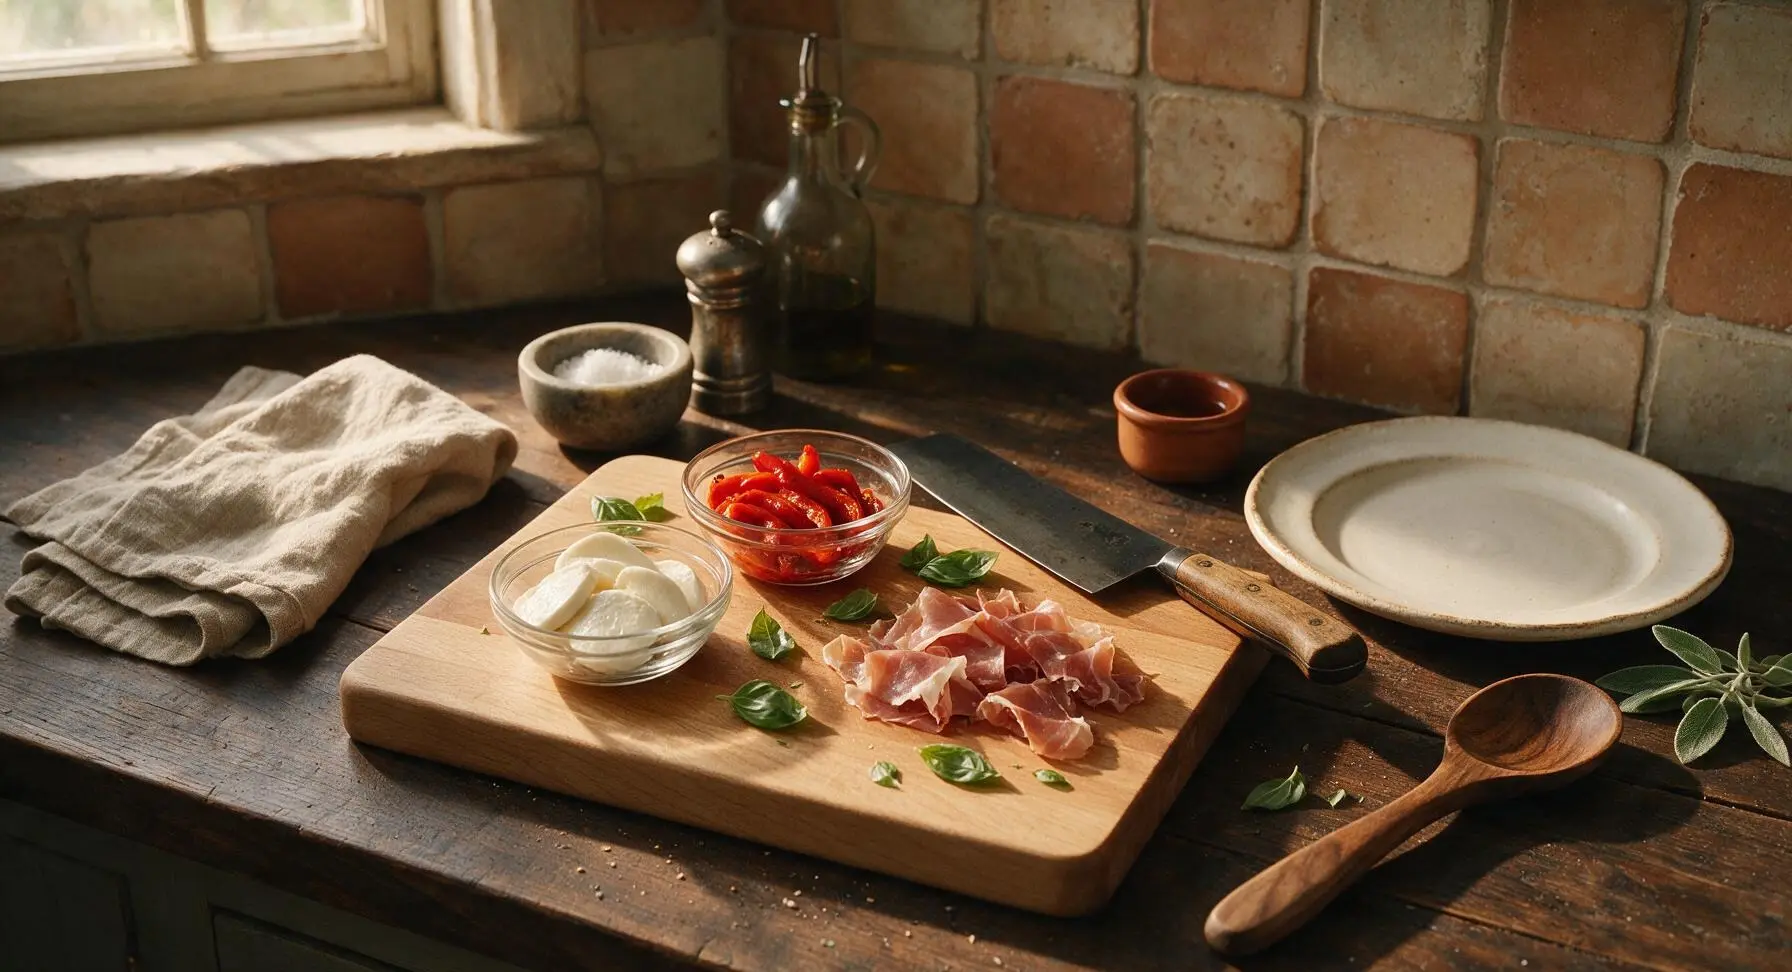
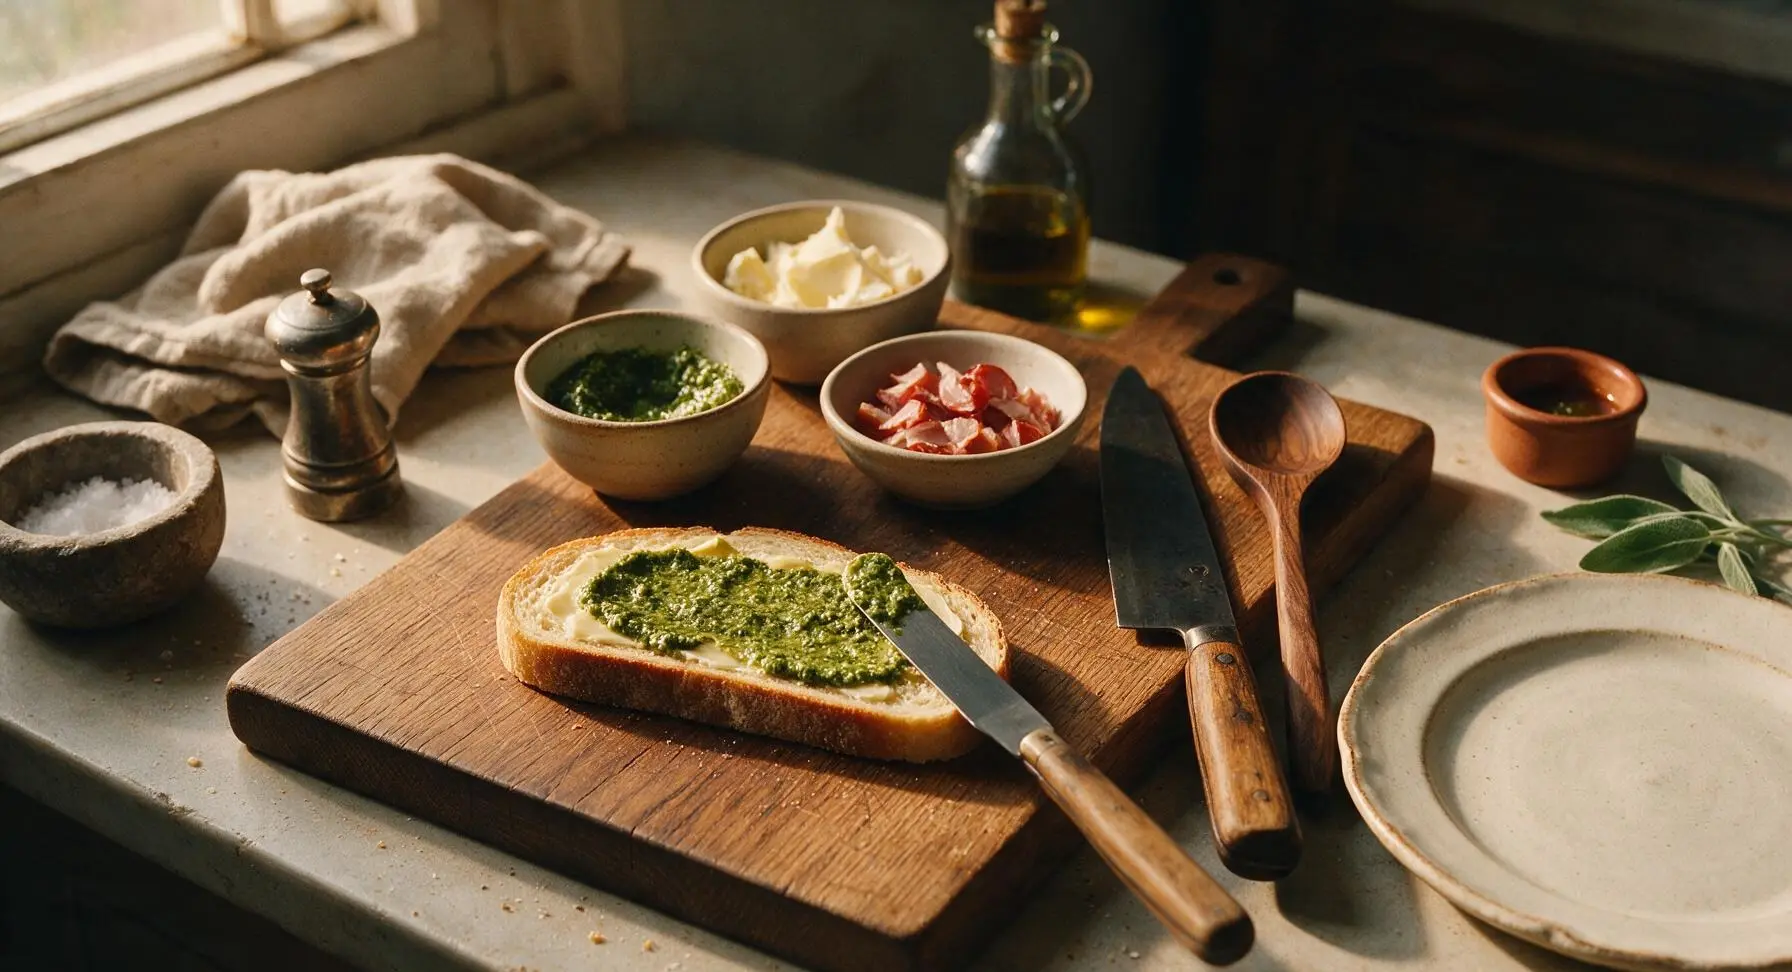
Place the honey beech wood cutting board dead center on the counter, with the three small glass prep bowls arranged on its surface. Pat the sliced fresh mozzarella dry with paper towels to remove excess whey (this prevents soggy bread), and pat the roasted red peppers dry with paper towels to remove excess brine. Tear the prosciutto into 3-inch wide pieces, and strip fresh basil leaves from their stems. Season mozzarella slices lightly with kosher salt and black pepper, arranging each prepped filling in its own glass bowl on the board. Rest the 8-inch chef's knife across the top right edge of the cutting board.
Butter Bread Exteriors
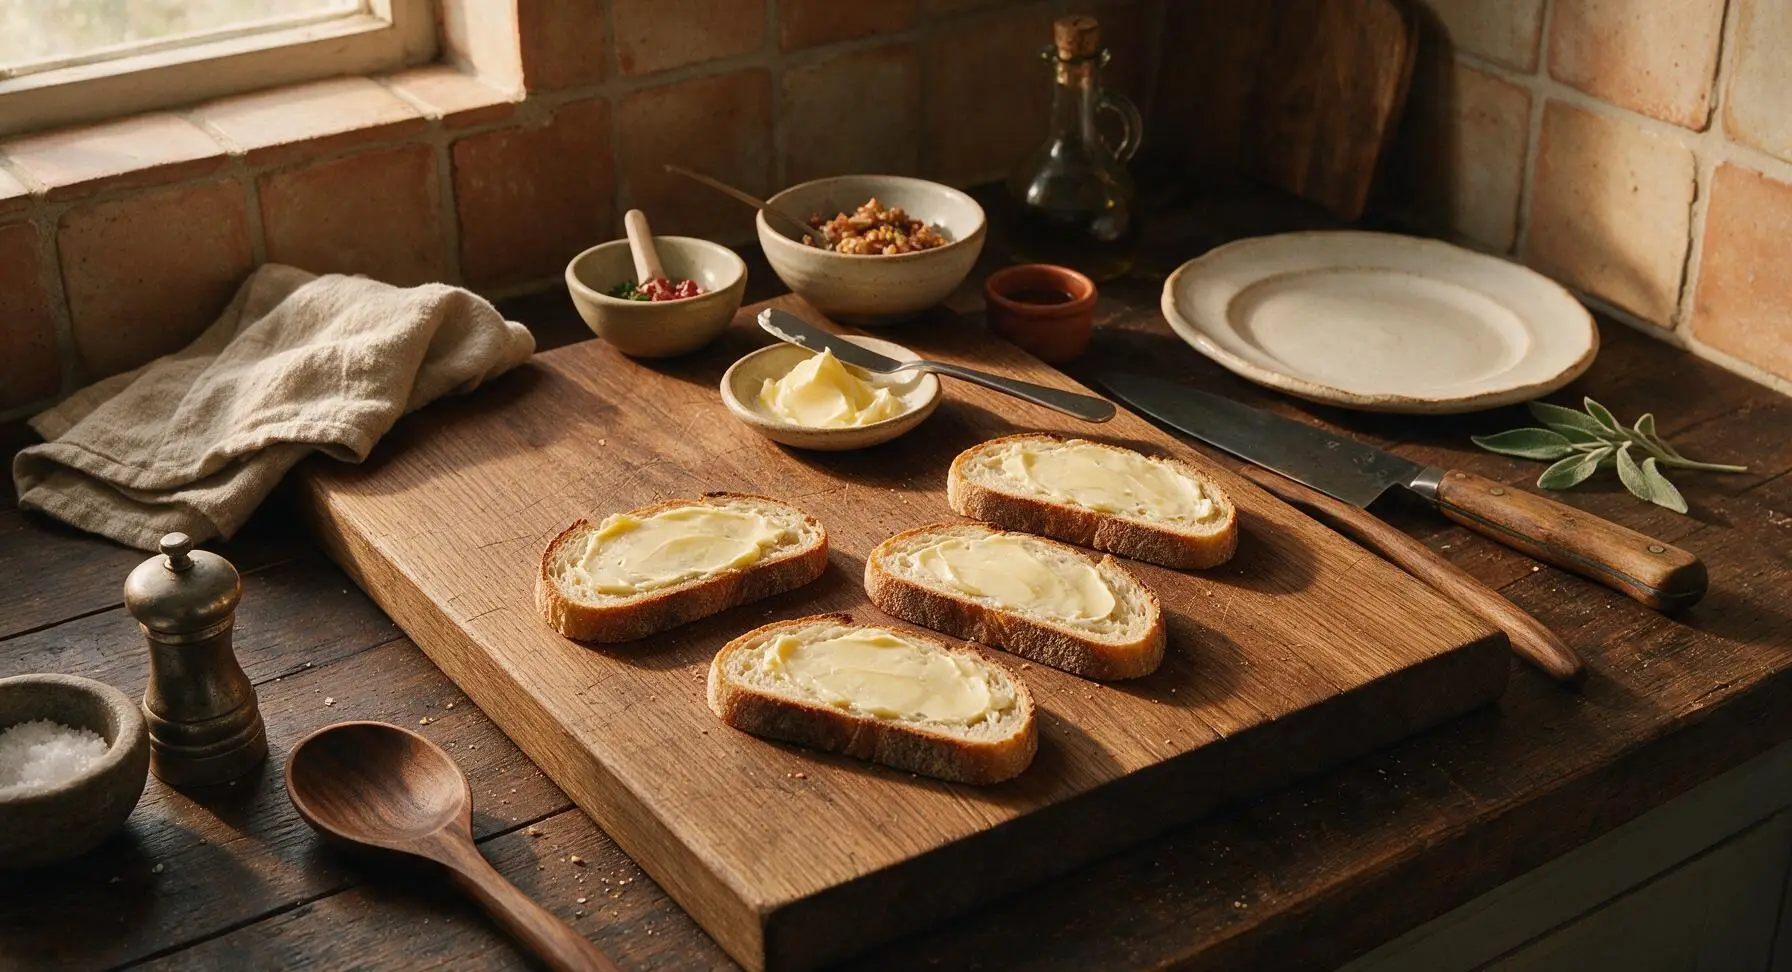
Push the prep bowls of fillings to the top edge of the cutting board to make clear work space. Lay all 4 sourdough slices flat on the empty section of the board. Use the stainless steel offset spatula to spread a thin, even layer (approx ¾ tsp per slice) of softened unsalted butter on one outer side of each bread slice. This buttered side will face the panini press to create a crispy, golden crust. Ensure butter covers the entire bread surface right to the edges, with no bare dry spots, to prevent uneven browning.
Layer Panini Fillings
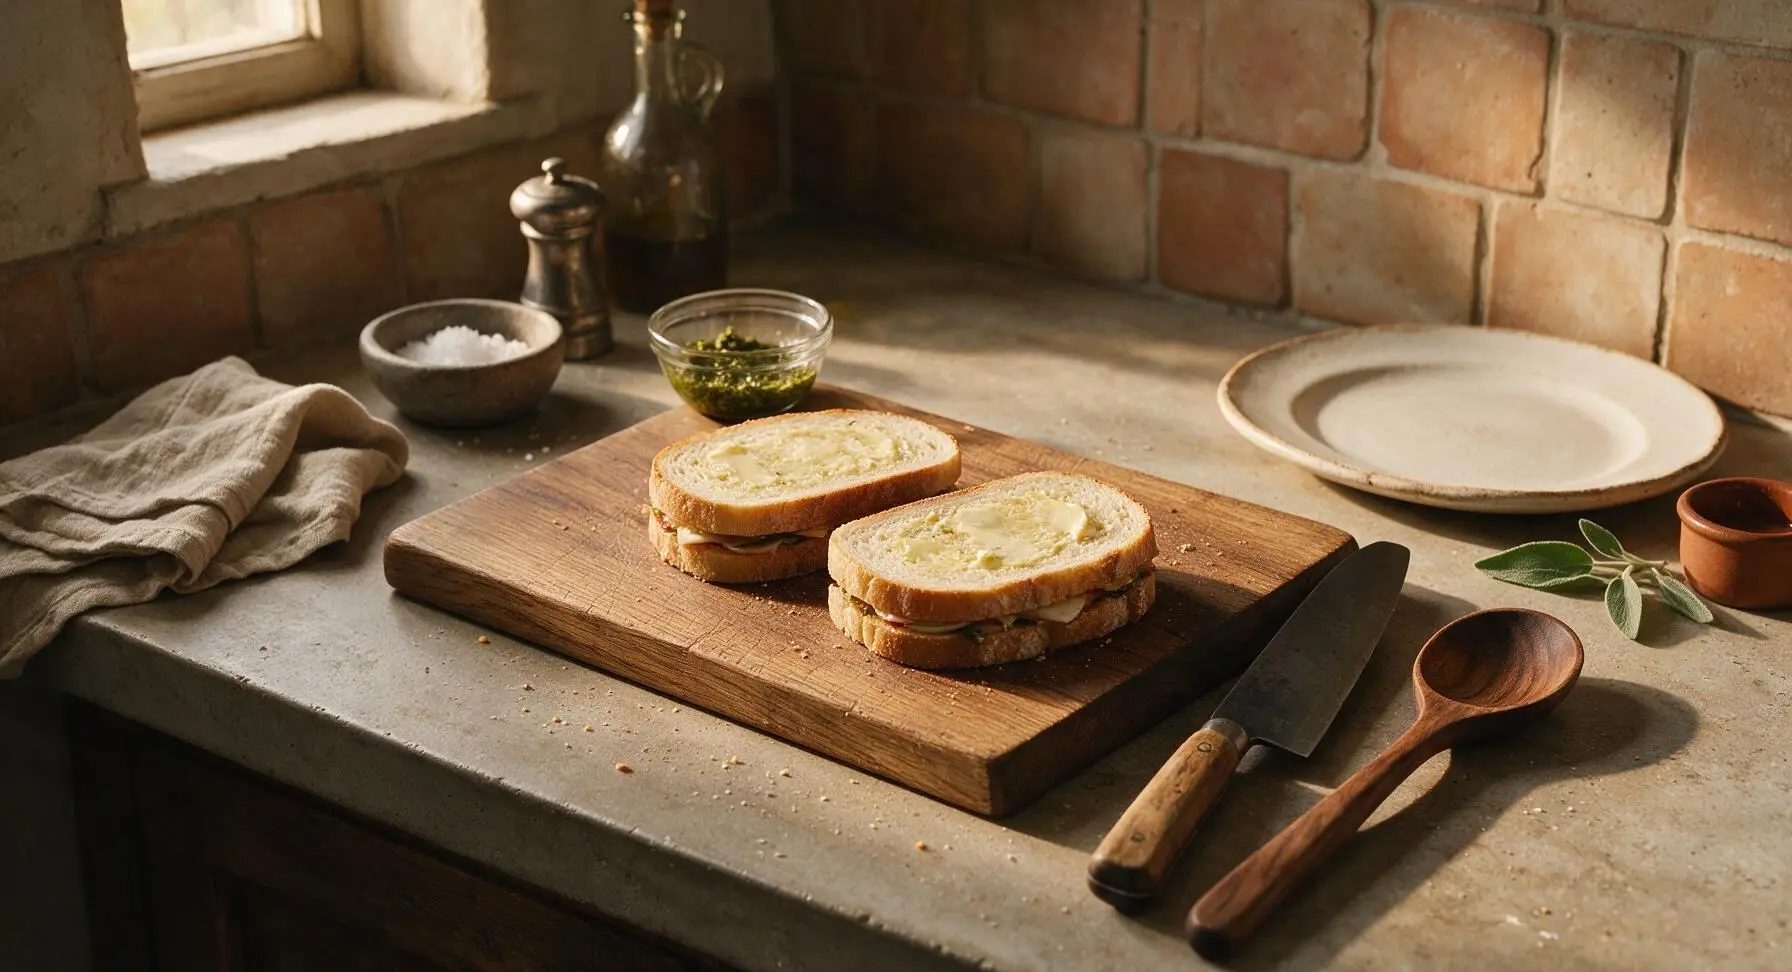
Flip two of the bread slices over so the buttered side faces down (these are the bottom slices). Spread 1 tbsp of basil pesto evenly across the unbuttered inner side of each bottom slice. Layer fillings evenly on each bottom slice in sogginess-preventing order: 1oz sliced mozzarella, half the prosciutto, half the roasted red pepper strips, half the fresh basil leaves, then the remaining 1oz mozzarella per sandwich. Top each stack with the remaining two bread slices, buttered side facing up, pressing down gently to compact layers slightly.
Preheat Panini Press
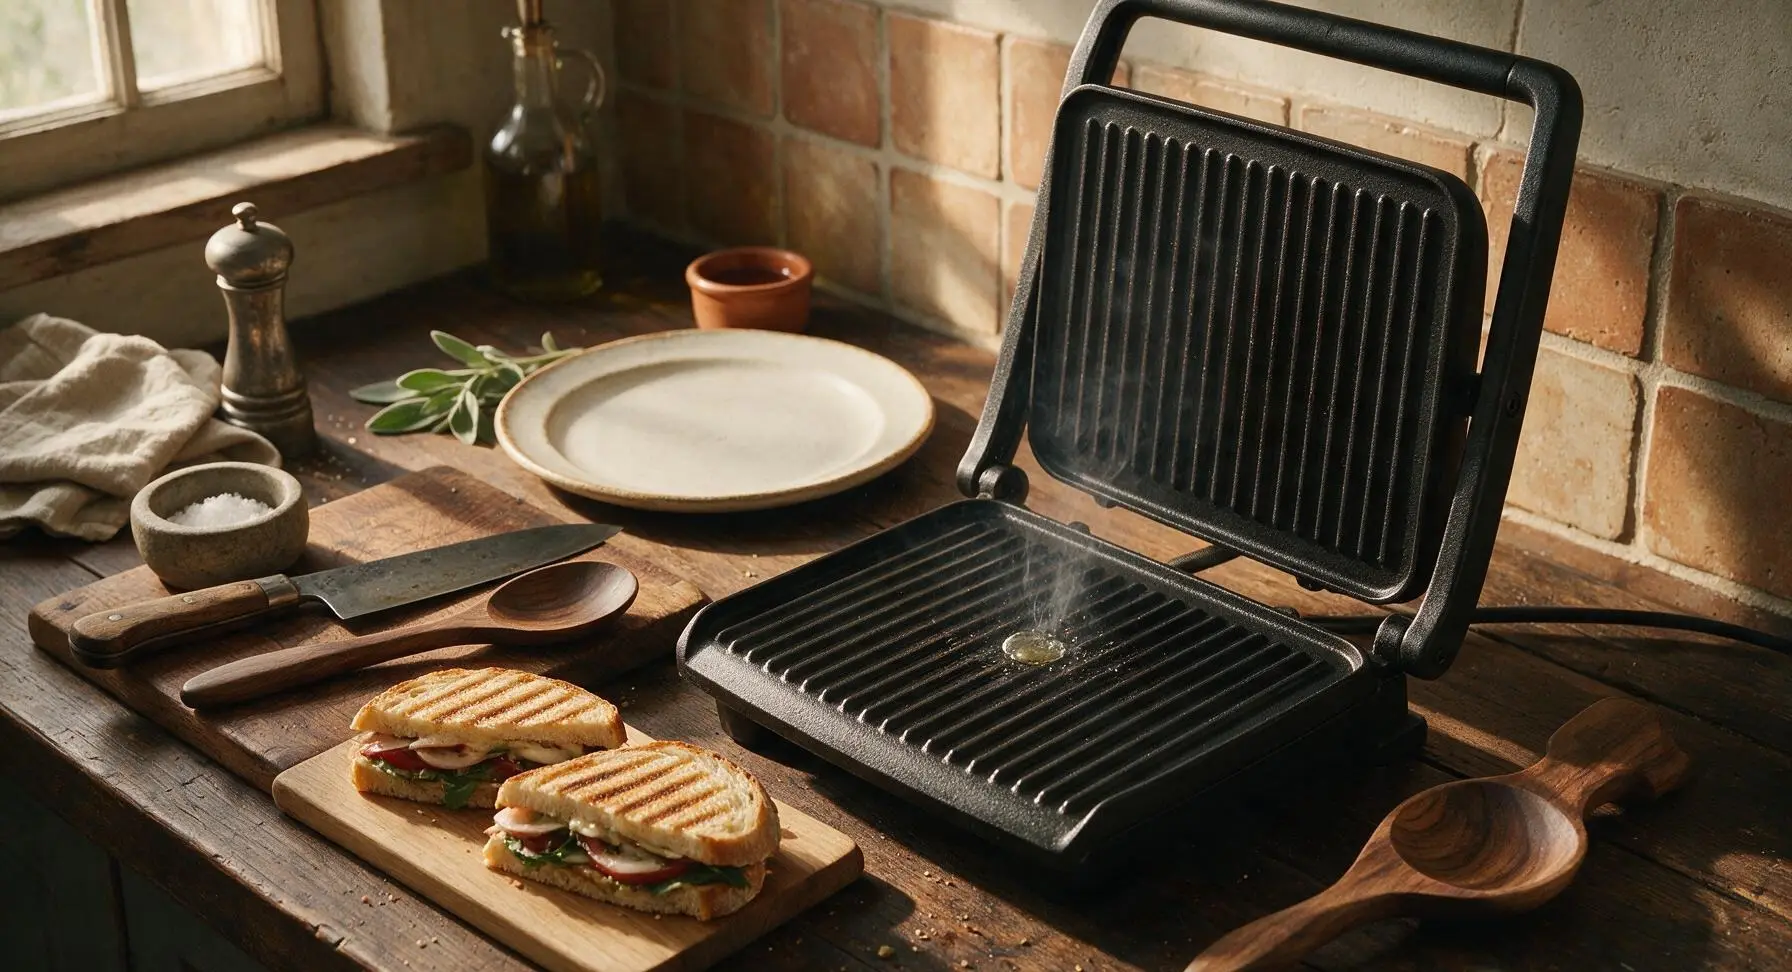
Place the matte black cast iron panini press in its fixed position immediately left of the terracotta spoon rest at center-right, plugged in with no visible cord clutter. Preheat the press to medium-high heat (375°F / 190°C) for 3 minutes, until the ridged surface is hot enough that a drop of water sizzles and evaporates immediately on contact. Do not oil the press surface, as the butter on the bread exterior will prevent sticking.
Grill First Panini
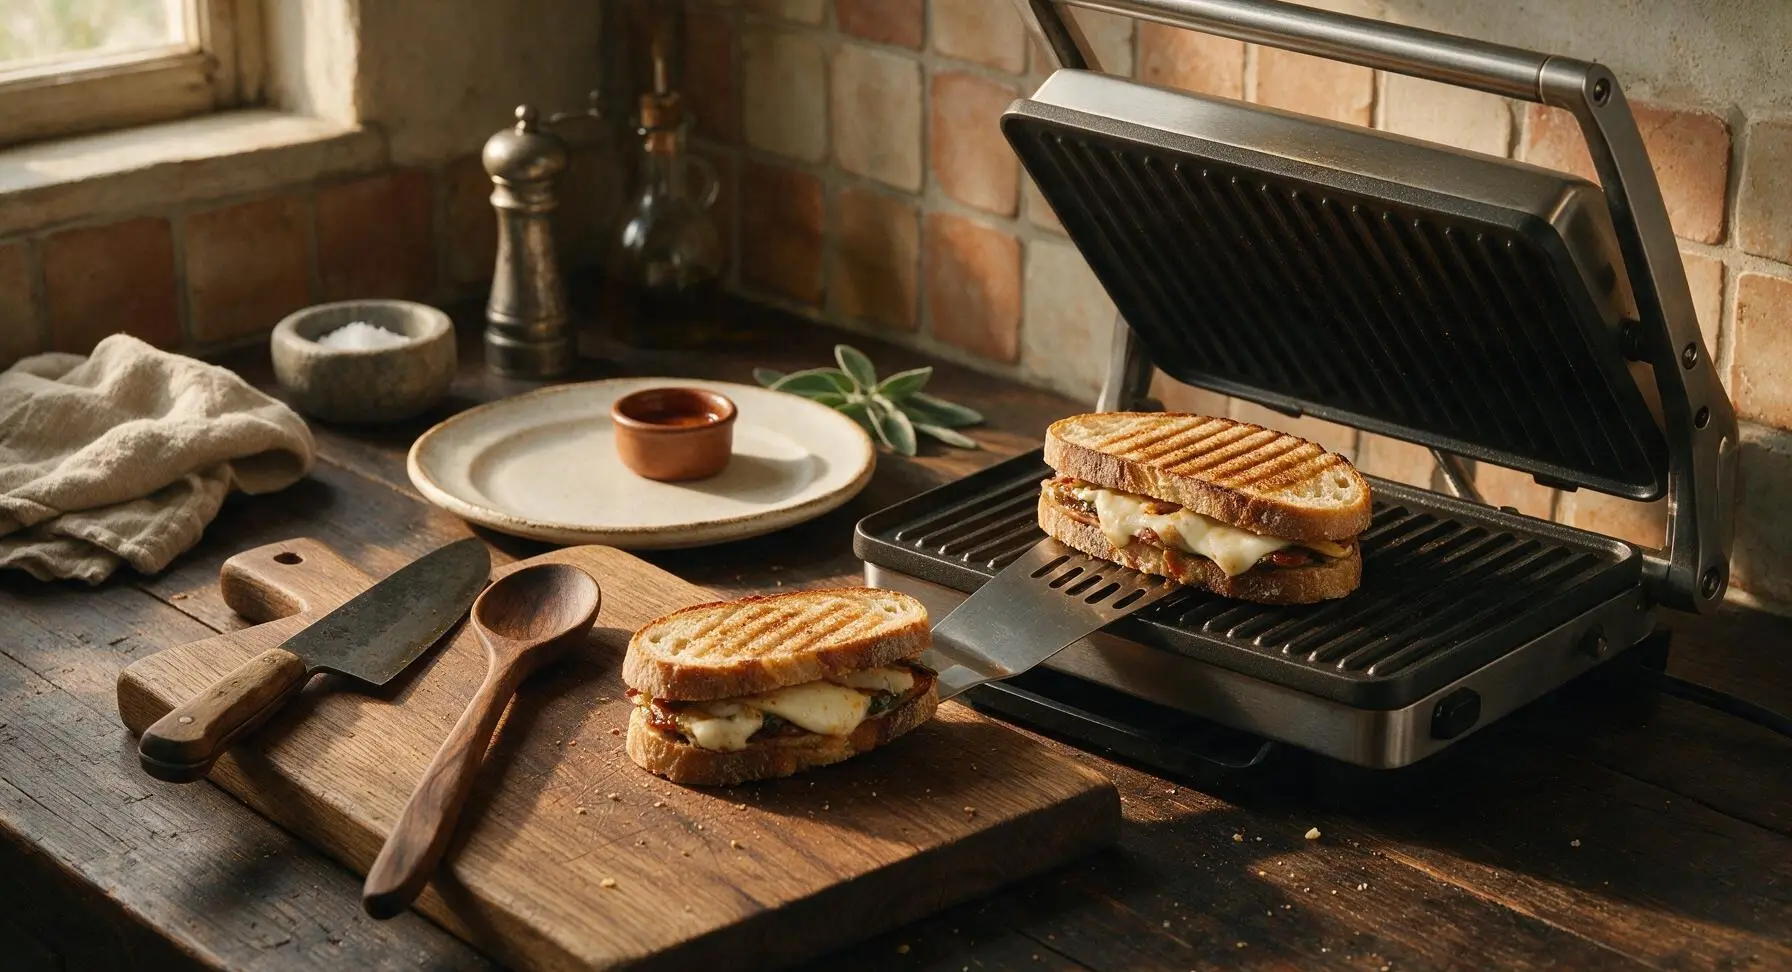
Use the stainless steel offset spatula to carefully lift one assembled panini and place it centered on the preheated press ridges. Close the press lid, applying gentle, even pressure to flatten the sandwich slightly. Cook for 3 to 4 minutes, until the bread is deep golden brown with distinct dark grill ridges, and mozzarella is fully melted and oozing slightly from the sandwich edges. Do not press too hard, as this will squeeze out melted cheese and fillings.
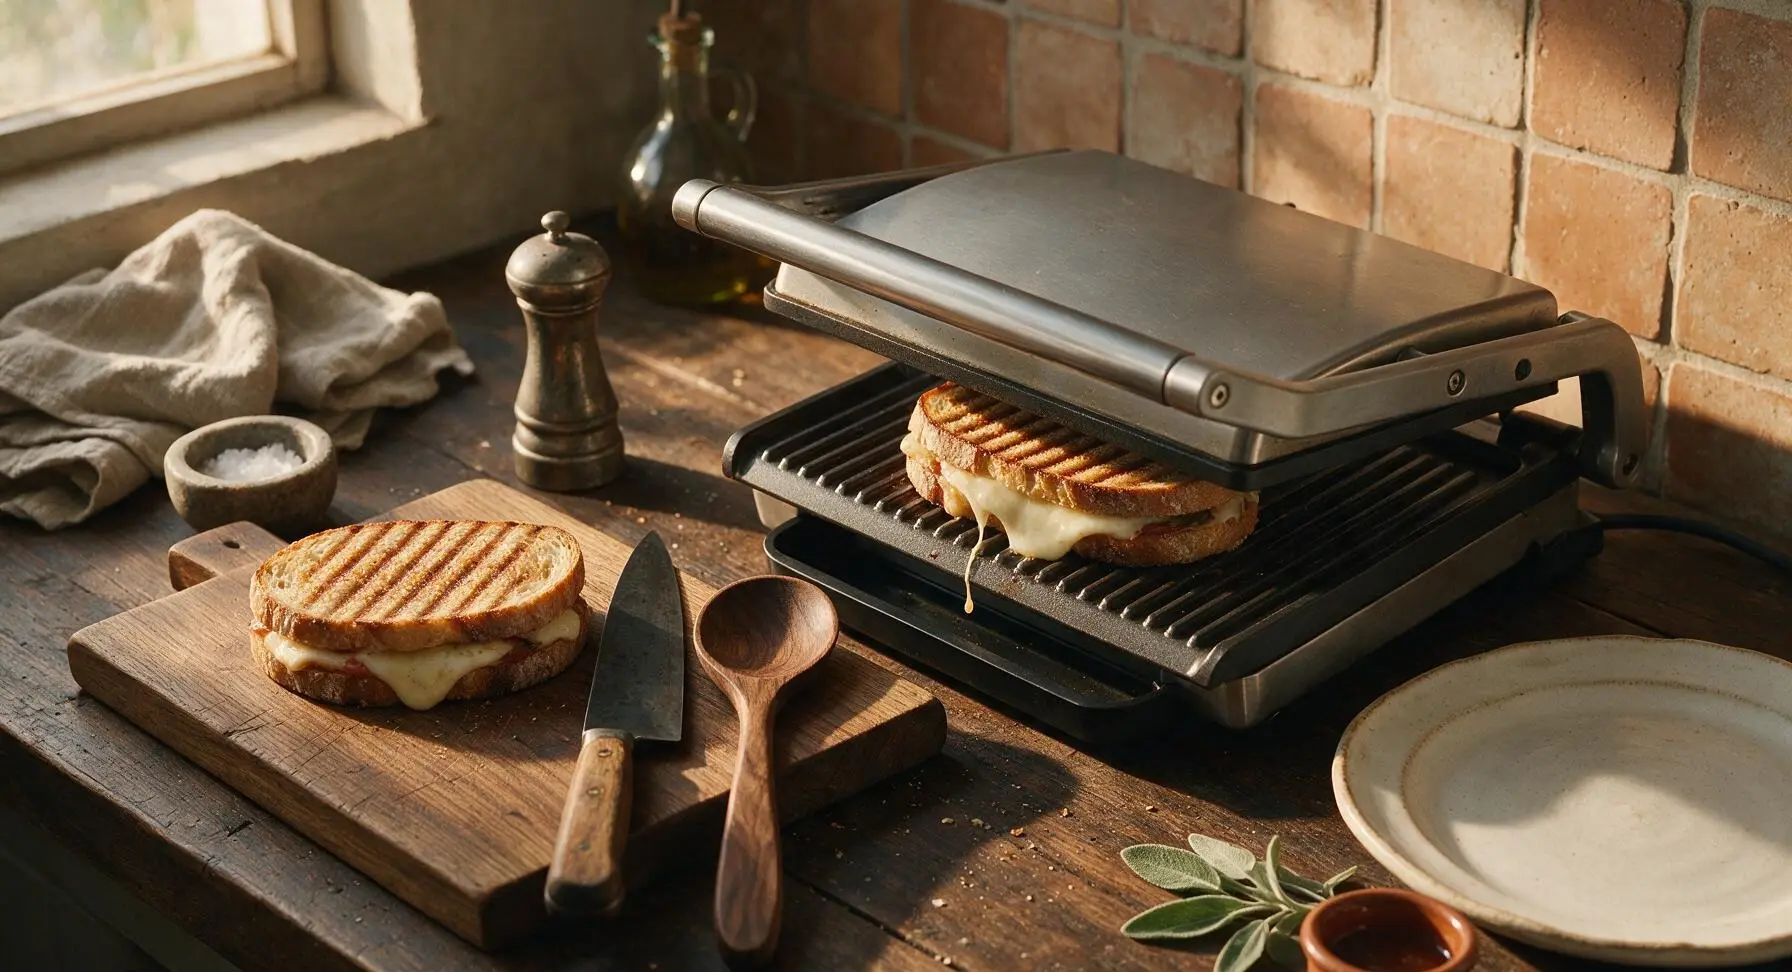
Cook Remaining Panini
Once the first panini is done, use the offset spatula to transfer it back to the beech cutting board to rest for 2 minutes (this allows cheese to set slightly so it does not run out when cut). Place the second assembled panini on the press, close the lid, and cook for 3 to 4 minutes until it matches the first: deep golden crisp crust, visible grill marks, fully melted cheese. Rest the offset spatula on the terracotta spoon rest between moves.
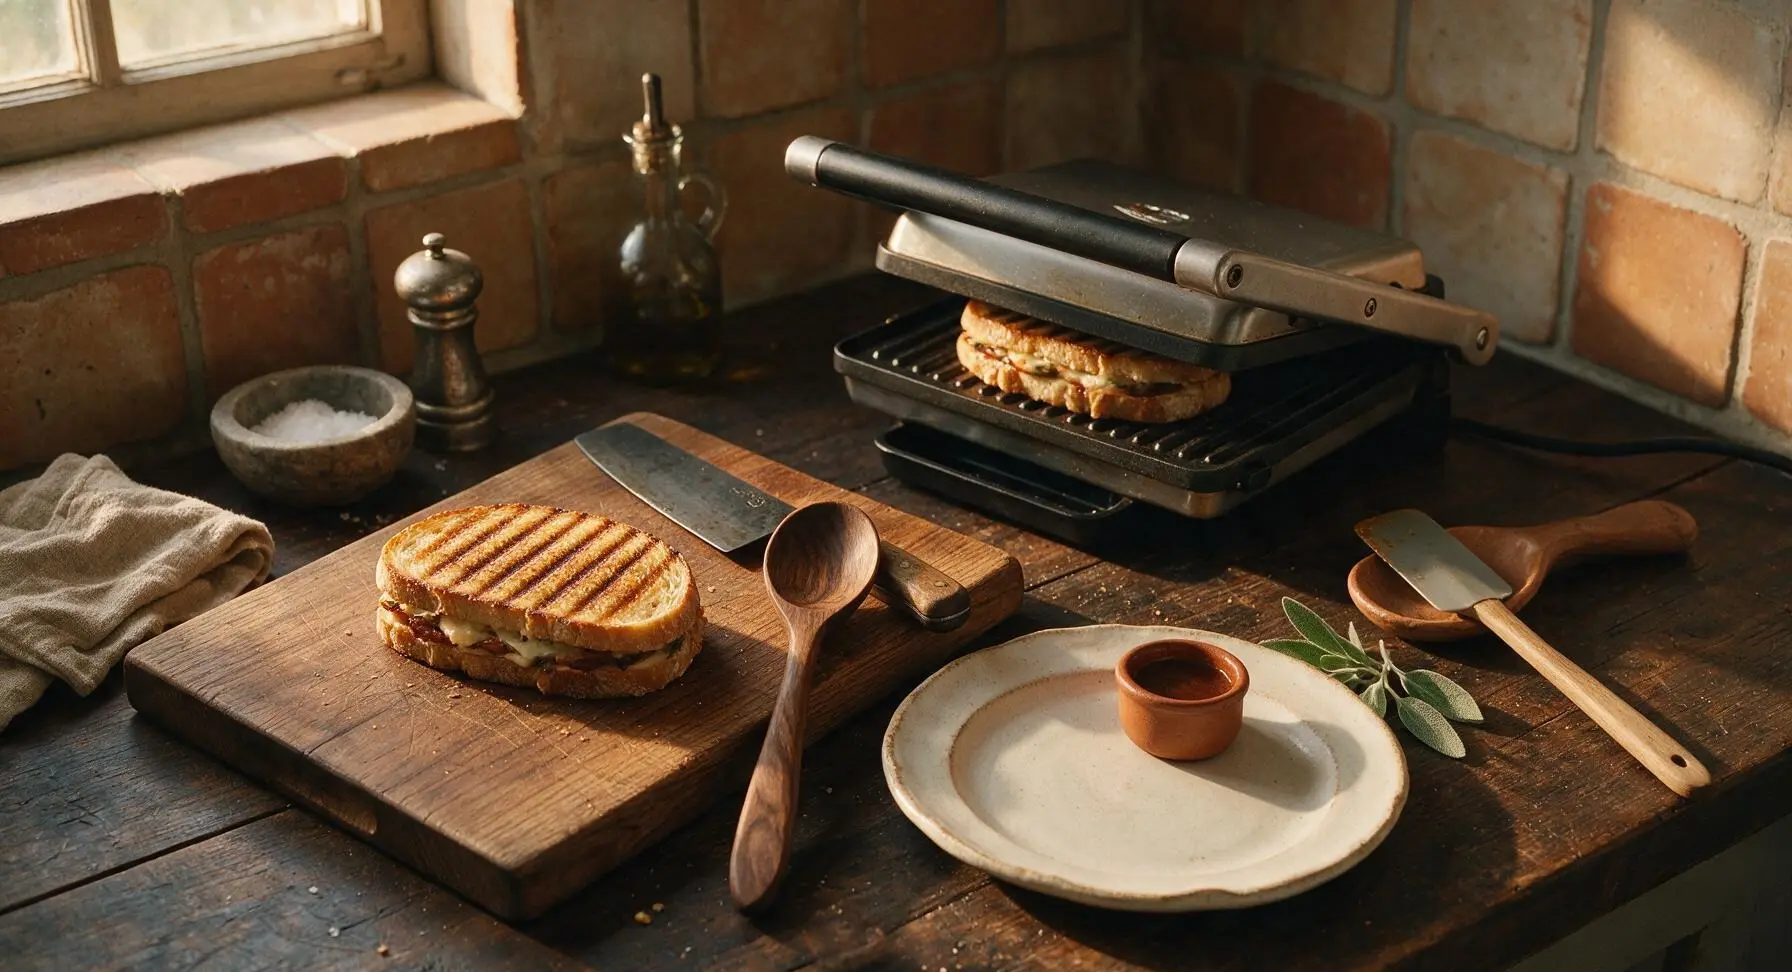
Cut and Plate Panini
Transfer both cooked panini to the matte cream white ceramic dinner plate at front center. Use the 8-inch chef's knife to cut each panini diagonally into two equal triangular halves, arranging the four halves slightly offset on the plate with cut edges facing outward to show the layered fillings. Garnish with a small sprig of fresh basil.
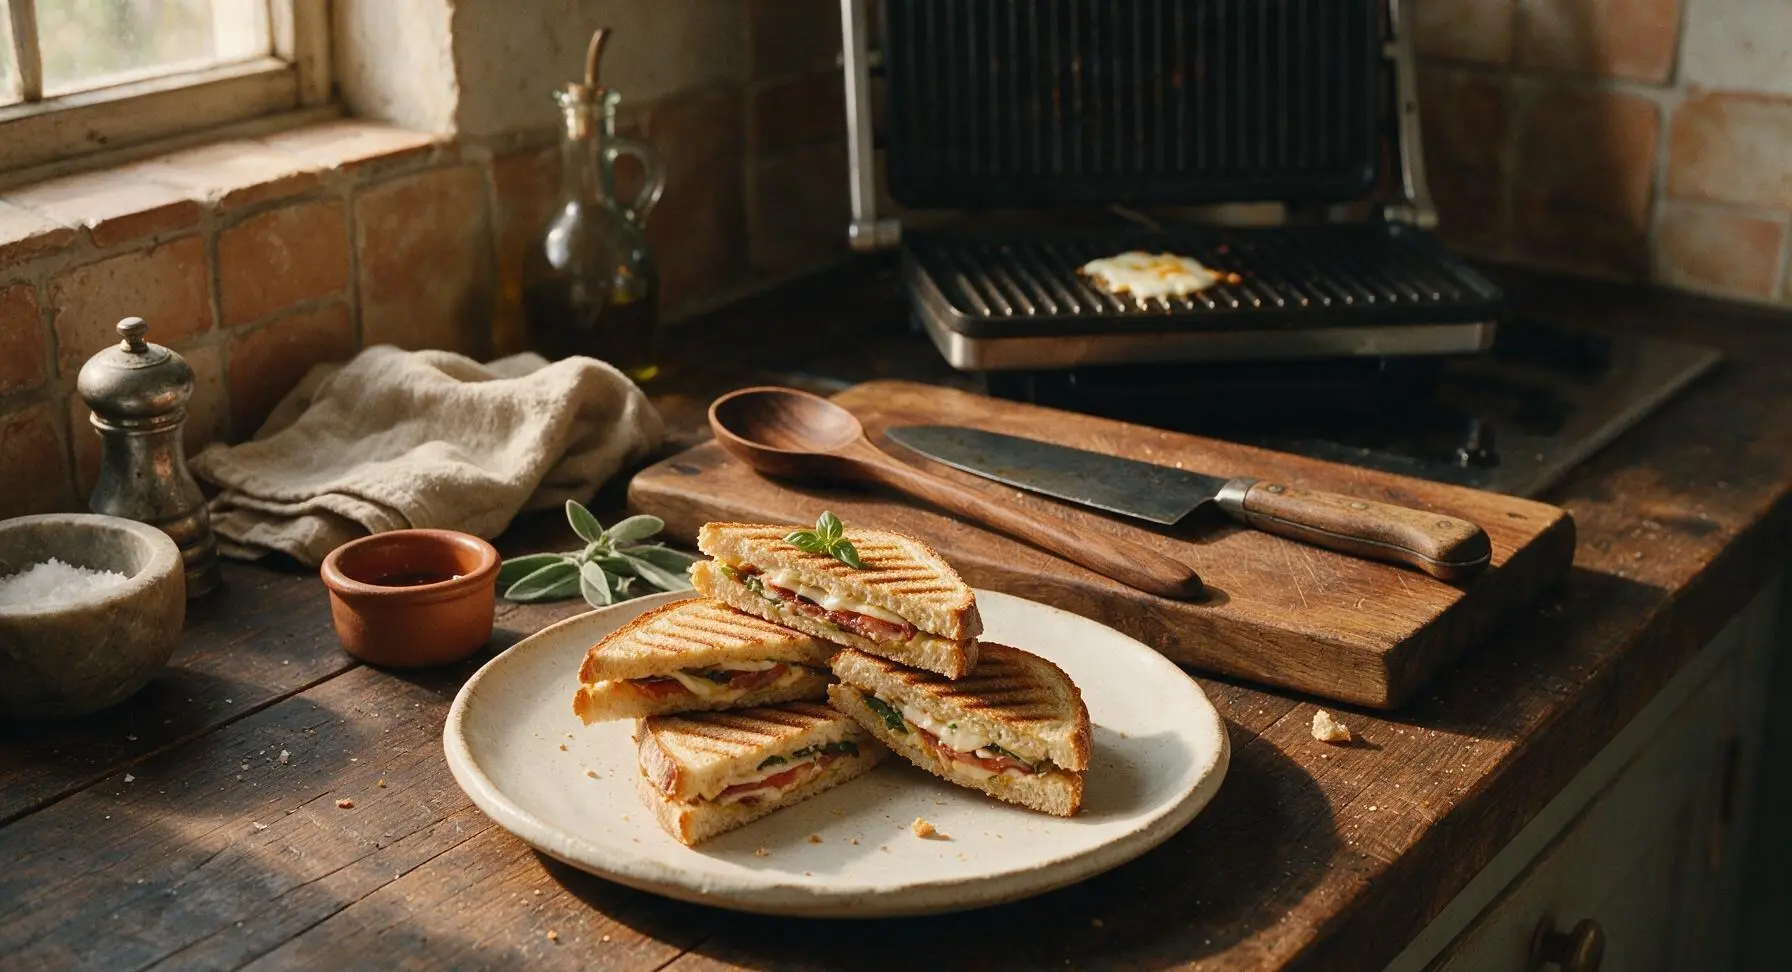
Tips
2.Avoid overstuffing your panini: aim for a ½-inch total thickness of fillings. Too many ingredients will prevent even cheese melting, cause fillings to squeeze out when pressing, and lead to uneven, pale bread browning.
3.Let cooked panini rest for 2 full minutes before cutting: this short rest allows melted cheese to set slightly so it does not gush out when sliced, and gives the buttery crust time to firm up for the perfect crispy bite.
4.If you do not own a panini press, you can use a regular cast iron skillet: place a second heavy cast iron pan on top of the sandwich to weigh it down as it cooks, flipping halfway through to brown both sides evenly.






OMG this classic grilled panini was such a game changer for our busy weeknight dinner routine! I used sourdough bread, provolone, sliced turkey, and a little schmear of pesto, cooked each one for exactly 8 minutes like the recipe said and they came out perfectly crispy, zero soggy bread in sight! My kids devoured theirs in 5 minutes flat and immediately asked if we can have panini night again tomorrow. It’s so easy even my 16 year old could make it without my help, 10/10!
I made a batch of these for my weekly meal prep on Sunday and they held up way better than I expected! I wrapped each one individually in parchment paper and reheated them in my office toaster oven all week — still crispy, still gooey cheesy, no sad soggy sandwich bread. The 8 minute cook time per panini is totally accurate too, I didn’t have to adjust the griddle heat at all once I got started. This is going straight into my regular weeknight rotation, no question.
Brought these to our neighborhood block party potluck last weekend and they were gone in 10 minutes! I cut them into little slider sized bites so people could grab them easy, and everyone was asking for the recipe. I added a little roasted red pepper to a few of them for a pop of flavor, chef’s kiss. SO good. Only tiny bummer was my first one burned a little because my stove runs hot, but once I turned the heat down a touch it was smooth sailing.
Wait this is so easy I made it in my dorm room on my tiny little tabletop grill! I didn’t have fancy ingredients, just whole wheat bread, American cheese, ham, and a little mayo, and it tasted better than the paninis they sell at the campus cafe for $12. Total win for a broke college student, no crazy skills needed.