
grilled ribs
intro
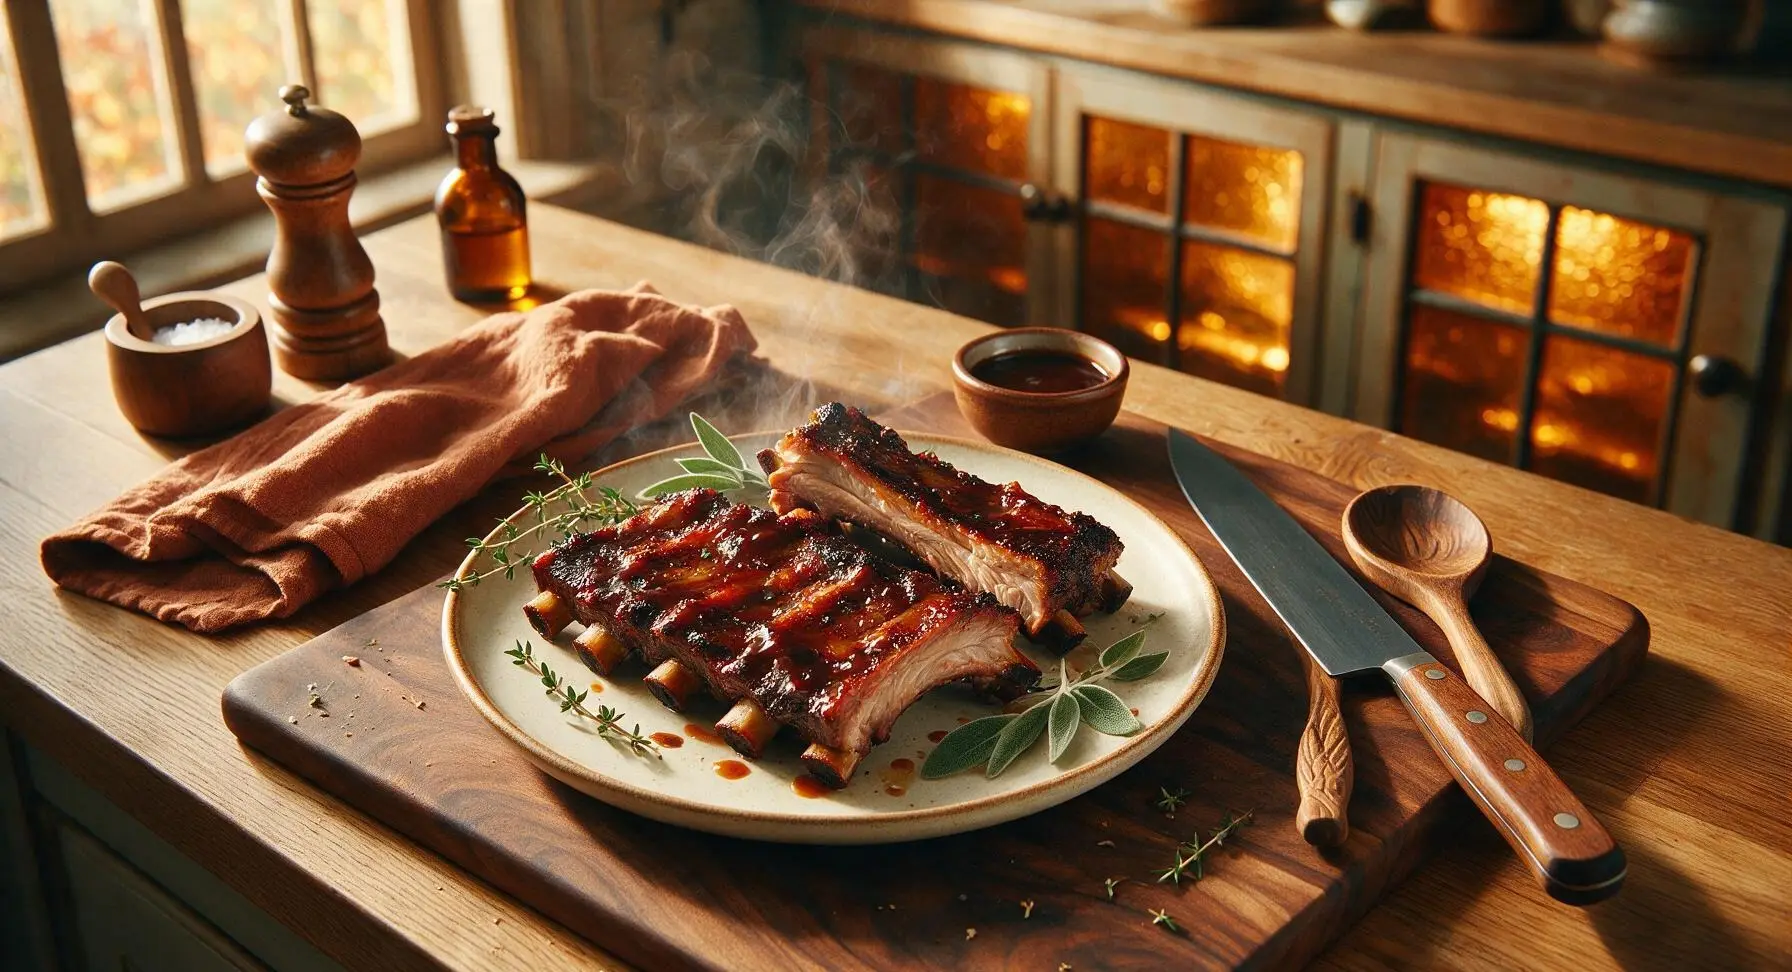
Tender, smoky pork ribs coated in a sweet-savory dry rub, mopped with tangy vinegar, finished with caramelized BBQ sauce, and grilled low and slow for classic backyard cookout flavor.
Ingredients
Steps
Trim and Prep Ribs
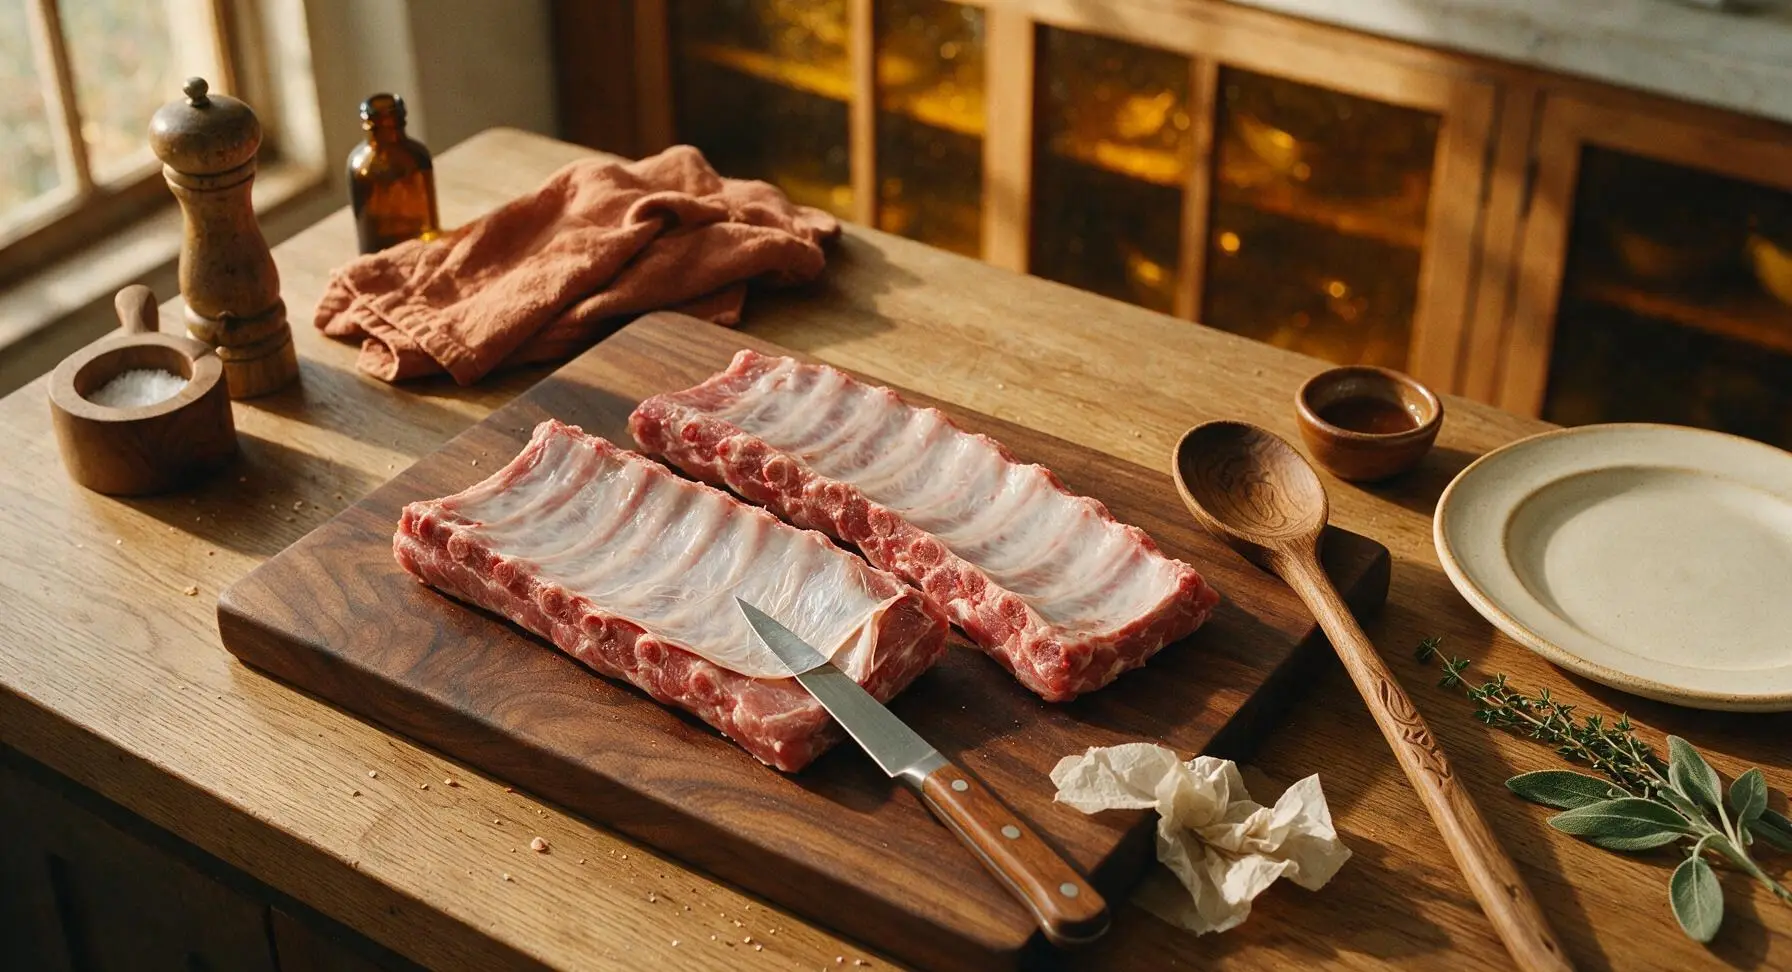
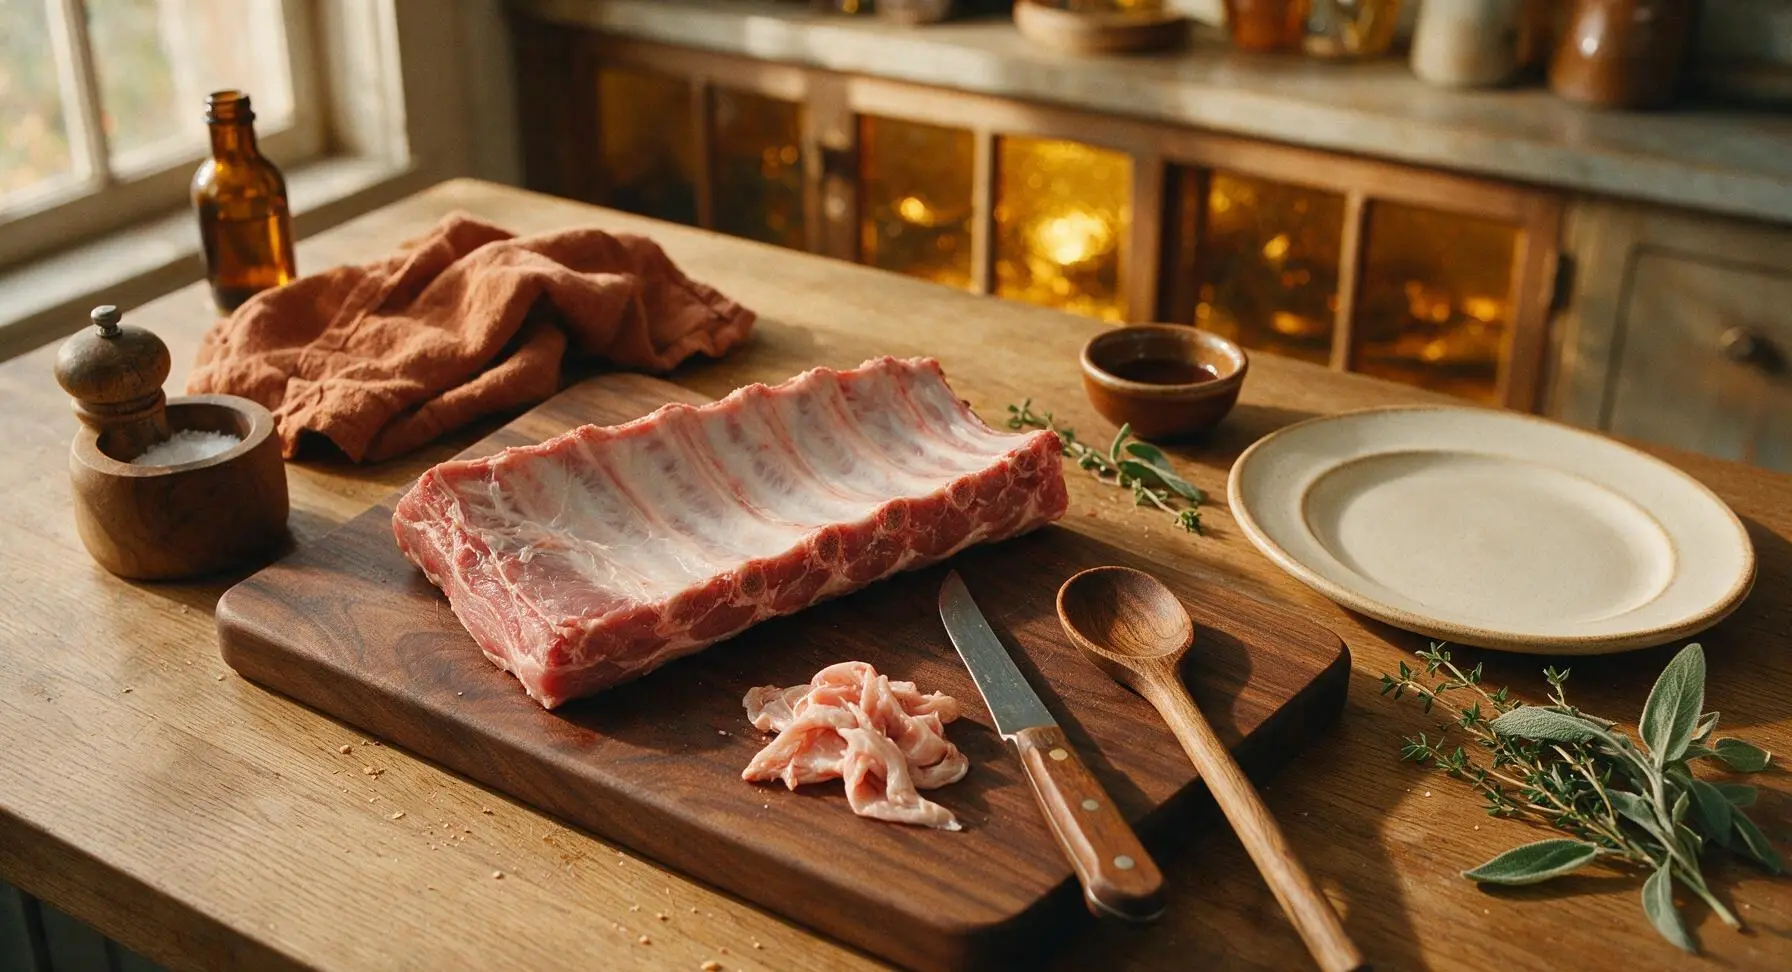
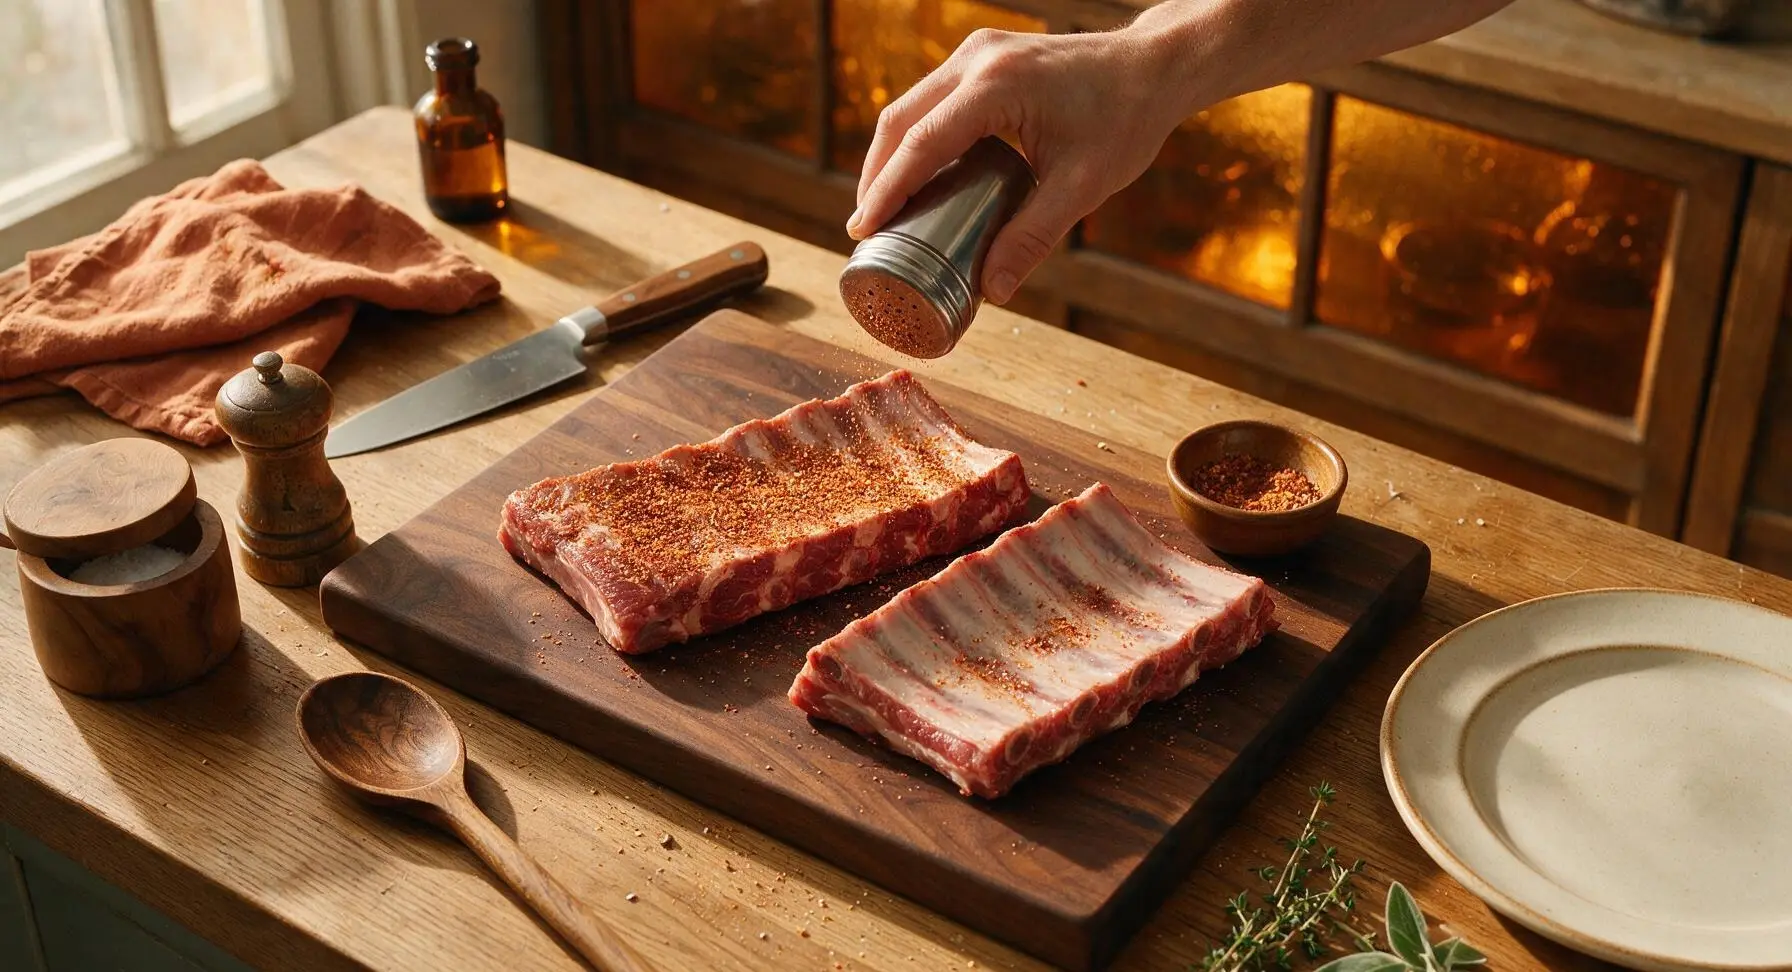
Remove the 2 pork rib racks from packaging, pat completely dry with paper towels. Flip the racks bone-side up, and use the tip of the 8-inch stainless steel boning knife to lift the edge of the thin, silvery membrane covering the bone side. Grip the membrane with a corner of the oatmeal linen towel and pull it off in one smooth sheet to prevent tough, chewy ribs. Trim any excess loose fat from the edges of the racks, leaving no more than 1/4 inch of fat cap on the meat side.
Apply Dry Rub
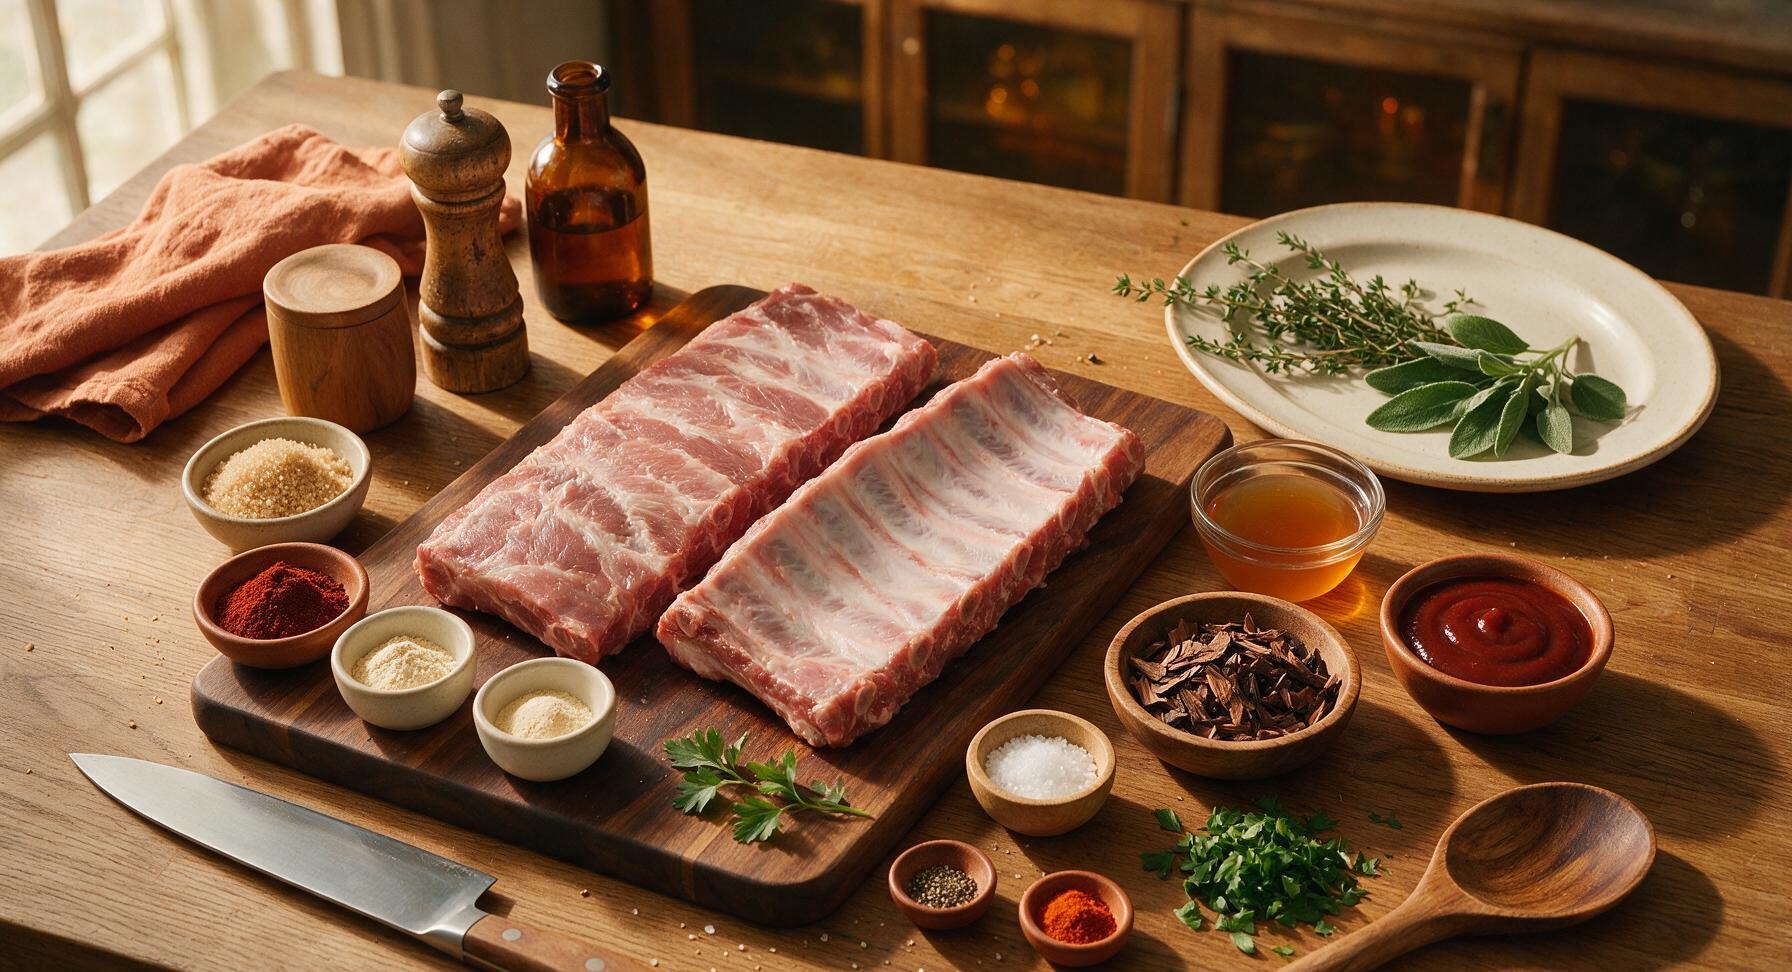
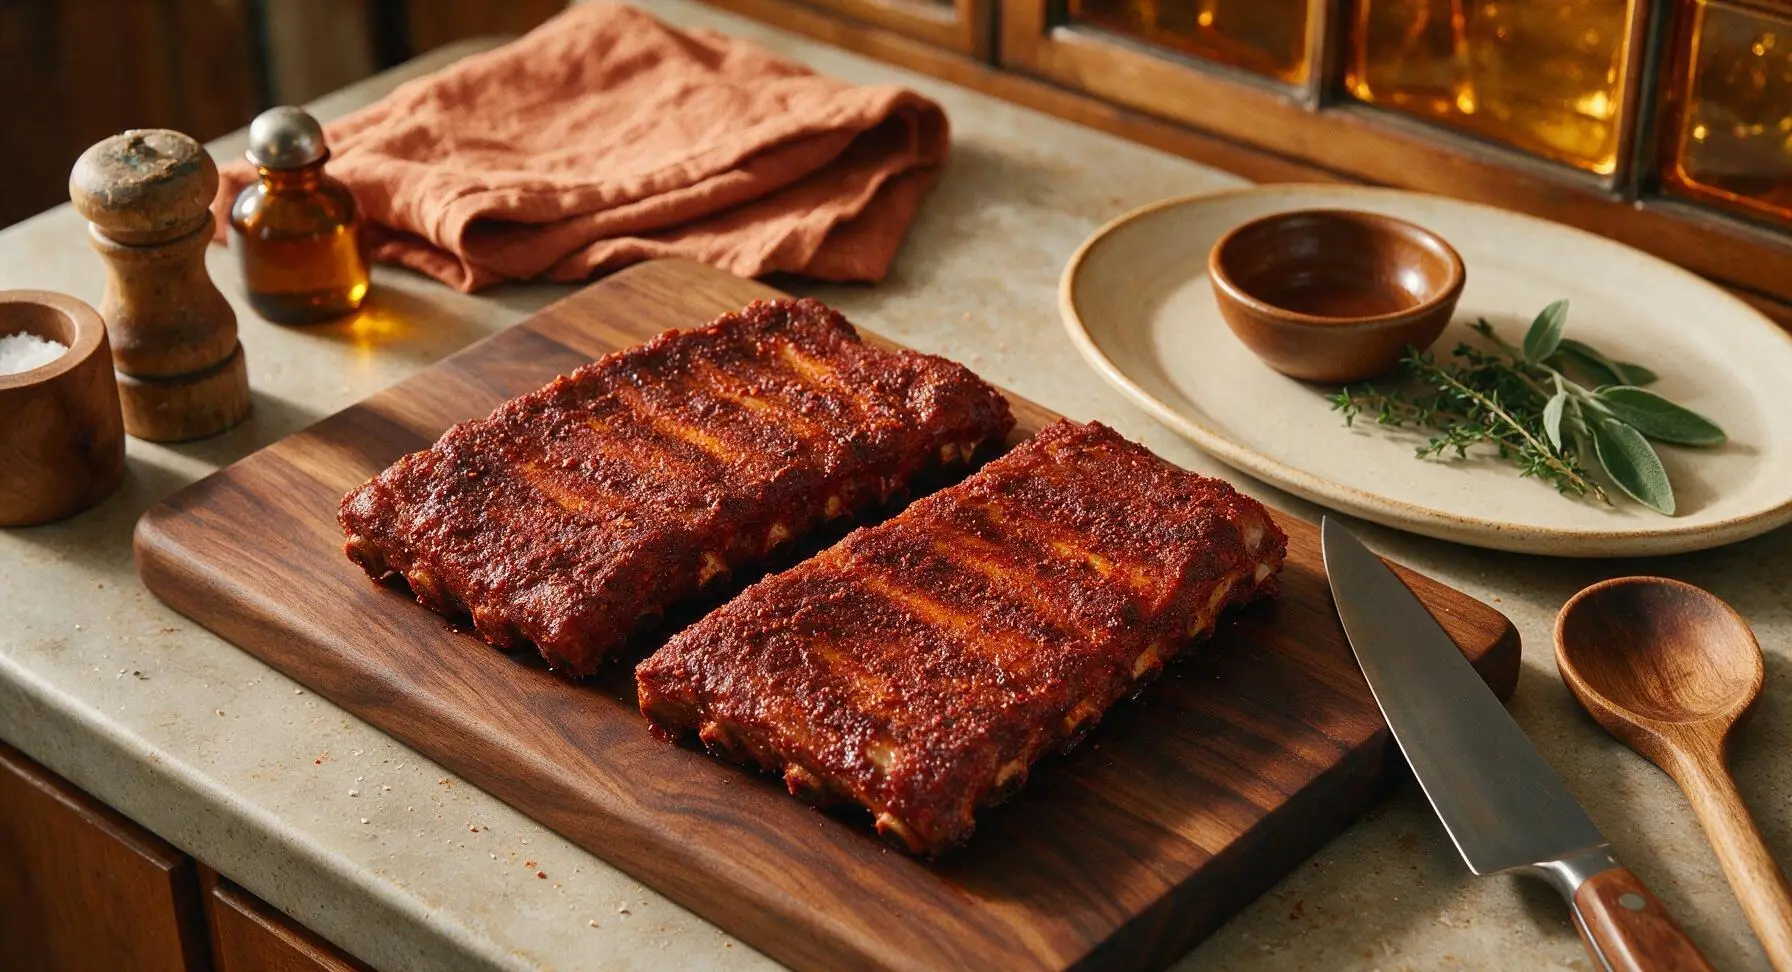
In a small bowl, combine 3 tbsp light brown sugar, 2 tbsp smoked paprika, 1 tbsp garlic powder, 1 tbsp onion powder, 1 tbsp kosher salt, 1 tsp black pepper, and 1/2 tsp cayenne pepper, stirring until fully mixed. Sprinkle the rub evenly over every surface of both rib racks, pressing gently so the spice mixture adheres to the meat. Let the ribs rest at room temperature for 20 minutes while you prep the grill, so the rub starts to form a sticky coating on the meat surface.
Prep Grill for Indirect Heat
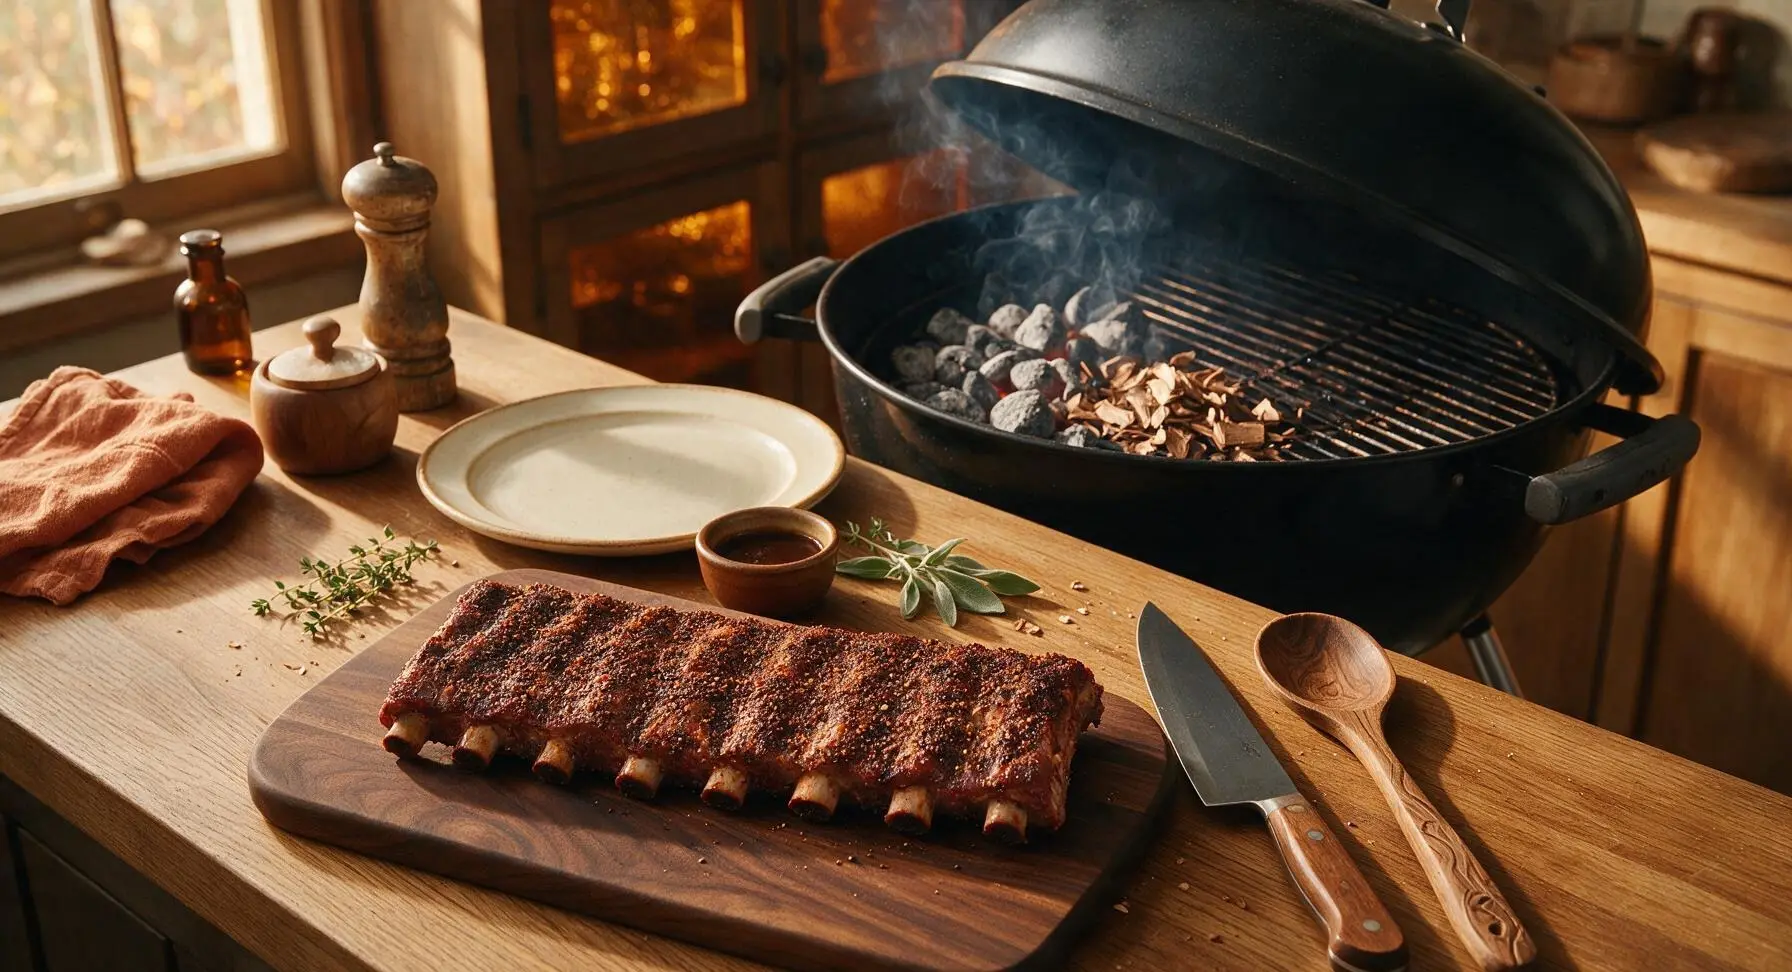
Fill the charcoal chimney starter with lump hardwood charcoal, light it, and let the coals burn until they are covered in a thin layer of gray ash (about 15 minutes). Pour the lit coals onto one side of the charcoal kettle grill, creating a two-zone fire: one hot direct heat side, one cool indirect heat side. Scatter the soaked, drained hickory wood chips over the lit coals, then place the grill grate on, close the lid, and let the grill preheat to 275°F (135°C), with the top and bottom vents half open.
Grill Low and Slow
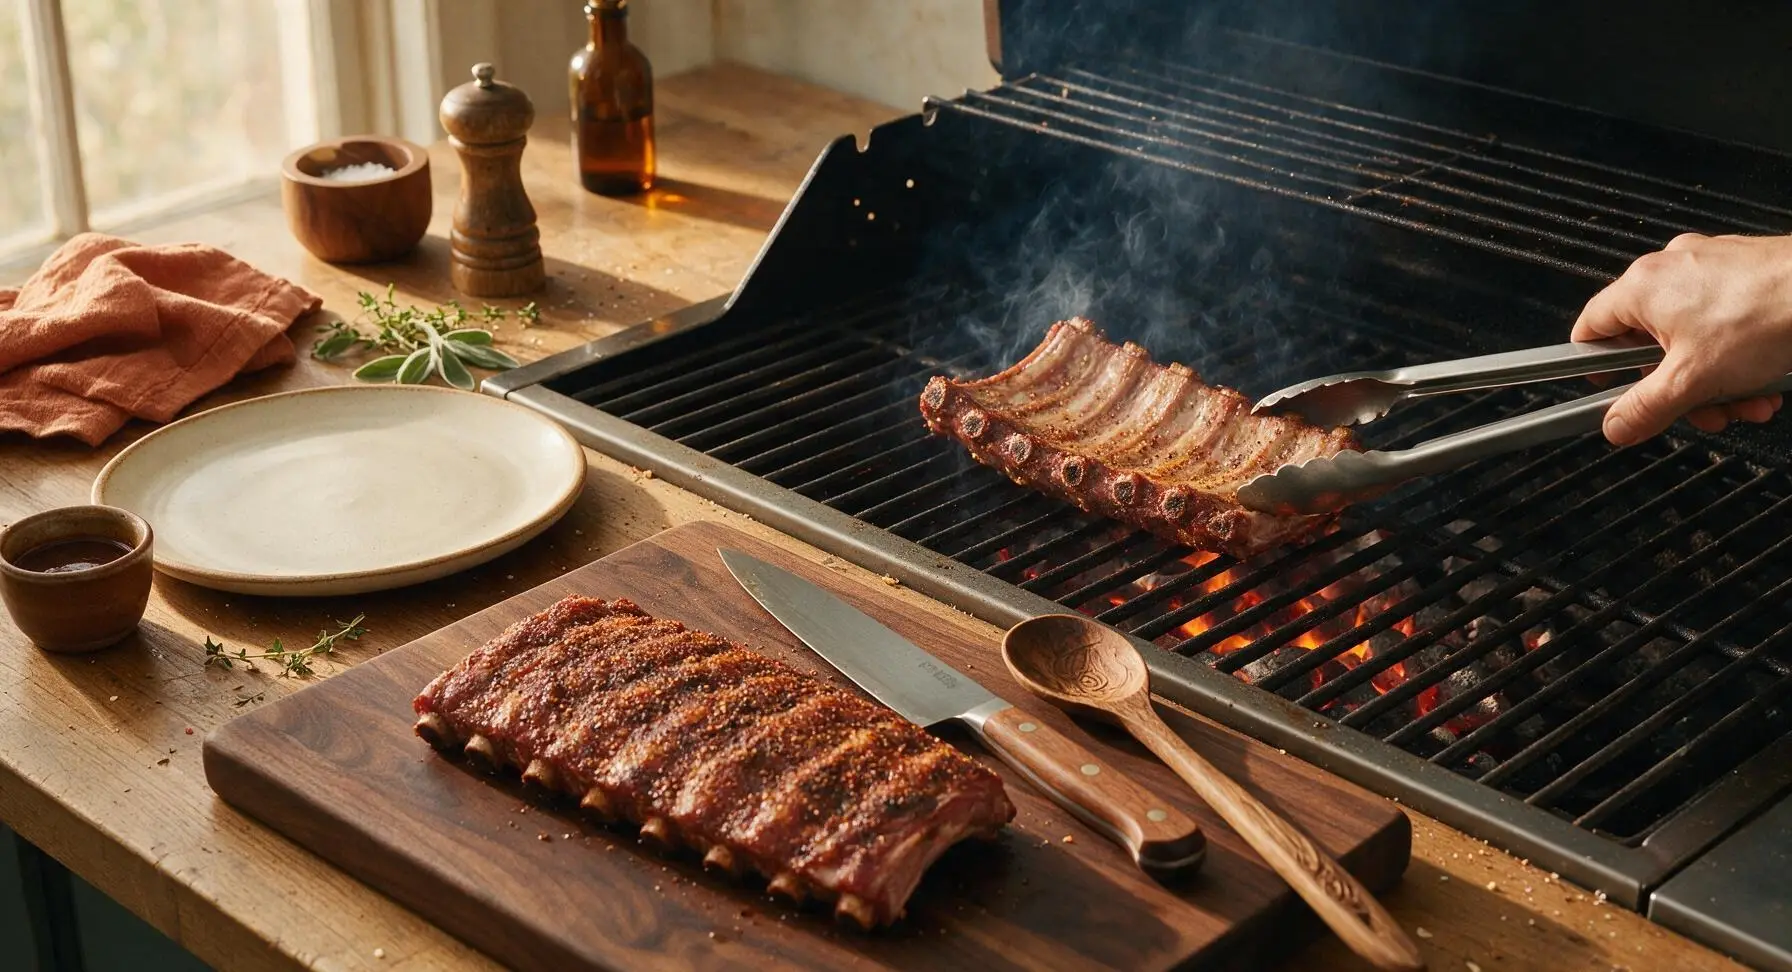
Place the seasoned rib racks bone-side down on the cool indirect heat side of the grill, making sure no part of the ribs is sitting directly over the lit coals. Close the grill lid, and maintain a steady internal grill temperature of 275°F (135°C) for 2 hours, adjusting vents as needed to keep the temperature consistent. Avoid opening the lid more than necessary to hold in smoke and heat. The ribs will develop a deep reddish-brown color and a faint smoky crust as they cook.
Mop Ribs with Vinegar
After the first 1 hour of cooking, use the stainless steel basting brush to mop both sides of the ribs with the 1/4 cup apple cider vinegar. Close the lid and continue cooking for the remaining 1 hour, mopping once more after 30 minutes. The vinegar will tenderize the meat and help build a tangy, sticky crust on the rib surface.
Sauce and Sear Ribs
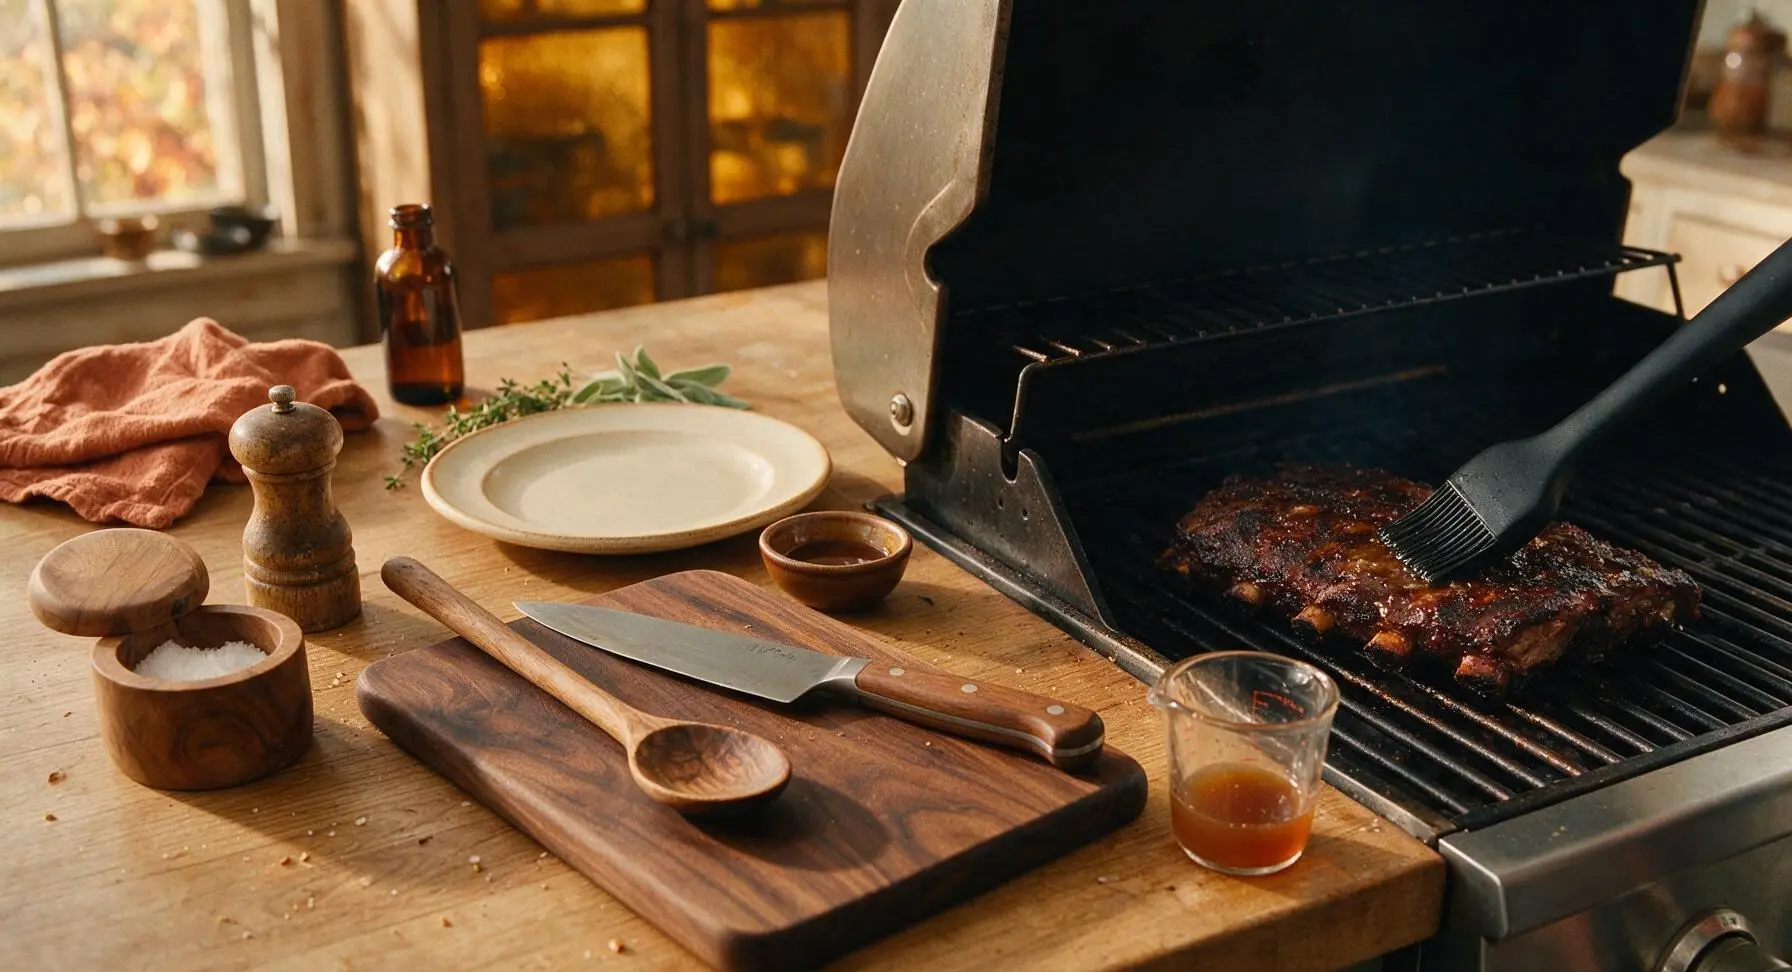
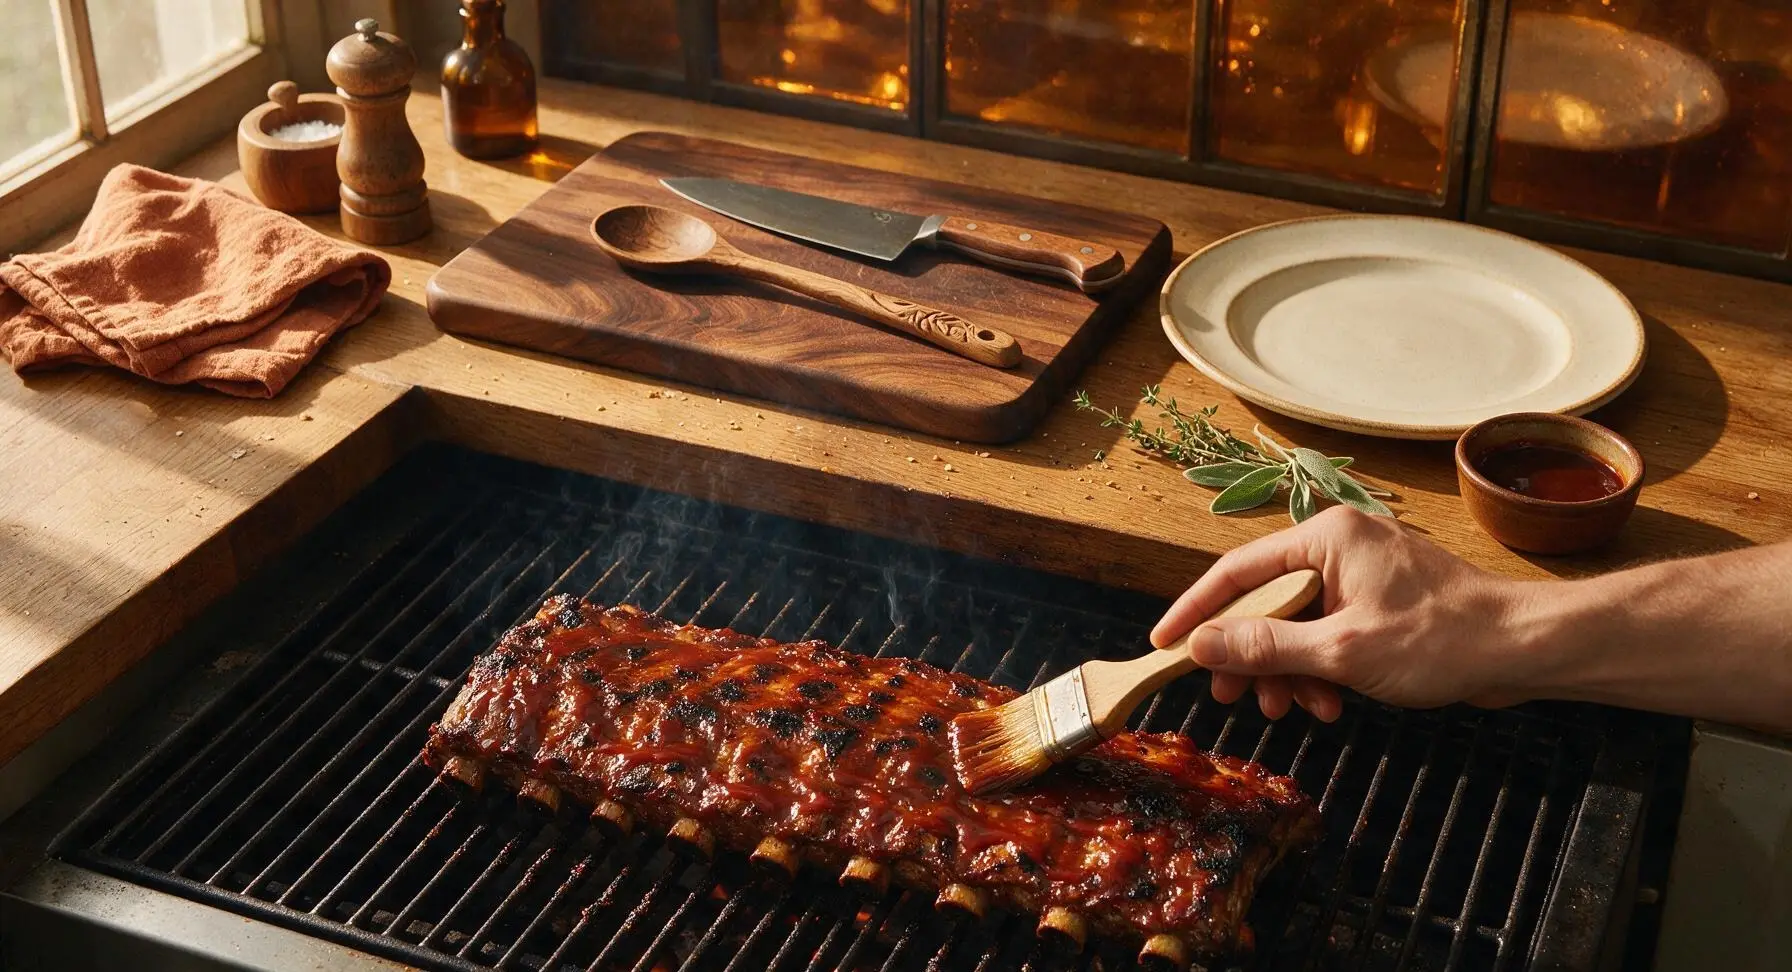
After 2 hours of indirect cooking, move the ribs over to the direct heat side of the grill. Brush both sides generously with the 1 cup tomato-based BBQ sauce, grilling 3-4 minutes per side, until the sauce is caramelized, sticky, and has slight dark charred spots at the edges. Watch closely to avoid burning the sugar in the sauce, which will turn bitter if left over high heat too long. The ribs are done when a toothpick slides easily into the thickest part of the meat with no resistance, and the meat pulls back 1/4 inch from the ends of the bones.
Rest Cooked Ribs
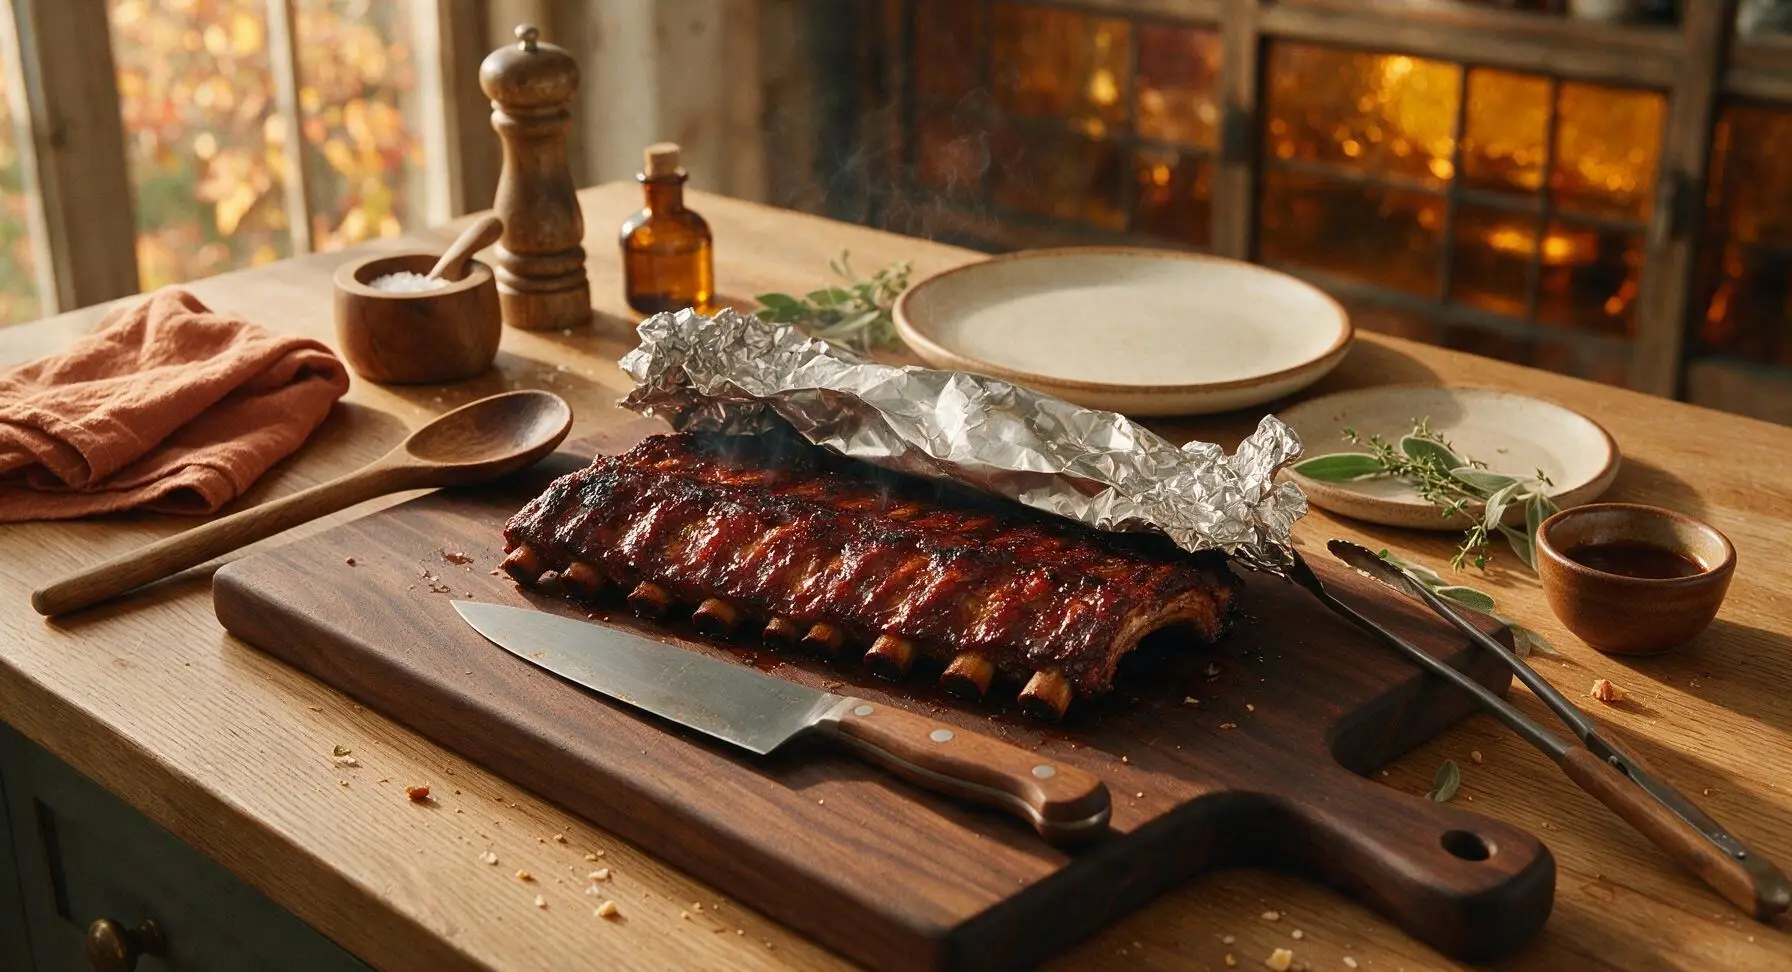
Use the long-handled tongs to transfer the finished ribs from the grill to the acacia wood cutting board. Loosely tent the ribs with a sheet of aluminum foil, and let them rest for 10 minutes to allow the juices to redistribute through the meat, rather than running out when cut. The ribs will continue to cook slightly during this rest period from residual heat.
Cut and Serve Ribs
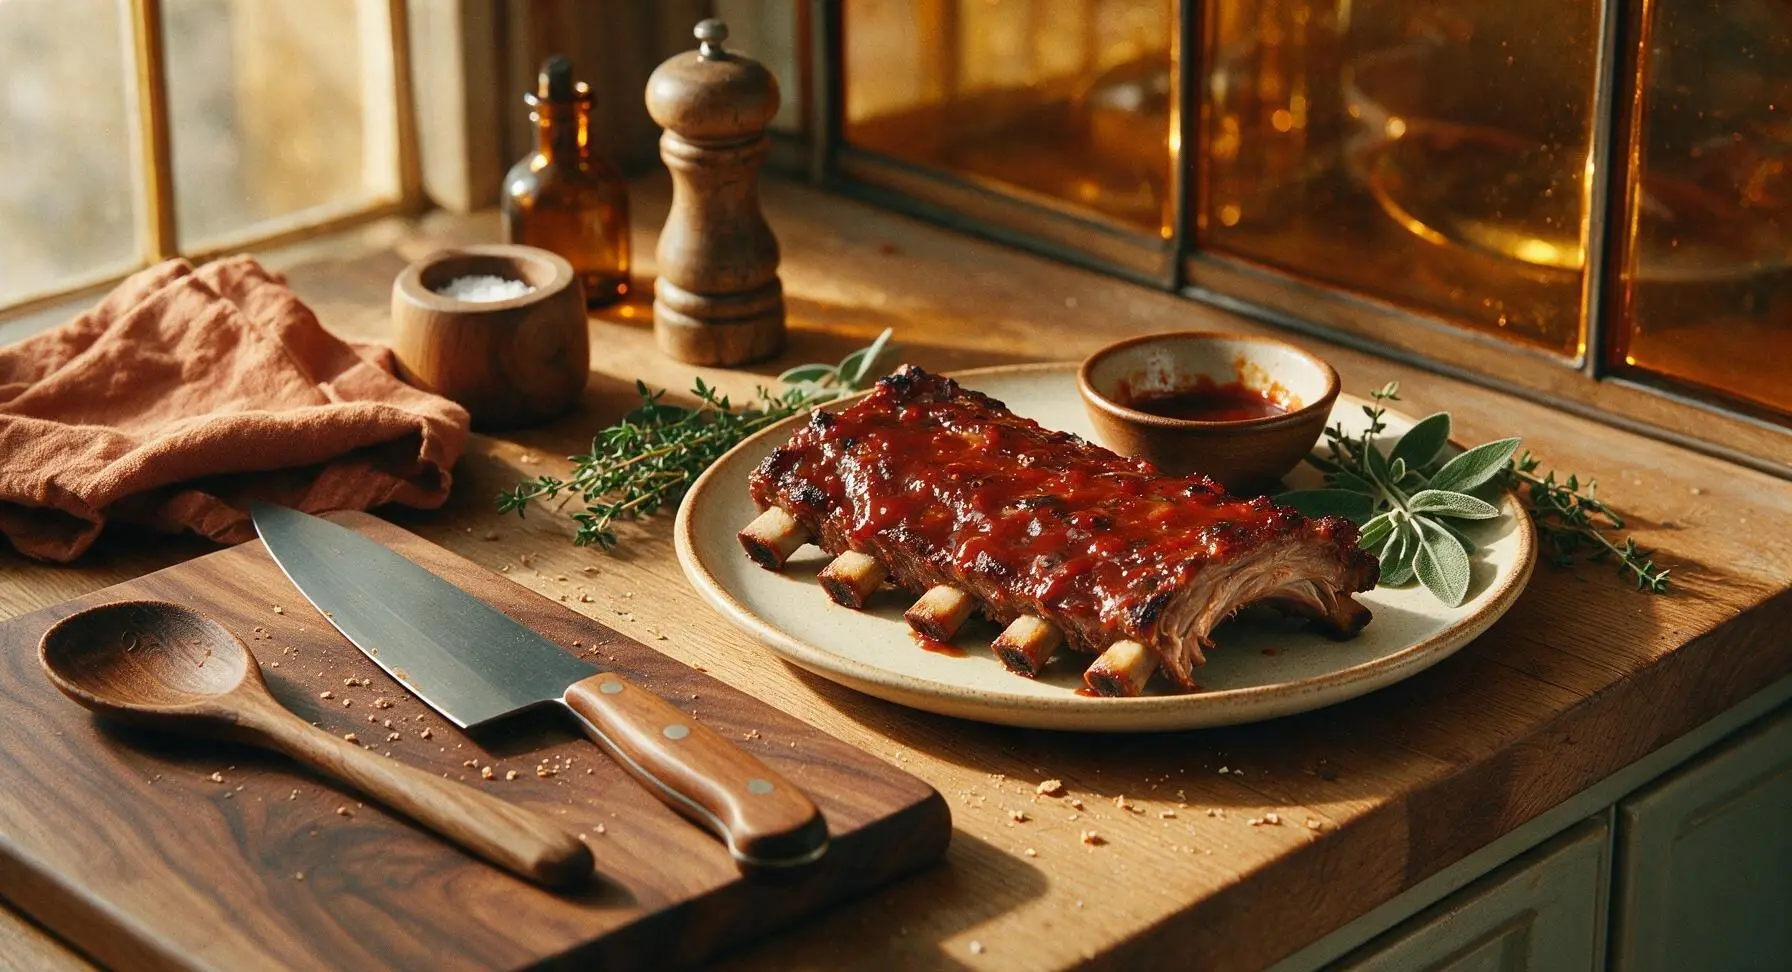
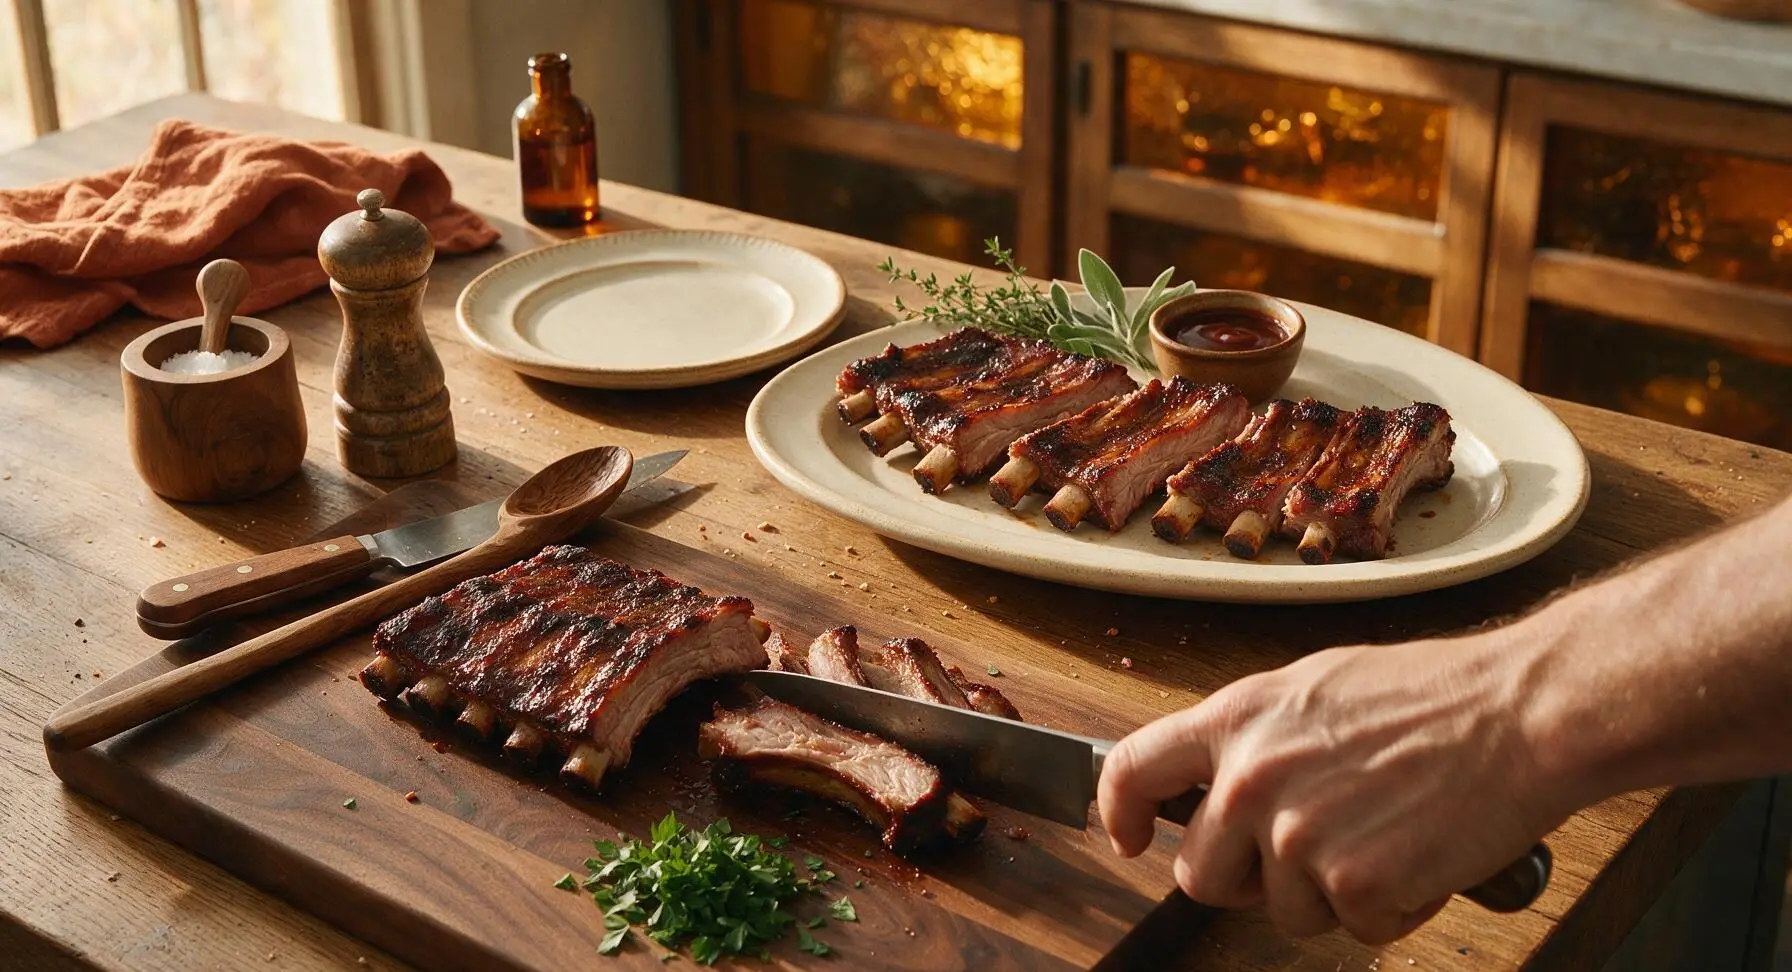
After resting, use the boning knife to cut the ribs between the bones into individual 2-bone portions. Arrange the cut ribs on the matte cream white ceramic oval serving platter, sprinkle with the 2 tbsp chopped fresh flat-leaf parsley, and serve with extra BBQ sauce on the side if desired.
Tips
2.Keep your grill temperature steady at 275°F (135°C) by adjusting the top and bottom air vents, rather than repeatedly lifting the lid to add charcoal: temperatures above 300°F will cause the rib meat to seize and become tough, instead of turning tender and pull-away from the bone.
3.Let the cooked ribs rest for a full 10 minutes tented under foil before cutting: slicing hot ribs immediately will cause all the flavorful, juicy meat juices to run out onto the cutting board, leaving the finished ribs dry.






OMG these ribs were a total game changer for our Sunday family dinner! I’ve tried so many rib recipes that come out tough or bland, but the smoky rub and slow grill method made them literally fall off the bone. My kids ate two servings each and asked when we’re making them again. 10/10 will be making these for our next neighborhood potluck too!
Took these to a tailgate last weekend and people were literally coming back for thirds. The cook time was spot on—2 hours 15 minutes over indirect heat gave them that perfect tender bite without being mushy. Only tweak I made was adding a little extra cayenne for a kick, and it slapped.
Made a double batch of these on Sunday to portion out for weekday lunches and they reheated SO good in the oven. I was worried grilled ribs wouldn’t hold up for meal prep but they stayed tender even after 3 days in the fridge. Total win for my weekly meal prep rotation.
Wait, medium difficulty? I’m a total amateur who can barely flip a burger without burning it, and these turned out perfect first try. The step-by-step for indirect heat was so easy to follow, I didn’t even have to Google anything mid-cook. My wife said they’re better than the ribs we get at our favorite local BBQ joint.
Brought these to our church potluck last week and the platter was empty in 10 minutes flat. So many people asked for the recipe I just sent the link to our whole group chat. The rub ratio is perfect—not too sweet, not too salty, just that perfect smoky balance.
Made these for my roommates for our first fall cookout and they thought I was a professional chef lmao. Only issue I had was my grill runs a little hot, so I had to turn the heat down a touch to keep them from charring too fast on the outside. Still turned out chef’s kiss though.
Finally, a grilled rib recipe that doesn’t require boiling the ribs first! Boiling always leaches out so much flavor, and this method keeps all that meaty, smoky taste locked in. The bark on these was insane, exactly what I look for in good ribs.
I’ve been making ribs for my grandkids for 40 years, and I have to say this recipe is now my go-to. I was a little skeptical about the grill method since I usually bake mine low and slow in the oven, but the smoky flavor you get from the grill is unbeatable. My oldest grandson said these are the best ribs he’s ever had, which is the highest praise I can get!
Made these on my tiny apartment balcony grill last night and they came out incredible! I was worried the small grill wouldn’t get enough smoke, but following the tip for a small foil packet of wood chips worked like a charm. My date was very impressed, so thanks for helping me score major points 😂
Made these for my son’s birthday cookout over the weekend and they were a massive hit. I used a mix of apple and hickory wood chips for the smoke, and it gave the ribs such a nice sweet, smoky depth that everyone raved about. Cook time was exactly right, no undercooked tough bits, no fall-apart mushy ribs—perfect texture.
I was worried 2 hours 15 minutes would be too long for a weeknight dinner, but most of that is hands-off grill time so I was able to make sides and set the table while the ribs cooked. Ended up being way less work than I expected, and the whole family cleaned their plates. Will be a regular on our weeknight rotation this fall.
This was my first time ever making ribs on my new smoker/grill combo and I was so nervous I’d mess them up, but these came out perfect! The meat pulled clean off the bone but still had that nice bite to it, not mushy at all. The rub recipe is so much better than the store-bought stuff I was planning to use.
I followed the recipe exactly except I used baby back ribs instead of spare ribs, and they turned out amazing! Cooked for about 15 minutes less since baby backs are a little smaller, and they were fall-off-the-bone perfect. My husband said these are restaurant quality.
Made these over a camp grill on our recent fall camping trip in the Rockies and they were unreal. We didn’t have a fancy smoker box, just tossed some wood chips right on the coals, and the smoke flavor was perfect after 2 hours. Nothing hits like good ribs after a long day of hiking.
Wait, do you sauce these at the end? I love a good sticky, saucy rib, but the recipe mentions the dry rub but I didn’t see a note about saucing. Don’t get me wrong, the rub alone is incredible, but I’m a sauce girlie through and through.
Signed up to bring a main dish to my office fall potluck next week and I’m making these for sure. I tested a half batch last night to make sure they were good, and I ate almost half the rack by myself standing over the kitchen counter. SO good, I know my coworkers are gonna lose their minds.
I’ve tried so many “fall off the bone” rib recipes that are either overcooked to mush or so tough you need a steak knife to cut them, but this recipe nails the exact perfect texture. The smoke level is just right—not so overpowering that you can’t taste the pork and the spices, just enough to give that classic BBQ vibe. 10/10, no notes.