
Grilled Steak
intro
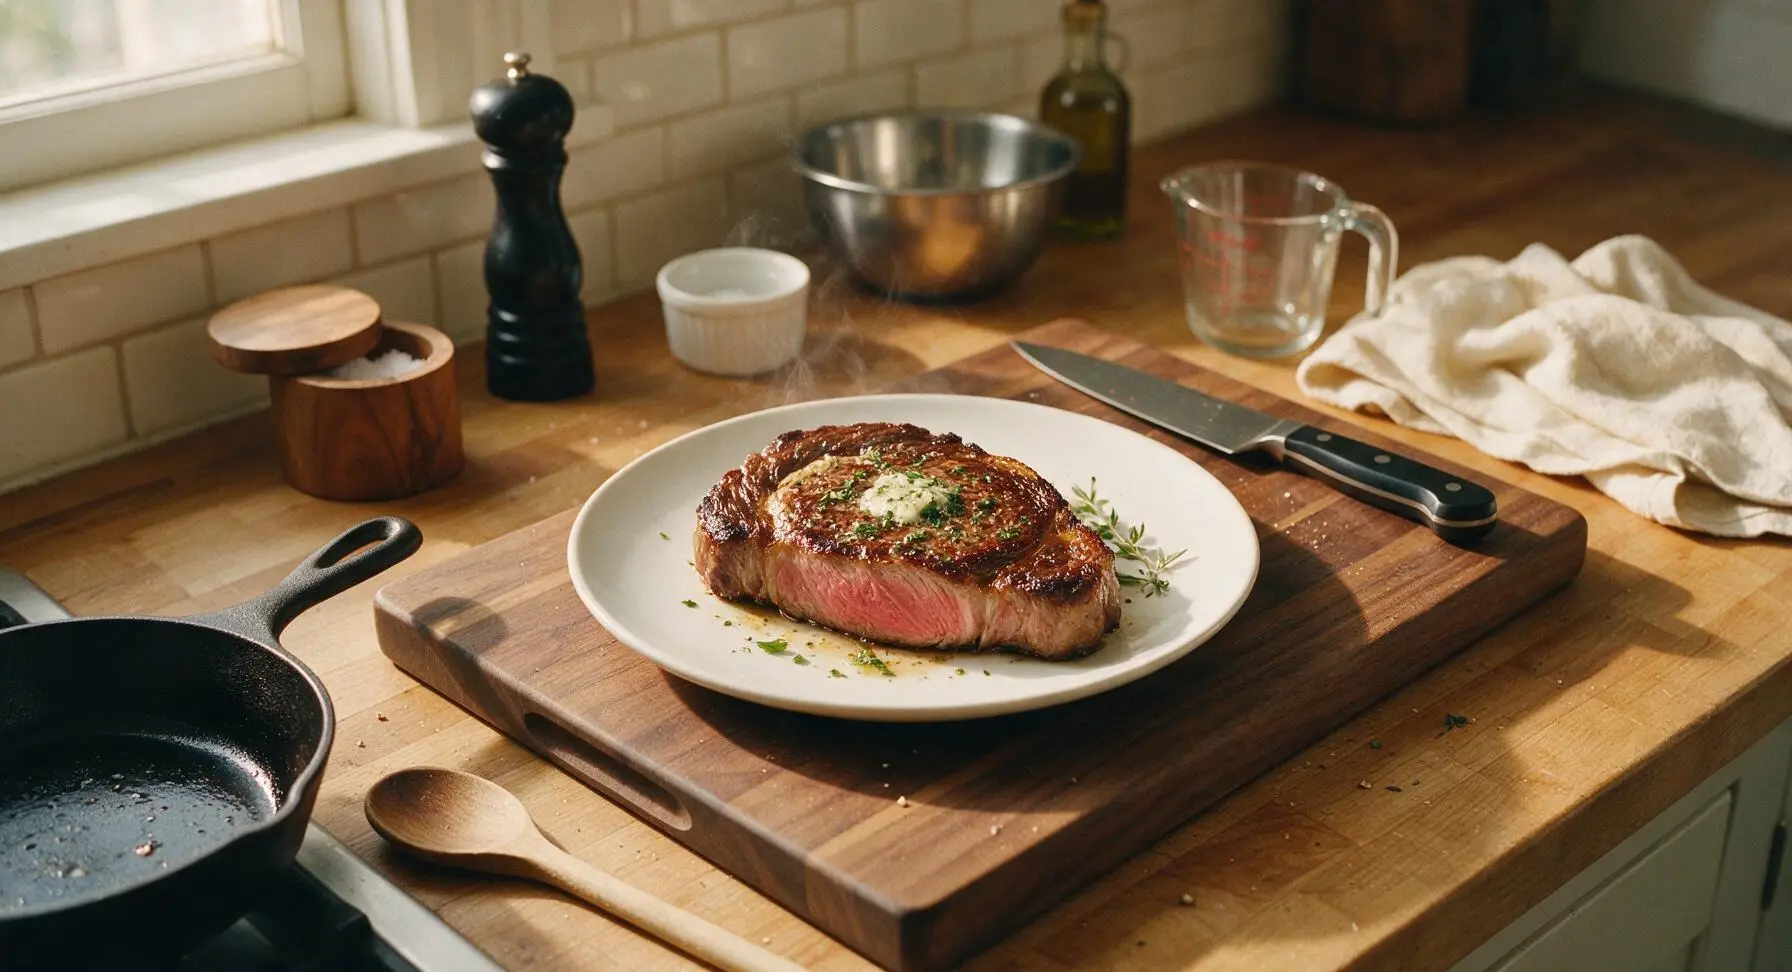
Perfectly seared grilled ribeye with a crispy caramelized crust, juicy pink medium-rare center, and fragrant herb butter baste, ideal for casual outdoor gatherings.
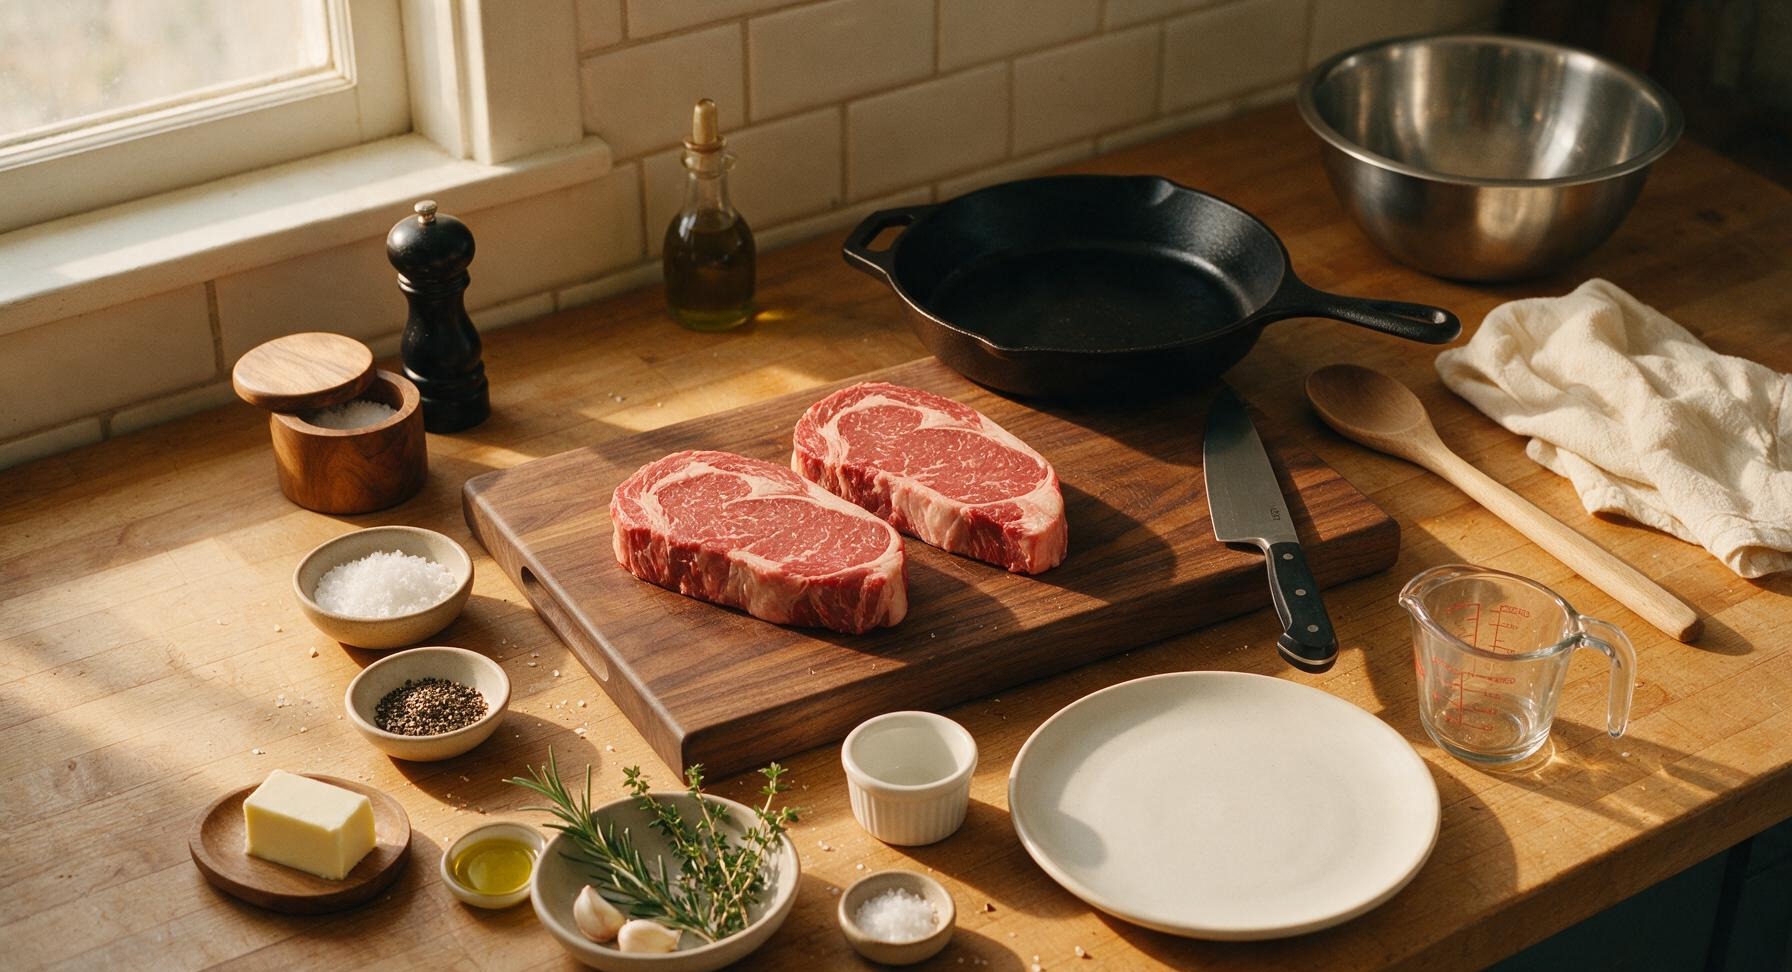
Ingredients
Steps
Bring Steaks to Temp
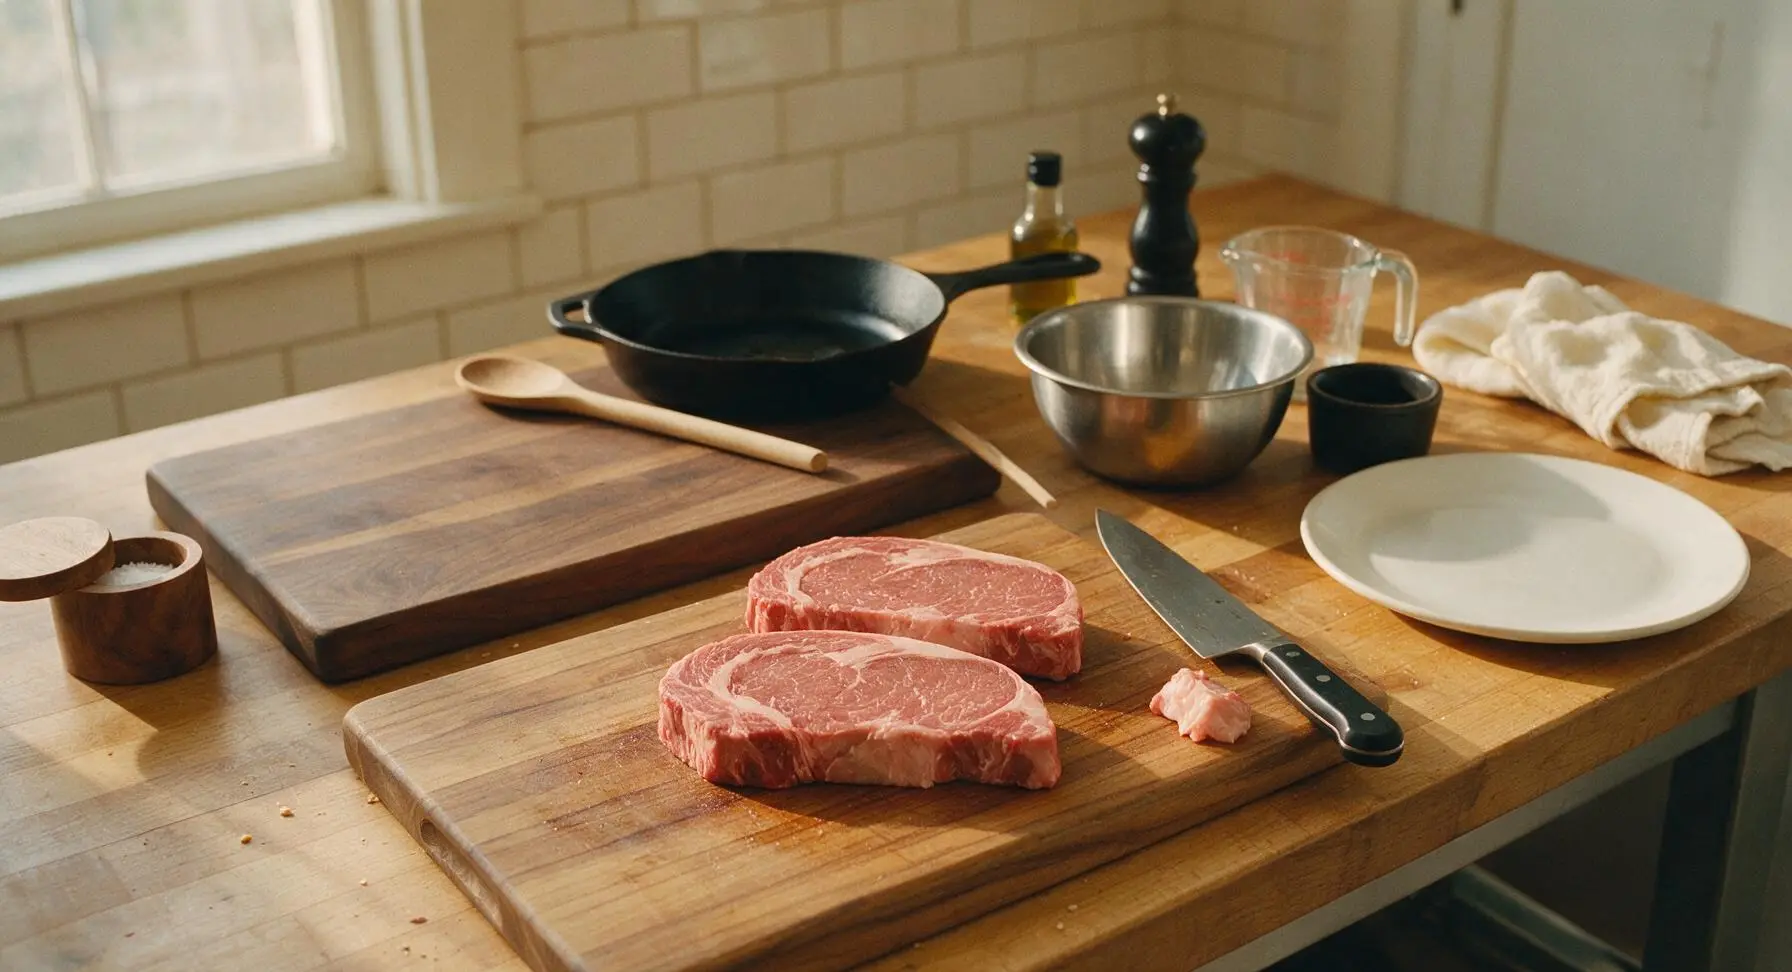
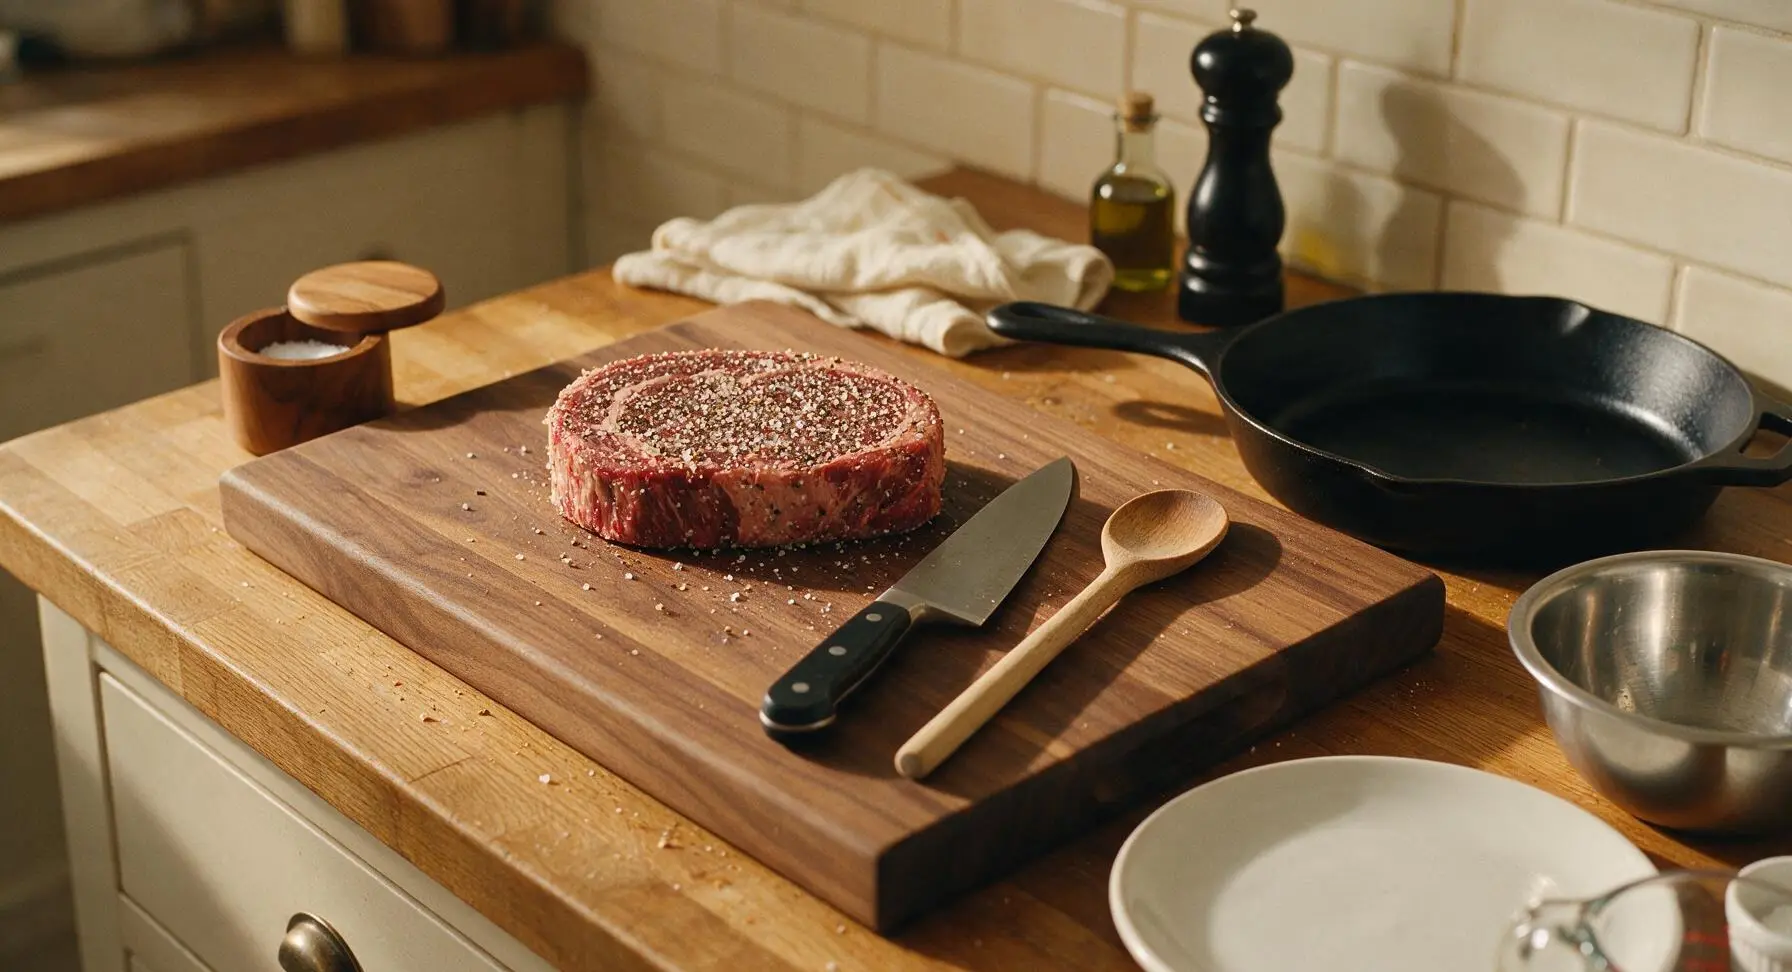
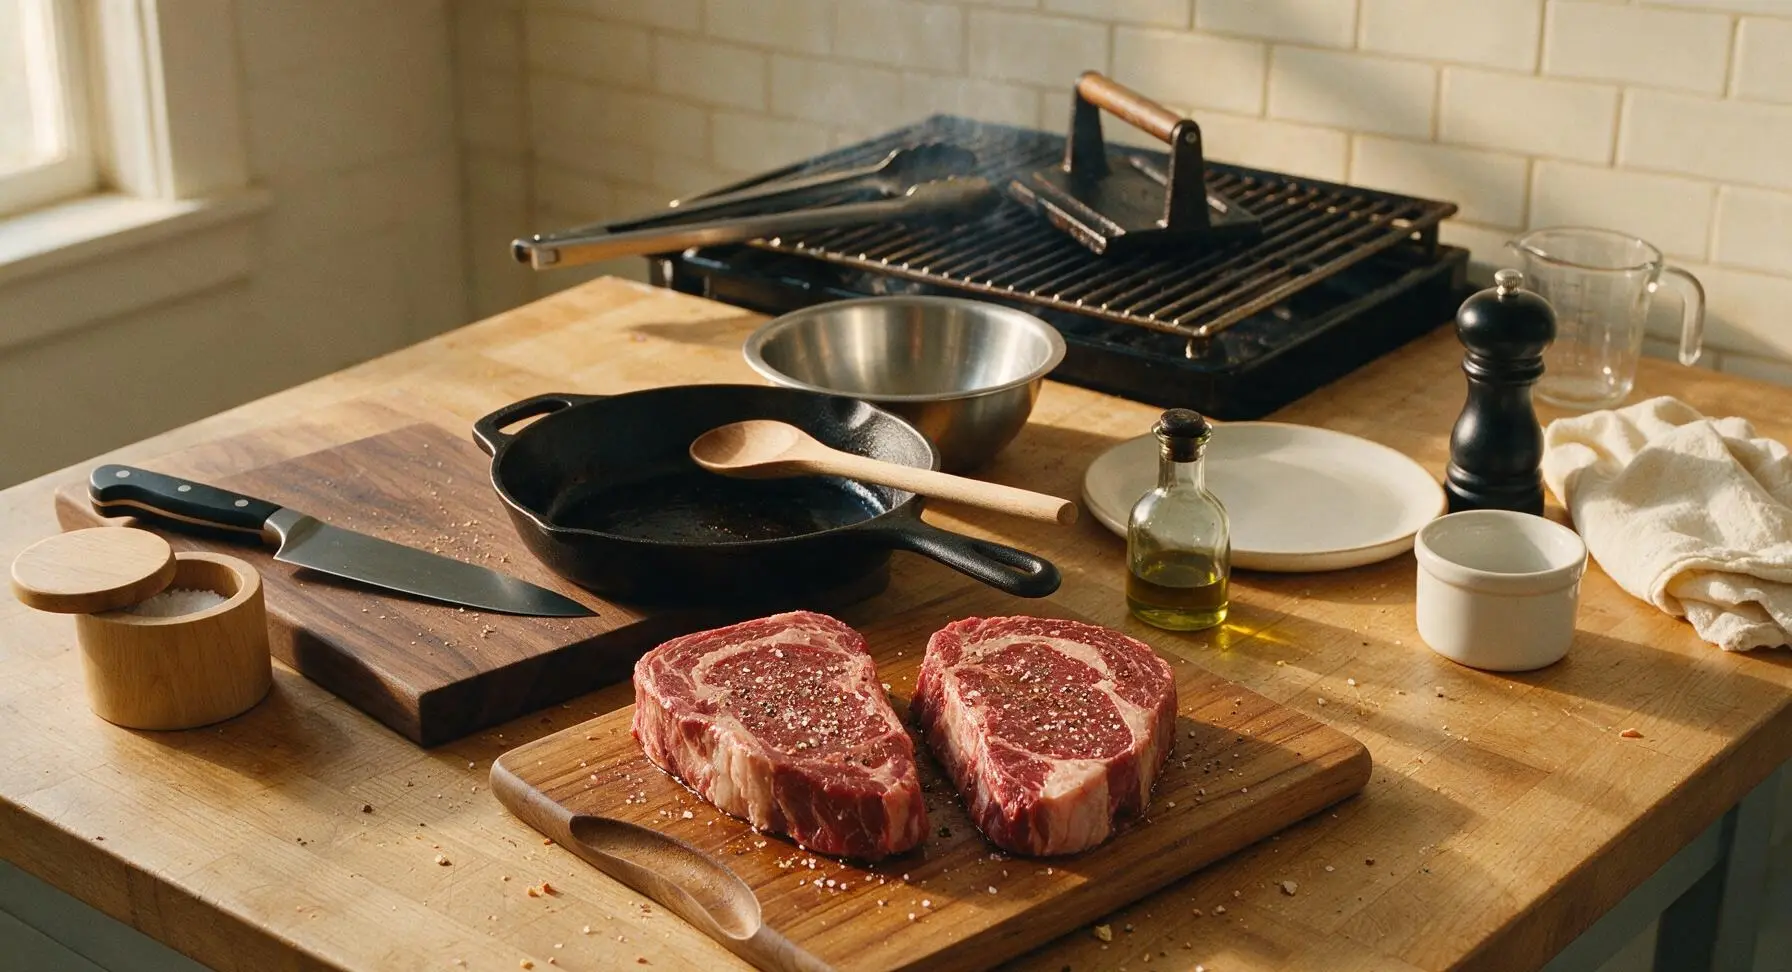
Remove the two ribeye steaks from the refrigerator 40 minutes before cooking, unwrap, and place on the teak cutting board. Use the chef knife to trim any thick, hard external fat chunks to 1/4 inch thickness, removing any tough silver skin. Pat all surfaces completely dry using a corner of the burnt orange cotton towel, until no surface moisture remains. Let steaks rest until they reach room temperature (20C/68F); this ensures even cooking from edge to center, preventing overcooked outer layers and a cold raw middle.
Season Steak Surfaces
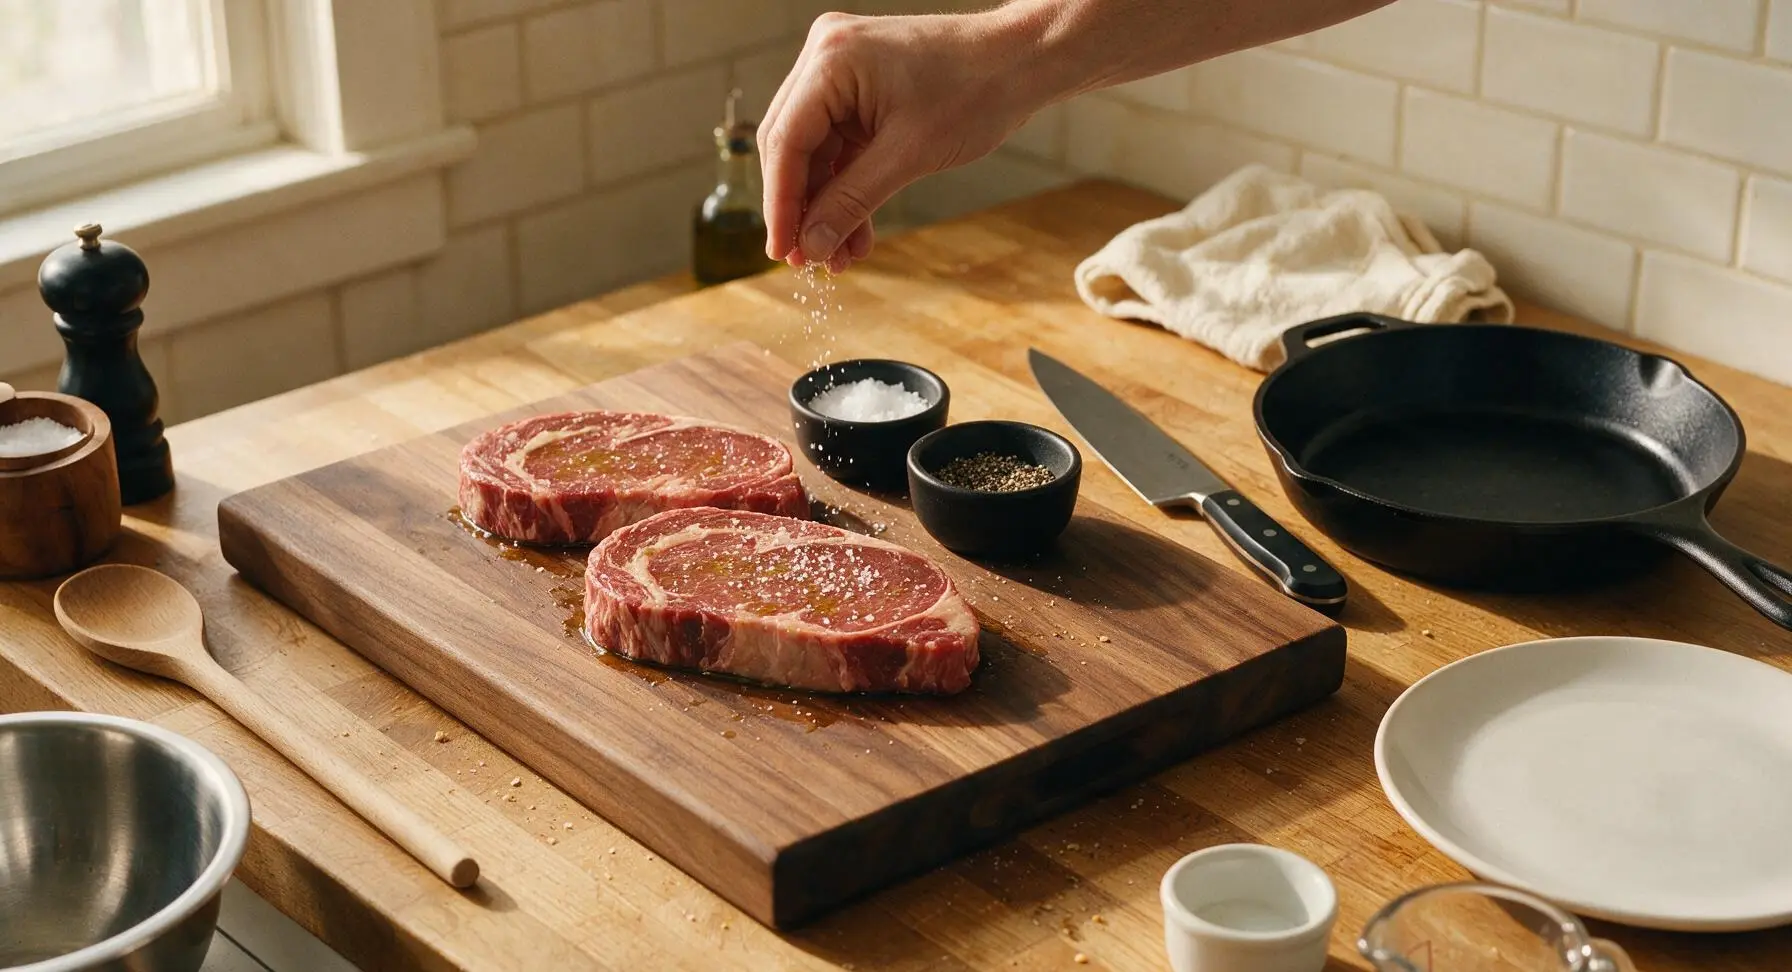
Measure the kosher salt and cracked black pepper into the two matte black ceramic ramekins. Drizzle 1 tablespoon olive oil over the steaks, rubbing to coat every side evenly. Sprinkle salt and pepper generously over the top, bottom, and side edges of each steak, pressing seasoning gently into the meat to create a uniform, light crust with no bare patches.
Preheat Grill to High
Preheat your outdoor grill to high heat (260C/500F), scrubbing and oiling the grates thoroughly once hot to prevent sticking. Test grate heat by holding your hand 2 inches above the grates: you should only be able to hold it for 1-2 seconds before pulling away. Set the cast iron grill press on the grates to preheat alongside the grill, which prevents steak bulging and creates even, dark grill marks.
Sear First Steak Side
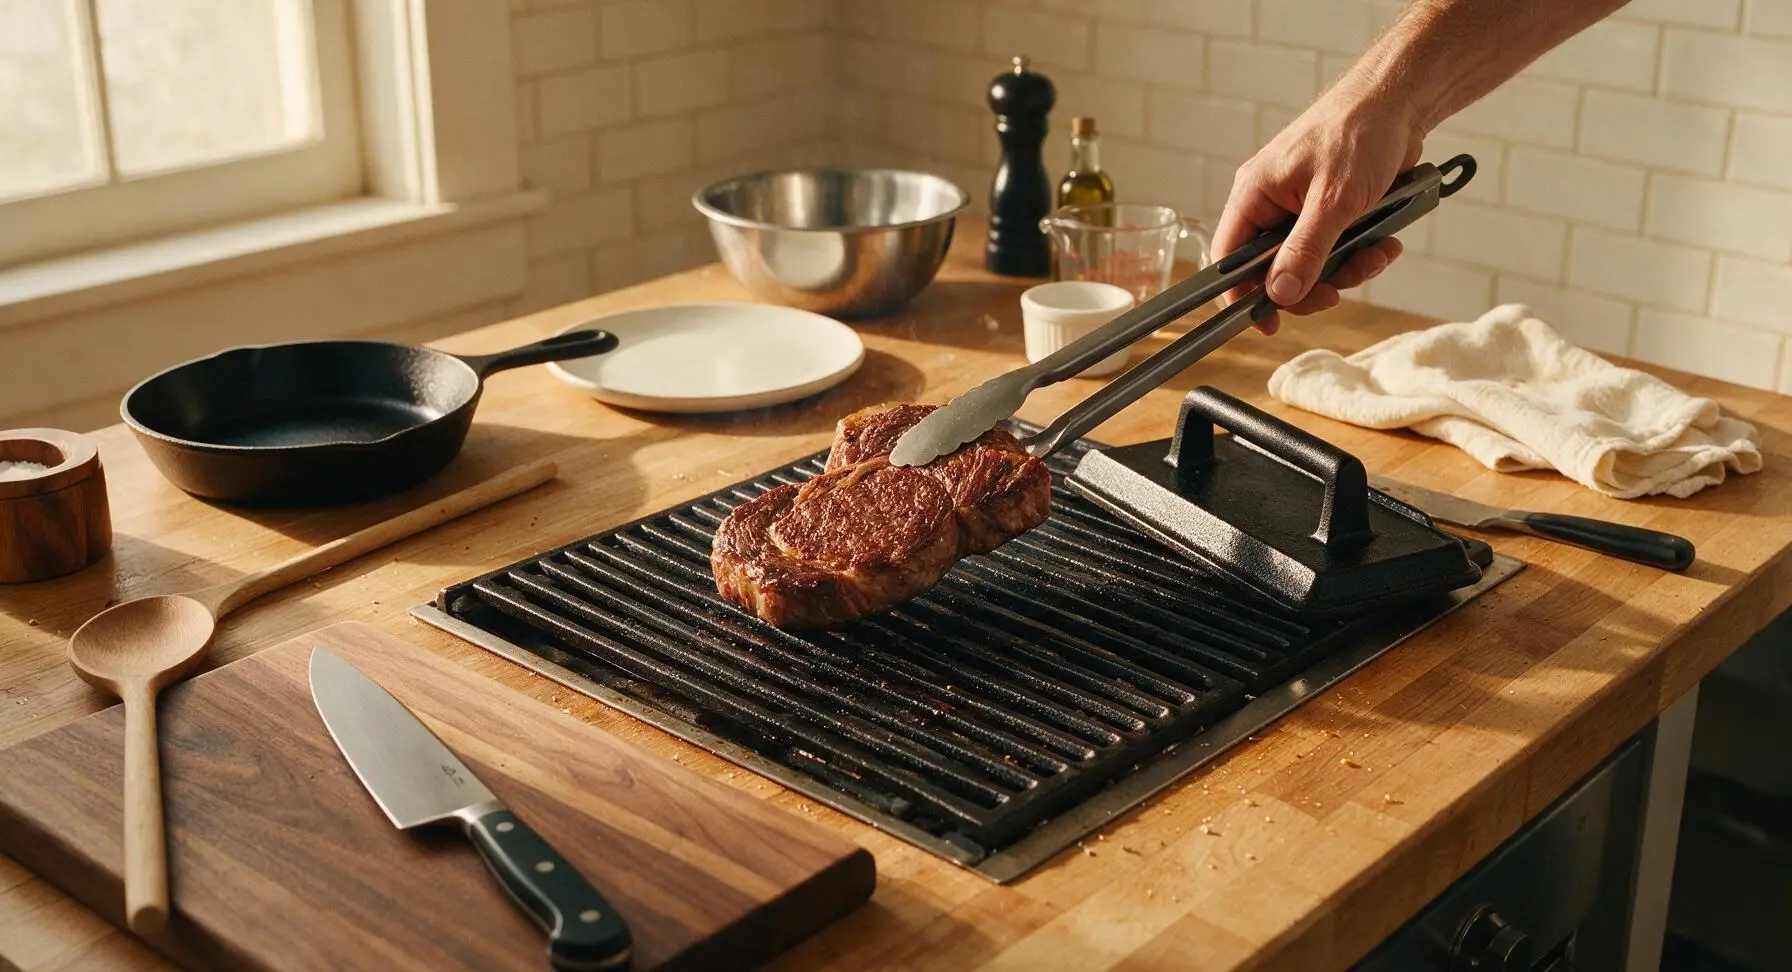
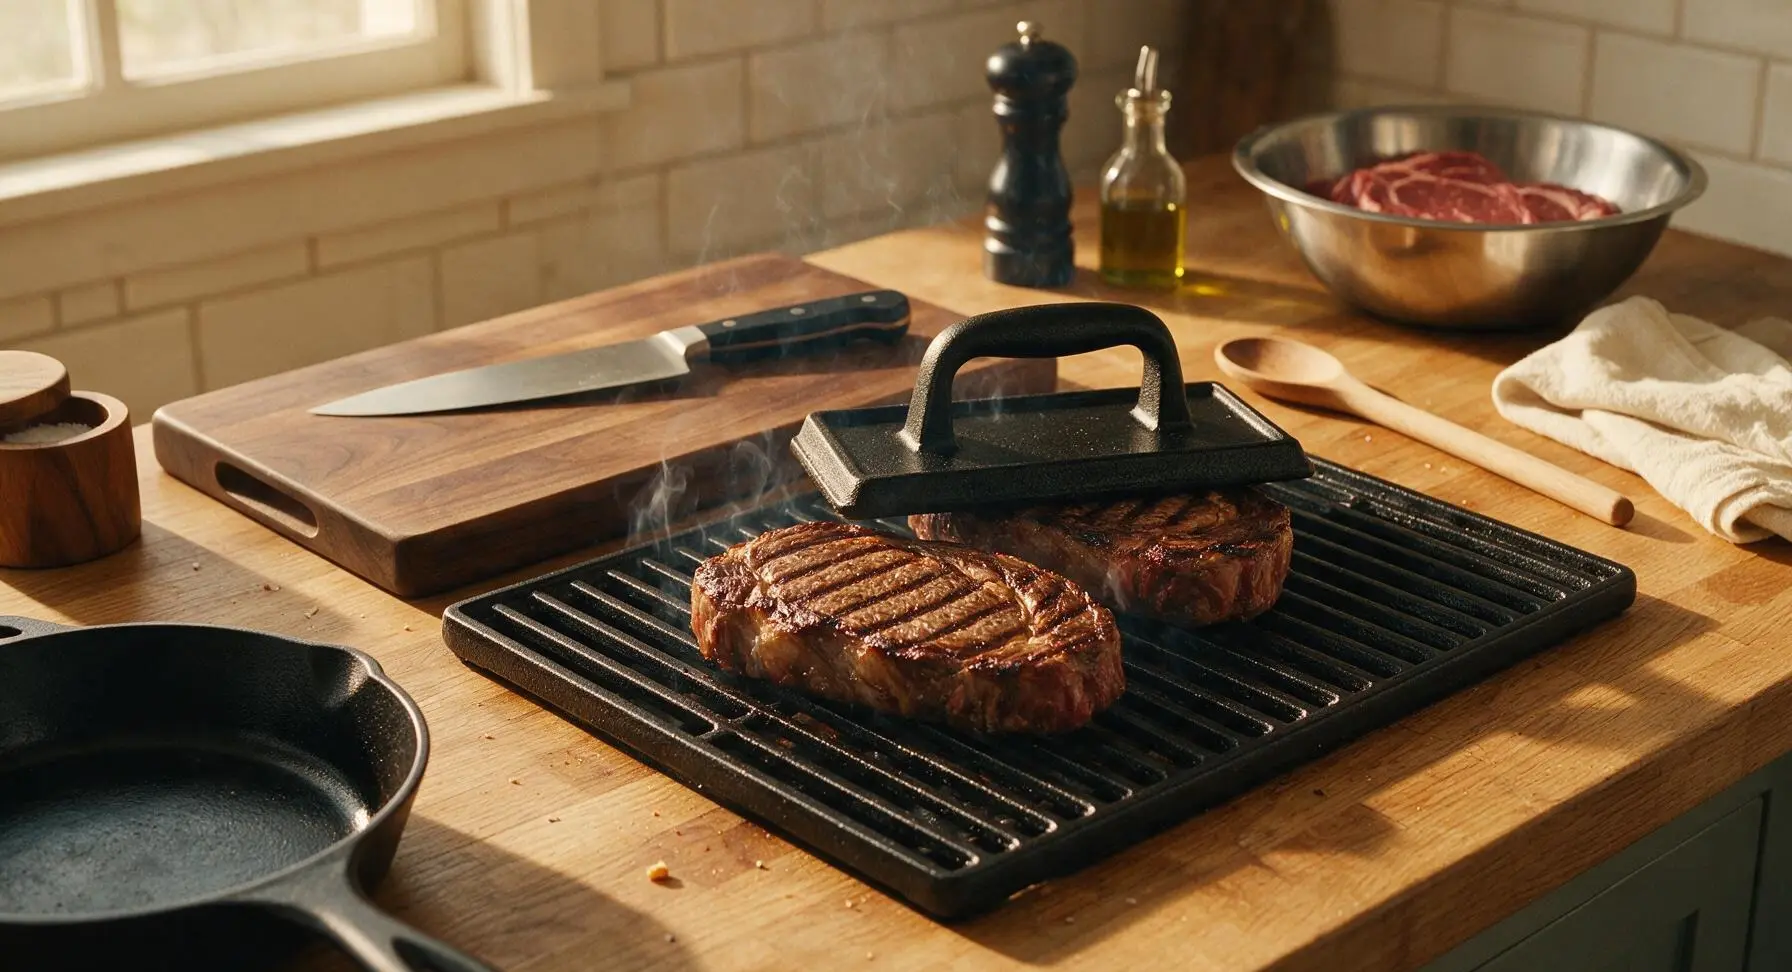
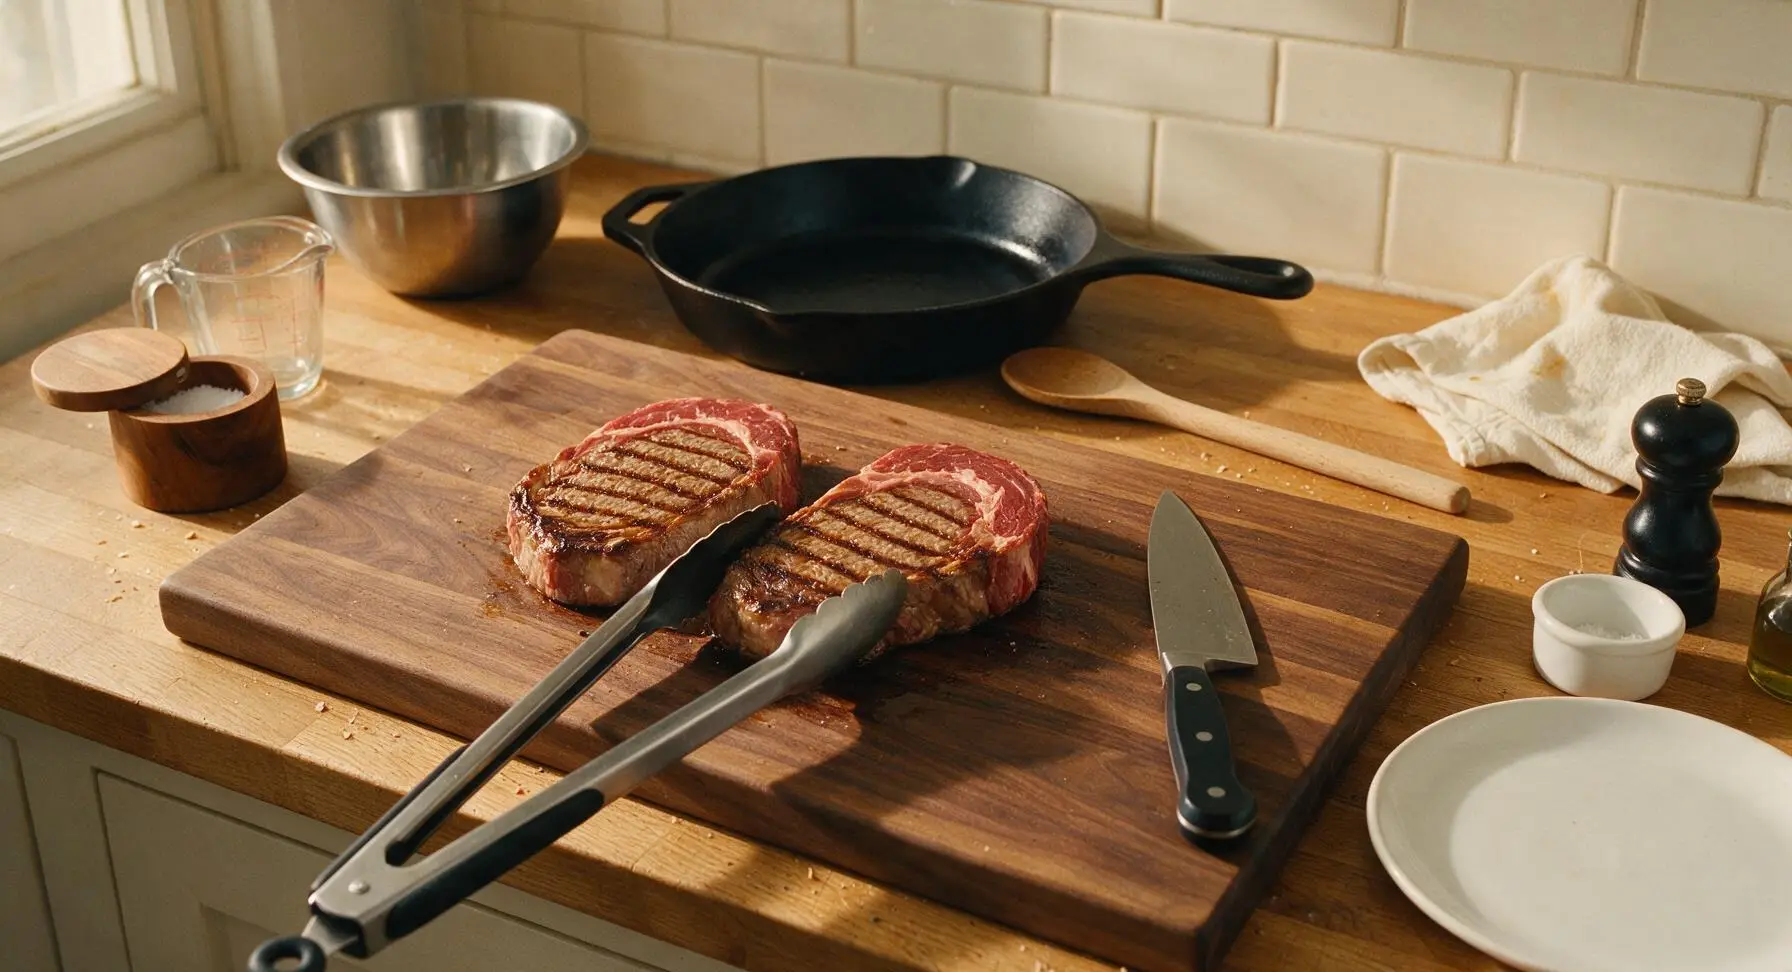
Use the long-handled grilling tongs to place seasoned steaks diagonally across the hot oiled grates. Set the preheated cast iron grill press gently on top of the steaks to ensure full grate contact. Sear for 3 full minutes without lifting or shifting the steaks, until a deep dark brown crust with distinct diagonal grill marks forms on the contact surface.
Create Crosshatch Marks
After 3 minutes, lift the grill press with tongs, rotate each steak 45 degrees on the same side (do not flip yet) to create classic crosshatch grill marks. Replace the press and sear for 2 more minutes. Once crosshatch marks are set, flip steaks to the second side, replace the press, and sear for 3 minutes for medium-rare doneness. Add 1 minute per side for medium, 2 minutes per side for well-done.
Baste with Herb Butter
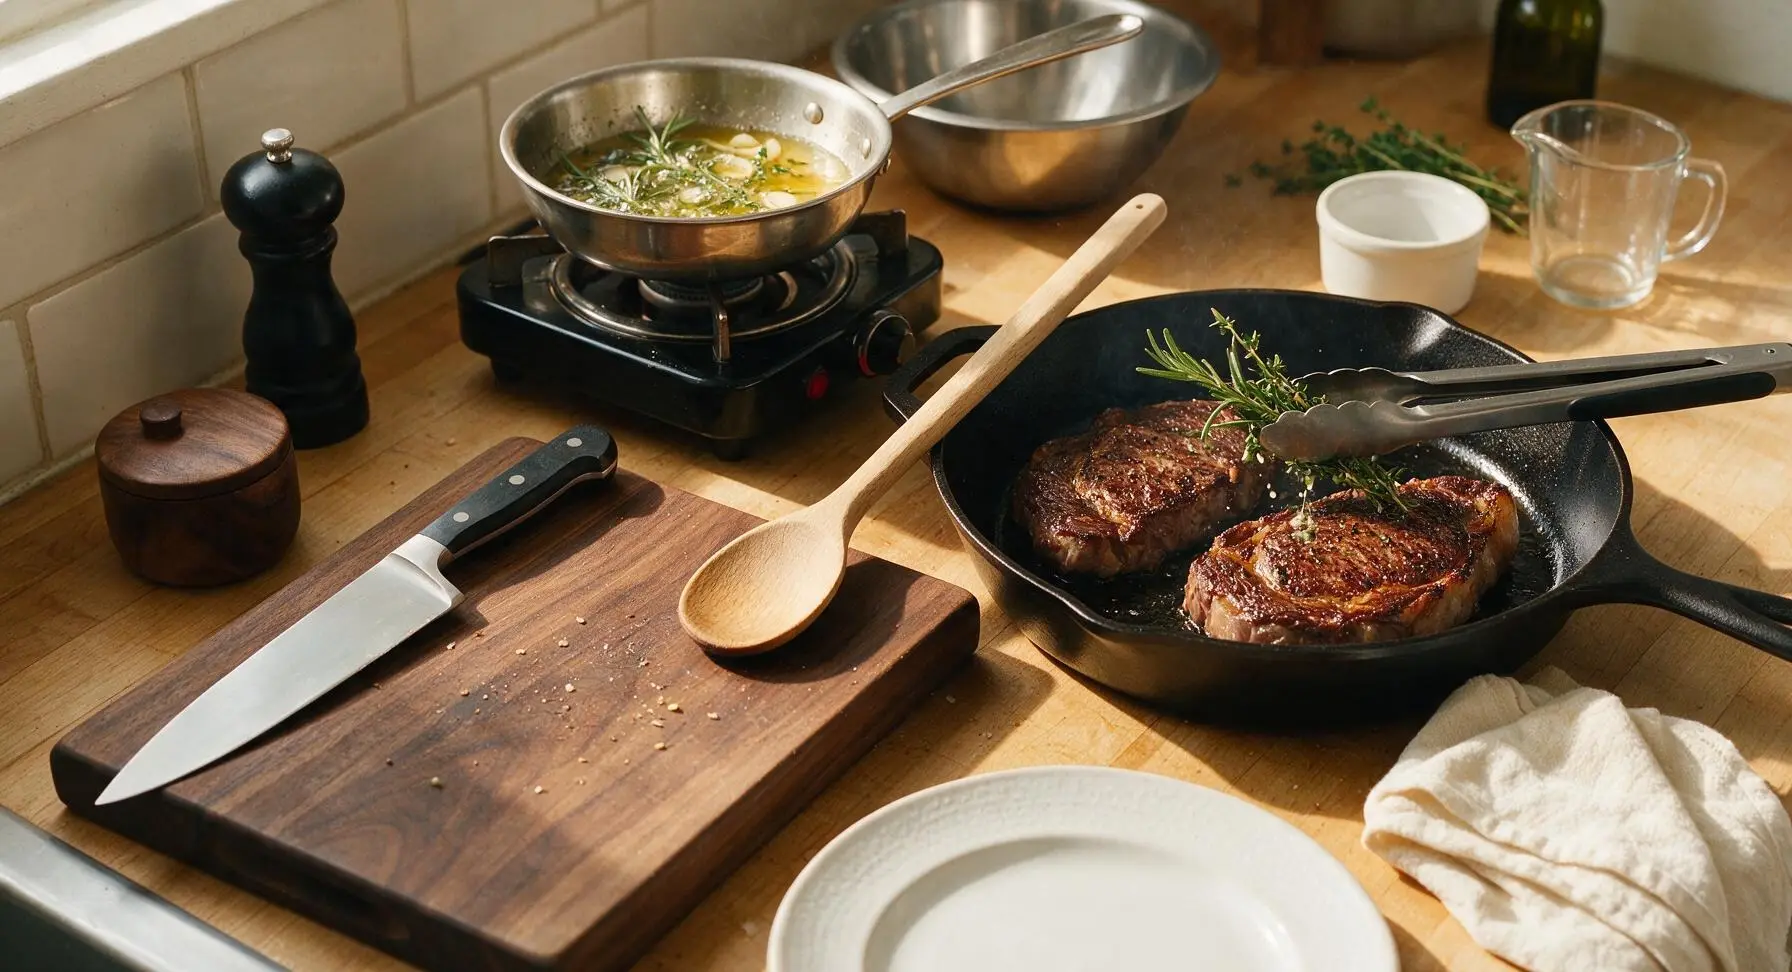
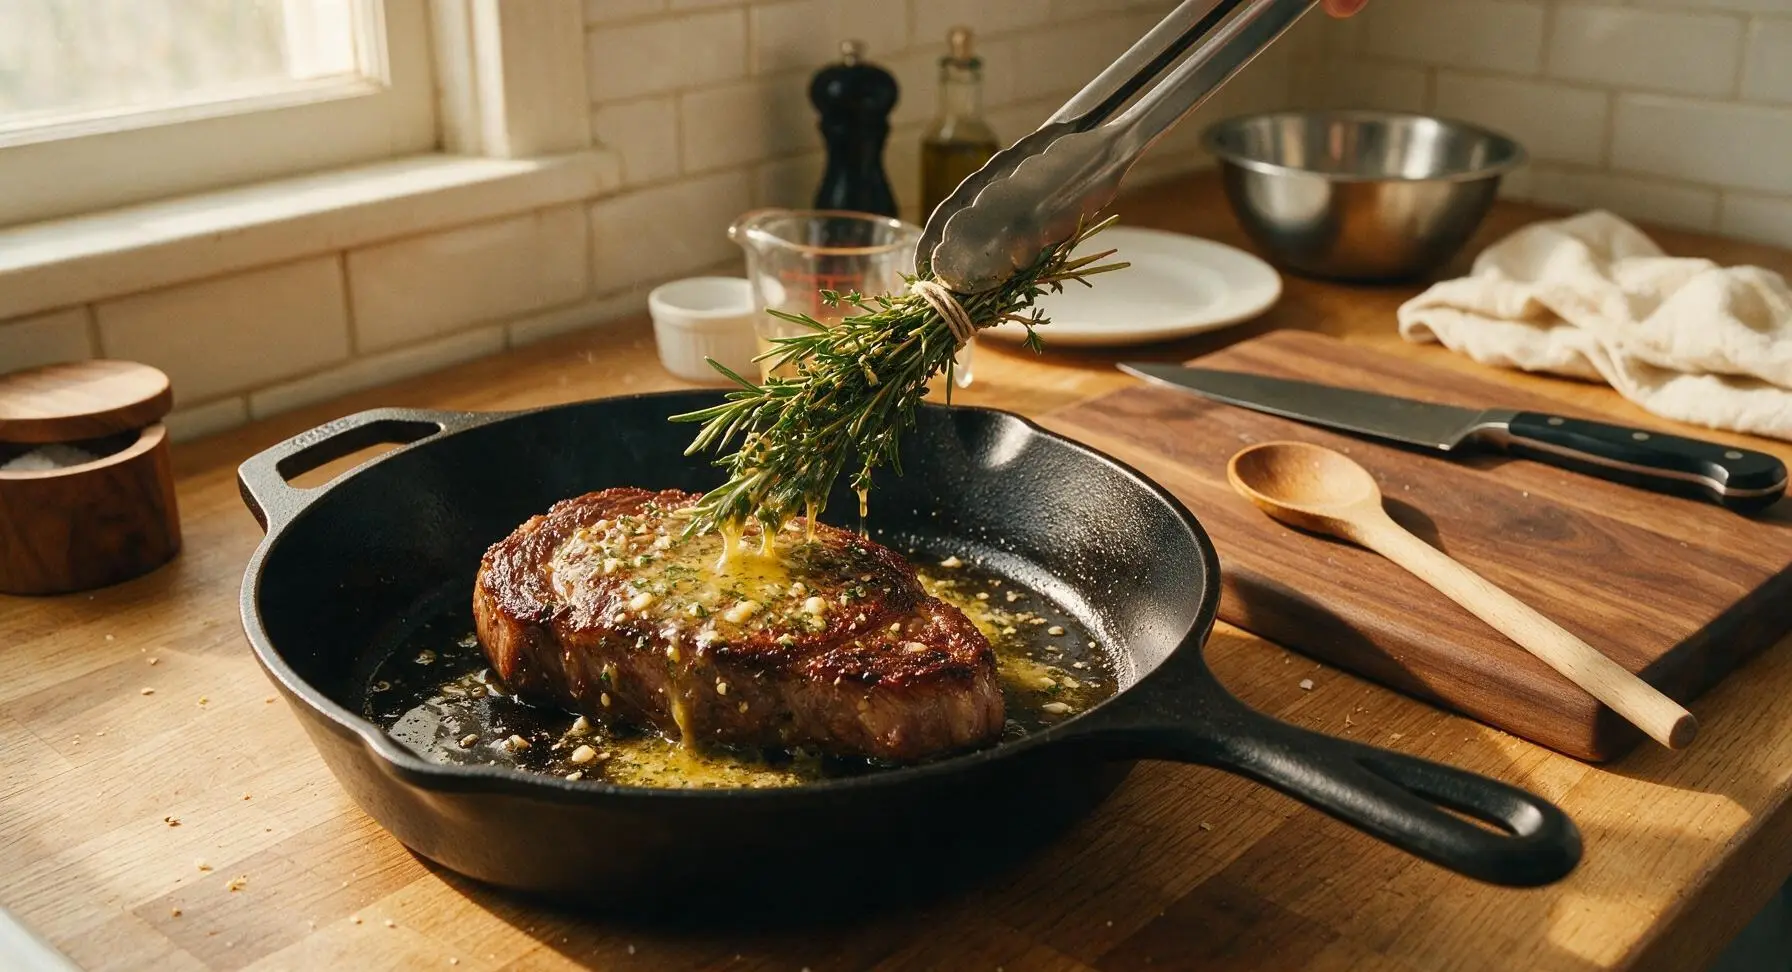
While the second side sears, melt 56g unsalted butter in the small stainless steel butter warmer on the grill’s side burner. Add crushed garlic, rosemary, and thyme to the melted butter, letting it infuse for 1 minute. After the second side has seared for 2 minutes, use the tongs to dip the herb bundle in the melted butter, brushing it repeatedly over the steak tops for the final 1 minute of cooking, basting continuously.
Check Doneness and Rest
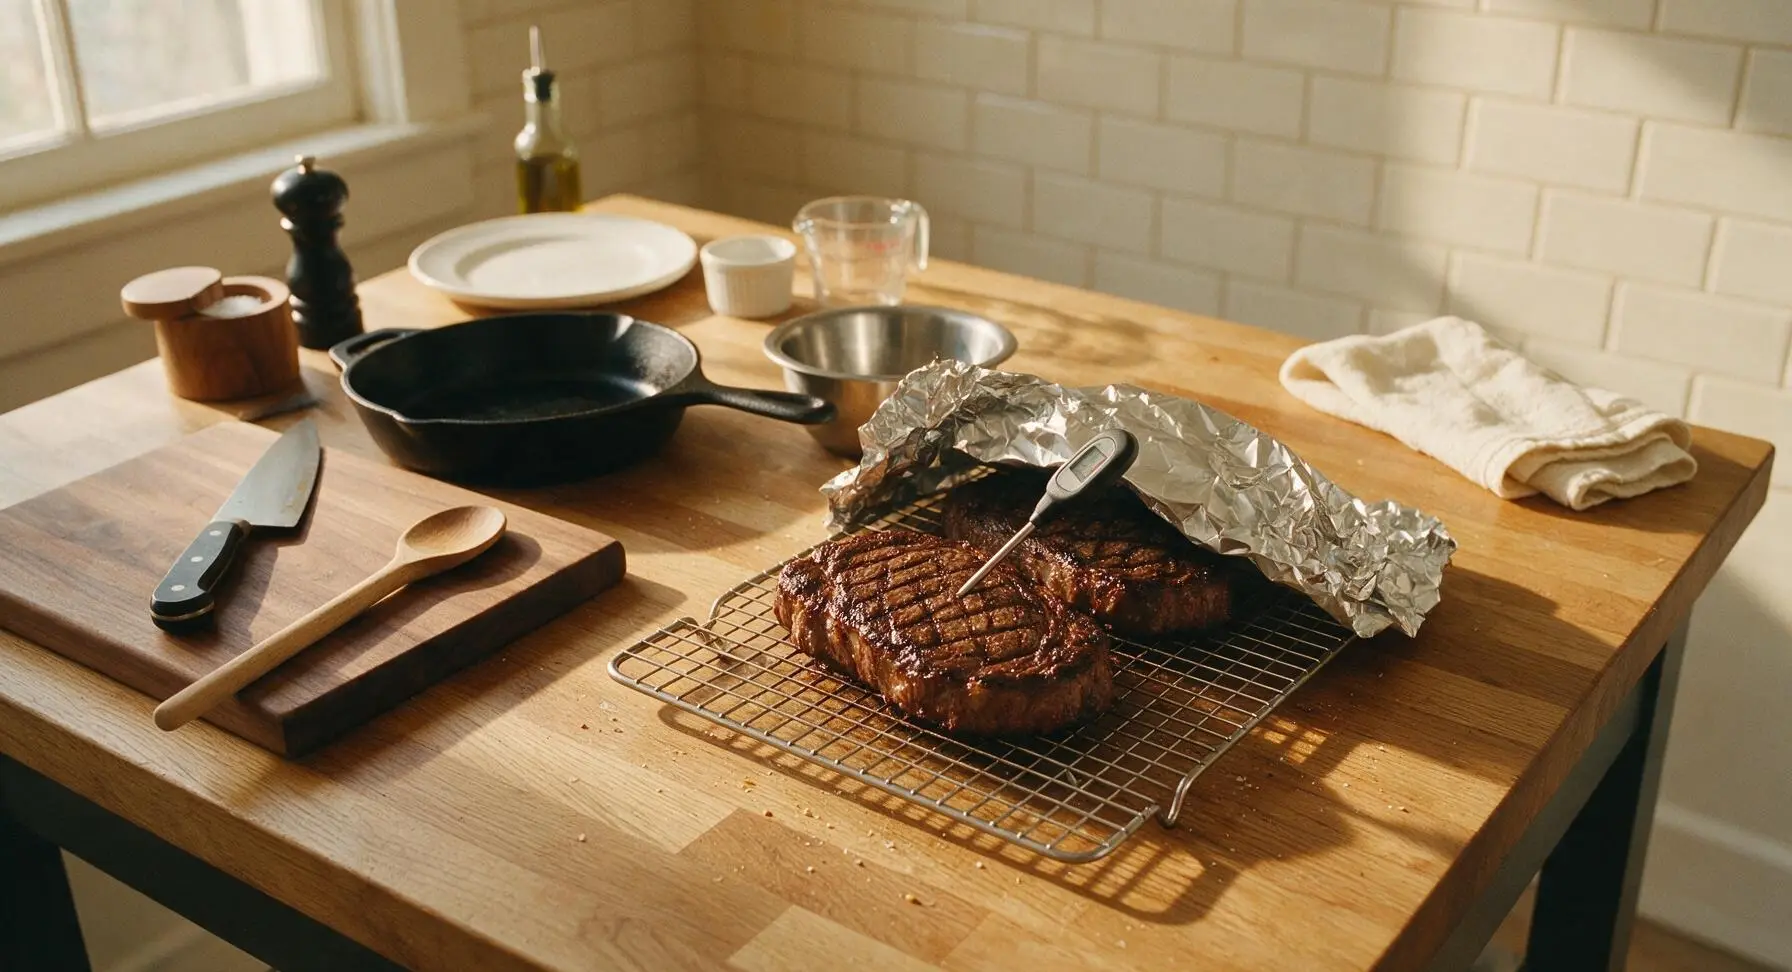
Insert the instant-read meat thermometer into the thickest part of each steak, avoiding bone or fat: remove steaks from the grill when internal temperature reaches 52C/125F for medium-rare (temperature will rise 3-5C during resting for a final 57C/135F). Transfer steaks to the stainless steel wire resting rack on the counter, loosely tent with crumpled aluminum foil, and let rest for 8 full minutes to allow muscle fibers to relax and reabsorb juices.
Slice and Plate Steak
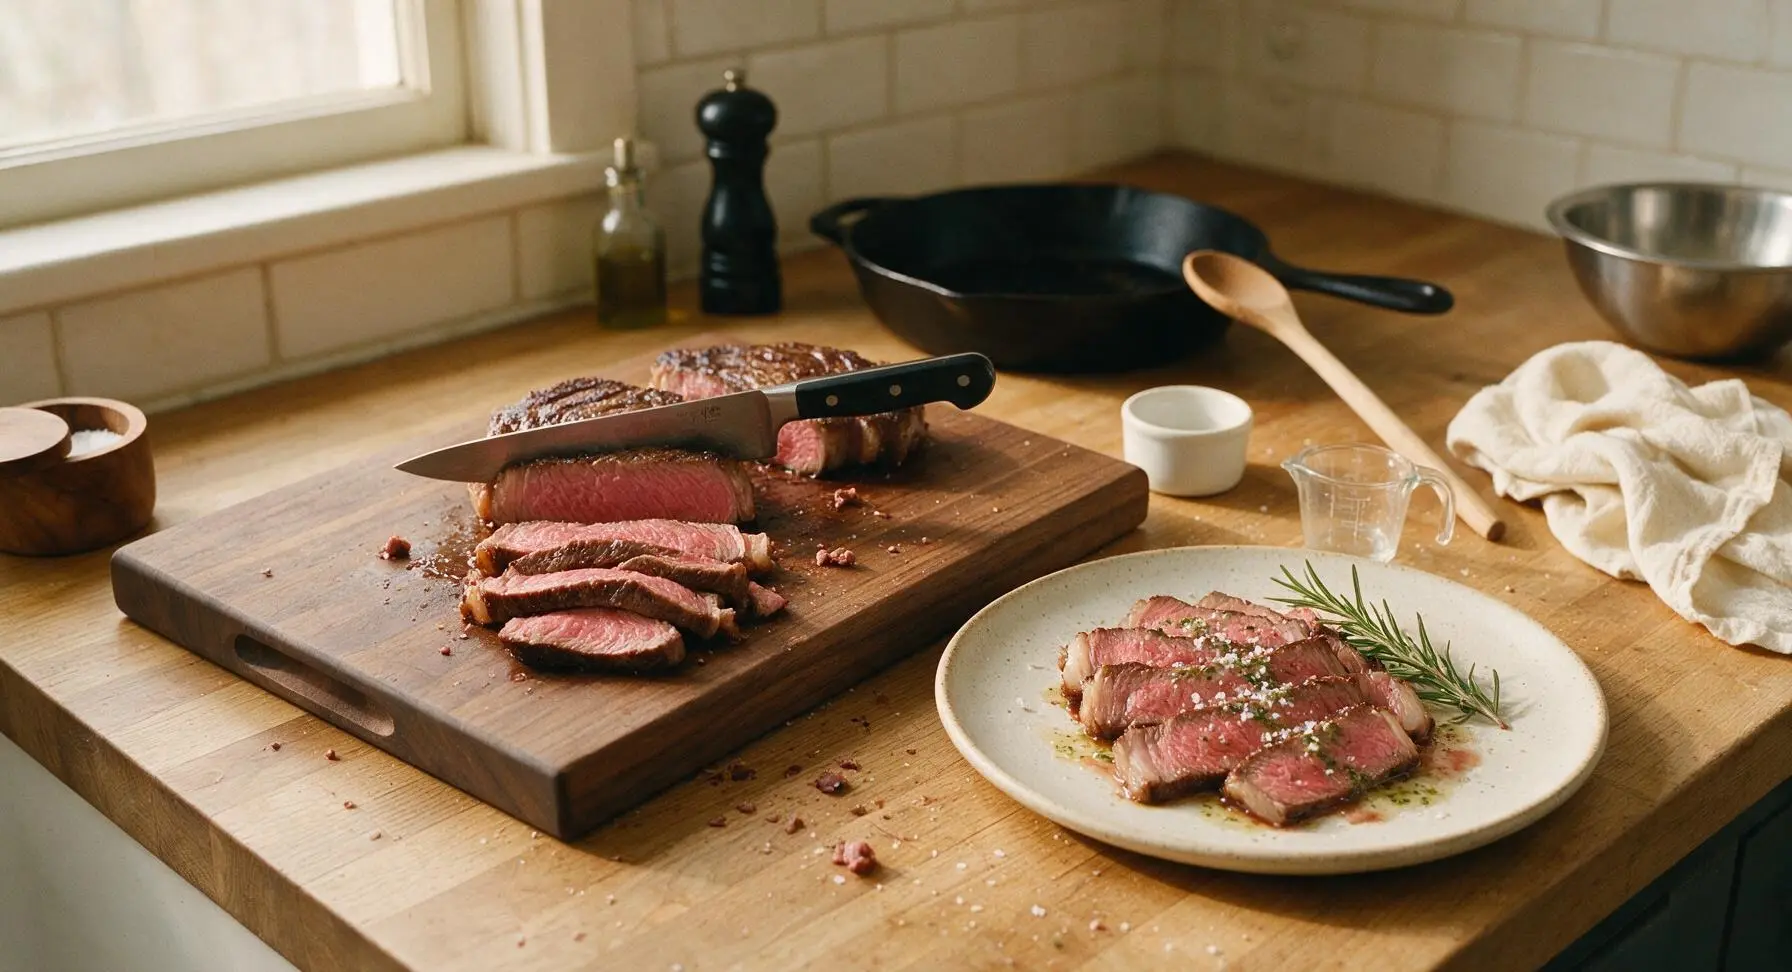
After resting, transfer steaks back to the teak cutting board. Use the 8-inch chef knife to slice steaks against the grain into 1.25cm/½-inch thick slices. Arrange sliced steak fanned on the pre-warmed off-white speckled stoneware dinner plate, drizzle with remaining herb butter and collected juices from the resting rack, sprinkle lightly with flaky sea salt, and garnish with a fresh rosemary sprig.
Tips
2.Never pierce steaks with a fork or cut into them to check doneness: this creates openings for hot, flavorful juices to leak out, leading to dry meat. An instant-read thermometer is inexpensive and guarantees perfect doneness without juice loss.
3.Skip the urge to move steaks while searing and never skip the resting step: constant shifting prevents crust formation, and slicing steak immediately after cooking lets all the reabsorbed juices pour onto the plate instead of staying in the meat for a juicy bite.






OMG this recipe is a total game changer! I’ve been messing up grilled ribeyes for years because I always overcook them trying to get that perfect crust, but the 10 minute cook time outlined here gave me perfect medium-rare, juicier than the $50 steak I got at our downtown spot last month. Made this for Sunday family dinner and my wife and kids loved it — my picky 13 year old even asked for seconds, then begged me to make it for his birthday cookout next month. SO good, I already grabbed 3 more ribeyes from the butcher to prep!
Tried this last night for date night with my partner and it turned out so tasty! The only hiccup was my steak ended up a touch more well-done than I wanted because I got distracted tossing our Caesar salad mid-cook — oops! The flavor was still unreal though, even a little overcooked it wasn’t tough or chewy like other ribeyes I’ve messed up in the past. Will definitely set a timer and grab my meat thermometer next time I make this.
Total game changer! I meal prepped these ribeyes on Sunday to slice up for lunch salads and grain bowls all week, and they held up perfectly even after a couple days in the fridge. I was worried grilled steak would get tough and rubbery when reheated, but if you pull it just a tiny bit under your preferred doneness when you grill, it reheats like an absolute dream. 10/10, this is going to be a permanent spot in my weeknight dinner rotation from now on!