
grilled turkey breast
intro
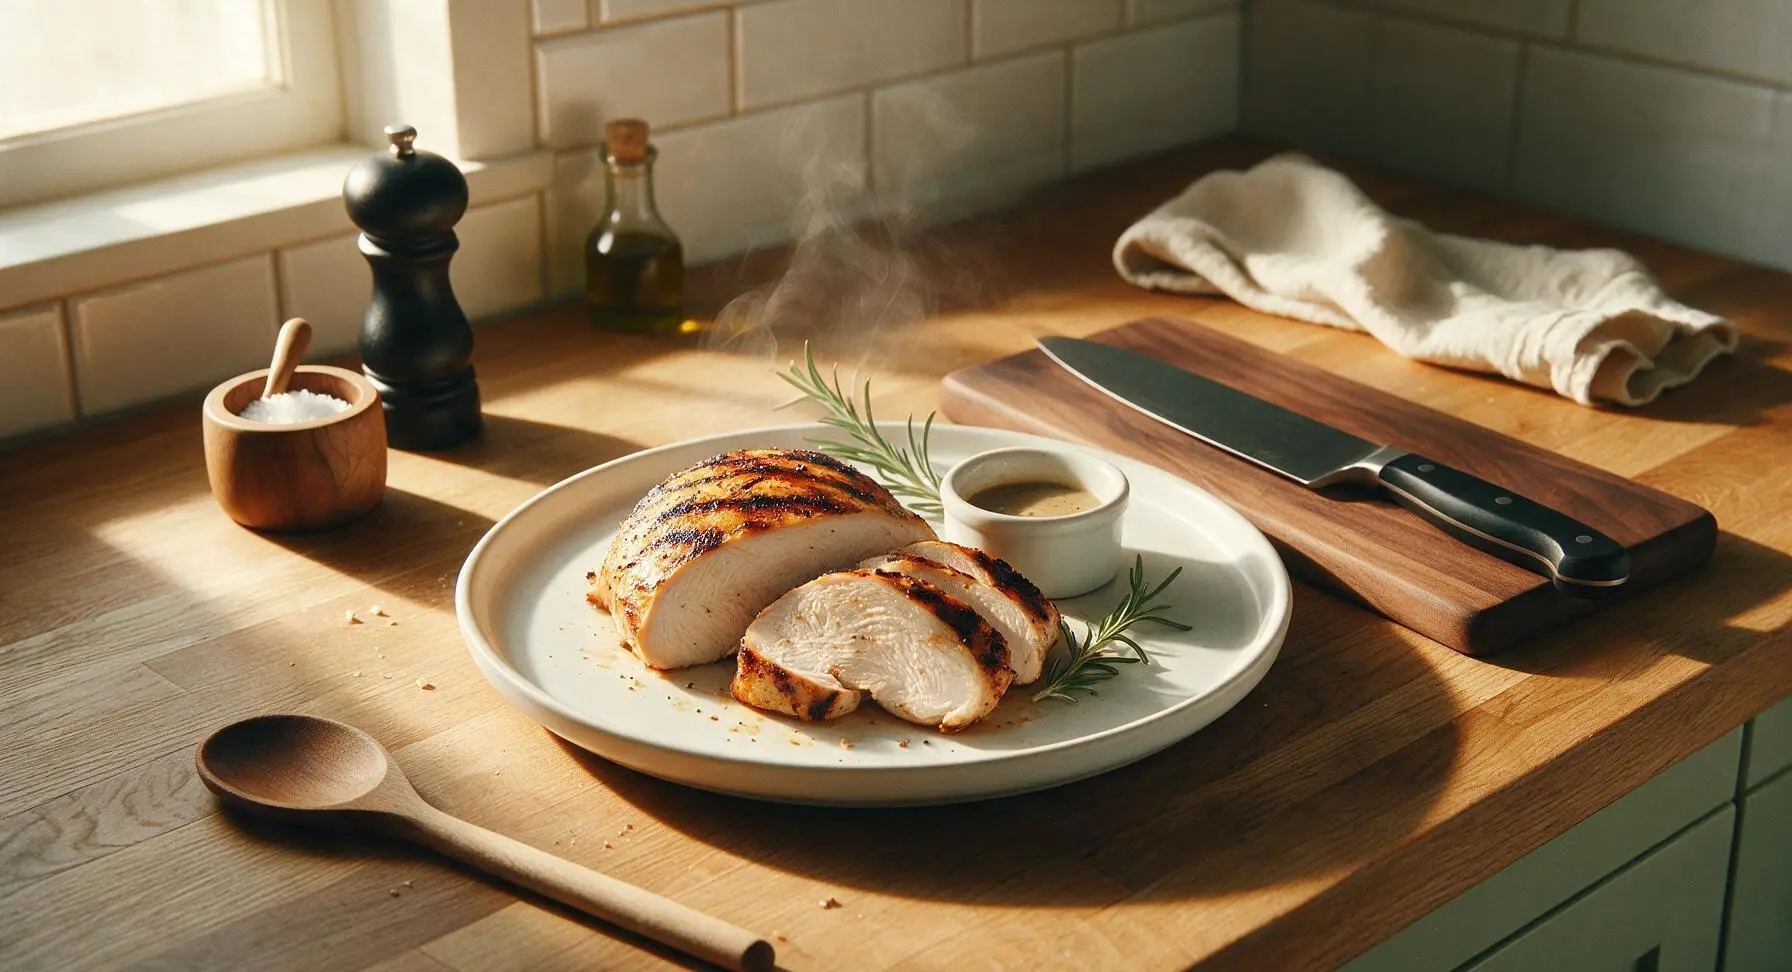
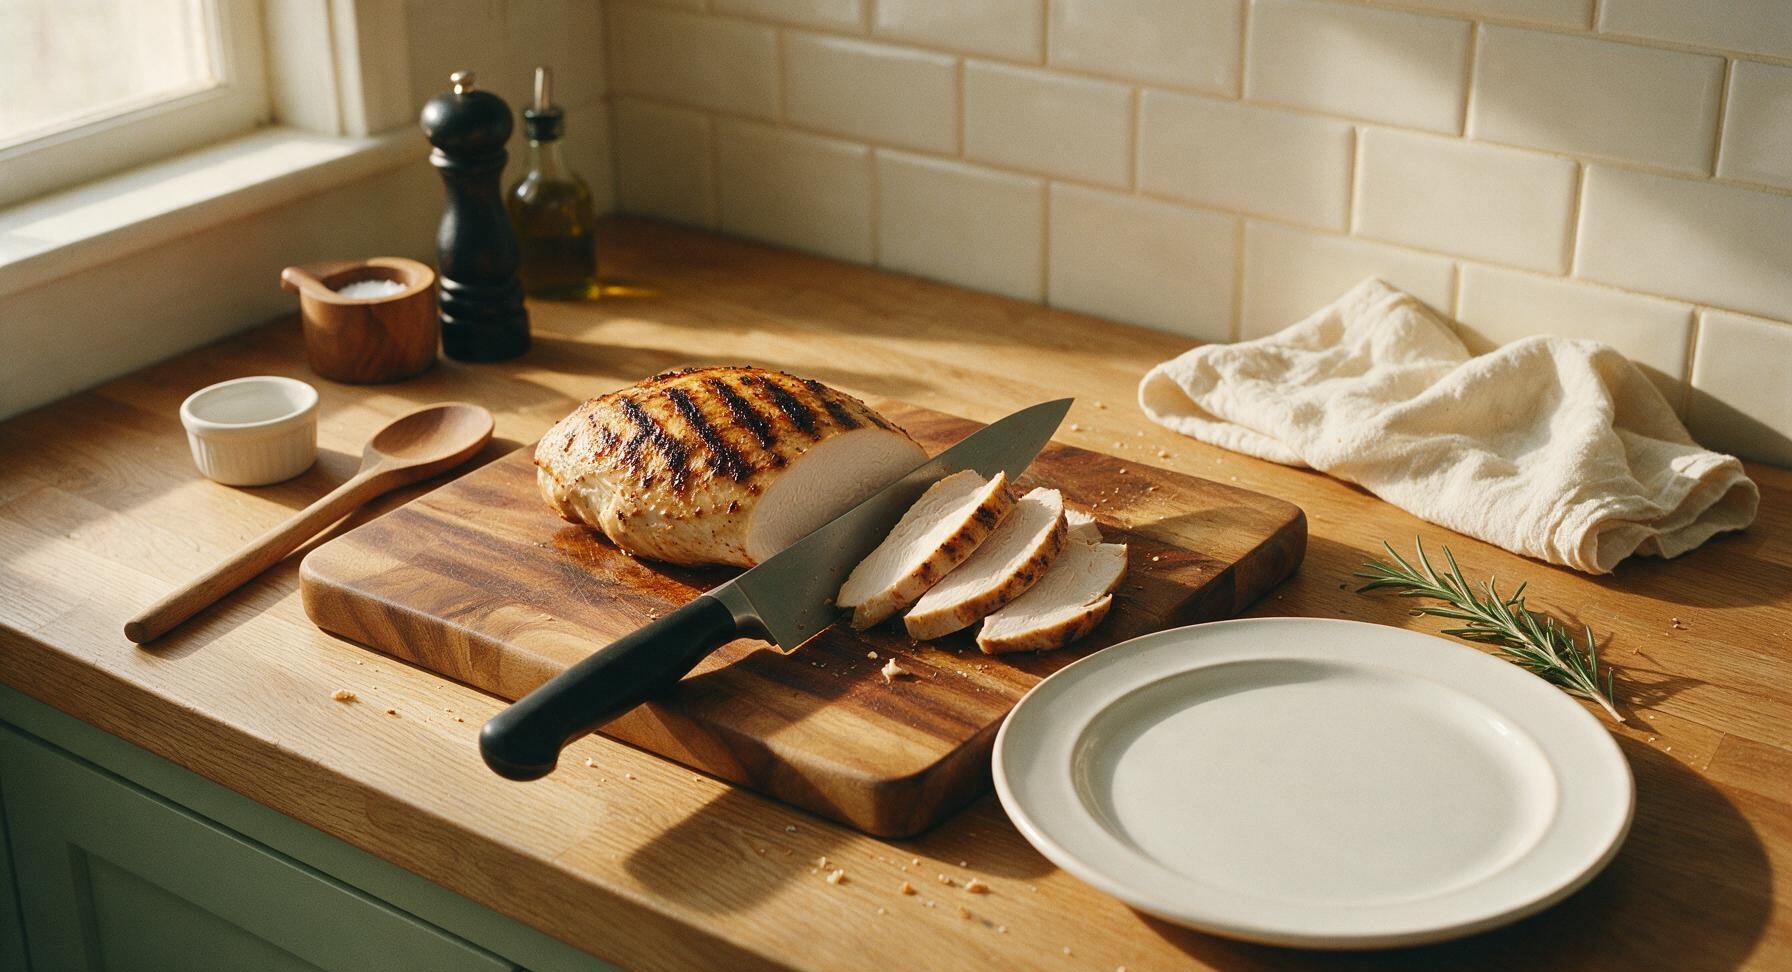
Tender, smoky grilled turkey breast with crisp charred grill marks and a juicy, well-seasoned interior—perfect for summer cookouts, with zero dry, tough meat.
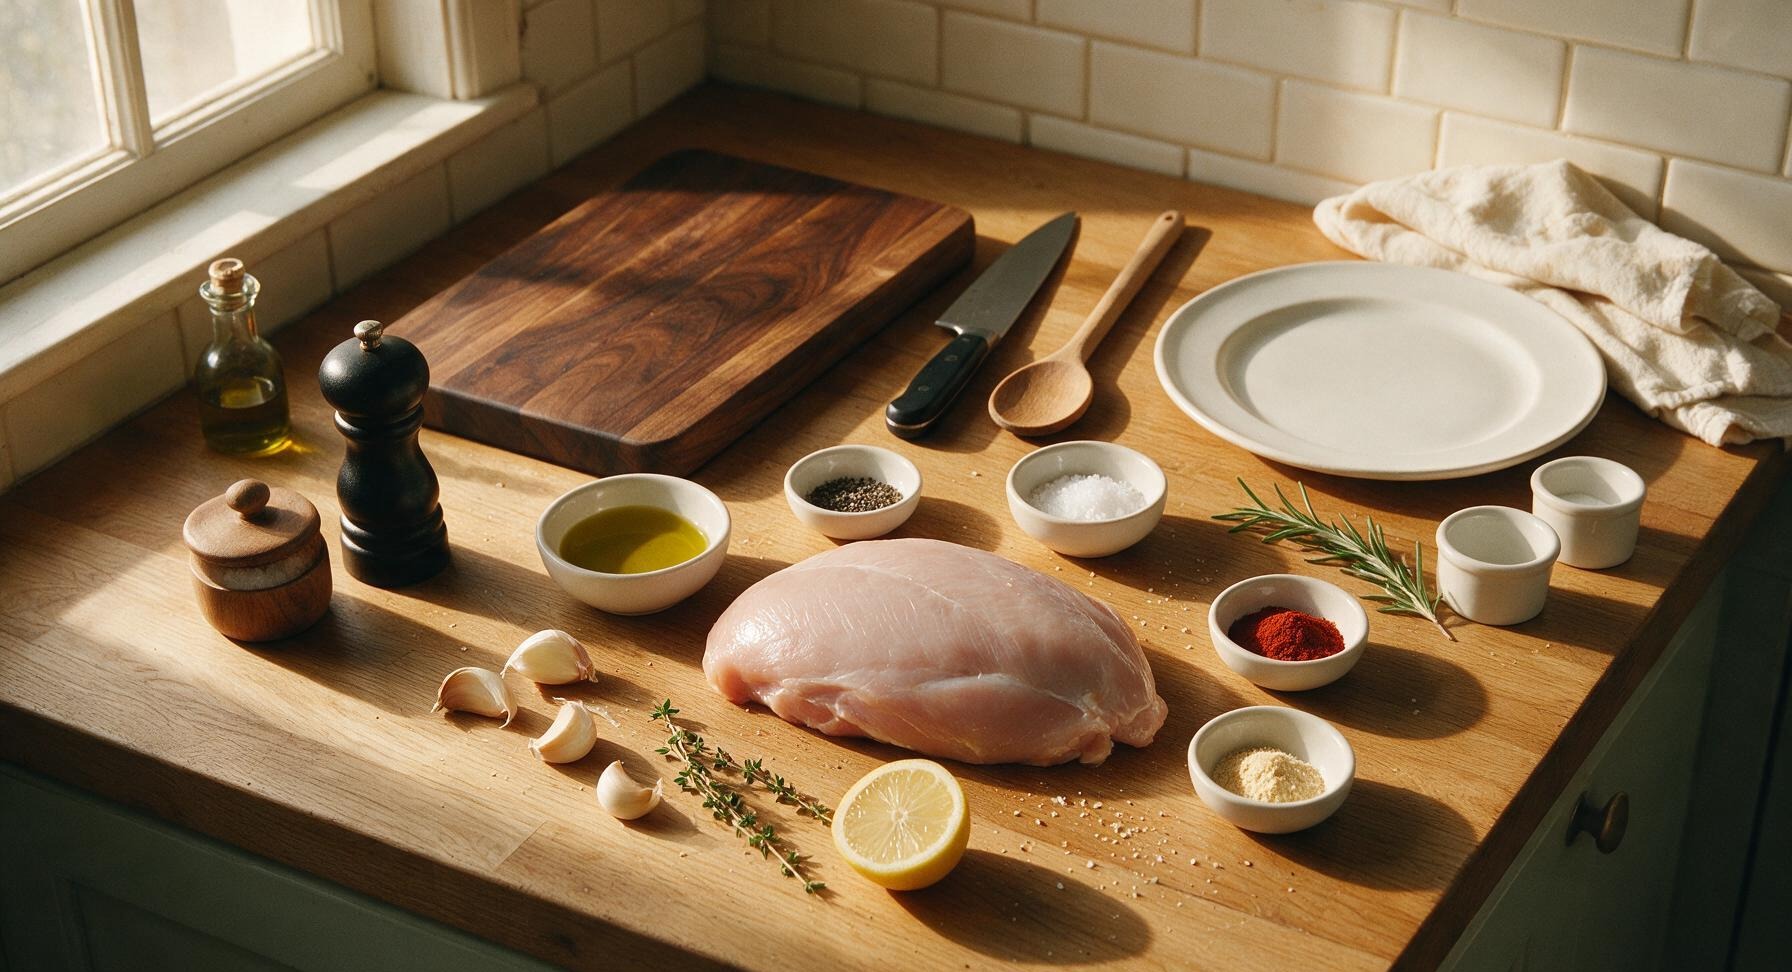
Ingredients
Steps
Trim Turkey Breast
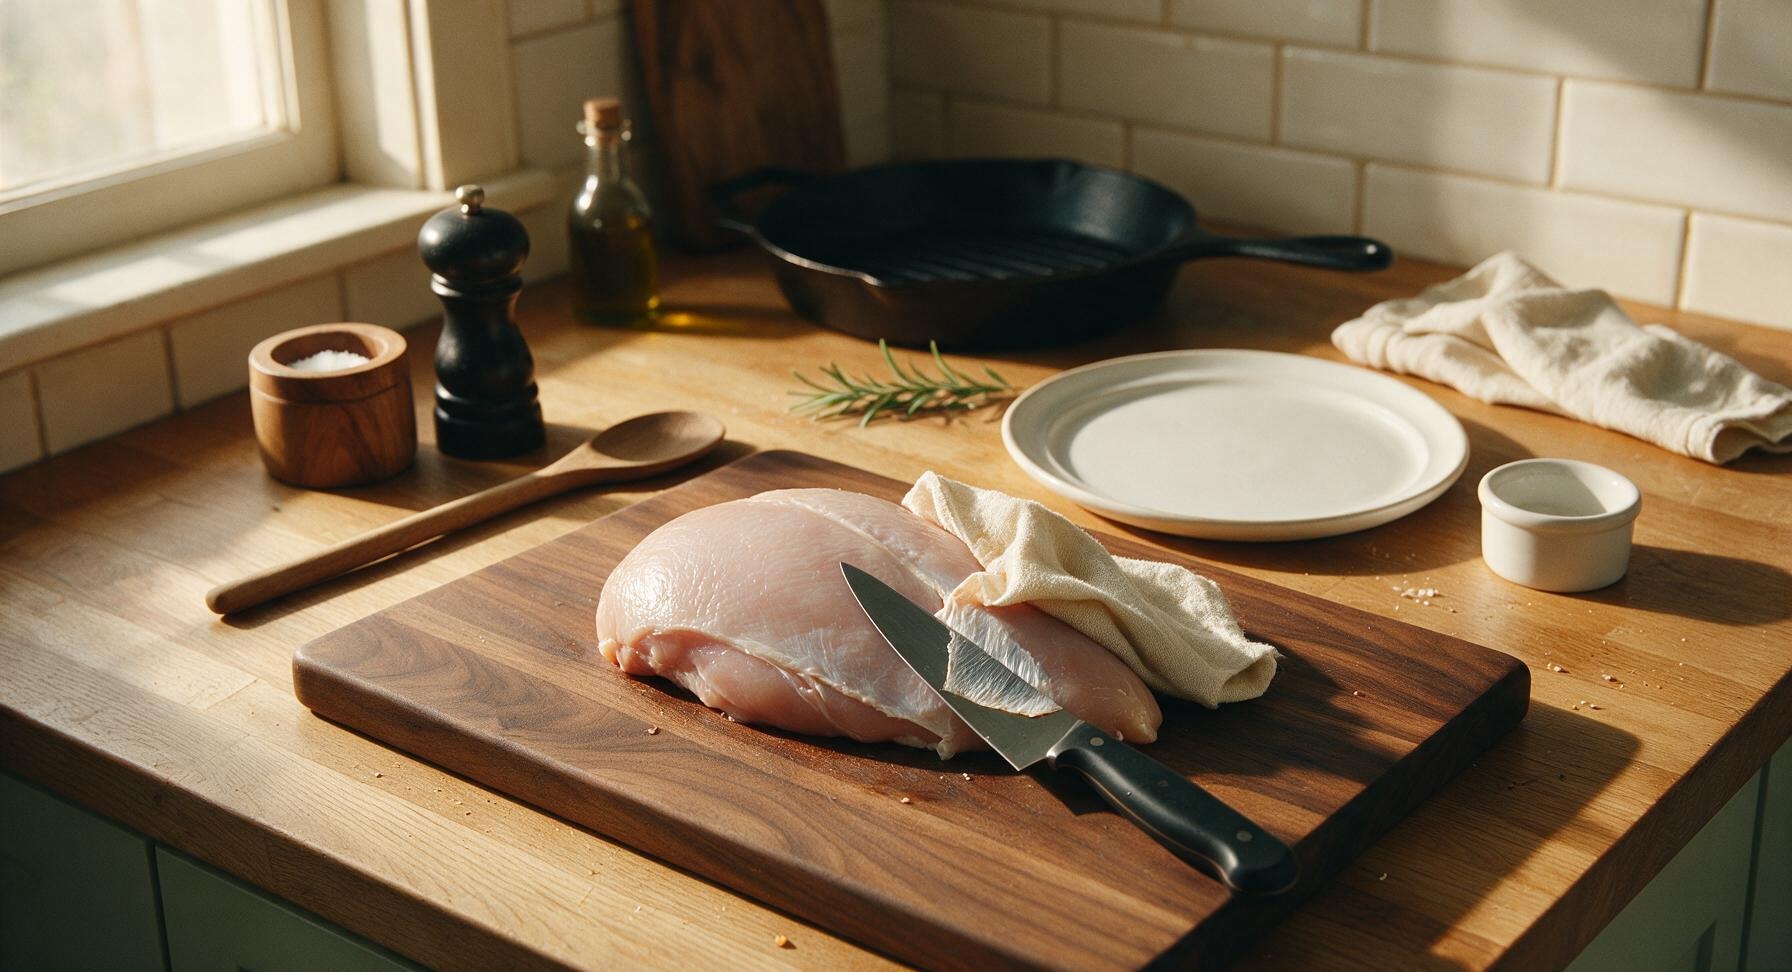
Place the whole boneless skinless turkey breast on the center acacia wood cutting board. Use the stainless steel chef’s knife to trim away any excess silver skin, loose fat, or ragged edges from the breast. Pat the entire surface completely dry with the corner of the linen kitchen towel— a fully dry surface is critical for forming crisp, dark grill marks. The turkey should feel smooth and dry to the touch, with no visible wet spots.
Mix Dry Seasoning
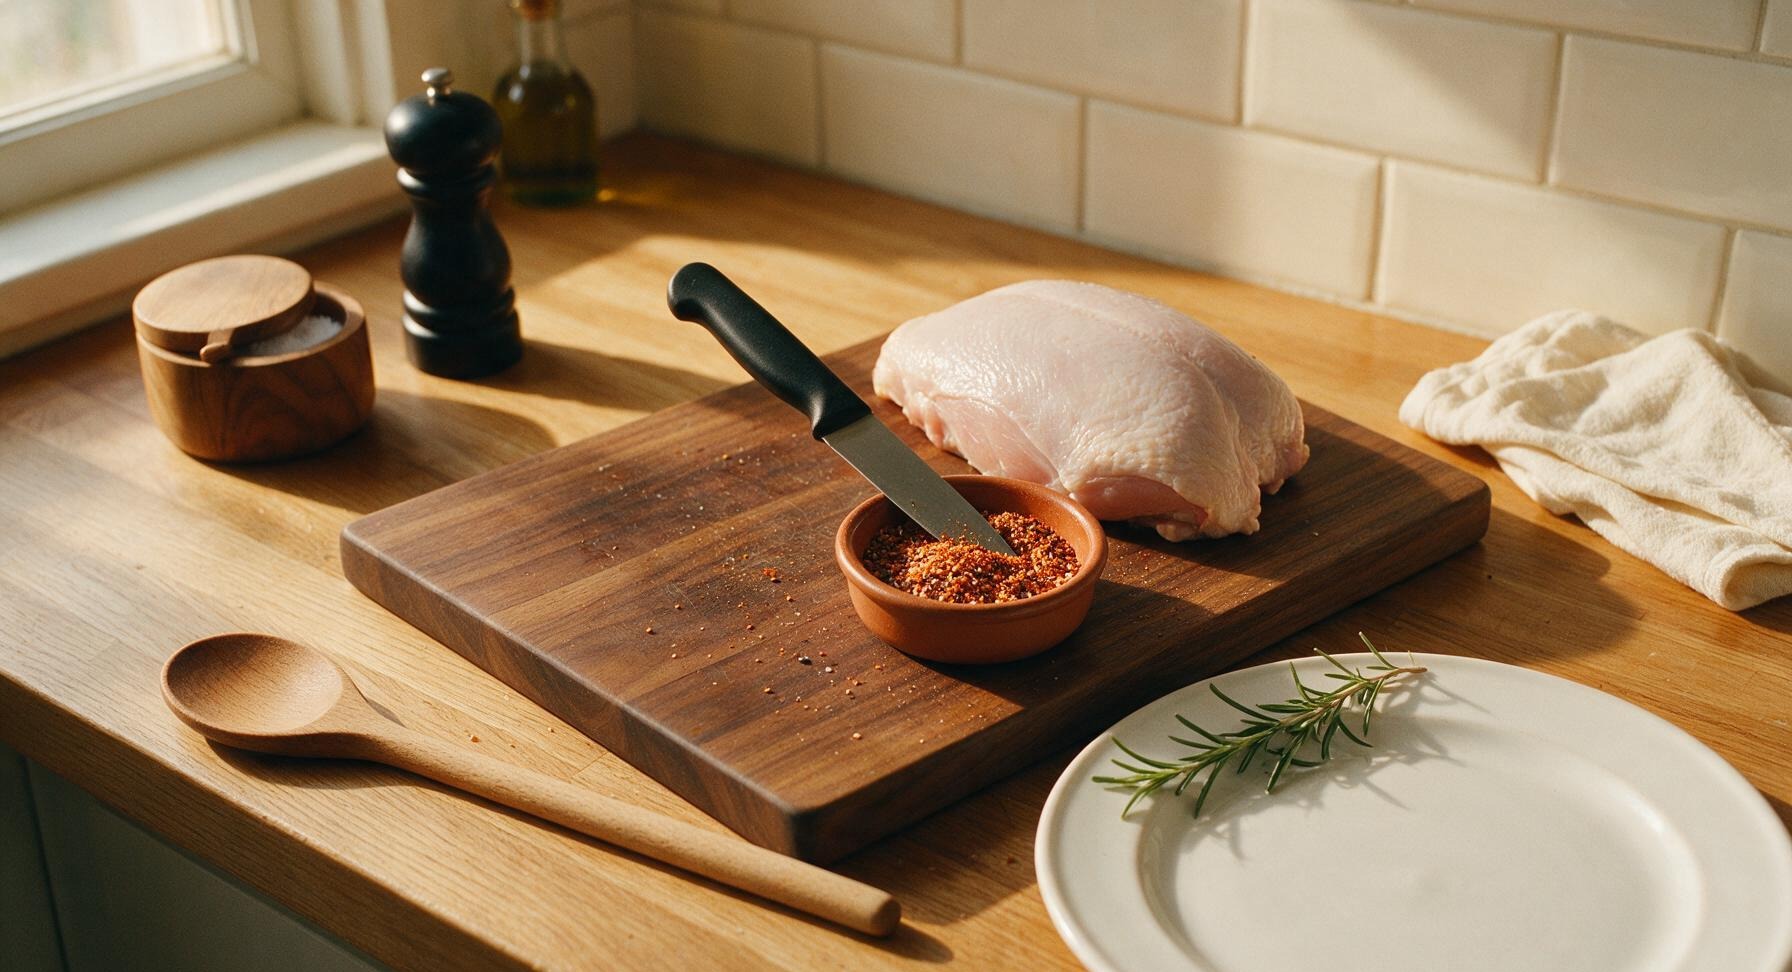
Combine the flaky sea salt, cracked black pepper, smoked paprika, and garlic powder in the small terracotta ramekin. Stir with the tip of the chef’s knife to blend evenly, breaking up any clumps of paprika or garlic powder. The finished mix should be a uniform warm reddish-brown color with visible flecks of black pepper.
Coat Turkey in Seasoning
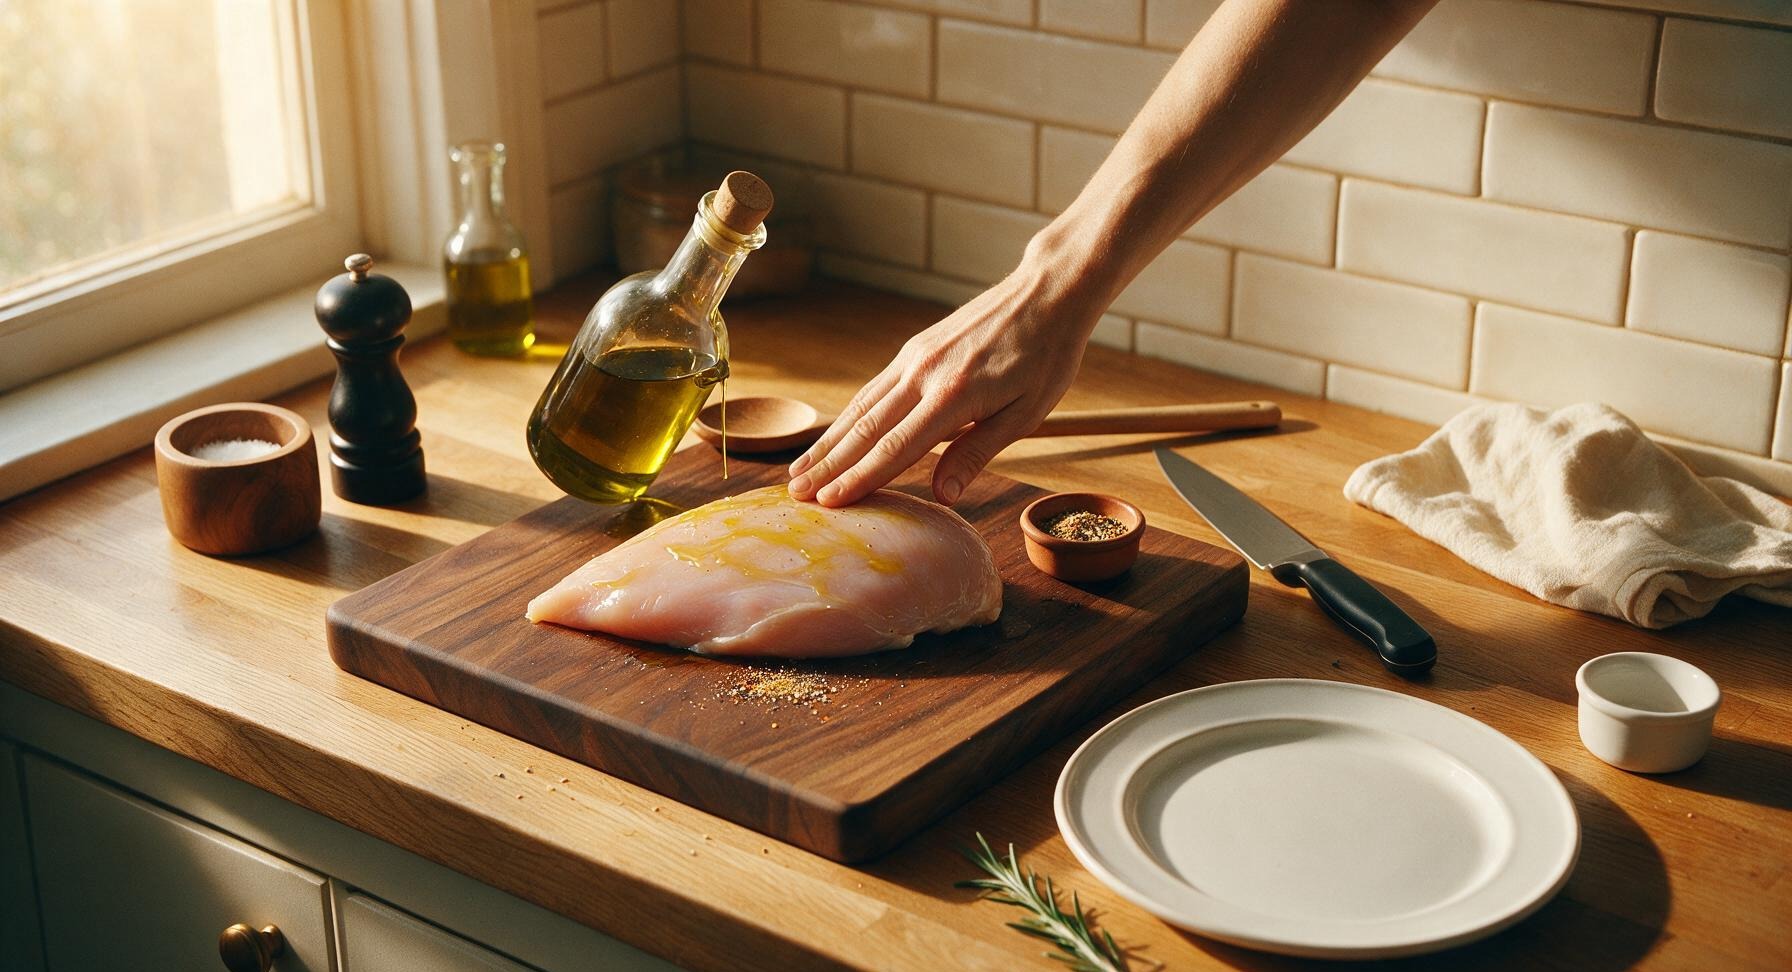
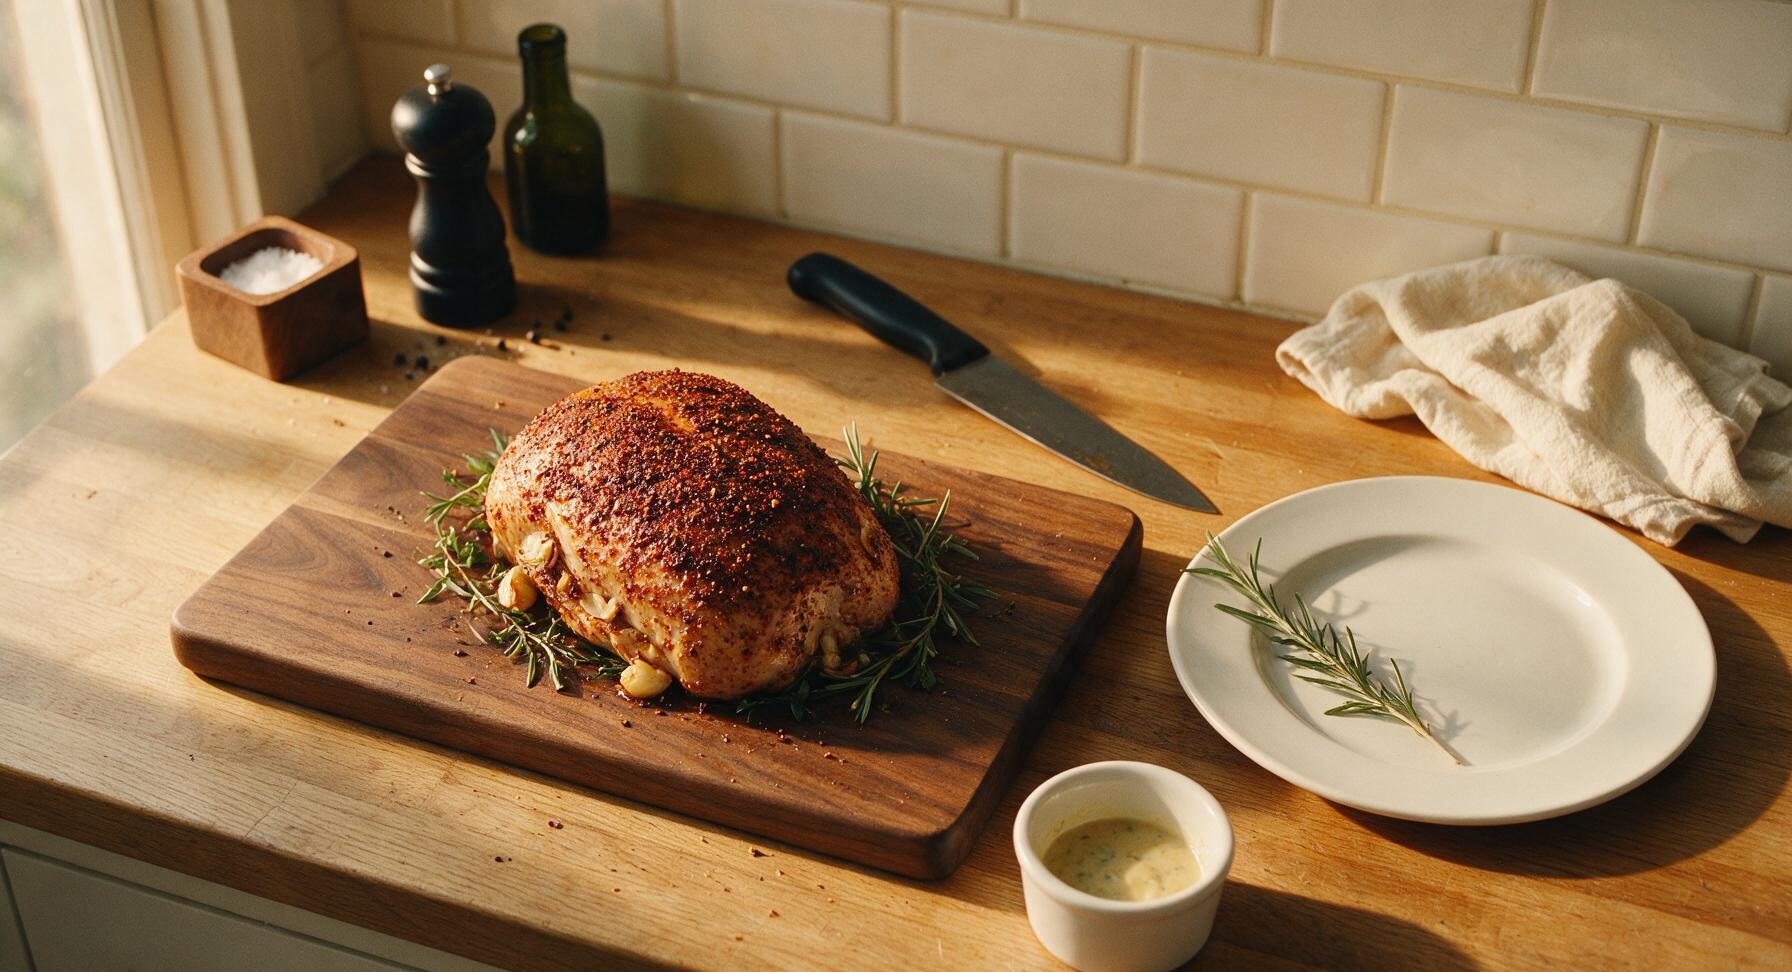
Drizzle 1 tablespoon of olive oil over the entire surface of the turkey breast, rubbing it in with clean hands to coat every side. Sprinkle the mixed dry seasoning evenly over all surfaces of the turkey, pressing gently so the spices adhere to the oiled surface. Tuck the crushed garlic cloves and herb sprigs against the turkey, then let it rest for 10 minutes at room temperature to take the chill off while the grill preheats.
Preheat Cast Iron Grill
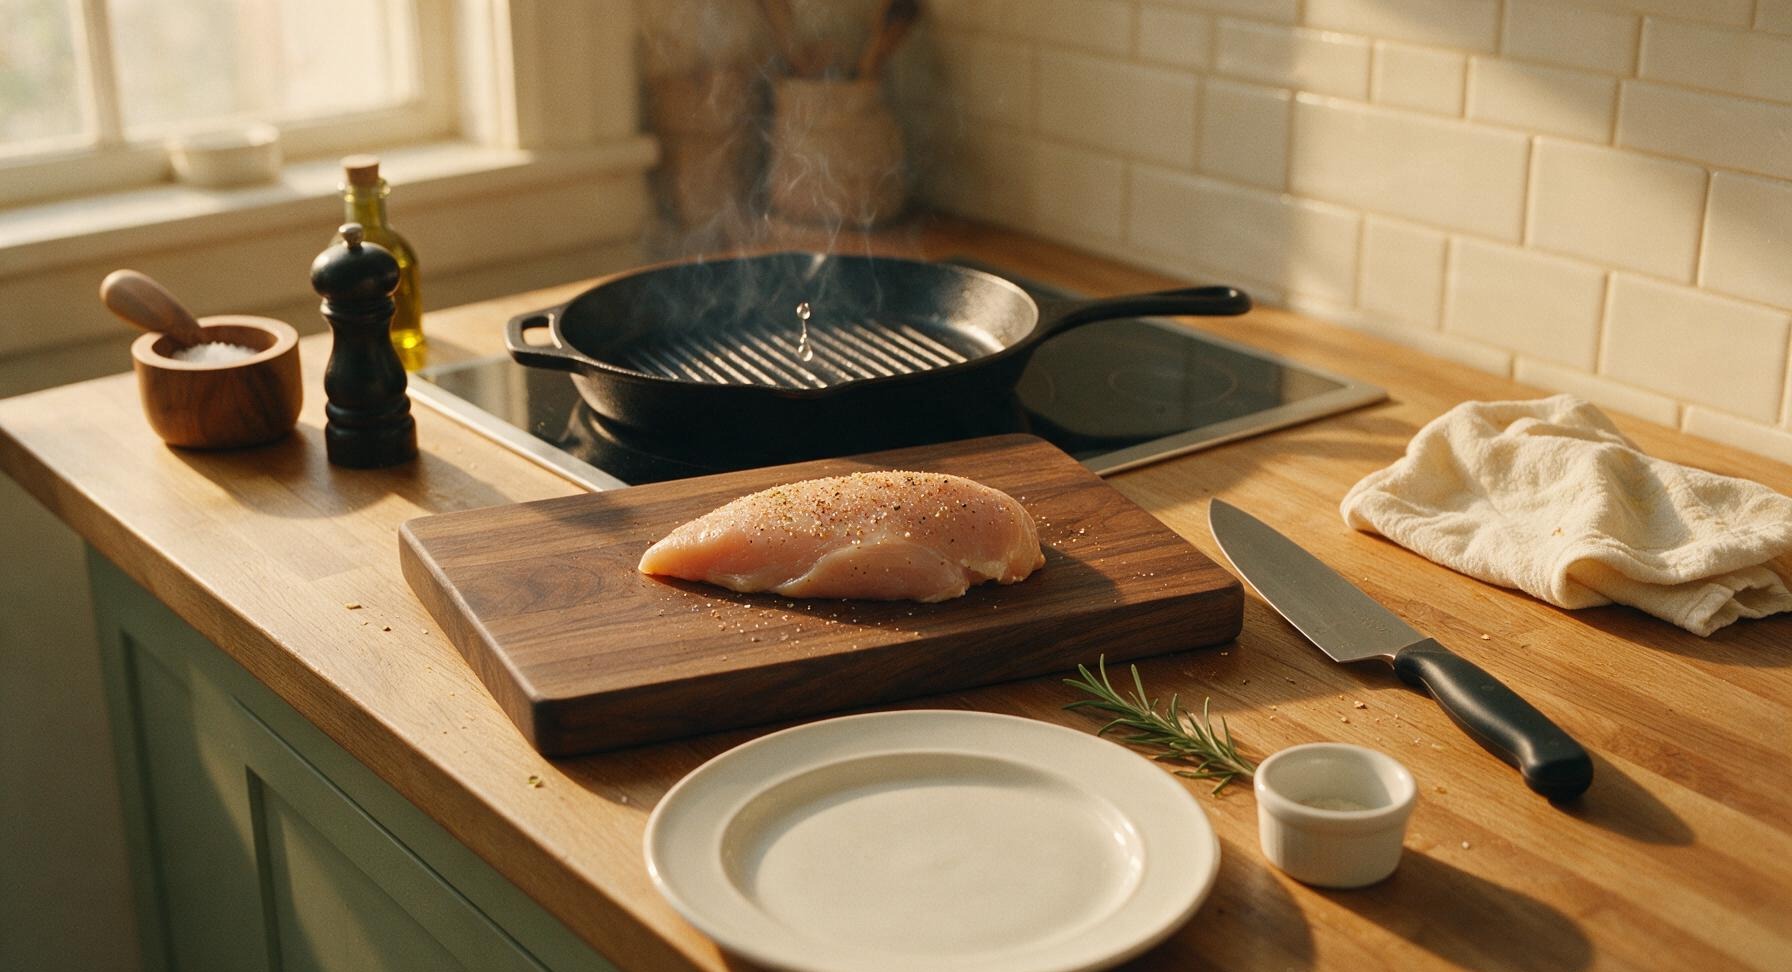
Turn the induction burner under the matte black cast iron grill pan to medium-high heat (400°F / 200°C). Let the pan preheat for 8 full minutes—test the heat by sprinkling a single drop of water: it should dance and evaporate in 1-2 seconds when the pan is properly heated. Do not oil the pan yet, as a dry hot pan creates the best sear marks.
Sear First Turkey Side
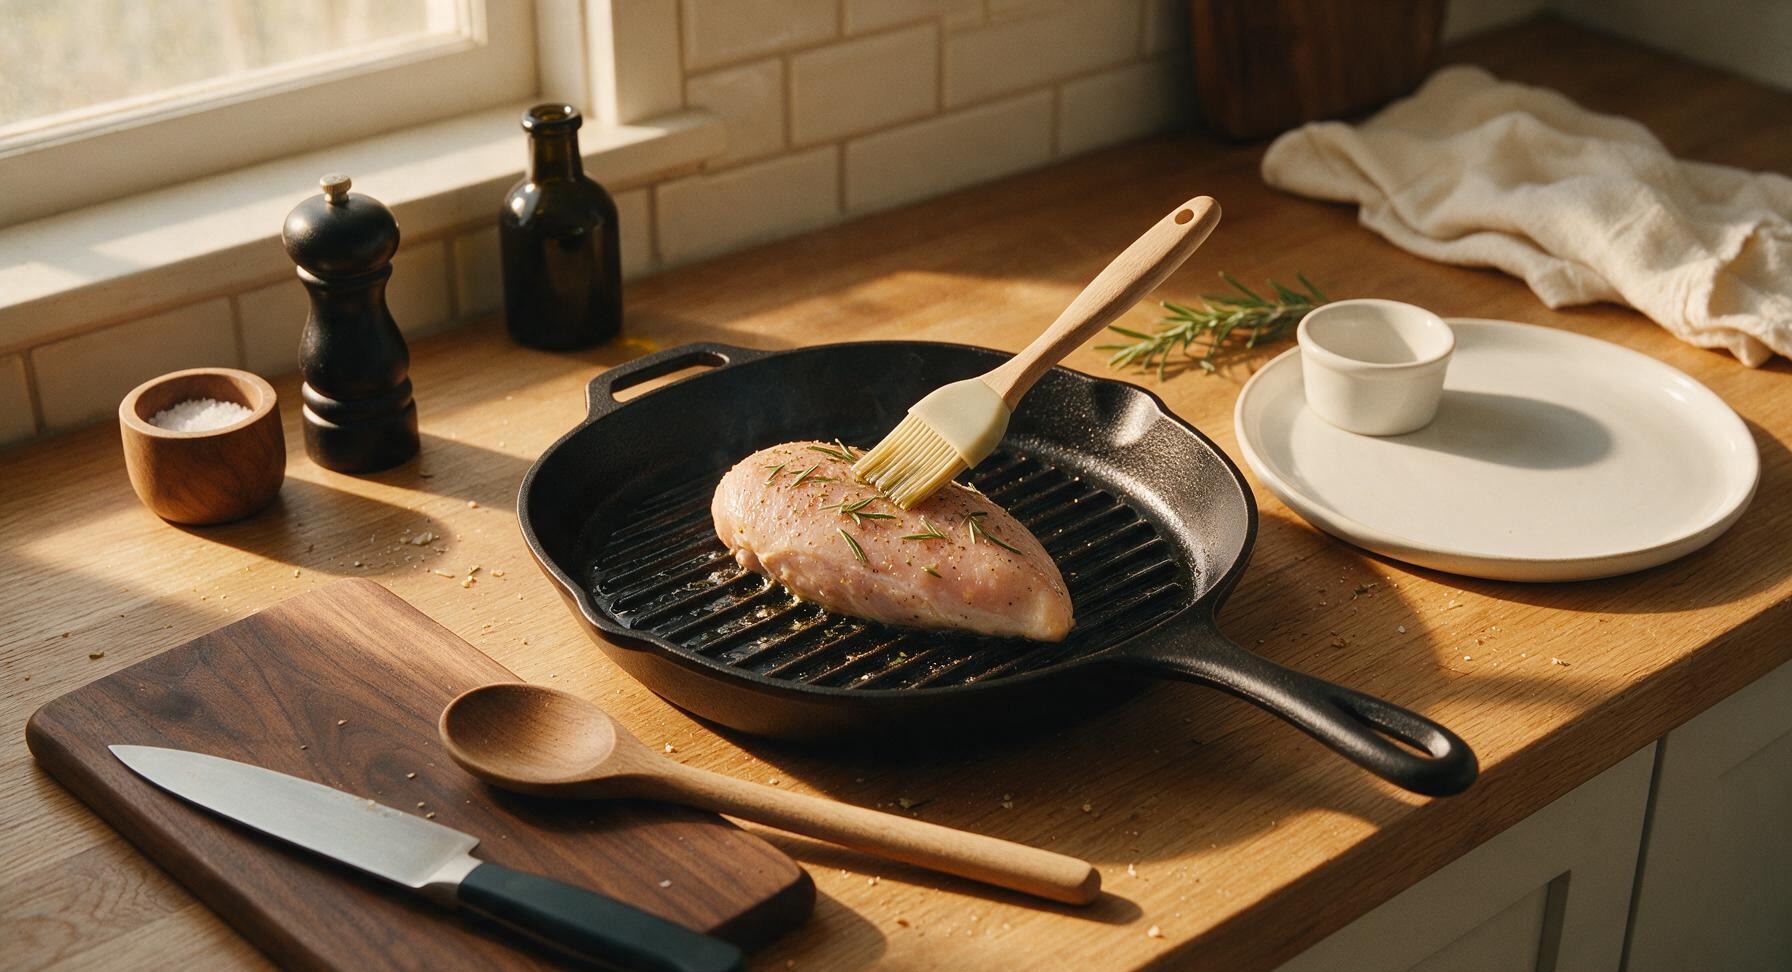
Use the silicone pastry brush to lightly coat the hot grill ridges with the remaining 1 tablespoon of olive oil. Brush any loose herb leaves or garlic pieces off the seasoned turkey to prevent burning, then carefully place the turkey breast on the hot grill, positioning it diagonally across the ridges for classic crosshatch marks later. Do not move the turkey for 8 full minutes. A steady, loud sizzle will start immediately, and deep golden-brown grill marks will form where the meat touches the ridges.
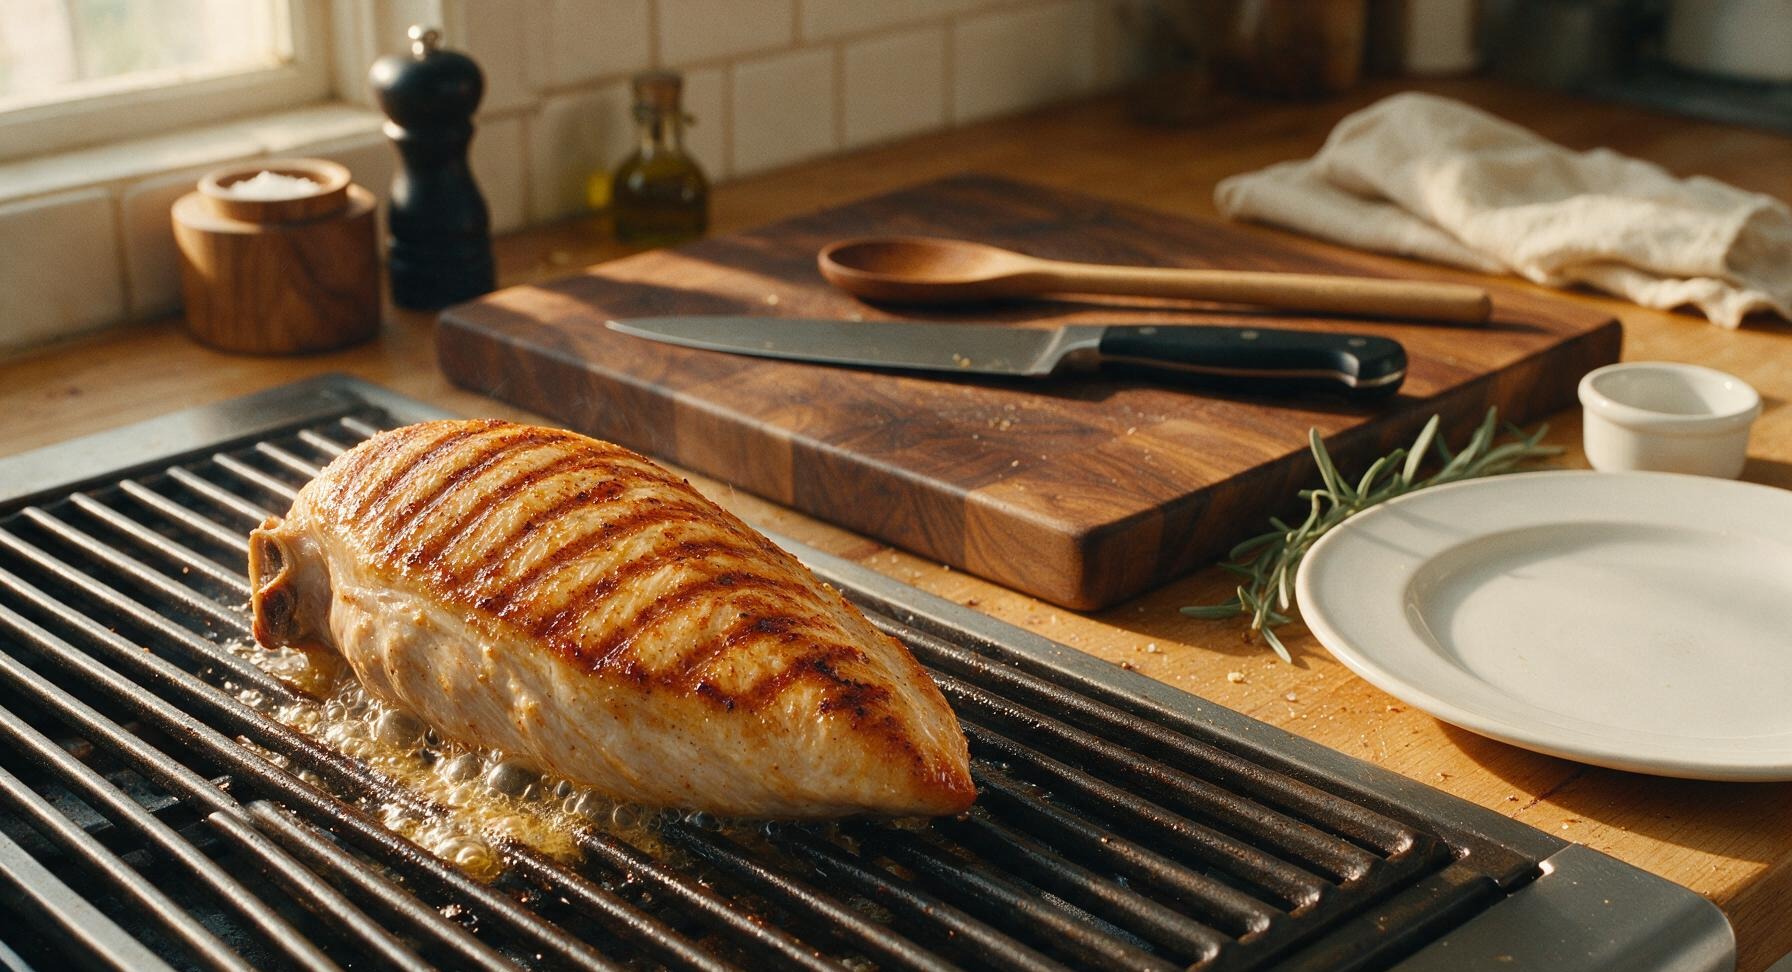
Flip and Cook Second Side
Use the stainless steel kitchen tongs to carefully flip the turkey breast to the second side, rotating it 45 degrees to create crosshatch grill marks. Cook for another 7-9 minutes, until the digital meat thermometer reads 150°F / 66°C when inserted into the thickest part of the breast (avoid touching the pan with the probe). Do not press down on the turkey as it cooks, as this squeezes out precious juiciness.
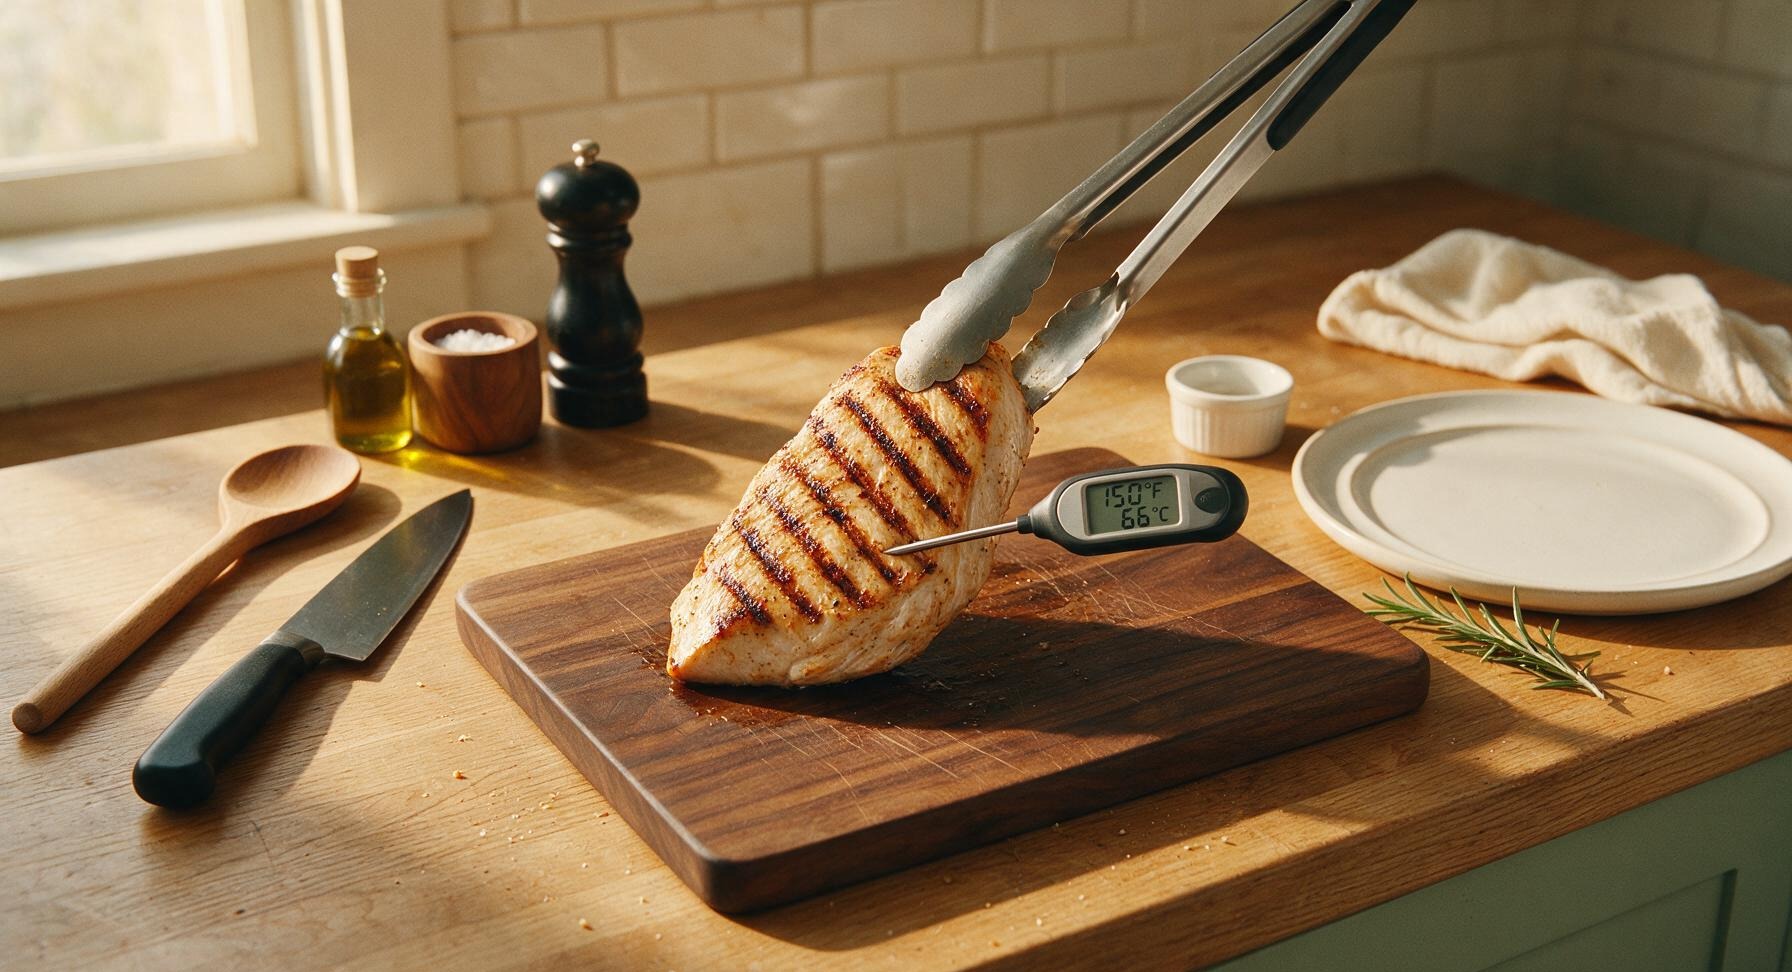
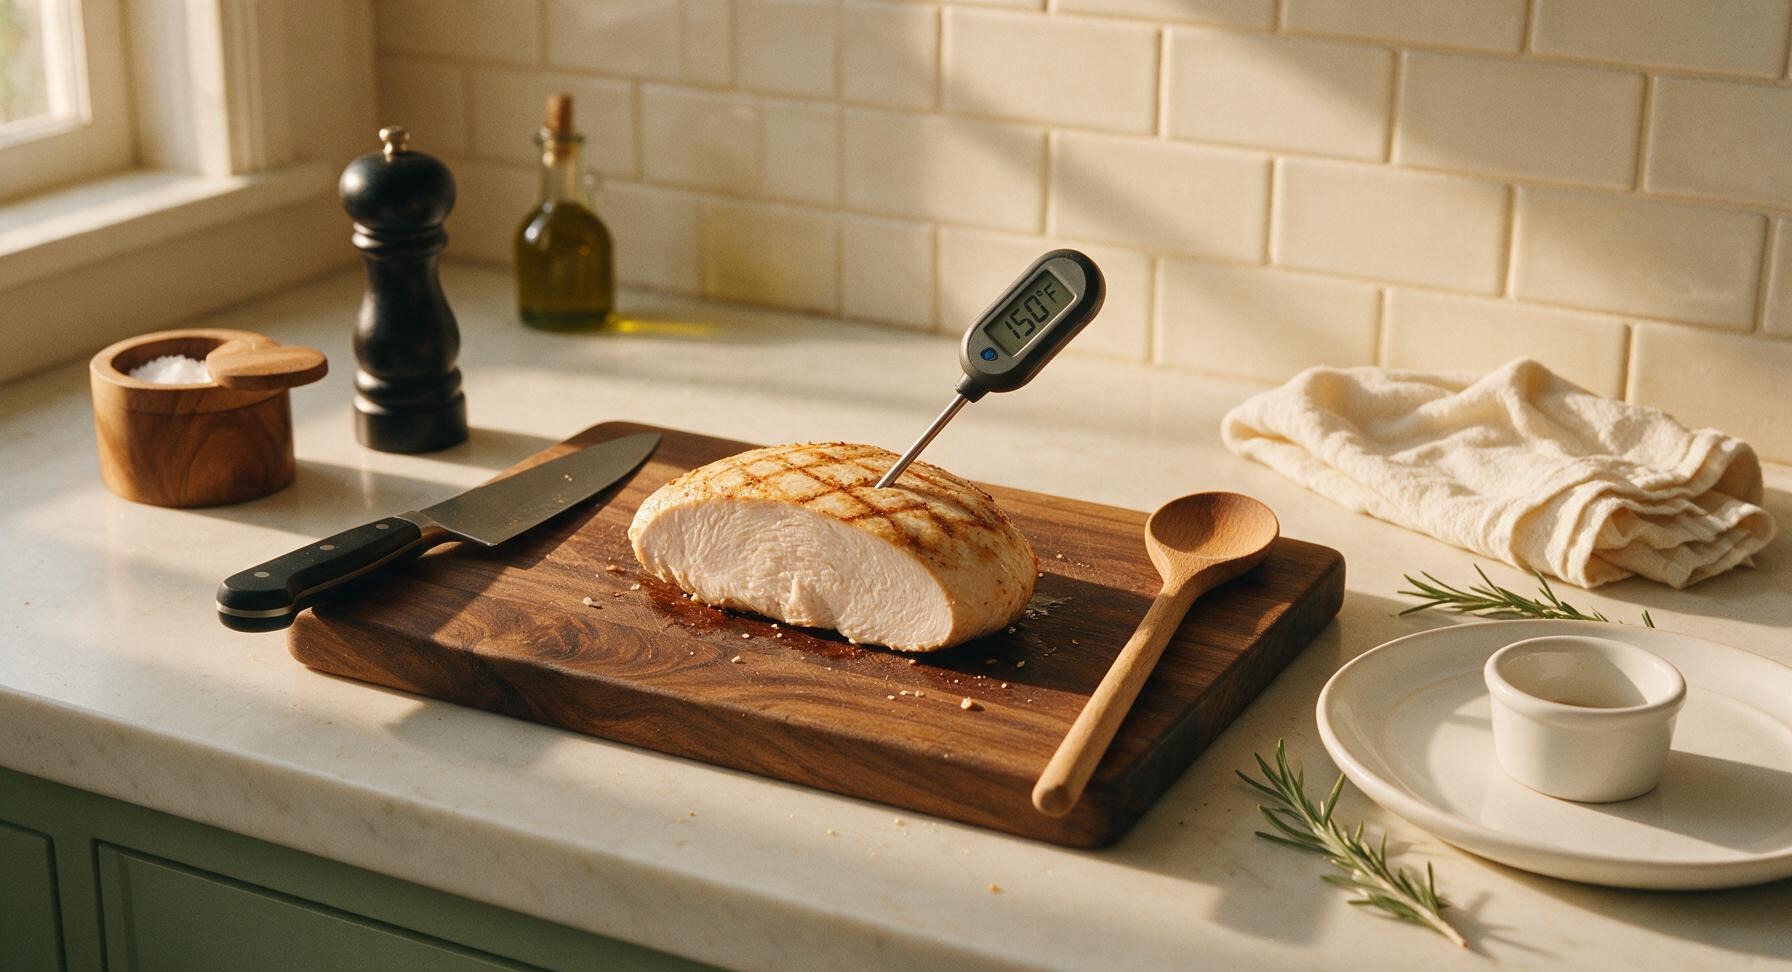
Rest Grilled Turkey
Use the tongs to transfer the cooked turkey breast to the matte cream ceramic dinner plate. Place the halved lemons cut-side down on the hot grill pan for 1 minute to char slightly, then set them on the plate next to the turkey. Loosely tent the turkey with a small sheet of aluminum foil, and let it rest for 10 full minutes. Carryover cooking will raise the internal temperature to 160°F / 71°C as it rests, and juices will redistribute evenly through the meat.
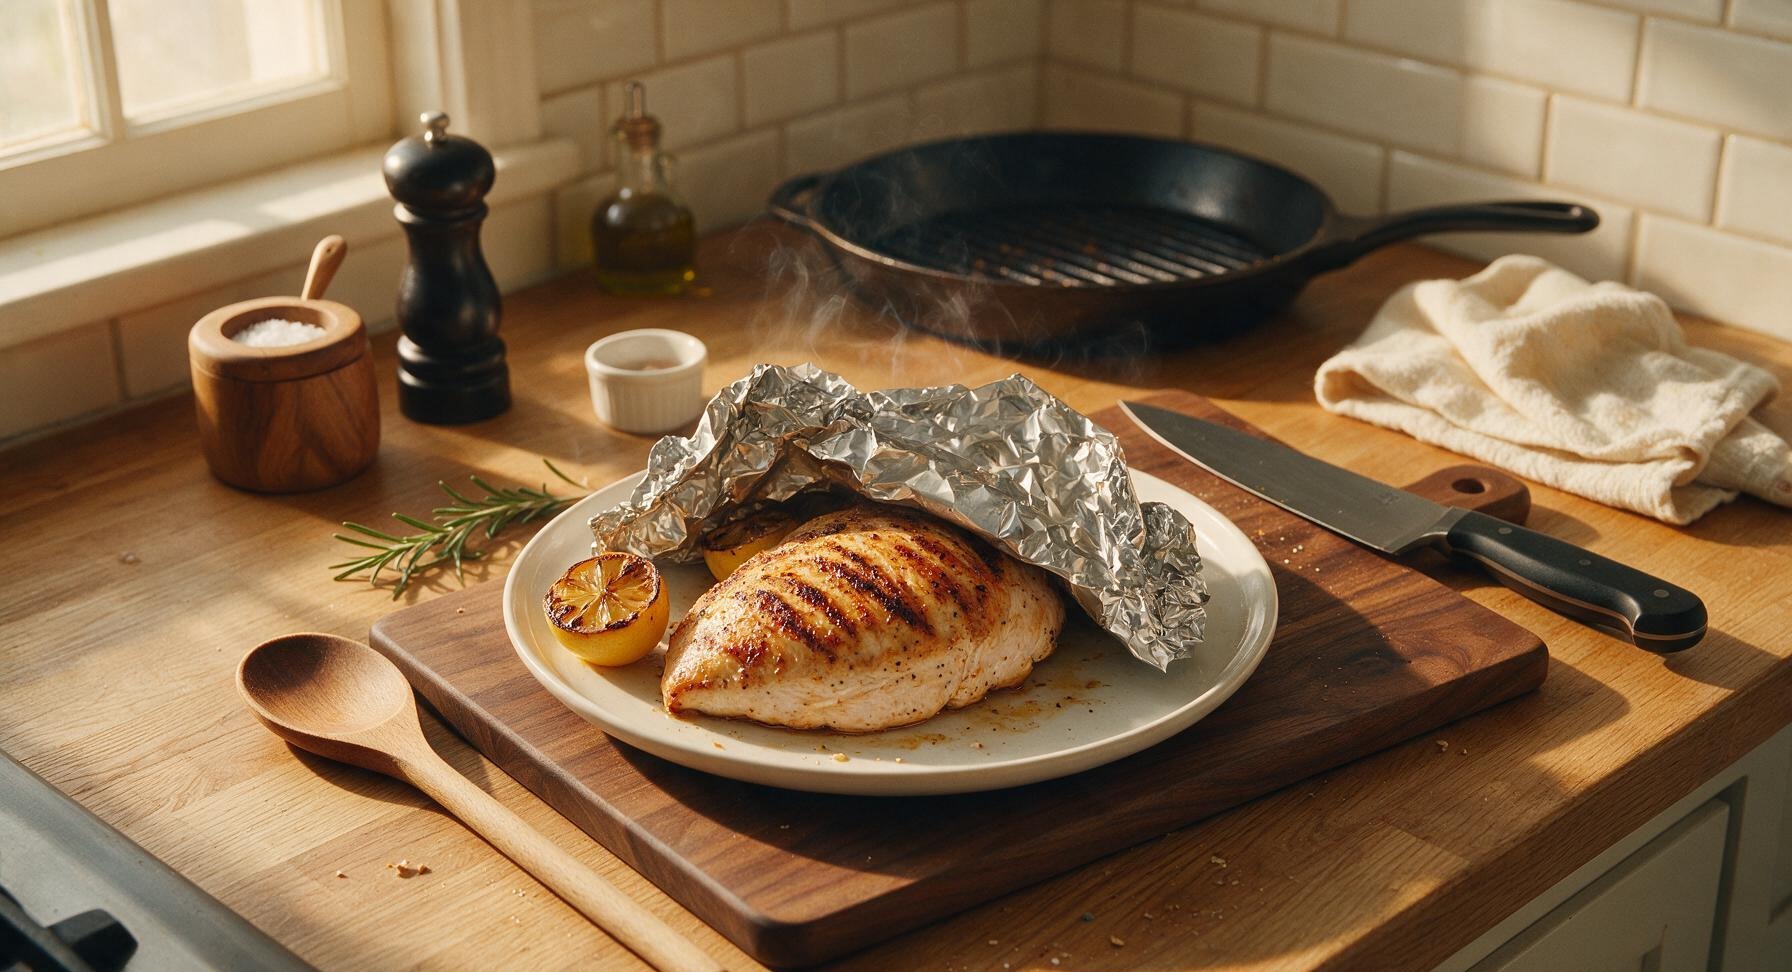
Slice and Serve Turkey
After resting, transfer the turkey back to the acacia cutting board. Use the chef’s knife to slice the breast against the grain into 1/2-inch thick slices. Arrange the slices fanned back on the same cream ceramic plate, squeeze a light amount of charred lemon juice over the top, and garnish with a fresh sprig of thyme. Serve immediately.
Tips
2.Remove the turkey from the grill when the thickest part reaches 150°F (66°C), not the often-cited 165°F (74°C). Carryover cooking will raise the internal temperature by 10°F as it rests, resulting in juicy, tender meat instead of dry, overcooked breast.
3.Let the turkey rest for a full 10 minutes after cooking before slicing. Cutting into hot meat immediately causes all the redistributed juices to run out onto the plate, leaving you with dry, tough turkey even if you cooked it perfectly.






OMG this was SO good! I made this for our Sunday family dinner last night and even my super picky 7 year old asked for seconds. 18 minutes cook time is no joke, it was done so fast and stayed perfectly juicy, no dry turkey here at all. Will be making this for our neighborhood potluck next weekend for sure!
Total game changer for my weekly meal prep! I used to dread making turkey breast because it always came out dry and rubbery, but this method turned out perfect every single time. I slice it up and toss it in salads, wraps, and grain bowls all week, saves me so much time on weeknights.
Pretty good for my first time ever grilling poultry! It was way easier than I thought, though I think I left mine on a tiny bit too long so the edges were a little crispier than I wanted. Still juicy in the middle though, will definitely set a timer next time like the recipe says.
Made this last night when I realized I had 20 minutes to get dinner on the table before my kid’s soccer practice. It was so fast, flavorful, and didn’t require a million fancy ingredients. Served it with roasted broccoli and rice, everyone cleaned their plates!
Wait, is there a way to make this on a cast iron grill pan if I don’t have an outdoor grill? I live in an apartment in the city and no patio space for a big grill, but I’ve been craving that grilled turkey flavor so bad.
Added a little extra cayenne and garlic powder to the rub and it slapped. 10/10, will be making this all summer long for cookouts. Way better than boring burgers and hot dogs if you ask me.
I tested this recipe ahead of my small July 4th gathering because I was tired of serving dry turkey at summer parties. It turned out so juicy that I’m skipping the usual brisket this year and making double batches of this! Can I marinate this the night before to save day-of time?
SO happy I found this recipe! It’s high protein, low effort, and doesn’t have any weird processed additives like the pre-made grilled turkey from the grocery store. I eat this almost every day for lunch post-workout and it never gets old.
It was fine, but I think I messed up the temperature on my grill because mine came out a little drier than the photos look. Flavor was good though, so I’ll give it another shot when I have time to calibrate my grill grates properly.
My whole family went crazy for this! I served it with my homemade peach barbecue sauce on the side for dipping, and it was chef’s kiss. Even my husband who swears turkey is “too dry” ate two full slices. Game. Changer.
Super easy recipe, quick question though – should I be using boneless skinless turkey breast for this, or bone-in? The recipe says turkey breast but I didn’t know if there was a specific cut I should grab from the store.
Made this for our tailgate before the big college football game last weekend and it was SO good! Everyone was asking for the recipe, and it held up great even after sitting in the cooler for a couple hours before we ate. 10/10, will be a tailgate staple from now on.
I was worried leftover grilled turkey would be dry when I reheated it for lunch the next day, but it was still so juicy! I wrapped it in a damp paper towel and microwaved it for 30 seconds, and it tasted just as good as it did fresh off the grill.
This is such a great allergy-friendly recipe! No dairy, no gluten, no nuts, so it works for almost everyone at our playgroup potlucks. I don’t have to worry about cross-contamination issues and all the kids love it, which is a total win for this mom.
Dude, this turkey breast slaps. Way cheaper than buying steak for cookouts, way juicier than the dried out turkey burgers I used to make. Threw a little pineapple on the grill next to it for a sweet side, chef’s kiss.