
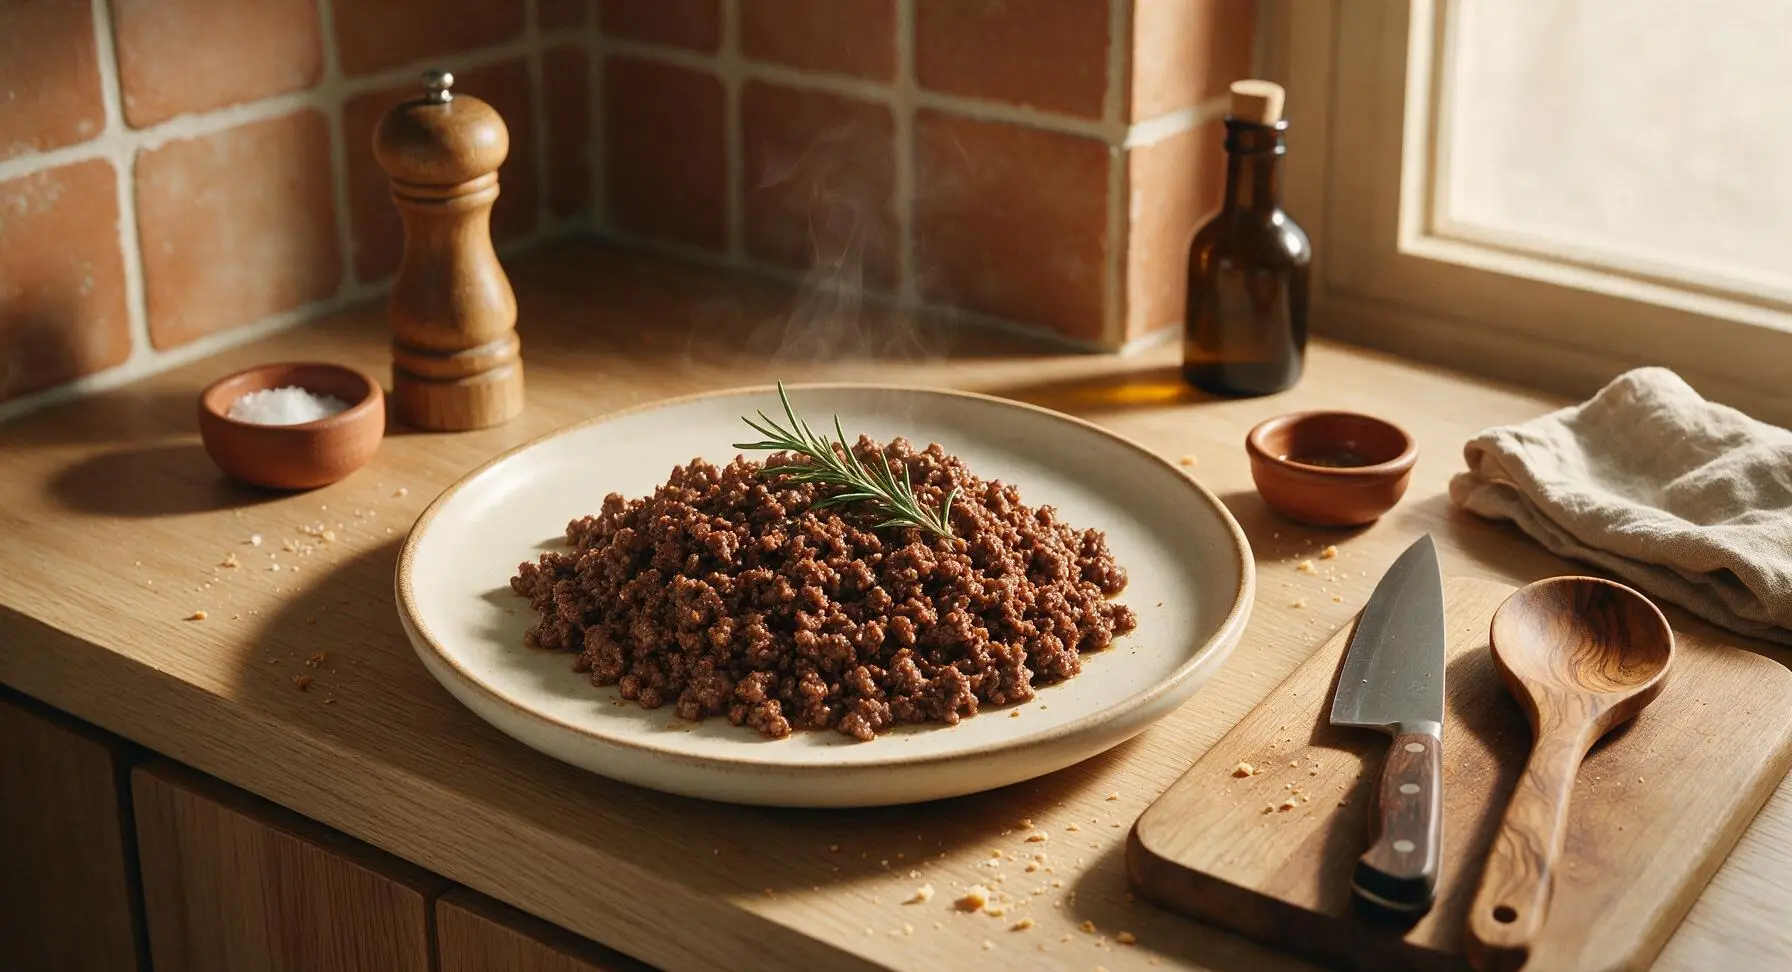
ground beef

title 1
ground beef
⏱️ cook time 15 minutes
🍽️ servings 4
⚡ Difficulty easy

intro

Juicy, deeply browned, perfectly seasoned crumbled ground beef—no mushy texture, no bland bites, the versatile weeknight staple ready for tacos, pasta, or bowls in 20 minutes.

Ingredients
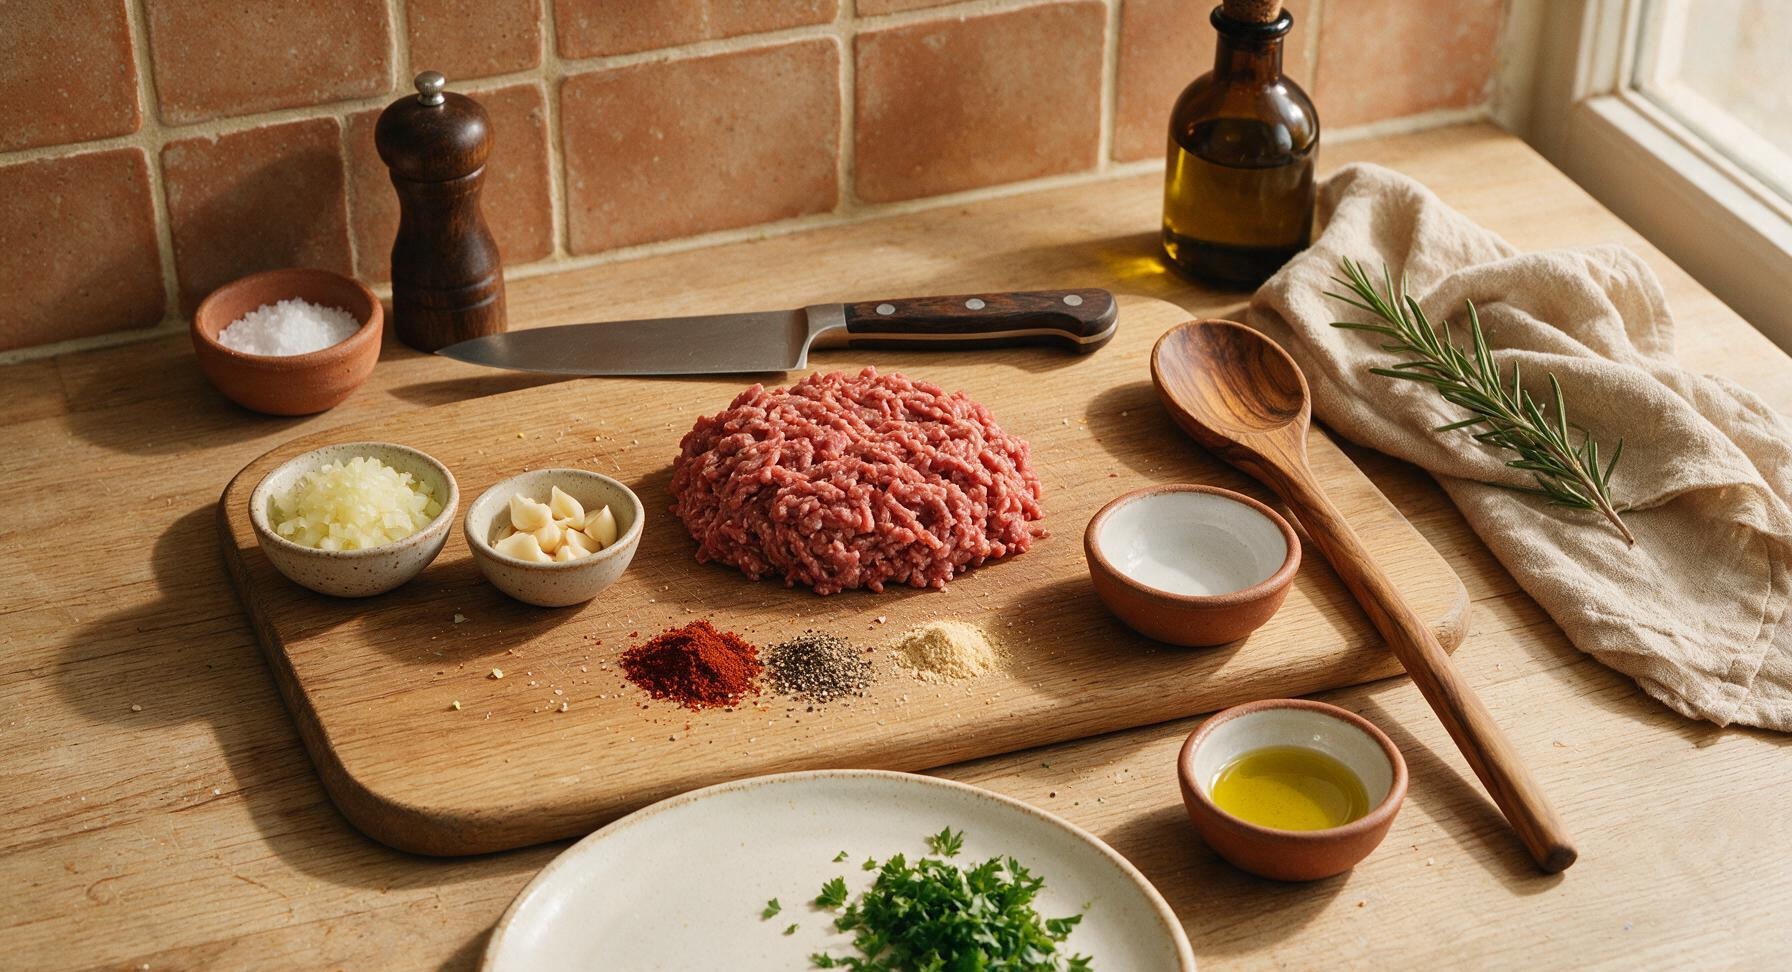
80/20 ground beef 450g (1lb)
Small yellow onion 1 (110g, finely diced)
Garlic cloves 3 (10g, minced)
Kosher salt 1 tsp
Freshly ground black pepper 1/2 tsp
Smoked paprika 1/2 tsp
Garlic powder 1/4 tsp
Extra-virgin olive oil 1 tsp
Fresh curly parsley 2 tbsp (chopped, for garnish)

Steps

1

Prep Aromatic Vegetables

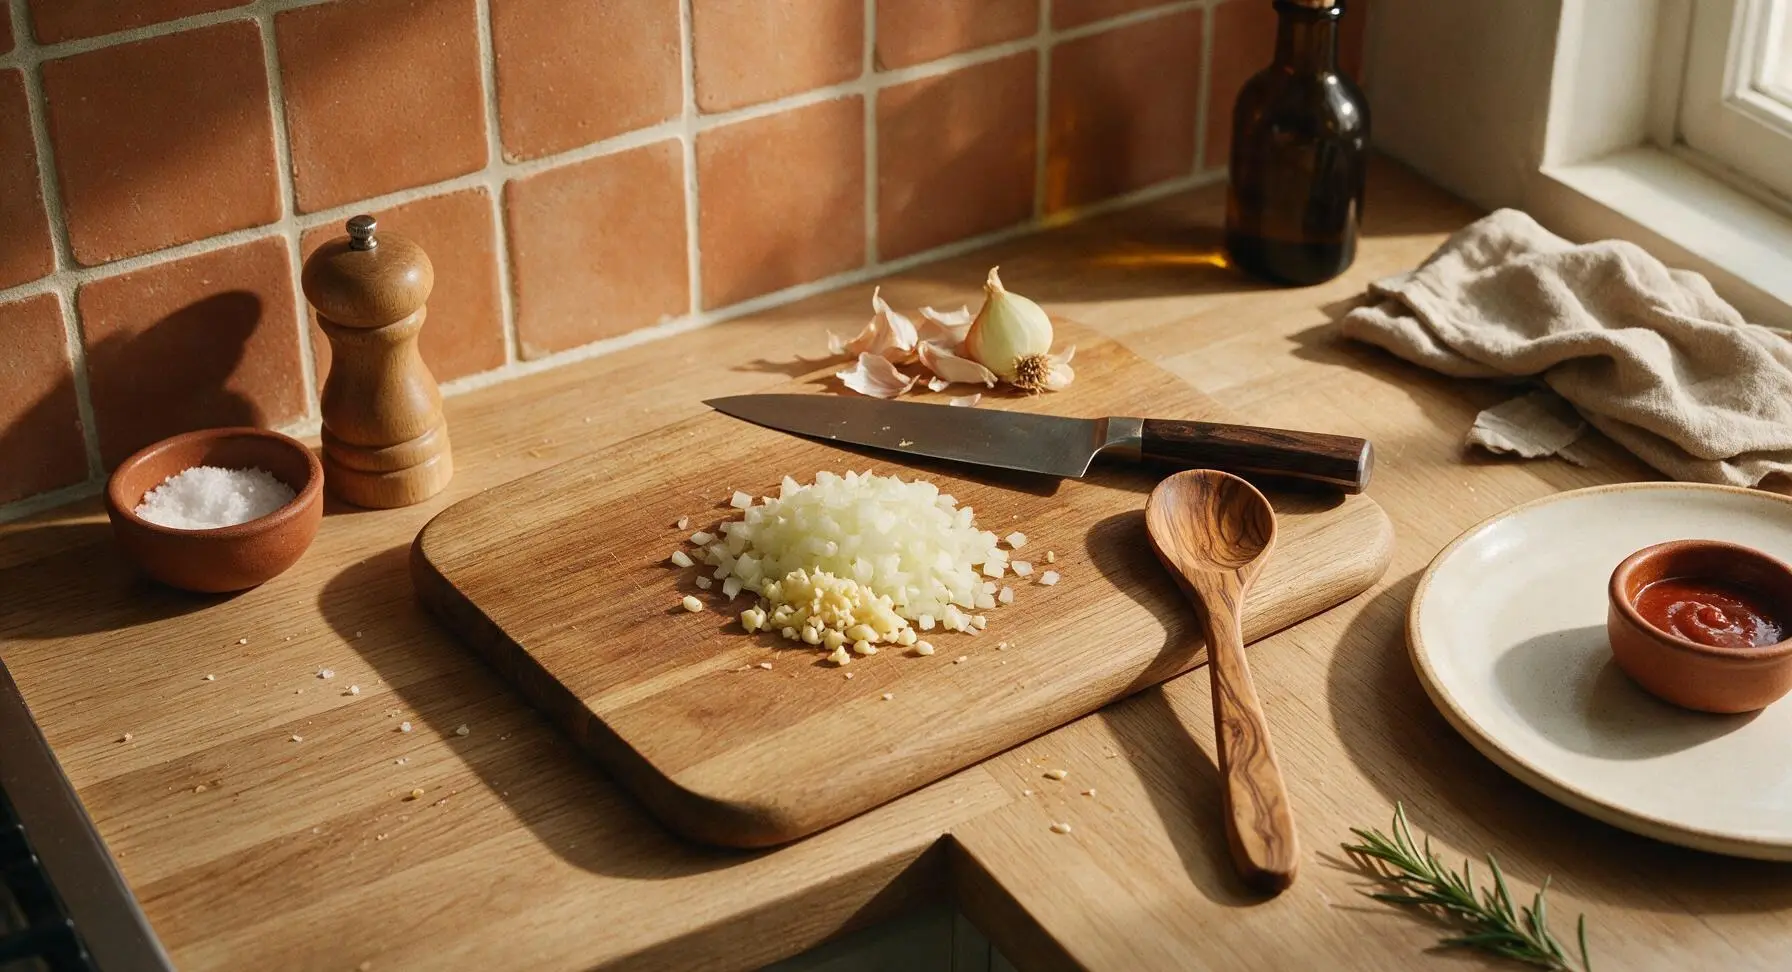
Place the light maple cutting board on the center of the prep area of the counter. Using the 8-inch stainless steel chef knife with walnut handle, finely dice the small yellow onion into uniform 1/4-inch pieces, and mince the 3 garlic cloves until fine, taking care not to crush the garlic into a paste. Set prepped aromatics in a small pile on the edge of the cutting board. Do not over-chop the garlic, as fine garlic paste burns quickly during cooking.
Step 1
step1:Prep Aromatic Vegetables
2

Preheat Carbon Steel Skillet

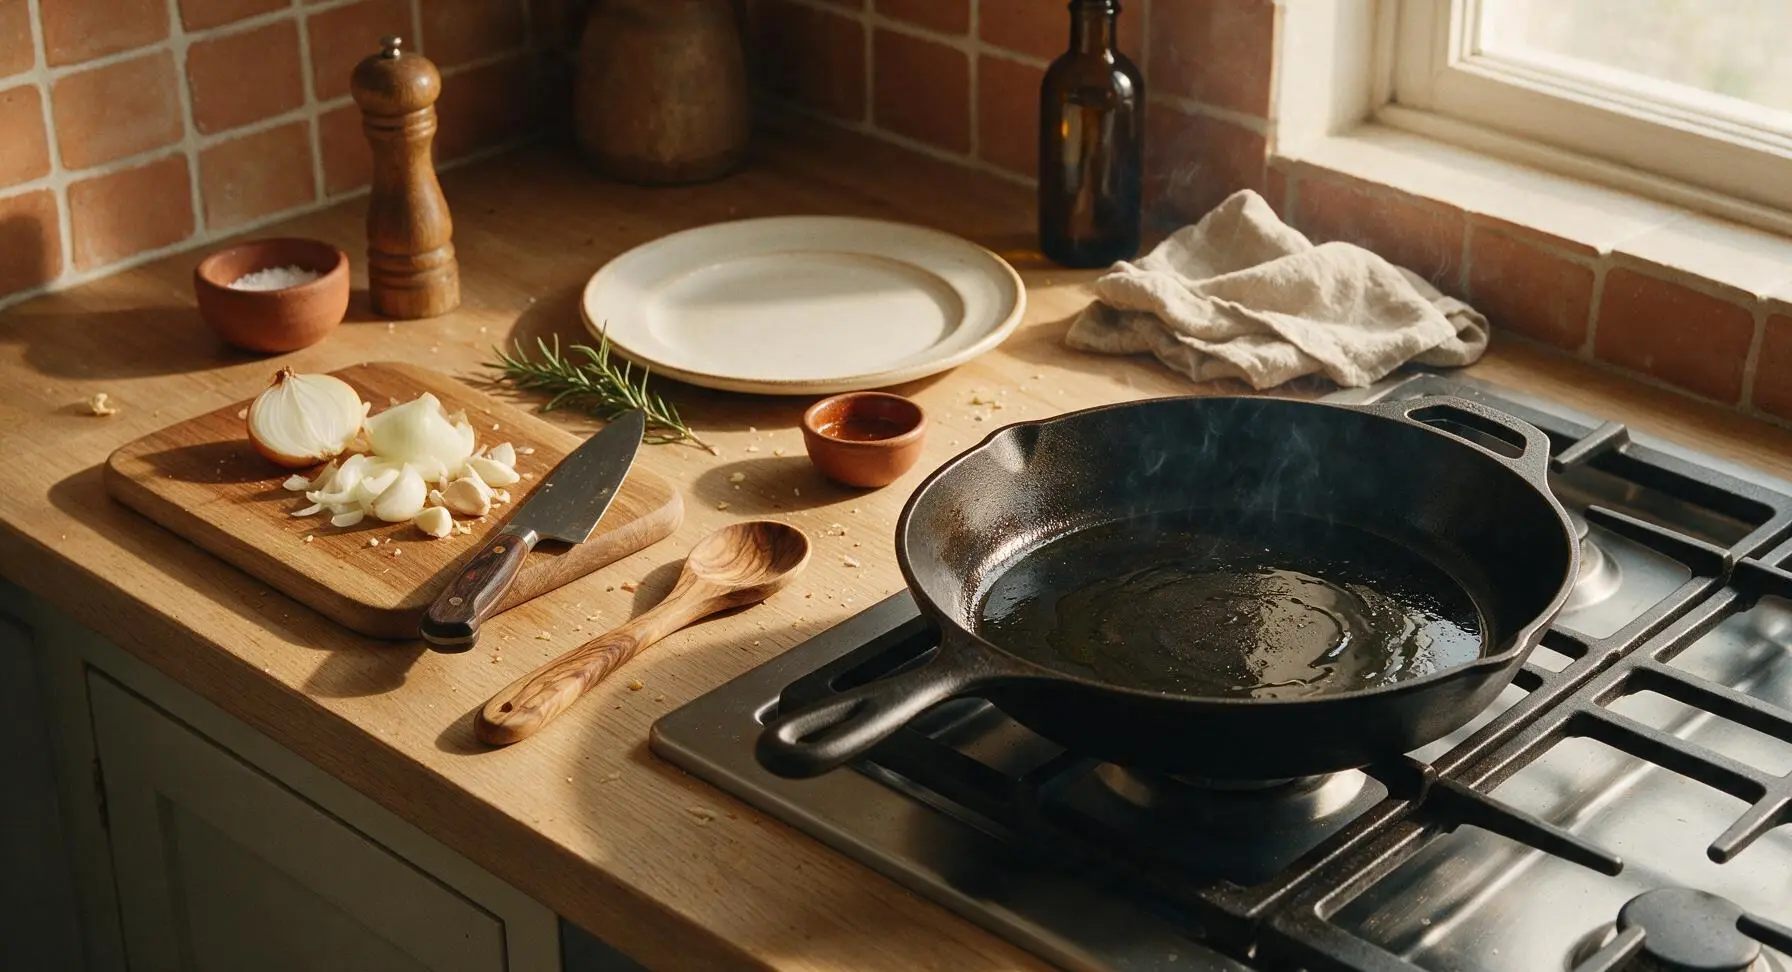
Place the 12-inch seasoned carbon steel skillet on the flush-mounted gas stovetop burner to the right of the prep area. Turn heat to medium-high, add 1 teaspoon of extra-virgin olive oil, and heat for 2 minutes until the oil shimmers across the pan surface and sends up a thin, faint wisp of smoke. Do not let the oil heat to a dark, smoking point, as this will create bitter, burnt flavors.
Step 2
step2:Preheat Carbon Steel Skillet
3

Sauté Onion and Garlic

Carefully slide the diced onion from the cutting board into the hot skillet, using the honey oak wooden mixing spoon to stir and coat all pieces in oil. Sauté for 3 minutes over medium heat until the onion turns soft and translucent, with faint pale golden edges along the cut sides. Add the minced garlic and cook for 30 seconds more, stirring constantly, until the garlic releases a warm, nutty aroma. Do not cook the garlic longer than 45 seconds, as it will turn sharp and bitter when burnt.
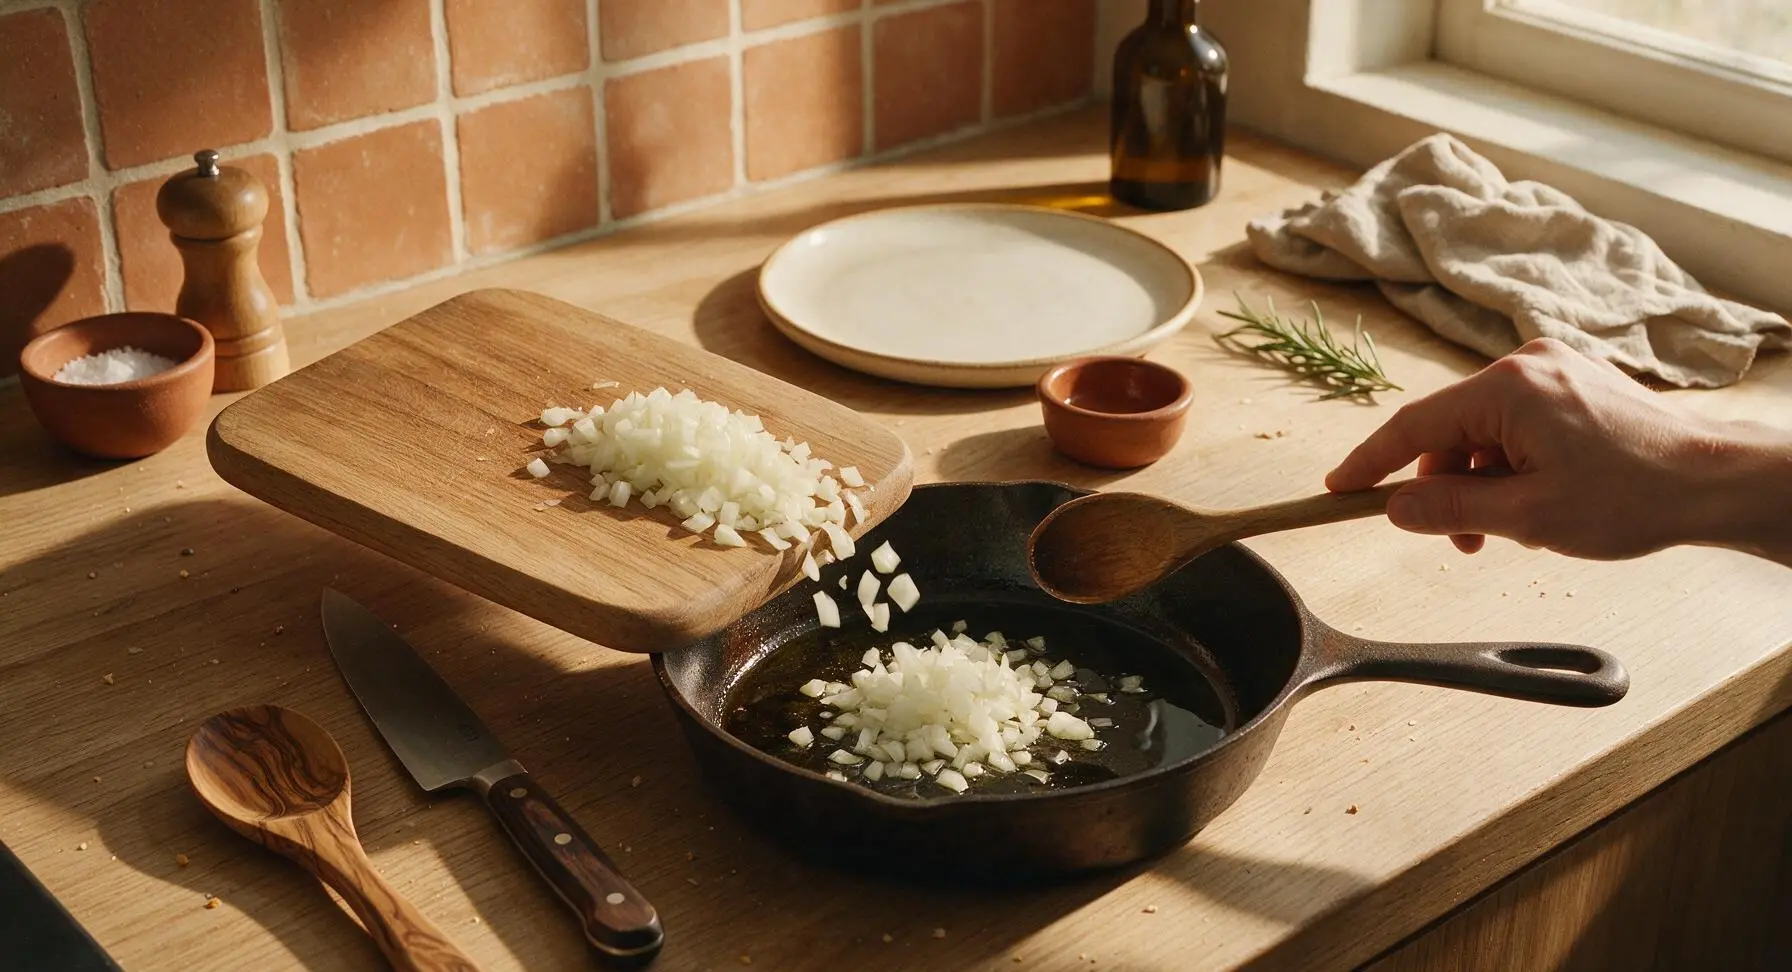
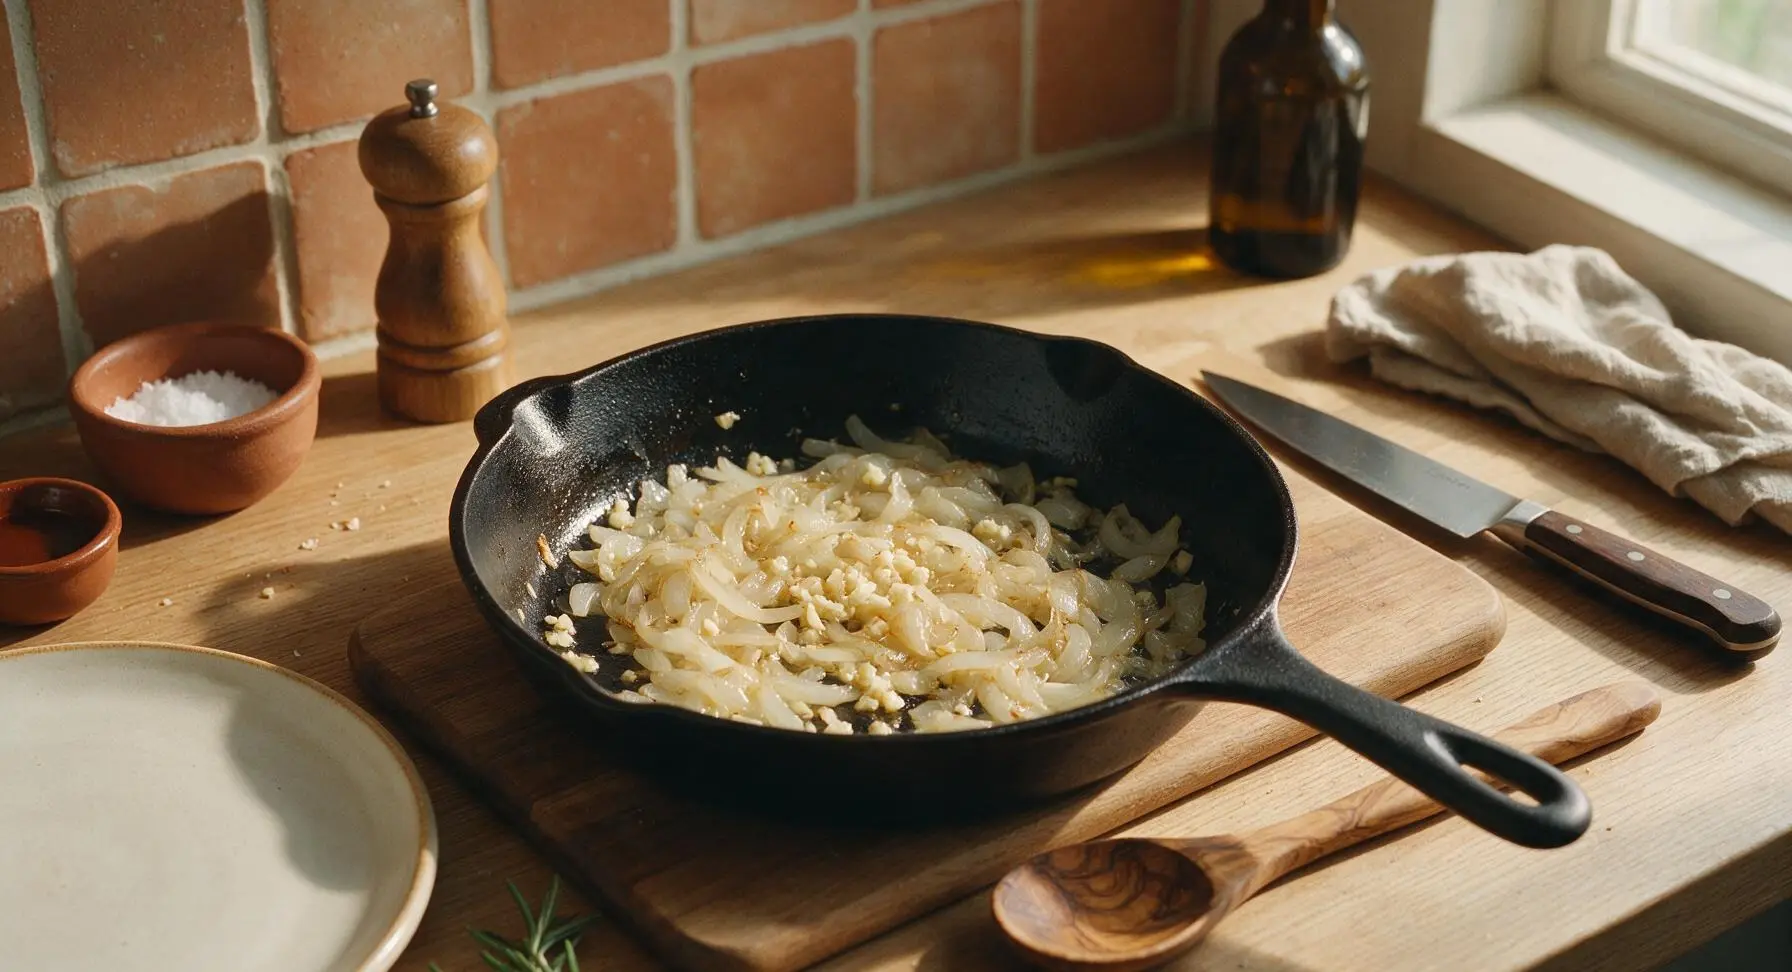
Step 3
step3:Sauté Onion and Garlic
Step 3
step3:Sauté Onion and Garlic
4

Brown Ground Beef Evenly

Crumble the 1lb of 80/20 ground beef directly into the skillet over the sautéed aromatics, breaking it into rough 1/2-inch chunks with the edge of the wooden mixing spoon. Let the beef cook completely undisturbed for 4 minutes over medium-high heat, until a deep, rich golden-brown crust forms on the layer of beef touching the pan. Resist the urge to stir constantly during this time, as constant movement traps steam and prevents the deep, caramelized browning that creates rich, savory flavor.
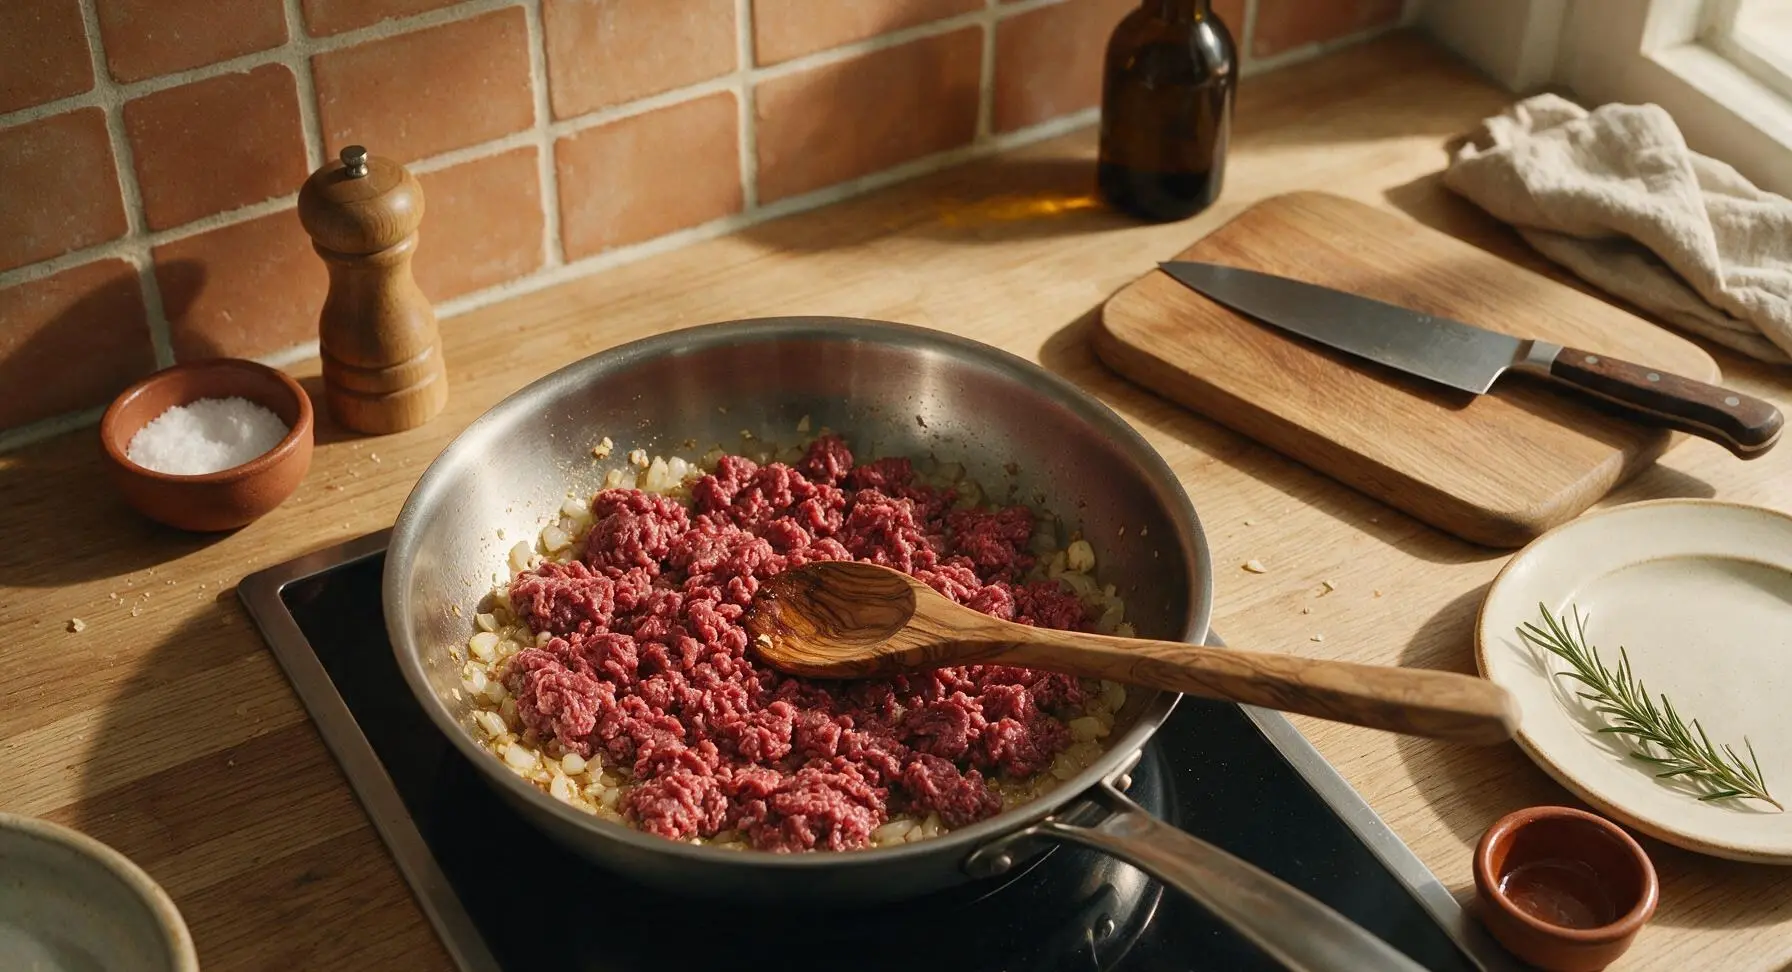
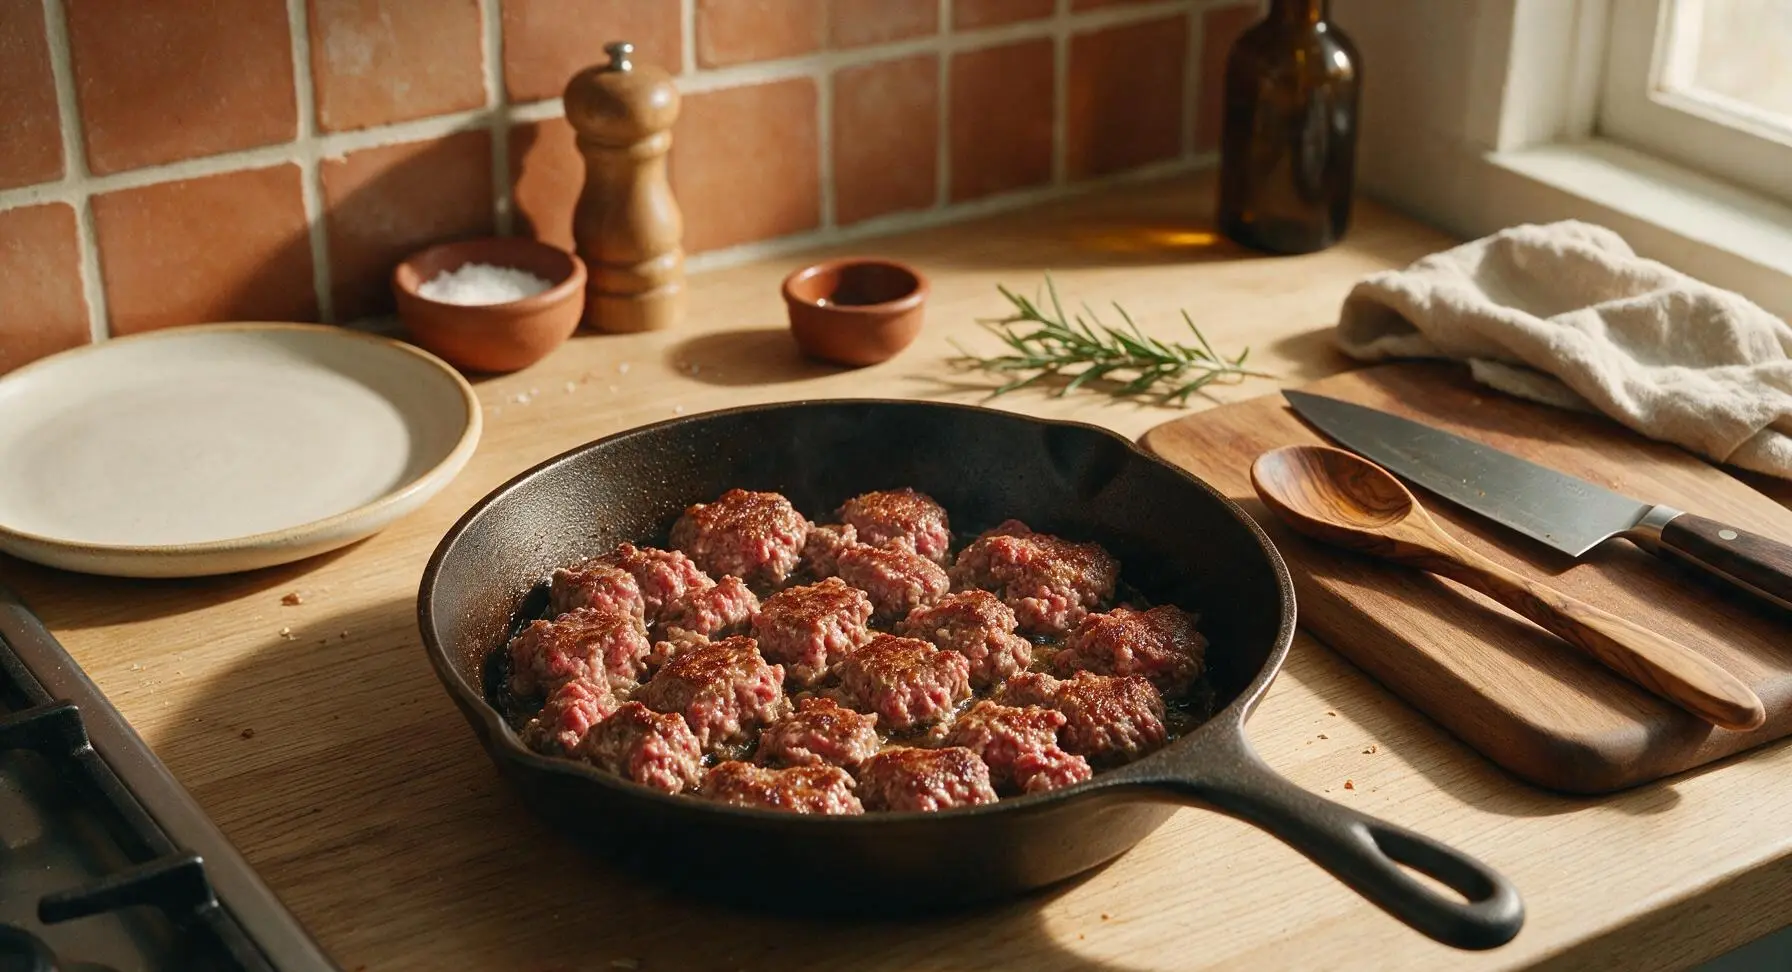
Step 4
step4:Brown Ground Beef Evenly
Step 4
step4:Brown Ground Beef Evenly
5

Season and Finish Cooking

Use the wooden spoon to flip the beef and break it into smaller, pea-sized crumbles as it finishes cooking. Sprinkle the seasonings (1 teaspoon kosher salt, 1/2 teaspoon freshly ground black pepper, 1/2 teaspoon smoked paprika, 1/4 teaspoon garlic powder) evenly across the surface of the beef. Stir to combine all ingredients fully, then cook for 3 more minutes until all beef is fully cooked (no pink remaining, internal temperature reaches 160°F / 71°C) and evenly coated in seasoning.
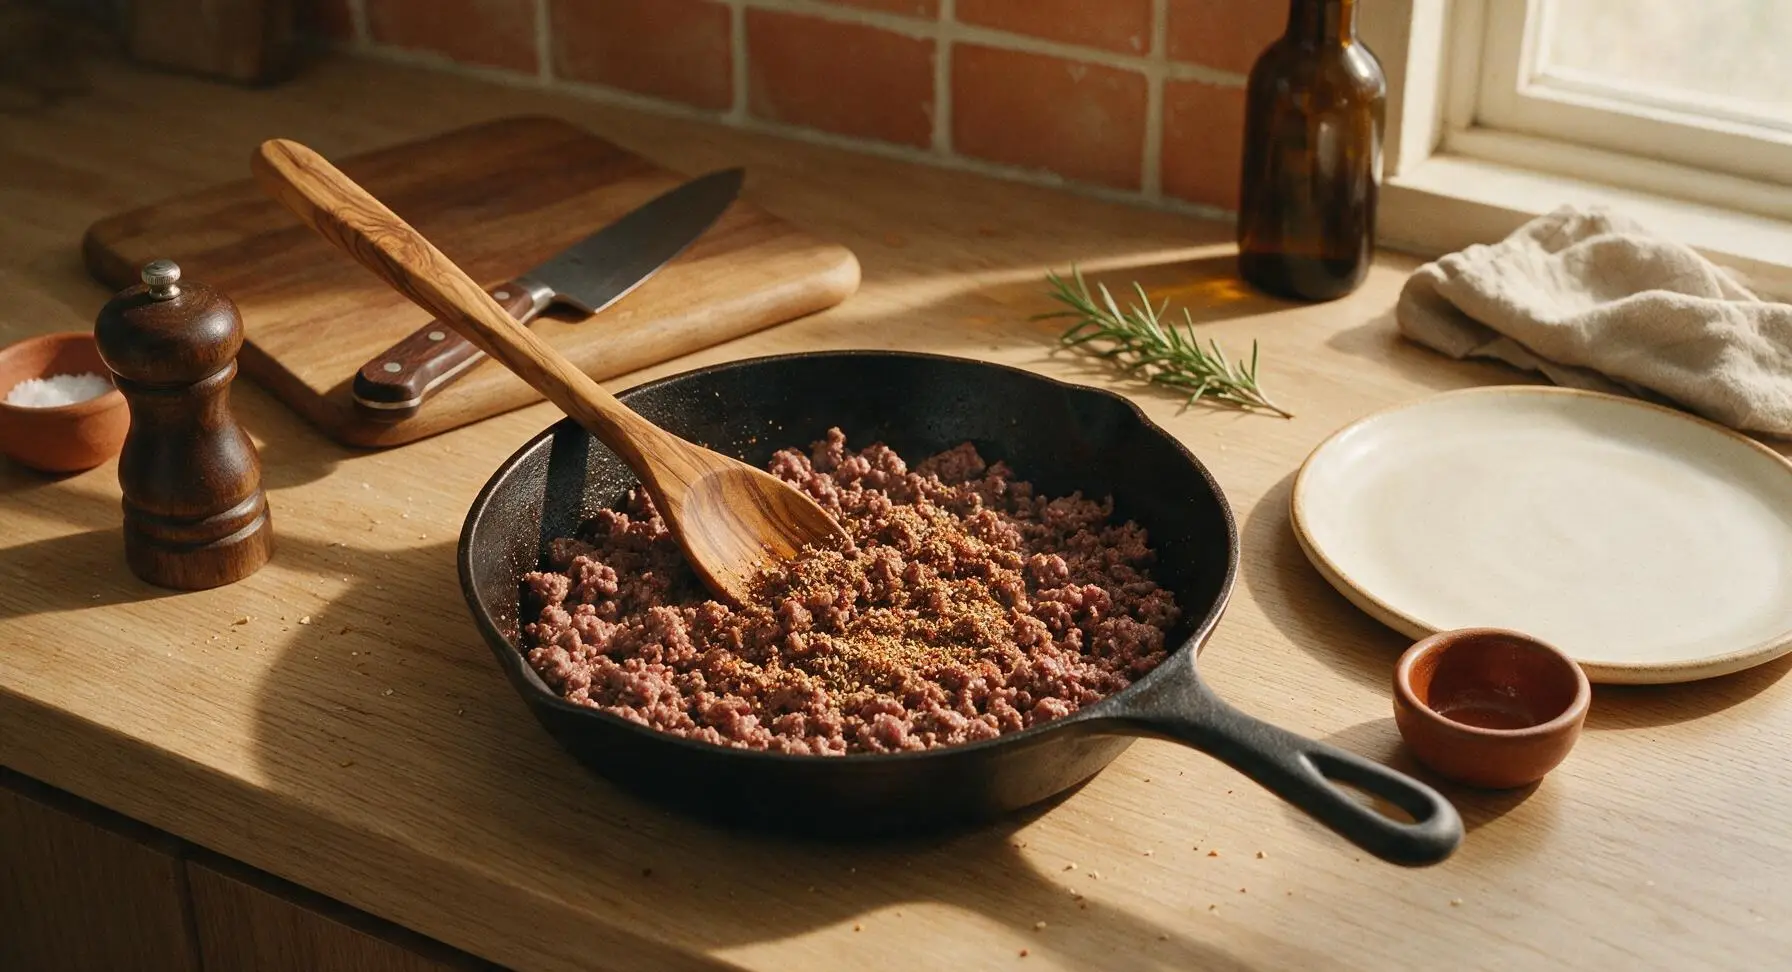
Step 5
step5:Season and Finish Cooking
6

Drain Excess Grease

Turn off the stovetop heat. Move the skillet slightly off the burner, then tilt it gently to let excess rendered golden fat pool at one edge of the pan. Hold the beef crumbles back with the slotted stainless steel turner as you pour the excess fat into the unglazed terracotta ramekin. Leave about 1 teaspoon of fat in the pan with the beef to keep crumbles moist; never rinse cooked beef under water, as this washes away flavorful browned bits and seasoning.
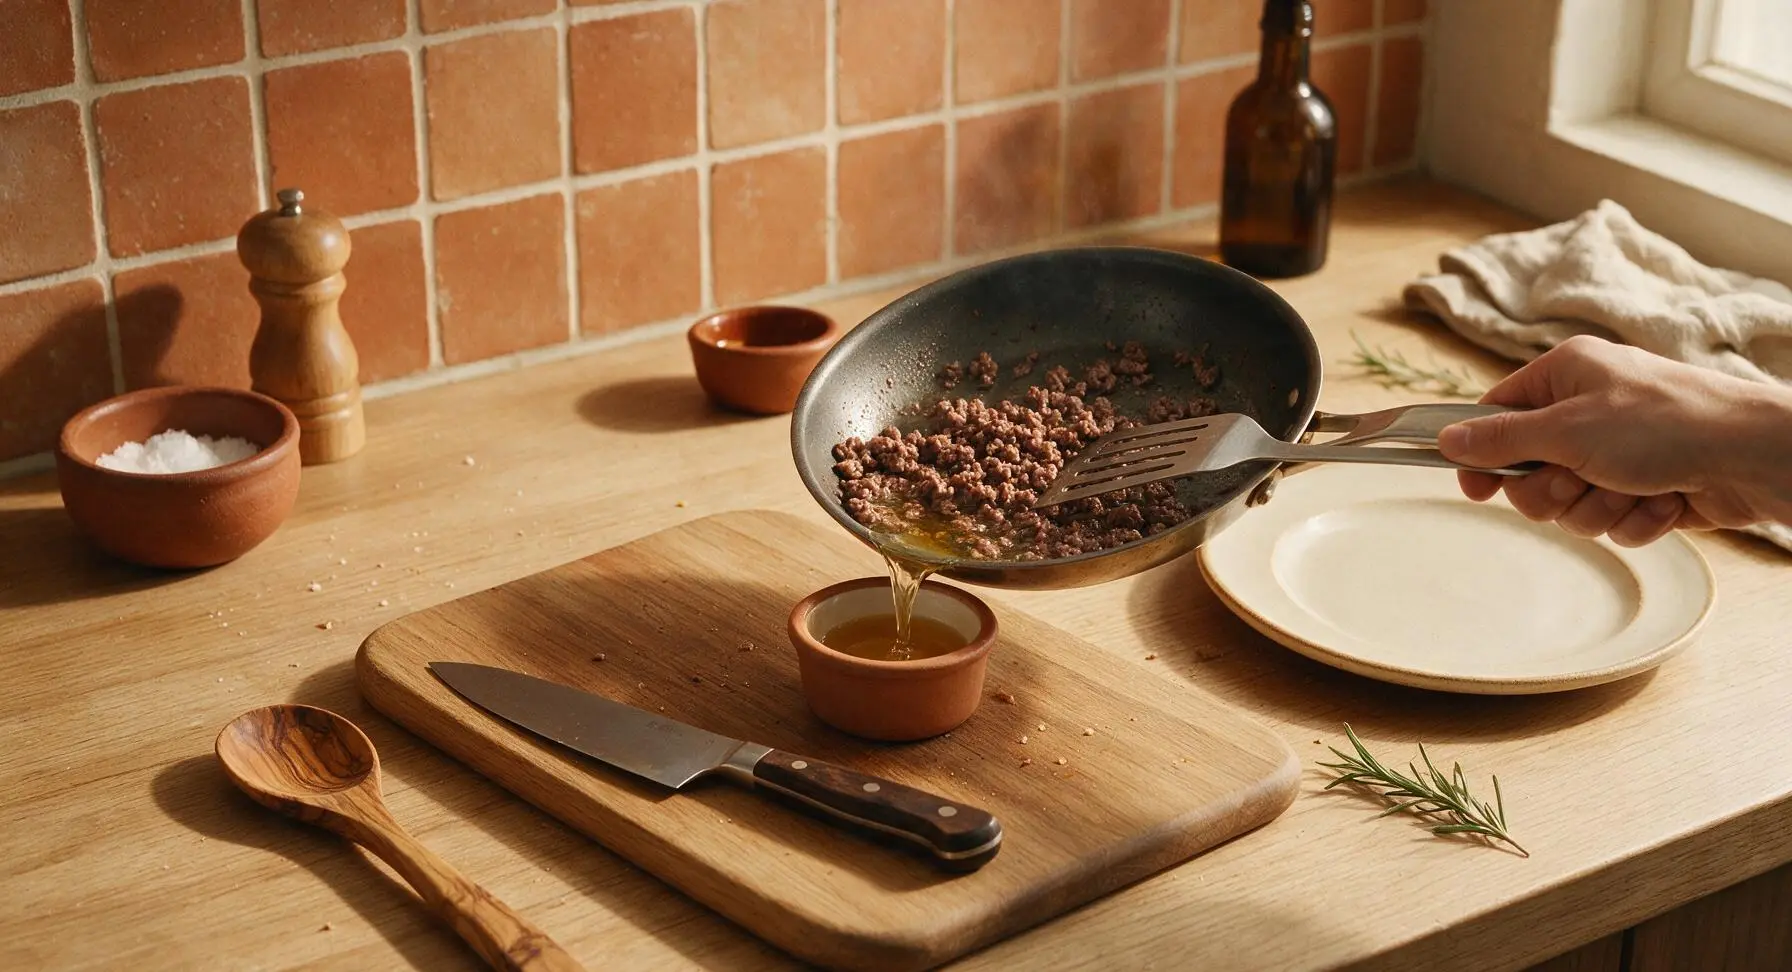
Step 6
step6:Drain Excess Grease
7

Plate and Garnish

Use the slotted turner to transfer the cooked, seasoned ground beef to the center of the matte warm off-white ceramic dinner plate, mounding it gently in a loose pile. Sprinkle the top with 2 tablespoons of finely chopped fresh curly parsley for bright color and fresh flavor. Let the beef rest 2 minutes before serving to let juices redistribute evenly through the crumbles.
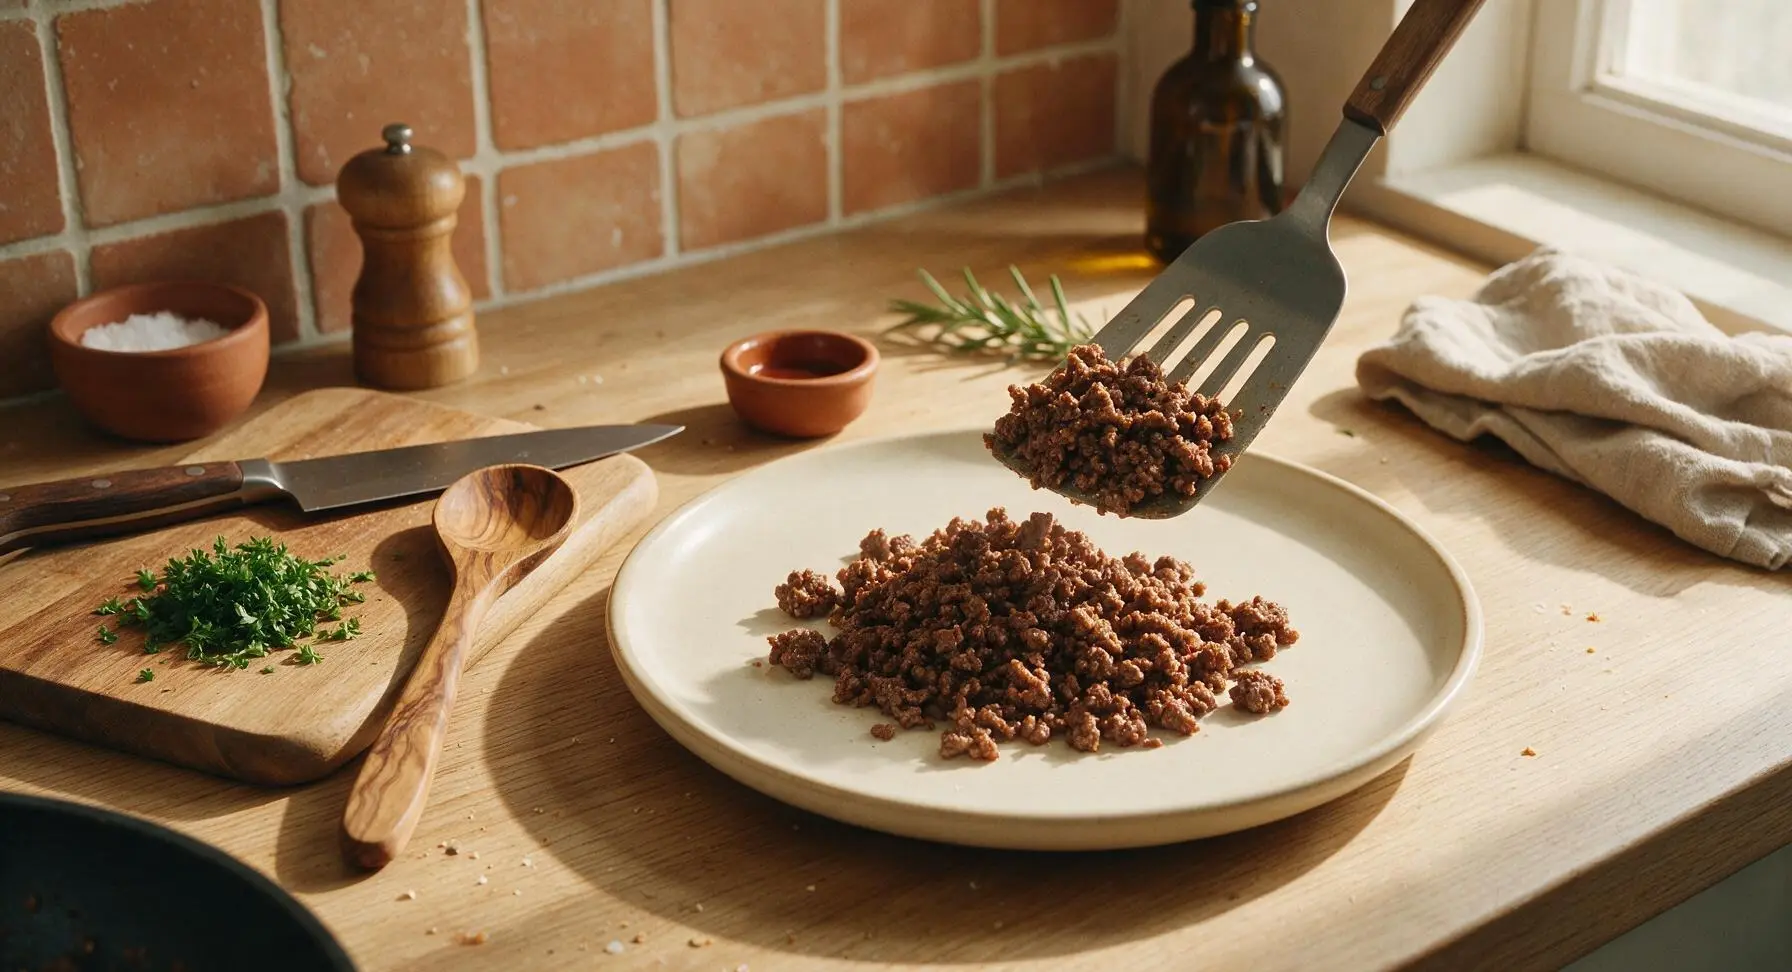
Step 7
step7:Plate and Garnish

Tips

1.Choose 80/20 ground chuck over leaner blends: the 20% fat ratio creates rich, caramelized browning without drying out, and you only need to drain a small amount of excess fat rather than adding extra oil to prevent sticking.
2.Let beef cook undisturbed for the full 4 minutes before stirring: constant stirring traps steam and breaks crumbles too early, leading to mushy, gray, flavorless beef instead of the crispy, caramelized browned bits that create deep, savory flavor.
3.Skip rinsing cooked beef after draining: pouring water over cooked beef washes away the flavorful browned crust and dissolved seasonings, leaving bland, watery crumbles. Pour excess fat into a heatproof ramekin to cool before discarding instead.


✨ You May Also Like

Main Course
🍜 United Kingdom

A showstopping classic of tender seared beef, savory mushroom duxelles, and crisp prosciutto wrapped in flaky golden puff pastry, baked to juicy perfection.

⏱️ 2 hours 1Main Course ★ 4.7
Main Course
🍜 India

Tender charred marinated chicken simmered in a rich, spiced creamy tomato sauce, this iconic Anglo-Indian curry pairs perfectly with basmati rice or warm naan.

⏱️ 50 minuteMain Course ★ 4.6
Main Course
🍜 Thailand

Classic tangy, sweet, and savory Thai stir-fried rice noodles with shrimp, tofu, and crunchy garnishes, balancing all five core Thai flavor profiles.

⏱️ 30 minuteMain Course ★ 4.5
Main Course
🍜 United Kingdom

Crispy golden beer-battered cod and fluffy double-fried chips, served with tangy tartar sauce and malt vinegar: the timeless, beloved British pub comfort classic.

⏱️ 45 minuteMain Course ★ 4.7
Main Course
🍜 Mexico

Smoky, chile-marinated pork tacos with caramelized pineapple, fresh cilantro, and lime: a beloved classic Mexican street food perfect for casual summer gatherings.

⏱️ 1 hour 45Main Course ★ 4.8
Main Course
🍜 United States

Crunchy Fritos corn chips layered with savory beef chili and melted cheddar, topped with cool, zesty fixings for a beloved, cozy Tex-Mex comfort food.

⏱️ 35 minuteMain Course ★ 4.8

ground beef:Frequently Asked Questions

1.Why do you recommend 80/20 ground beef instead of leaner blends? ▾
That 20% fat ratio is the sweet spot for juicy, well-browned crumbles with zero dry, chalky bites. The rendered fat eliminates the need for extra cooking oil, carries seasoning evenly, and helps build that deep, savory Maillard crust you can’t get from ultra-lean 90/10 blends, which turn tough and bland even with heavy seasoning. You can always drain a tiny bit of excess fat at the end if preferred.
2.Can I swap the ground beef for ground turkey or chicken? ▾
Absolutely, just make two small tweaks for great results. Stick to 93/7 ground dark meat turkey or chicken, as white meat blends will dry out quickly and lack depth. Add 1 teaspoon of neutral oil to the pan before cooking, and bump up the salt by a small pinch, since poultry has a milder flavor that needs a little extra boost to match beef’s savoriness.
3.How do I avoid mushy, steamed ground beef instead of crispy, deeply browned crumbles? ▾
The #1 mistake here is overcrowding the pan and stirring too early. Make sure your pan is preheated over medium-high heat before adding beef, spread it in a thin even layer, and let it sit undisturbed for 3-4 minutes to form a crust before breaking it up. Don’t cover the pan, as trapped steam will turn crumbles soft and mushy.
4.When should I add the onion and garlic so they don’t burn or turn bitter? ▾
Add your diced small yellow onion right after you break up the initially seared beef, about 4 minutes into cooking. The onion will soften and caramelize slightly in the rendered beef fat as the beef finishes cooking. Add minced garlic only during the last 60 seconds of cooking, since it burns in as little as 2 minutes over high heat and turns bitter fast.
5.How much kosher salt should I use, and when is the best time to add it? ▾
For 1 pound of 80/20 ground beef, use 1 teaspoon of Diamond Crystal kosher salt (or ½ teaspoon of Morton’s kosher salt, since it’s far denser). Add half the salt right when you add the beef to the pan to draw out moisture for better browning, and add the remaining half, plus freshly ground black pepper, at the very end to adjust seasoning to your taste.
6.Do I need to drain all the rendered fat after cooking the beef? ▾
It’s totally a personal preference, but I recommend draining only 1 to 2 teaspoons of excess rendered fat at most for 1 pound of beef. That remaining fat is packed with beefy flavor, helps keep crumbles moist, and carries all the onion, garlic, and seasoning so every bite is evenly flavored. Skip draining entirely if you’re using this beef for tacos or hearty pasta sauces.
7.What size should I aim for when breaking up the beef crumbles as it cooks? ▾
Aim for ¼-inch to ½-inch irregular crumbles as you break the seared beef apart with a stiff spatula or wooden spoon. Avoid mashing the beef into super fine, paste-like bits, which get dry and crumbly, or leaving huge 1-inch+ chunks, which won’t cook evenly or hold seasoning consistently across every bite.
8.Can I add extra seasonings beyond salt and pepper for specific meals? ▾
Absolutely! This base recipe is intentionally neutral to work for any weeknight meal, so you can customize it easily. Add taco seasoning and a squeeze of lime for taco night, toss in Italian seasoning and a splash of tomato paste for pasta sauces, or add smoked paprika and cumin for grain bowls. Add dry spices when you add the garlic so they bloom in the hot rendered fat.
9.How do I know when the ground beef is fully cooked and safe to eat? ▾
The beef is done when there are no visible pink bits left, the crumbles are deep golden brown on the edges, and the internal temperature hits 160°F as measured with an instant-read thermometer. For 80/20 beef over medium-high heat, this usually takes 8 to 10 minutes total, so you won’t need to cook it so long that it turns tough and dry.
10.Why does my ground beef always taste bland even when I add salt? ▾
Bland ground beef almost always comes from three common mistakes: adding salt too late so it doesn’t penetrate the meat, not letting the beef brown properly to build deep savory flavor, or using fine table salt which is easy to overpour and hard to distribute evenly. Cooking onion and garlic in the rendered fat also infuses every crumble with layered flavor you can’t get from top-down seasoning.
11.What type of pan works best for cooking this ground beef? ▾
A heavy-bottomed stainless steel skillet or cast iron pan works best, because they hold even high heat and help build that perfect crispy crust on the beef crumbles. Nonstick pans work too, but they don’t brown quite as deeply, so you’ll want to turn the heat up a touch and give the beef an extra minute or two of undisturbed searing to make up for it.
12.Can I make this ground beef ahead of time for meal prep? ▾
Absolutely, this is one of the most versatile meal prep staples out there. Let the cooked, cooled beef store in an airtight container in the fridge for up to 4 days, or freeze it in labeled zip-top bags for up to 3 months. Reheat it in a skillet over medium heat for 2 to 3 minutes, adding a tiny splash of water if it feels a little dry after storing.
13.Should I rinse my cooked ground beef under water to cut down on fat? ▾
Skip rinsing cooked ground beef entirely! Rinsing under hot water washes away all the flavorful rendered fat, the browned savory bits stuck to the crumbles, and most of the salt and seasoning you added, leaving you with bland, watery beef. If you want less fat, simply drain a small amount from the pan instead of rinsing.
14.Can I cook this ground beef straight from frozen if I forget to thaw it? ▾
You can, with one small adjustment. Place the frozen block of ground beef in the preheated pan, and cook it over medium heat, scraping off the browned outer layer as it thaws every 2 to 3 minutes until all the beef is broken into crumbles. Add 2 extra minutes of total cook time to make sure it hits a safe 160°F internal temp, then season as normal.
15.My garlic always turns bitter when I cook it with ground beef—what am I doing wrong? ▾
You’re almost certainly adding the garlic too early! Garlic has high natural sugar content, so it burns and turns bitter in 1 to 2 minutes over the medium-high heat you need to brown beef properly. Wait until the beef is fully browned and the onion is soft, then stir in minced garlic and cook for just 60 seconds until fragrant before pulling the pan off the heat.
16.Do I need to add cooking oil to the pan before cooking 80/20 ground beef? ▾
You don’t need any extra oil for 80/20 ground beef! As the pan preheats and the beef starts to cook, that 20% fat content will render out quickly, creating enough natural lubrication to prevent sticking and help the crumbles brown evenly. Adding extra oil will just make the final beef overly greasy, and can prevent that nice crisp crust from forming on the crumbles.
17.What’s the best way to break up ground beef into even crumbles without mashing it? ▾
Use a stiff flat-edged wooden spatula or dedicated meat chopper to press and split the seared slab of beef after its initial 4 minutes of undisturbed cooking. Don’t press down hard on the beef while it first sears, as that squeezes out all the juicy moisture, and work slowly to split clumps into even, bite-sized crumbles as it finishes cooking through.

Comments (19)

2 days ago

OMG this seasoned ground beef is a total game changer for my weekly meal prep! I used to just dump a packet of taco seasoning and call it a day, but this blend of spices makes it taste so much fresher. My kids even asked for seconds when I used it for taco night last night — that never happens! 😂

yesterday

Right?! I used to do the store-bought packet stuff too and it always tastes so salty now compared to this. I added a tiny pinch of smoked paprika extra and it was chef’s kiss!

yesterday

So glad your kids loved it, Mia! That extra smoked paprika trick from TacoLover92 is such a great call — it adds such a nice depth of flavor without overpowering the beef.

1 week ago

15 minute cook time? Sign me up! I make a big batch of this every Sunday to use in bowls, burritos, and sloppy joes throughout the week. The seasoning is perfectly balanced — not too salty, not too bland, just right. No more sad desk lunches for me!

5 days ago

Love that you’re using this for weekly meal prep, Jake! It holds up so well in the fridge for 3-4 days, which makes it perfect for quick weeknight meals too.

3 days ago

Brought this ground beef to my neighborhood potluck last weekend to make sliders, and people kept asking me for the recipe! Only reason I’m not giving 5 stars is I wish it had a little note about draining the fat properly — I forgot and my sliders were a little greasy at first. Otherwise, SO good!

yesterday

As a single dad with two super picky eaters, I’m always looking for fast, easy dinners that don’t require a million ingredients. This was a hit! We used it for spaghetti sauce last night and my 7 year old said it was ‘the best pasta ever.’ Total win over here.

2 hours ago

I feel this! My grandkids are the same way, they turn their nose up at everything but they gobbled this up when I made it for nachos last week. Gotta love recipes that please the picky crew!

5 days ago

This was solid, but I felt like it needed a little more heat for my taste. I ended up adding a teaspoon of cayenne and a dash of hot sauce while it was cooking, which kicked it up perfectly. Maybe add a note about adjusting spice level for people who like it hotter?

3 days ago

Same! I threw in some diced jalapeño with the onions when I browned the beef and it gave it exactly the kick I was craving. The base seasoning is great though, super easy to customize.

2 days ago

Great feedback, Liz! I’ll add a note to the recipe about optional add-ins for heat — cayenne, jalapeños, or a dash of your favorite hot sauce all work beautifully to customize this to your taste preferences.

just now

Bro I’m a broke college student with literally zero cooking skills and I nailed this first try. Used 90/10 ground beef, followed the seasoning measurements exactly, and it tasted way better than the dining hall tacos. 10/10 will make again when I’m sick of ramen.

2 weeks ago

I’ve made this four times already! It’s so versatile — I’ve used it for stuffed bell peppers, taco salad, and even mixed it into my breakfast hash with eggs and potatoes. The seasoning works for literally every ground beef dish I make now.

1 week ago

That’s so creative, Rae! Using it in breakfast hash is such a smart idea — I’m definitely going to have to try that myself this weekend.

3 days ago

So happy I found this! So many pre-made seasoning blends have hidden gluten, so making my own with this recipe means I don’t have to stress about cross-contamination. It’s so quick to throw the spices together, and the flavor is out of this world. My whole family loved it, even my gluten-eating husband!

2 days ago

Fellow gluten free cook here! I was just stressing about finding a taco beef recipe that doesn’t use those sketchy seasoning packets, this is perfect. Thanks for sharing that it works for GF diets!

2 days ago

So glad this works for your gluten free needs, Gina! All the spices used here are naturally gluten free (just double check your individual spice jars to make sure they’re processed in a GF facility if you have severe allergies!)

1 week ago

Great base recipe! I cooked mine in a cast iron pan to get a little extra crispy char on the beef, which took it to the next level. My only tip is to make sure you don’t overcrowd the pan, otherwise the beef steams instead of browning properly.

5 days ago

YES to the cast iron tip! I did the same thing and got those little crispy bits that make ground beef taste so much better. Overcrowding the pan is such a common mistake, glad you mentioned that!

3 days ago

Awesome tip, Dave! Cast iron is perfect for getting that nice maillard reaction on the beef, and you’re so right about not overcrowding the pan — if your pan is too small, cook the beef in two batches for best results.

30 minutes ago

I mixed in some diced bell peppers, onions, and shredded zucchini while cooking this to sneak extra veggies in for my toddler, and the seasoning was so flavorful she didn’t even notice! She ate a whole taco full of it without picking out the veggies. Mom win for sure!

2 hours ago

Just made this with the random pound of ground beef I had in the back of my fridge that I forgot about, and it turned out amazing! I’m going to toss the leftovers with some mac and cheese tonight for a quick homemade hamburger helper situation. So excited.

30 minutes ago

Oh my gosh the hamburger helper hack is genius! I have leftover beef from last night and a box of mac in the pantry, I’m totally doing that for dinner tonight. Thanks for the idea!

2 weeks ago

This was the first thing I ever cooked for my new boyfriend, and he raved about it so much he asked me to make it again for his roommate this weekend! I was so nervous I’d mess it up, but the instructions are so simple even a total beginner like me could follow them. Thank you for making easy, no-fuss recipes!

1 week ago

Aww that’s so sweet! I made this for my partner’s birthday dinner (we did a taco bar) and he still talks about it three weeks later. The recipe is foolproof for sure.

1 week ago

That makes me so happy to hear, Nora! This recipe is totally beginner-friendly, so it’s perfect for impressing people without a ton of work. Hope the roommate loves it too!

5 days ago

Made a triple batch of this for my tailgate last weekend, served it with tortilla chips, queso, and all the taco toppings. People were lined up to get a plate! Way easier than grilling burgers for 20 people, and everyone kept saying how flavorful the beef was. Will be my go-to tailgate recipe from now on.

yesterday

Perfect for my low carb lifestyle! I served this over a bed of lettuce with sour cream, cheese, and guac for a taco bowl that tasted exactly like the fast food version but way healthier and lower carb. No weird added sugars or fillers, just good seasoned beef. 10/10.

2 hours ago

So glad this fits your low carb needs, Lori! No added sugars or weird fillers is exactly what we were going for with this seasoning blend — all flavor, no junk.

1 week ago

Really good recipe! I upped the garlic to three cloves instead of one because I’m obsessed with garlic, and it was perfect for me. The only reason I knocked a star off is I wish the recipe noted what fat percentage of ground beef works best — I used 80/20 and it was a little too fatty for my taste, next time I’ll grab 90/10.

5 days ago

I used 80/20 too but I just drained it really well after browning and blotted it with a paper towel, got rid of all the extra grease no problem! The extra fat does help it brown nicer in my opinion.

3 days ago

Thanks for the feedback, Marco! I recommend 90/10 lean ground beef for this recipe if you prefer less fat, but as Hank mentioned, draining and blotting 80/20 works great too — I’ll add that note to the recipe soon!

2 days ago

Made this for our weekly Sunday family dinner, used it to make sloppy joes for my husband, parents, and three kids. Everyone cleared their plates! My mom even asked for the recipe to make at her bridge club next week. That’s the highest compliment I can get, honestly.

3 days ago

This is such a budget-friendly meal! Ground beef is on sale at my grocery store this week for $3.99 a pound, and all the spices are stuff I already have in my pantry. No fancy ingredients, no fancy equipment, just cheap, delicious food that feeds a crowd. Obsessed.

2 days ago

Love that this is budget-friendly for you, Kai! We intentionally developed this recipe to use pantry staple spices so you don’t have to buy any fancy, expensive ingredients to make a great meal.

2 weeks ago

I froze half of the batch I made after cooking, and it reheated perfectly in the microwave two weeks later! It didn’t get mushy or weird at all, which is perfect for those nights I don’t have time to cook at all. Game changer for my freezer stash.

1 week ago

Thanks for sharing that it freezes well! I’ve been looking for more freezer-friendly meals to stock up on before my baby arrives next month, this is going on the list immediately!

5 minutes ago

Solid ground beef recipe! I added a couple spoonfuls of my favorite chipotle salsa to the pan while it was simmering, and it gave it such a nice smoky, spicy kick. Cooked up perfectly in 15 minutes just like the recipe said, no issues at all. Will make again.



