
ground beef and rice

title 1
ground beef and rice
⏱️ cook time 25 minutes
🍽️ servings 4
⚡ Difficulty easy

intro

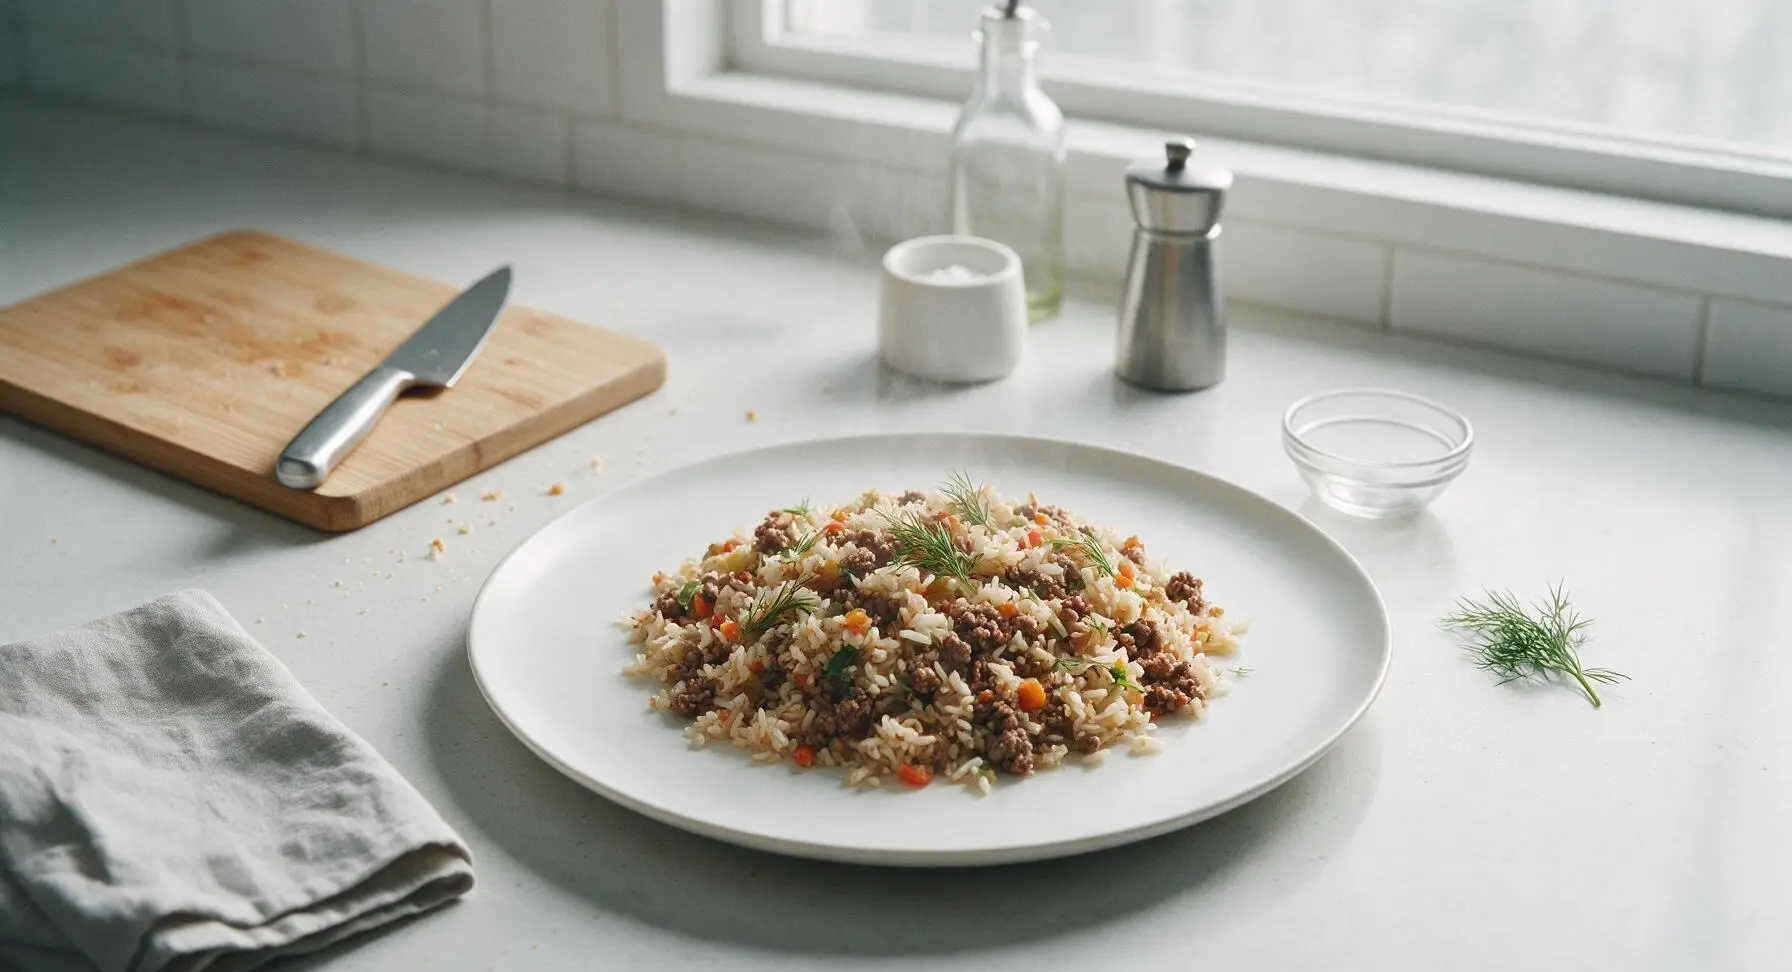
Cozy, savory one-pot ground beef and rice with tender veggies, deep beefy flavor, and fluffy separate grains—ready in under 35 minutes for a no-fuss, satisfying family meal.

Ingredients
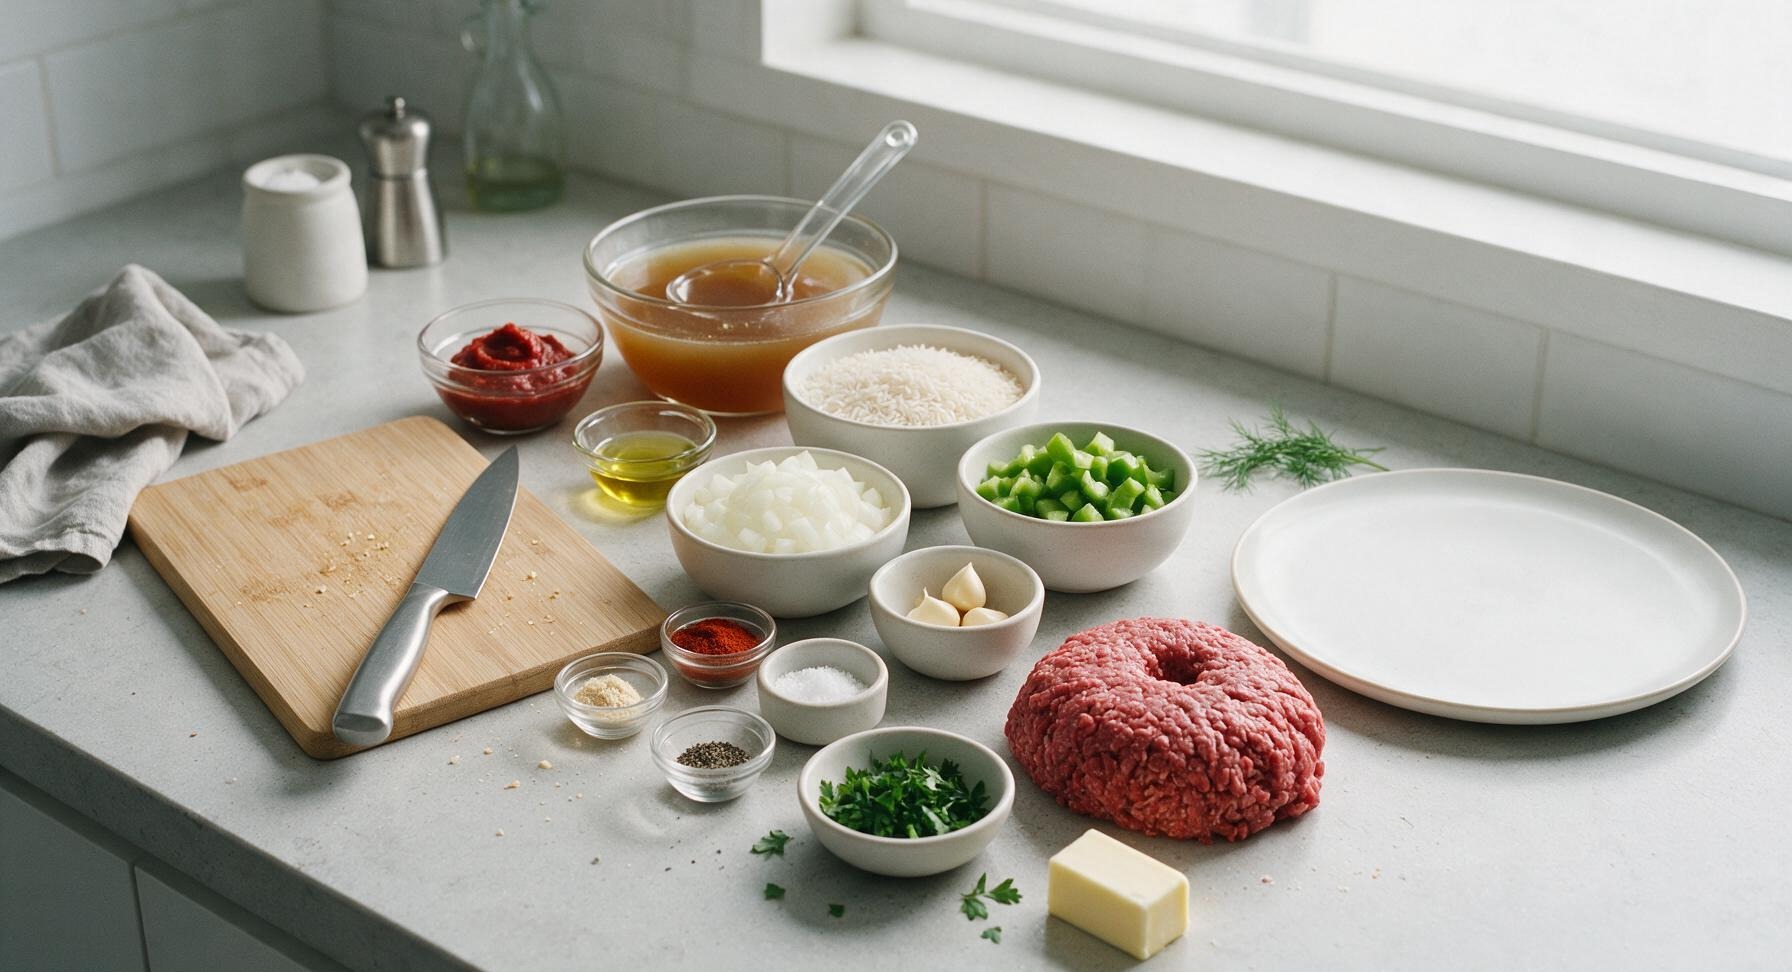
Lean ground beef (90/10) 450g (1 lb)
Uncooked long-grain white rice 185g (1 cup)
Yellow onion, diced 1 medium (150g)
Green bell pepper, diced 1 small (100g)
Garlic cloves, minced 3 (9g)
Low-sodium beef broth 480ml (2 cups)
Tomato paste 2 tbsp (33g)
Extra-virgin olive oil 1 tsp (5ml)
Smoked paprika 1 tsp (2g)
Garlic powder 1/2 tsp (1.5g)
Kosher salt 1 tsp (5g)
Freshly ground black pepper 1/2 tsp (1g)
Unsalted butter 1 tbsp (14g)
Fresh flat-leaf parsley, chopped 2 tbsp (8g)

Steps

1

Prep All Ingredients

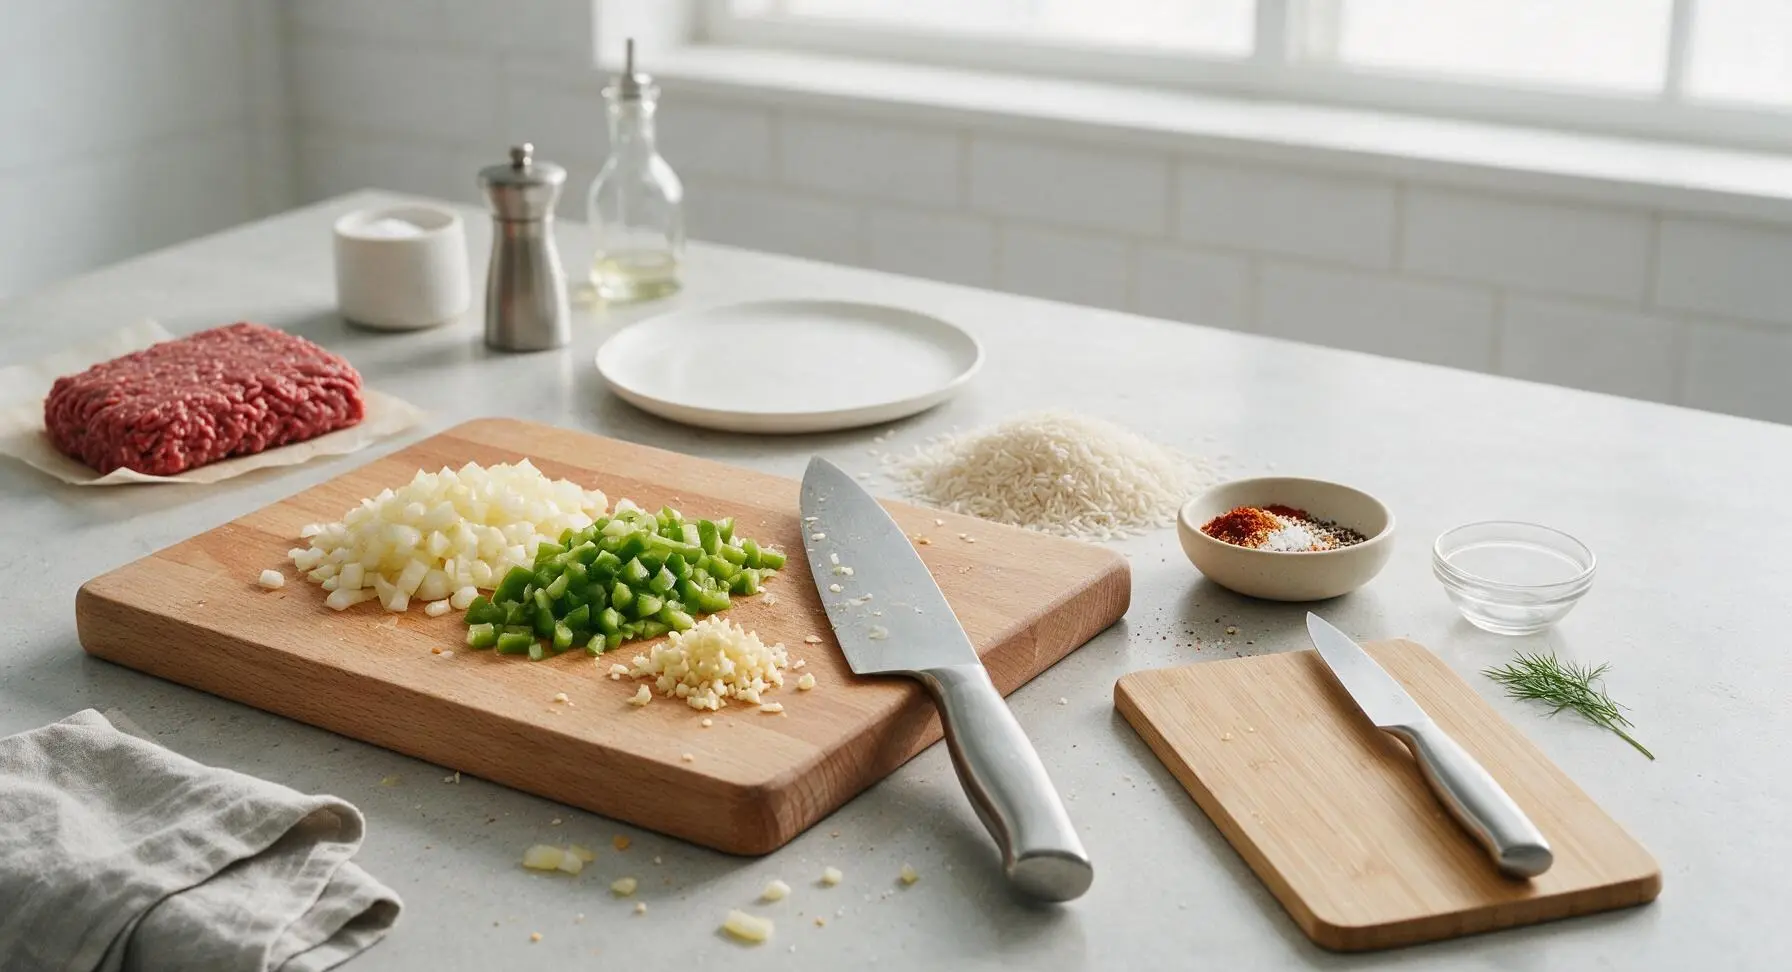
Place the solid beech wood cutting board on the center-left prep area. Use the 8-inch chef knife to dice the yellow onion into 1cm cubes, seed and dice the green bell pepper into matching 1cm cubes, and mince garlic cloves finely. Measure uncooked long-grain white rice into a loose pile, and combine smoked paprika, garlic powder, kosher salt, and black pepper in the small matte cream pinch bowl. Pat the ground beef lightly dry with a corner of the terracotta kitchen towel to ensure even browning.
Step 1
step1:Prep All Ingredients
2

Brown the Ground Beef

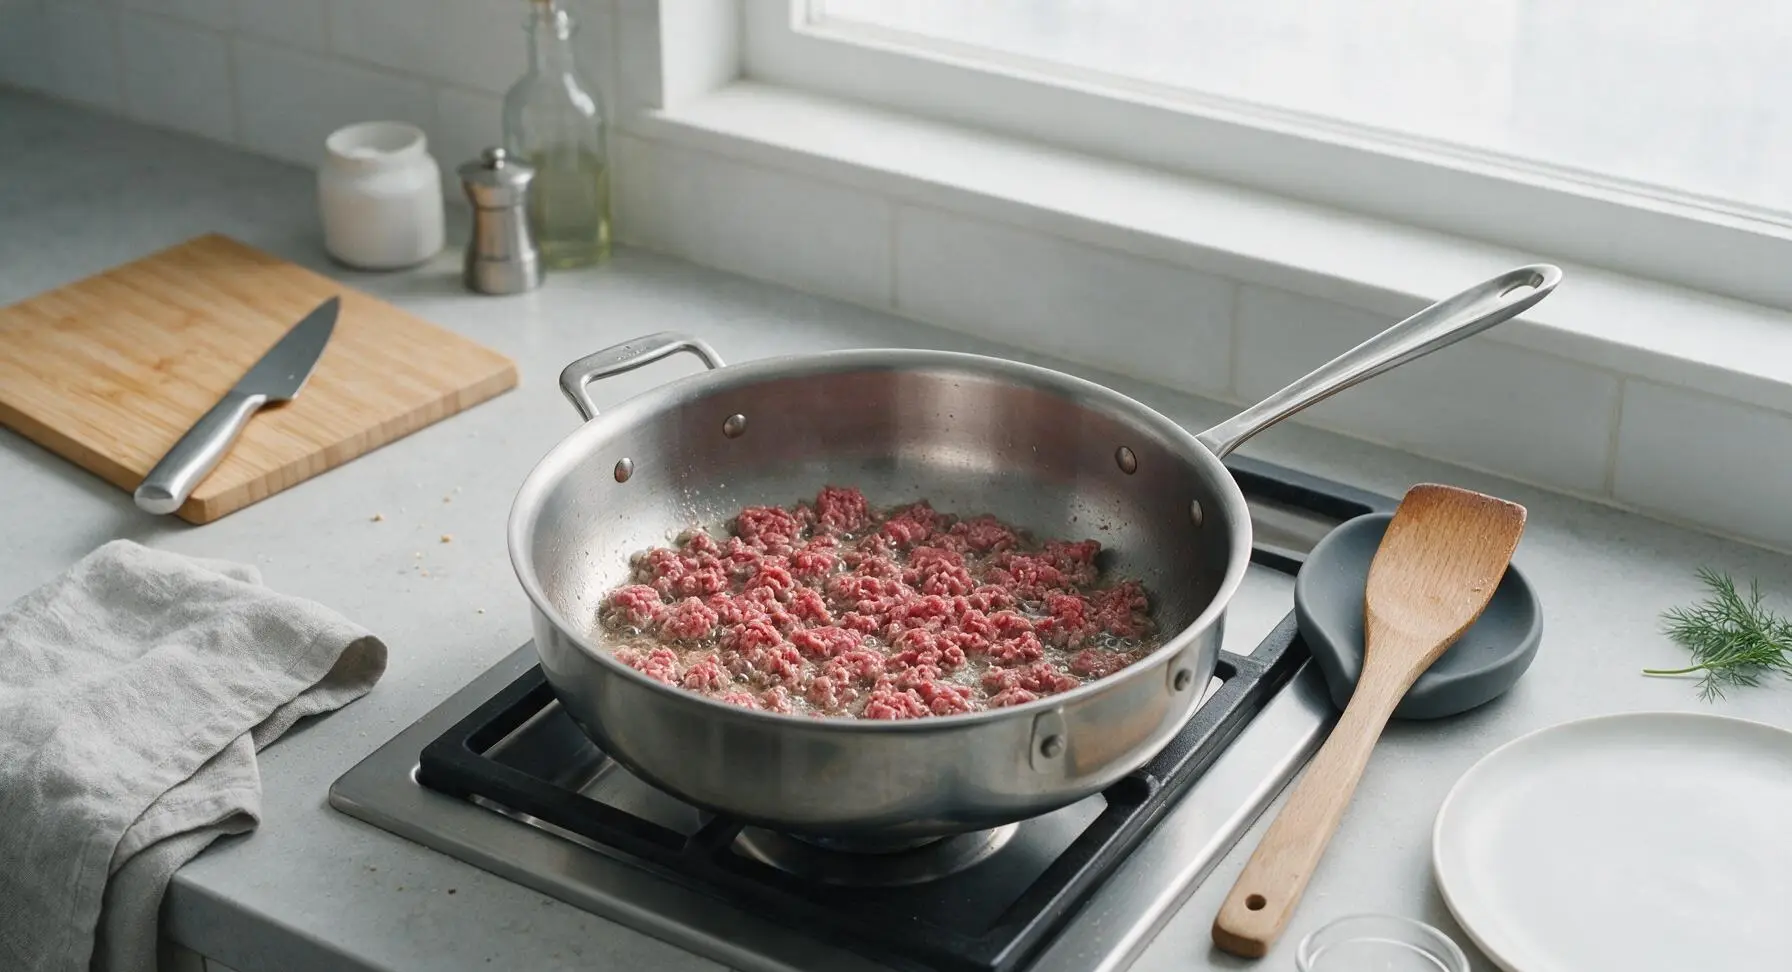
Place the 4-quart stainless steel deep skillet on the center stovetop burner, heat to medium (350°F/175°C). Add 1 tsp olive oil, then crumble the ground beef into the skillet in small pieces. Cook for 5-6 minutes, breaking the beef apart with the beech wood spatula as it cooks, until no pink remains and the beef is deeply golden brown at the edges. Use the spatula to transfer the browned beef to a clean temporary plate, leaving 1 tbsp of rendered beef fat in the skillet.
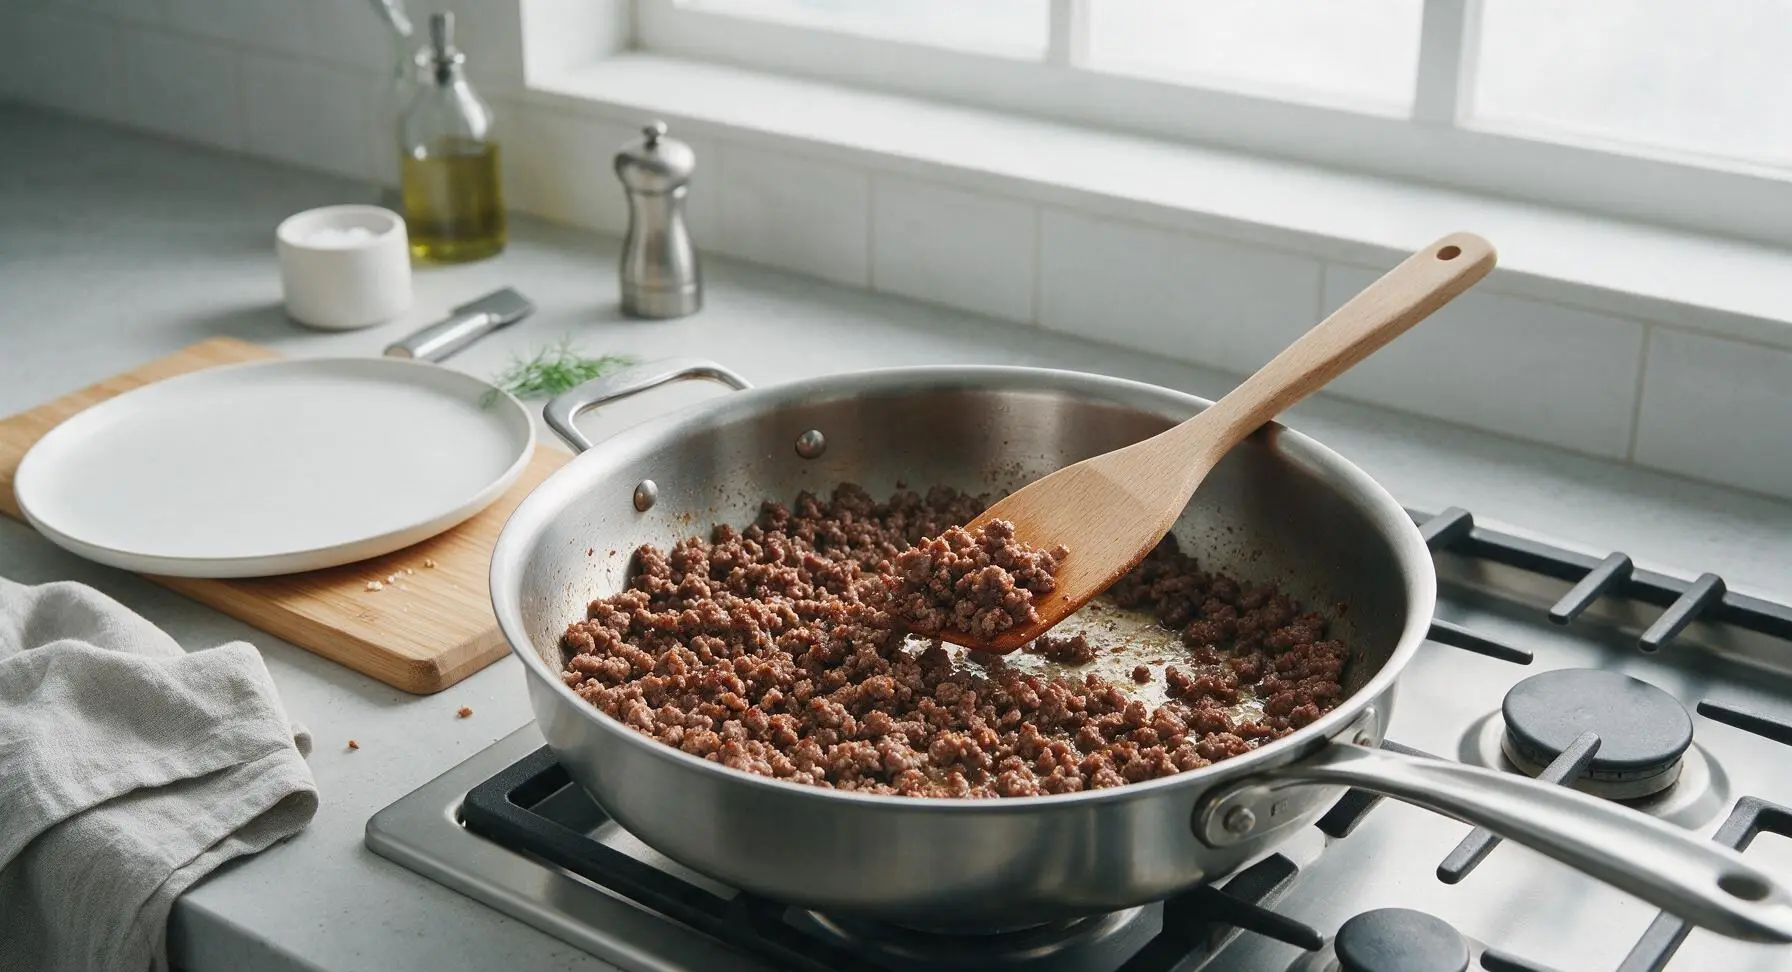
Step 2
step2:Brown the Ground Beef
Step 2
step2:Brown the Ground Beef
3

Sauté Aromatic Vegetables

Reduce stovetop heat to medium-low (325°F/160°C). Add the diced onion and bell pepper to the remaining beef fat in the skillet, sauté for 4 minutes, stirring occasionally with the beech wood spatula, until vegetables are soft and translucent at the edges. Add the minced garlic and tomato paste, cook for 1 additional minute, stirring constantly, until the tomato paste darkens to a deep rust color and smells fragrant.
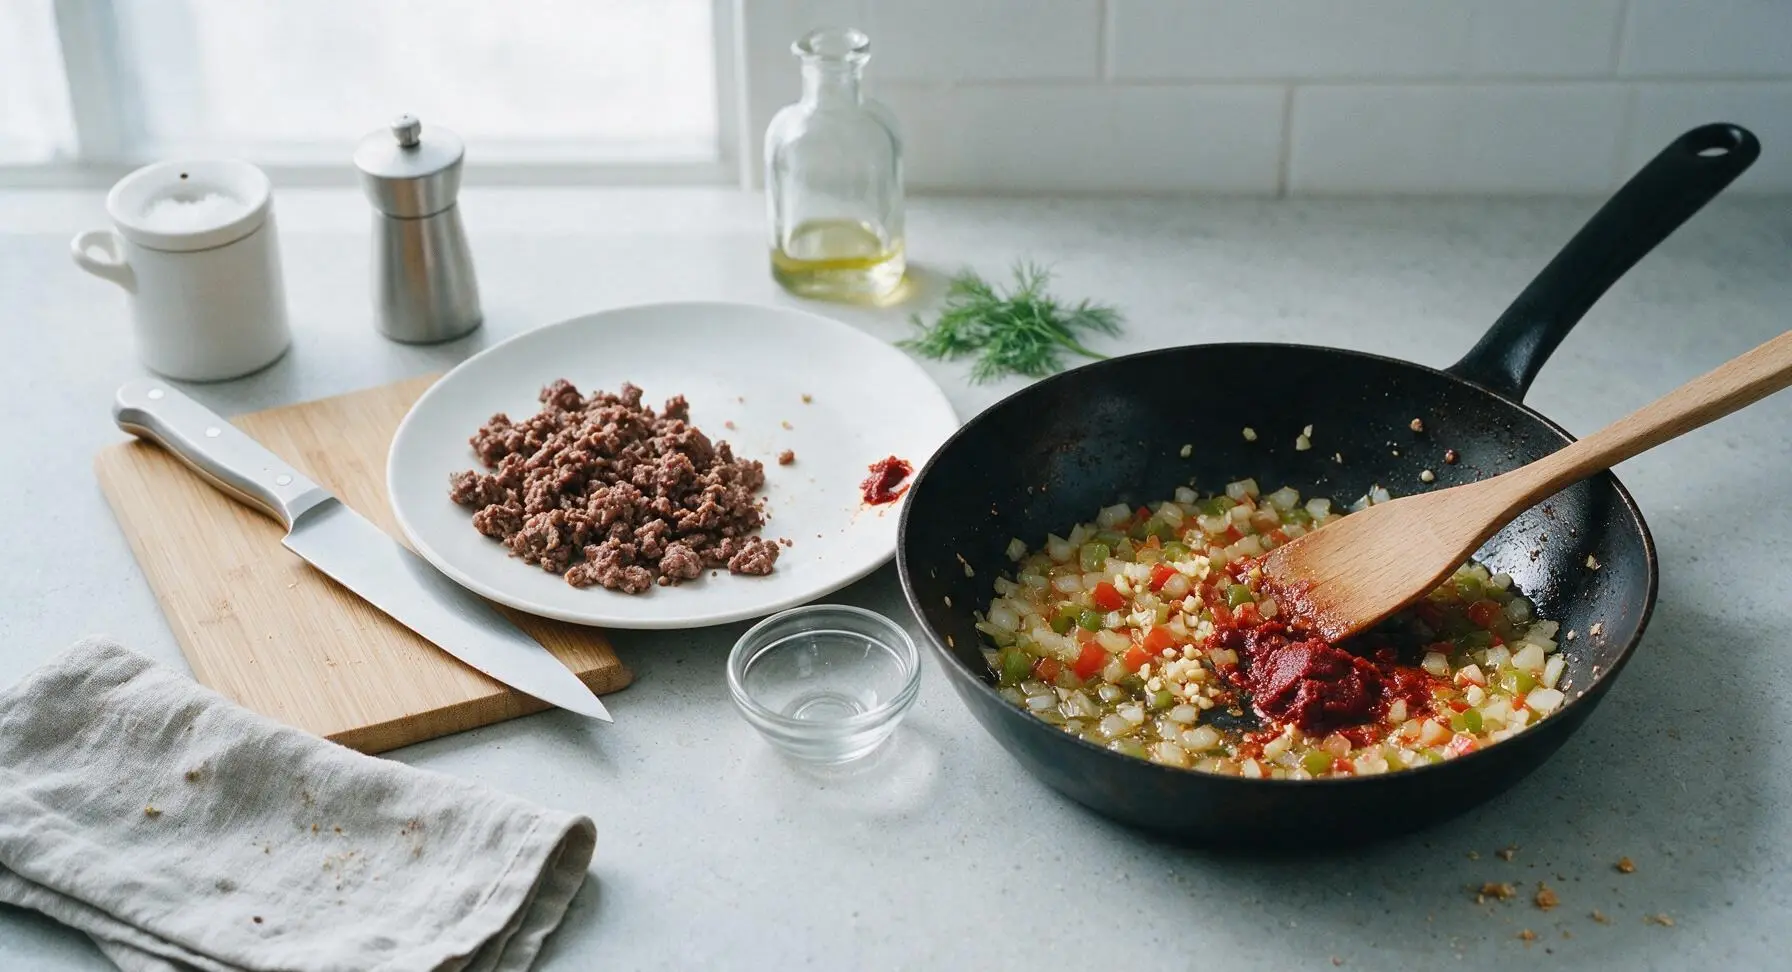
Step 3
step3:Sauté Aromatic Vegetables
4

Toast Uncooked Rice

Add the measured uncooked long-grain white rice to the skillet with the sautéed vegetables and tomato paste. Stir constantly with the spatula for 2 minutes, toasting the rice until the edges turn slightly pale golden and the grains are fully coated in the tomato paste and fat mixture. This toasting step adds nutty depth and prevents rice from turning mushy as it cooks.
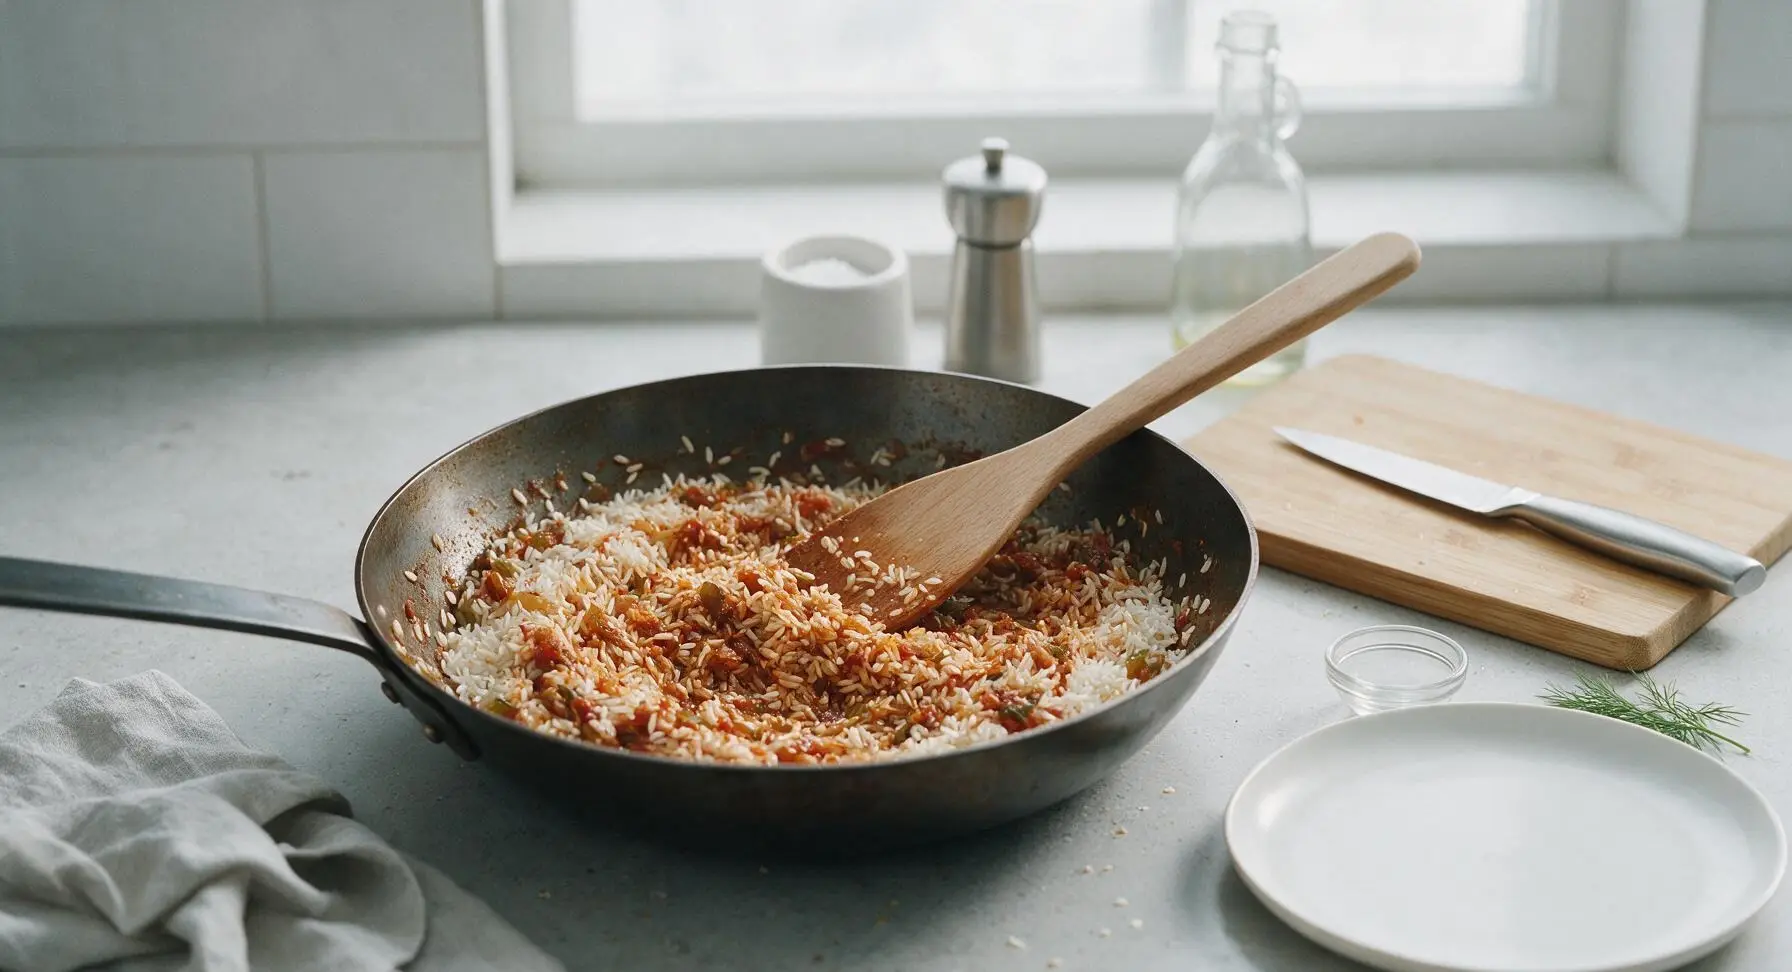
Step 4
step4:Toast Uncooked Rice
5

Simmer Rice and Beef

Return the browned ground beef to the skillet, pour in the 2 cups of low-sodium beef broth, and add the measured spices from the pinch bowl. Stir to combine fully, then bring the mixture to a gentle rolling boil. Once boiling, reduce heat to the lowest setting, cover the skillet with its tempered glass lid, and simmer for 15 minutes exactly. Do not lift the lid during cooking, as this releases steam needed to cook the rice evenly.
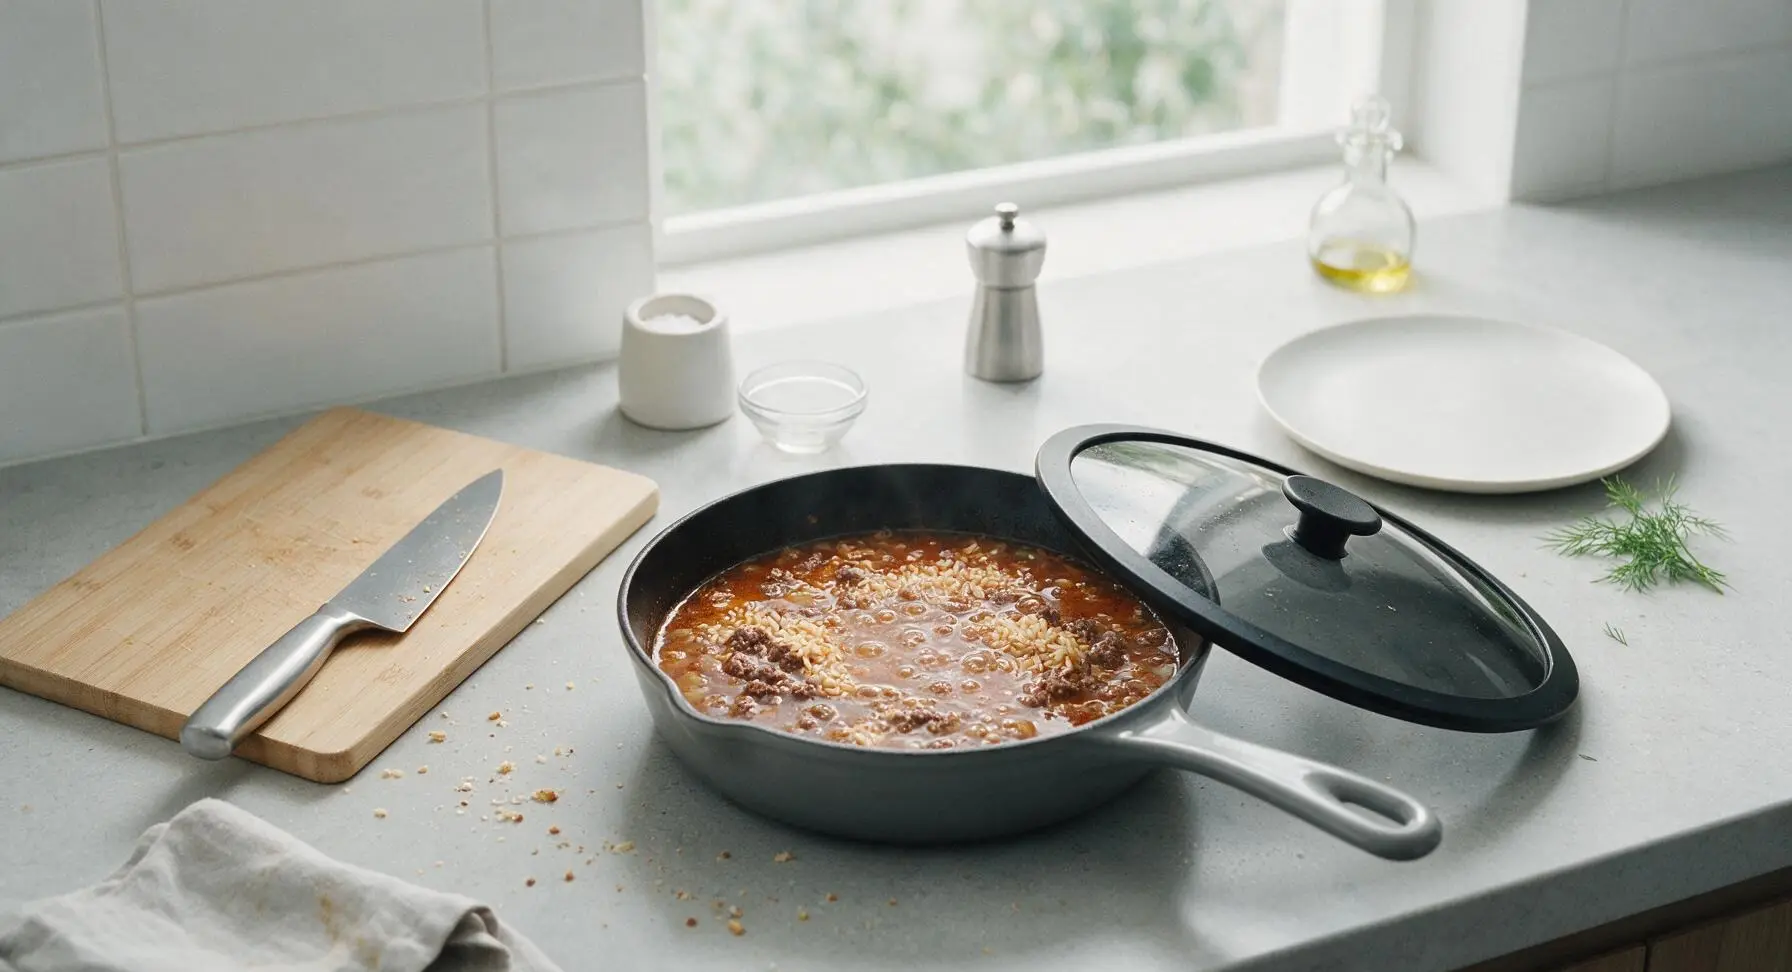
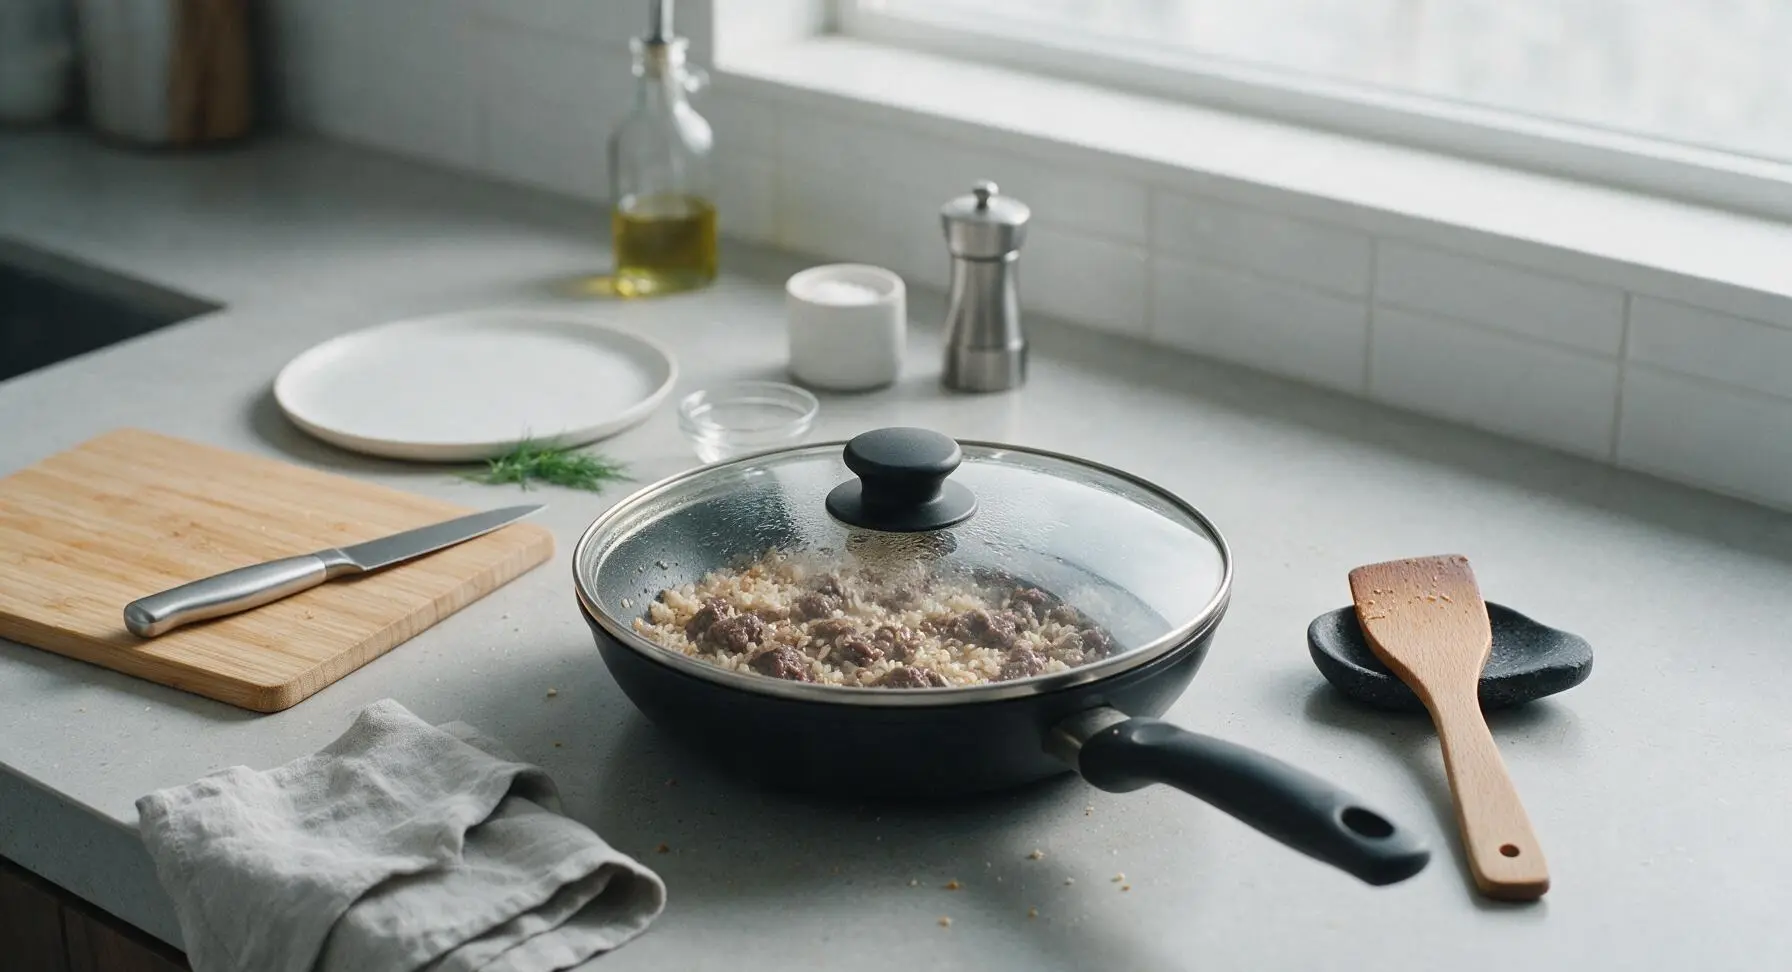
Step 5
step5:Simmer Rice and Beef
Step 5
step5:Simmer Rice and Beef
6

Rest and Fluff Rice

After 15 minutes of simmering, turn off the stovetop heat. Keep the lid on the skillet and let the rice rest for 5 minutes, allowing remaining steam to absorb and grains to set. Remove the lid, add the 1 tbsp of unsalted butter, and use the spatula to gently fluff the rice and beef mixture, taking care not to mash the soft rice grains. Fold in half of the chopped fresh parsley.
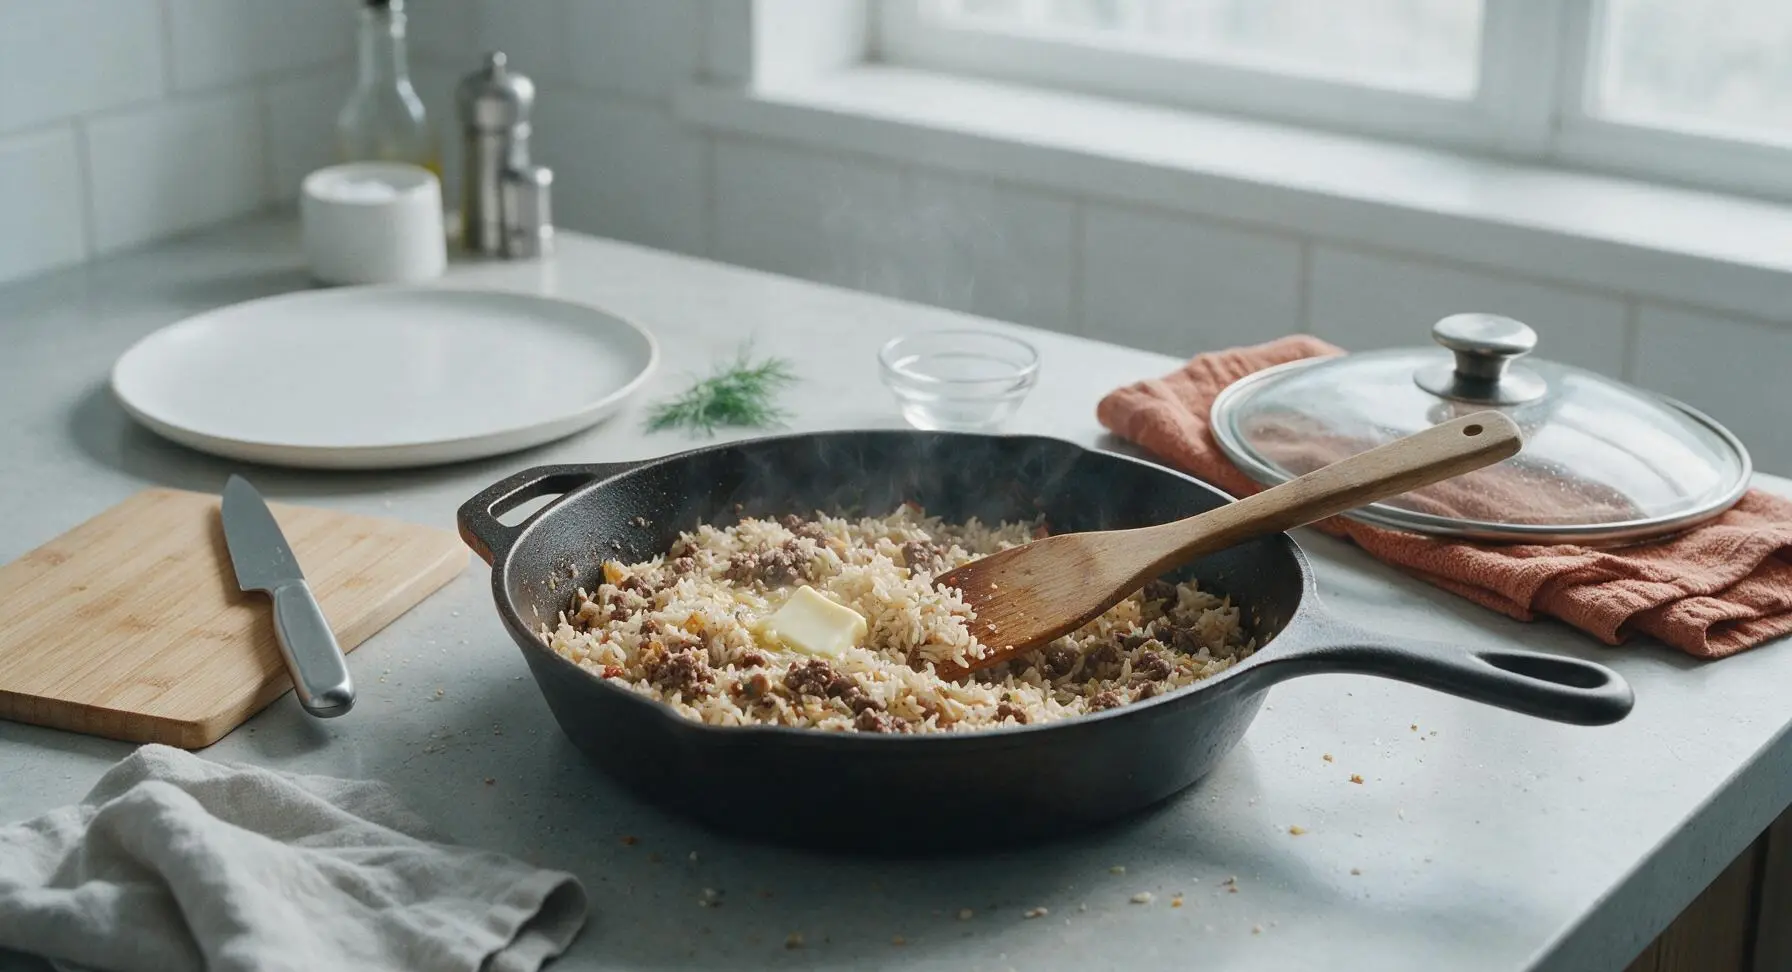
Step 6
step6:Rest and Fluff Rice
7

Plate and Garnish Dish

Scoop a generous portion of the fluffy ground beef and rice mixture onto the center of the matte creamy off-white stoneware dinner plate, mounding it slightly. Sprinkle the remaining chopped fresh parsley over the top as garnish. Serve hot, with optional hot sauce in the matching cream stoneware ramekin on the side.
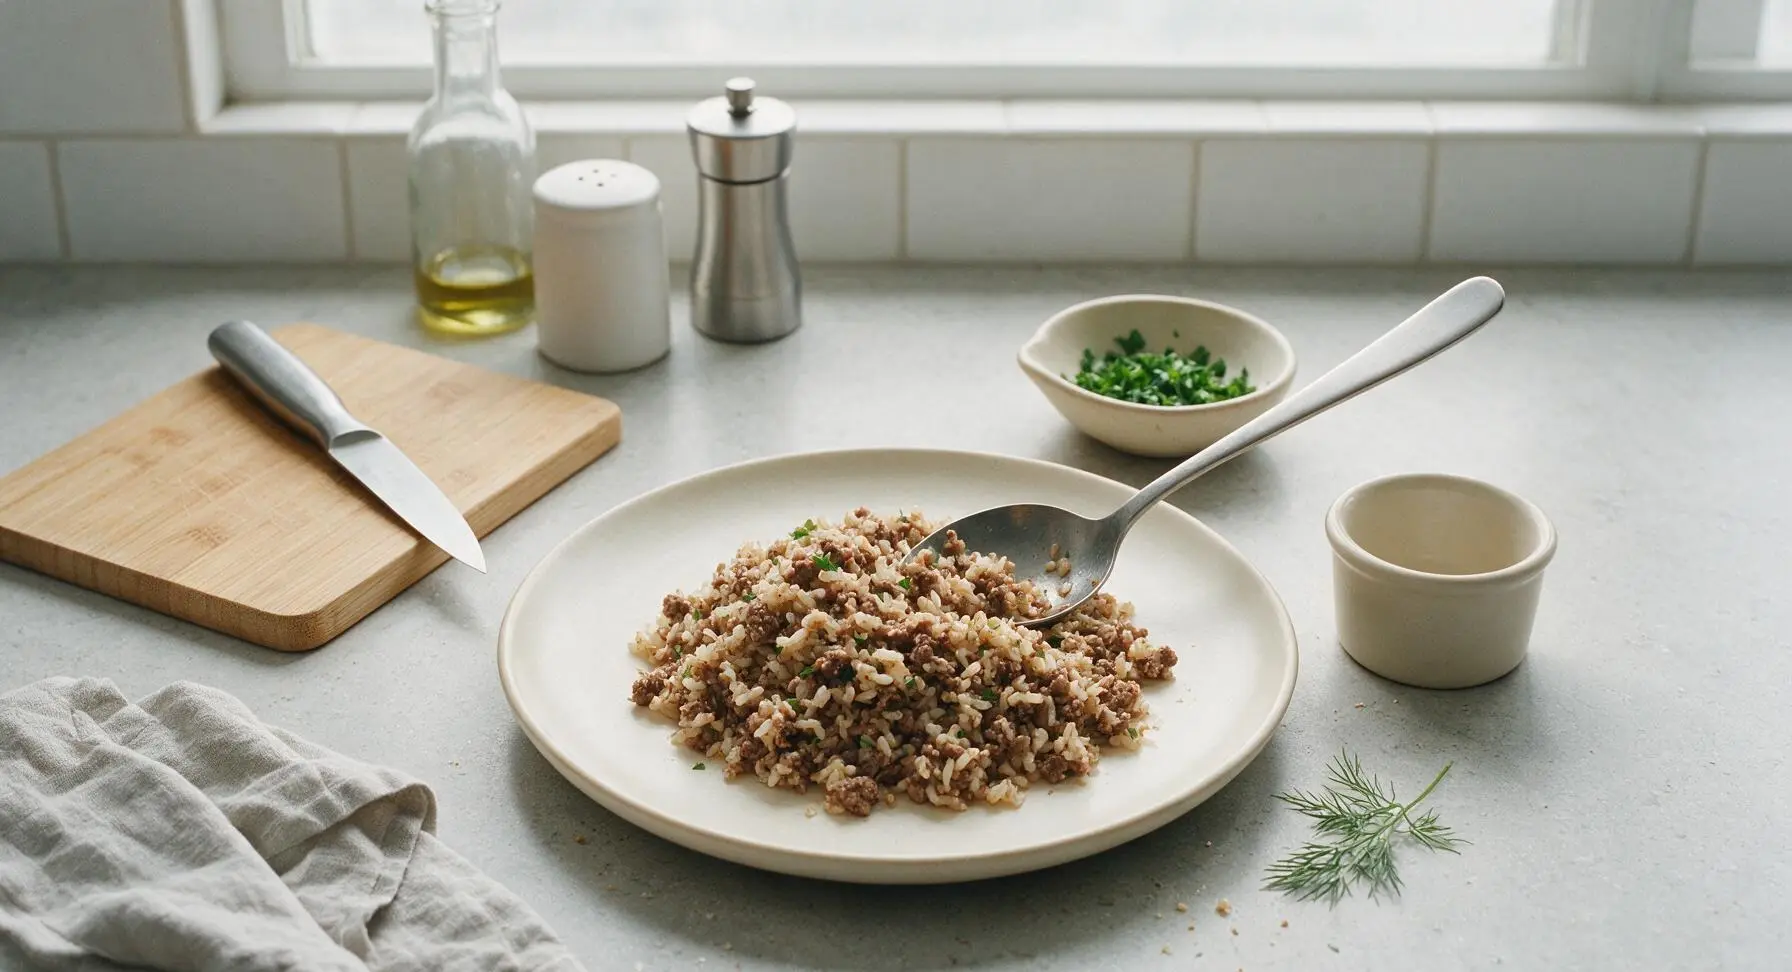
Step 7
step7:Plate and Garnish Dish

Tips

1.Keep the lid sealed while the rice simmers: Trapped steam creates the consistent, even heat needed to cook rice to fluffy, separate grains. Lifting the lid releases steam and drops the pan temperature, leading to crunchy undercooked rice or uneven, mushy texture.
2.Toast the rice grains before adding liquid: This 2-minute step deepens the rice’s nutty, toasty flavor and coats each grain in fat, which prevents them from sticking together and turning gummy as they cook.
3.Pat ground beef dry before browning: Excess surface moisture causes beef to steam instead of searing, which prevents the crispy, browned edges that create deep, savory, meaty flavor in the final dish. Blotting with a kitchen towel makes a noticeable difference in taste.


✨ You May Also Like

Main Course
🍜 United Kingdom

A showstopping classic of tender seared beef, savory mushroom duxelles, and crisp prosciutto wrapped in flaky golden puff pastry, baked to juicy perfection.

⏱️ 2 hours 1Main Course ★ 4.7
Main Course
🍜 India

Tender charred marinated chicken simmered in a rich, spiced creamy tomato sauce, this iconic Anglo-Indian curry pairs perfectly with basmati rice or warm naan.

⏱️ 50 minuteMain Course ★ 4.6
Main Course
🍜 Thailand

Classic tangy, sweet, and savory Thai stir-fried rice noodles with shrimp, tofu, and crunchy garnishes, balancing all five core Thai flavor profiles.

⏱️ 30 minuteMain Course ★ 4.5
Main Course
🍜 United Kingdom

Crispy golden beer-battered cod and fluffy double-fried chips, served with tangy tartar sauce and malt vinegar: the timeless, beloved British pub comfort classic.

⏱️ 45 minuteMain Course ★ 4.7
Main Course
🍜 Mexico

Smoky, chile-marinated pork tacos with caramelized pineapple, fresh cilantro, and lime: a beloved classic Mexican street food perfect for casual summer gatherings.

⏱️ 1 hour 45Main Course ★ 4.8
Main Course
🍜 United States

Crunchy Fritos corn chips layered with savory beef chili and melted cheddar, topped with cool, zesty fixings for a beloved, cozy Tex-Mex comfort food.

⏱️ 35 minuteMain Course ★ 4.8

ground beef and rice:Frequently Asked Questions

1.Why does my rice turn out mushy when I make one-pot ground beef and rice? ▾
Mushy rice almost always stems from two simple missteps: using too much cooking liquid, or stirring the rice repeatedly once it starts simmering. Stick to the standard 2:1 liquid-to-rice ratio for long-grain white rice, bring to a rolling boil first, then drop to low heat, cover tightly, and resist lifting the lid or stirring until the 15-minute cook time elapses.
2.Can I use higher-fat ground beef instead of the recommended 90/10 lean blend? ▾
You absolutely can, just take one quick extra step to avoid a greasy final dish. If using 80/20 or 85/15 ground beef, brown it fully first, then drain off all excess rendered fat before adding your veggies, rice, and cooking liquid. Skipping this step will leave your rice heavy and oily, rather than light, fluffy, and balanced.
3.Do I have to use long-grain white rice, or can I swap in instant white rice? ▾
Long-grain white rice is ideal for fluffy, separate grains, but instant white rice works as a last-minute swap if you adjust cook time and liquid amounts. Cut the added liquid by ¼ cup, and stir in the instant rice during the last 5 to 7 minutes of simmering instead of adding it at the start, so it doesn’t turn mushy and overcooked.
4.How do I keep ground beef from clumping into big, tough chunks while browning? ▾
The trick to crumbly, evenly browned ground beef is to break it apart with a stiff wooden spoon or spatula as soon as it hits the warm pot, and avoid overcrowding the pan. Let the crumbles sit for 1 to 2 minutes at a time to develop a nice brown sear before stirring again, for deep, savory flavor instead of steamed, gray beef.
5.Can I add extra veggies to this dish without ruining the rice texture? ▾
You can absolutely mix in extra veggies, just time them correctly based on their firmness. Hearty picks like diced carrots or celery go in with the onion and bell pepper to soften first, while quick-cooking options like frozen corn, peas, or diced tomatoes get stirred in during the last 3 minutes of cook time so they don’t make the rice soggy.
6.Why doesn’t my dish have that deep, rich beefy flavor the recipe promises? ▾
Flat, bland flavor usually comes from ignoring the fond—those browned, stuck-on bits at the bottom of the pot after browning the beef. After you sauté your onion, pepper, and garlic, pour a small splash of beef broth in to scrape up all those bits before adding the rest of the liquid and rice; they’re packed with concentrated, savory beef flavor.
7.Does this recipe hold up well for weekly meal prep? ▾
This one-pot meal holds up beautifully for meal prep! Let the finished dish cool completely to room temperature within 2 hours of cooking, then portion it into airtight containers and refrigerate for up to 4 days. When reheating, sprinkle a teaspoon of water over each portion before microwaving to fluff the rice back up and prevent it from drying out.
8.What if I don’t have a tight-fitting lid for my cooking pot? ▾
A tight seal is non-negotiable for evenly cooked, fluffy rice, because it traps the steam that cooks grains all the way through. If your pot lid is loose, wrap the underside of the lid in a clean kitchen towel before setting it on the pot, tucking the towel ends up over the lid top so they don’t hang near the burner, to lock in enough steam for perfect rice.
9.Can I swap long-grain brown rice for white rice in this recipe? ▾
You can absolutely use long-grain brown rice, but you’ll need to adjust both liquid and cook time to get tender, evenly cooked grains. Brown rice needs a 2.5:1 liquid-to-rice ratio, and will require 40 to 45 minutes of covered simmer time instead of 15. Brown the beef and veggies as directed, then adjust timing for the slower-cooking grain.
10.My rice is still crunchy after the recommended simmer time—how do I fix it? ▾
Crunchy, undercooked rice means either your heat was too high, which boiled off too much liquid before the rice could absorb it, or your lid wasn’t sealed tight enough to hold in steam. If you run into this issue, just stir in 2 extra tablespoons of broth or water, cover the pot tight, and let it simmer on low for another 3 to 5 minutes until grains are tender.
11.How do I adapt this recipe to be gluten-free and dairy-free for family members with restrictions? ▾
This recipe is naturally dairy-free as written, and it’s easy to make fully gluten-free with one quick check. Just make sure the beef broth you use is certified gluten-free, since many conventional broths have hidden wheat-based thickeners. Skip any optional Worcestershire sauce add-in unless it’s explicitly labeled gluten-free, too.
12.Can I freeze leftover one-pot ground beef and rice for later meals? ▾
You can freeze leftovers for up to 3 months, though note the rice texture will be slightly softer once thawed and reheated. Let the dish cool fully, then pack it into freezer-safe airtight bags or containers, pressing out as much excess air as possible to prevent freezer burn. Thaw in the fridge overnight, then reheat gently with a tiny splash of water.

Comments (3)

3 days ago

OMG this was a total weeknight win! I grabbed this recipe last minute when I realized I had ground beef defrosted and zero dinner plans, and it did not disappoint. 25 minutes start to finish, only one pot to scrub? Game changer. My husband and two kids all cleaned their plates, and my 7 year old said it tastes like the fancy hamburger rice we get at our local diner but better. SO good, 10/10 will be making this at least twice a month!

2 days ago

Wait did you add any extra veggies? I’m thinking of tossing in some frozen peas and carrots next time I make it to sneak some extra greens in for my toddler!

2 days ago

That’s such a smart swap! Frozen peas, carrots, or even diced bell peppers work perfectly in this recipe — just toss them in when you add the rice so they cook through evenly. So glad your family loved it!

1 week ago

Super easy recipe, turned out way better than I expected! I was a little worried the rice would come out mushy since it all cooks in one pot, but it was perfectly fluffy if you follow the liquid measurements exactly. I added a dash of smoked paprika and a handful of shredded cheddar on top at the end, chef’s kiss. Great for potlucks too — I brought a batch to my neighborhood potluck last weekend and everyone asked for the link.

5 days ago

So happy to hear it turned out perfectly for you! That shredded cheddar and smoked paprika twist sounds absolutely delicious, we love hearing how people customize the recipe to their taste. Thanks for sharing!

yesterday

Made a big batch of this for my weekly meal prep on Sunday and it held up perfectly all week for work lunches! No sad soggy leftovers, the flavors actually got better after a day or two in the fridge. I swapped the white rice for brown rice and just added 5 extra minutes of cook time, worked like a charm. Easy, cheap, filling, exactly what I need for busy work weeks.



