1.Why use 80/20 ground beef chuck instead of leaner ground beef for these burgers?
▾
The 20% fat content in 80/20 chuck is the perfect sweet spot for juicy, flavorful burgers. Leaner blends like 90/10 dry out quickly over high heat, leading to crumbly, tough patties. That rendered fat creates the iconic charred, savory crust and keeps every bite moist, no extra fillers or additives required to boost flavor or texture.
2.How thick should I form my burger patties to keep them juicy and well-sized?
▾
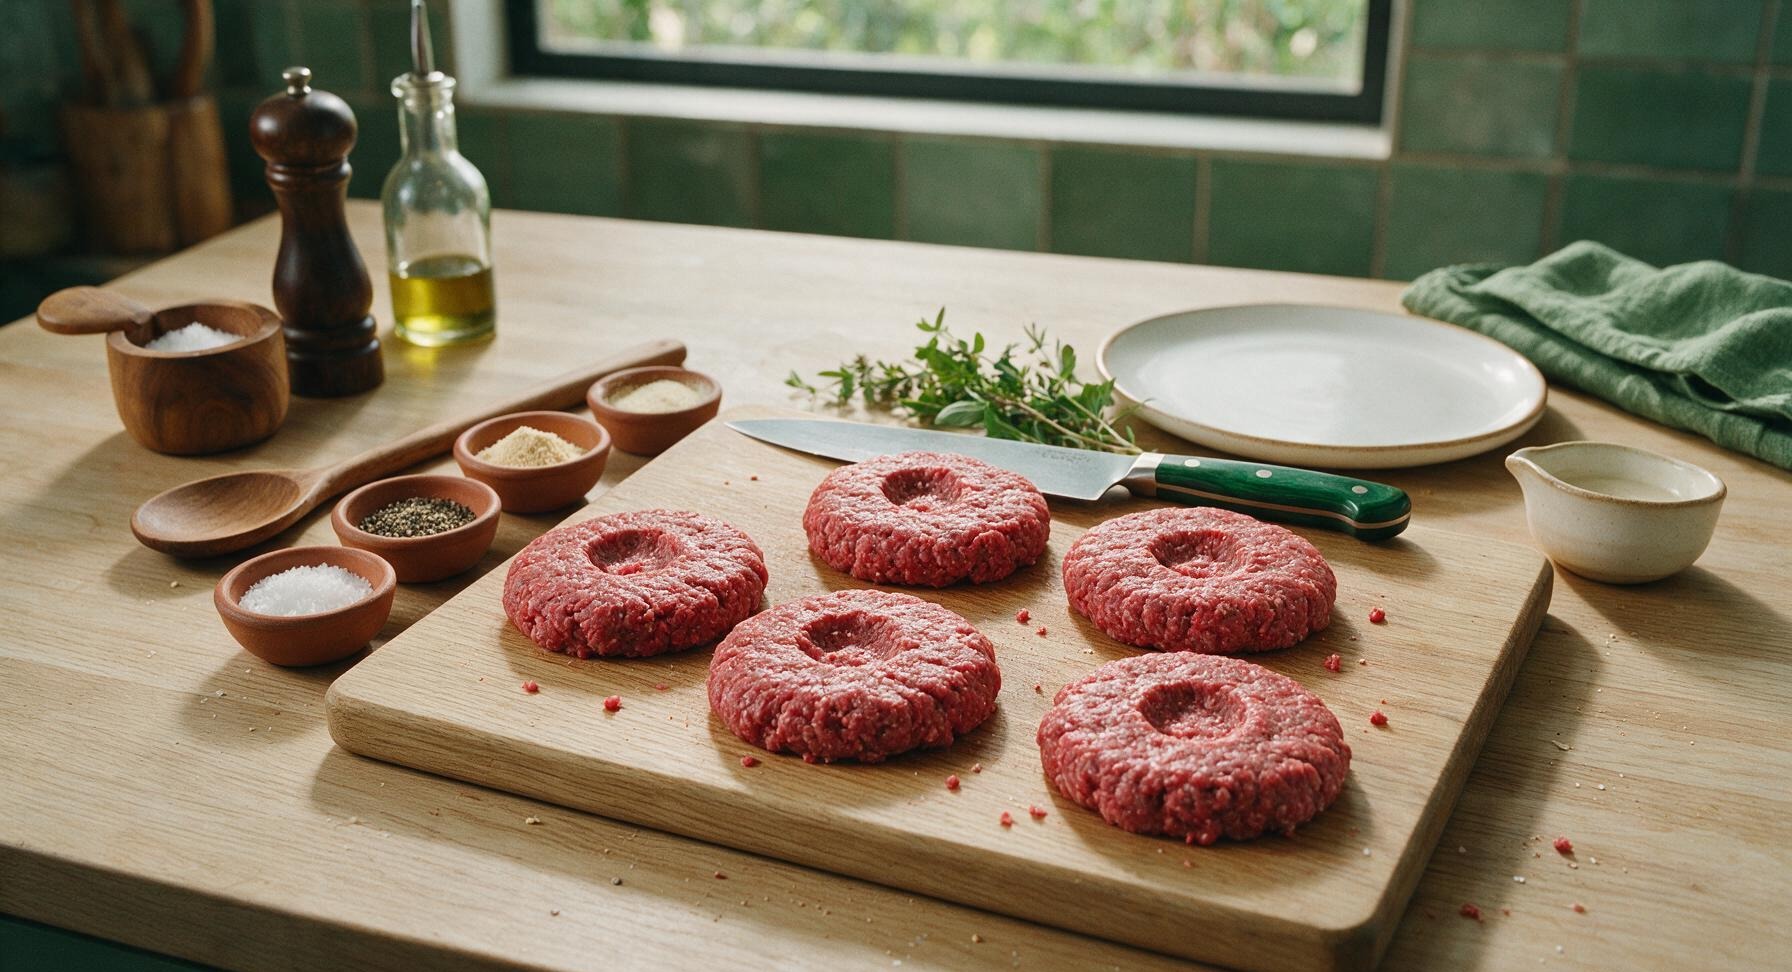
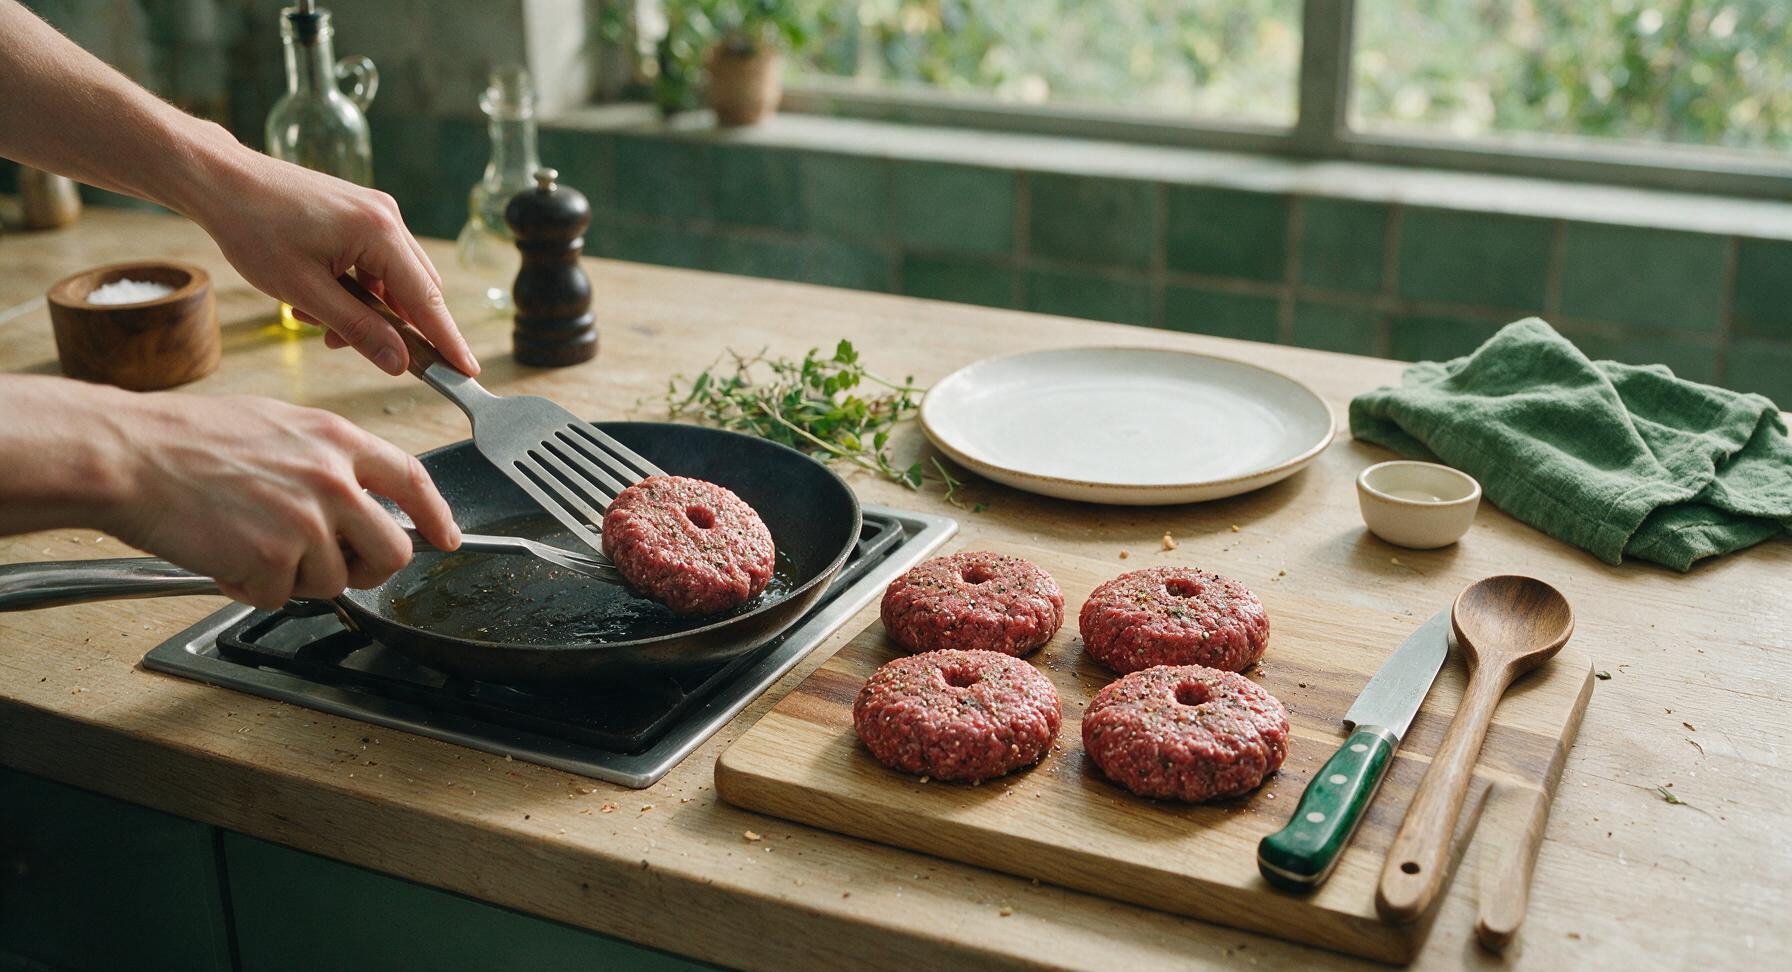
Shape each patty ¾-inch thick, roughly 6 ounces, with a shallow ½-inch dimple pressed into the center. The dimple stops patties from puffing up into a round meatball shape as they cook, so they stay flat for toppings. Shape them 1 inch wider than your sesame seed buns, too, since they'll shrink slightly as the fat renders out.
3.When should I add kosher salt and black pepper to the patties for the best results?
▾
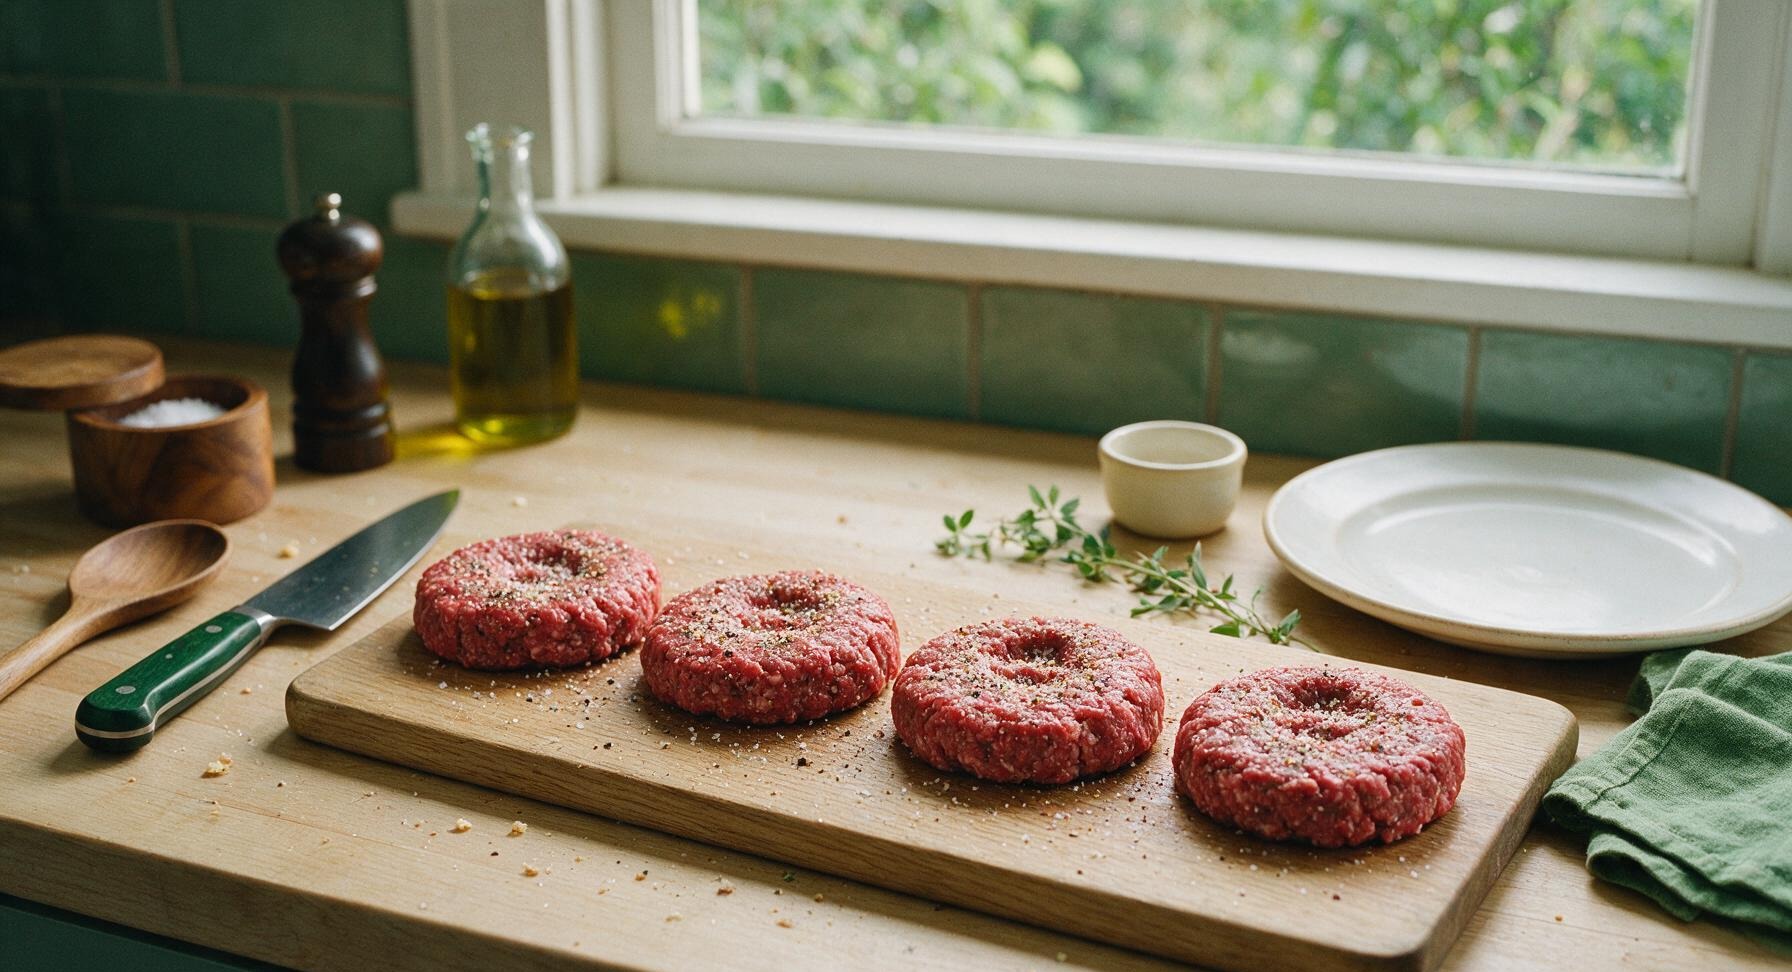
Season both sides of your patties generously with kosher salt and freshly ground black pepper right before you lay them on the hot cooking surface. Salting more than 15 minutes ahead of time draws out natural meat moisture, breaks down proteins, and creates a firm, sausage-like texture instead of the tender, loose bite you want from a classic cheeseburger.
4.Do I need to add breadcrumbs, eggs, or other binders to these burger patties?
▾
Nope, no binders required here! Those ingredients are made for meatloaf, not a classic cheeseburger. 80/20 ground chuck holds together perfectly when shaped gently without overworking, and skipping fillers lets the rich, beefy flavor take center stage. Binders will only make your patties dense and bready, taking away from that iconic burger texture.
5.What heat level should I use to cook these burgers to get a perfect charred crust?
▾
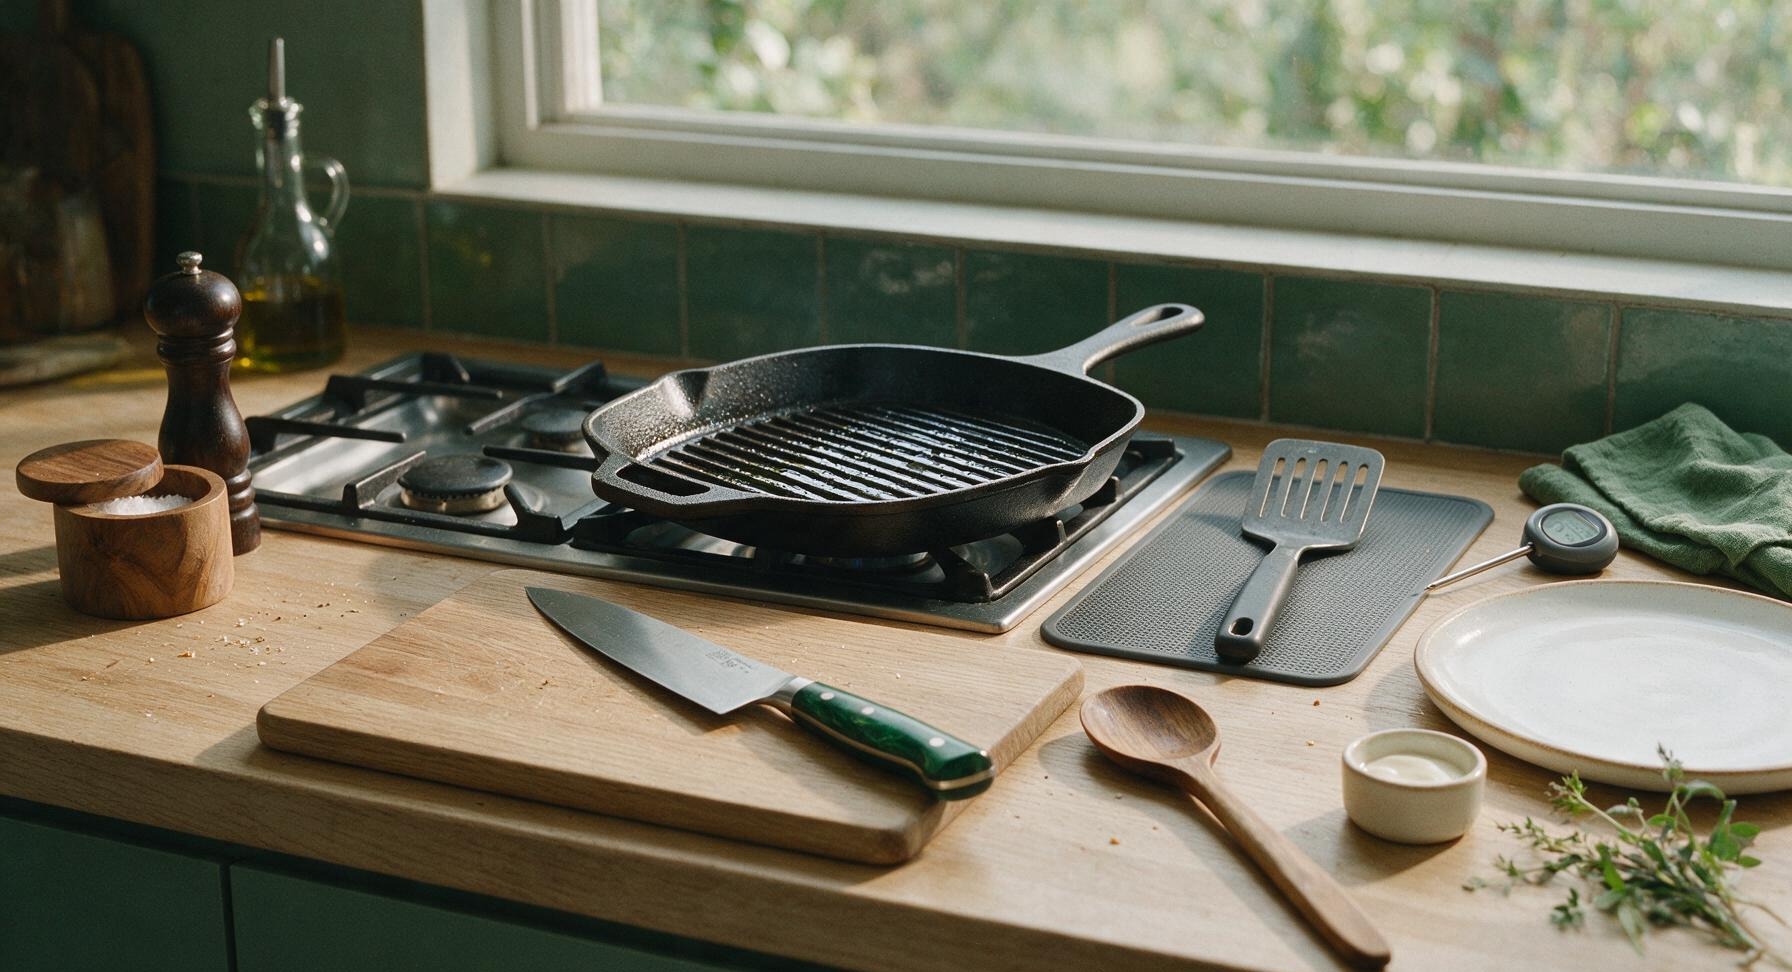
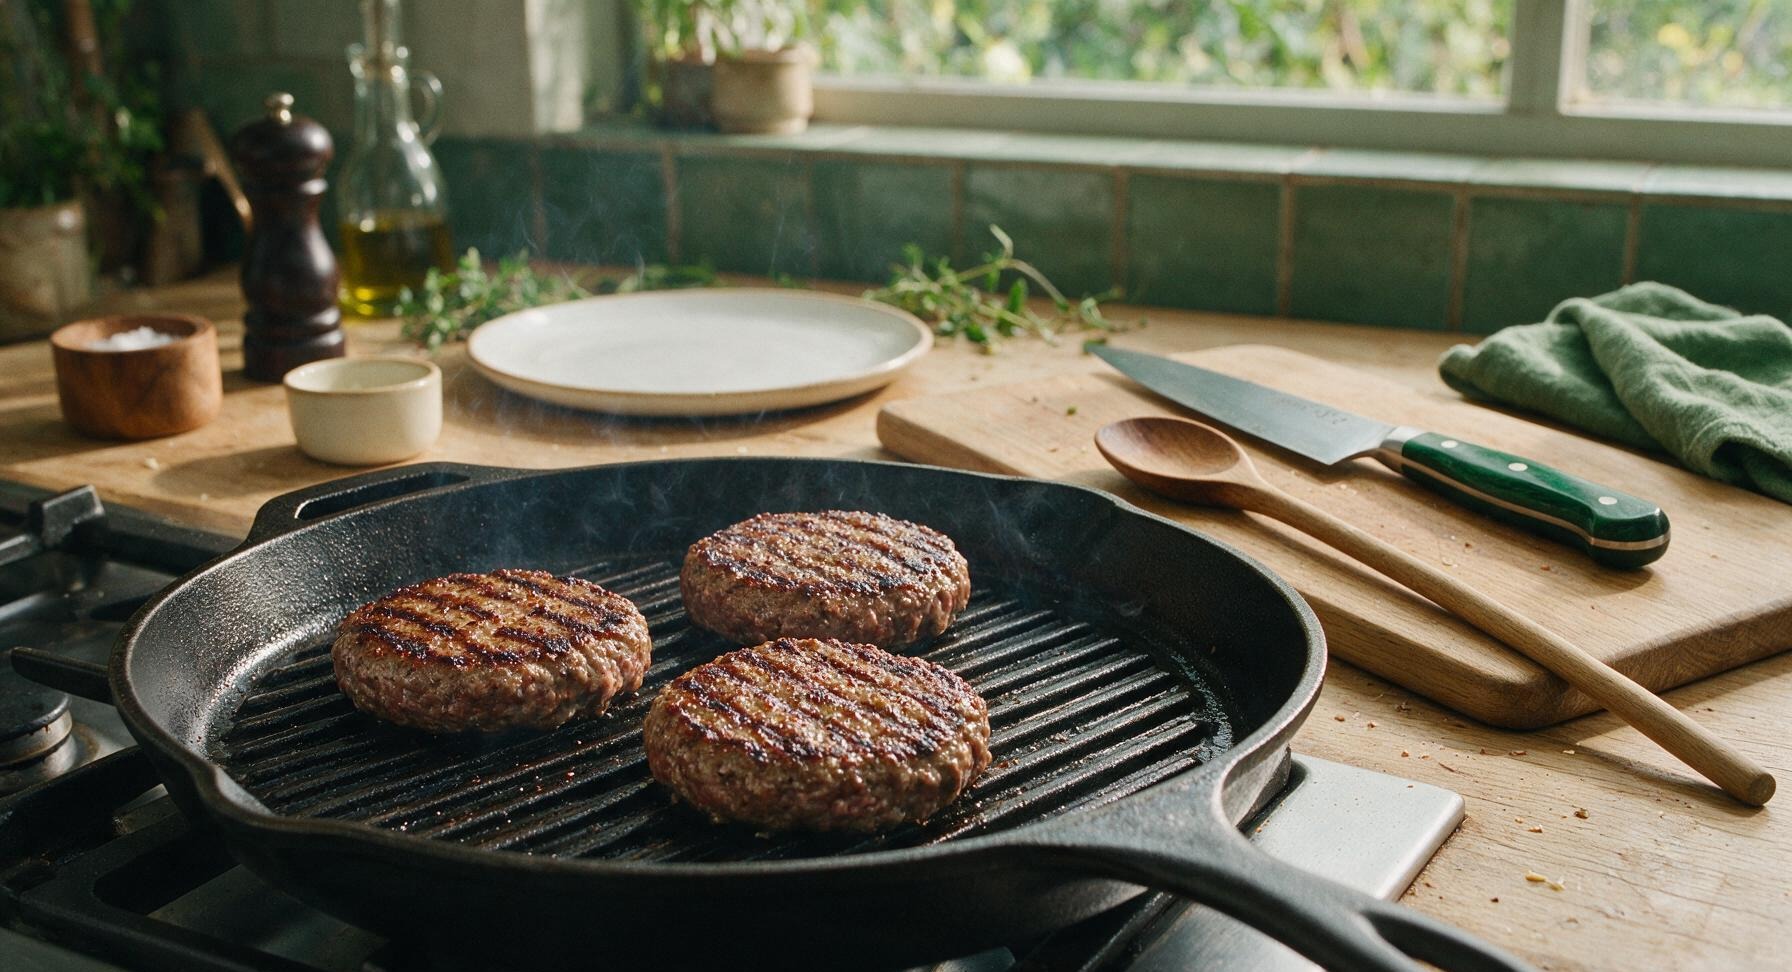
Cook over high heat, whether you're using a charcoal grill, gas grill, or cast iron skillet. Aim for a surface temperature of 450°F to 500°F—this triggers the Maillard reaction fast, creating that deep, savory charred crust in just a few minutes per side, without slow-cooking all the flavorful fat out and leaving you with dry, bland patties.
6.How do I check if burgers are done safely without overcooking them?
▾
Use an instant-read thermometer inserted into the thickest part of the patty for the most accurate read. The FDA recommends 160°F for ground beef for a juicy, no-pink center; if you prefer medium, aim for 145°F and let it rest 3 minutes. Never cut into a patty to check doneness—this lets all the precious juices run out onto your plate.
7.When should I add the sharp yellow cheddar to get perfectly melted cheese?
▾
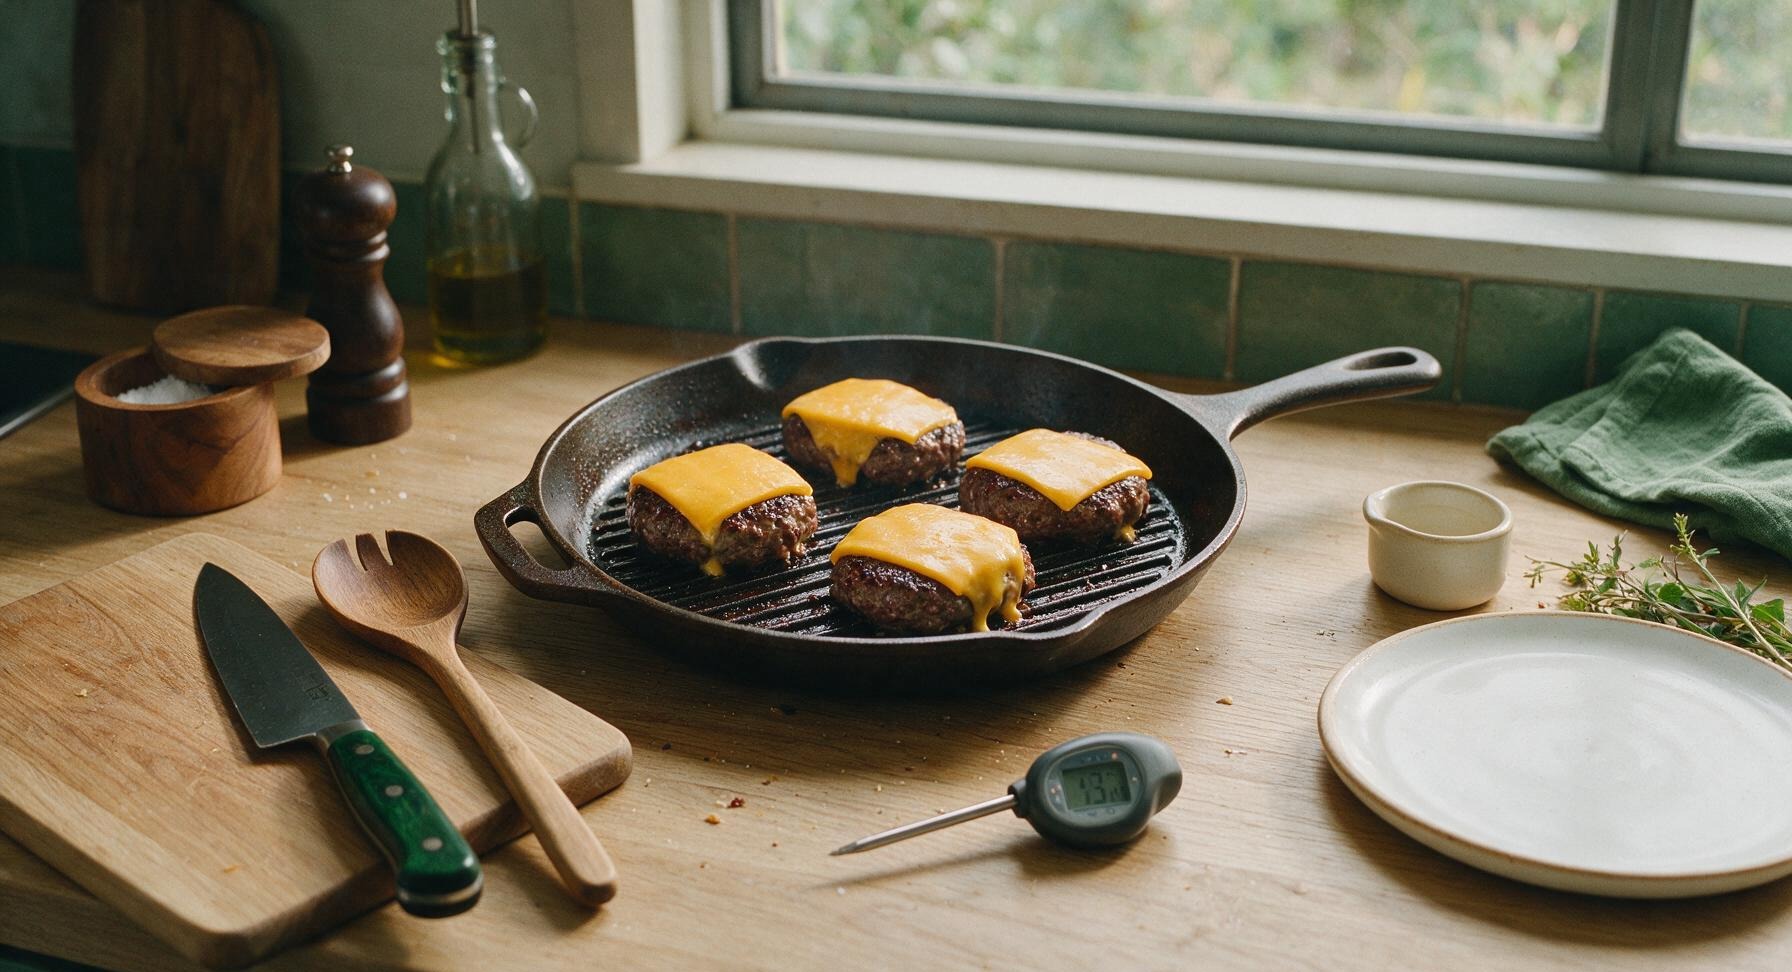
Lay a slice of sharp yellow cheddar on each patty during the last minute of cooking. Close the grill lid or tent your pan with a small piece of foil to trap heat, and the trapped steam will melt the cheese into that perfect smooth, gooey, stretchy layer without it sliding off the patty or burning before the burger is done cooking.
8.Why do my burger patties shrink so much when I cook them?
▾
Excess shrinkage usually comes from two common mistakes: overpacking the meat when shaping, or cooking on too-low heat for too long. Remember to press that shallow dimple in the center of each patty, shape them an inch wider than your buns, and cook on high heat for a shorter total time, and you'll get patties that fit your sesame buns perfectly.
9.What's the best way to toast the sesame seed hamburger buns?
▾
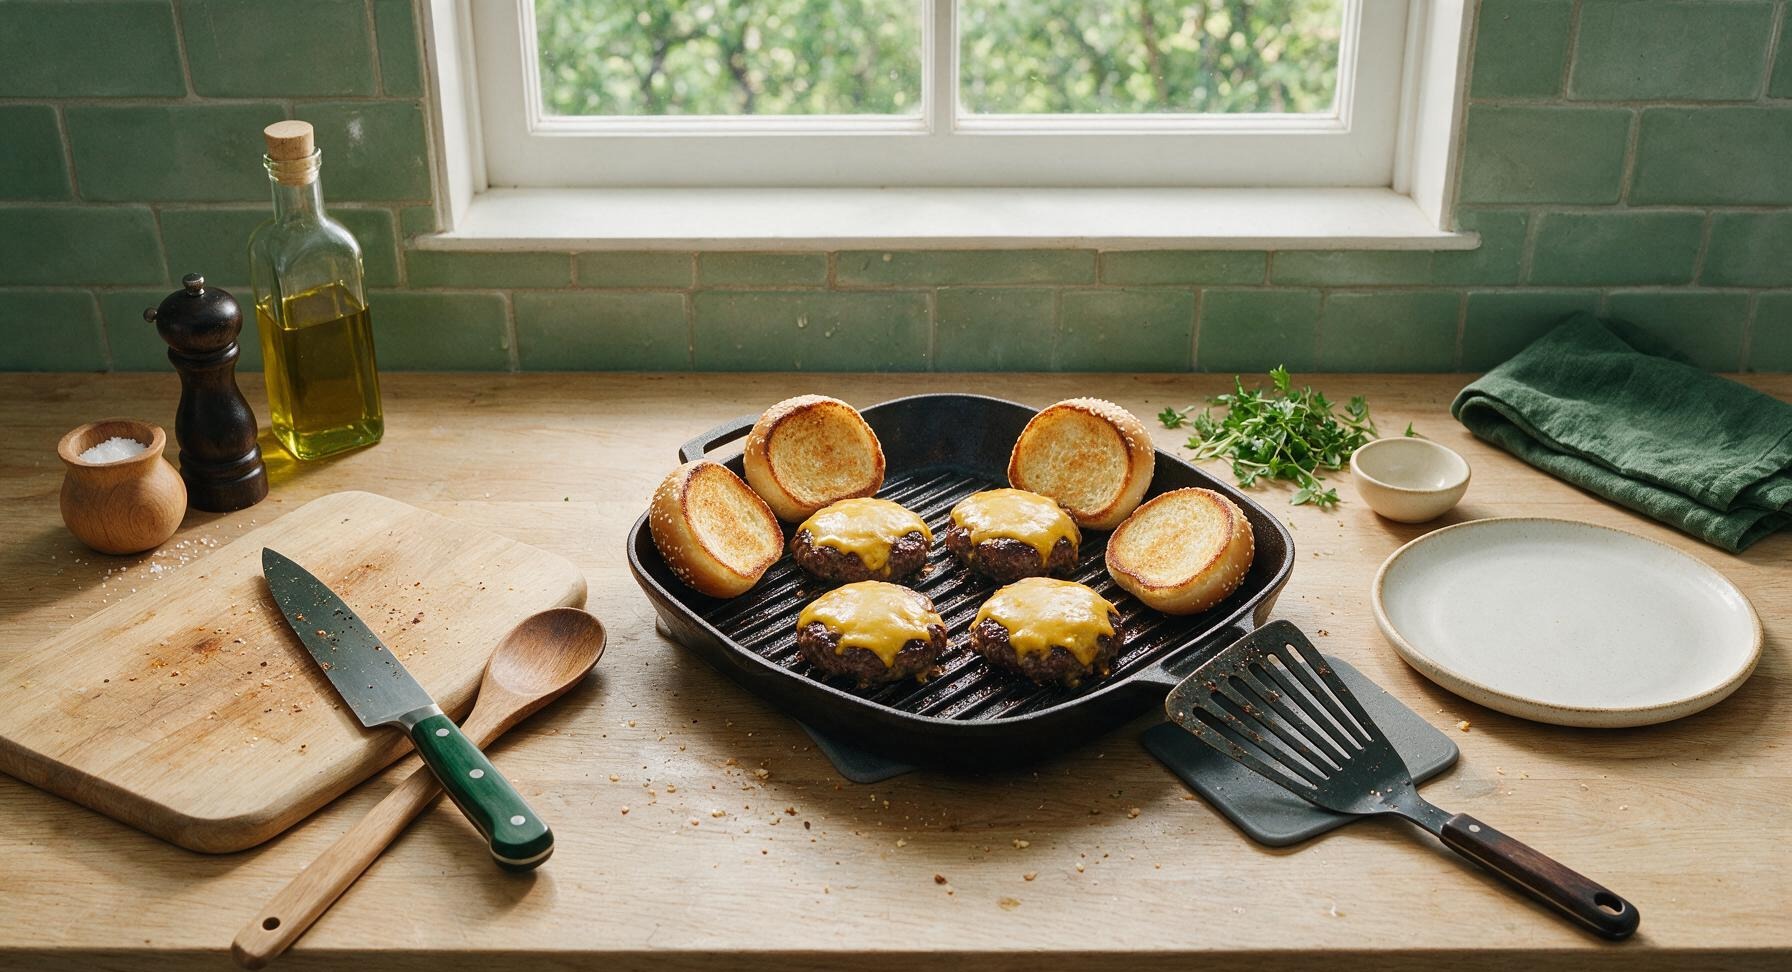
Toast the cut sides of your sesame seed buns directly on the grill or in your pan for 15 to 30 seconds, right after you take the cooked patties off. The little bit of rendered beef fat left on the cooking surface gives the buns a rich, golden, crisp cut side that won't get soggy from burger juices or condiments, while keeping the outer crust soft and pillowy.
10.Can I shape these burger patties ahead of time for a summer cookout?
▾
Absolutely! Shape the unseasoned patties, set them on a parchment-lined tray, cover tightly, and store them in the fridge for up to 24 hours before cooking, or freeze for up to 3 months. Don't season them until right before cooking, and let refrigerated patties sit at room temp for 15 minutes so they cook evenly without cold, raw centers.
11.Should I press down on my burger patties with a spatula while they cook?
▾
Hard no! Pressing down on cooking patties squeezes out all that delicious, flavorful rendered fat and juice straight onto your grill or pan, leaving you with a dry, flavorless burger. The only acceptable press is one light tap right when you first set the patty down, to make sure it makes full contact with the hot surface for an even crust.
12.Why is kosher salt recommended for these burgers instead of regular table salt?
▾
Kosher salt has large, coarse grains that make it easy to spread evenly across the entire patty surface, so you don't end up with random overly salty bites. Table salt is much finer, making it easy to over-season, and it can leave a slightly metallic aftertaste on high-heat seared beef. If you use table salt, cut the measured amount in half.
13.How long should I let cooked burgers rest before assembling them?
▾
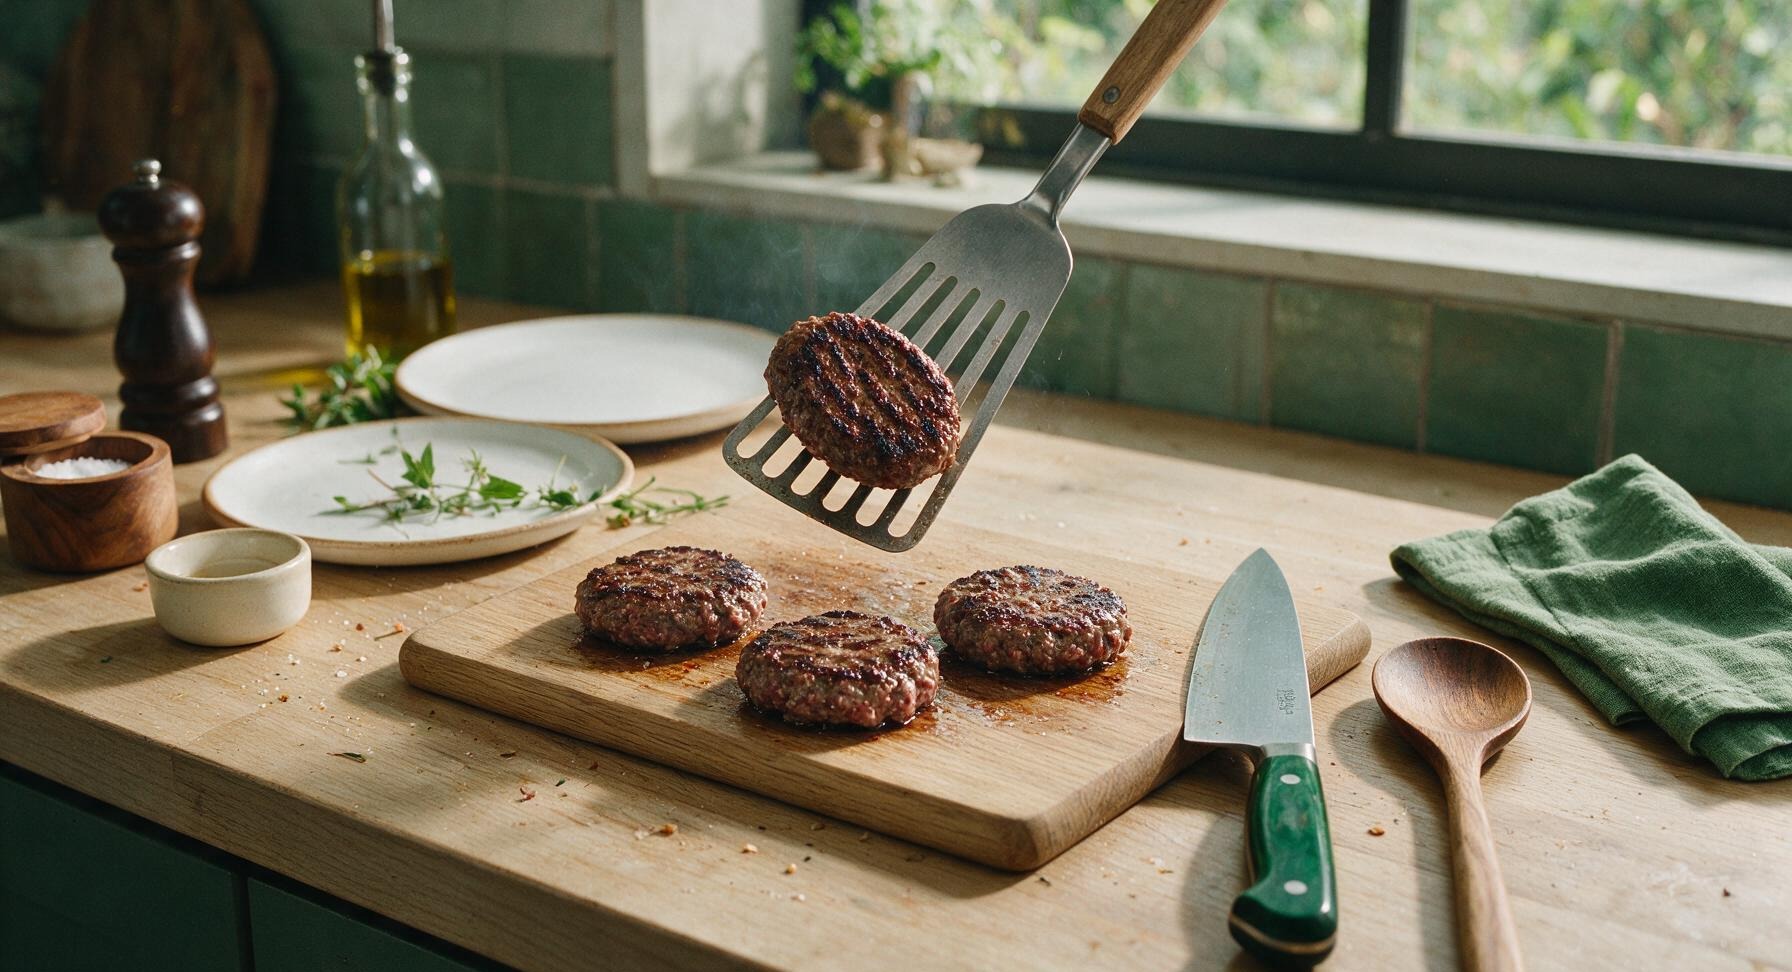
Let the cheese-topped cooked patties rest for 2 to 3 minutes on a clean plate after pulling them off the heat. This short rest lets the juices that got pushed to the center of the patty during high-heat cooking redistribute evenly, so every bite is juicy instead of having all the liquid run out onto your plate the second you take your first bite.
14.Can I use a different cheese if I don't have sharp yellow cheddar?
▾
You can swap cheeses, but sharp yellow cheddar is classic for a reason: its bold, tangy flavor cuts through rich beef, and it melts into that perfect stretchy, gooey texture without getting greasy. If you swap, pick similar melting cheeses like American, pepper jack, or Swiss, and skip crumbly cheeses like feta that won't coat the patty evenly.
15.What's the best way to keep cooked burgers warm for a cookout crowd without sogginess?
▾
Don't stack hot burgers in a sealed container right off the grill—they'll steam and turn soggy fast. Instead, set them on a wire rack over a baking sheet in a 200°F oven, loosely tented with foil, for up to 30 minutes. This keeps them at a food-safe temperature, lets air circulate to preserve the crust, and won't dry out the patties.
16.Do I need to oil my grill grates or pan before cooking these burgers?
▾
Yes, add a light coat of high-smoke-point oil like canola or avocado to your preheated grates or pan to prevent patties from sticking as they form their first crust. Wait until your surface is fully hot before oiling, and don't use too much—excess oil causes grill flare-ups that can burn the outside of patties before they cook all the way through.
17.Why do my homemade burgers turn out tough and dense instead of tender?
▾
Tough burgers almost always come from overworking the ground beef when shaping patties. If you squeeze and mash the meat too much, the proteins bind tightly together, creating a dense, sausage-like texture. Gently form patties with light hands, just enough that they hold their shape, and you'll get that perfect tender, crumbly classic burger bite.
18.What fresh toppings work best without making the sesame seed bun soggy?
▾
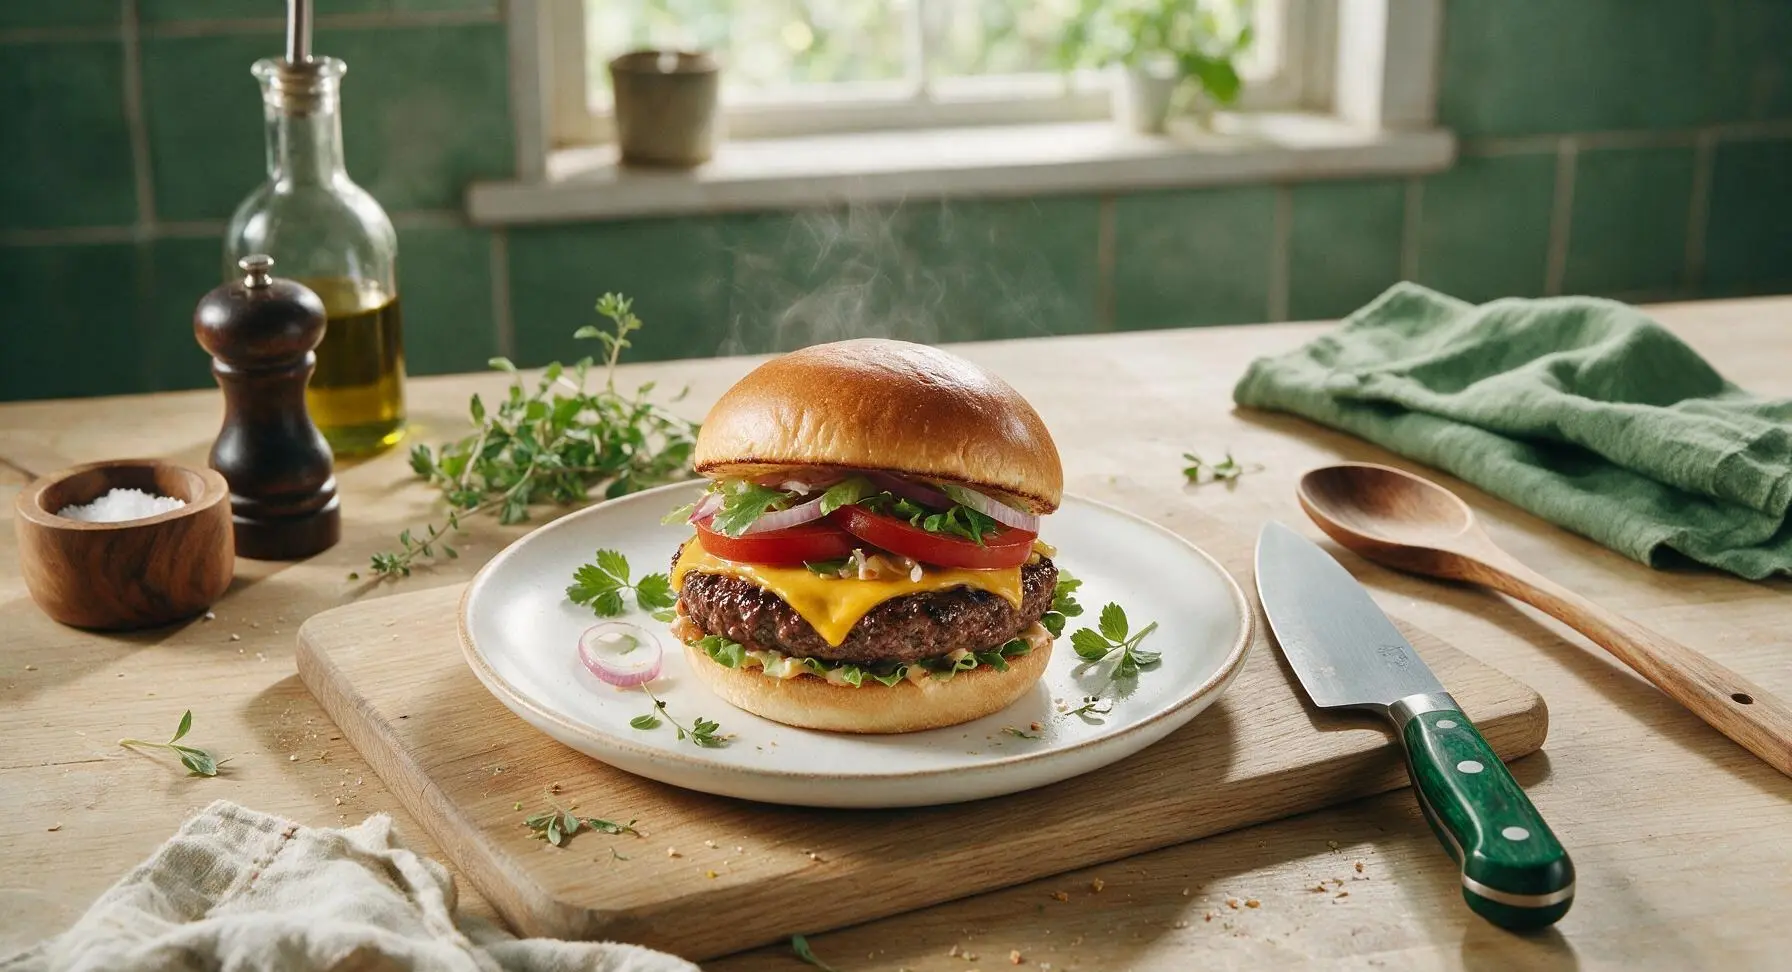
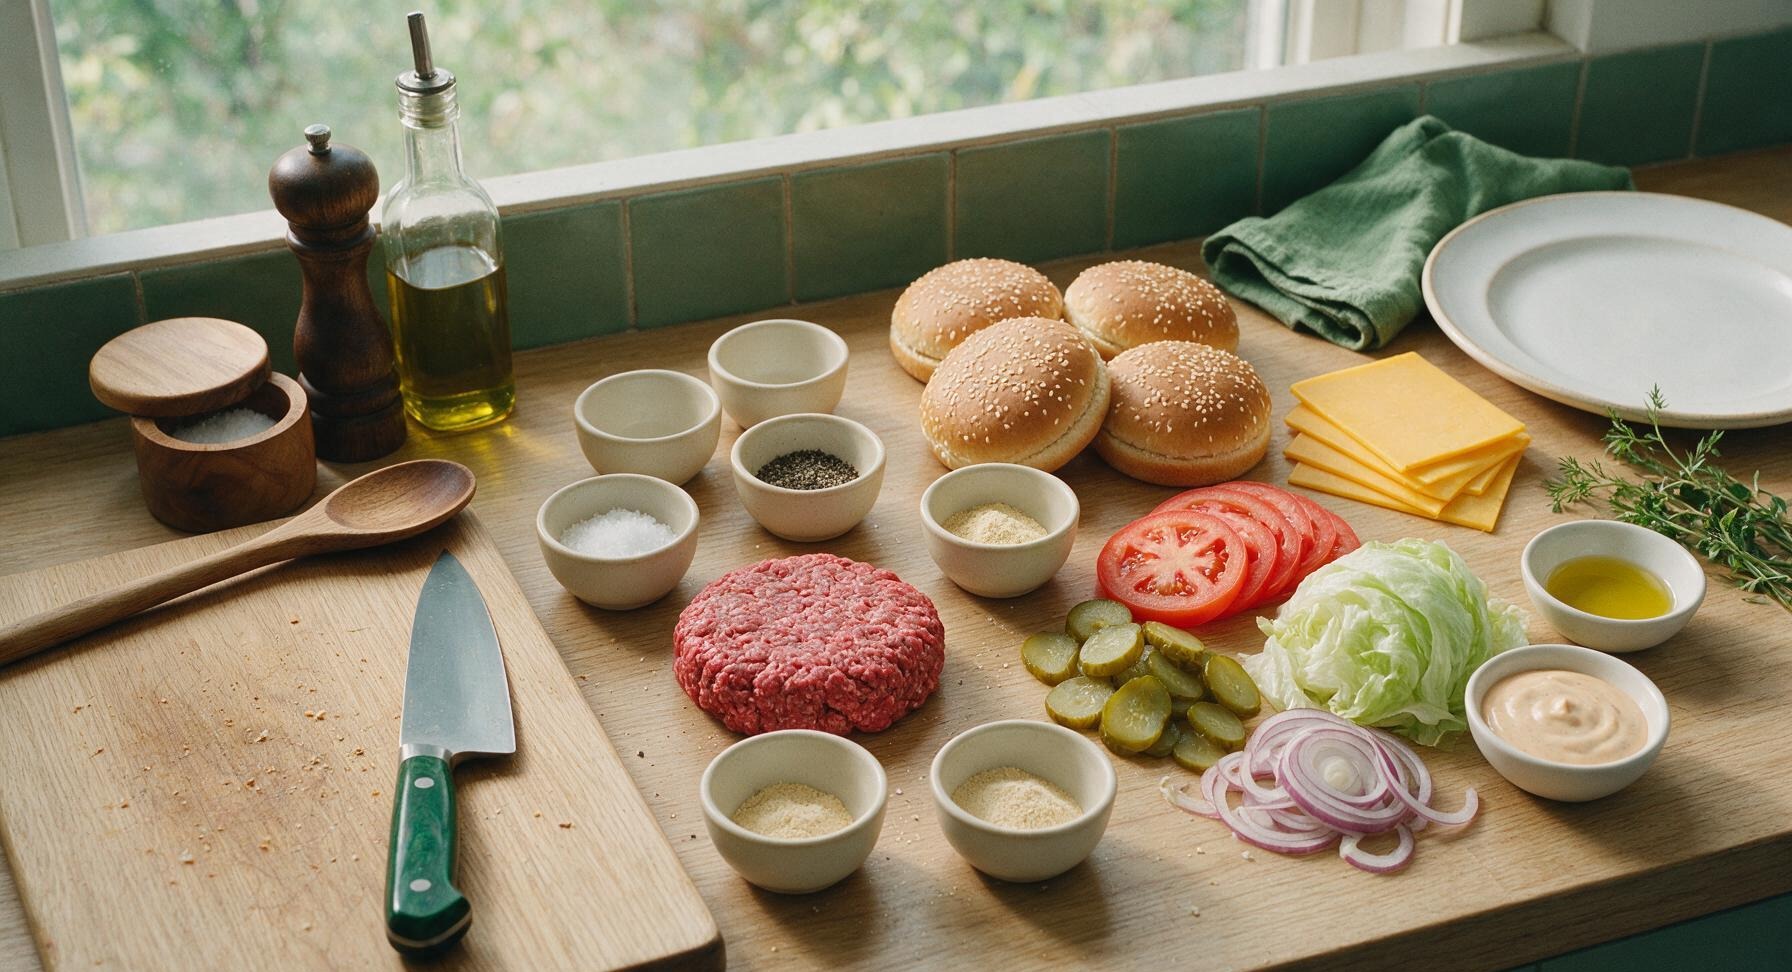
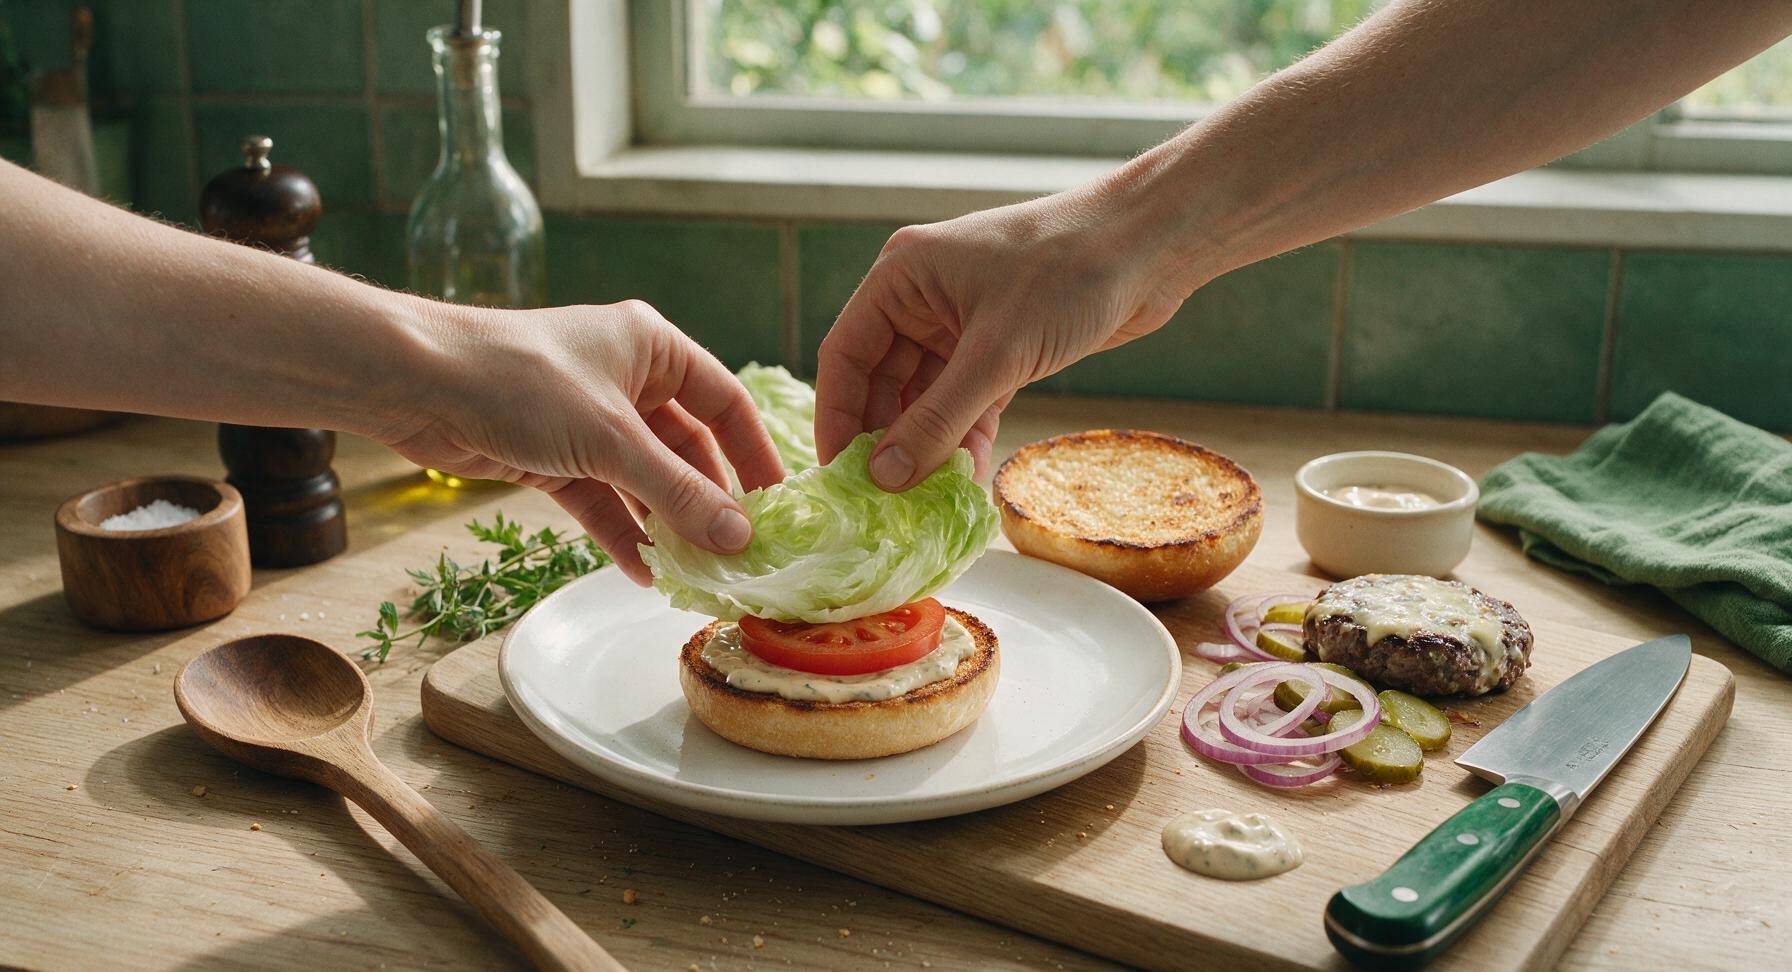
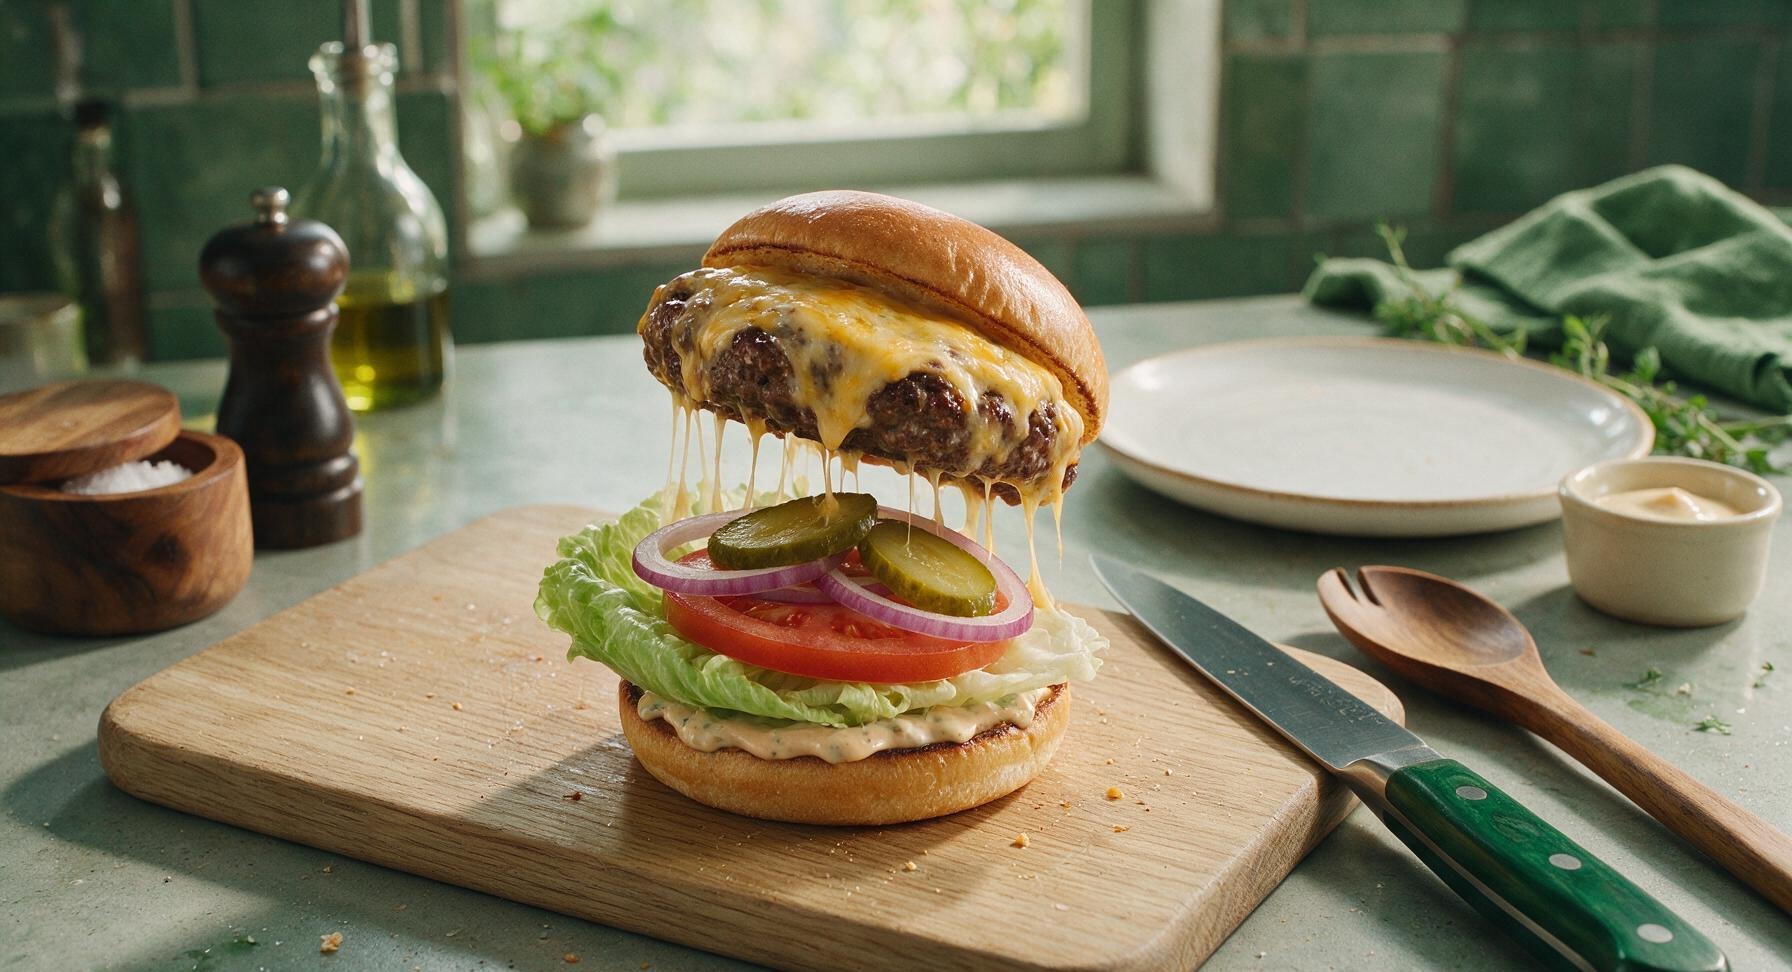
Stick to crisp, classic toppings: thin dill pickle slices, ripe tomato, shredded iceberg lettuce, thin red onion, and your go-to condiments like ketchup, yellow mustard, and mayo. Pat tomato slices dry with a paper towel to cut excess moisture, and layer lettuce under the patty to create a barrier that keeps the bottom sesame bun crisp, not soggy.







OMG this cheeseburger is SO good! I was worried 10 minutes wouldn’t be enough to get that juicy, perfectly seared patty but it worked like a charm. My husband and kids devoured two each at our family dinner last night. Game changer for weeknights when I don’t feel like slaving over the stove!
Tried these for my weekend cookout with the guys and everyone was asking for the recipe! I topped mine with pickles, caramelized onions, and a little special sauce, didn’t even change the patty prep because it was perfect as written. Pro tip: don’t press the patties while they cook, that’s how you lose all the juice!
As someone who can barely boil water without burning it, this recipe was so easy! Cook time really is only 10 minutes, which fits perfectly between my study sessions. I didn’t even have a grill, just used my cast iron skillet on the stove and it came out amazing. Total win for dorm cooking.
Made a big batch of these patties for my weekly meal prep! They hold up really well in the fridge and reheat nicely without getting rubbery, which I was worried about. Only thing I did different was use a little extra garlic powder because we love garlic in our house. Will be making these on repeat!
Bro this is the first homemade burger I’ve made that didn’t fall apart on the bun! The ratio of beef to seasonings is perfect, no weird filler needed. Put a slice of sharp cheddar on top right at the end like the recipe says and it melted perfectly all gooey over the sides. 10/10
Taste was great! But I think my patties were a little too thick so they took longer than 10 minutes to cook through, oops. Ended up having to pop them in the oven for a few extra minutes so they weren’t pink in the middle. Flavor was on point though, just user error on my part!
Brought these mini sliders version to my office potluck last week and they were gone in 10 minutes flat! People kept coming back for seconds and thirds, I had three people ask me for the recipe before I even left the break room. So easy to scale up for a crowd too!
My kids are so picky when it comes to burgers, they usually only want fast food ones, but they ate every single bite of these! Even asked if we could have them again for dinner tomorrow. I’m over here feeling like a winner mom tonight, thank you for this easy, no-fuss recipe!
Quick question! Can I use ground turkey instead of ground beef for this? My partner doesn’t eat red meat and I’d love to make these for our date night in, they look so good!
I’ve tried so many classic cheeseburger recipes that end up dry or bland, but this one knocked it out of the park. The simple seasoning lets the beef flavor shine, no need for a million fancy ingredients. Cooked mine on the outdoor grill in 10 minutes exactly, just like the recipe said, juicy every single bite.
Wait don’t come for me, but I used plant-based ground for this and it was still incredible! The seasonings and cook method worked perfectly even for the fake beef, my roommate who eats real meat didn’t even notice the difference until I told him. 10/10 flexible recipe!
Used pepper jack cheese instead of American on these and WOW, that little kick of heat paired with the juicy beef was unreal. Also toasted the buns on the skillet while the patties rested, game changer level good. Will be my go-to burger recipe from now on, no question.
This recipe is great, but I found the salt amount a little high for my taste. Next time I’ll cut it in half, but otherwise the texture and juiciness were perfect. My whole family loved them even with the extra salt, just my personal preference!
Made these for our football tailgate last weekend and they were a total hit! I pre-formed the patties the night before and kept them in the cooler, then cooked them up on a portable grill in the parking lot in 10 minutes flat. Everyone was saying they were better than the stadium burgers. Win!
I’ve never grilled anything in my life and I was so nervous to make burgers for my boyfriend’s birthday, but this recipe made it so easy! They came out juicy, perfectly cooked, the cheese melted just right, and he said they were the best burgers he’s ever had. I’m so proud of myself lol
Pro move: make two thin patties per burger instead of one thick one, stack them with a slice of cheese in between, and you’ve got a perfect smash style double cheeseburger that’s even juicier than the single. Cook time is still only like 10 minutes total too, no extra time needed!
Between work, soccer practice dropoffs, and helping the kids with homework, I barely have time to throw dinner together on weeknights, so this 10-minute cheeseburger recipe is a total lifesaver. No fancy ingredients, no complicated steps, just a really juicy, classic burger that the whole family goes crazy for. Already added it to our regular weekly dinner rotation!