
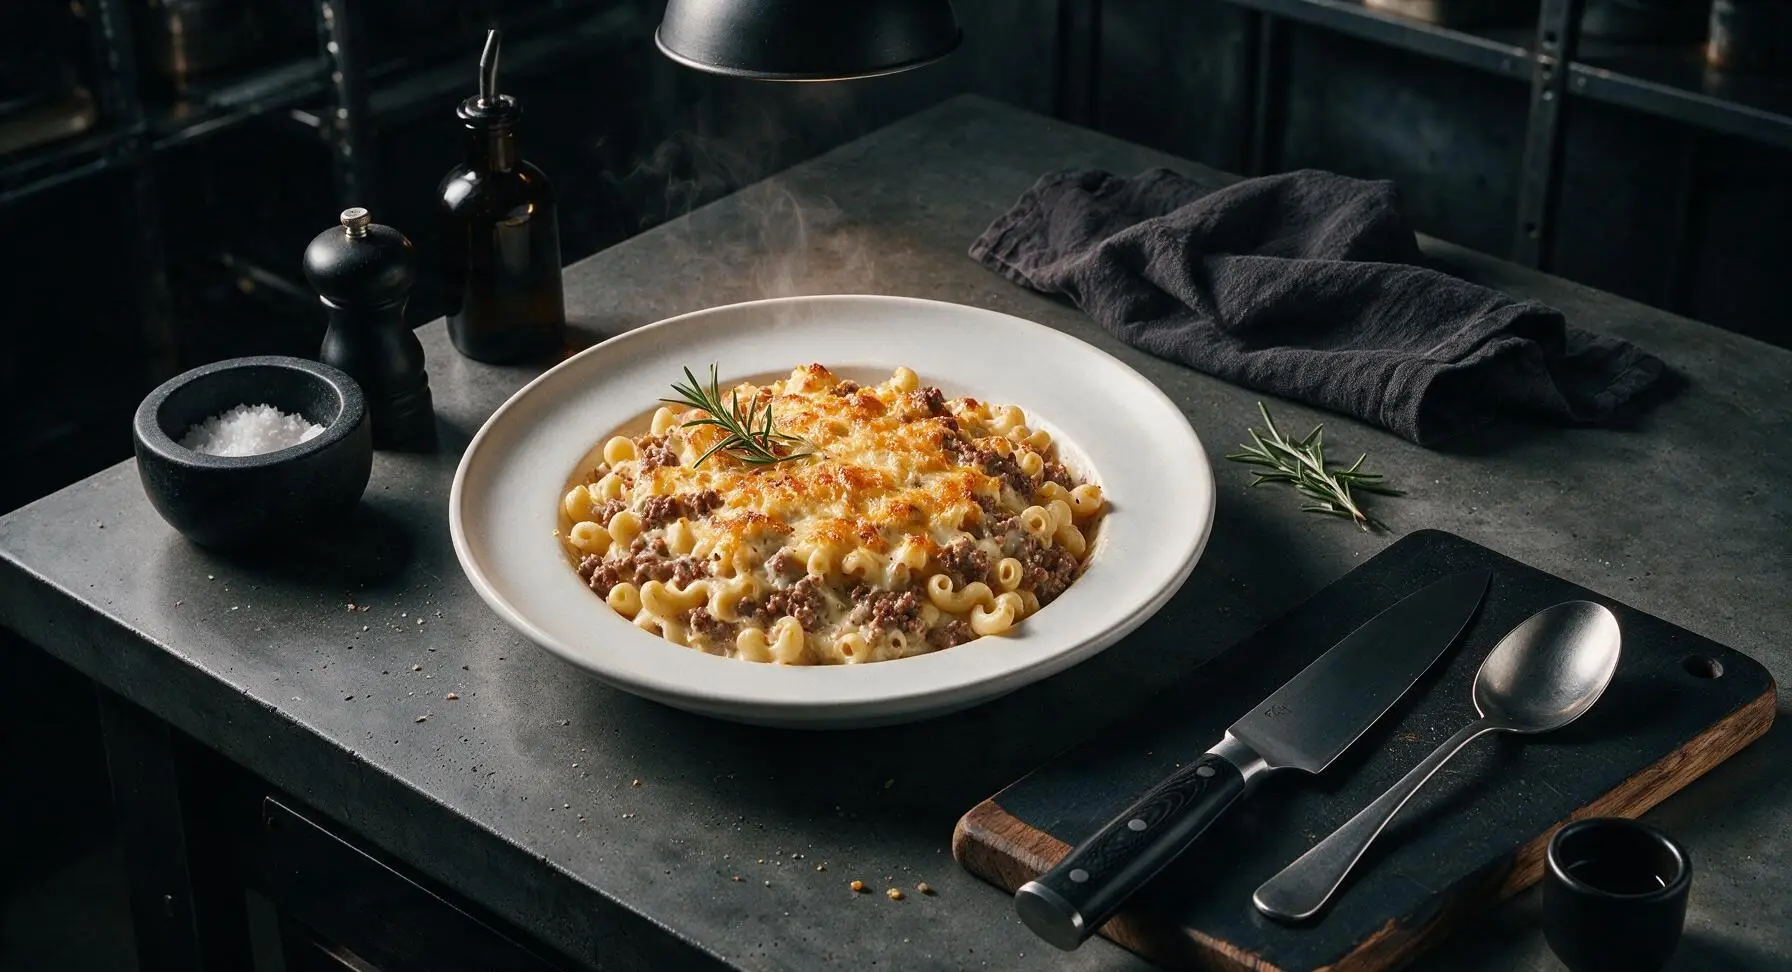
ground beef macaroni casserole

title 1
ground beef macaroni casserole
⏱️ cook time 40 minutes
🍽️ servings 6
⚡ Difficulty easy

intro

Creamy, cheesy, hearty ground beef macaroni casserole is nostalgic comfort food at its best—loaded with savory beef, tender pasta, and a crispy golden cheese top, perfect for family meals.

Ingredients
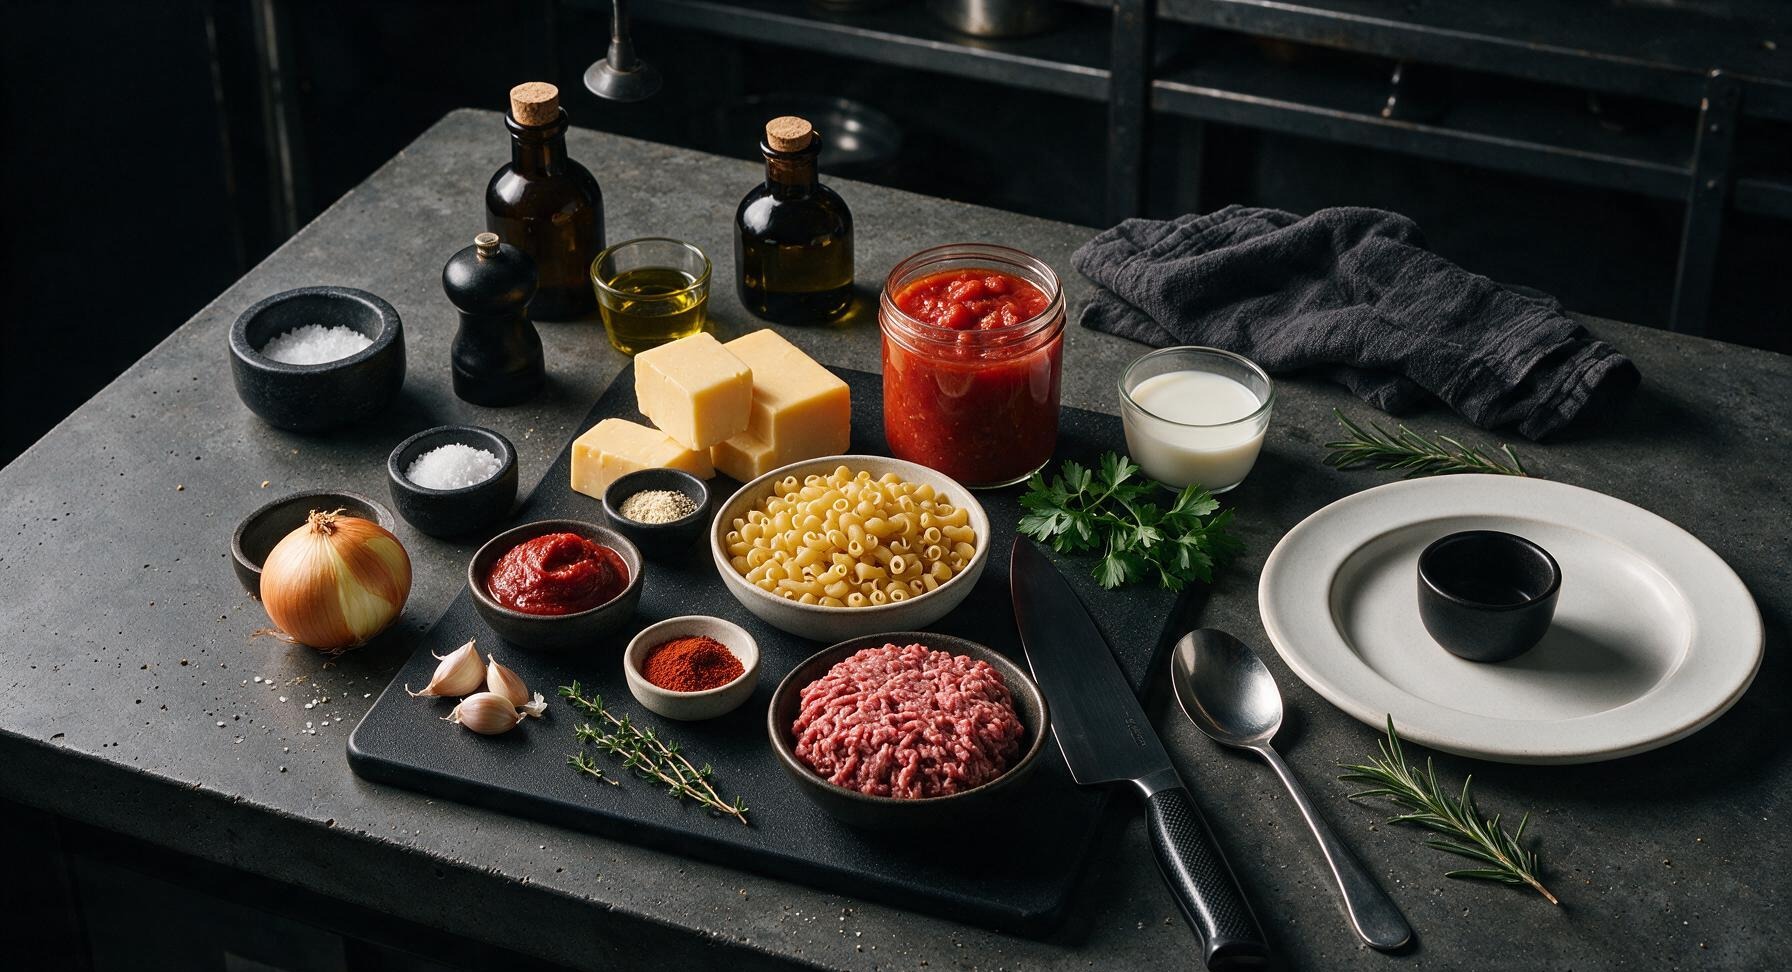
Lean ground beef (85/15) 450g
Dry elbow macaroni 225g
Sharp cheddar cheese 200g
Canned crushed tomatoes (no salt added) 400g (1 can)
Yellow onion 1 small (110g, diced)
Garlic cloves 3 (10g, minced)
Tomato paste 2 tbsp (30g)
Whole milk 120ml
Kosher salt 1 tbsp (for pasta water) + 1 tsp (for sauce)
Freshly ground black pepper 1/2 tsp
Smoked paprika 1 tsp
Garlic powder 1/2 tsp
Extra-virgin olive oil 1 tbsp + 1 tsp
Fresh thyme 3 sprigs (2 for sauce, 1 for garnish)

Steps

1

Prep Ingredients and Preheat

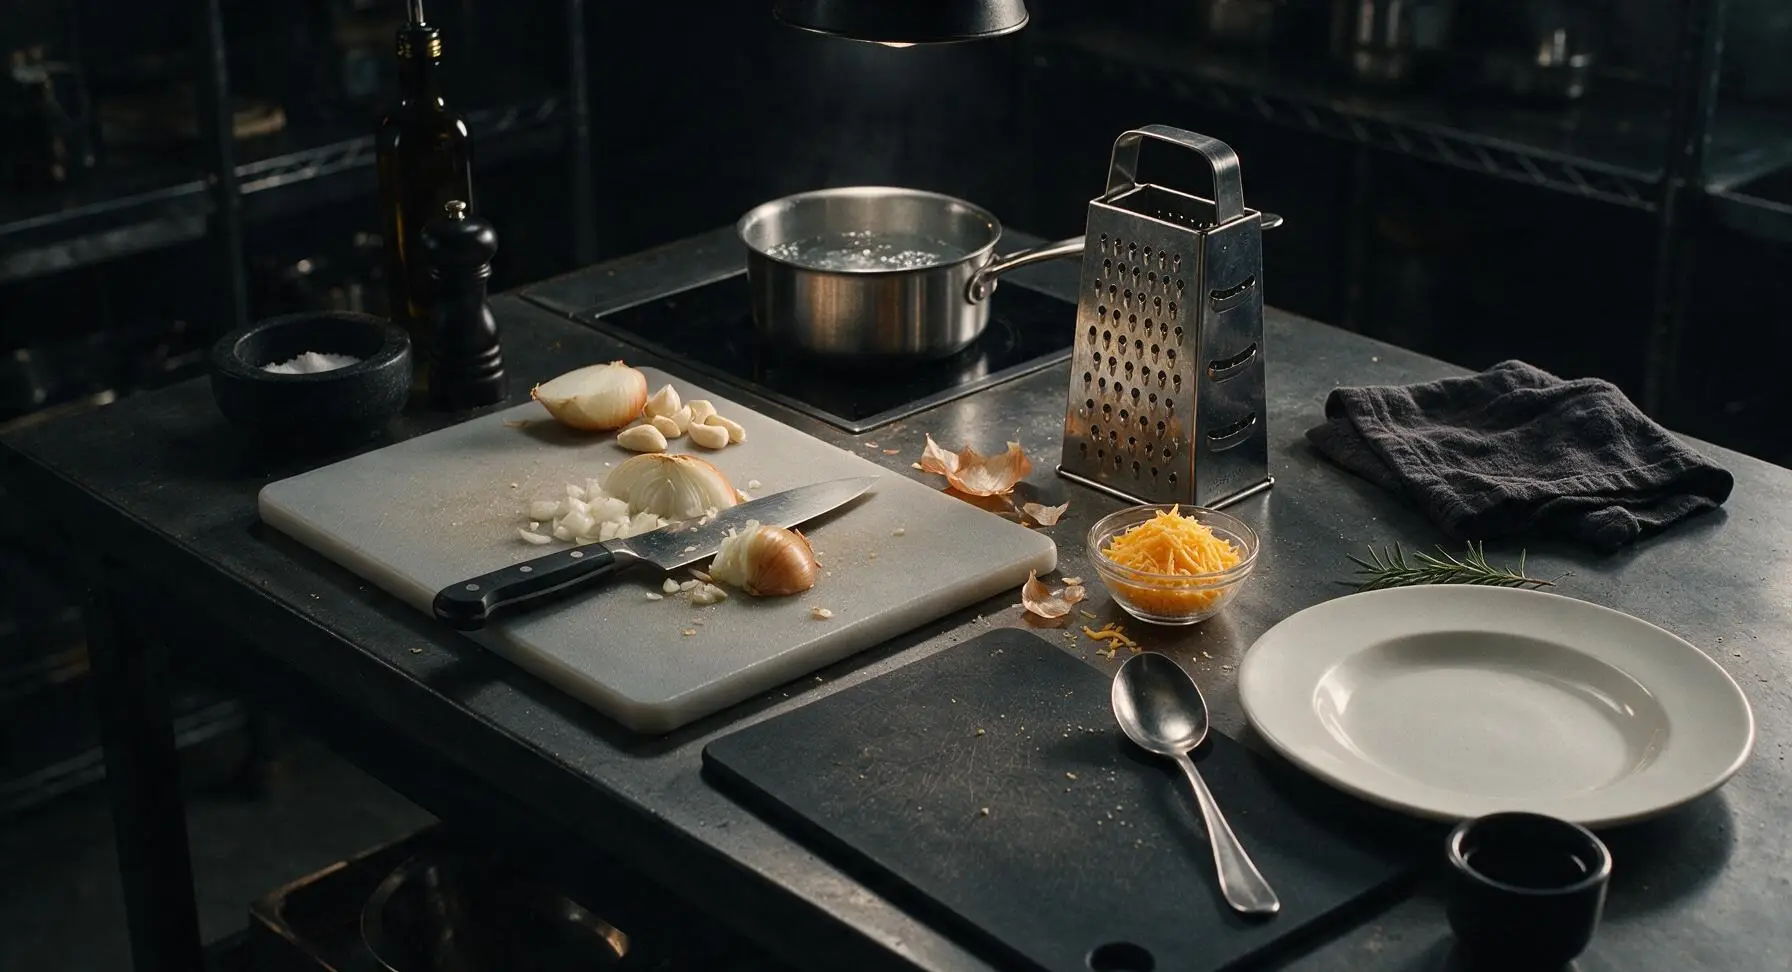
Preheat oven to 190C (375F). Set the light grey polypropylene cutting board at center-left counter. Dice 1 small yellow onion into 1cm pieces, mince 3 garlic cloves, and use the stainless steel four-sided box grater to shred 200g sharp cheddar into a small clear glass prep bowl. Portion dry macaroni, whole milk, crushed tomatoes, tomato paste, and all spices into individual small prep bowls for easy access. Fill the 5L brushed stainless steel stock pot with 4L cold water, stir in 1 tbsp kosher salt, and set on the back-left stovetop burner over high heat to bring to a rolling boil.
Step 1
step1:Prep Ingredients and Preheat
2

Cook Elbow Macaroni

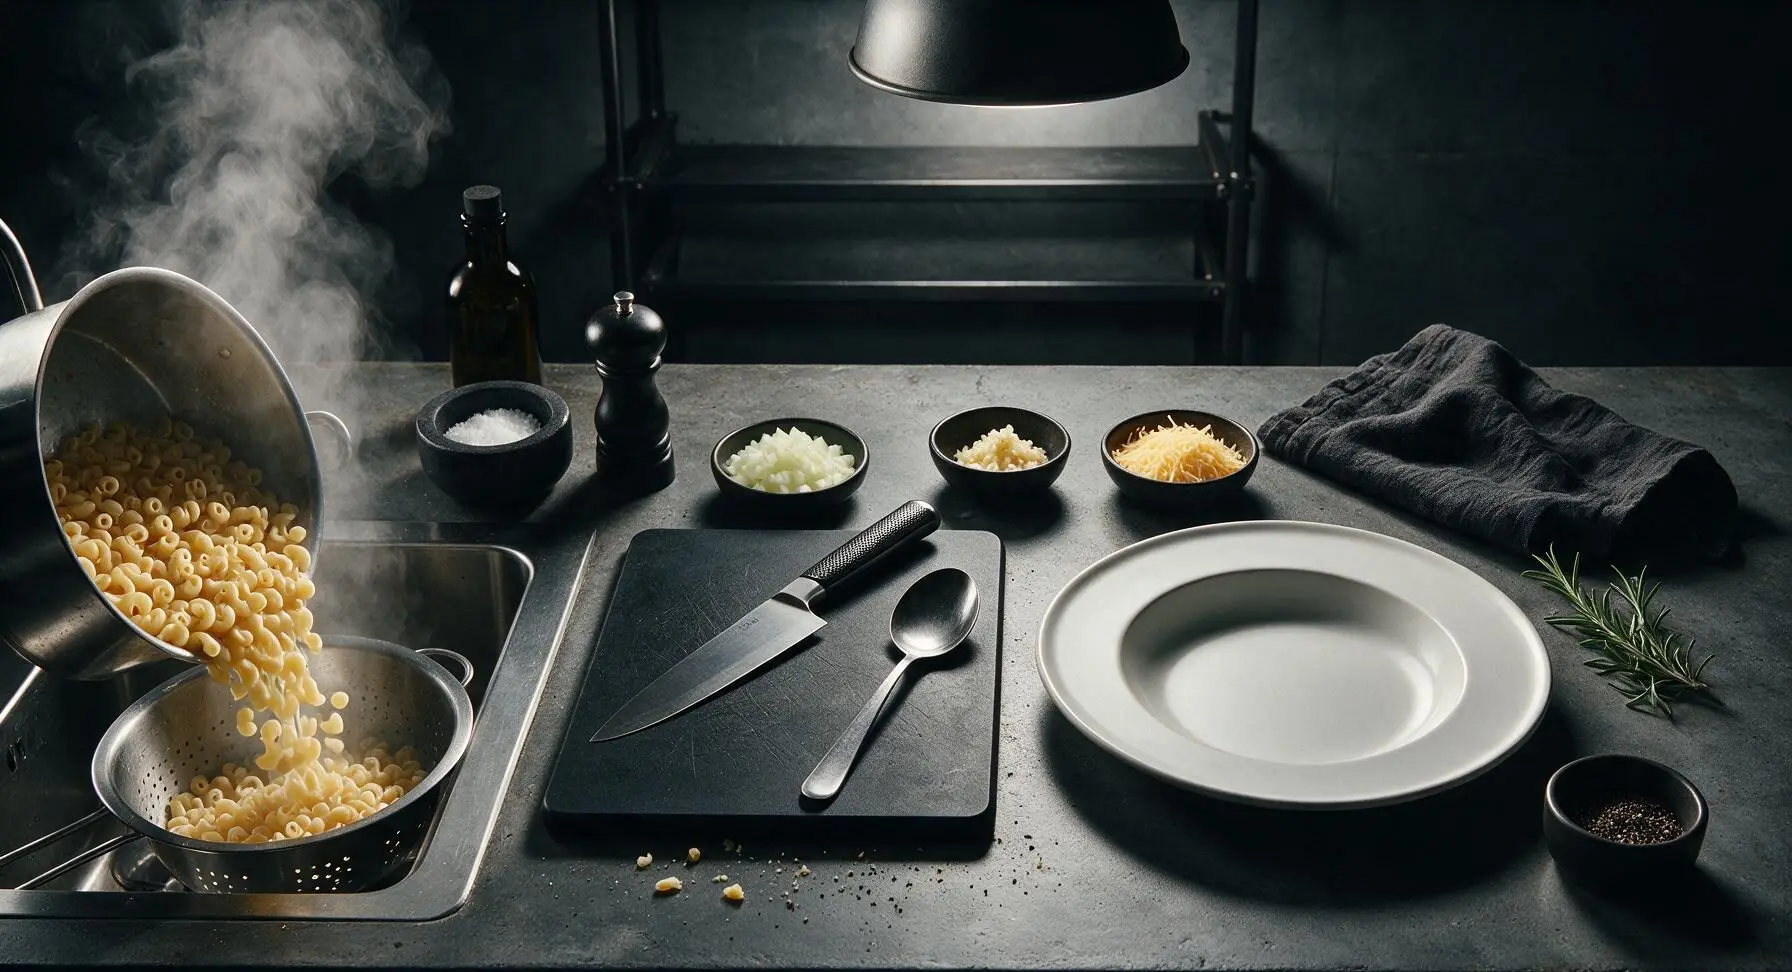
Once the salted water reaches a full rolling boil, add 225g dry elbow macaroni. Cook for 2 minutes less than the package’s recommended al dente time (approximately 6 minutes total), as the pasta will continue to cook and absorb sauce during baking. Drain the pasta in the stainless steel colander set in the far-left sink, toss with 1 tsp olive oil to prevent noodles from sticking together, and set aside.
Step 2
step2:Cook Elbow Macaroni
3

Brown the Ground Beef

Place the 12-inch heavy-bottomed stainless steel skillet on the stovetop burner adjacent to the stock pot over medium heat. Add 1 tbsp olive oil, then toss in the diced onion, sautéing for 3 minutes until soft and translucent. Add the minced garlic and 2 tbsp tomato paste, cooking for 1 minute until fragrant and the tomato paste darkens slightly. Add the 450g ground beef to the skillet, breaking it apart into small, fine crumbles with the deep red silicone spatula as it cooks. Brown for 6-7 minutes until no pink remains, then carefully tilt the pan to drain any excess rendered grease into a heatproof container.
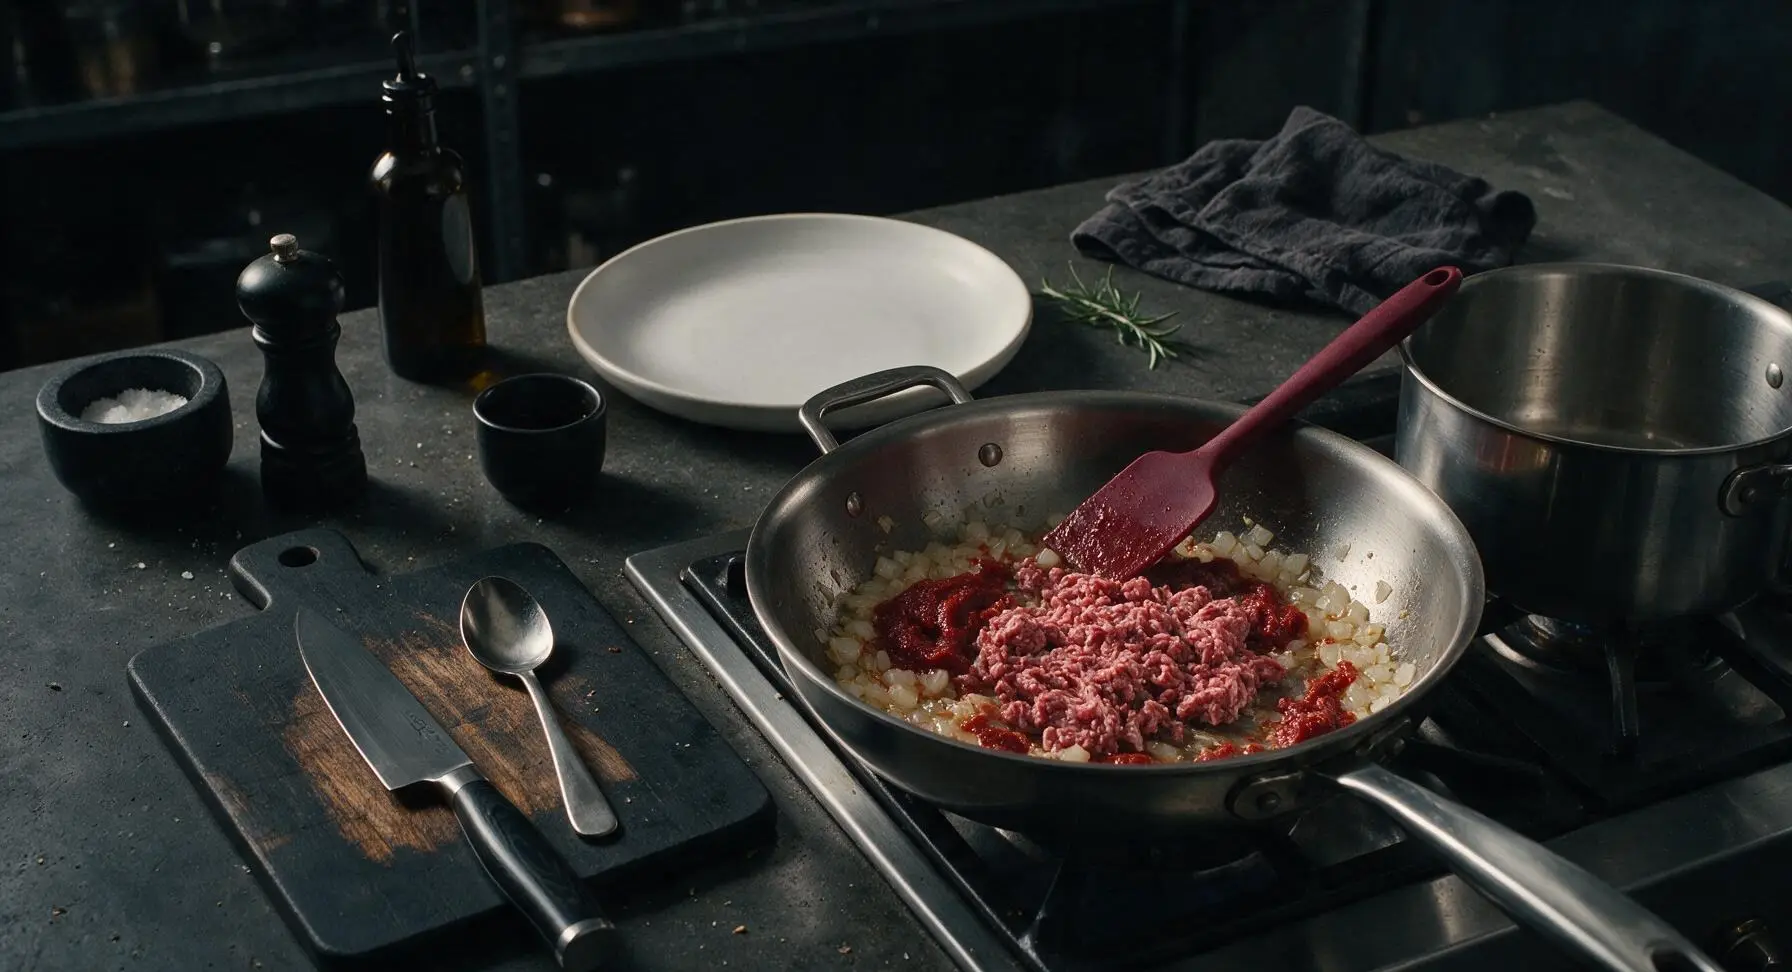
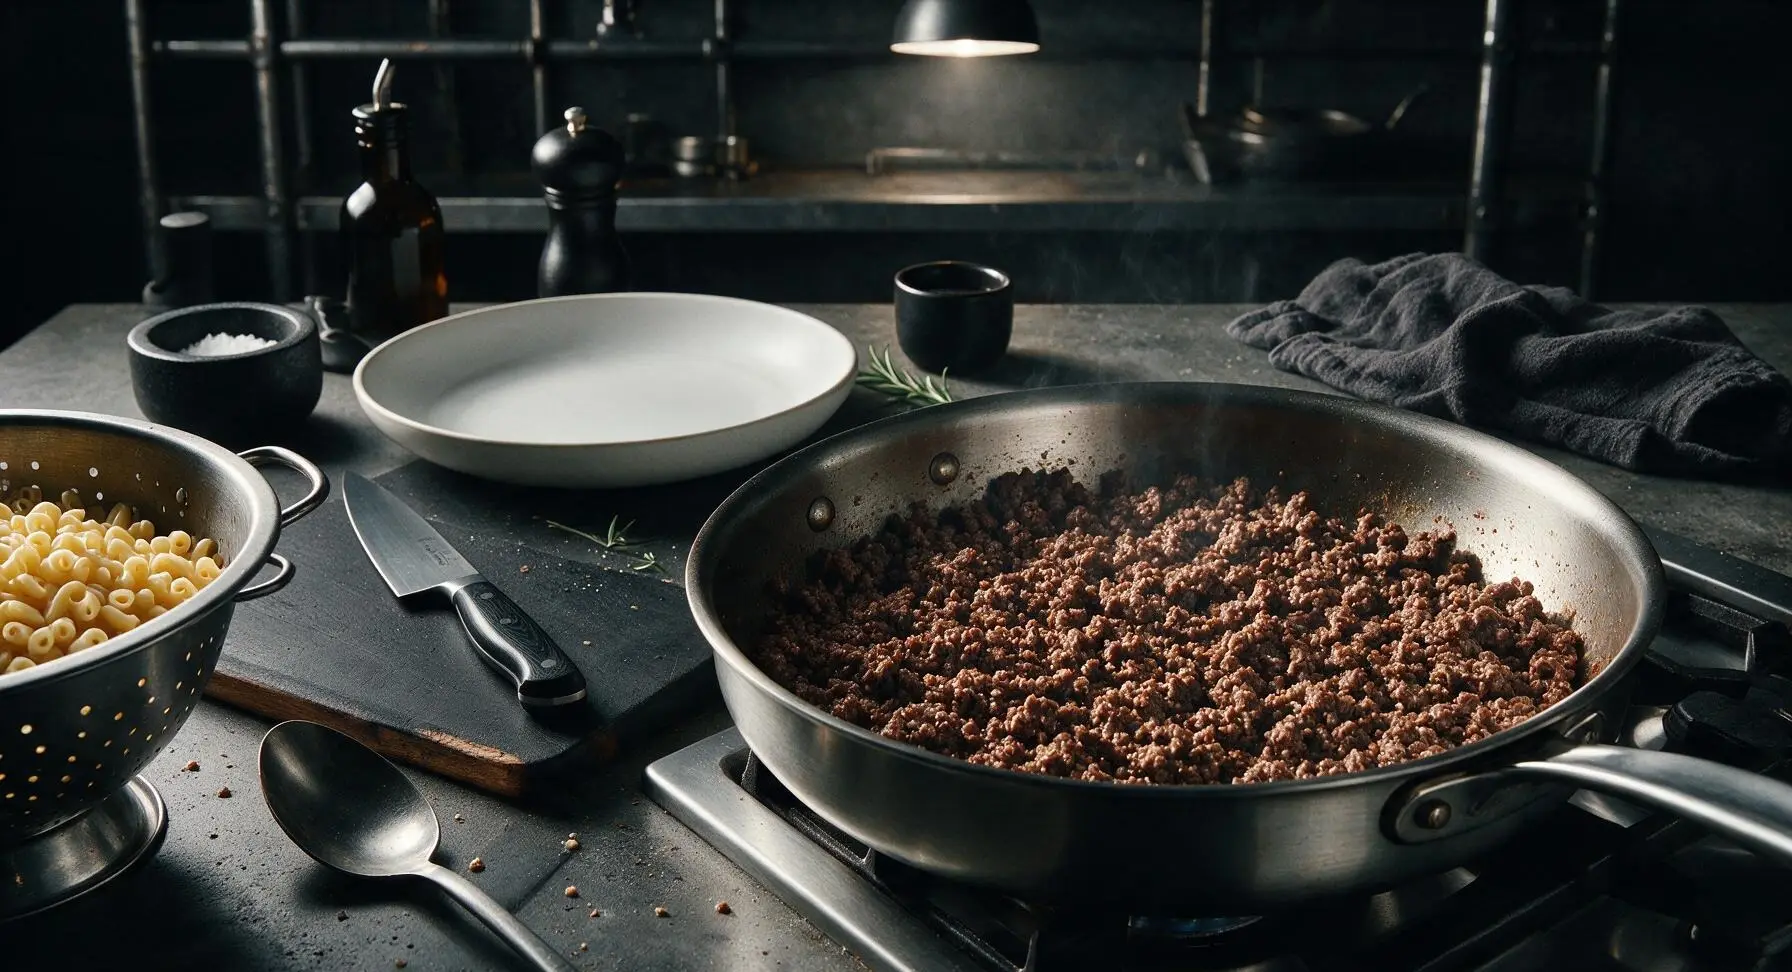
Step 3
step3:Brown the Ground Beef
Step 3
step3:Brown the Ground Beef
4

Build the Pasta Sauce

Reduce stovetop heat to medium-low. Stir the 400g can of crushed tomatoes, 120ml whole milk, 1 tsp smoked paprika, 1/2 tsp garlic powder, 1/2 tsp freshly ground black pepper, and leaves stripped from 2 fresh thyme sprigs into the browned beef mixture. Stir to combine fully, then simmer for 4 minutes until the sauce thickens slightly and forms small gentle bubbles. Fold in the drained, partially cooked macaroni, stirring with the silicone spatula until every elbow noodle is evenly coated in the creamy beef and tomato sauce.
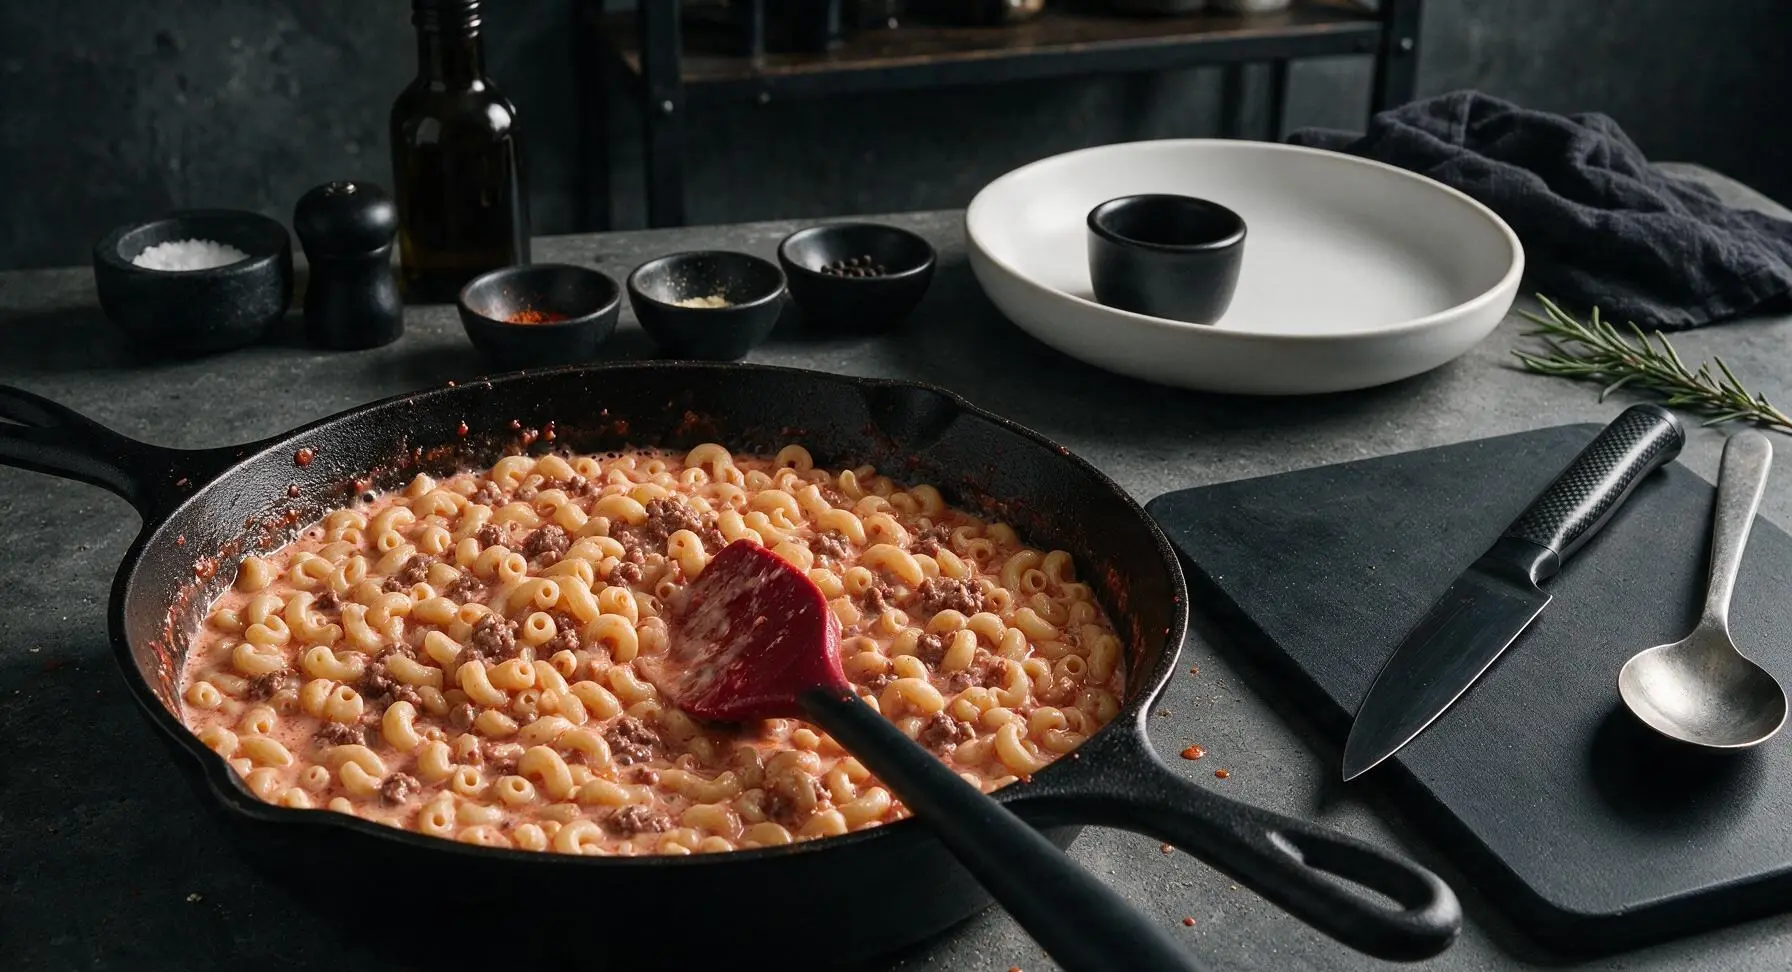
Step 4
step4:Build the Pasta Sauce
5

Assemble the Casserole

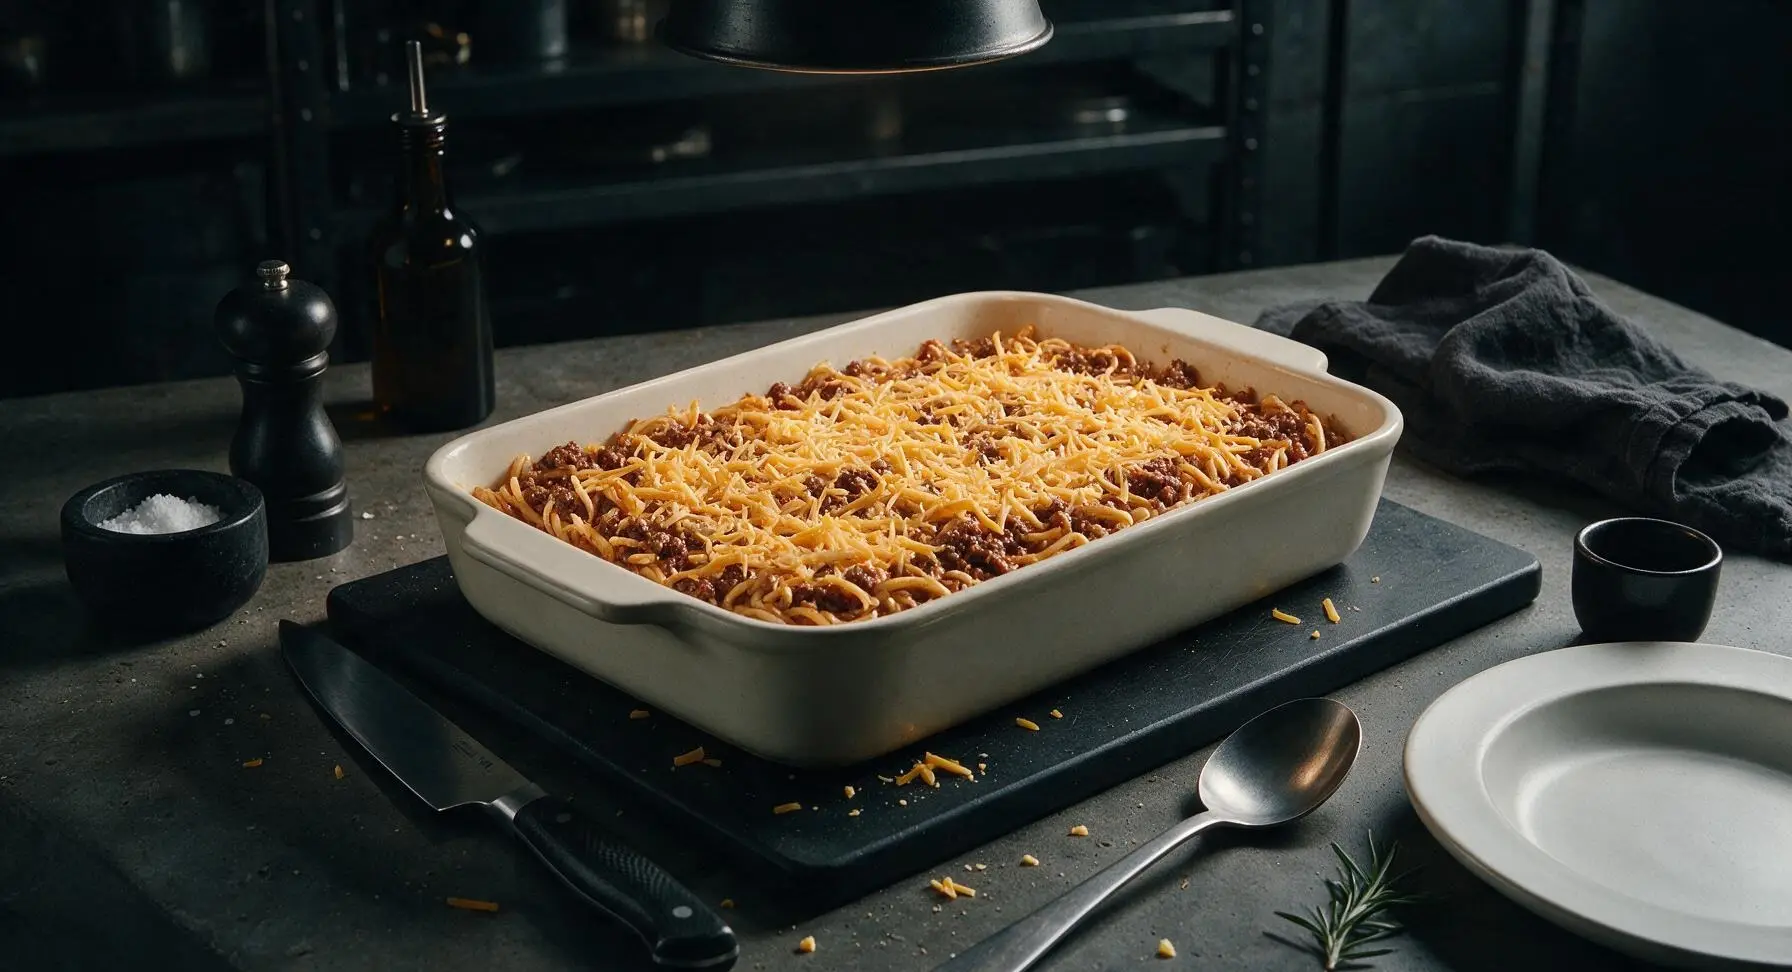
Pour the entire pasta and beef mixture into the matte cream-white 9x13 inch ceramic baking dish set at center counter, spreading it into a smooth, even layer with the silicone spatula. Sprinkle the remaining freshly grated sharp cheddar cheese evenly over the top, covering the entire surface right to the edges of the dish to ensure every bite has melted, crispy cheese.
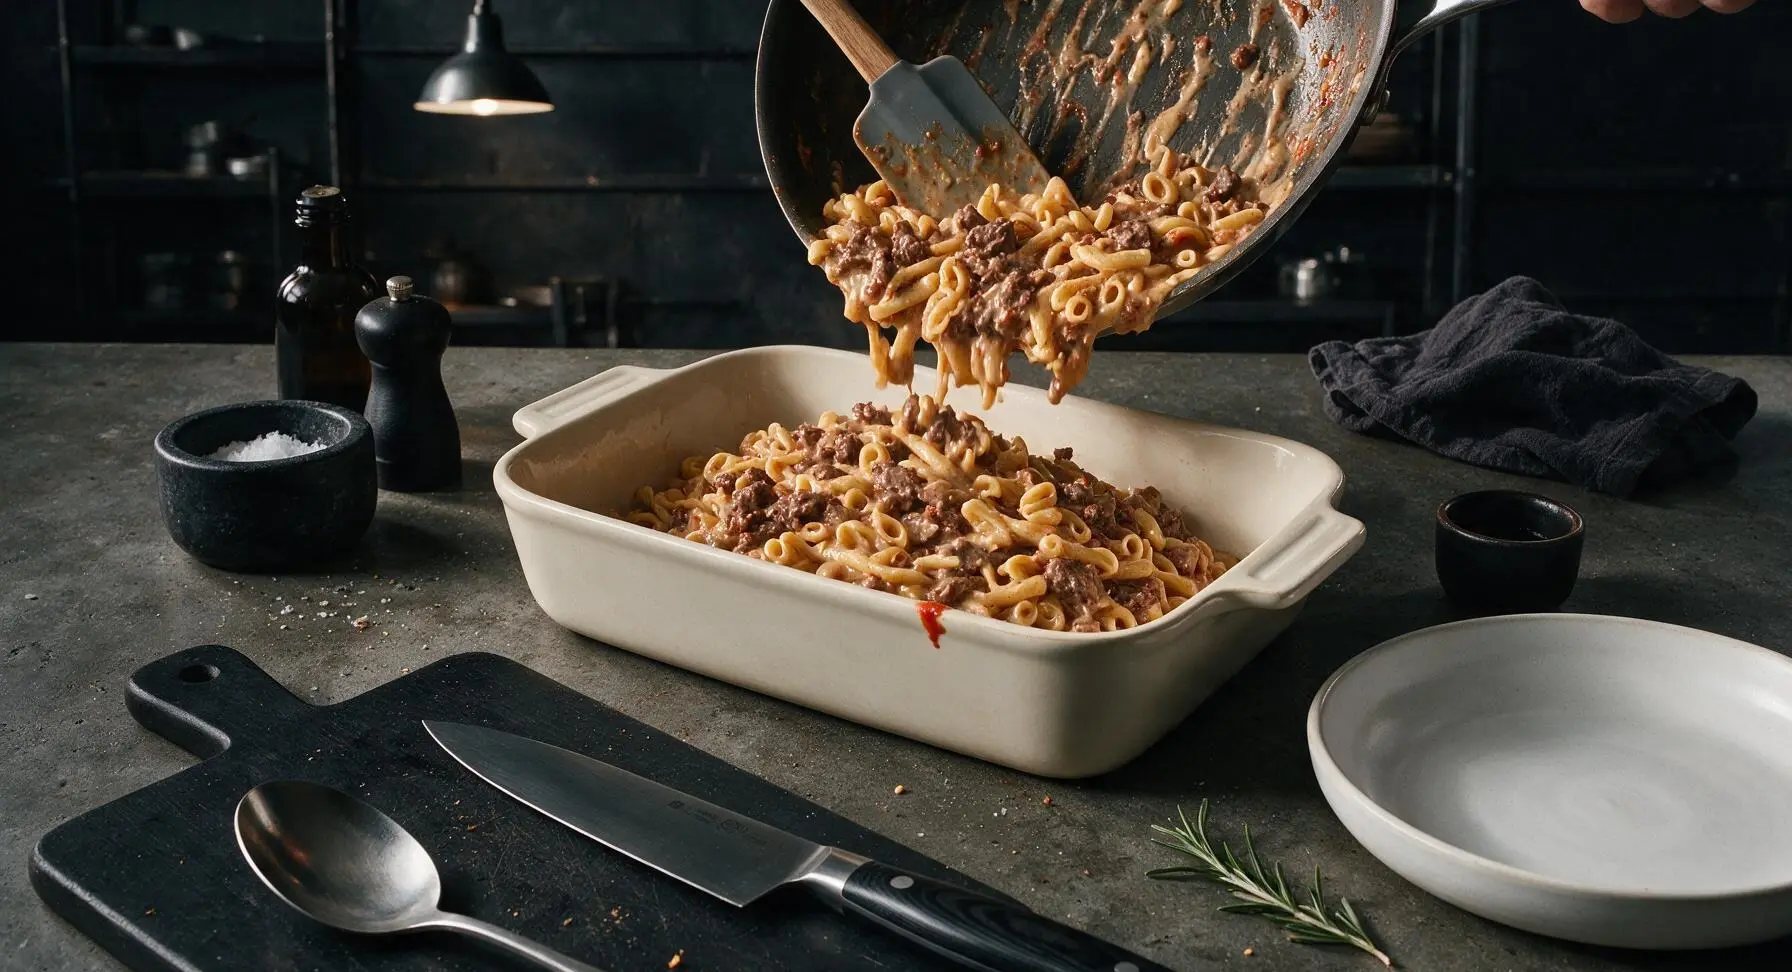
Step 5
step5:Assemble the Casserole
Step 5
step5:Assemble the Casserole
6

Bake Until Bubbly

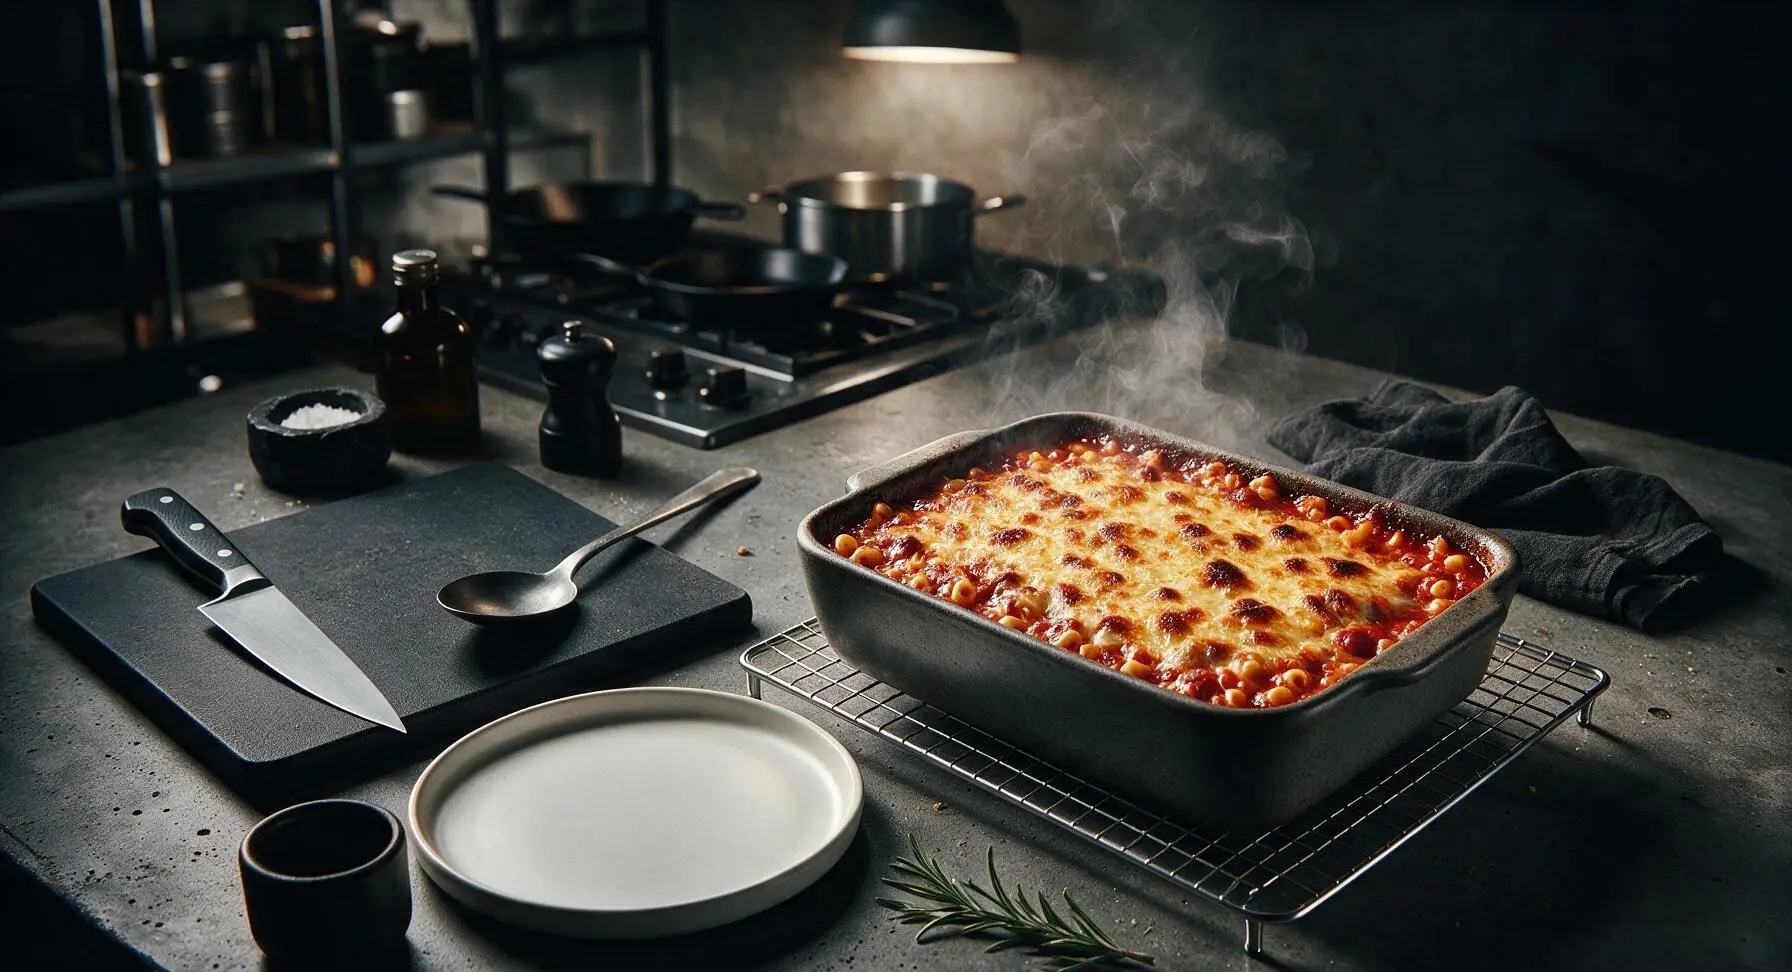
Carefully place the assembled baking dish on the middle rack of the preheated 190C (375F) oven. Bake for 20 minutes, rotating the dish halfway through if your oven has known hot spots, until the cheese is fully melted, the sauce is actively bubbling around the entire perimeter of the dish, and the top cheese develops splotchy deep golden brown crispy spots. Once baked, carefully remove the dish from the oven using thick oven mitts, and set it on the chrome wire cooling rack placed at front-right counter to rest for 5 minutes—this allows the sauce to set so servings hold their shape when scooped.
Step 6
step6:Bake Until Bubbly

Tips

1.Cook pasta 2 minutes short of package al dente directions: The noodles will continue to absorb sauce and cook through in the hot oven, which prevents mushy, overcooked pasta in the finished casserole.
2.Grate cheese fresh from a block instead of using pre-shredded store-bought cheese: Pre-shredded cheese is coated in potato starch and anti-caking agents that prevent smooth, creamy melting, leading to a grainy, separated cheese top instead of the stretchy, evenly melted layer you get from freshly grated cheddar.
3.Let the casserole rest a full 5 minutes after removing it from the oven: This short rest allows the hot, loose sauce to thicken and set, so scoops hold their neat shape instead of running across the plate when served.


✨ You May Also Like

Main Course
🍜 United Kingdom

A showstopping classic of tender seared beef, savory mushroom duxelles, and crisp prosciutto wrapped in flaky golden puff pastry, baked to juicy perfection.

⏱️ 2 hours 1Main Course ★ 4.7
Main Course
🍜 India

Tender charred marinated chicken simmered in a rich, spiced creamy tomato sauce, this iconic Anglo-Indian curry pairs perfectly with basmati rice or warm naan.

⏱️ 50 minuteMain Course ★ 4.6
Main Course
🍜 Thailand

Classic tangy, sweet, and savory Thai stir-fried rice noodles with shrimp, tofu, and crunchy garnishes, balancing all five core Thai flavor profiles.

⏱️ 30 minuteMain Course ★ 4.5
Main Course
🍜 United Kingdom

Crispy golden beer-battered cod and fluffy double-fried chips, served with tangy tartar sauce and malt vinegar: the timeless, beloved British pub comfort classic.

⏱️ 45 minuteMain Course ★ 4.7
Main Course
🍜 Mexico

Smoky, chile-marinated pork tacos with caramelized pineapple, fresh cilantro, and lime: a beloved classic Mexican street food perfect for casual summer gatherings.

⏱️ 1 hour 45Main Course ★ 4.8
Main Course
🍜 United States

Crunchy Fritos corn chips layered with savory beef chili and melted cheddar, topped with cool, zesty fixings for a beloved, cozy Tex-Mex comfort food.

⏱️ 35 minuteMain Course ★ 4.8

ground beef macaroni casserole:Frequently Asked Questions

1.Can I use a different fat ratio of ground beef if I don’t have 85/15 on hand? ▾
85/15 lean ground beef strikes the perfect balance of rich flavor and minimal excess grease, but you can swap it easily. If using leaner 90/10 beef, add 1 tablespoon of olive oil when sautéing onions to keep the filling moist. If using fattier 80/20 beef, fully drain all rendered fat after browning to avoid a soggy casserole.
2.Do I need to fully cook the elbow macaroni before baking the casserole? ▾
No, you should only parboil the macaroni to 2 minutes short of the package’s al dente recommendation. The pasta will finish cooking in the oven as it absorbs moisture from the crushed tomatoes and beef sauce. Boiling it fully first will lead to mushy, overcooked noodles after baking; skip rinsing after draining so starch helps sauce cling.
3.Can I use a different type of cheese if I don’t have sharp cheddar? ▾
Sharp cheddar brings a bold, tangy flavor that cuts through the rich, savory filling, but you have great swap options. A 50/50 mix of mild cheddar and Monterey Jack works beautifully for extra creaminess, or pepper jack for a subtle spicy kick. Skip pre-shredded cheese, as its anti-caking coating prevents smooth melting.
4.Why does my version of this casserole turn out watery sometimes? ▾
Watery casserole almost always traces back to excess undrained moisture. Make sure to drain rendered fat from browned beef, and don’t add extra liquid from your canned crushed tomatoes. If your crushed tomatoes are extra juicy, simmer them with the beef for 3-4 minutes to thicken before mixing with pasta to cut down on excess moisture.
5.Can I assemble this casserole ahead of time for meal prep? ▾
Absolutely! Assemble the mixed beef, pasta, and sauce filling in a baking dish, hold off on adding the top cheese layer, cover tightly, and refrigerate for up to 2 days or freeze for up to 3 months. When ready to bake, top with cheese, add 10-15 minutes to the bake time for refrigerated casserole, or thaw frozen casserole fully first.
6.What easy add-ins can I use to pack more veggies into this dish? ▾
This casserole is very flexible for veggie additions! Stir in 1 cup of frozen peas and carrots, sautéed diced bell pepper, or finely chopped mushrooms when you cook the onion, or toss in a handful of fresh spinach right before mixing with pasta. Sauté high-moisture veggies first to cook off extra water and avoid sogginess.
7.How do I get that crispy golden cheese top instead of a rubbery melted layer? ▾
Reserve 1/3 of your shredded cheddar to sprinkle on right before baking, and leave the casserole uncovered for the last 10 minutes of cook time. For extra crunch, mix 2 tablespoons of plain panko breadcrumbs into the top cheese, and broil for 1-2 minutes at the very end—watch closely to make sure the top doesn’t burn.

Comments (3)

2 days ago

OMG this was such a game changer for our weeknight family dinner! I was scrambling after my boys’ soccer practice and threw this together in 10 minutes, popped it in the oven while we changed out of uniforms, and all three of my kids went back for SECONDS. I added a little extra shredded sharp cheddar on top because we’re total cheese fiends, and it was SO good. Even my picky middle kid who turns his nose up at every casserole ever asked for it again next week! 10/10 will be adding this to our regular meal prep rotation.

yesterday

This sounds amazing! Quick question – did you add that extra cheddar right at the start of baking or the last few minutes? I’m making this for our church potluck this Sunday and want that perfect melty, slightly crispy cheese top everyone raves about.

2 hours ago

So stoked this was a hit with your crew! To answer the potluck question too – sprinkle any extra cheese on during the last 5-7 minutes of cook time for that perfect gooey, slightly browned top. This recipe holds up great for potlucks, just keep it covered in foil until you’re ready to serve!

5 days ago

Super easy recipe, perfect for my Sunday meal prep! I made a full 9x13 pan on Sunday, portioned it out into containers for work lunches all week, and it reheats like an absolute dream in the microwave. The only tweak I made was tossing in a handful of frozen peas and carrots to sneak in some extra veggies, and it didn’t throw off the flavor at all. Total cook time was exactly as advertised, no weird fancy ingredients needed – total win for someone who hates complicated weeknight cooking.

3 days ago

Love the frozen veggie add-in! Peas and carrots are such a great, low-effort way to boost nutrition without extra prep, so glad this worked out for your meal prep rotation!

30 minutes ago

Wait why did I ever waste money on boxed hamburger helper when this is 10x better and just as easy? I’m a broke college student with barely any cooking skills and I pulled this off no problem in my tiny dorm kitchen oven. I only had elbow macaroni and ground beef in the fridge, grabbed a can of tomato sauce and some cheap shredded cheese from the corner store, and it turned out chef’s kiss. Making this again for my roommates tomorrow, they’re gonna lose their minds.



