
half baked harvest mac and cheese

title 1
half baked harvest mac and cheese
⏱️ cook time 35 minutes
🍽️ servings 6
⚡ Difficulty easy

intro

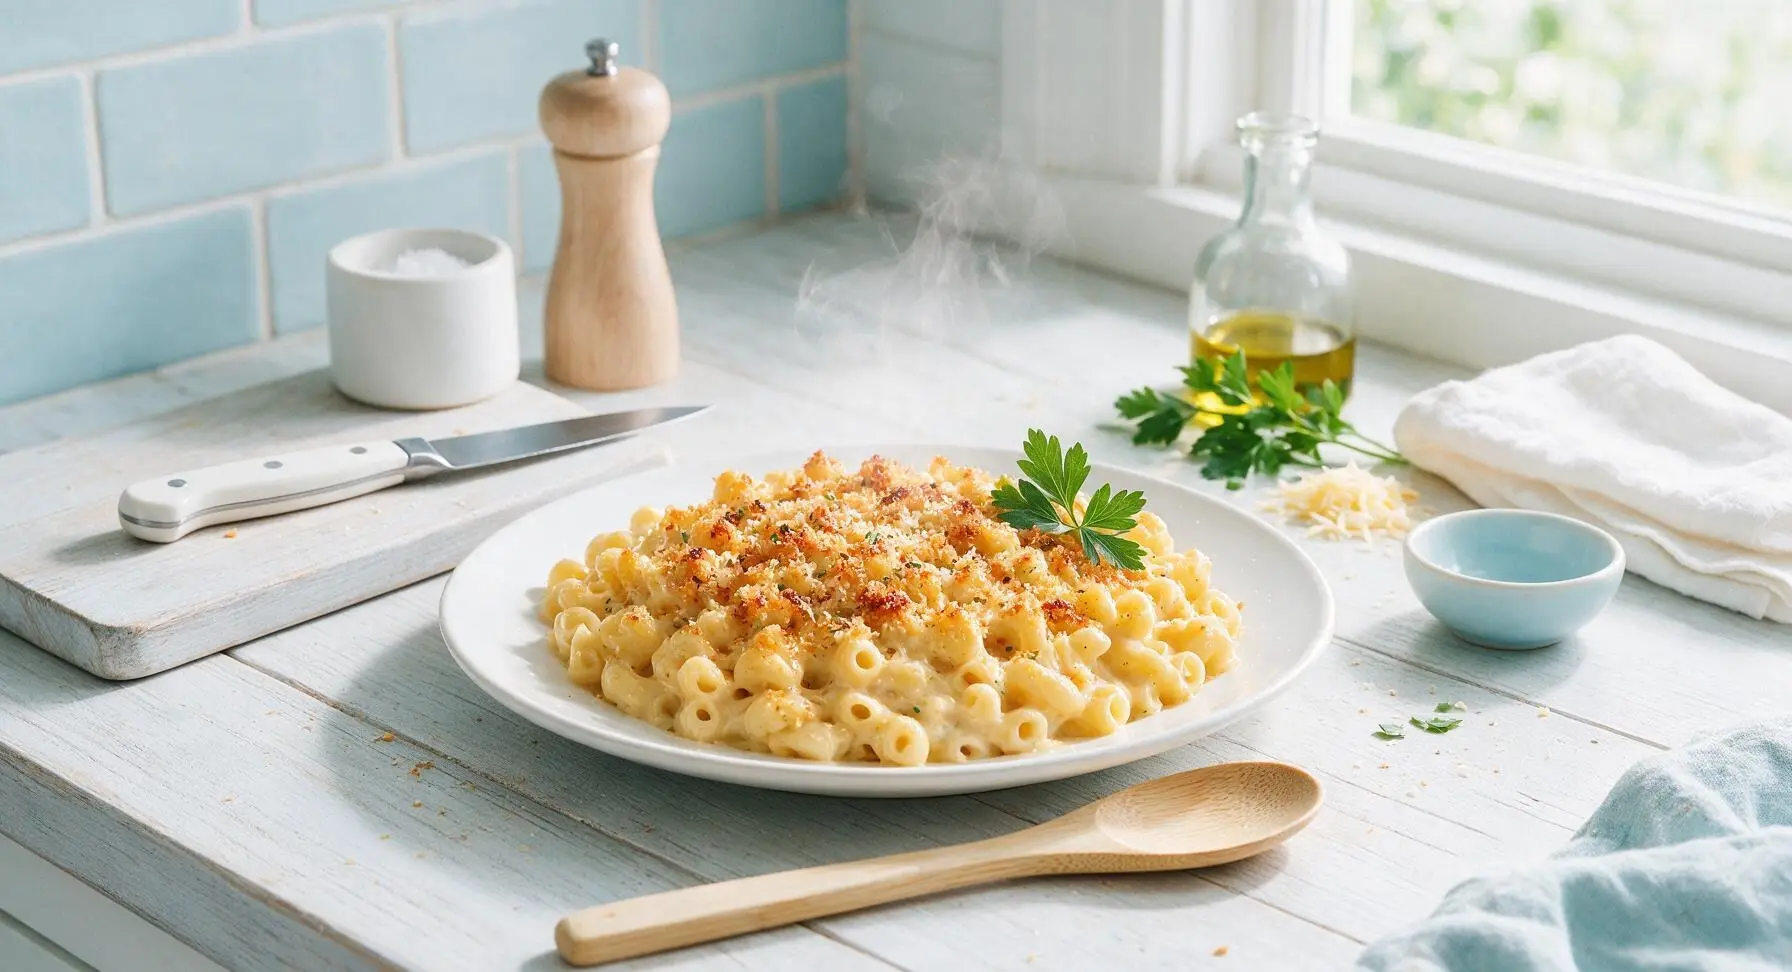
Ultra-creamy elevated baked mac and cheese with sharp cheddar, Gruyère, a hint of nutmeg, and crispy garlic-thyme panko topping—cozy, crowd-pleasing comfort food.

Ingredients
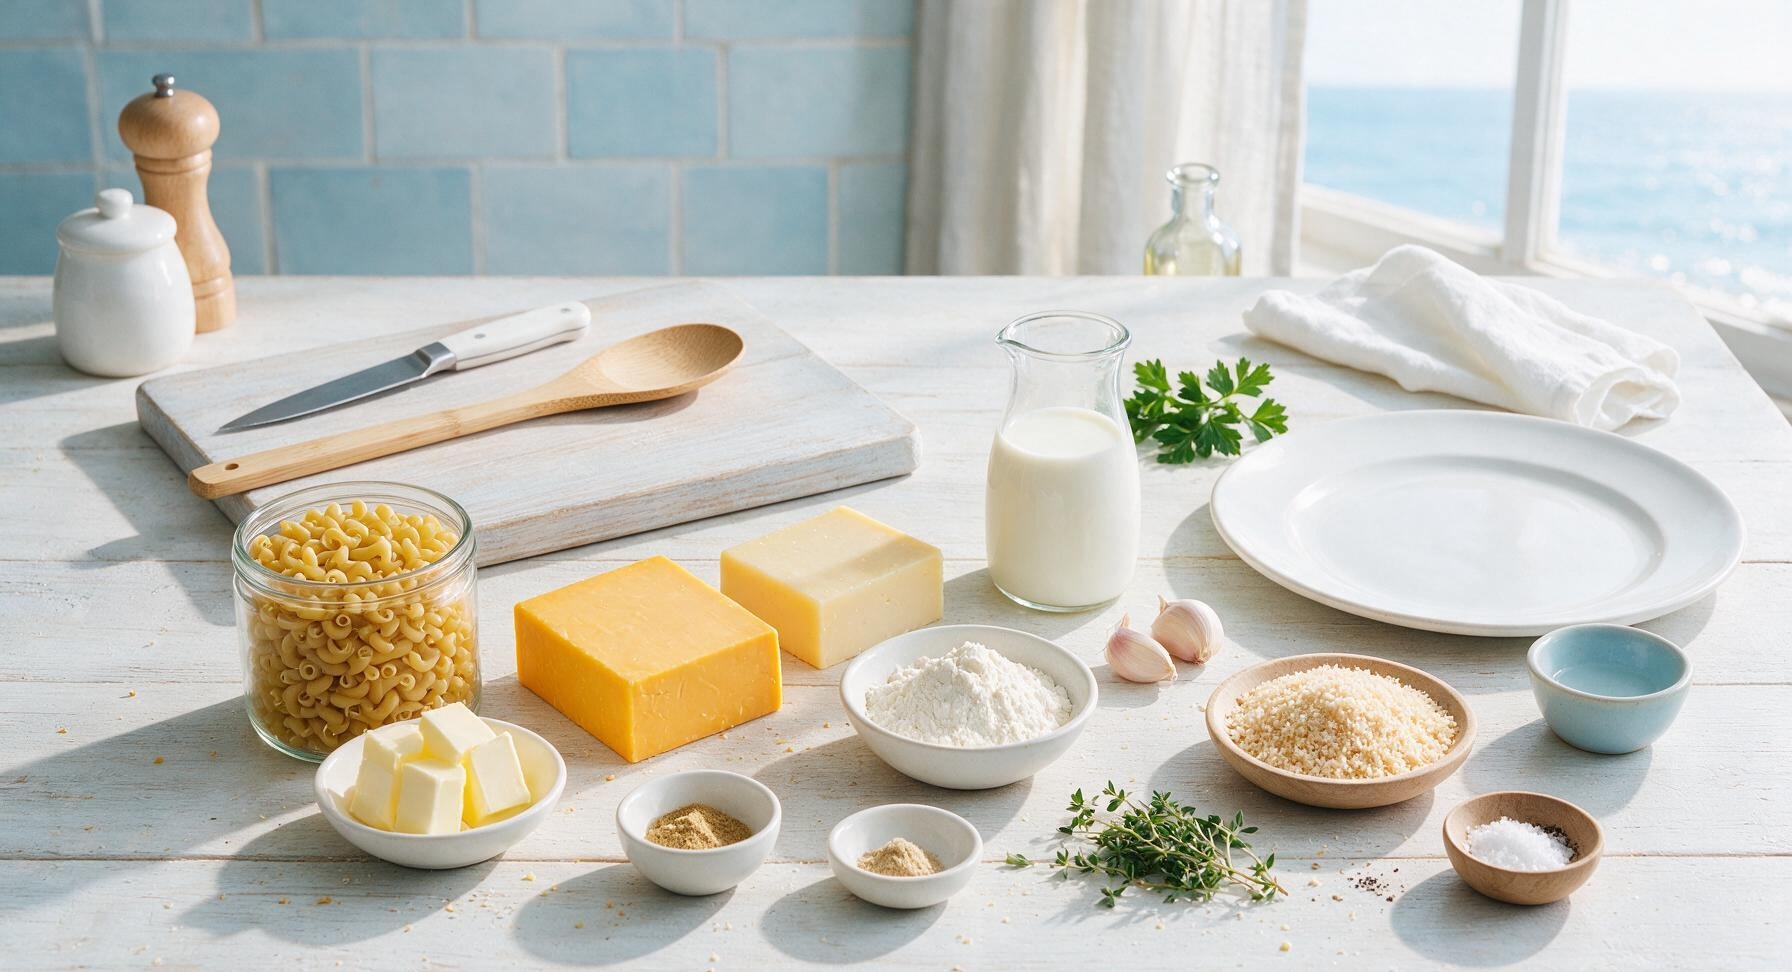
Dry elbow macaroni pasta 340g (12oz)
Sharp yellow cheddar cheese (block) 225g (8oz)
Gruyère cheese (block) 115g (4oz)
Unsalted butter 85g (6 tbsp)
All-purpose flour 25g (3 tbsp)
Whole milk 720ml (3 cups)
Garlic cloves 2 (minced)
Panko breadcrumbs 30g (½ cup)
Ground dry mustard 1 tsp
Freshly grated nutmeg ¼ tsp
Fresh thyme leaves 1 tbsp
Kosher salt 1.5 tsp
Freshly ground black pepper ½ tsp

Steps

1

Prep and Grate Cheeses

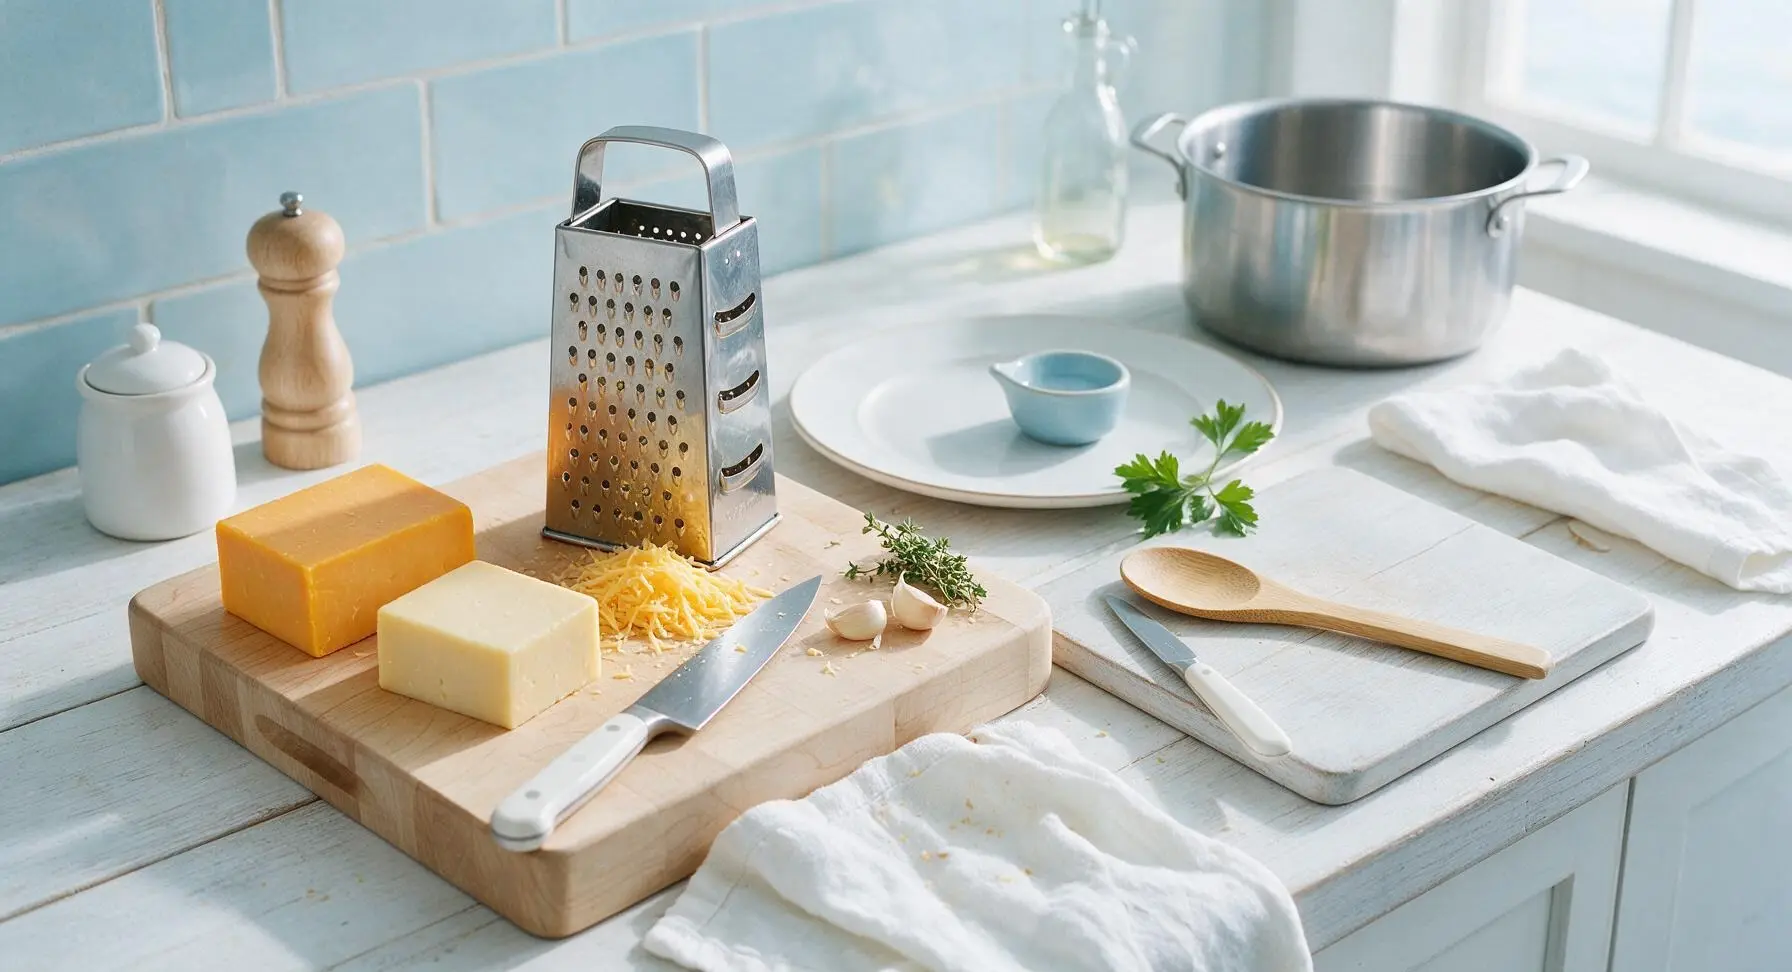
Set the light maple end-grain cutting board at center-left of the counter. Using the 4-sided stainless steel box grater, coarsely grate the 8oz sharp cheddar and 4oz Gruyère into separate loose piles on the board; set ¼ cup of the mixed grated cheese aside for the topping. Use the 8-inch chef knife to mince the 2 garlic cloves finely, and pick 1 tablespoon of fresh thyme leaves from their stems. Avoid pre-shredded bagged cheese for this step, as its anti-caking coating creates a grainy sauce.
Step 1
step1:Prep and Grate Cheeses
2

Cook Pasta Al Dente

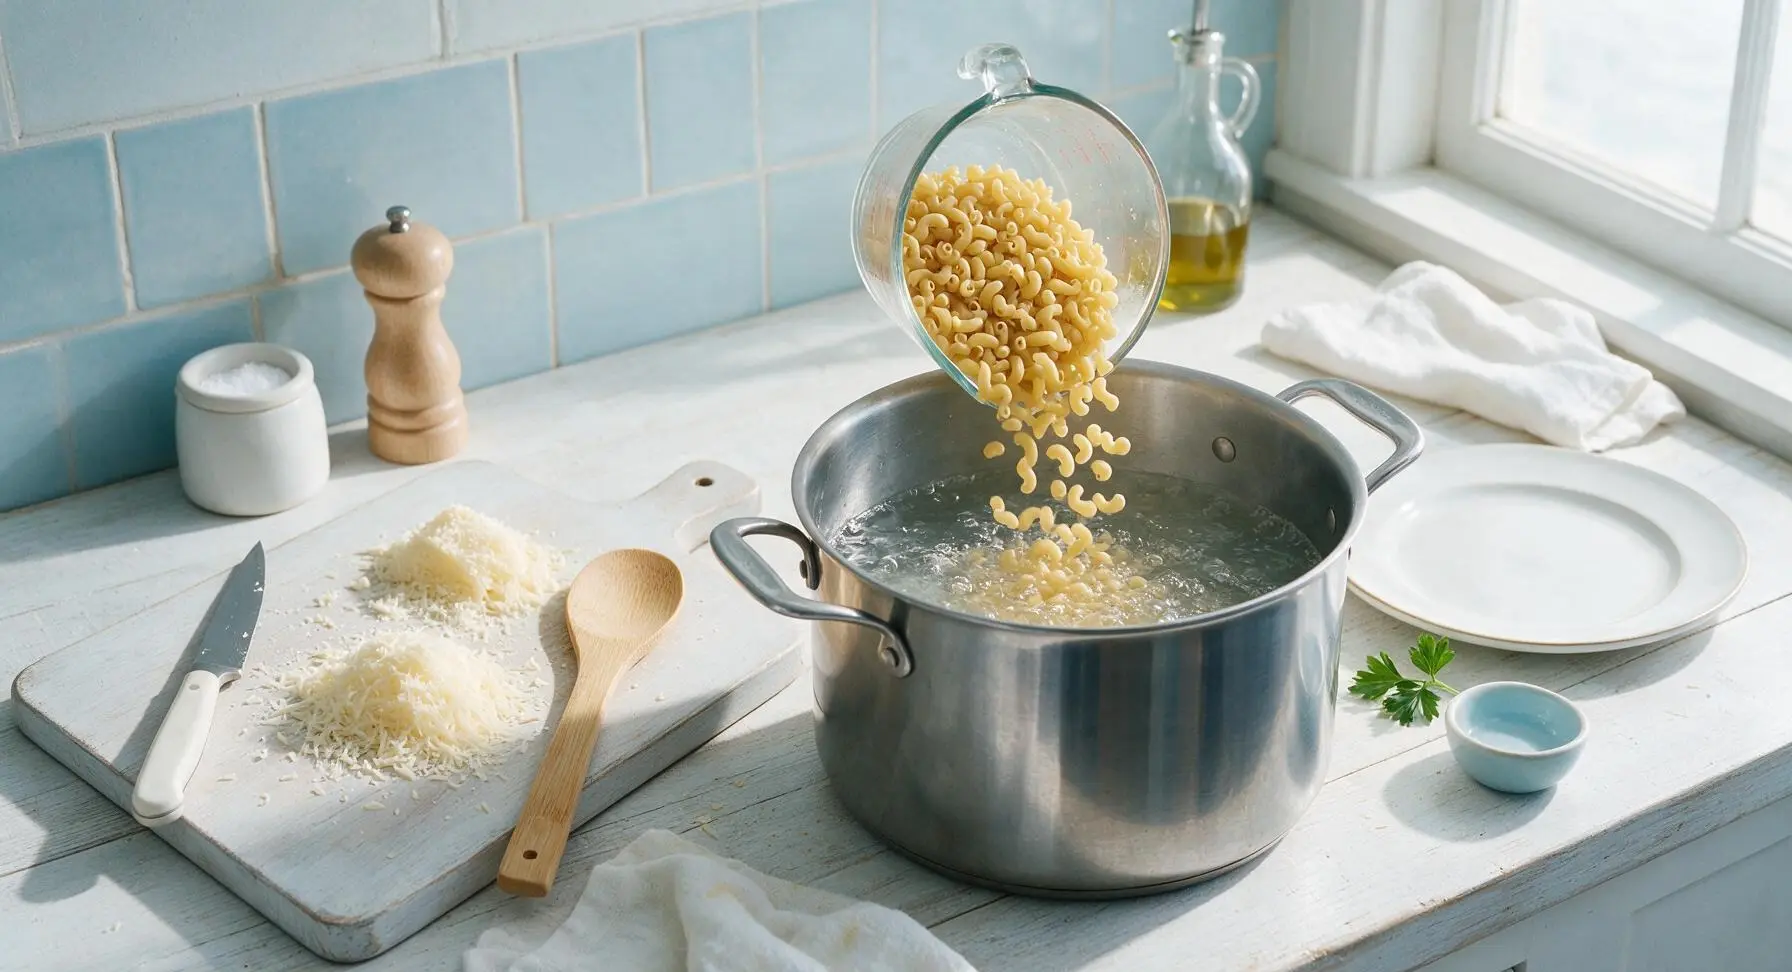
Fill the 5-quart stainless steel stock pot with 4 quarts of cold water, add 1 tablespoon of kosher salt, and bring to a rolling boil over high heat. Add the 12oz elbow macaroni, stirring once to prevent sticking, and cook 2 minutes less than the package’s al dente recommendation (approximately 6 minutes total) so the pasta is firm to the bite—it will finish cooking in the oven. Reserve ½ cup of starchy pasta water in a small cup, then drain the pasta completely and set aside; do not rinse the pasta, as its surface starch helps the cheese sauce adhere evenly.
Step 2
step2:Cook Pasta Al Dente
3

Build the Roux Base

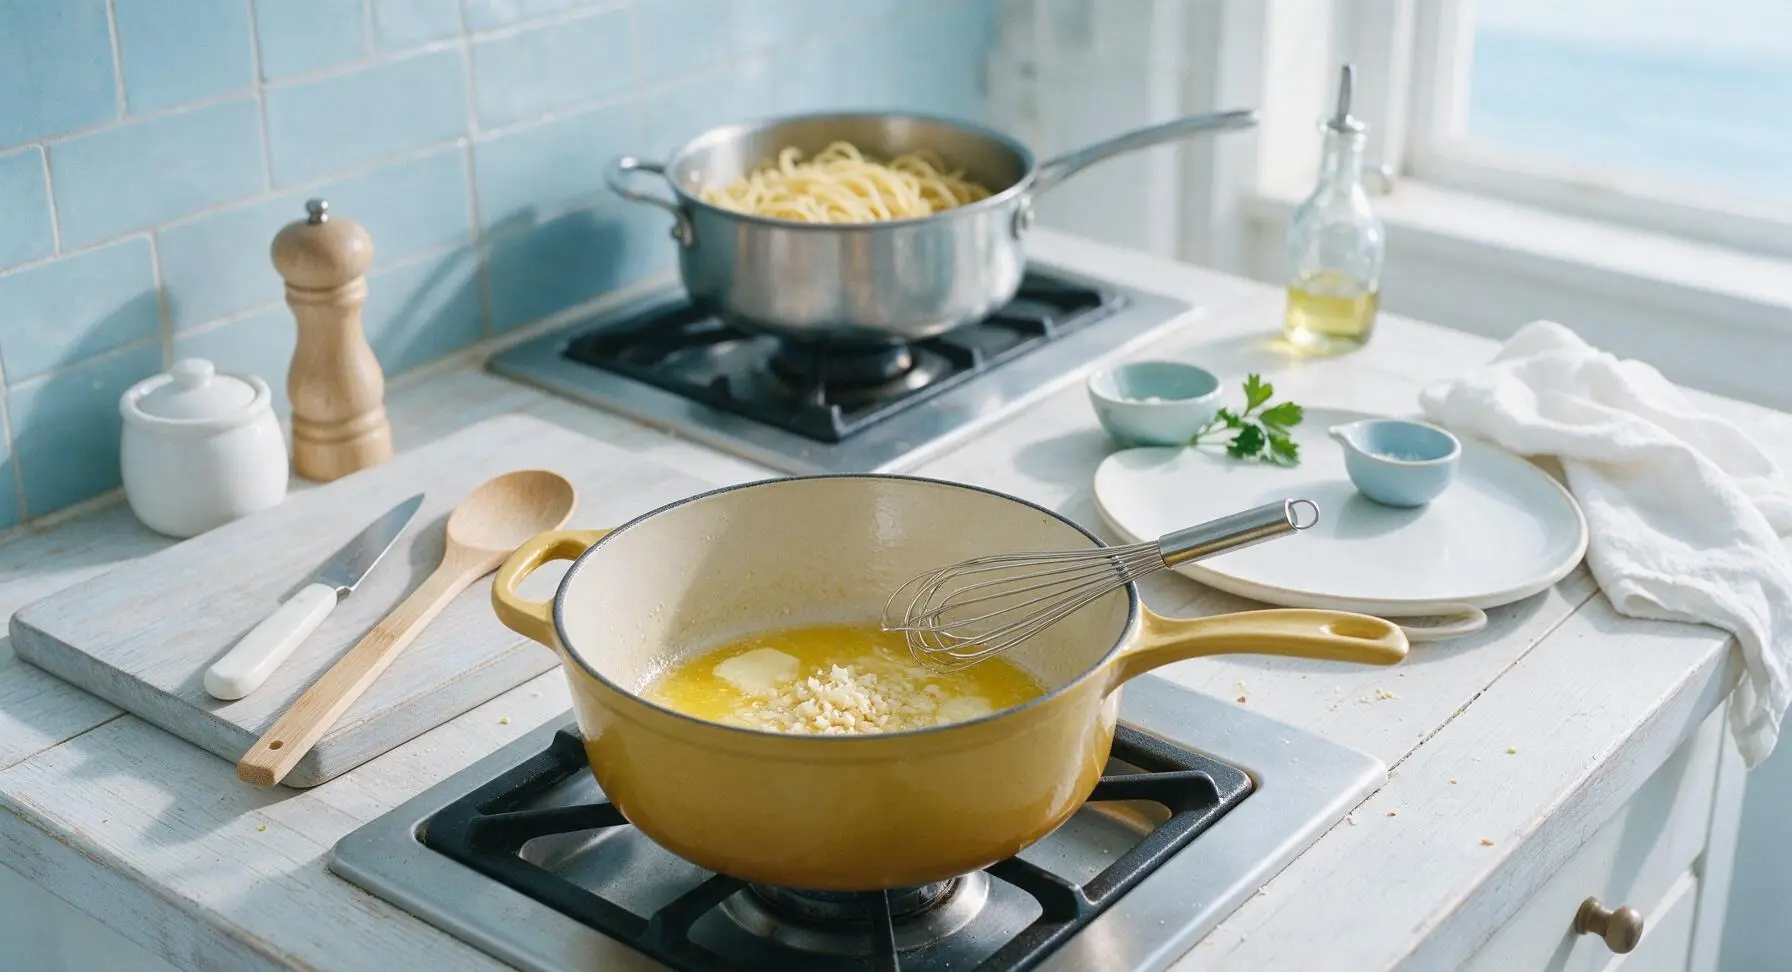
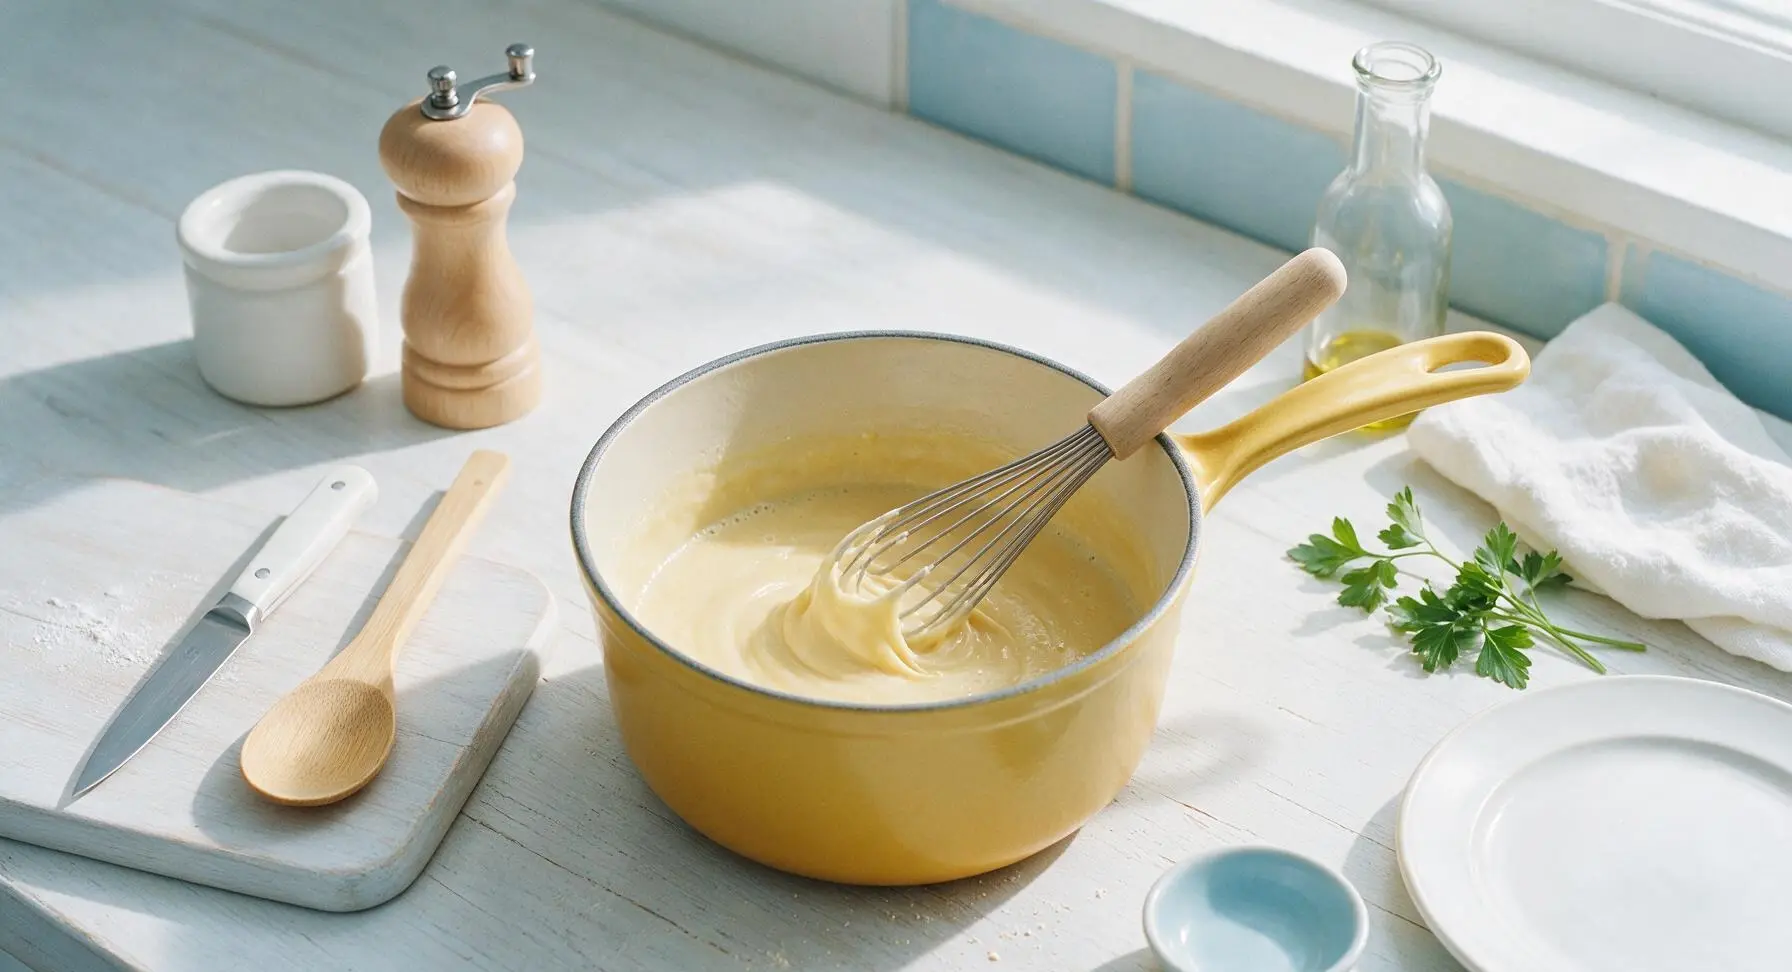
Set the 3-quart Dijon yellow enameled cast iron saucepan on the front burner over medium heat. Melt 4 tablespoons of the unsalted butter, then add the minced garlic and sauté for exactly 30 seconds until fragrant, taking care not to brown the garlic (burnt garlic will make the sauce bitter). Add the 3 tablespoons of all-purpose flour, whisking constantly with the stainless steel wire whisk for 1 full minute to form a smooth, pale golden roux with a faint nutty aroma.
Step 3
step3:Build the Roux Base
Step 3
step3:Build the Roux Base
4

Simmer Cheese Sauce

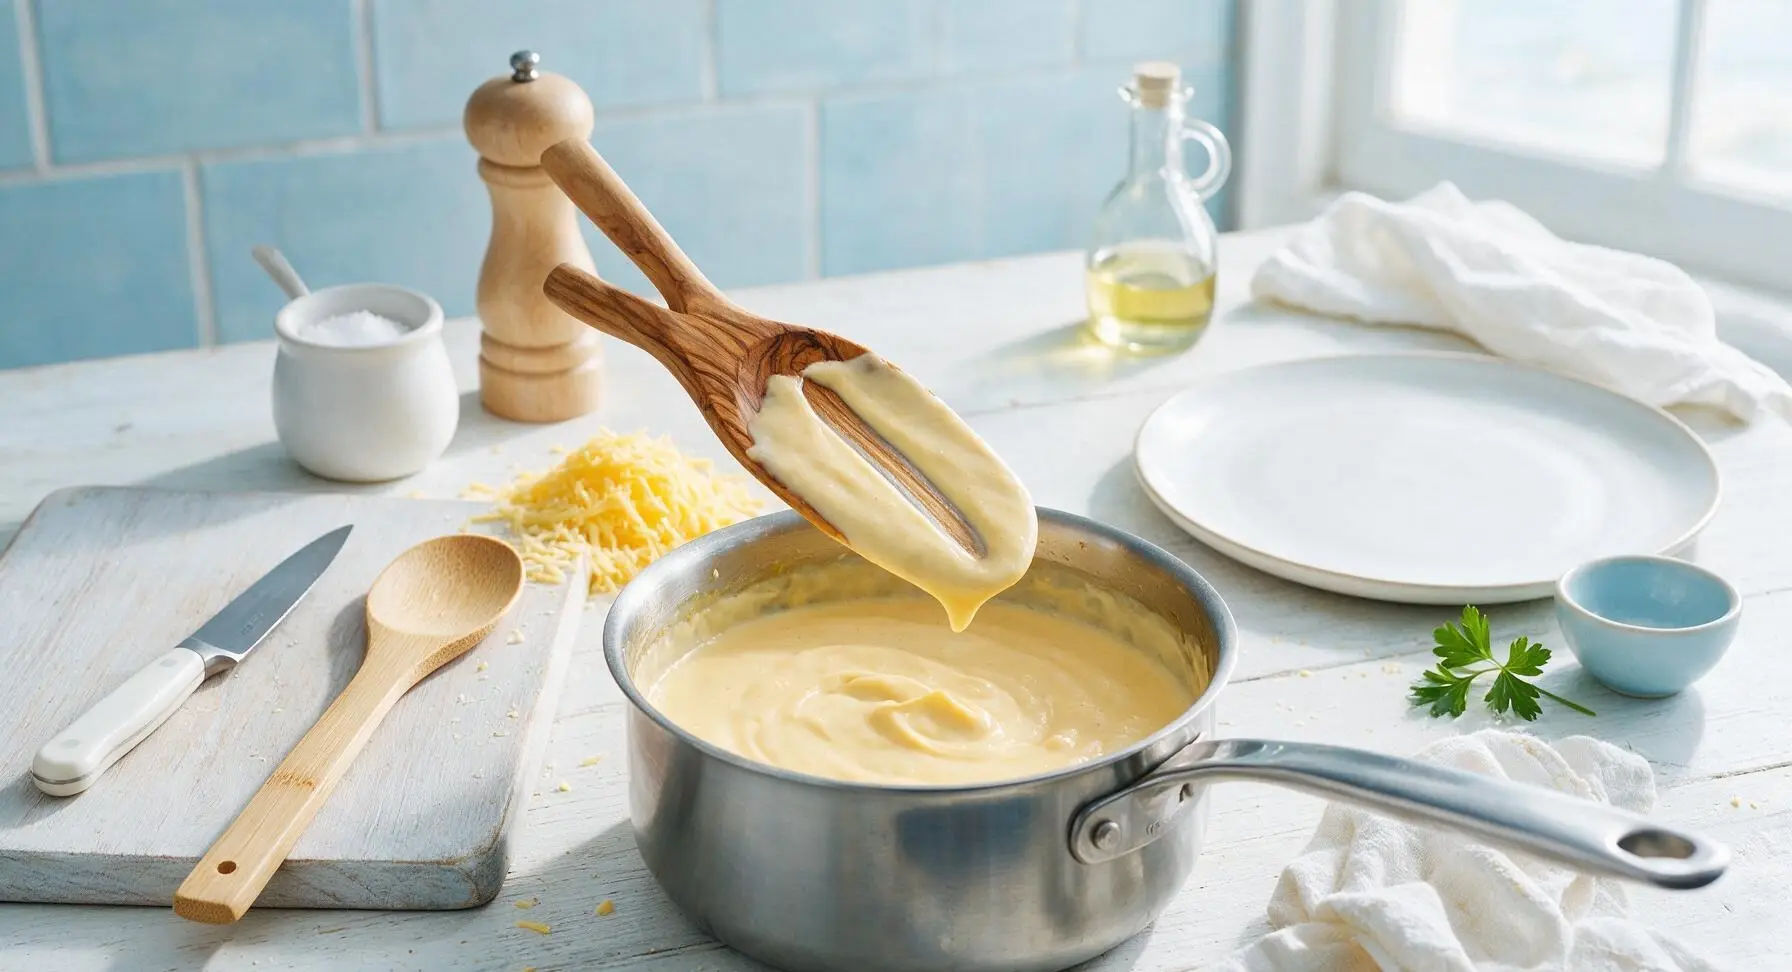
Slowly pour the 3 cups of whole milk into the roux, ¼ cup at a time, whisking constantly after each addition to prevent lumps from forming. Once all milk is incorporated, stir in the 1 teaspoon dry mustard, ¼ teaspoon freshly grated nutmeg, 1 teaspoon kosher salt, and ½ teaspoon black pepper. Bring the sauce to a gentle, low simmer, cooking for 3-4 minutes until it thickens enough to evenly coat the back of the olive wood spoon—run a finger across the coated spoon, and the line should hold cleanly without sauce running. Remove the pan from heat, then stir in all but the reserved ¼ cup of grated cheese, stirring until fully melted and silky smooth. If the sauce feels too thick, stir in 1-2 tablespoons of the reserved starchy pasta water to reach a heavy cream consistency.
Step 4
step4:Simmer Cheese Sauce
5

Mix Pasta and Sauce

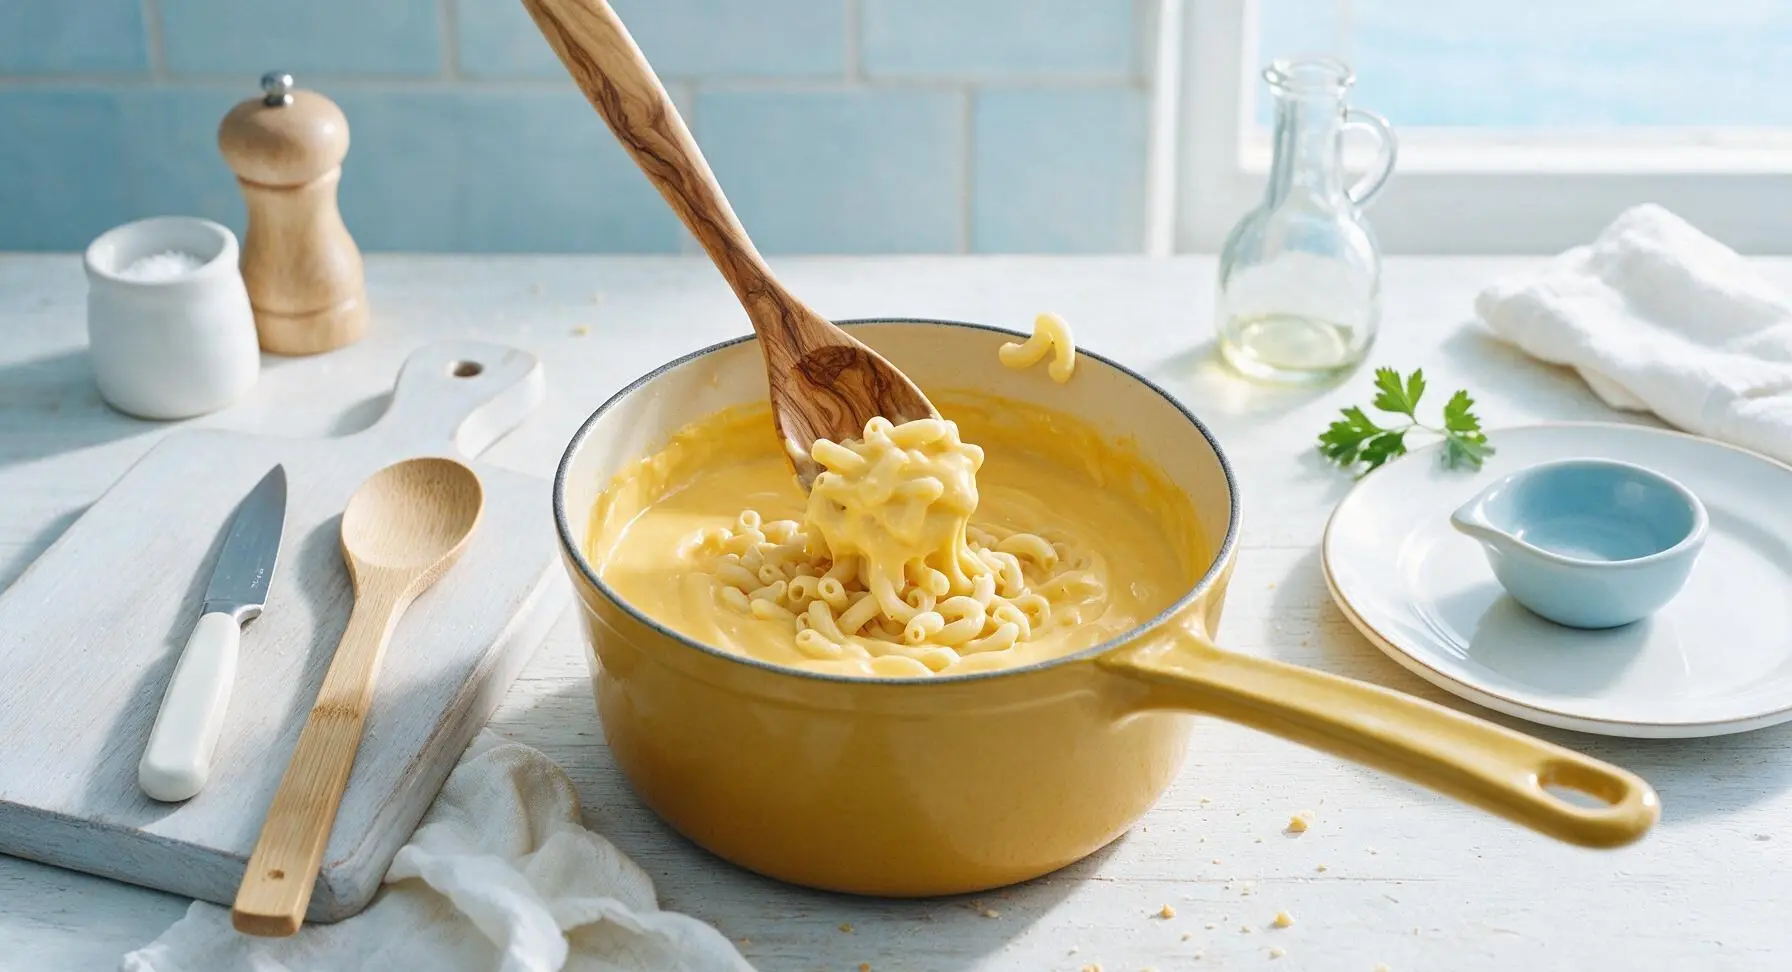
Pour the fully drained elbow macaroni into the cheese sauce in the enameled saucepan, stirring gently with the olive wood spoon until every pasta piece is evenly coated in glossy cheese sauce. Taste a small bite, and adjust salt or pepper if needed; the pasta should be fully coated but not drowning in excess sauce.
Step 5
step5:Mix Pasta and Sauce
6

Make Panko Topping

In the matte off-white stoneware ramekin, melt the remaining 2 tablespoons of unsalted butter. Add the ½ cup panko breadcrumbs, reserved ¼ cup of grated cheese, and 1 tablespoon of fresh thyme leaves, stirring with a small spoon until the crumbs are evenly coated in butter and cheese, forming small loose clumps.
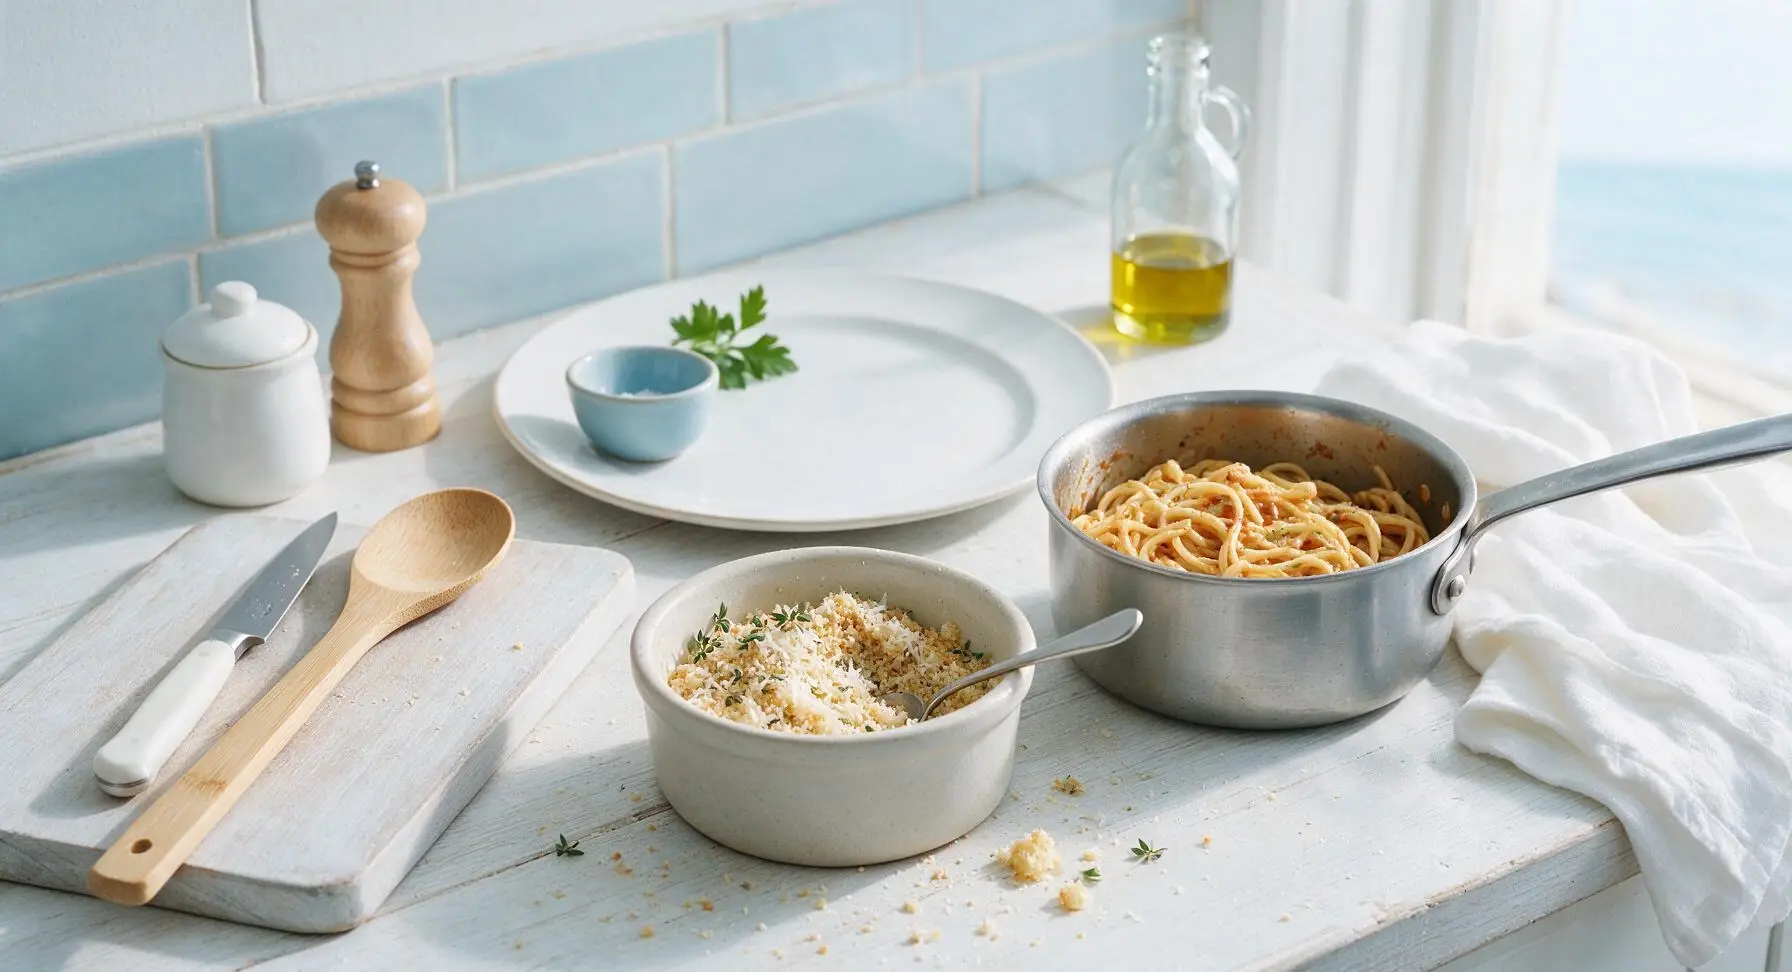
Step 6
step6:Make Panko Topping
7

Assemble Mac and Cheese

Pour the cheese-coated pasta mixture evenly into the 9x13 inch matte cream ceramic baking dish, spreading it into a smooth, level layer with the olive wood spoon. Sprinkle the buttery panko topping evenly across the entire surface, covering all exposed pasta to prevent it from drying out during baking.
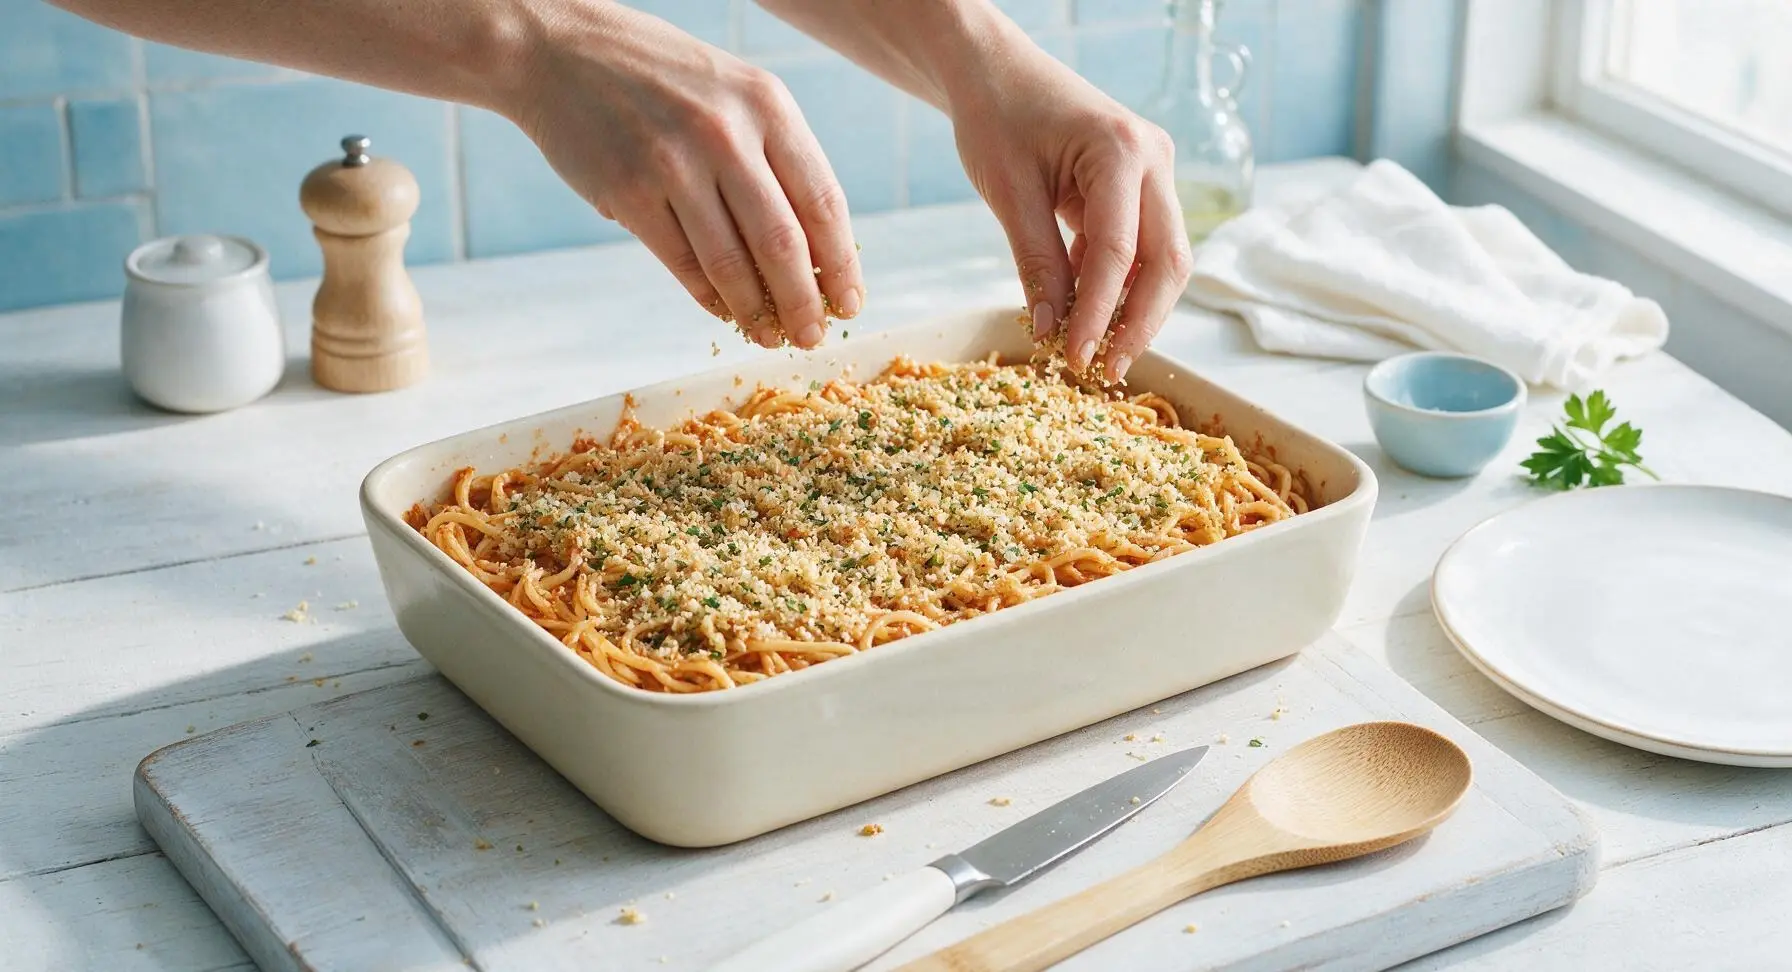
Step 7
step7:Assemble Mac and Cheese
8

Bake Until Golden Bubbly

Place the assembled baking dish on the middle rack of an oven preheated to 375°F (190°C). Bake for 20-25 minutes, until the sauce is actively bubbling around the edges of the dish, and the panko topping is deep golden brown and crispy to the touch. If the topping browns faster than expected, tent a loose piece of aluminum foil over the top for the last 5 minutes of baking to prevent burning. Remove the dish from the oven and let it rest for 5 full minutes before serving, to allow the sauce to set.
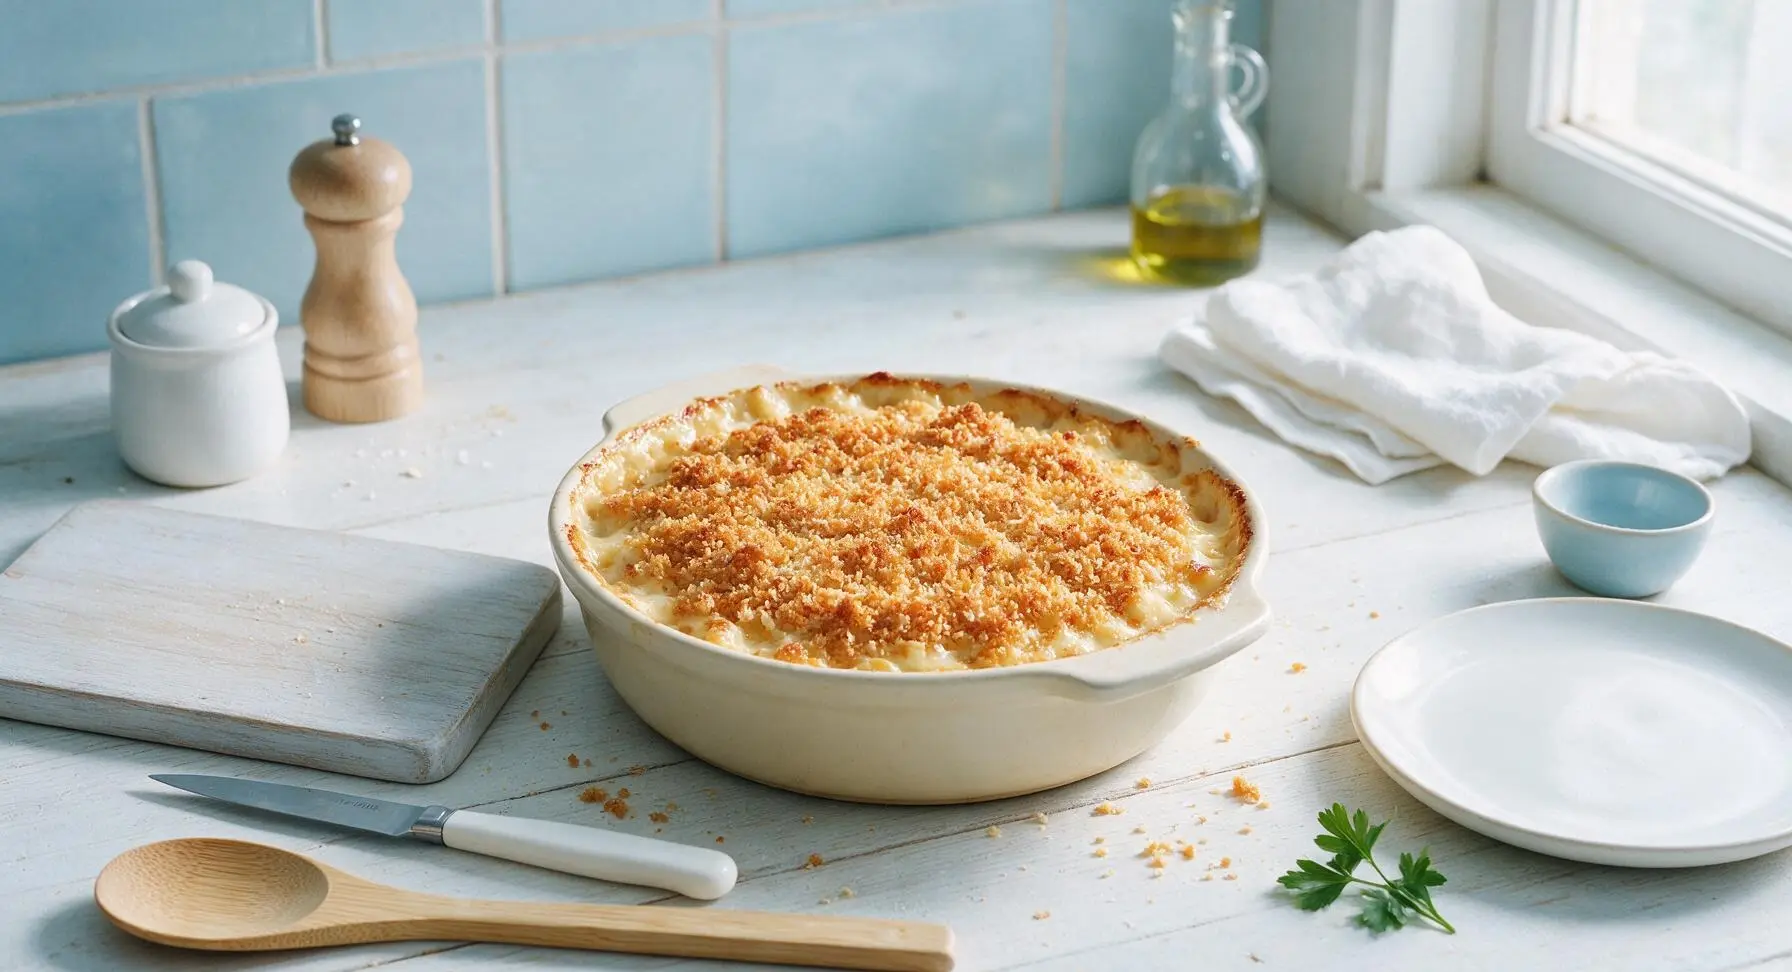
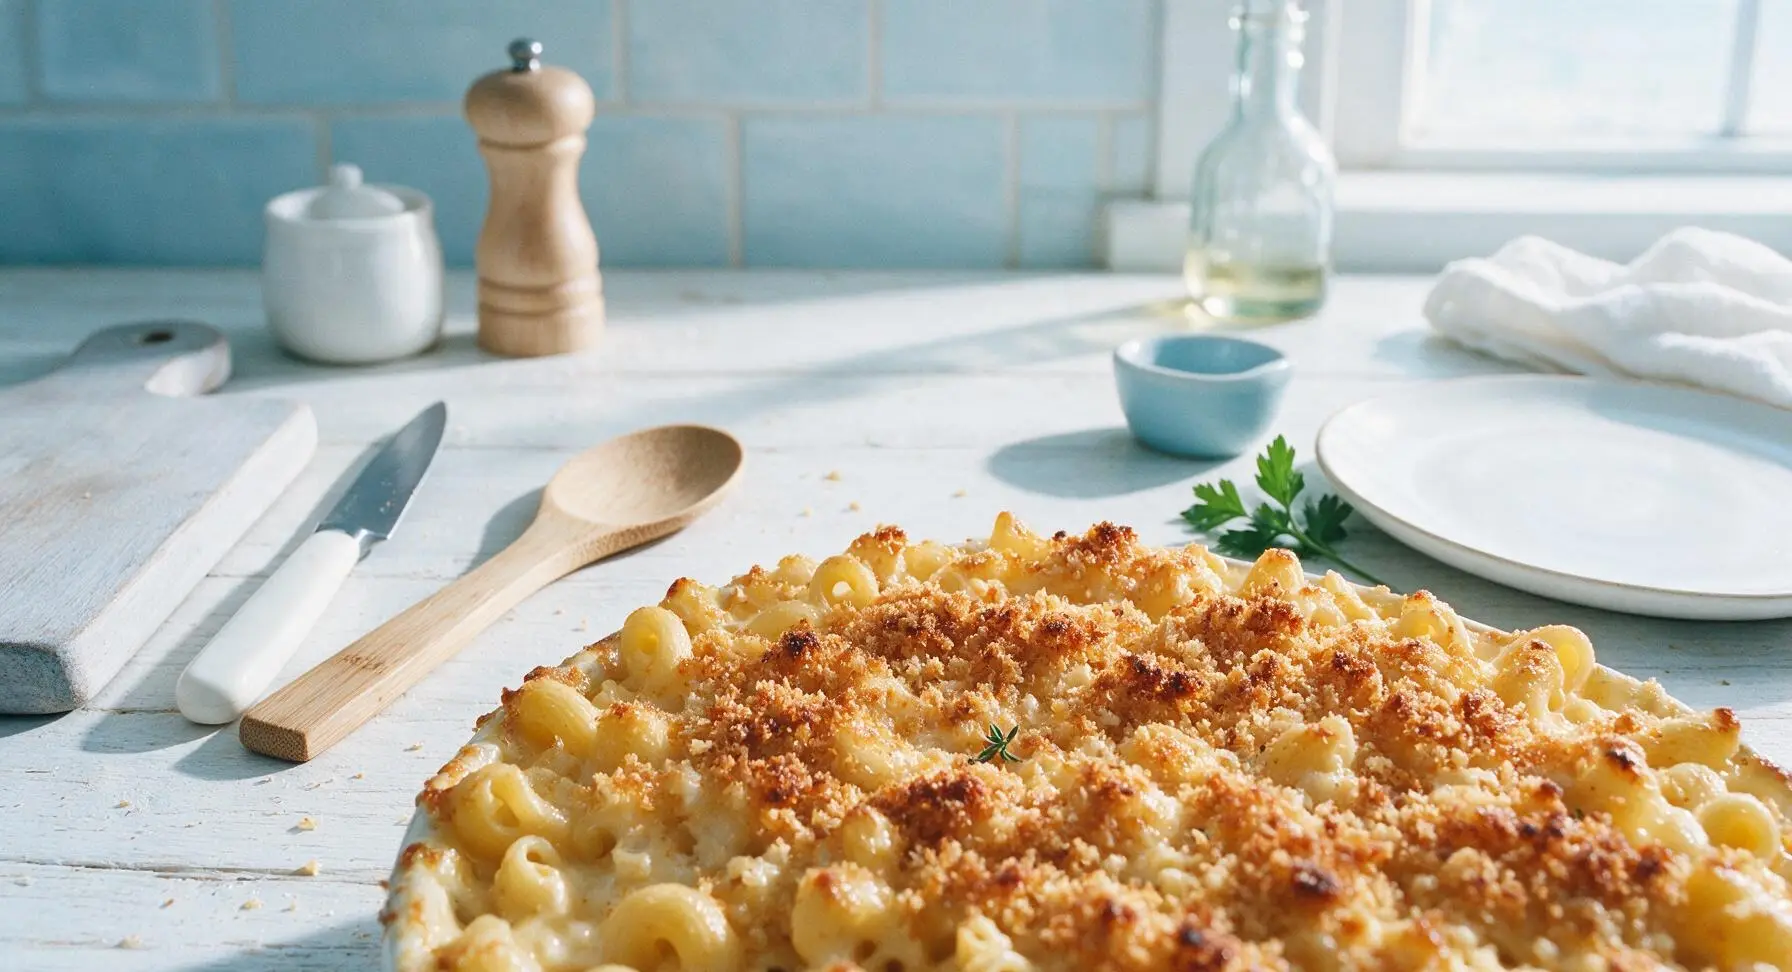
Step 8
step8:Bake Until Golden Bubbly
Step 8
step8:Bake Until Golden Bubbly

Tips

1.Grate cheese fresh from the block instead of using pre-shredded bagged cheese: pre-shredded cheese is coated in potato starch and anti-caking agents that prevent it from melting into a perfectly smooth, silky sauce, leading to a grainy texture.
2.Undercook pasta by 2 minutes before adding it to the sauce: the pasta will absorb cheese sauce and continue cooking as it bakes, so starting with firmer pasta prevents mushy, over-soft noodles in the finished dish.
3.Don’t skip the 5-minute rest after baking: this short wait lets the hot, loose cheese sauce thicken and set slightly, so each serving holds its shape on the plate instead of running, while still staying rich and creamy.


✨ You May Also Like

Main Course
🍜 United Kingdom

A showstopping classic of tender seared beef, savory mushroom duxelles, and crisp prosciutto wrapped in flaky golden puff pastry, baked to juicy perfection.

⏱️ 2 hours 1Main Course ★ 4.7
Main Course
🍜 India

Tender charred marinated chicken simmered in a rich, spiced creamy tomato sauce, this iconic Anglo-Indian curry pairs perfectly with basmati rice or warm naan.

⏱️ 50 minuteMain Course ★ 4.6
Main Course
🍜 Thailand

Classic tangy, sweet, and savory Thai stir-fried rice noodles with shrimp, tofu, and crunchy garnishes, balancing all five core Thai flavor profiles.

⏱️ 30 minuteMain Course ★ 4.5
Main Course
🍜 United Kingdom

Crispy golden beer-battered cod and fluffy double-fried chips, served with tangy tartar sauce and malt vinegar: the timeless, beloved British pub comfort classic.

⏱️ 45 minuteMain Course ★ 4.7
Main Course
🍜 Mexico

Smoky, chile-marinated pork tacos with caramelized pineapple, fresh cilantro, and lime: a beloved classic Mexican street food perfect for casual summer gatherings.

⏱️ 1 hour 45Main Course ★ 4.8
Main Course
🍜 United States

Crunchy Fritos corn chips layered with savory beef chili and melted cheddar, topped with cool, zesty fixings for a beloved, cozy Tex-Mex comfort food.

⏱️ 35 minuteMain Course ★ 4.8

half baked harvest mac and cheese:Frequently Asked Questions

1.Why does this recipe call for block cheese instead of pre-shredded? ▾
Great question! Pre-shredded cheese is coated in potato starch or anti-caking agents to prevent clumping in the bag, which keeps it from melting into a smooth, creamy sauce. Grating your own sharp cheddar and Gruyère straight from a block gives you a silkier, grit-free sauce that melts evenly for that perfect rich texture.
2.Can I use a different pasta shape if I don’t have elbow macaroni? ▾
Absolutely! While elbow macaroni is classic because its ridges hold cheese sauce beautifully, you can swap in other small, sturdy shapes like cavatappi, rotini, small shells, or campanelle. Skip delicate shapes like angel hair that turn mushy, and cook pasta 1-2 minutes shy of al dente so it doesn’t get soggy during baking.
3.What makes this Half Baked Harvest style instead of regular baked mac and cheese? ▾
This version leans into that signature Half Baked Harvest cozy, elevated comfort food vibe: it uses a rich blend of sharp cheddar and nutty Gruyère instead of a single generic cheese, adds a warm hint of nutmeg to cut richness, and tops everything with a crispy garlic-thyme panko crust instead of plain fine breadcrumbs.
4.How do I keep my cheese sauce from turning grainy or curdled? ▾
Start by making a smooth roux with equal parts melted butter and flour, cooking it 1-2 minutes to remove raw flour taste before slowly whisking in milk a splash at a time. Take the pan off heat before stirring in freshly grated cheese, and avoid overheating the sauce once cheese is added—high heat is the top cause of grainy, curdled sauce.
5.Do I really need to add nutmeg? It seems like an odd addition to mac and cheese. ▾
I promise it’s not a random add! A tiny pinch of nutmeg adds warm, subtle depth that cuts through the richness of butter and cheese, so the dish doesn’t feel heavy or one-note. You won’t taste distinct nutmeg flavor—you’ll just notice the sauce tastes brighter and more balanced, with no cloying cheese overload.
6.How do I get the garlic-thyme panko topping extra crispy, not soggy? ▾
Melt a tablespoon of butter, toss it with panko, minced fresh garlic, and chopped thyme, then toast the mixture in a dry skillet for 2-3 minutes over medium heat before sprinkling it over the mac. This pre-toast step keeps panko from getting soft as it bakes, giving you that perfect golden, crunchy top to contrast the creamy pasta.
7.Can I make this mac and cheese ahead of time for a potluck or party? ▾
You totally can! Assemble the mac and cheese (hold off on adding the panko topping) and store it covered in the fridge for up to 2 days. When ready to bake, add the pre-toasted panko, bake covered at 375°F for 20 minutes, then uncover and bake 15 more minutes until bubbly. Let it rest 10 minutes before serving for the best texture.
8.What type of milk gives the creamiest cheese sauce? ▾
Whole milk is my go-to for perfectly rich, creamy texture without being overly heavy. You can use half-and-half for an extra-luxurious sauce, but skip skim or 1% milk—their lower fat content leads to thinner, less flavorful sauce that curdles more easily. Skip straight heavy cream too, it makes the dish feel overly rich and cloying.
9.Why did my last baked mac and cheese turn out dry? ▾
Dry mac and cheese almost always comes down to two common mistakes: overcooking pasta before baking, or not making enough sauce to account for pasta absorbing liquid as it bakes. Always cook pasta 1-2 minutes shy of al dente, and make your sauce slightly thinner than you want the final dish, since it thickens in the oven.
10.Can I add mix-ins like bacon, broccoli, or lobster to this recipe? ▾
Of course! This recipe is super customizable. Fold in crumbled cooked bacon, well-drained steamed broccoli, picked lobster meat, diced ham, or caramelized onions right before transferring pasta to the baking dish. Just make sure any veggie or protein add-ins are well-drained so they don’t water down your creamy cheese sauce.
11.I can’t find Gruyère at my local store—what’s a good substitute? ▾
No problem! Gruyère adds a wonderful nutty, ultra-melty quality, but you can swap it for equal parts of another good melting cheese like fontina, domestic Swiss, or young gouda. Skip crumbly cheeses like feta or extra-aged parmesan as a 1:1 swap, since they won’t melt smoothly into the sauce for that creamy texture.
12.How long should I let the mac and cheese rest after taking it out of the oven? ▾
I know it’s hard to wait when it smells that good, but let it rest for 10 full minutes after baking! This gives the hot, bubbly cheese sauce time to thicken up and cling to the pasta instead of running all over your plate when you scoop it, giving you cleaner servings and a perfect sauce-to-pasta ratio in every bite.
13.Can I adjust this recipe to make it gluten-free? ▾
Absolutely! Swap regular elbow macaroni for your favorite gluten-free short pasta shape, use a 1:1 all-purpose gluten-free flour blend for the roux, and pick up certified gluten-free panko (or crushed gluten-free rice crackers) for the topping. Stick with freshly grated block cheese, and all other steps stay exactly the same.
14.What oven temperature works best so the top doesn’t burn before the center is heated through? ▾
375°F (190°C) is the sweet spot! It’s hot enough to heat the pasta through and turn the panko golden and crispy, but not so hot that the cheese sauce curdles or the top burns early. If you notice panko browning too fast, just tent a loose piece of aluminum foil over the top for the last 10 minutes of baking.
15.How do I store leftovers and reheat them without the sauce turning greasy? ▾
Store leftover mac and cheese in an airtight container in the fridge for up to 4 days. To reheat, add a splash of whole milk or low-sodium chicken broth per serving, then warm in the microwave at 50% power stirring every 30 seconds, or bake covered at 350°F for 15 minutes. The extra liquid keeps sauce creamy instead of separating.

Comments (14)

3 days ago

Made this for our weekly Sunday family dinner and my three kids DEVOURED it. I was worried the fancy Half Baked Harvest vibe would be too much for my picky eaters but nope, they asked for seconds before I even sat down! Cook time was exactly 35 minutes like it said, no fancy ingredients I had to run to three stores for. SO good.

2 days ago

So thrilled your picky eaters loved it, Liz! That’s the highest compliment there is. So glad the cook time lined up for you too—this one’s designed to be low-fuss for busy weeknights and family meals alike 😊

1 week ago

Absolute banger of a recipe. I batch cooked this on Sunday for my weekly meal prep and it reheats like an absolute dream, no weird grainy cheese sauce texture like other mac recipes I’ve tried. Only swap I made was adding a little crumbled bacon on top because, duh, bacon. 10/10.

5 days ago

Wait the bacon swap is genius!!! I’ve been trying to find a way to zhuzh this up a little for our neighborhood block party next weekend, definitely stealing that idea.

yesterday

OMG made this last minute for a casual date night in and my boyfriend said it’s better than the fancy truffle mac we paid $28 for at that steakhouse last month. Wild how easy it is for how rich and flavorful it tastes. Will absolutely be making again.

5 days ago

Wait quick question—can I make this ahead of time and bake it right before my friend’s potluck on Saturday? I don’t want to be running around last minute but I also don’t want the noodles to get mushy. TIA!

5 days ago

Great question, Mia! You can absolutely assemble it the night before, keep it covered in the fridge, and pop it in the oven 35 minutes before you’re ready to serve. Just add 5 extra minutes of bake time if it’s straight from the fridge to account for the cold dish, and your noodles will stay perfectly tender, no mush!

3 days ago

I did this exact thing for a work potluck last month! It turned out perfect, everyone raved. I even sprinkled the breadcrumbs on right before baking so they stayed extra crispy.

2 weeks ago

Wow, this was way easier than I thought it would be. I’m a total novice in the kitchen and I didn’t mess it up at all! The cheese sauce is so creamy, no weird clumps like the last mac recipe I tried. My roommate already asked me to make it again next week.

1 week ago

Love hearing this from new cooks! No fancy skills required for this one, just simple, cozy comfort food. Tell your roommate I said you’ve earned official mac and cheese chef status 😂

1 week ago

This was really good overall! My only tiny note is that I wish the recipe mentioned how much salt to add to the pasta water— I undersalted mine the first go round so it was a little bland, but once I sprinkled a little extra flaky salt on top it was perfect. My whole family loved it regardless!

6 days ago

Thanks so much for that honest feedback! I just updated the recipe card to note that you should salt your pasta water generously (like the sea!) for the best flavor, I can’t believe I missed that note earlier. So glad it was still a hit with your family!

2 days ago

Oh thank god someone said this! I thought I did something wrong when mine was a little bland last week, I totally forgot to salt the pasta water too. Flaky salt on top fixed it right up for me as well.

2 hours ago

Perfect cozy meal for our gross rainy Washington weather this week. I added a little pinch of smoked paprika to the breadcrumb topping and it gave it the best subtle smoky kick. Served it with roasted broccoli on the side and it was the ideal comfort food dinner.

30 minutes ago

Wait, has anyone tried making this in a cast iron skillet? I feel like the edges would get extra crispy and cheesy which sounds insane. Thinking about making it for our Memorial Day cookout next weekend.

5 minutes ago

Dude I made this in my 12 inch cast iron last week and it was CHEF’S KISS. The edges get all crispy and caramelized, way better than a regular glass baking dish in my opinion. Just make sure you grease the skillet really well so the cheese doesn’t stick.

just now

Guys. GUYS. I made this in my tiny dorm oven (it’s so janky, burns half the stuff I make) and it still turned out incredible. I used pre-shredded cheese because that’s all I could get at the campus market and it was still so creamy. 100% making this for all my friends for our end of semester party.

just now

Wait no way, I thought my dorm oven was too garbage for baked mac! I’m grabbing the ingredients this weekend, this is exactly what I need to get through finals week.

just now

Dorm oven win!!! That makes me so happy to hear—this recipe is forgiving enough for even the most finicky apartment and dorm ovens, promise. Hope your end of semester party is a hit!

5 days ago

I’ve tried at least 6 different baked mac and cheese recipes off the internet and this one is easily top tier. The ratio of cheese to pasta is perfect, not too saucy not too dry, and the panko topping doesn’t get soggy halfway through dinner like other recipes. Game changer for real.

2 weeks ago

Quick win for my gluten free crew! I swapped the regular pasta for chickpea pasta and used GF panko for the topping and it turned out absolutely perfect, no weird texture or off flavor. My non-GF husband didn’t even notice a difference.

2 weeks ago

Thanks so much for sharing that swap! I know so many folks have been asking about gluten free adaptations, so this is super helpful for the whole community. So glad you and your husband loved it!

yesterday

Y’all I almost messed this up so bad— I accidentally grabbed a bag of shredded Mexican blend cheese instead of sharp cheddar from the fridge and it still slapped. The kids thought the little hint of taco cheese flavor was intentional, they’re already asking for “taco mac” again next week. Win is a win, right?

yesterday

Oh my god that’s such a happy accident! Taco mac sounds insane, I’m gonna do that on purpose next time and add some diced green chiles. Thanks for the accidental hack!

yesterday

That’s the best kind of cooking mistake! I’ve done that exact same swap before when I was short on cheddar, and it’s so good I almost added it as an official variation to the recipe. Love that the kids gave it a rave review!

1 week ago

Made this for my partner’s birthday dinner since mac and cheese is his favorite food and he said it’s the best he’s ever had, including his grandma’s (don’t tell her I said that). The creamy three cheese sauce is unreal, I could eat it straight from the pot with a spoon. 10/10, worth every calorie.

2 days ago

I was worried 35 minutes was too short for a baked mac that actually tastes good, but no lie it was done and on the table in 32 minutes flat last night between school pickup and soccer practice. No fancy steps, no long simmer times, just perfect cheesy pasta. Total weeknight dinner lifesaver.

1 day ago

Same! I’m always scrambling between work and my kid’s evening activities, so quick recipes that don’t taste like fast food are a literal godsend. Adding this to our permanent weeknight rotation for sure.



