1.Do I need any special equipment to make this Halloween candy bark?
▾
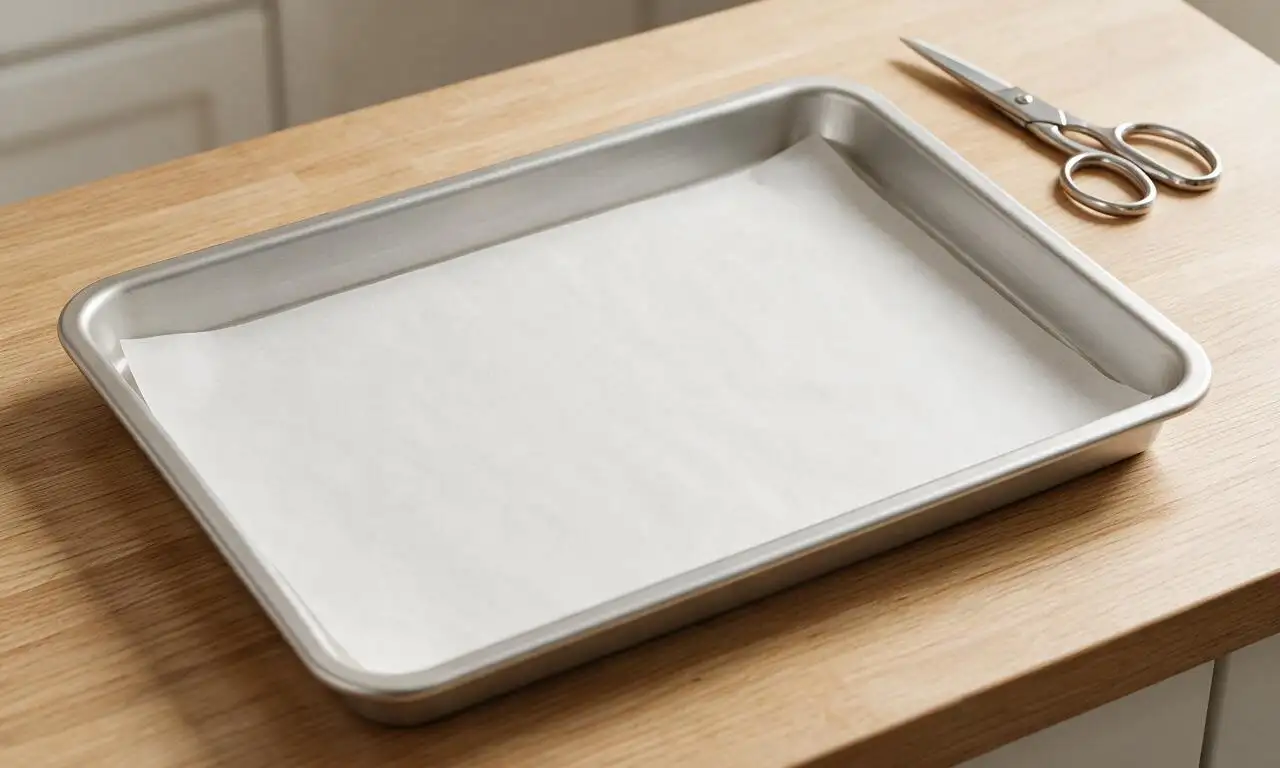
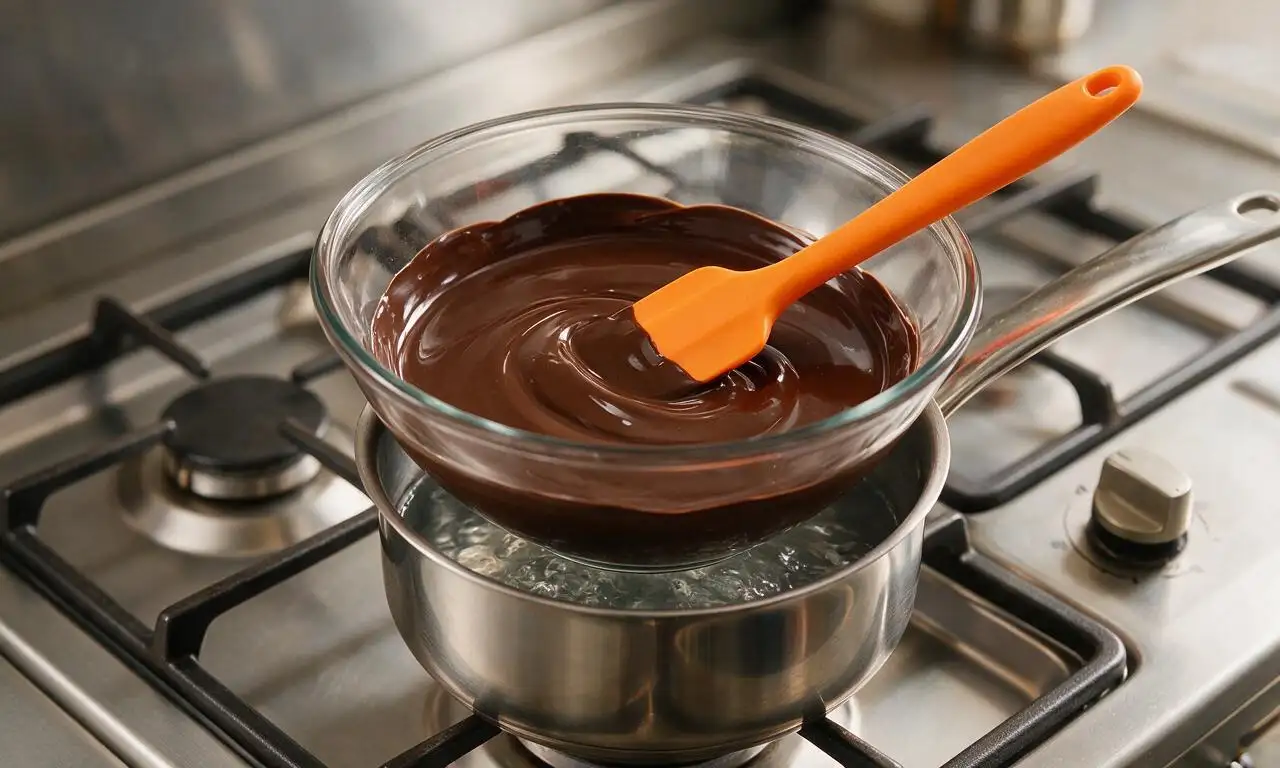
You don’t need fancy gear at all for this no-bake treat! Grab a microwave-safe bowl for melting chocolate, a rimmed baking sheet, and parchment or wax paper to line it. A silicone spatula works best for spreading, but a regular butter knife will do in a pinch—no ovens, double boilers, or specialty candy tools required.
2.How long does this candy bark need to chill before it’s ready to eat?
▾
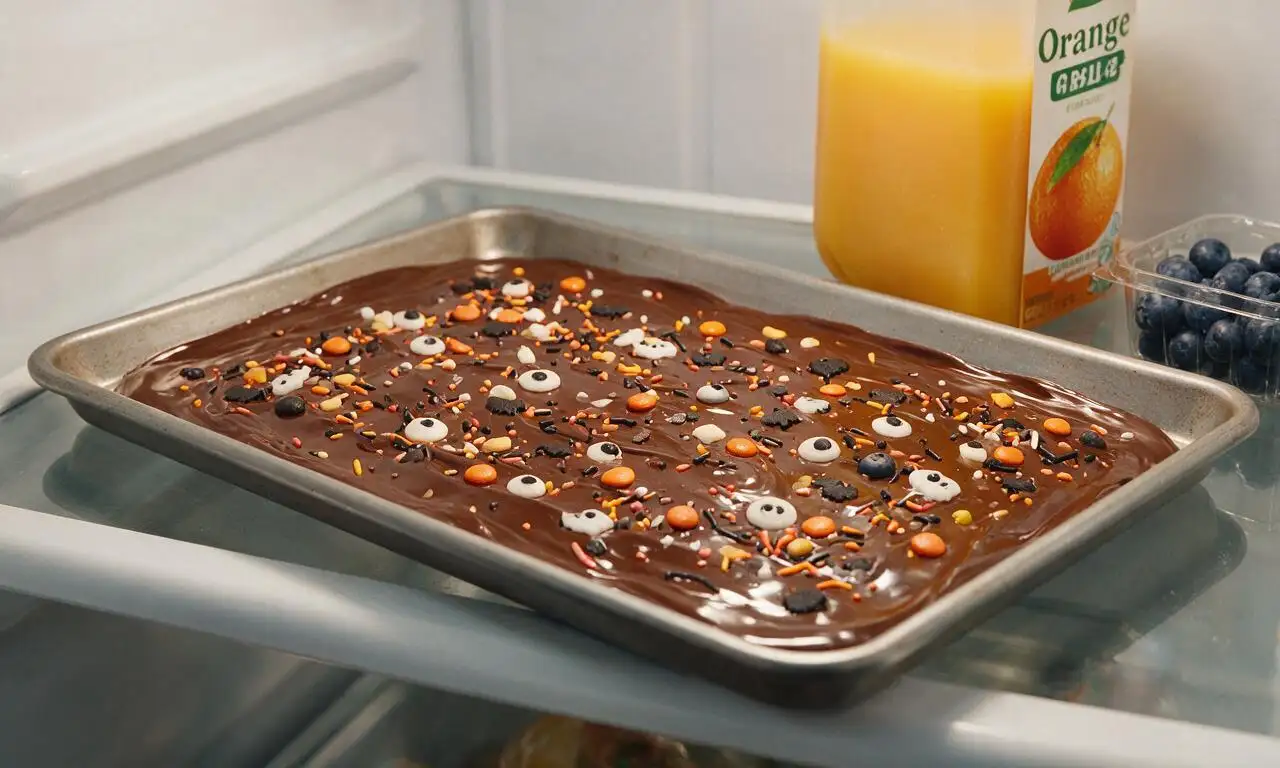
If you pop it in the fridge, it’ll fully set in 1 to 2 hours. If you’re short on time, stick it in the freezer for 20 to 25 minutes, and it’ll be firm enough to break into pieces. Just don’t leave it in the freezer too long, or you might get unsightly condensation bloom on the chocolate when it thaws.
3.Can I swap out the semi-sweet chocolate for milk chocolate if I prefer a sweeter taste?
▾
Absolutely! This recipe is super flexible. Swap semi-sweet for milk, dark, or even vegan chocolate chips if that fits your taste or dietary needs. Just stick to the same total volume of chocolate for the base so your bark doesn’t end up too thin or overloaded with toppings that fall off.
4.How do I get that pretty marbled chocolate effect on the bark?
▾
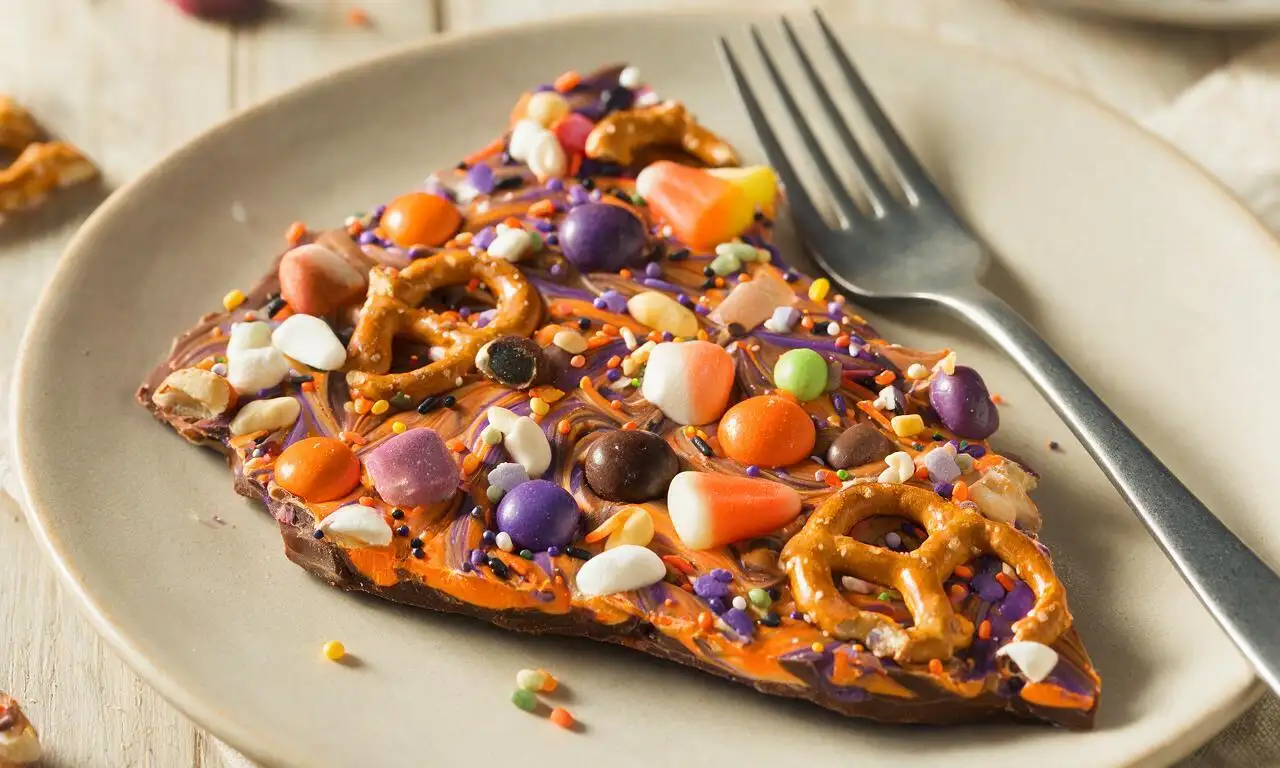
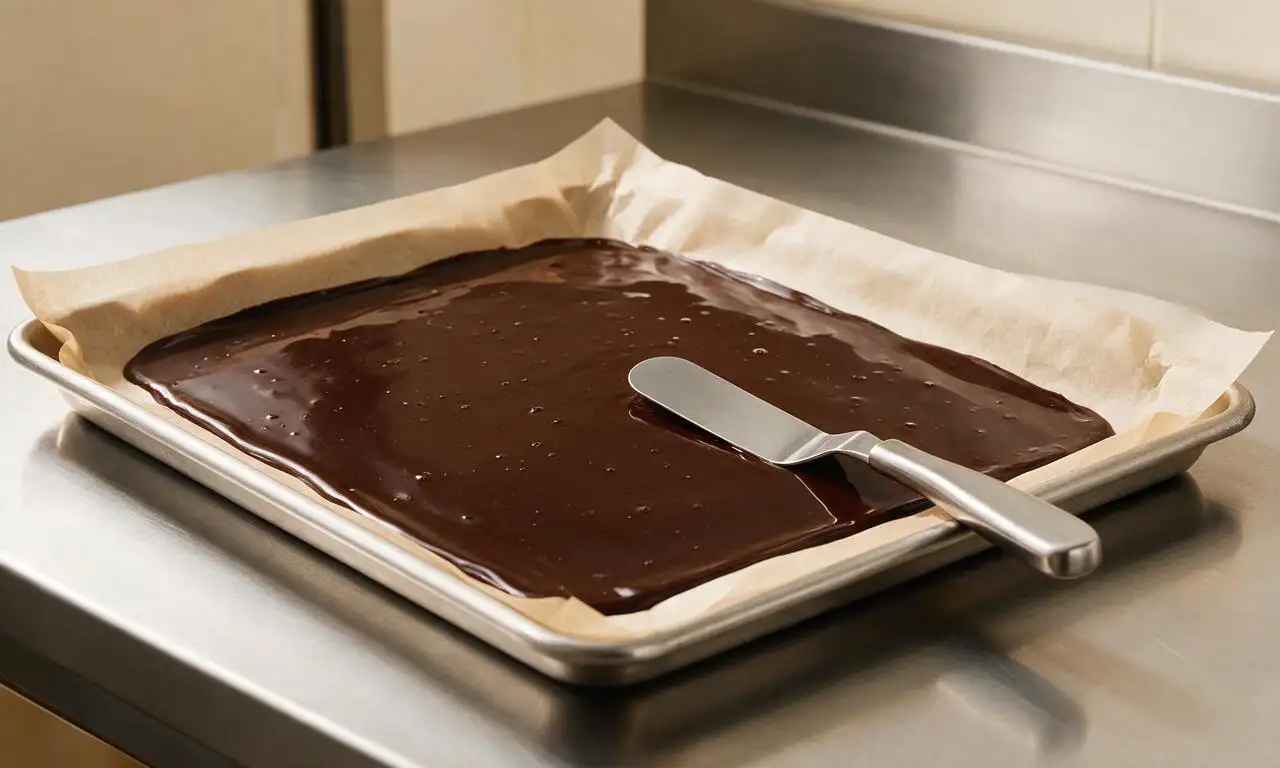
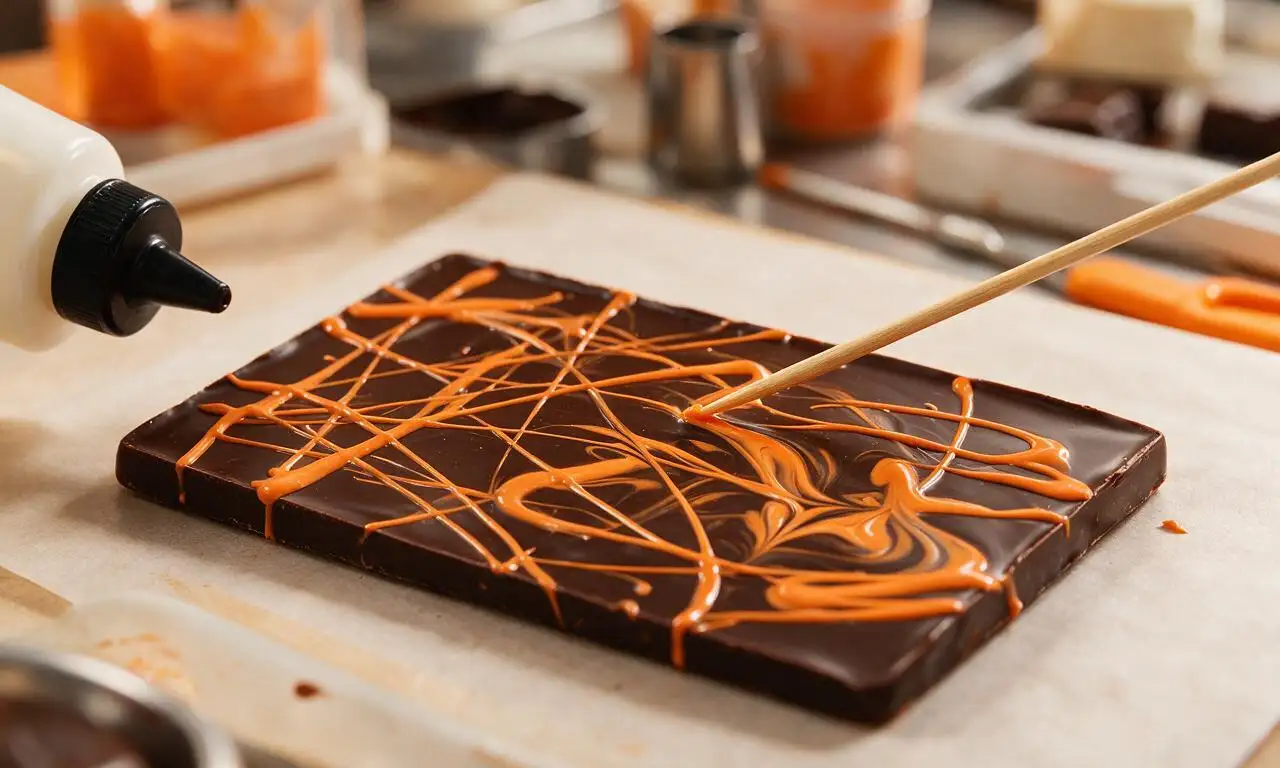
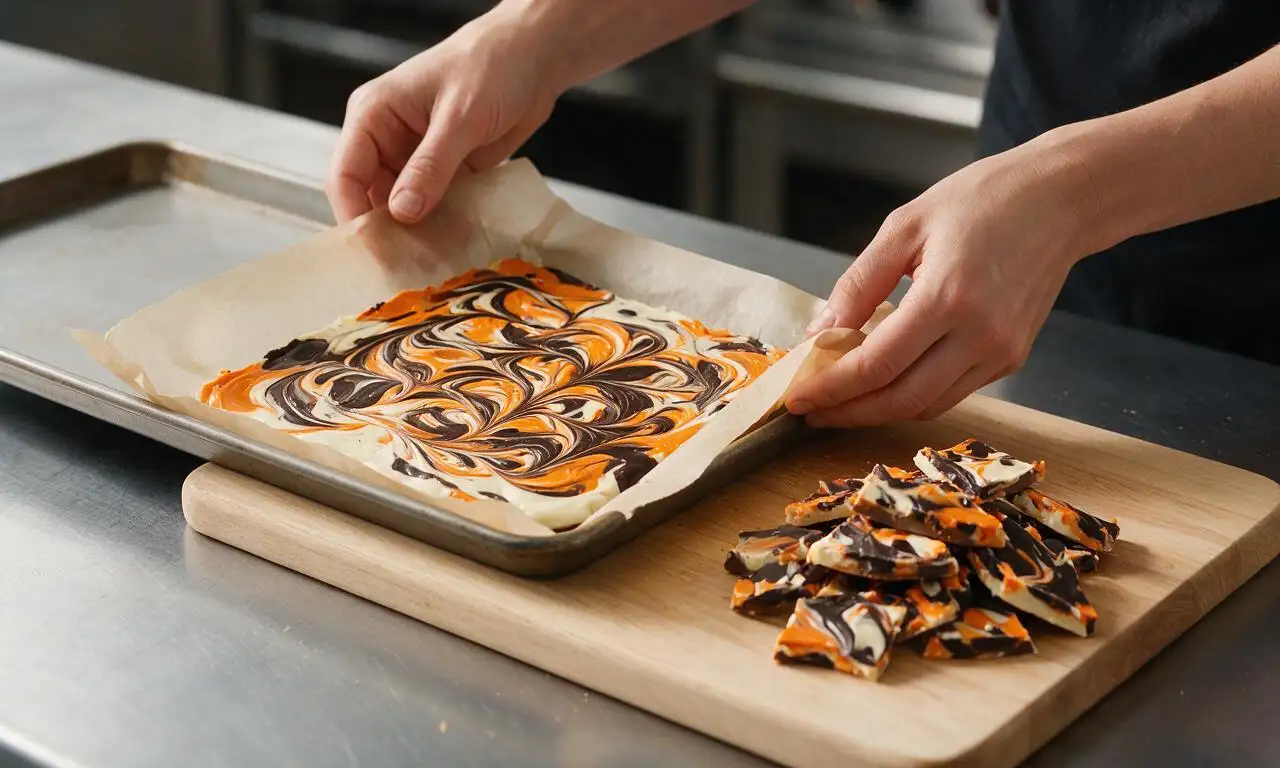
It’s easier than it looks! Melt your semi-sweet and white chocolate separately, then dollop both randomly across your lined baking sheet. Use a toothpick, skewer, or knife tip to gently swirl the two chocolates together in loose figure-8 motions—don’t overmix, or you’ll get a muddled tan instead of distinct marbling.
5.My white chocolate always seizes up when I melt it—how do I prevent that?
▾
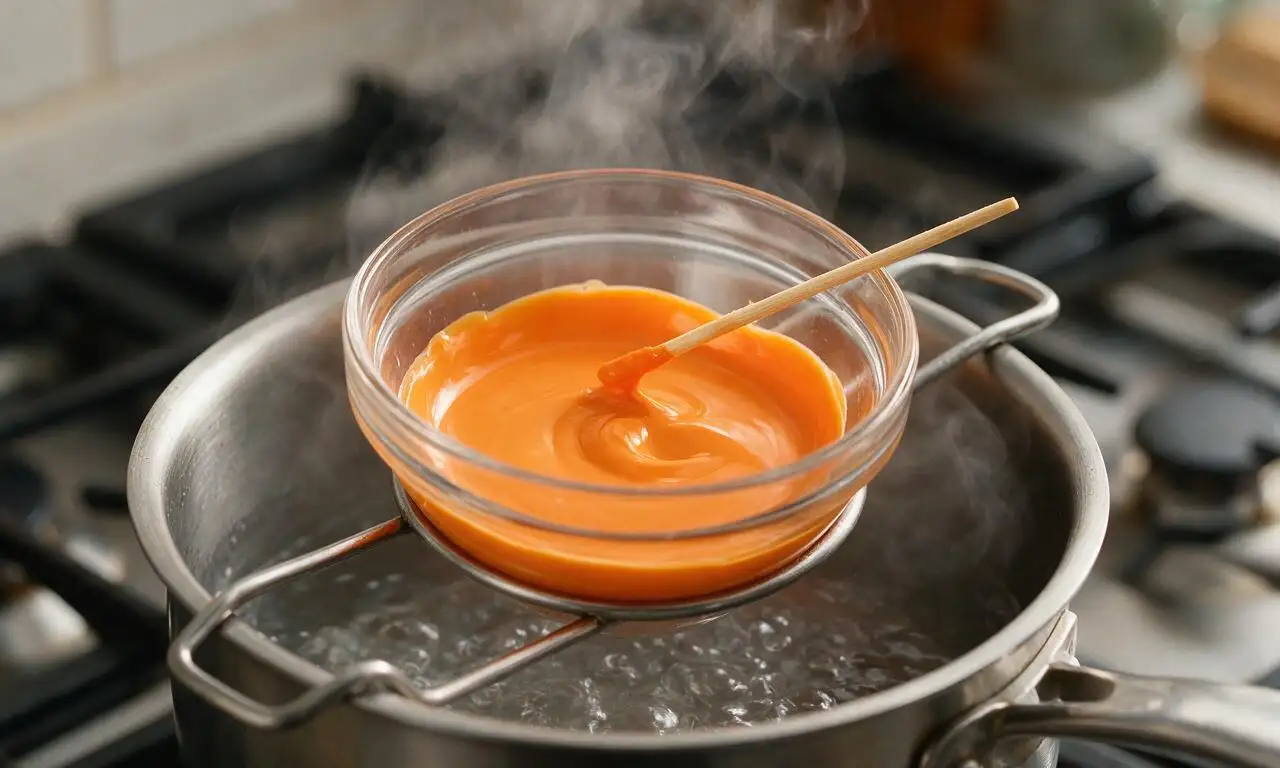
White chocolate is extra prone to seizing from overheating or even a single drop of water. Melt it in 30-second microwave bursts, stirring really well between each interval, and make sure all your bowls and utensils are completely dry before you start. If it does seize, stir in a tiny splash of neutral vegetable oil to smooth it back out.
6.When should I add the candy and pretzel toppings so they don’t sink or fall off?
▾
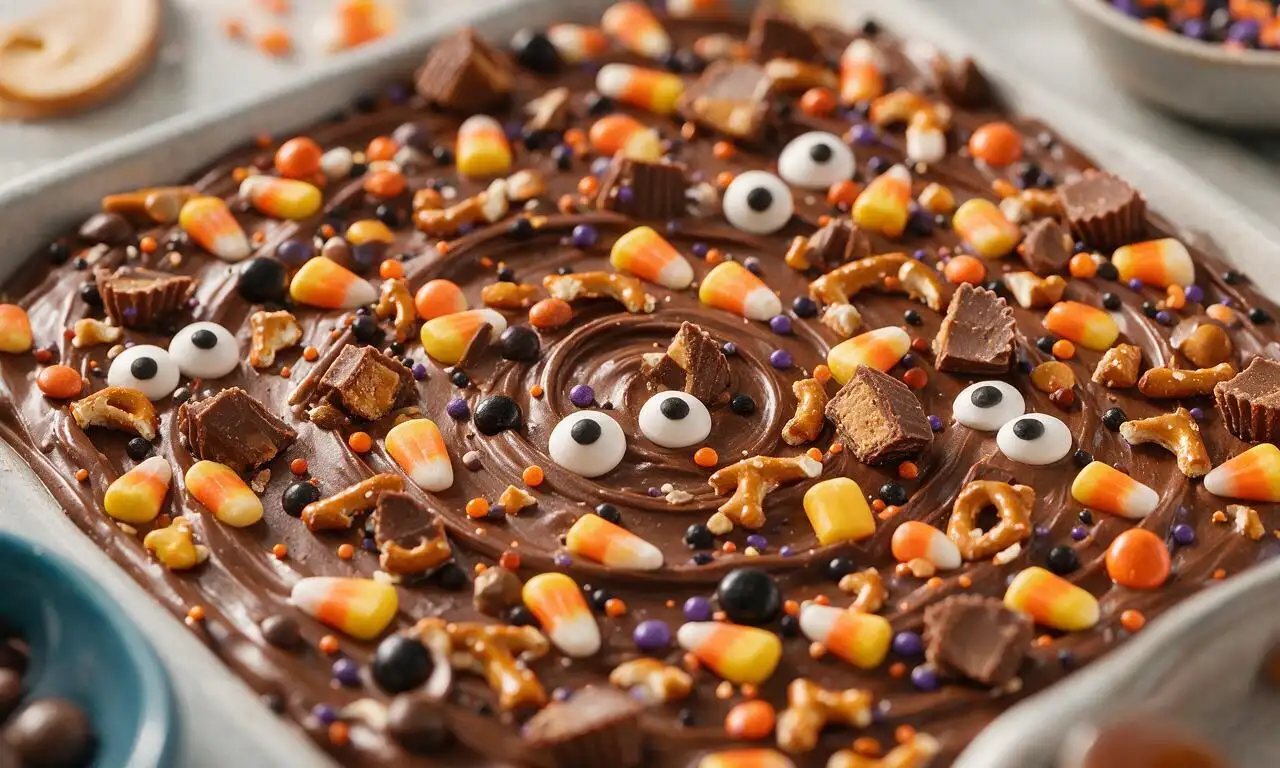
Add your toppings immediately after you spread and swirl the melted chocolate on the pan, before it starts to set. Press each piece—candy corn, chopped peanut butter cups, pretzels, sprinkles, candy eyes—gently into the chocolate so it sticks well, but don’t push so hard that it sinks all the way through to the pan.
7.Can I add extra mix-ins beyond the listed ingredients?
▾
Go for it! This bark is totally customizable. Try adding crushed salty potato chips, chopped Halloween-themed Oreos, mini marshmallows, chopped nuts, or even sour candy bits for a tangy kick. Just keep total toppings to around 1.5 cups so there’s enough chocolate to hold everything together without pieces falling off.
8.How should I break the bark into pieces once it’s fully set?
▾
Skip the knife—cutting set chocolate will make messy, uneven shards and can cause toppings to pop off. Instead, lift the whole slab of bark off the parchment paper onto a cutting board, then press firmly with your palms to break it into irregular, bite-sized pieces. You can also tap it gently with a rolling pin for more even sizing.
9.How long will this candy bark stay fresh if I make it ahead for a party?
▾
Stored in an airtight container in a cool, dry spot away from direct sunlight, it’ll stay fresh and crunchy for up to 2 weeks. If your kitchen runs warm, keep it in the fridge to prevent the chocolate from melting, just let it sit at room temp for 10 minutes before serving for the best texture.
10.Can I make this bark nut-free for classroom Halloween parties?
▾
Definitely! Just skip the mini peanut butter cups, and double check that all your sprinkles, chocolate chips, and other candies are labeled nut-free to avoid cross-contamination. Swap the peanut butter cups for nut-free candy pieces, like gummy worms or extra candy corn, to keep the fun, loaded texture without allergen risk.
11.Why do some of my toppings fall off after the bark sets?
▾
That usually happens if you wait too long to add toppings after spreading the chocolate, so the top layer starts to set before toppings can adhere. It can also happen if you don’t press toppings gently into the warm chocolate, or if you overload the base with too many mix-ins that don’t have enough chocolate to stick to.
12.Can I use candy melts instead of regular white chocolate chips for the white layer?
▾
You can, but note that candy melts have a slightly sweeter, more vanilla-forward, less rich flavor than real white chocolate. They do hold their color really well and are less prone to seizing, which makes them a great pick if you want to add bright orange or purple color to your marbled base for a more vivid Halloween look.
13.Do I need to add extra salt to this bark since it includes salty pretzels?
▾
The salty pretzels and peanut butter cups already add that perfect sweet-salty balance, but if you’re a big salt fan, you can sprinkle a tiny pinch of flaky sea salt over the top right after adding your other toppings. It’ll cut through the sweetness of the chocolate and candy and make all the flavors pop even more.
14.What size baking sheet works best for this candy bark recipe?
▾
A standard 9x13 inch rimmed baking sheet is ideal—it gives you a bark layer that’s about ¼ inch thick, which is the perfect bite: not so thin it shatters when you break it, and not so thick it’s hard to eat. Line it with parchment that hangs over the edges a little, so you can easily lift the set bark out of the pan.
15.Can I package this bark for Halloween goody bags?
▾
It’s perfect for goody bags! Once it’s fully set and broken into pieces, tuck 2 to 3 pieces into small cellophane treat bags, tie them with orange or black ribbon, and add a fun Halloween tag. Just make sure the bark is completely set before bagging it, and don’t leave bags in a hot car or direct sun, or the chocolate will melt.
16.My chocolate got a weird grayish-white coating after chilling—what is that?
▾
That’s called chocolate bloom, and it’s totally harmless! It happens when chocolate gets too warm, then cools too quickly, causing cocoa butter to rise to the surface. It doesn’t affect the taste at all, but you can avoid it by not freezing the bark for longer than 30 minutes, and letting it cool to room temp slowly instead of exposing it to big temperature swings.
17.Can kids help make this Halloween candy bark?
▾
This is one of the best kid-friendly Halloween recipes! Little kids can help sprinkle toppings, swirl the chocolate with a toothpick, and even help break the set bark into pieces. Just handle the hot melted chocolate part yourself to avoid burns, and lay down extra parchment on the counter to make cleanup super quick after the fun.
18.Should I chop the mini peanut butter cups before adding them to the bark?
▾
Yes, chopping them into rough, bite-sized quarters or halves works way better than adding them whole. Whole peanut butter cups are bulky, can make the bark hard to break cleanly, and are more likely to fall off. Chopped pieces distribute more evenly across the bark, so you get a little peanut butter chocolate hit in almost every bite.







OMG this candy bark was such a hit at my kid’s classroom Halloween party! I swapped out the regular candy corn for the caramel apple flavored kind and it was SO good—even the pickiest teachers came back for seconds. Super easy to throw together too, I didn’t even break a sweat making two full batches after work earlier this week. Already got three parents asking me for the recipe!
Game changer for my neighborhood block party potluck this past weekend! I added some crushed Oreos and those googly gummy eyeballs on top and everyone thought I bought it from a fancy local candy shop. The 30 minute total time is no joke, I was done prepping this before my oven even finished preheating for the mummy hot dogs I made as another appetizer. Total crowd pleaser!
Made this for my teen’s Halloween movie night with their friends and the whole pan was gone in 10 minutes flat! Quick heads up for anyone using white chocolate as the base: melt it super slow over low heat so it doesn’t seize up—I almost messed that up my first go around by cranking the heat too high. Will definitely be making this every spooky season from now on, it’s way cheaper than buying pre-made candy trays from the store!
This is such a perfect easy recipe for when you forget you signed up to bring Halloween treats last minute! I raided my kid’s leftover trick-or-treat candy stash to top it—crushed Reese’s cups, mini M&Ms, even a few chopped up lollipops worked great. My kids loved helping me sprinkle the toppings on too, it was such a fun little after school activity that didn’t make a huge mess to clean up. 10/10 will make again next year!