
halloween dirt pudding
intro
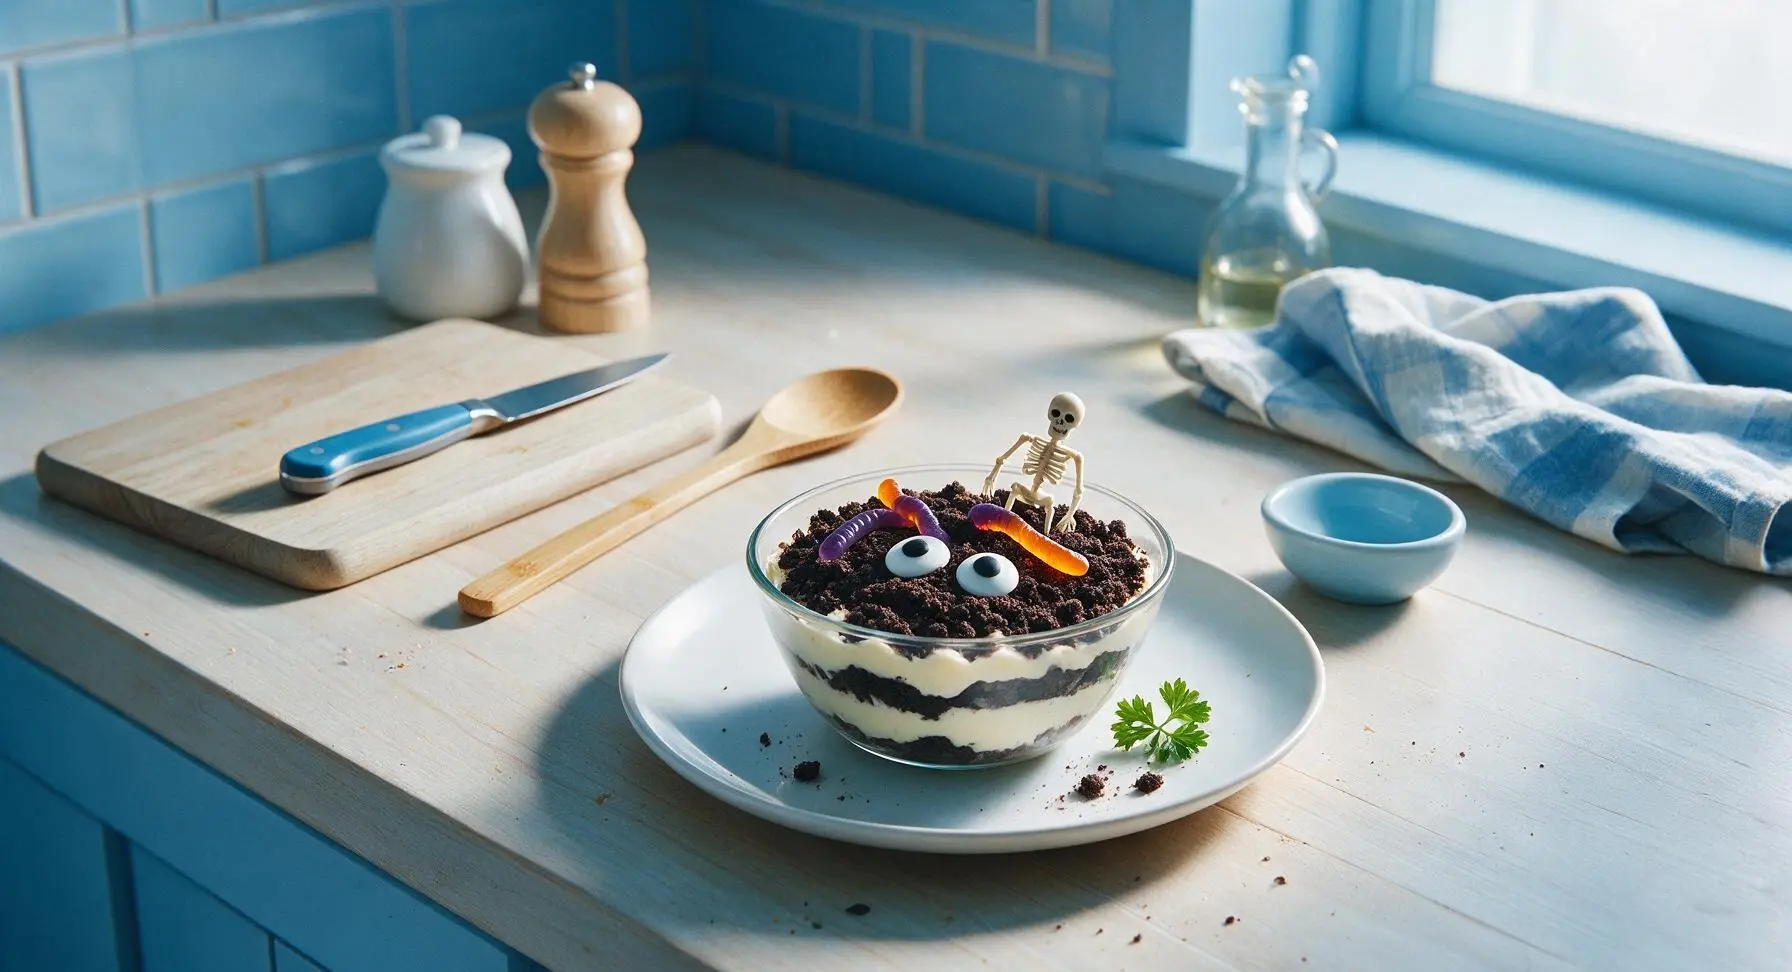
Creamy, vanilla-kissed pudding layered with crunchy chocolate cookie "dirt", topped with playful spooky garnishes—this nostalgic no-bake treat is a hit at every Halloween gathering.
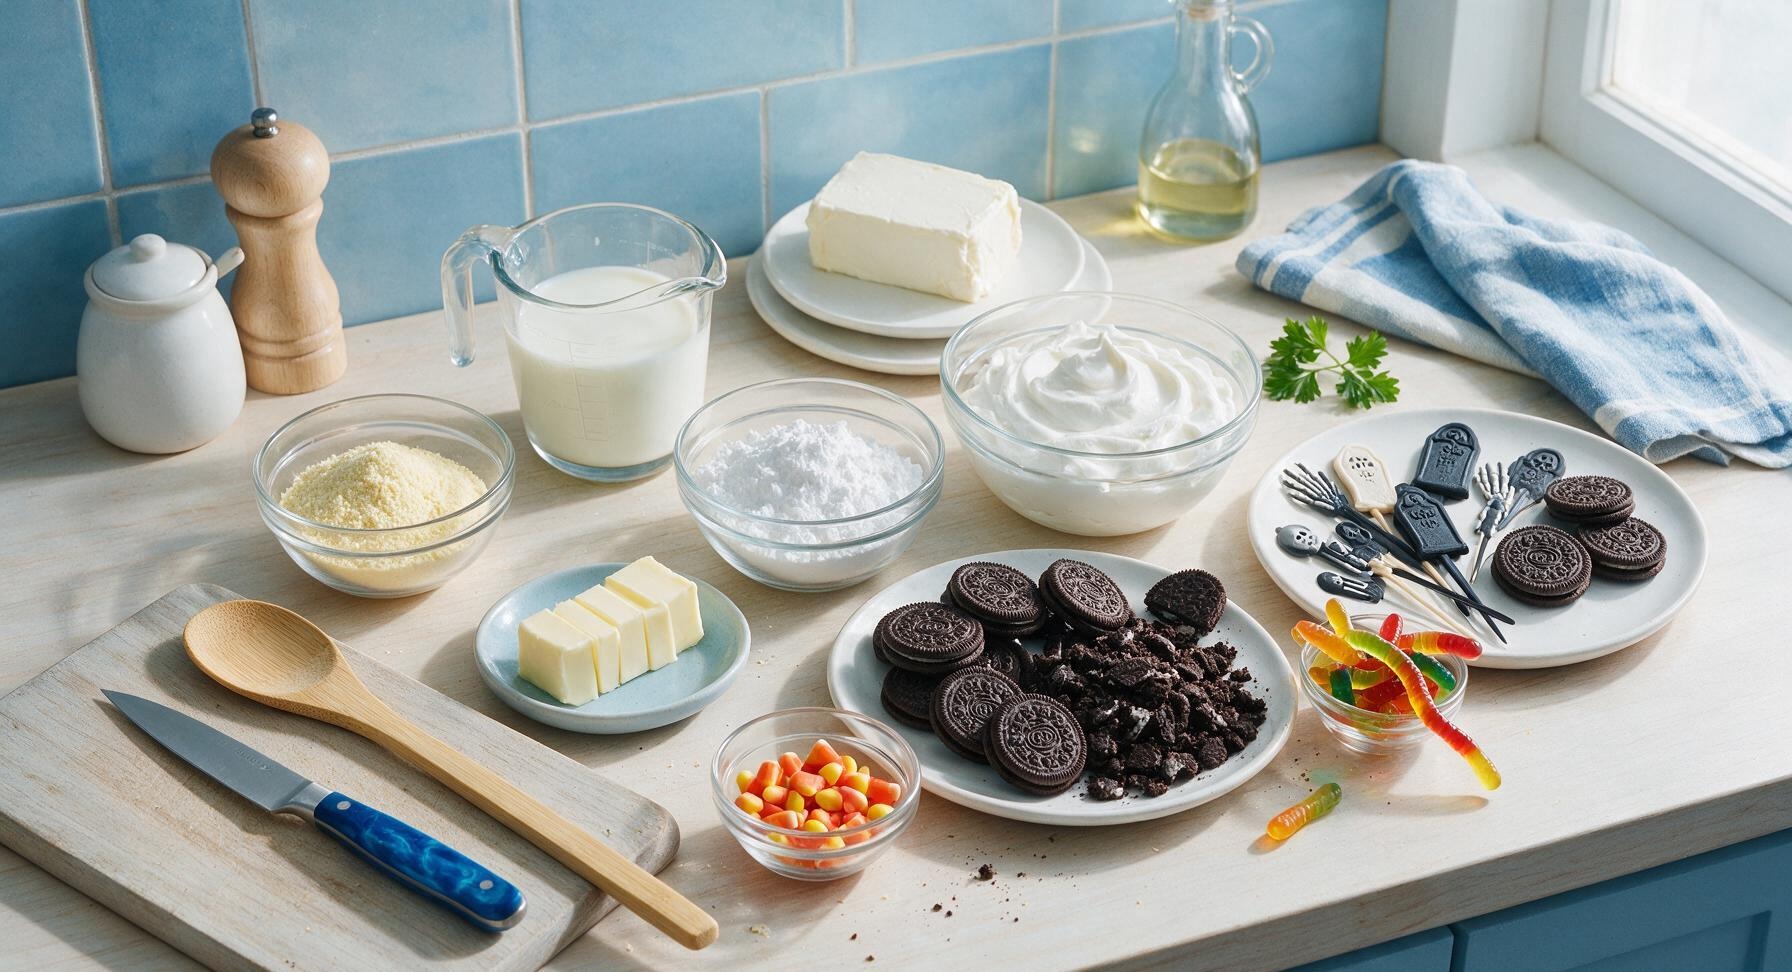
Ingredients
Steps
Crush Cookie Dirt
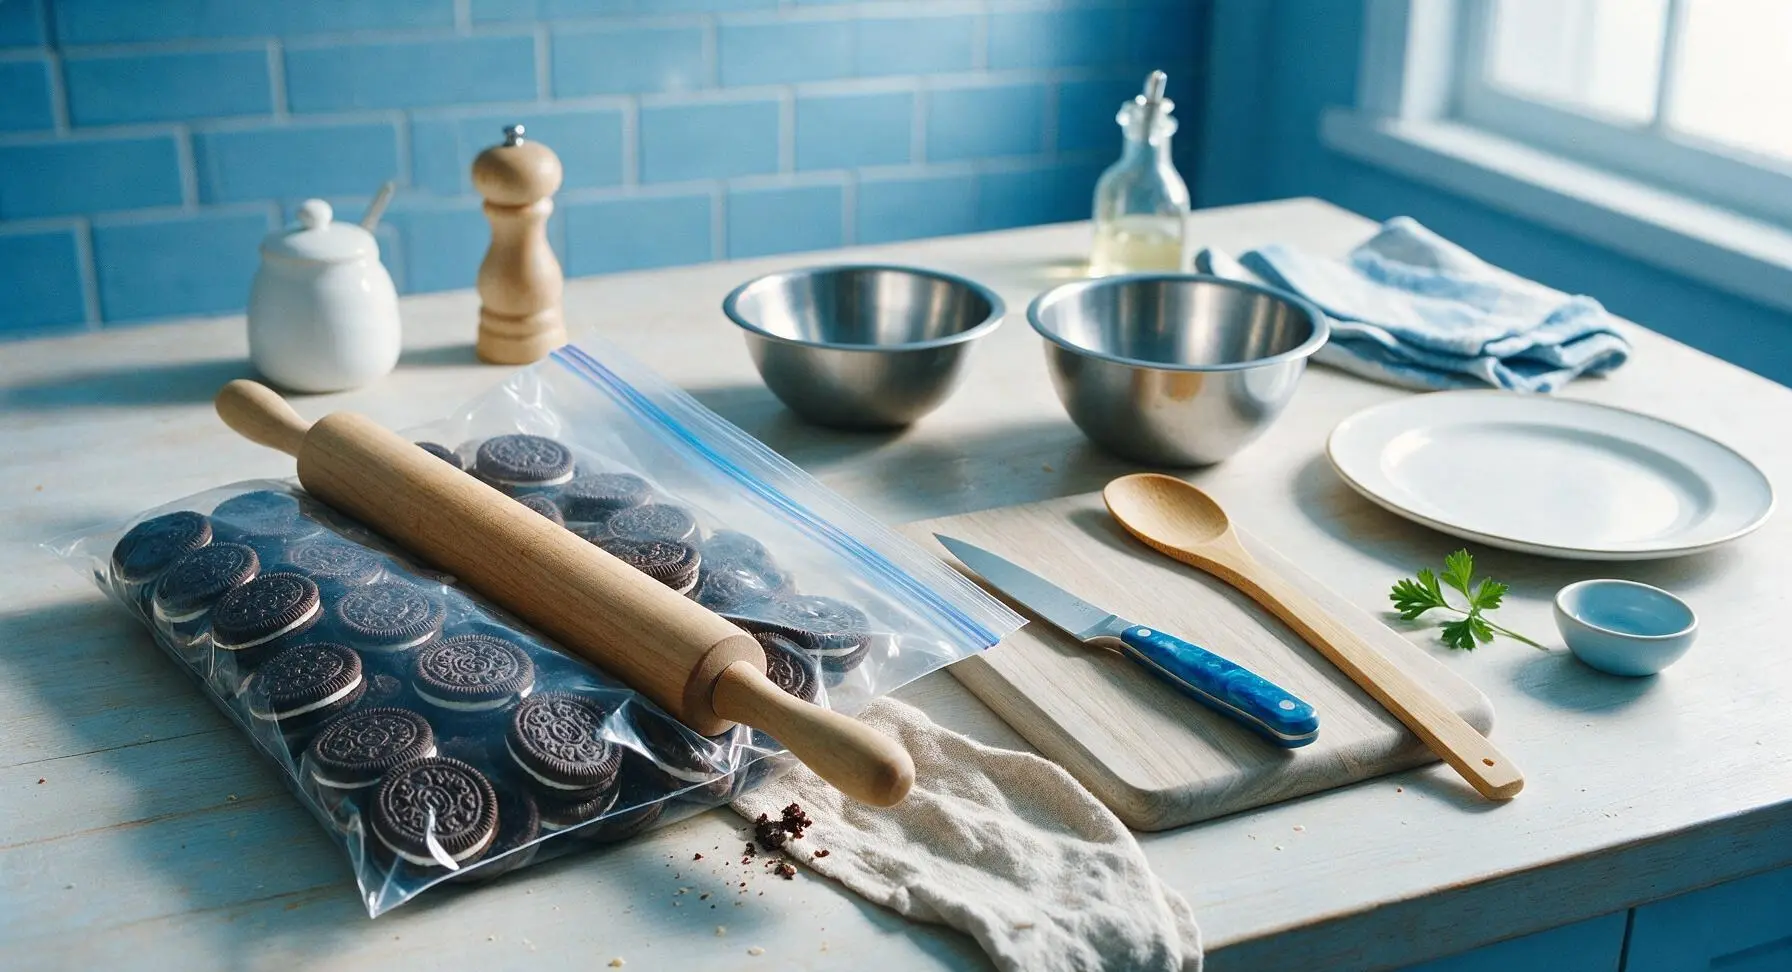
Place all chocolate sandwich cookies into the 1-gallon clear heavy-duty zip-top bag, press out excess air, and seal tightly. Lay the bag flat on the soapstone counter, and use the solid maple rolling pin to crush the cookies into uneven crumbs: leave roughly 1/3 of the crumbs as pea-sized chunks for texture, and crush the remaining 2/3 into fine, soil-like crumbs. Do not over-crush into a uniform fine powder, as varied crumb size creates a more realistic dirt appearance. Set the sealed bag of crumbs aside when finished.
Beat Cream Cheese Base
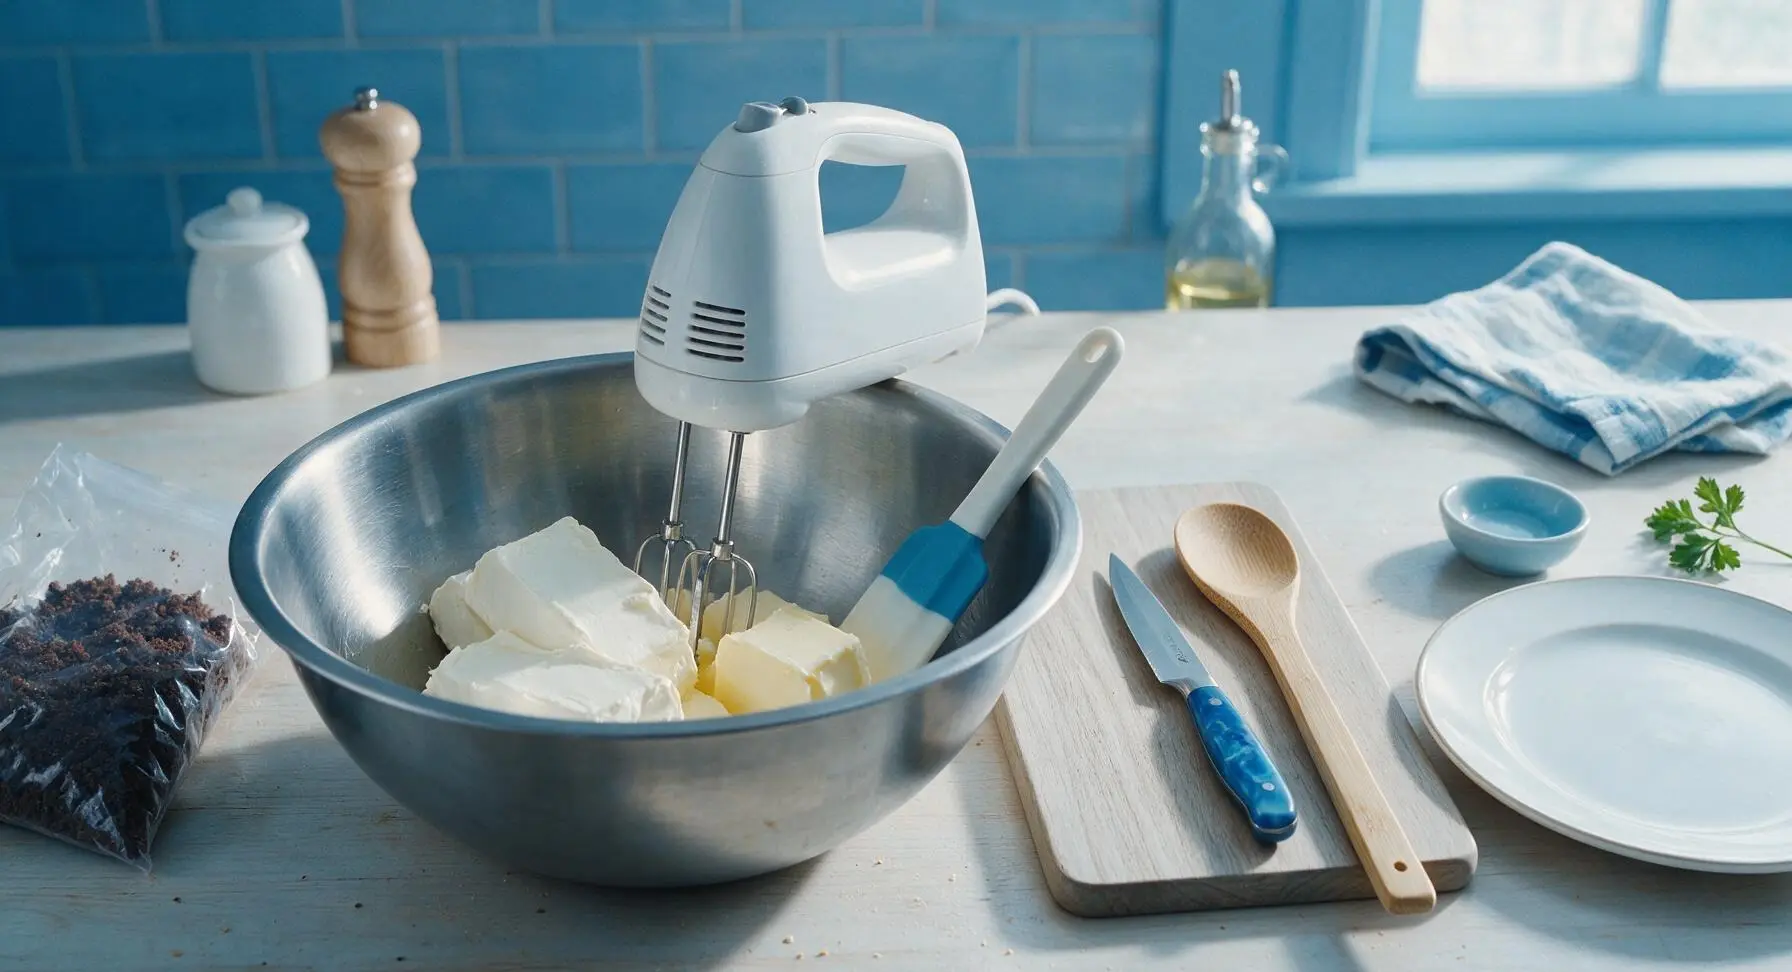
Place the 8oz softened room-temperature cream cheese and 1/2 cup softened unsalted butter into the large stainless steel mixing bowl. Attach the beaters to the matte white electric hand mixer, and beat the two ingredients on medium speed for 2-3 minutes until completely smooth, with no visible lumps. Scrape down the sides of the bowl with the silicone spatula halfway through mixing to ensure no clumps stick to the edges. Add 1 cup of powdered sugar, beat on low speed for 1 minute to incorporate, then increase to medium speed for 30 seconds to make the base light and fluffy.
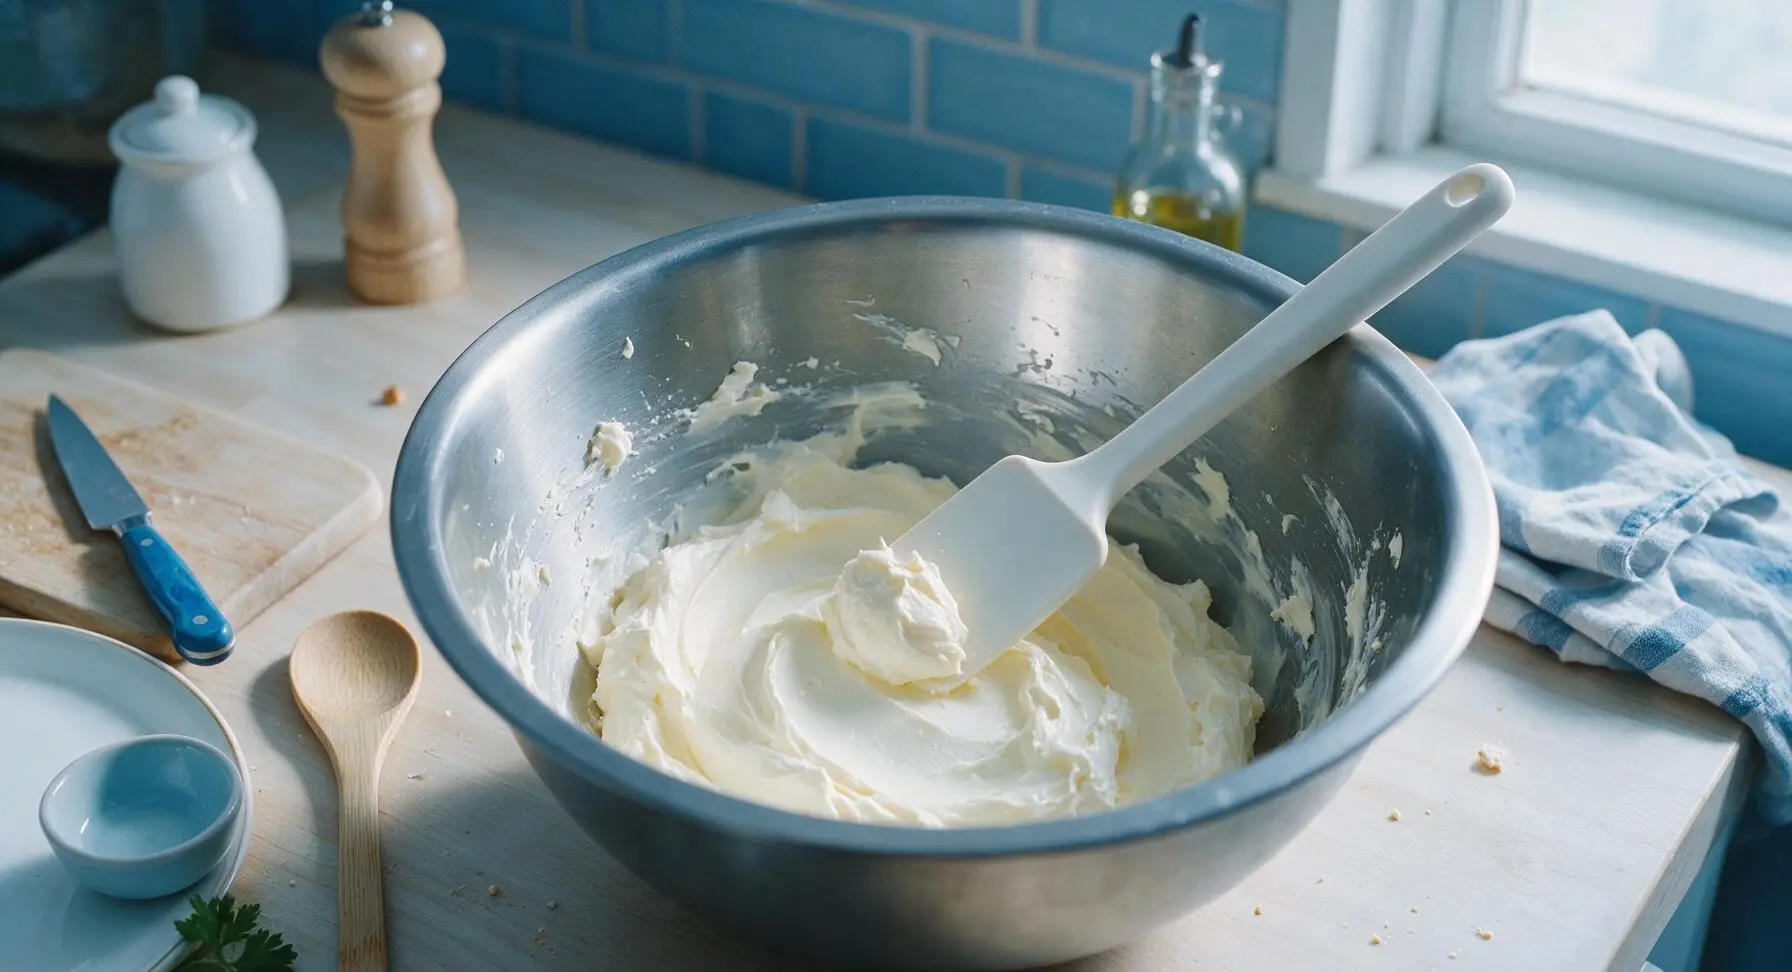
Mix Vanilla Pudding
Pour 4 cups of cold whole milk into the medium stainless steel mixing bowl, then add both boxes of instant vanilla pudding mix. Whisk steadily with the silicone spatula for 2 full minutes until the pudding begins to thicken, with no dry lumps of pudding mix remaining. Let the pudding rest for 5 minutes at room temperature to set to a soft, scoopable consistency; do not let it fully firm up, as it will continue to set during chilling.
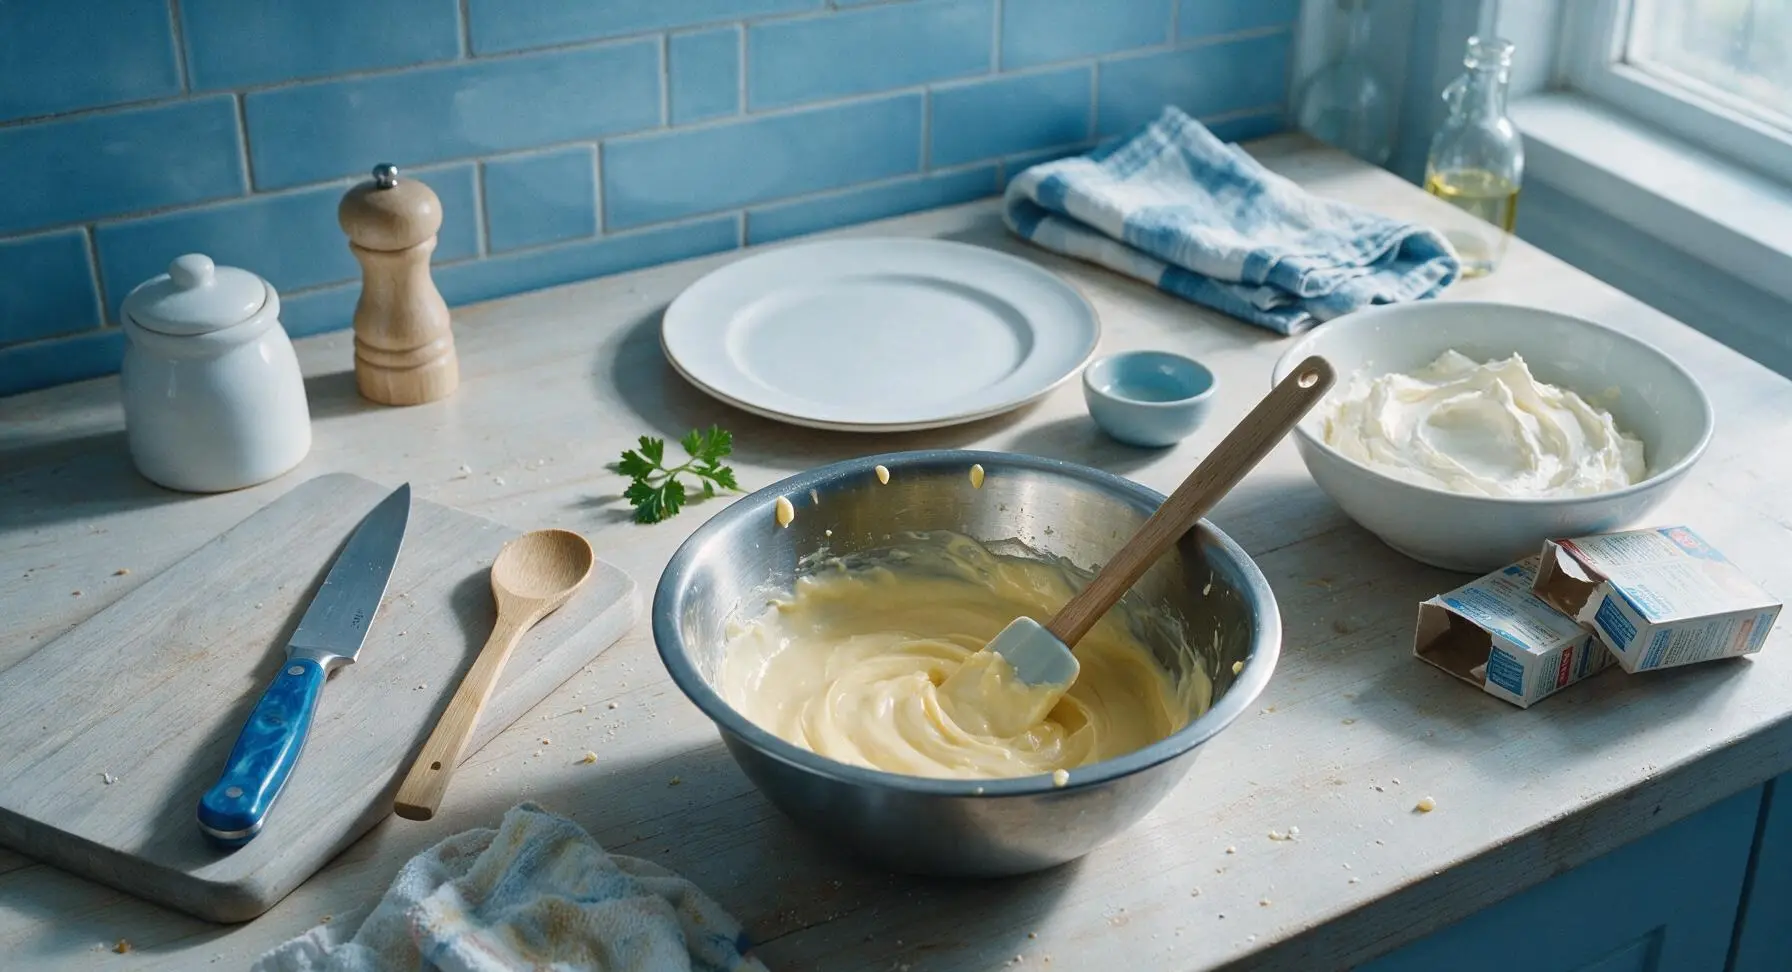
Combine Filling Layers
Scoop the soft-set vanilla pudding from the medium bowl into the large mixing bowl with the cream cheese base. Use the silicone spatula to fold the two mixtures together gently until fully combined, with no streaks of plain pudding or cream cheese visible. Fold in 12oz (3/4 of the tub) of the thawed whipped topping, taking care not to over-mix and deflate the light, airy texture. Stop folding as soon as no white streaks of whipped topping remain.
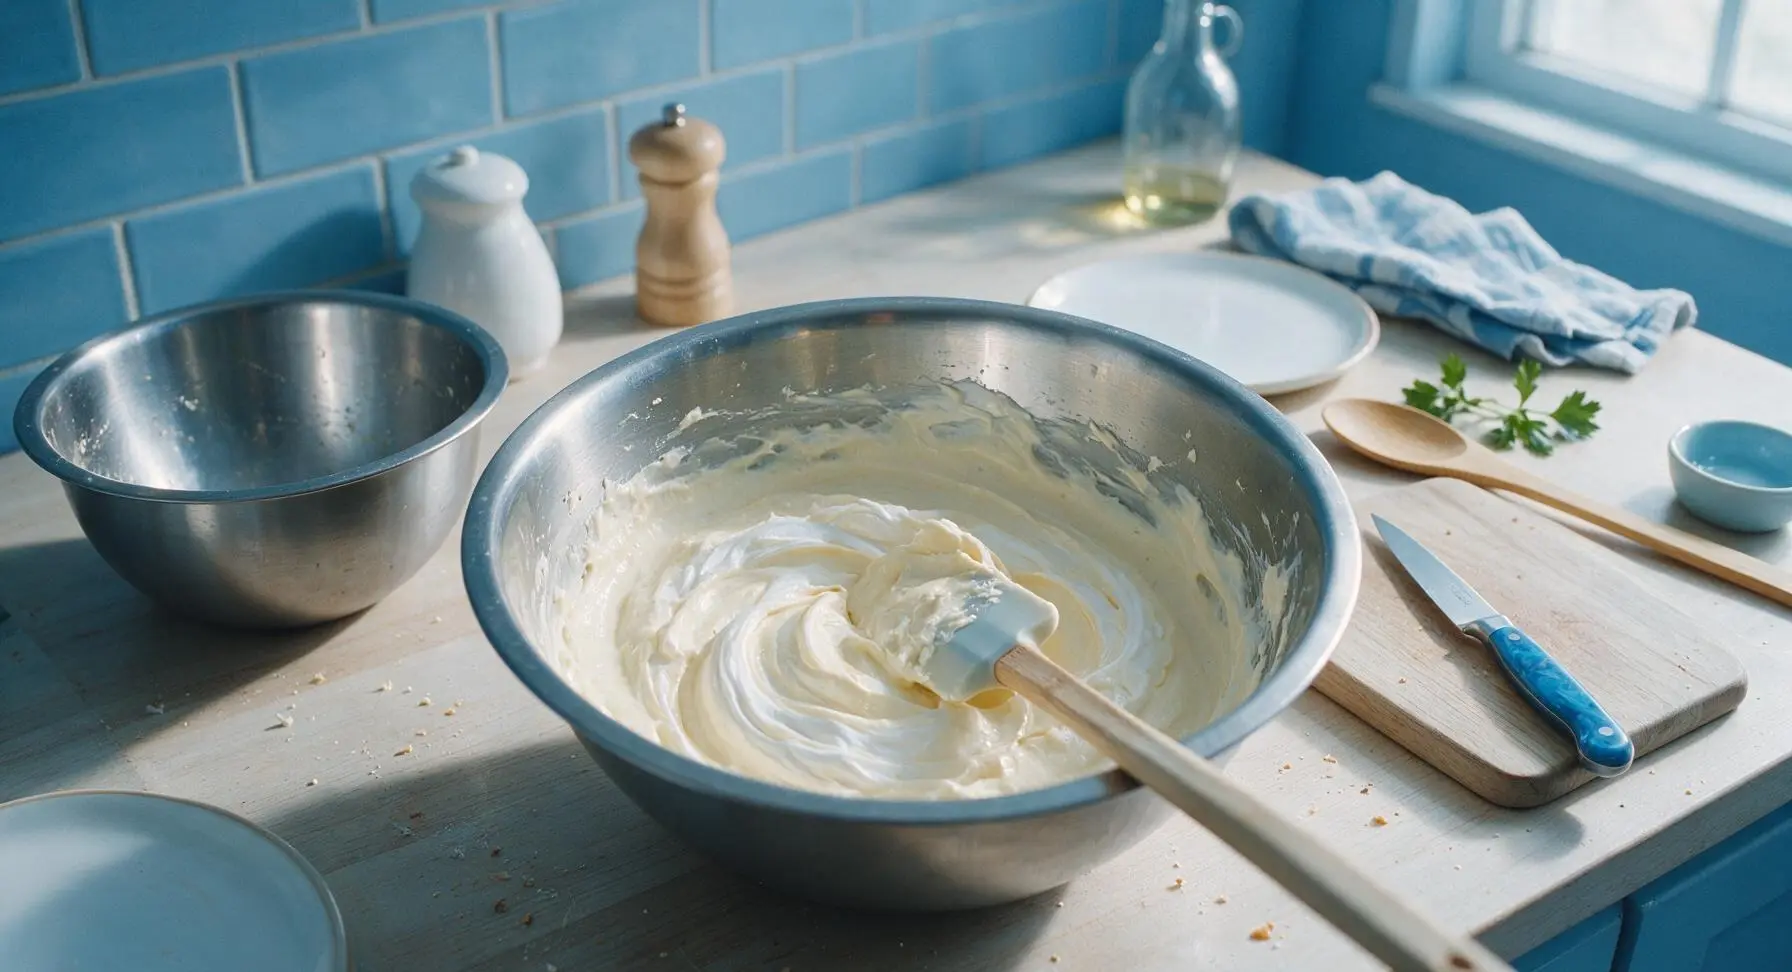
Layer Pudding and Crumbs
Open the sealed bag of crushed cookie crumbs. Sprinkle 1/3 of the crumbs evenly across the bottom of the clear 9x13 inch glass serving dish to form the first dirt layer. Spoon half of the creamy pudding mixture over the crumb base, spreading it gently with the silicone spatula into an even layer, taking care not to mix crumbs up into the pudding. Top the first pudding layer with another 1/3 of the cookie crumbs, then spread the remaining half of the pudding mixture over top in a smooth, level layer.
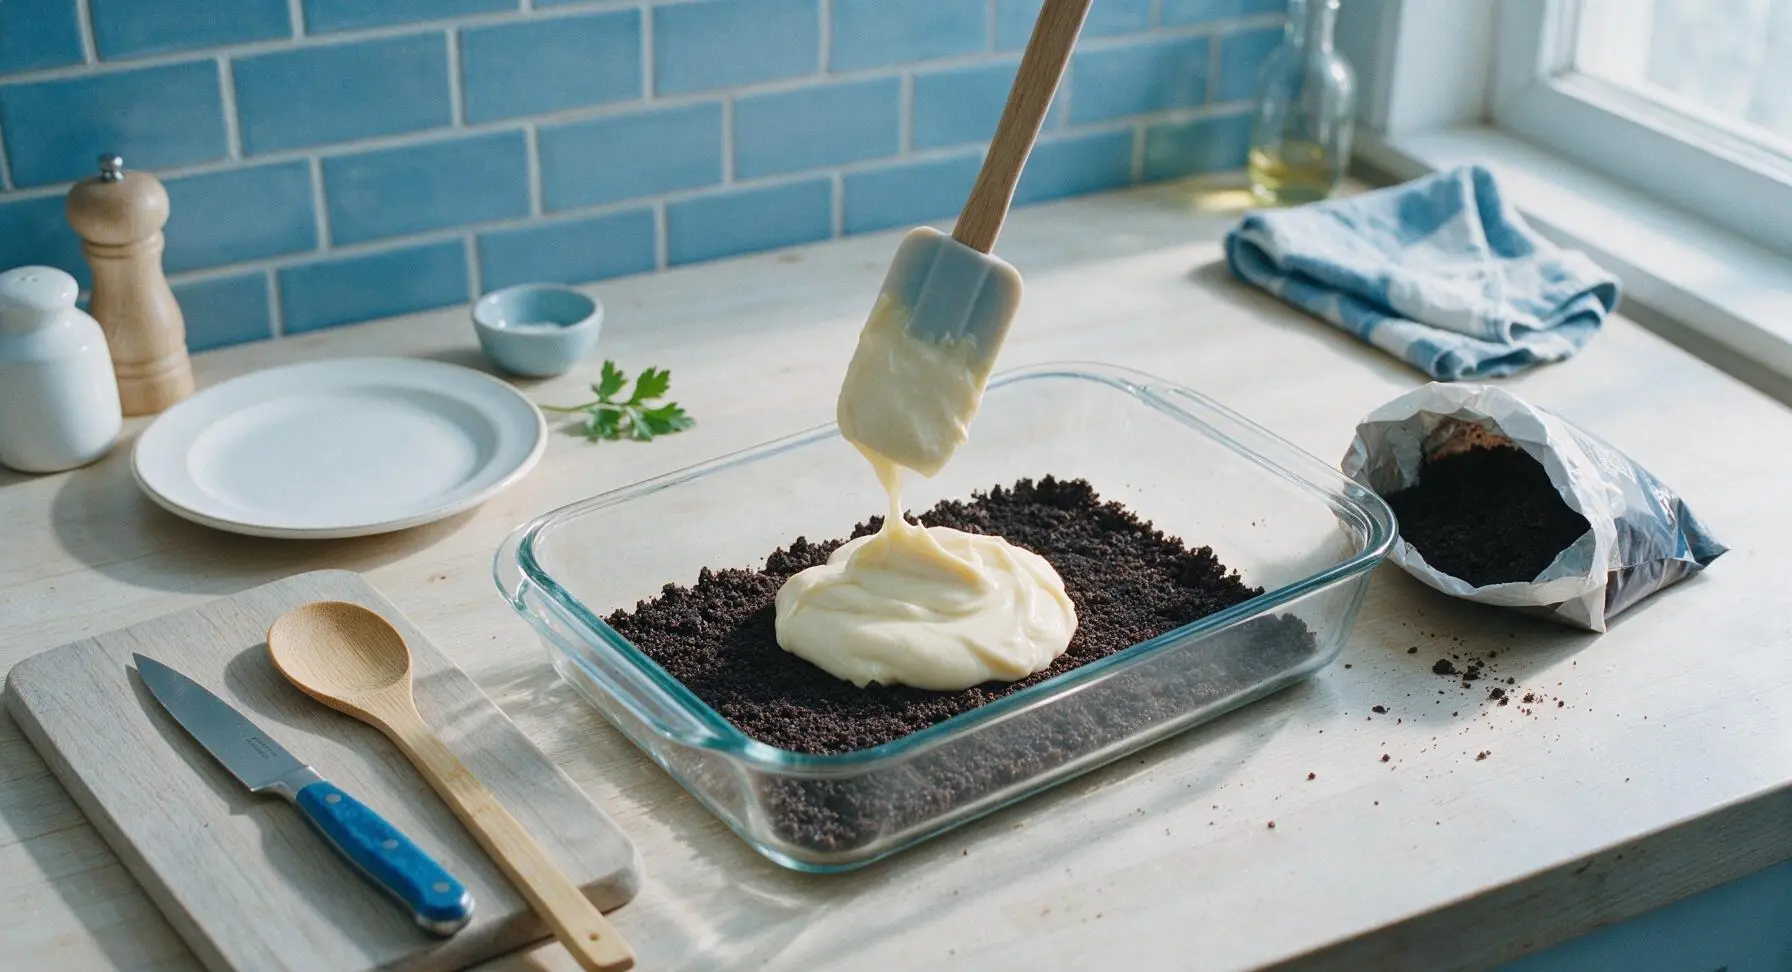
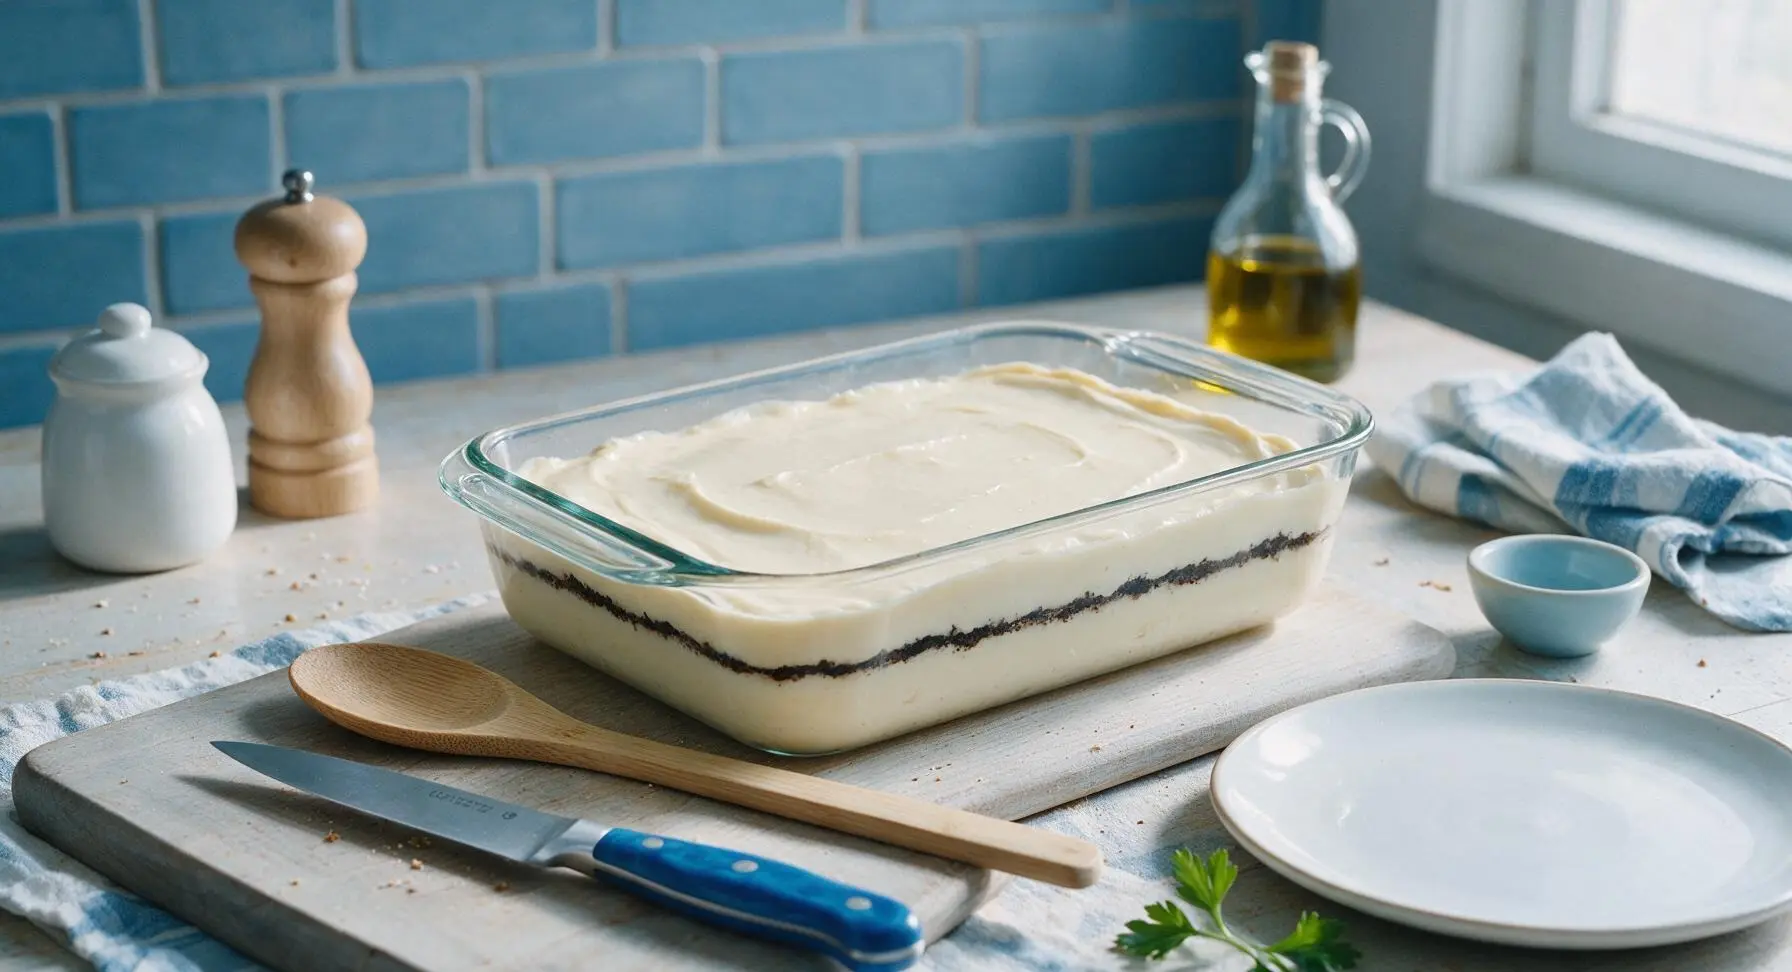
Add Top Dirt Layer
Sprinkle the remaining 1/3 of the cookie crumbs evenly over the top of the final pudding layer, covering every patch of pudding so the surface mimics loose, dark garden soil. Gently press the crumbs very lightly to help them adhere to the pudding, but do not pack them down tightly—keep the surface loose and slightly uneven for a realistic dirt appearance.
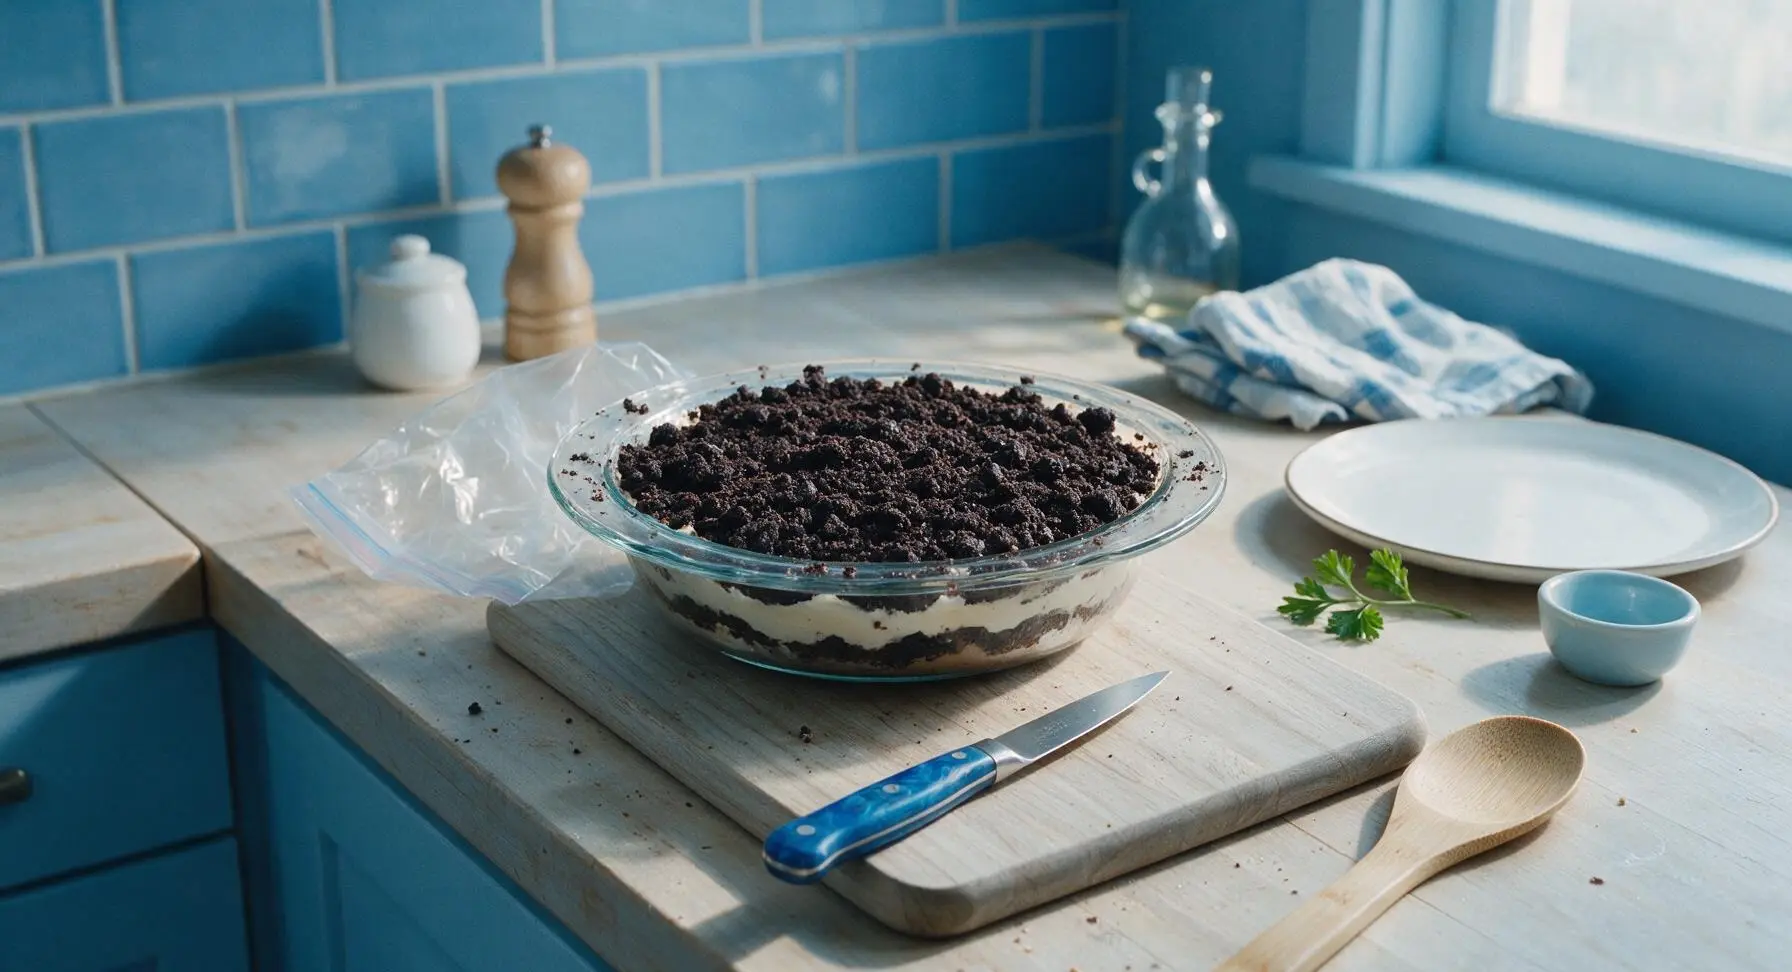
Chill to Set
Cover the serving dish tightly with a sheet of clear plastic wrap, and transfer it to the refrigerator to chill for a minimum of 4 hours (or up to 24 hours, for make-ahead convenience) until the pudding is fully firm and set. Do not add garnishes before chilling, as candy garnishes will bleed color and gummy candies will harden during extended cold storage.
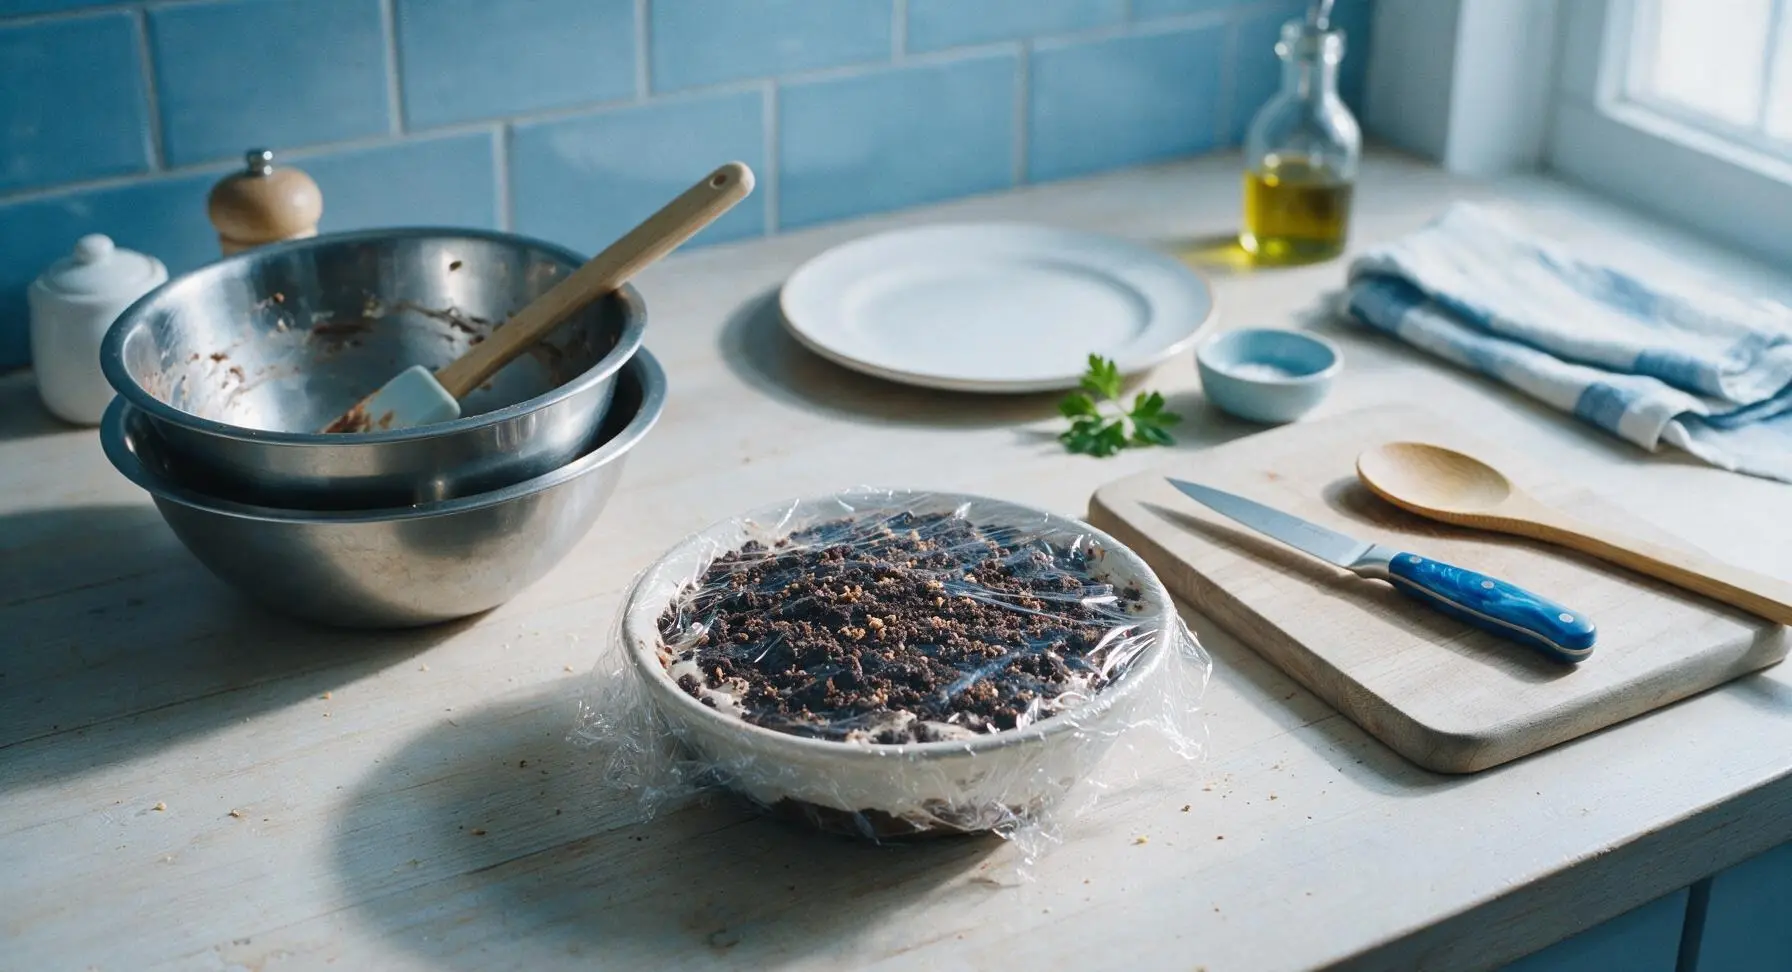
Add Spooky Garnishes
Remove the set pudding from the refrigerator and peel off the plastic wrap. Tuck gummy worms half-way into the top crumb layer so they appear to be crawling out of the dirt. Scatter candy corn across the surface like tiny fall pumpkins, and press the Halloween plastic tombstone and skeleton hand picks into the pudding at varied angles to create a playful mini graveyard effect. Dollop the remaining 4oz of whipped topping in small fluffy mounds across the surface for a ghostly accent.
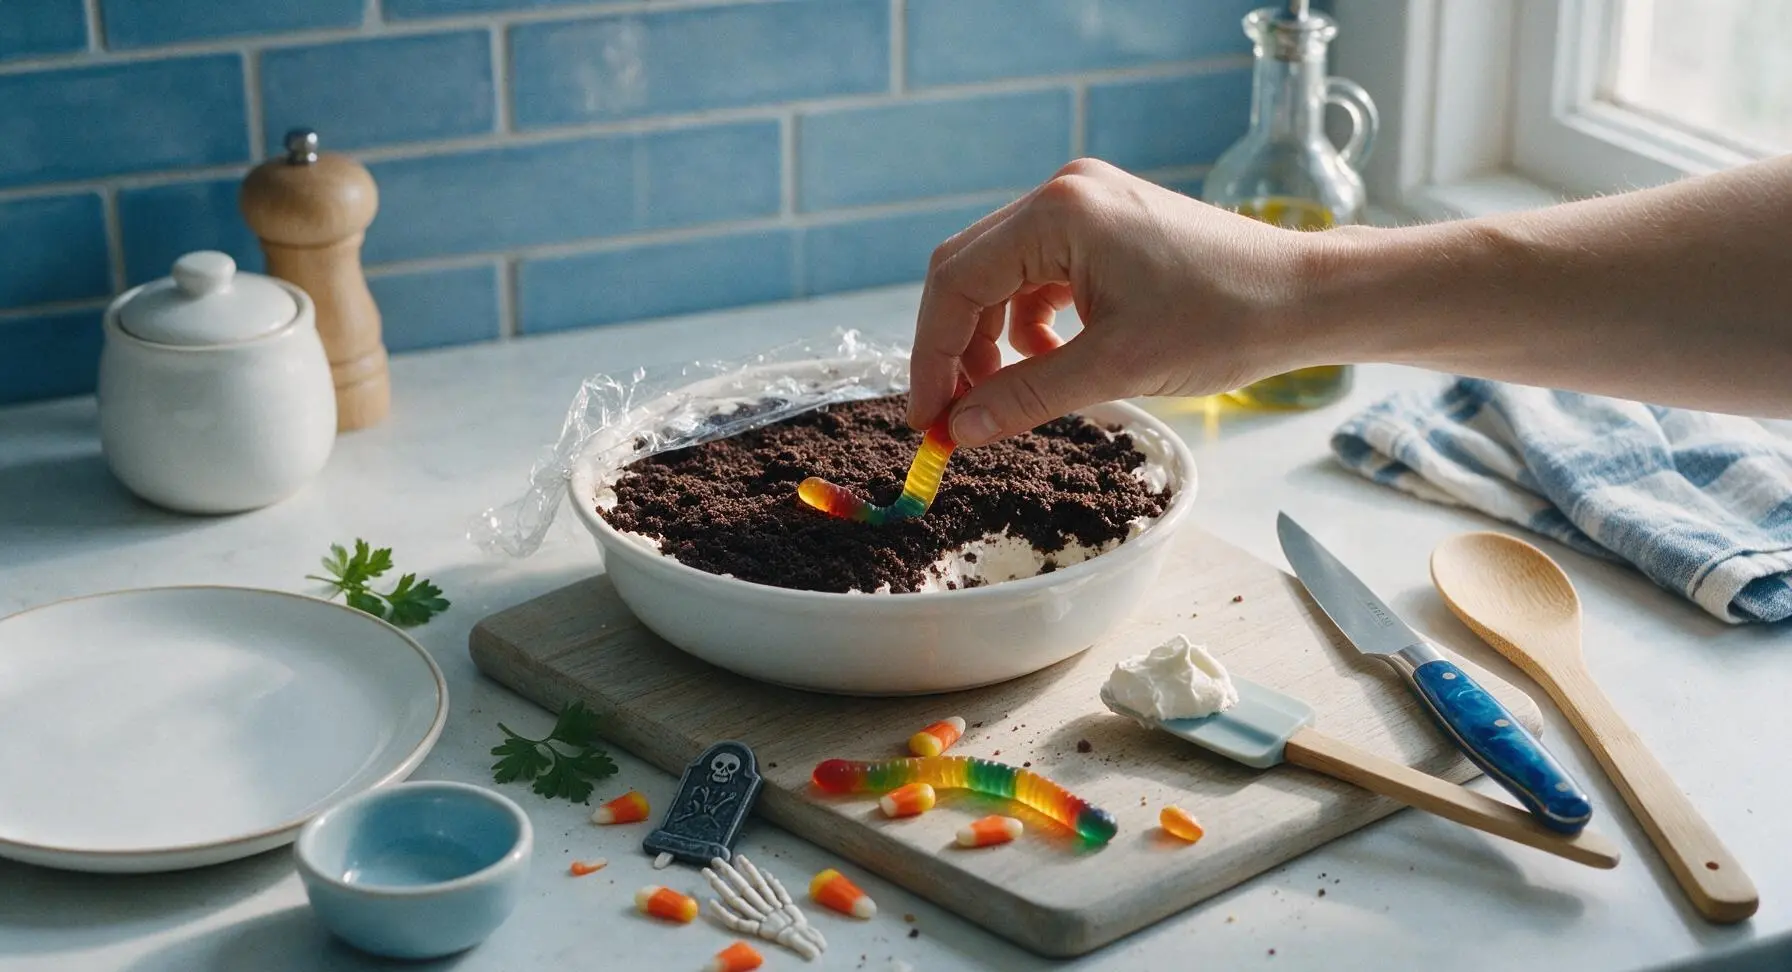
Tips
2.Avoid over-crushing the chocolate sandwich cookies into a fine powder. A mix of fine soil-like crumbs and small pea-sized chunks creates a more realistic dirt appearance and adds a satisfying crunchy contrast to the smooth, creamy pudding layers.
3.Wait to add gummy candies, candy corn, and plastic garnishes until immediately before serving. Gummies left on cold pudding for more than 2 hours will stiffen and lose their chewy texture, and candy corn will bleed its orange and yellow dye into the crumb top if added too early.






OMG made this for my sons’ classroom Halloween party yesterday and every single kid asked for seconds! Zero cook time meant I could throw it together between school drop off and my work meeting, total lifesaver. Crushed Oreos and gummy worms never miss, tbh.
Made this in my dorm room with a mini fridge and a plastic bag to crush Oreos, no fancy equipment needed at all. My whole floor came banging on my door when they smelled it. 10/10 would make again for our Halloween movie night.
I added a few candy tombstones I found at the dollar store to make it extra spooky for my grandkids. They thought it was the coolest thing ever, even my teen grandson who acts like he’s too old for Halloween fun cracked a smile.
Swapped the regular pudding for coconut milk vanilla pudding and used gluten free Oreos so my niece with allergies could have some, and no one could even tell the difference! Such a flexible easy recipe, perfect for mixed allergy groups at potlucks.
Made this for our annual Halloween horror game marathon with the guys. We added some sour gummy spiders on top for extra creep factor, and we ate the whole pan in like 20 minutes. Way better than ordering takeout dessert.
Has anyone made this the night before an event? I’m hosting a big Halloween potluck and want to get as much prep done ahead of time as possible so I’m not scrambling day of.
Wait, no cook time at all? I thought I’d have to stir pudding on the stove for this, that’s a total game changer! I hate making desserts that heat up my whole kitchen when I’m already busy making chili for Halloween dinner.
I added crumbled up brownie bits in between the pudding layers for extra richness and oh my GOD it was SO good. Tasted like a fancy restaurant dessert but took zero effort.
How many servings does this make? I need to make enough for 20 kids at our neighborhood trunk or treat and don’t want to run out halfway through.
Y’all, I brought this to my office Halloween potluck and even the grumpy boss who never eats the office food had two servings. 10/10, will be making this every year from now on.
I don’t have a big serving bowl, would those clear plastic individual cups work for this? I want to set them out on my appetizer table for people to grab easily at my costume party.
Told my kids this was actual graveyard dirt I dug up from the backyard and they screamed so loud the neighbors knocked on the door to check on us. 10/10 spooky vibe, zero effort. My kids loved it, even if they gave me side eye for the prank.
Wait, can I make this with sugar free pudding? My husband is type 1 diabetic and I want a fun Halloween treat he can enjoy without spiking his blood sugar.
I accidentally bought golden Oreos instead of regular for the dirt layer—will that mess up the whole thing? I don’t have time to run back to the store before my party tonight 😭
How long do I need to let this set in the fridge before serving? I’m in a huge time crunch before my kid’s trunk or treat starts in an hour, oops.
I’m planning a Halloween themed baby shower and thought these would be cute as individual cups with little baby skeleton gummy toppers—does that sound silly? I want it to be cute not cheesy.
Pro tip: add a layer of cool whip mixed with a little green food coloring on top to look like moss, then stick candy eyeballs all over it. It looks so creepy and tastes amazing, my friends lost their minds over it last weekend.