
Ham and Cheese Pancakes
intro
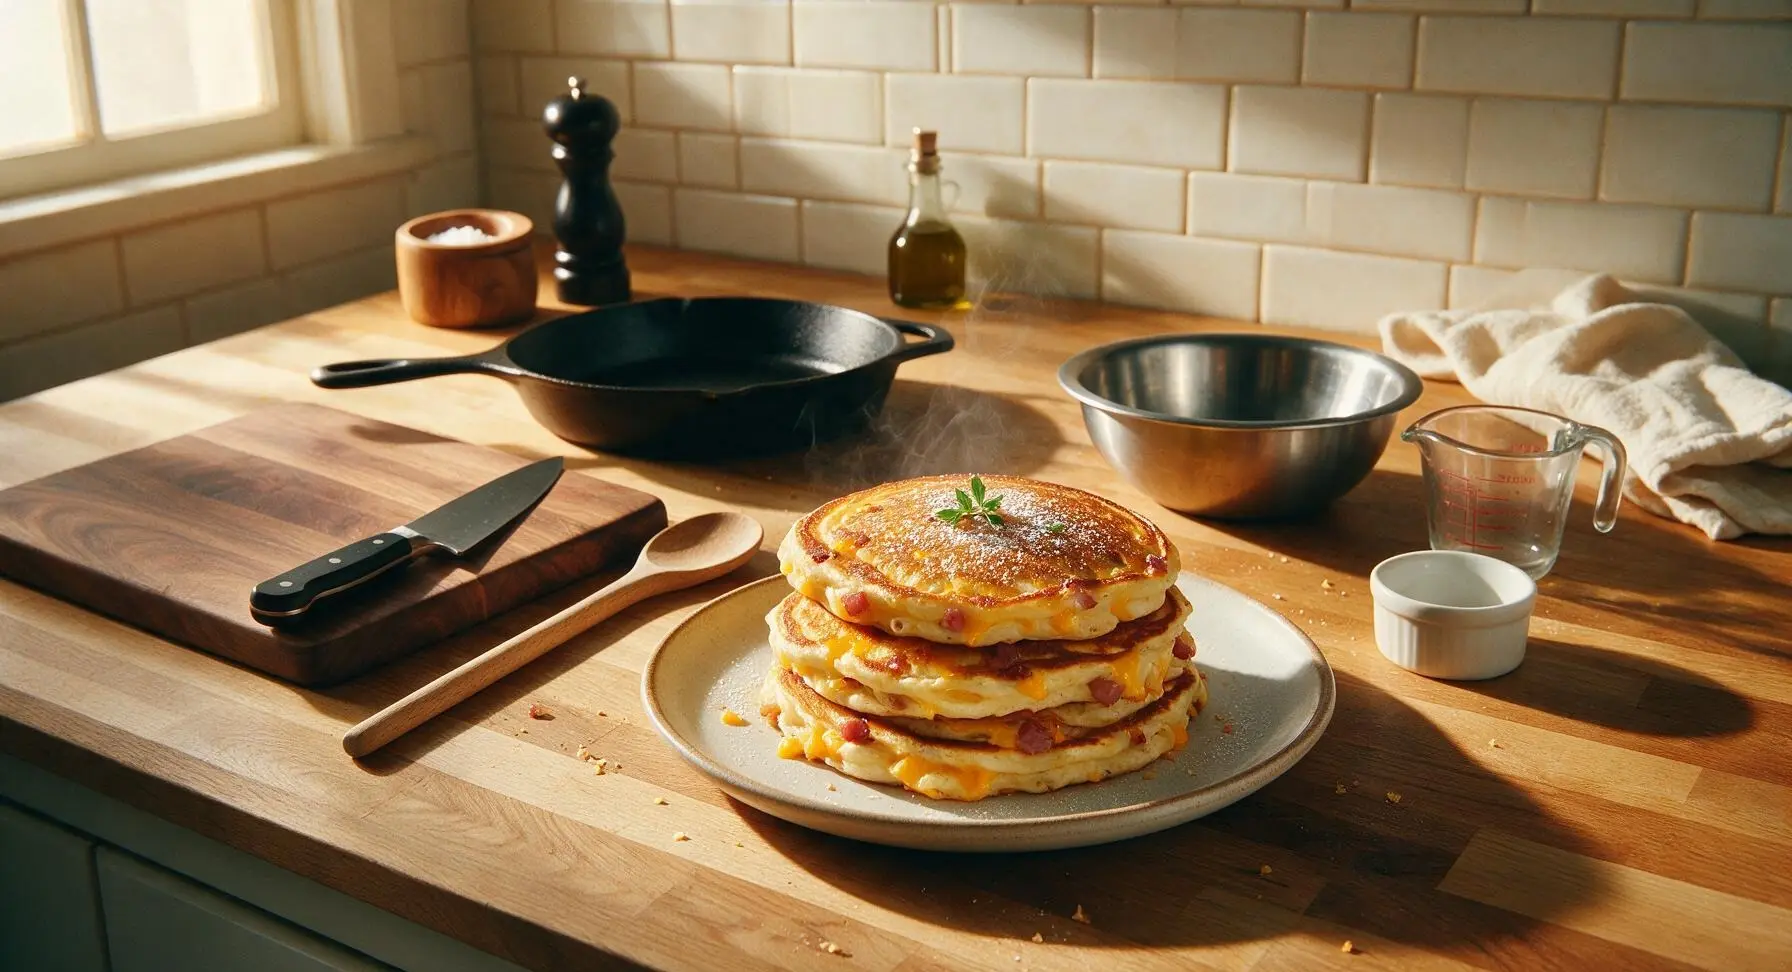
Fluffy, savory buttermilk pancakes studded with smoky diced ham and melted sharp cheddar, crisp at the edges and tender inside—fast, satisfying comfort food for any time of day.
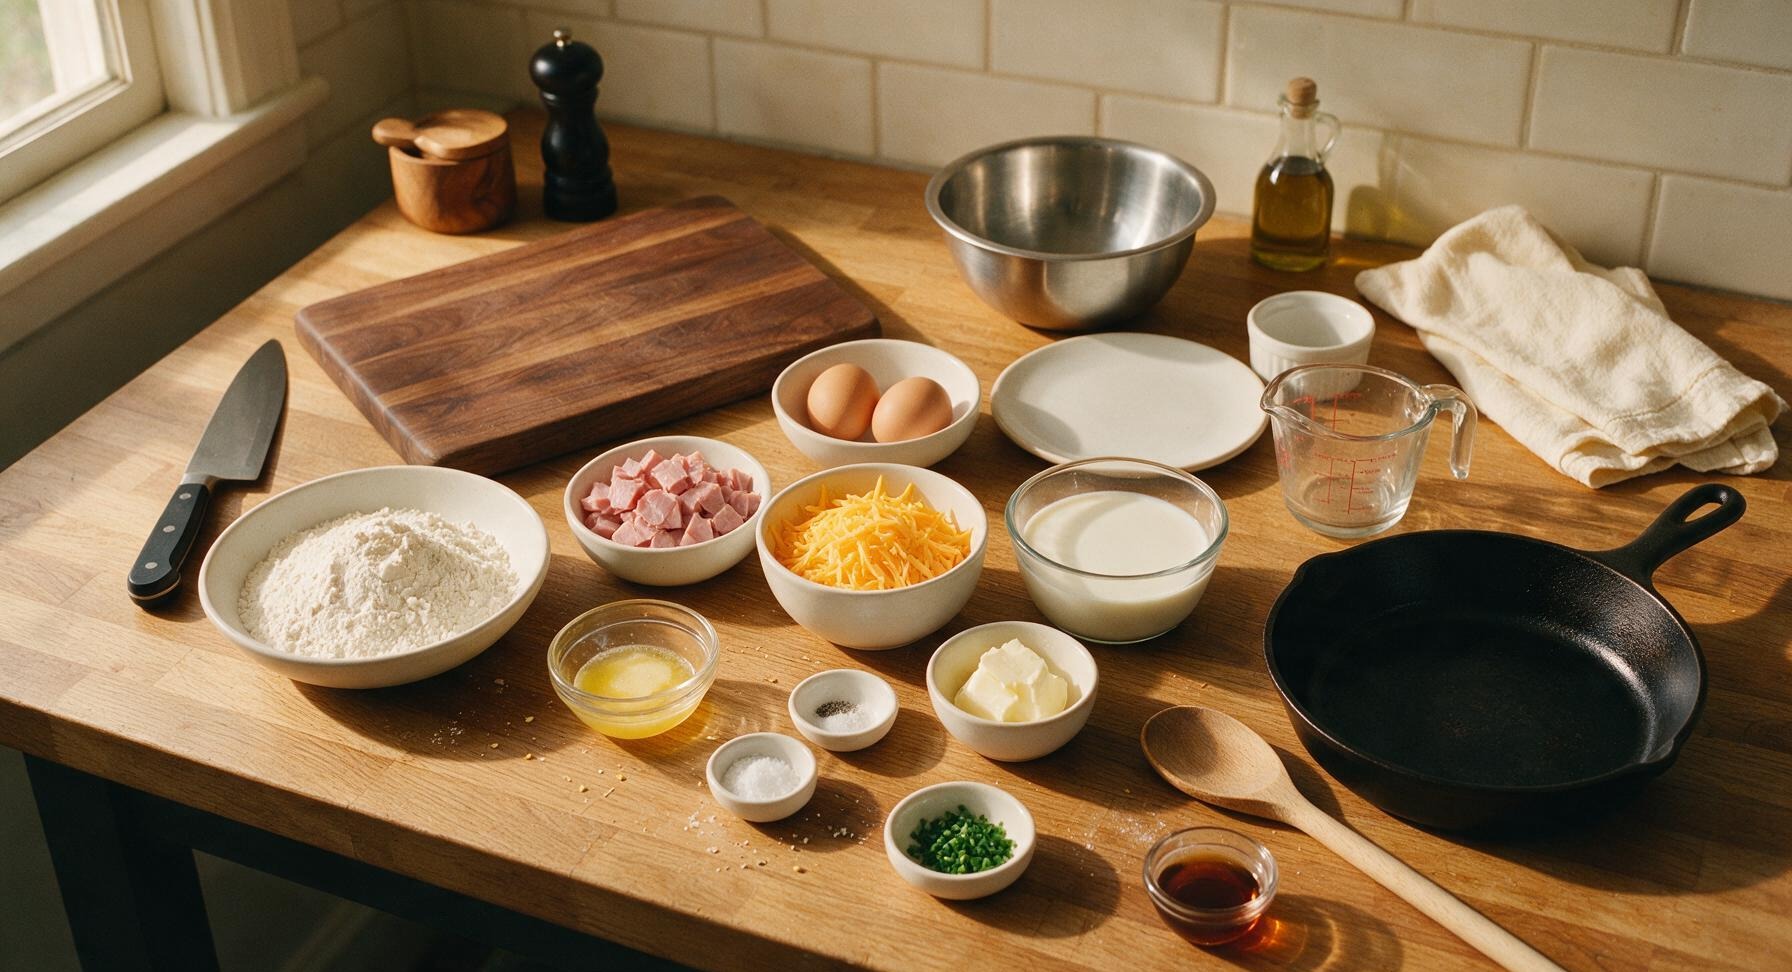
Ingredients
Steps
Dice Ham and Shred Cheese
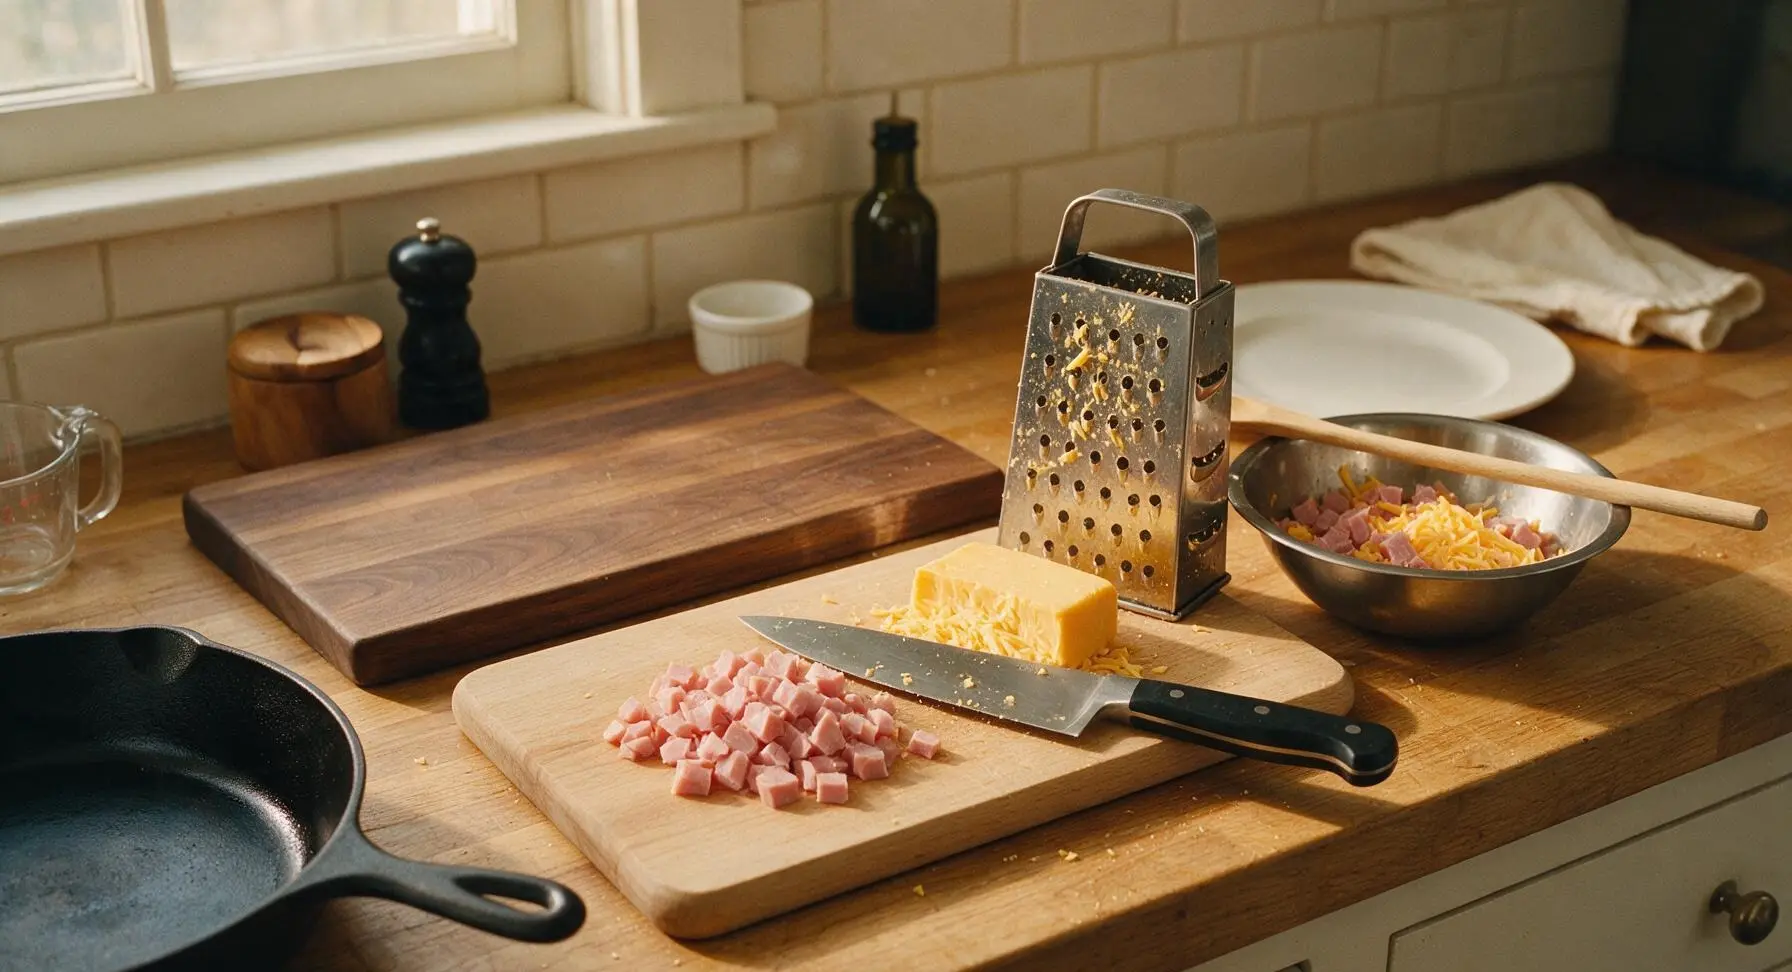
Place the smoked deli ham on the beech wood cutting board. Using the 8-inch chef knife, dice ham into uniform ¼-inch cubes, then transfer to the small stainless steel mixing bowl. Shred the sharp cheddar on the large holes of the stainless steel box grater, adding it to the same bowl as the diced ham. Set the mix-ins aside while you prepare the batter; do not pack the cheese shreds, as this will cause clumping in the finished pancakes.
Mix Dry Batter Base
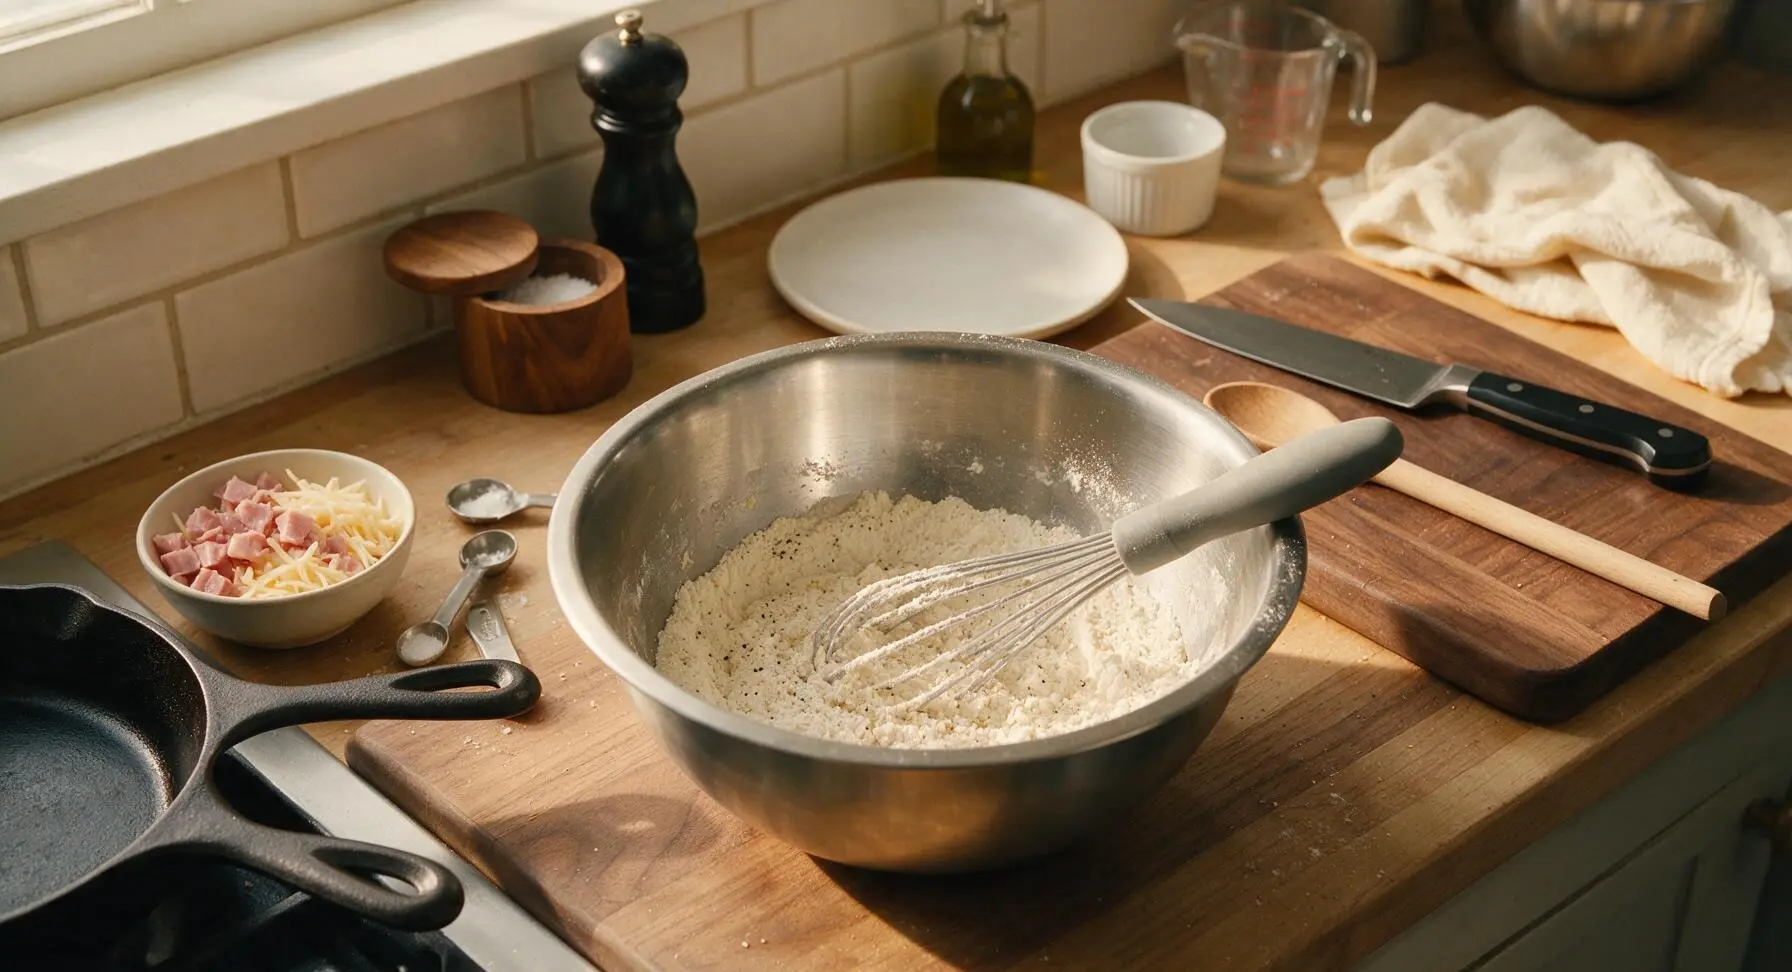
In the medium stainless steel mixing bowl, combine the measured all-purpose flour, baking powder, baking soda, kosher salt, and black pepper. Use the silicone whisk to stir the dry ingredients for 30 seconds until fully combined, with no clumps of leavening visible. Evenly distributed leavening ensures consistent, fluffy rise across every pancake.
Whisk Wet Ingredients
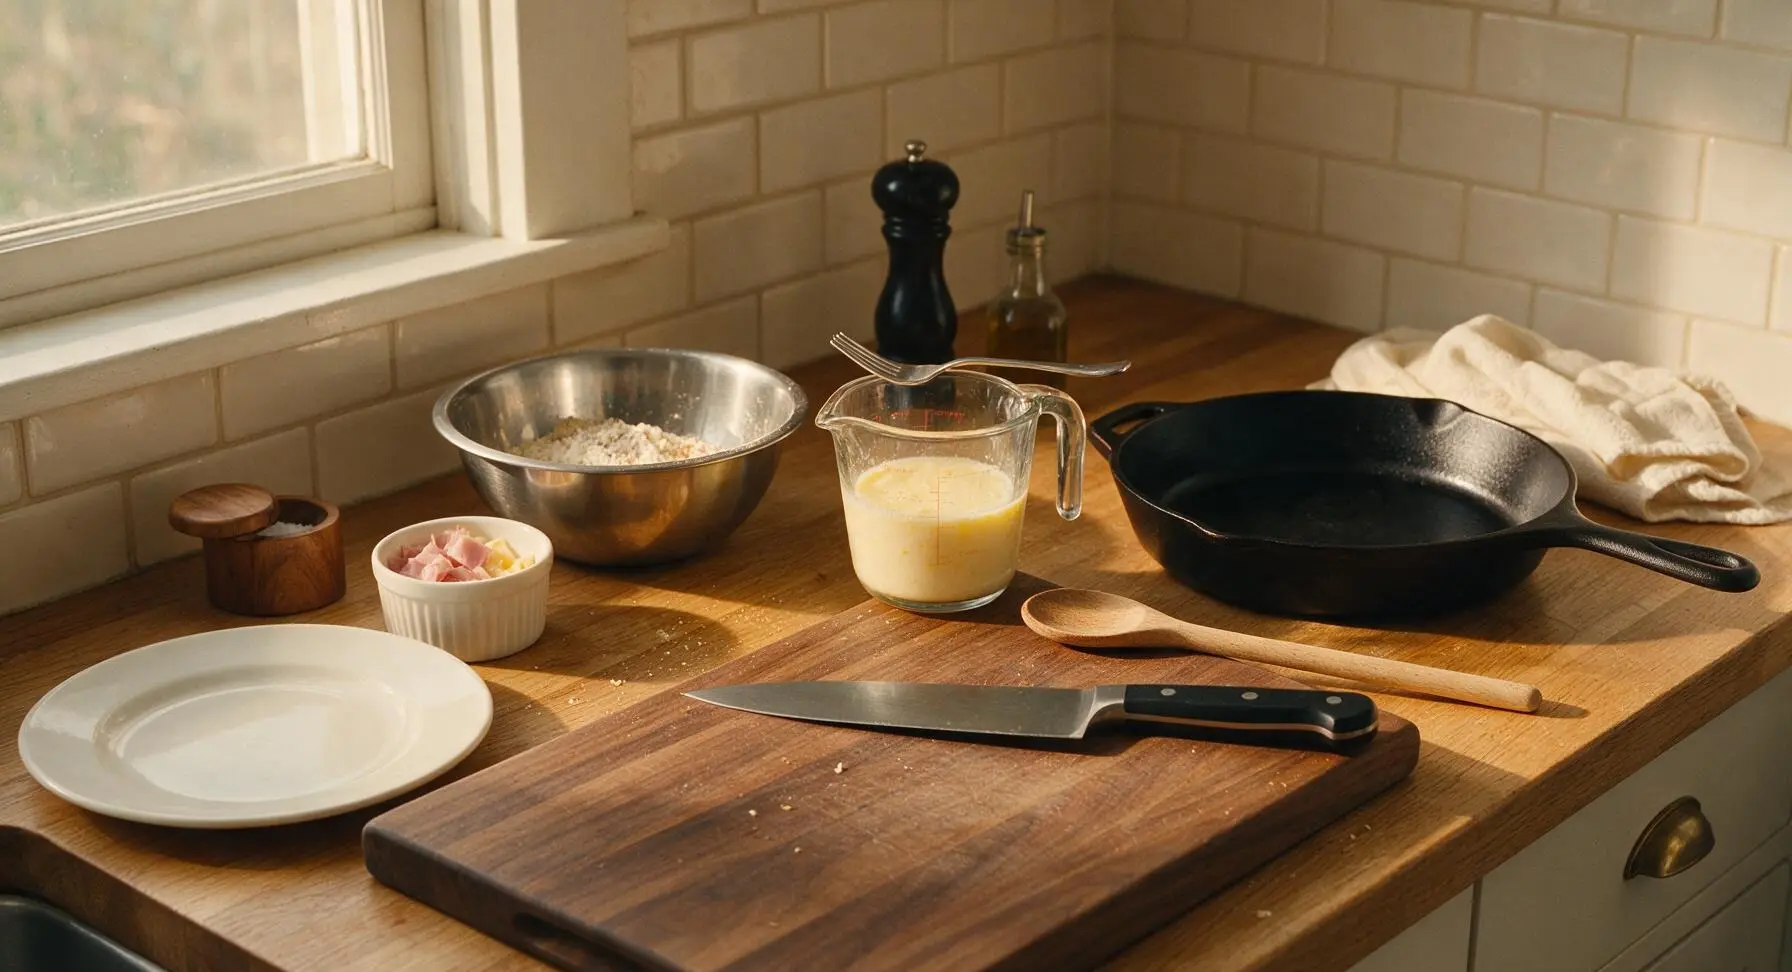
Crack the two room-temperature eggs into the clear tempered glass liquid measuring cup. Use the small stainless steel fork to lightly beat the eggs to break up the yolks, then add the buttermilk and cooled melted butter, whisking until smooth with no streaks of separated egg visible. Do not over-whisk; small, soft lumps of egg will not affect the final texture.
Combine Batter and Mix-Ins
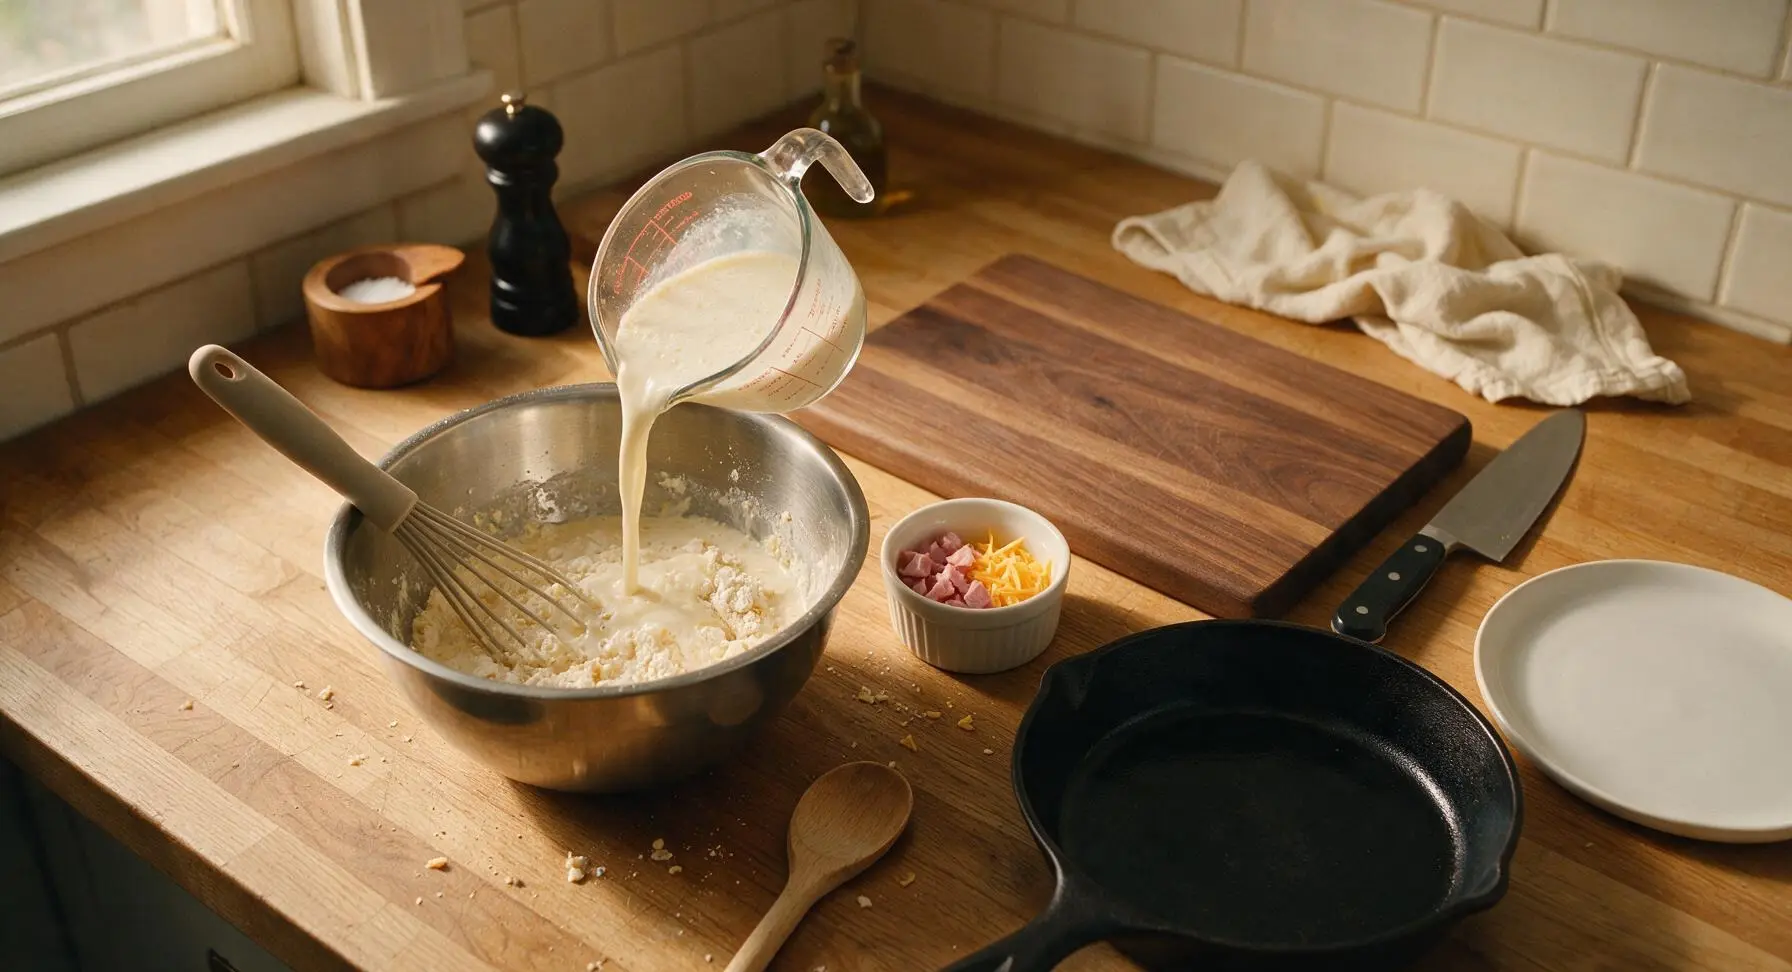
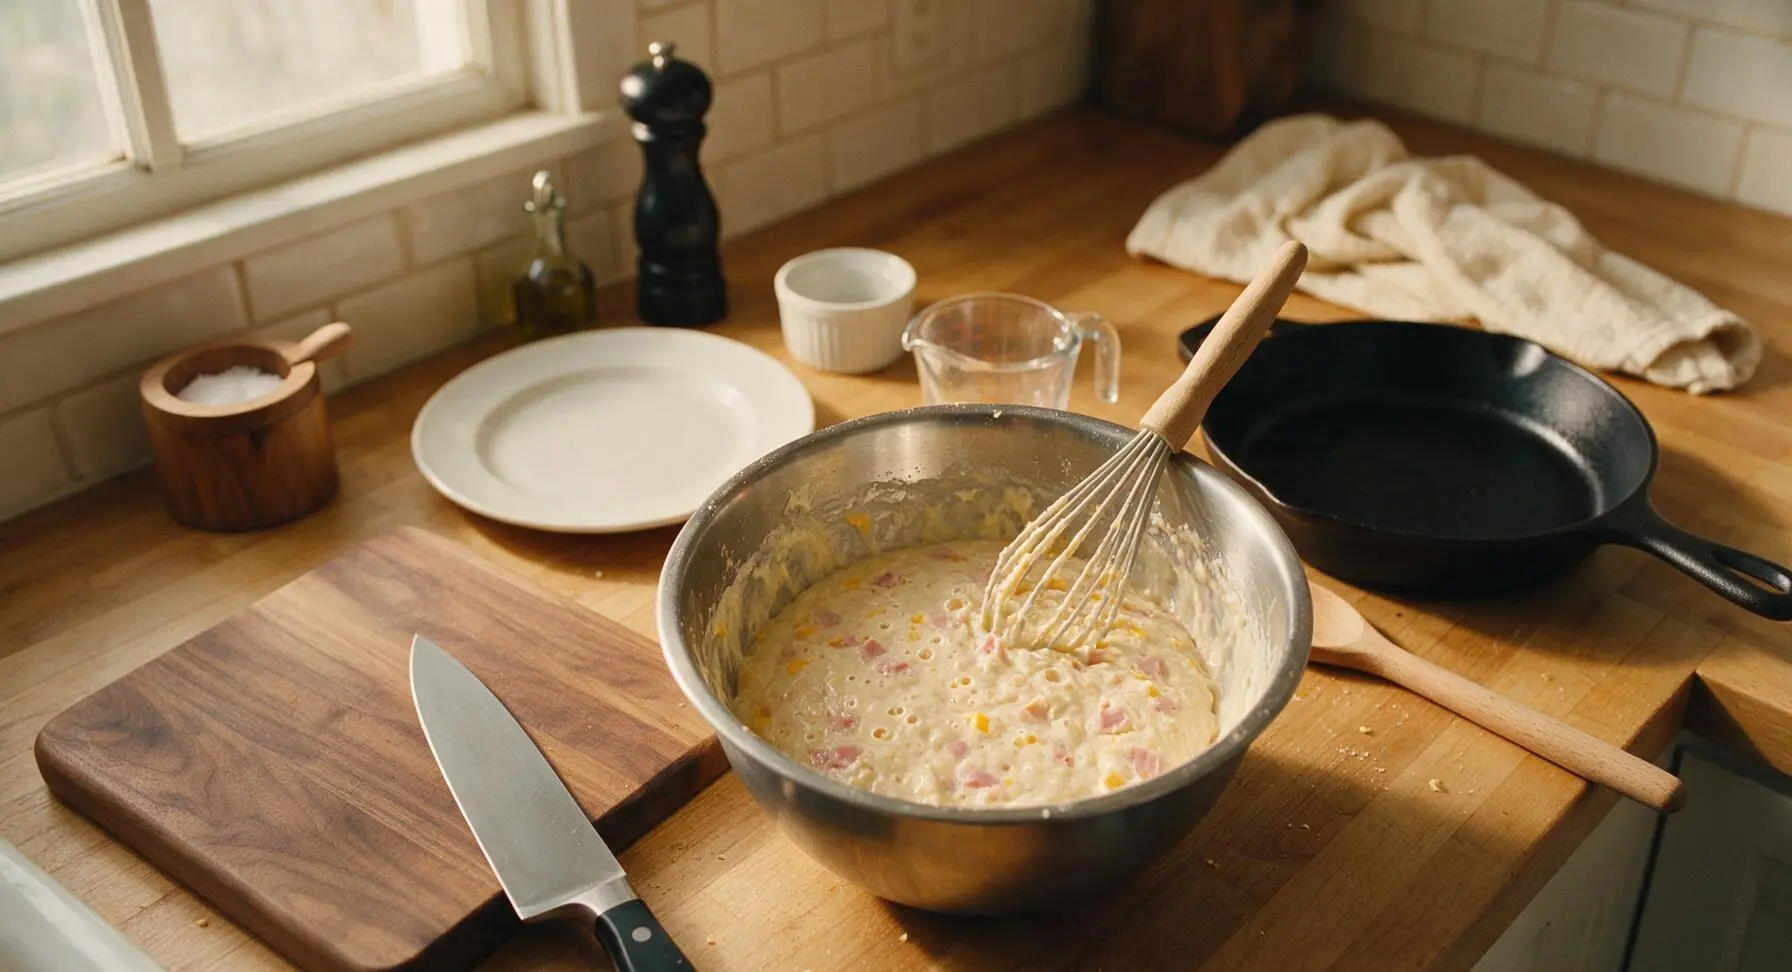
Pour the wet ingredient mixture into the medium bowl of dry ingredients. Use the silicone whisk to gently stir the batter only until no large pockets of dry flour remain—small lumps are totally acceptable, as overmixing develops gluten and results in tough, dense pancakes. Add the diced ham and shredded cheddar, folding with the whisk just 2-3 times to distribute them evenly through the batter. Let the batter rest for 5 minutes at room temperature; small bubbles will form on the surface as the leavening activates.
Preheat Non-Stick Skillet
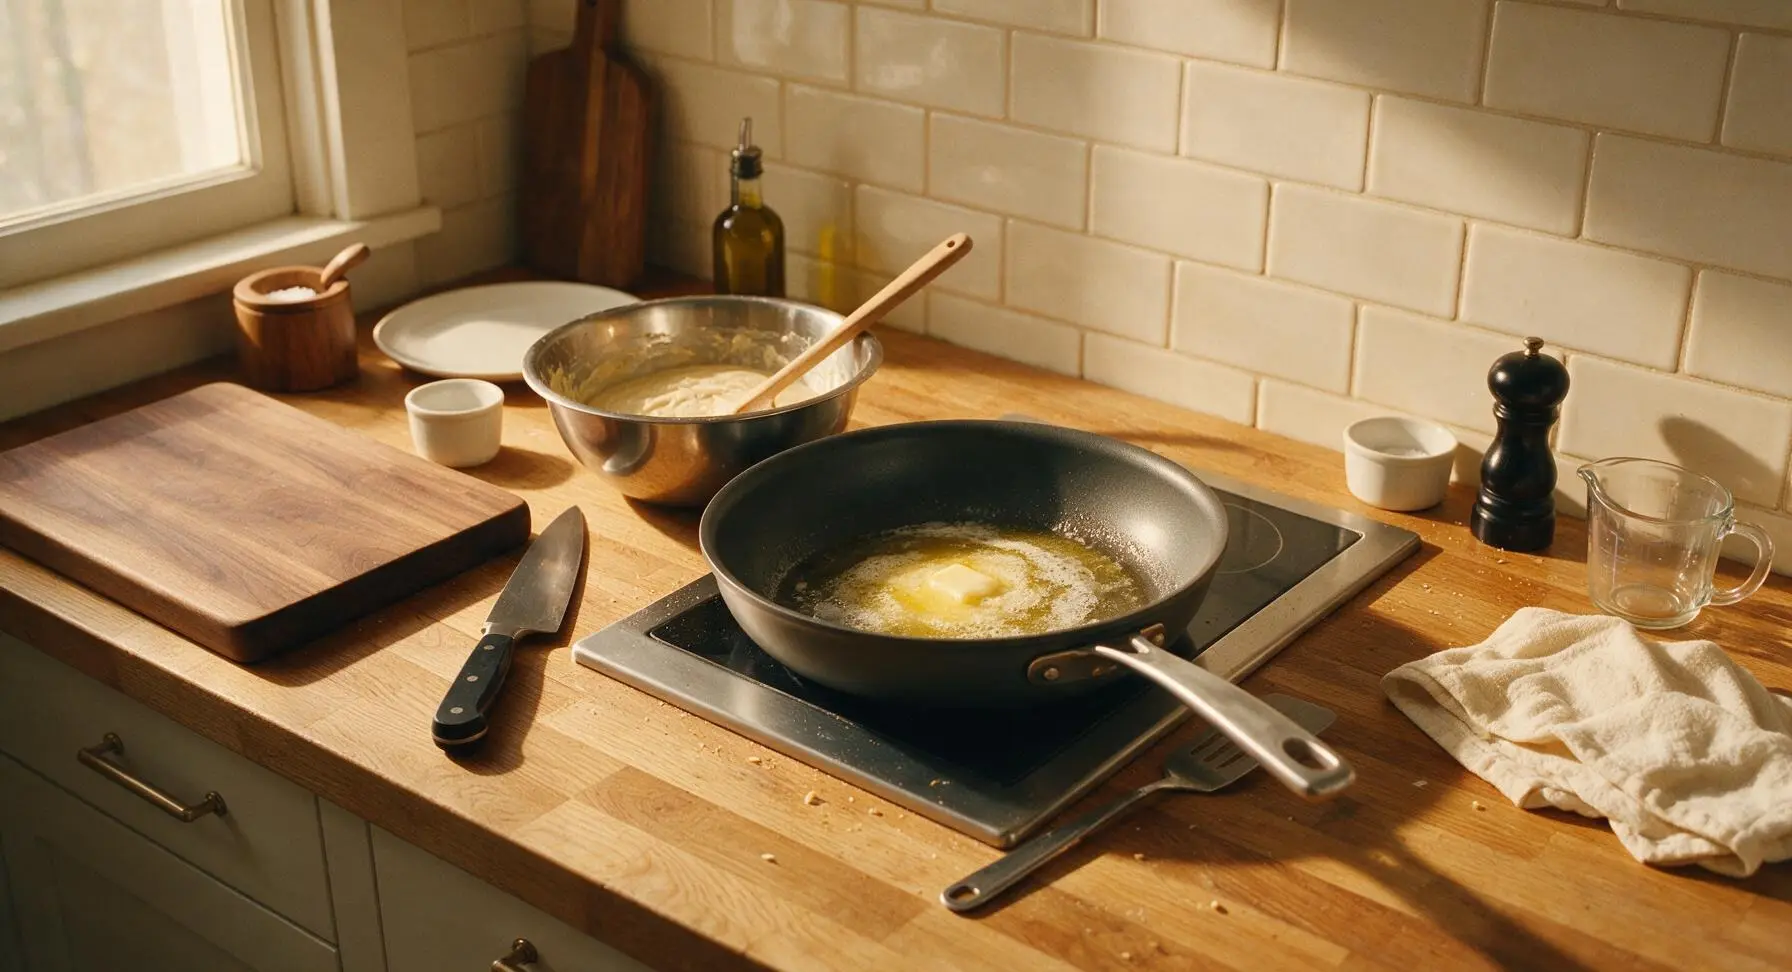
Place the 12-inch non-stick skillet on the stovetop zone of the counter over medium heat (350°F / 175°C). Add 1 teaspoon of unsalted cooking butter, swirling to coat the pan surface evenly once melted. Wait until the butter stops foaming and just begins to smell nutty, about 2 minutes—if the butter browns instantly, the pan is too hot, so reduce heat slightly to avoid burning the pancake edges.
Cook Pancakes in Batches
Use the ¼-cup dry measure from the measuring set to pour batter rounds onto the preheated skillet, leaving 2 inches of space between each pancake to allow for spreading as they cook. Cook for 2-3 minutes on the first side, until small bubbles form and pop across the top surface, and the edges look set and lightly golden. Use the thin metal turner to flip each pancake, then cook for a further 1.5-2 minutes on the second side, until golden brown and cheese oozes slightly to form crispy lacy edges. Add ½ teaspoon more butter between batches as needed to prevent sticking. Transfer cooked pancakes to the paper-towel lined utility plate to drain excess butter while you cook the remaining batter; you will yield 12 total pancakes, or 3 per serving.
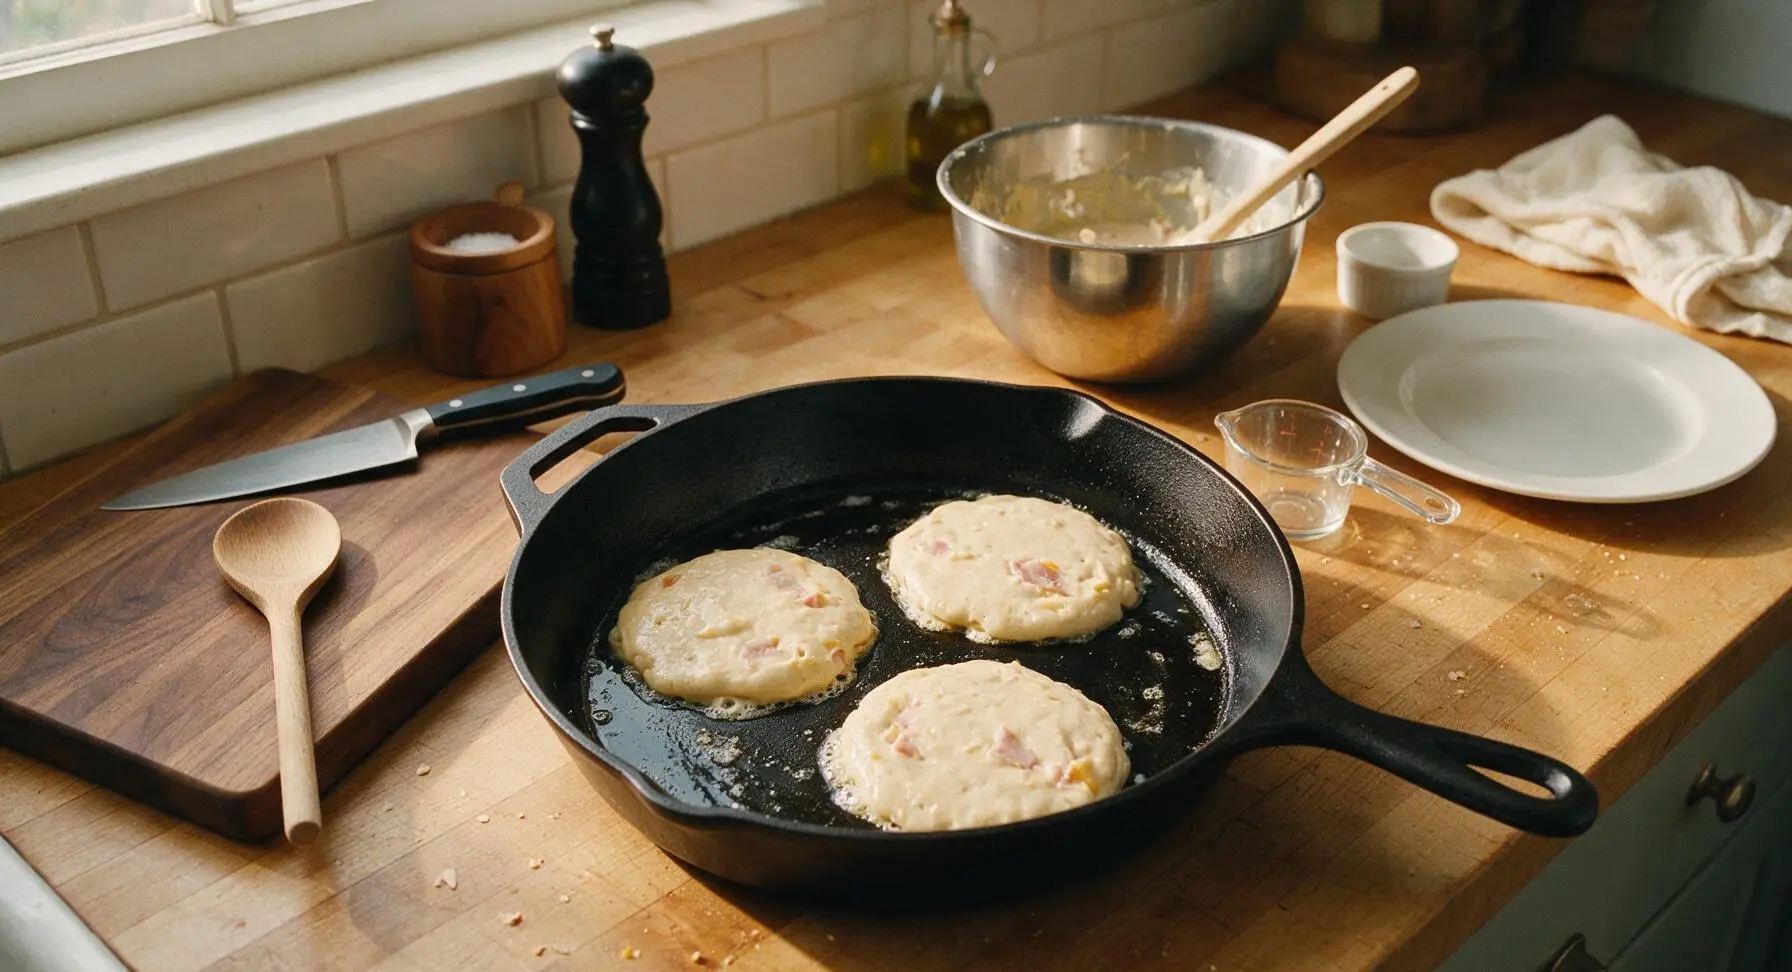
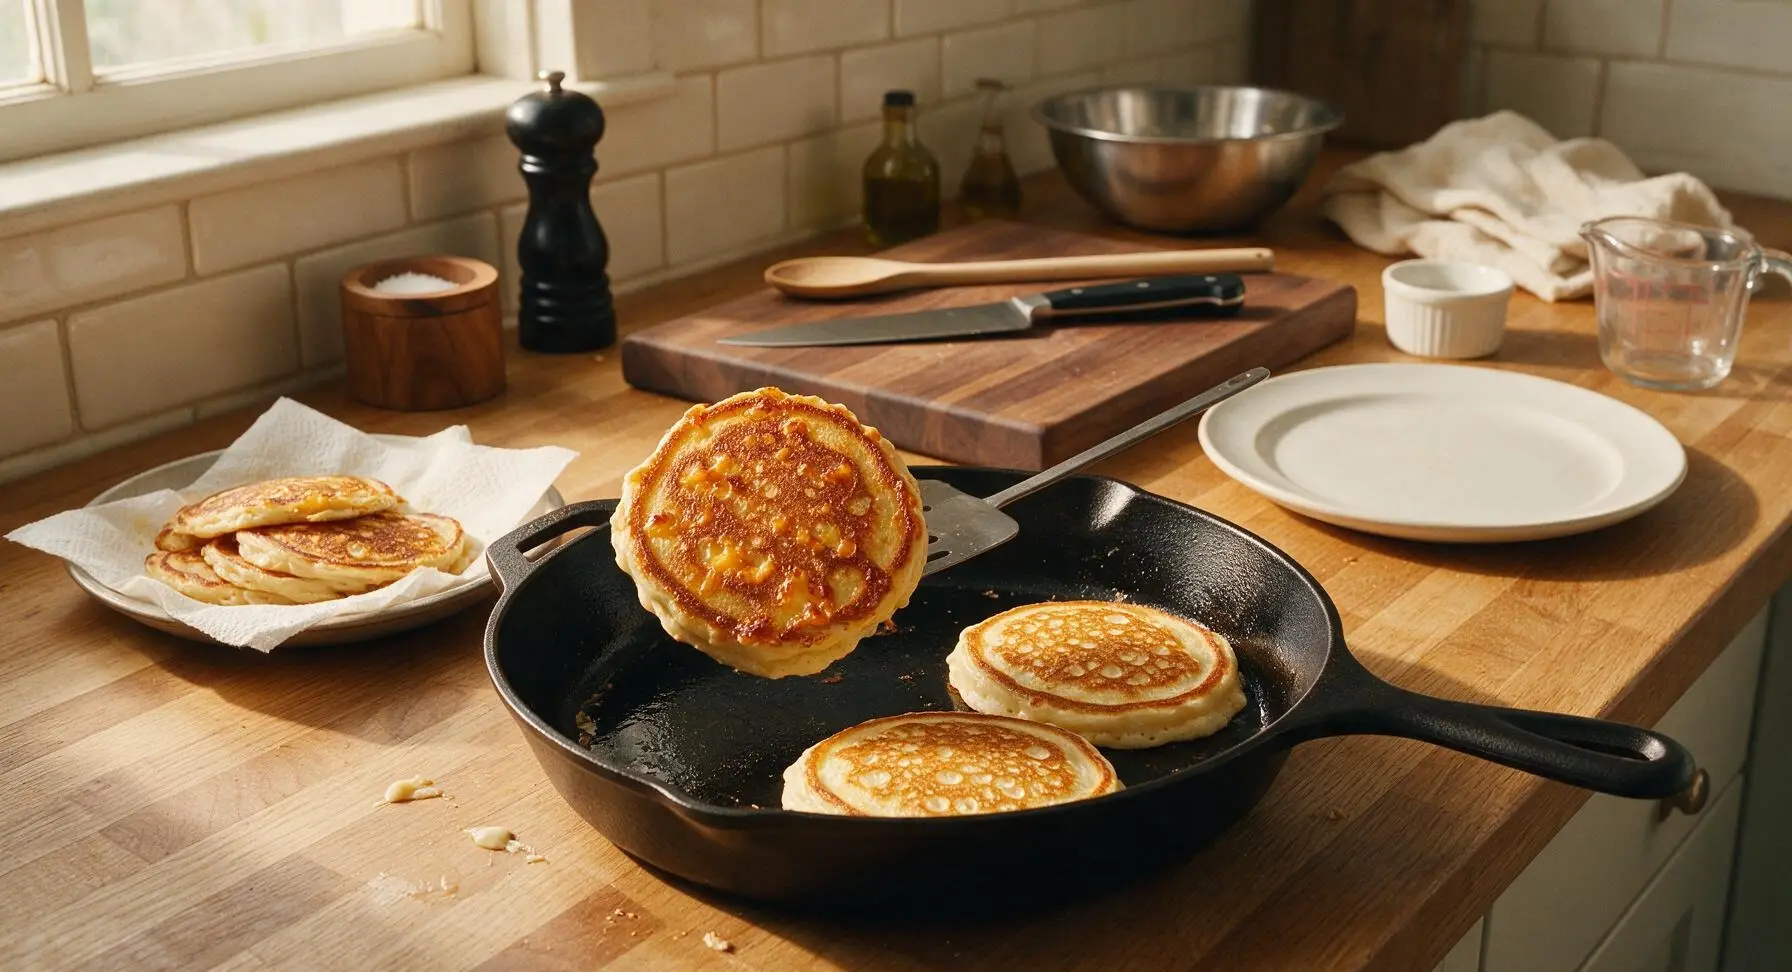
Plate and Garnish Stacks
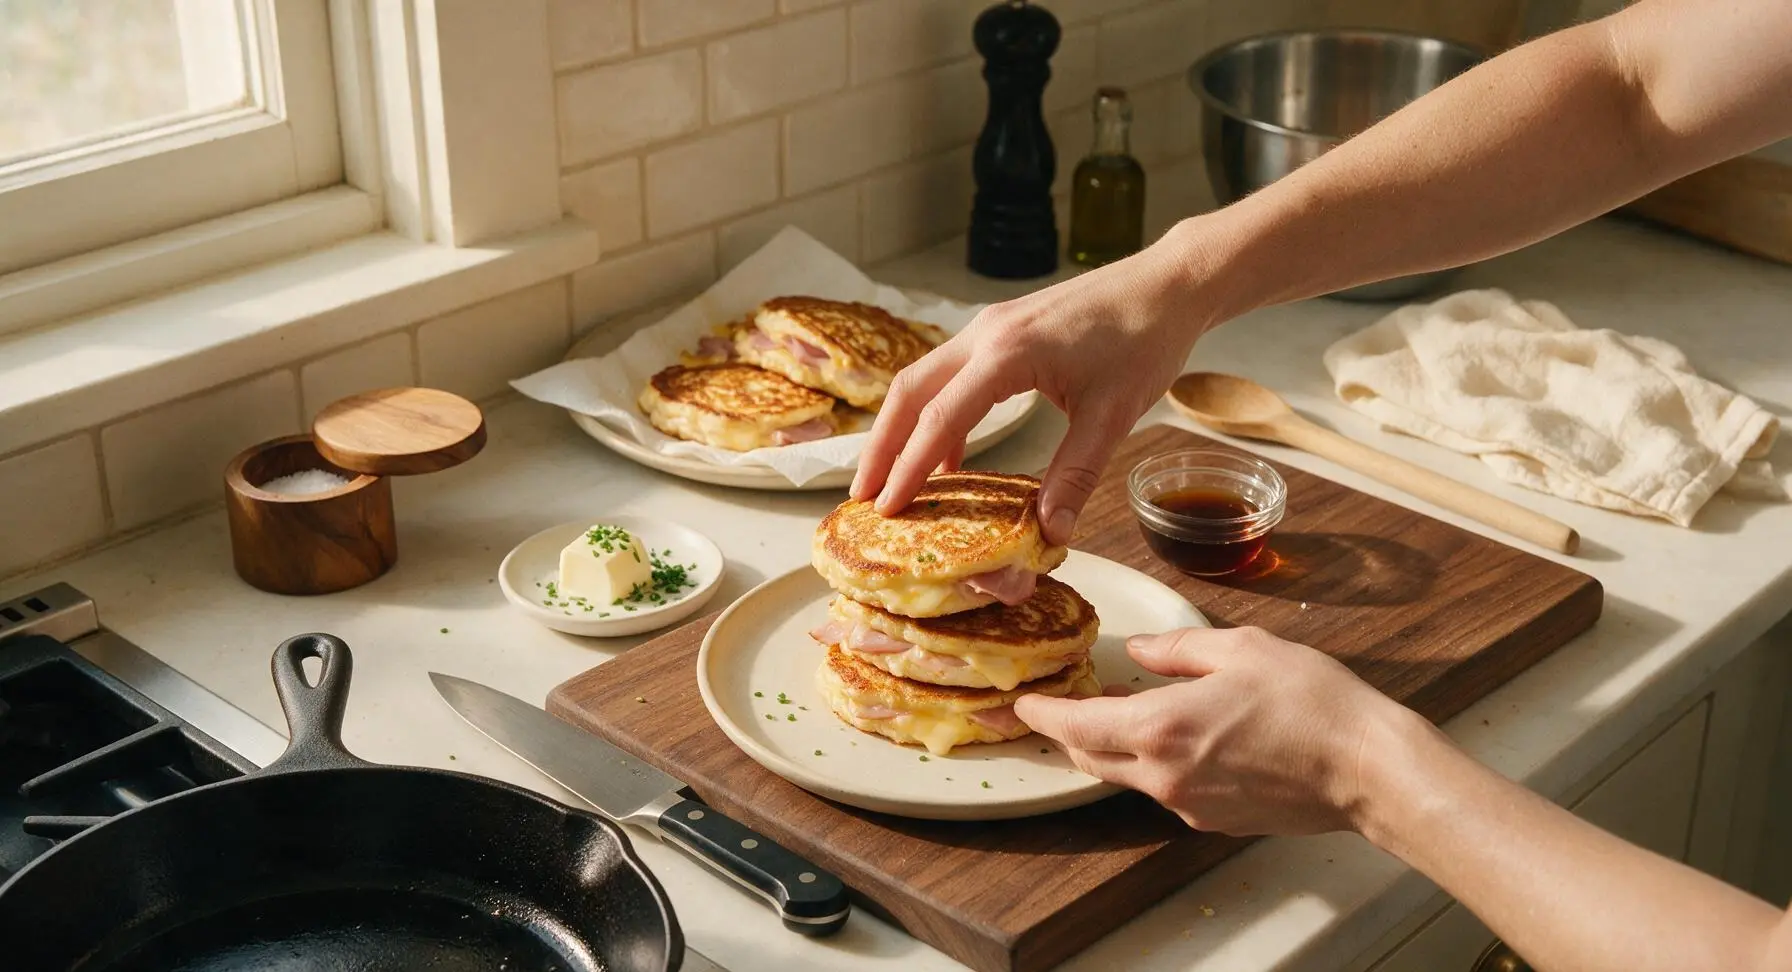
Stack three warm pancakes per serving on the matte off-white ceramic dinner plate. Top each stack with a ½-tablespoon pat of salted butter, letting it melt slightly over the edges. Sprinkle with finely chopped fresh chives, and serve with the small clear glass ramekin of warm maple syrup on the side for dipping.
Tips
2.Wait for bubbles to pop across the entire pancake top before flipping: flipping too early causes pancakes to deflate and stick to the pan, leading to flat, unevenly cooked results. This visual cue is far more reliable than a set timer for perfect doneness.
3.Do not overmix the batter: stir only until dry flour disappears, as overmixing develops gluten in the flour and will turn fluffy pancakes tough and dense. Lumps in the batter are not a flaw—they are a sign of tender, light pancakes.






OMG these ham and cheese pancakes are a total game changer for my chaotic weekday mornings! 15 minutes cook time? I can whip these up before the kids miss the bus, no problem. My 7 and 9 year old gobbled two servings each before I even got my own plate. Used shredded cheddar and diced deli ham, worked perfectly.
I’ve made sweet pancakes my whole life and never thought to do a savory version?! These are SO good, the salty ham and melty cheese pairs so perfectly with the fluffy pancake base. I added a little sprinkle of chives on top and dipped mine in sour cream, chef’s kiss.
Made these for a quick weekend brunch before we headed out to the lake, everyone raved about them. I used smoked ham from our local deli and pepper jack cheese for a little heat, turned out amazing. Will definitely be making these again for our next camping trip.
Perfect for meal prep! I made a big batch on Sunday, stored them in the fridge, and reheated them for quick breakfasts all week. They hold up way better than I thought they would, no sogginess at all. Super easy recipe, no fancy ingredients needed.
As a broke college student with barely a working stove, this recipe was so easy to pull off! Total cook time really was 15 minutes, I used pre-sliced ham and shredded cheese from the campus market, cost me like $4 total to make 4 servings. Way better than the dining hall breakfast.
I made these for my grandkids when they visited last weekend, and they kept asking for “the cheesy pancakes” for the rest of their stay! I’ve been making pancakes for 50 years and never thought to add ham and cheese, what a fun twist on an old classic.
Brought these to my office potluck last week, cut them into little bite-sized squares with toothpicks, and they were gone in 10 minutes flat. Multiple people asked for the recipe, I sent them all straight here! Easy to transport, tastes great even at room temp.
Super easy weeknight dinner when we don’t feel like putting a whole meal together. We served these with a side of roasted broccoli and it felt like a full, balanced dinner, way less cleanup than usual. The only change I made was using whole wheat flour to make it a little heartier.
I was so excited to try these, I swapped the regular flour for my go-to gluten free all purpose blend, and they turned out perfectly! Fluffy, cheesy, no weird gritty texture like some GF baked goods get. My husband who eats regular gluten didn’t even notice a difference.
Hosted a boozy brunch last weekend and served these alongside mimosas and fruit salad, they were the star of the show! I set out little bowls of hot honey, sour cream, and maple syrup for dipping, people went wild mixing and matching toppings. 10/10 will be on my regular brunch menu from now on.
Tried these for the first time last night, my teen said they’re “actually not mid” which is the highest possible praise from a 16 year old, honestly. Used leftover holiday ham we had in the fridge, was a great way to use it up instead of letting it go to waste. Super straightforward recipe, no weird steps.
Okay I’ll admit I was skeptical that 15 minutes was enough cook time, but it really is! No waiting around for batter to rest, no fancy techniques, just mix, pour, add ham and cheese, flip, done. Perfect for when I roll out of bed late on Sunday and don’t want to spend an hour cooking.
Made these for post-soccer practice snacks for the team, and every single kid asked for seconds! I thought they might be too messy for a group of 8 year olds, but they held together really well, no oozing cheese all over the car (win!). So much better than the usual granola bars I pack.
Solid recipe, super easy to scale up for a crowd. I made a triple batch for my department’s breakfast meeting, and even our boss who never eats at work events had two. My only note is I wish I’d added a little more salt, but that’s just personal preference.
Made these on our camp stove last weekend while we were backpacking, pre-mixed the dry ingredients at home and just added water, diced ham packets, and shelf stable cheese. Worked like a charm, hot, filling meal after a long hike, way better than dehydrated backpacking meals.
I’m literally just learning how to cook and I didn’t mess these up at all! The instructions were so clear, no confusing terms, and it was really hard to burn them even when I got distracted by my cat mid-cook. 10/10 for beginner cooks, I felt so proud of myself when they turned out fluffy and golden.
Okay I went a little overboard on the cheese (used a blend of mozzarella, cheddar, and provolone) and it was the best decision I’ve made all week. The cheese gets all crispy on the edges of the pancakes? Chef’s kiss. Don’t skimp on the cheese, trust me.
15 minute cook time is no joke, I timed it. Got home from a late gym session, was starving, had these on my plate in less than 20 minutes total including prep. Tastes way better than any fast food breakfast sandwich I could have grabbed on the way home, and way cheaper too.
Made these for my mom for Mother’s Day brunch, she said they were better than the ones she had at a fancy diner downtown last month. I added a little drizzle of maple syrup on top for that sweet-salty vibe, it was chef’s kiss. Will be making these for every family brunch from now on.