
ham and cheese toast
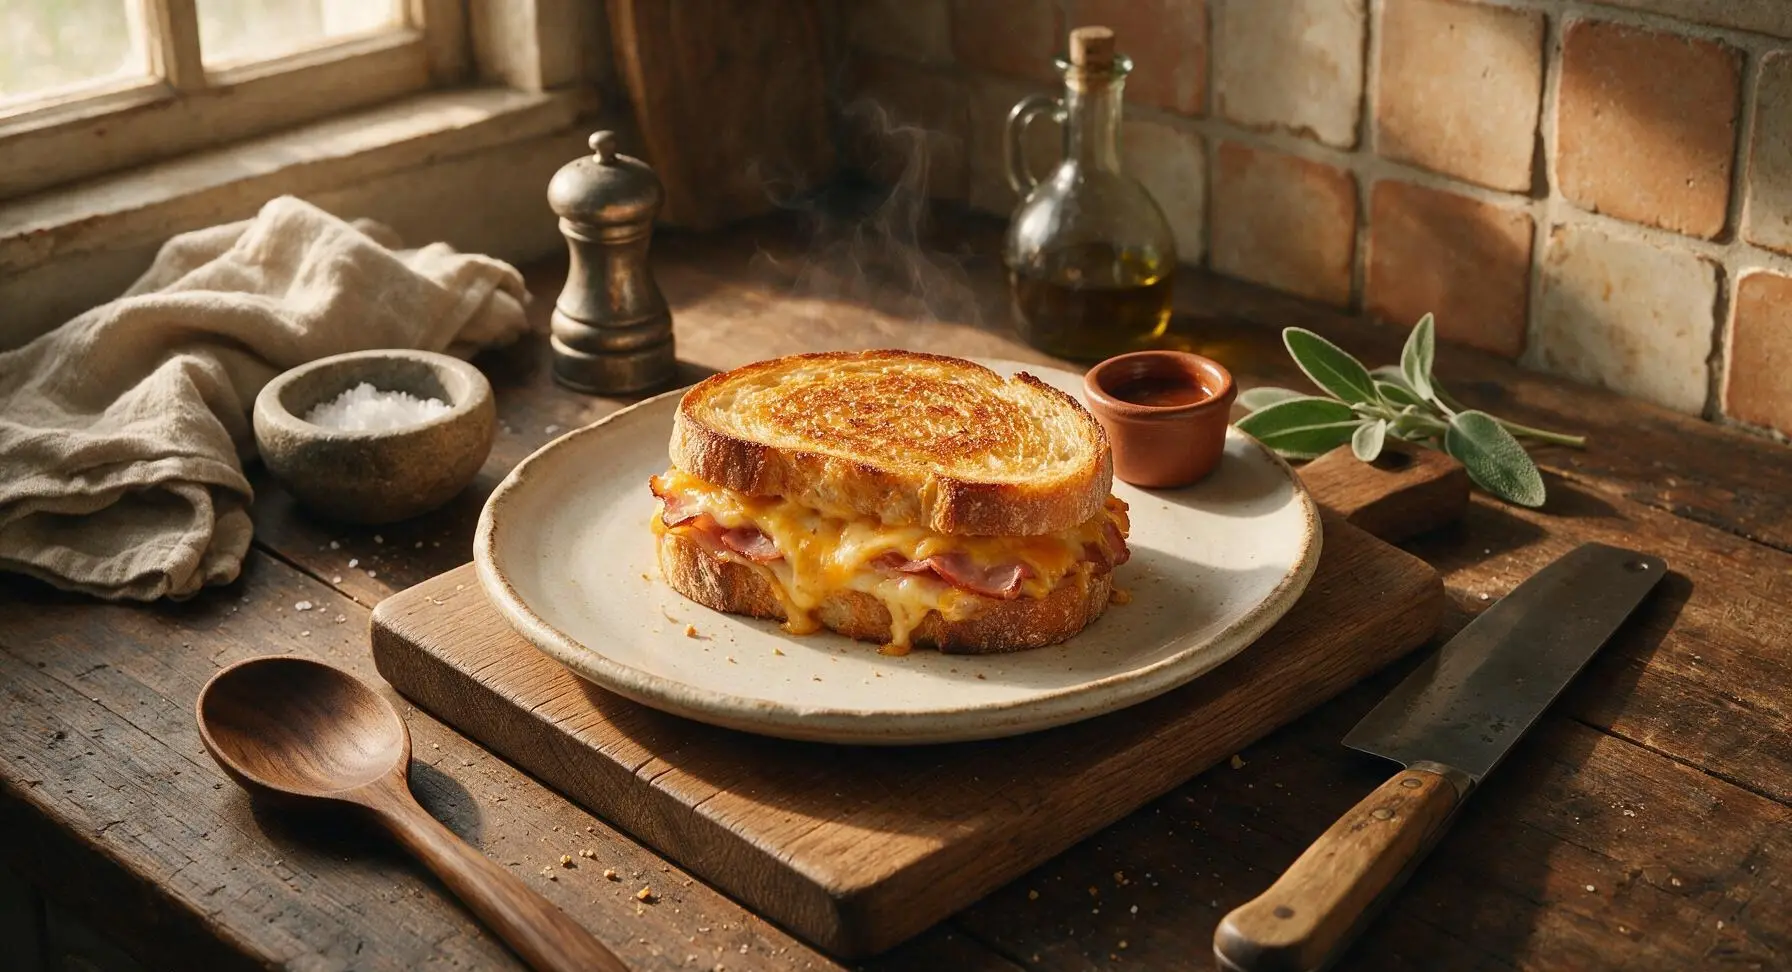
intro
Crispy golden sourdough oozing with melted cheddar and smoky ham, buttery and perfectly toasted—this 10-minute staple is simple, satisfying comfort food at its best.
Ingredients
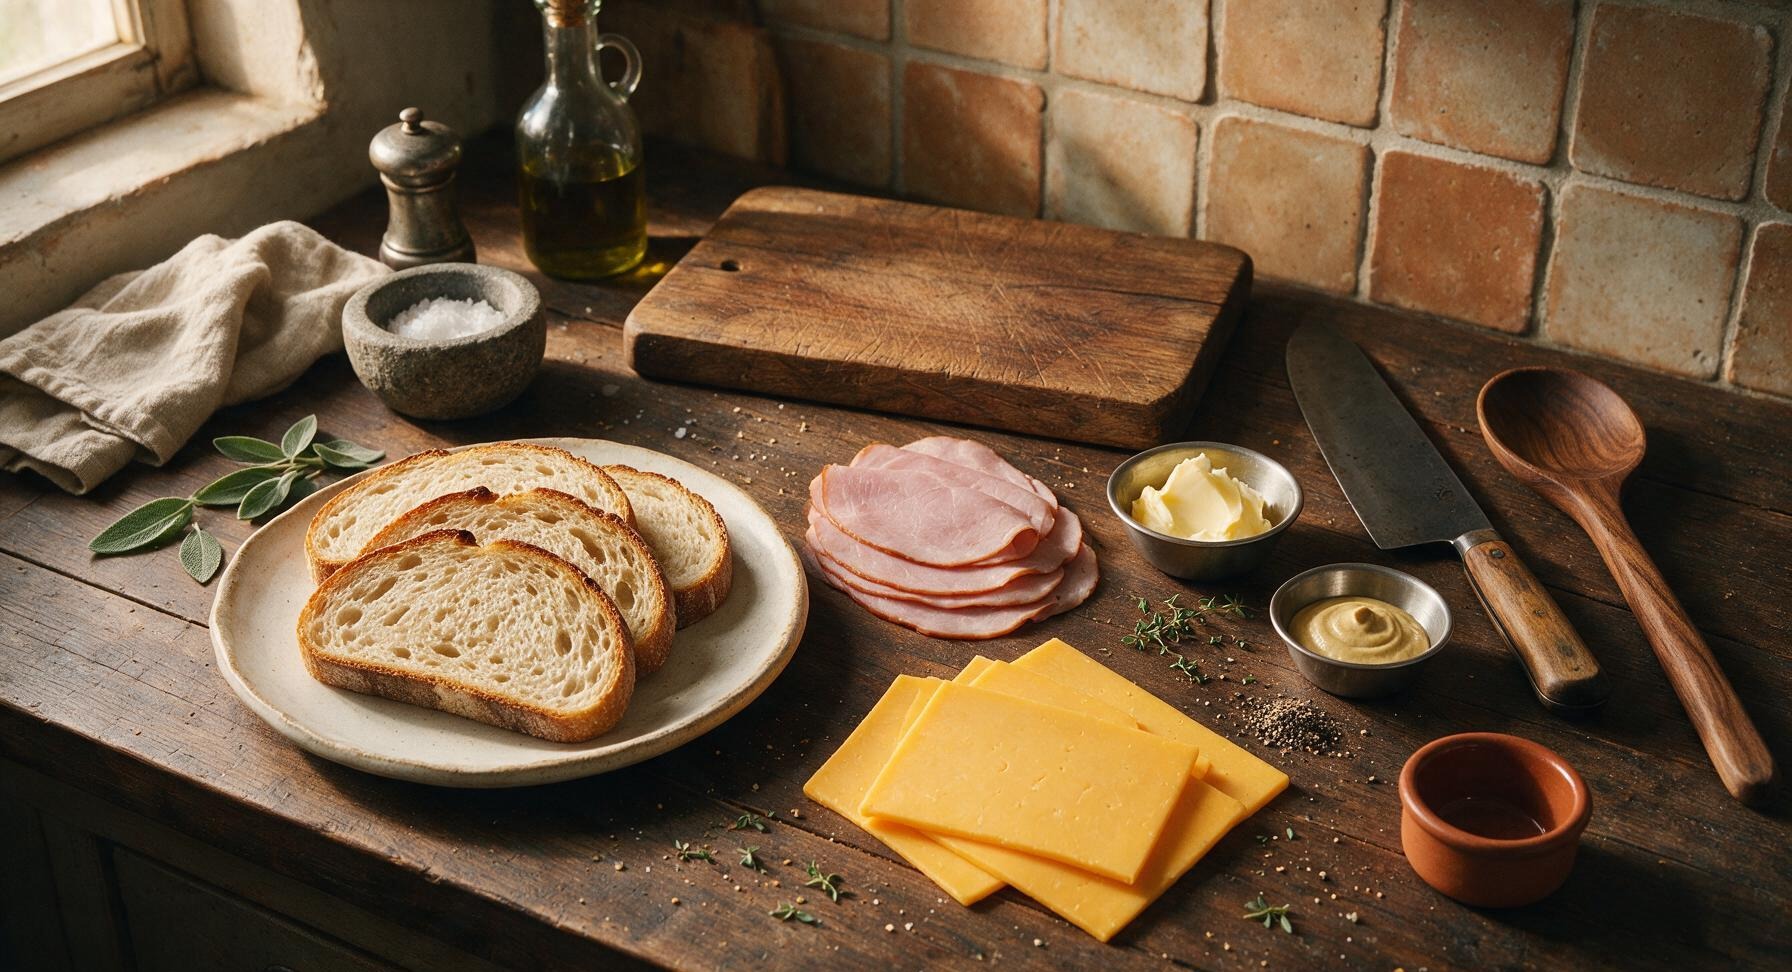
Steps
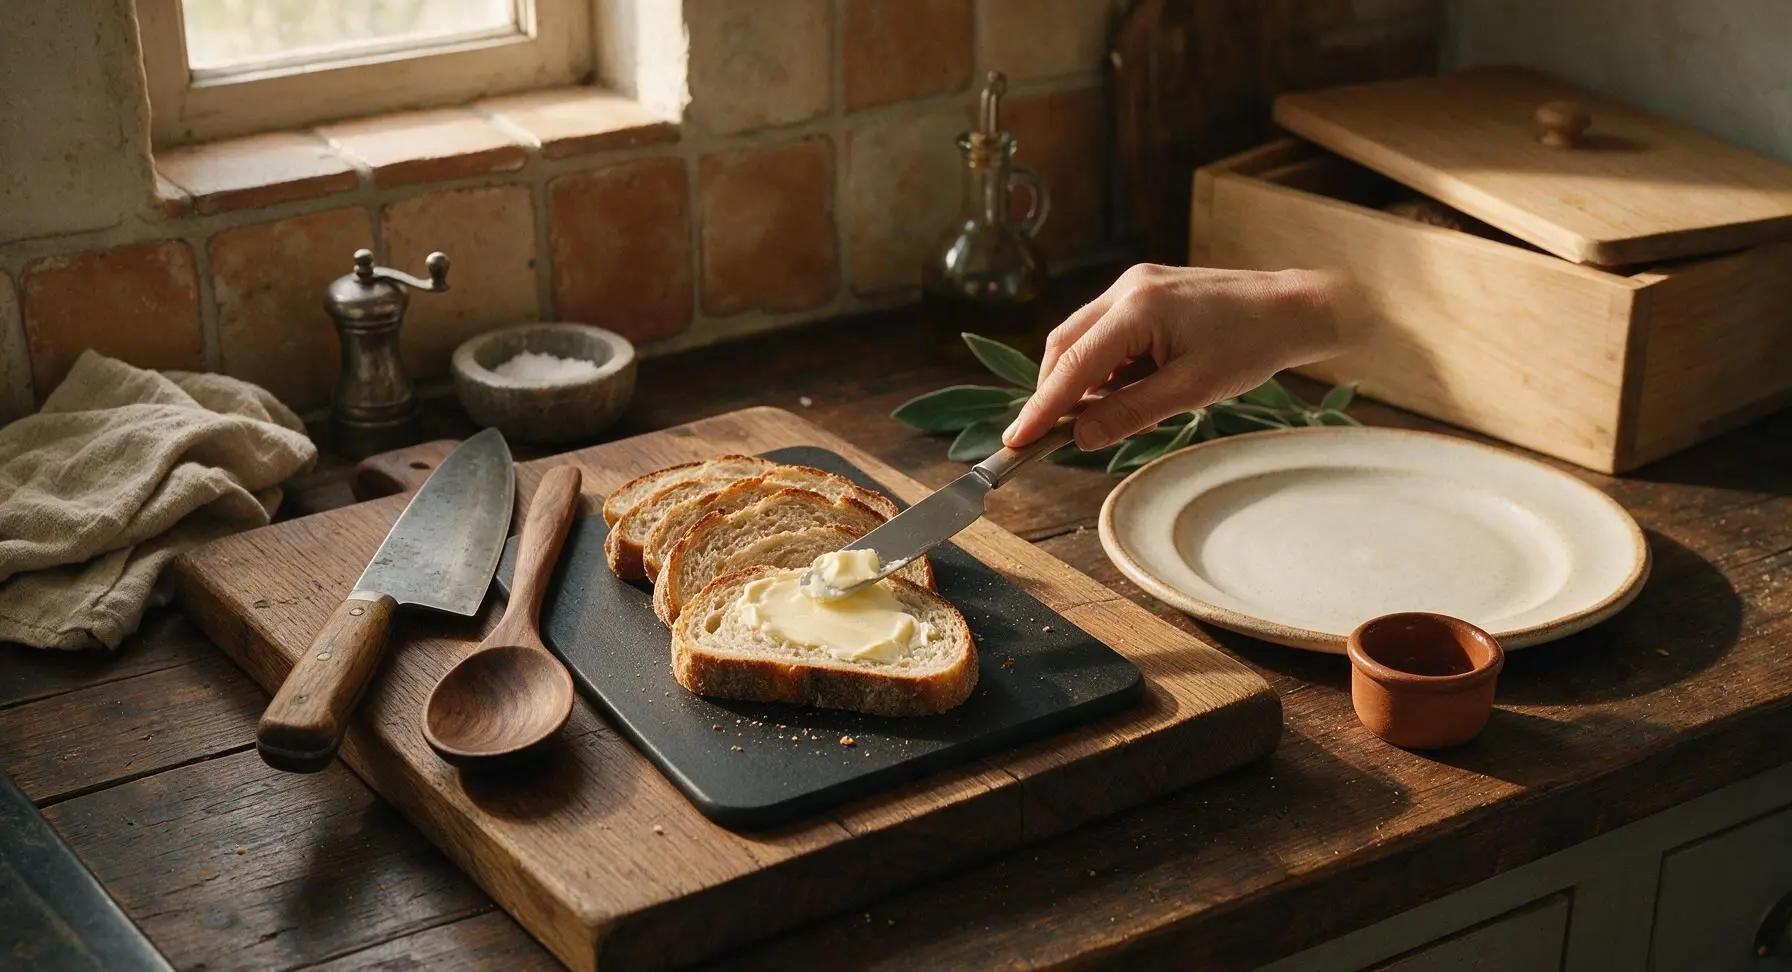
Butter bread slices
Retrieve 4 slices of thick-cut sourdough from the light oak bread box, placing them on the matte black cutting board positioned center-left. Scoop 2 tablespoons of softened unsalted butter from the butter dish, and use the offset spatula to spread a thin, even layer (approximately 1/4 tablespoon per slice) across one full side of each bread slice, spreading all the way to the crust edges to prevent dry, burnt spots during toasting. The buttered side will face outward against the hot skillet to create a crisp, golden crust.
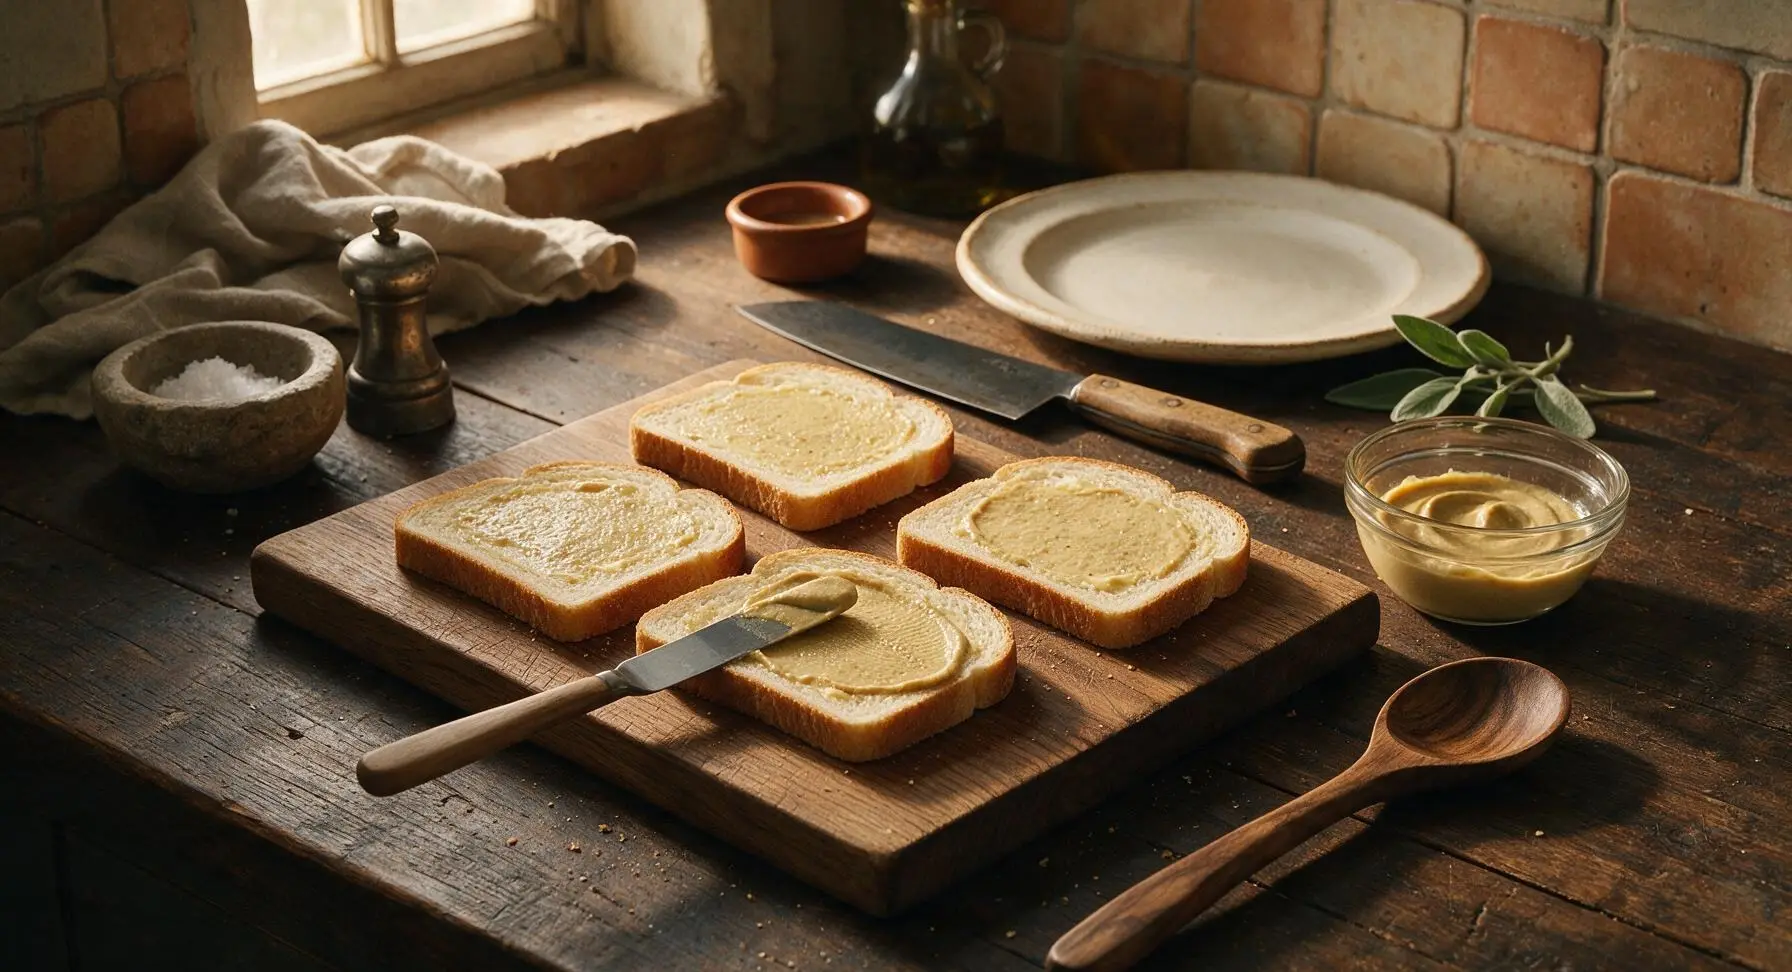
Spread Dijon mustard
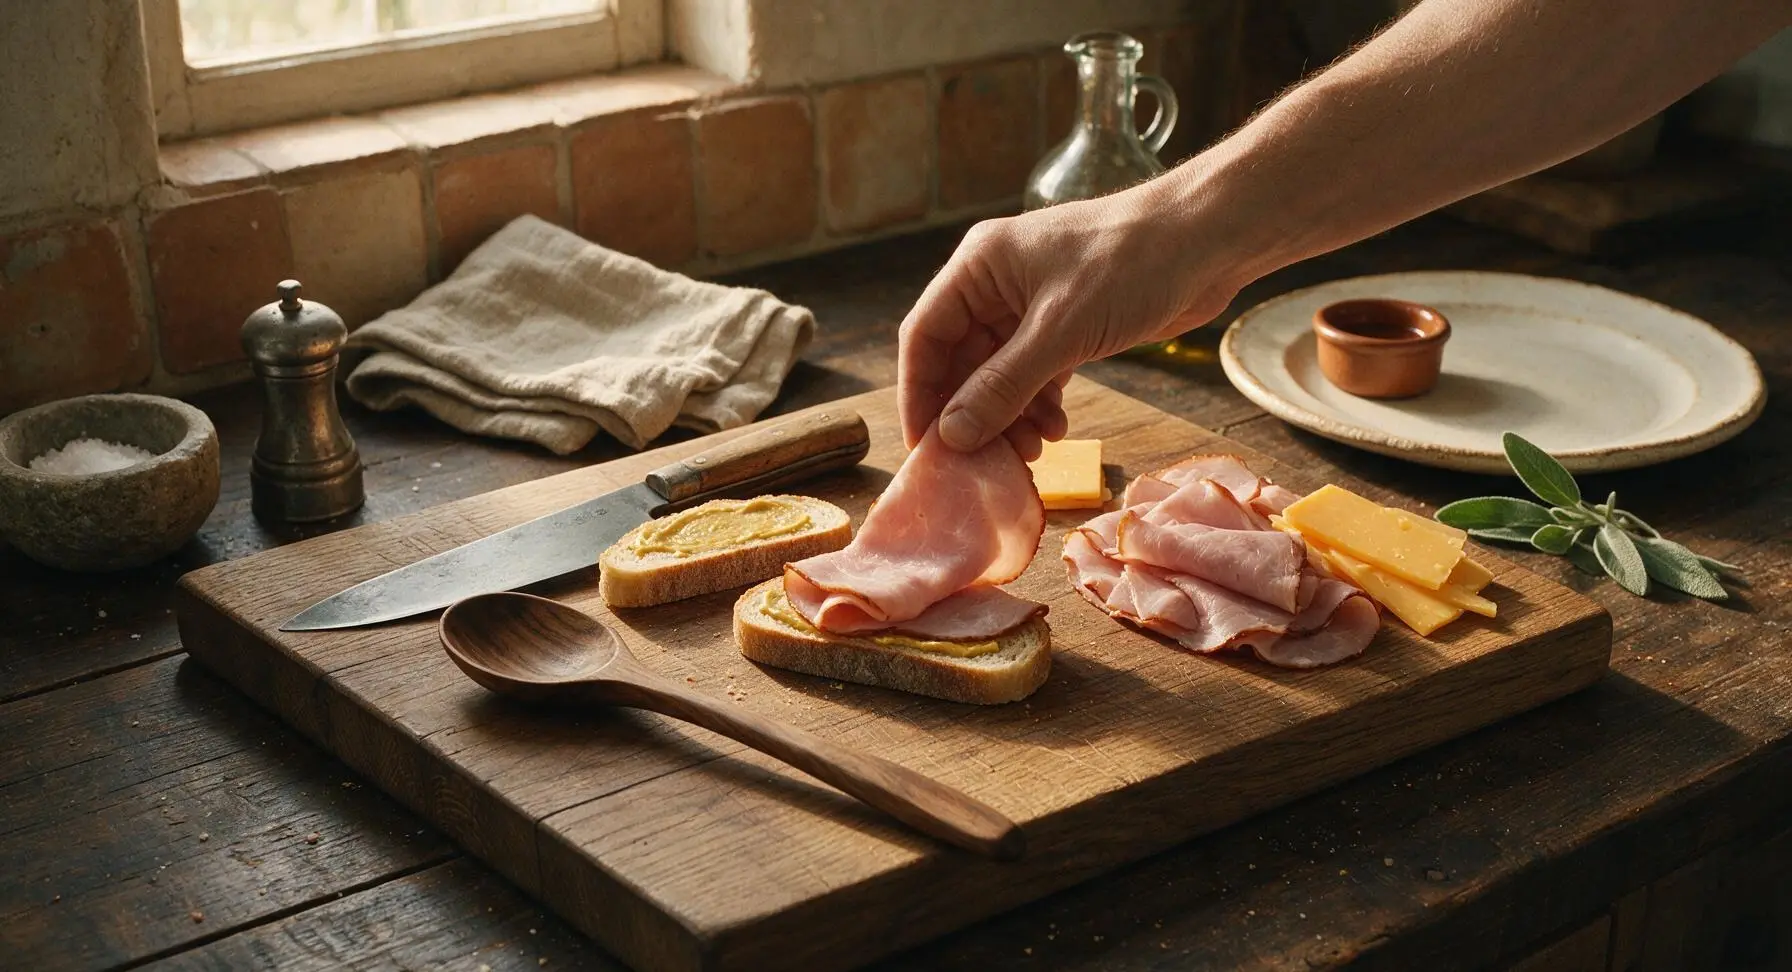
Flip all 4 bread slices over so the buttered side faces down against the cutting board. Measure 1 teaspoon of Dijon mustard, and use the tip of the offset spatula to spread a thin, even 1/4 teaspoon layer across the unbuttered side of two of the bread slices. Avoid thick clumps of mustard, which can overpower the mild, salty flavor of the ham and cheese.
Layer ham and cheese
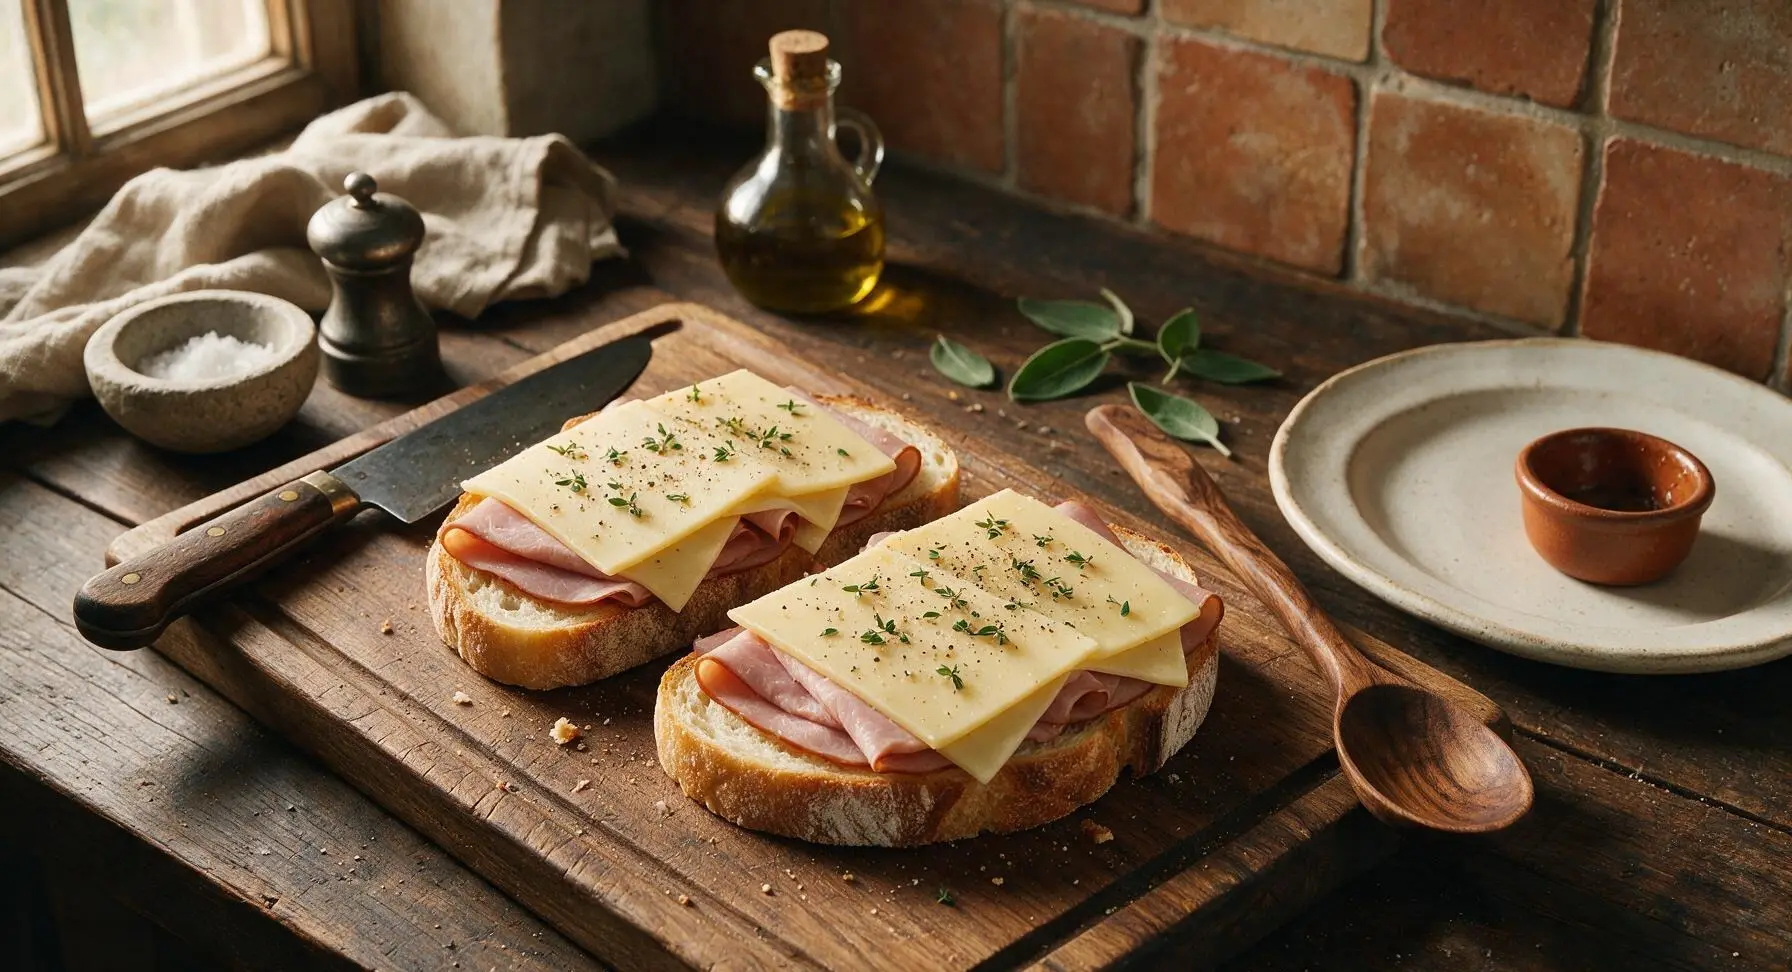
Fold each slice of smoked deli ham in half to fit neatly on top of the two mustard-coated bread slices, placing two folded ham slices per sandwich to cover the bread surface evenly. Top the ham with two slices of sharp cheddar per sandwich, arranging the cheese so it slightly overlaps the bread edges—this creates crispy, lacy cheese frico around the toast edges as it melts. Sprinkle the cheese lightly with 1/4 teaspoon freshly ground black pepper and half the fresh thyme leaves.
Assemble sandwich halves
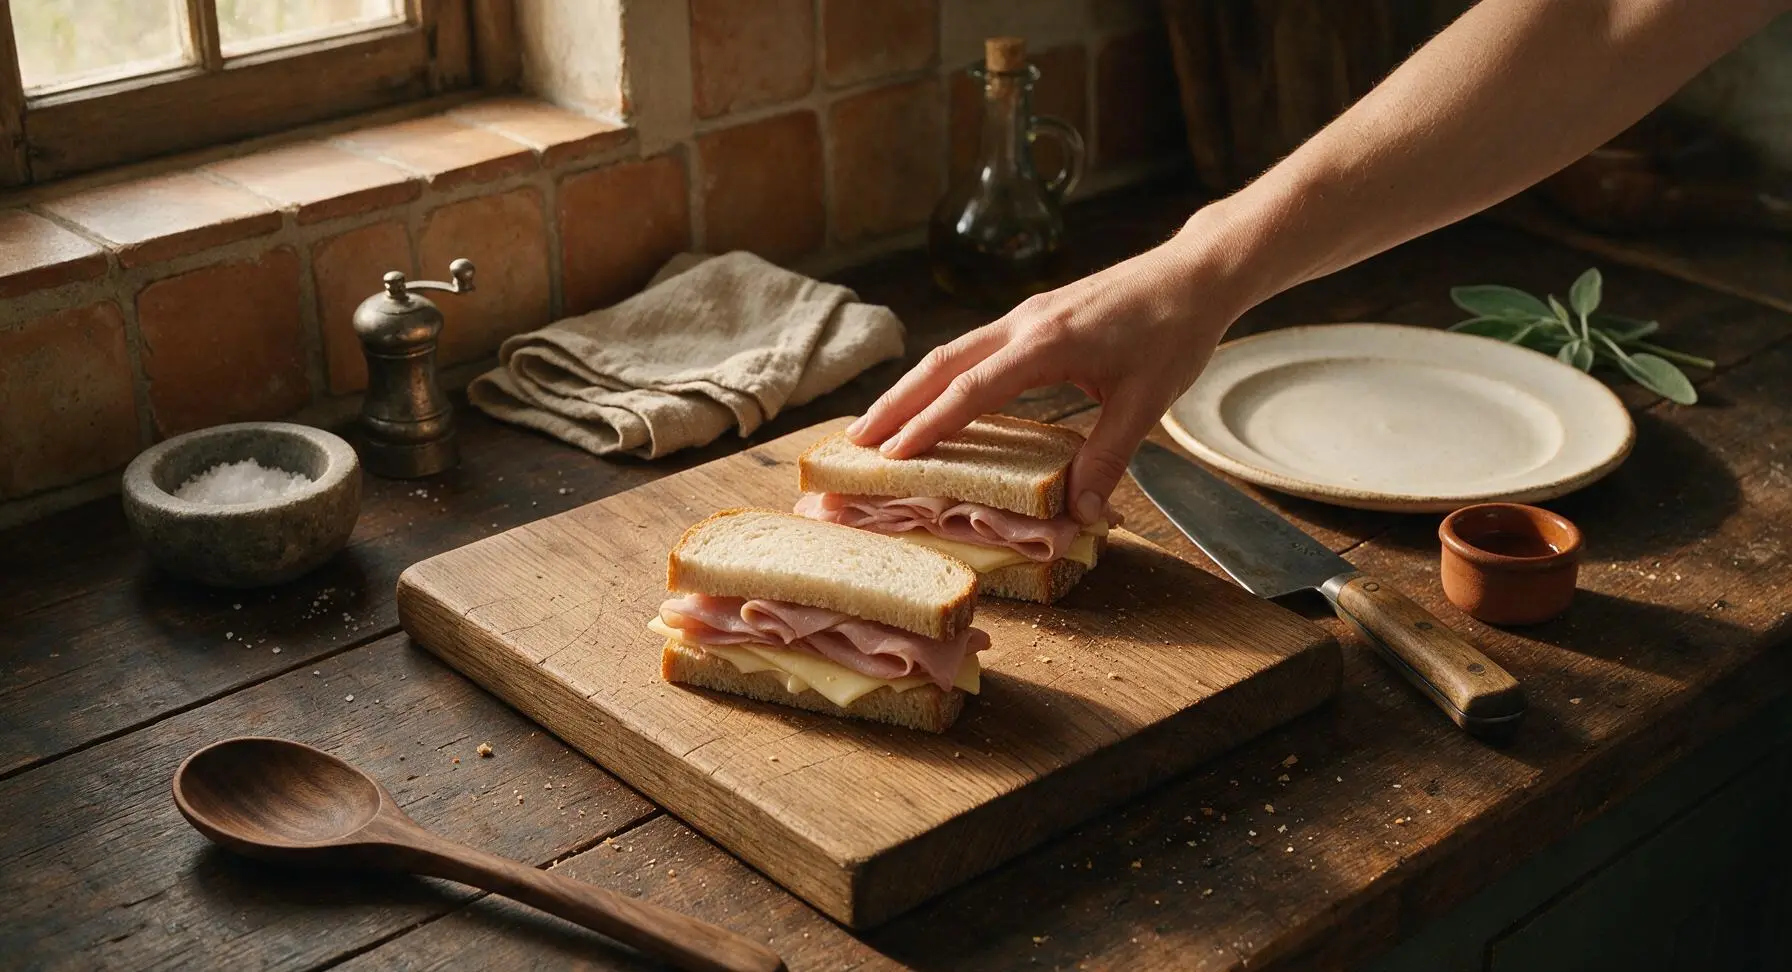
Take the remaining two buttered bread slices (unbuttered side facing inward) and place them on top of the filled slices, pressing down gently with the palm of your hand to create a tight, even sandwich. Ensure buttered outer sides face fully outward on both top and bottom of each sandwich, with only small amounts of cheese peeking out from the edges.
Preheat non-stick skillet
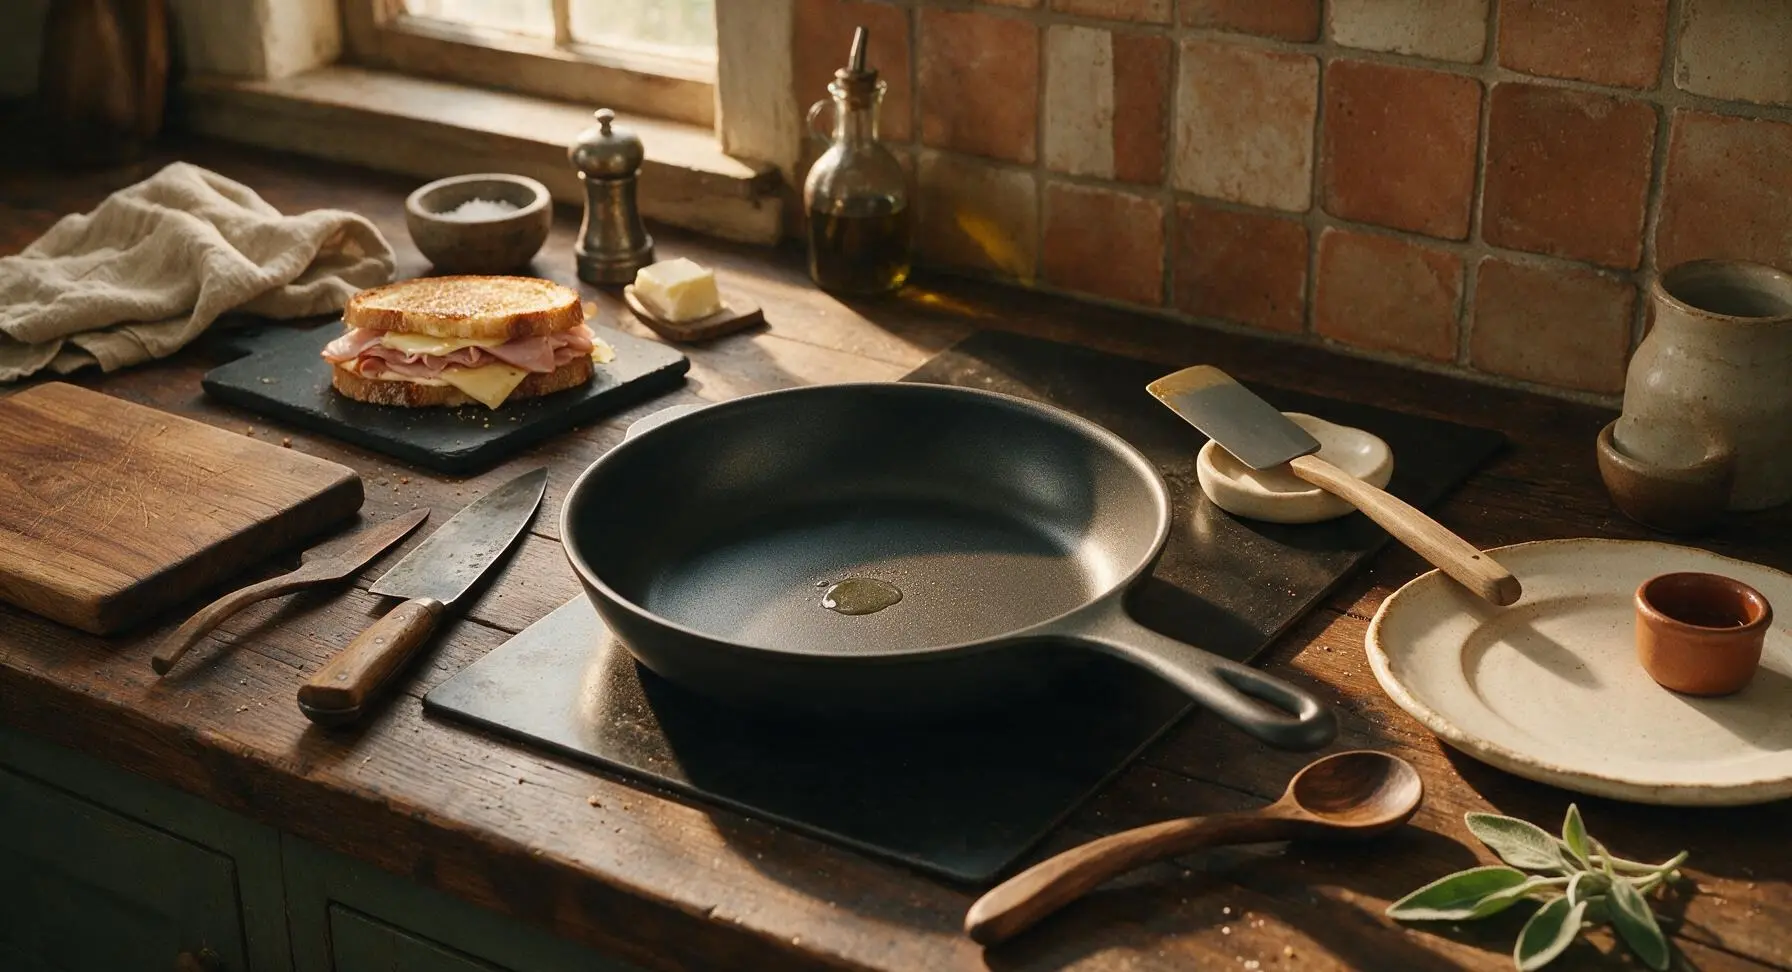
Slide the black cutting board with the assembled sandwiches to the back left counter area next to the butter dish, clearing the central cooking zone. Place the 10-inch matte charcoal non-stick skillet dead-center in the cooking space, preheating over medium-low heat for 2 minutes. Test the temperature by sprinkling a single drop of water on the pan surface: it should sizzle and dance across the pan immediately, not evaporate instantly (too hot) or sit without bubbling (too cold).
Toast first sandwich side
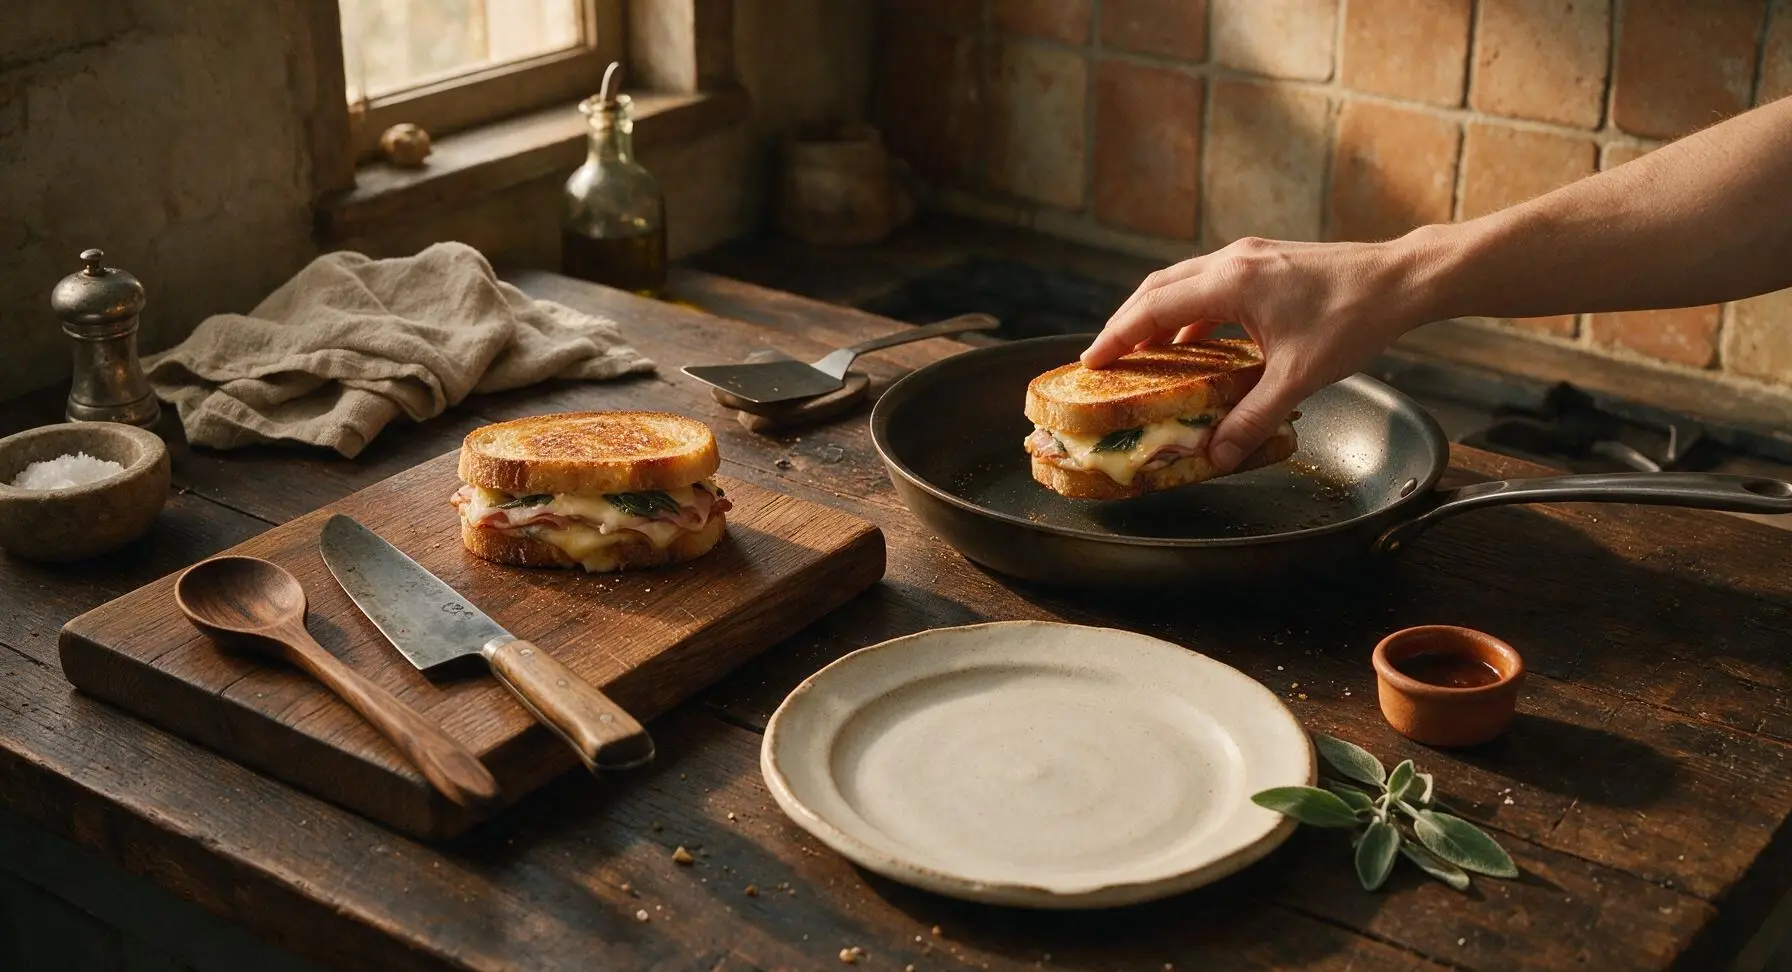
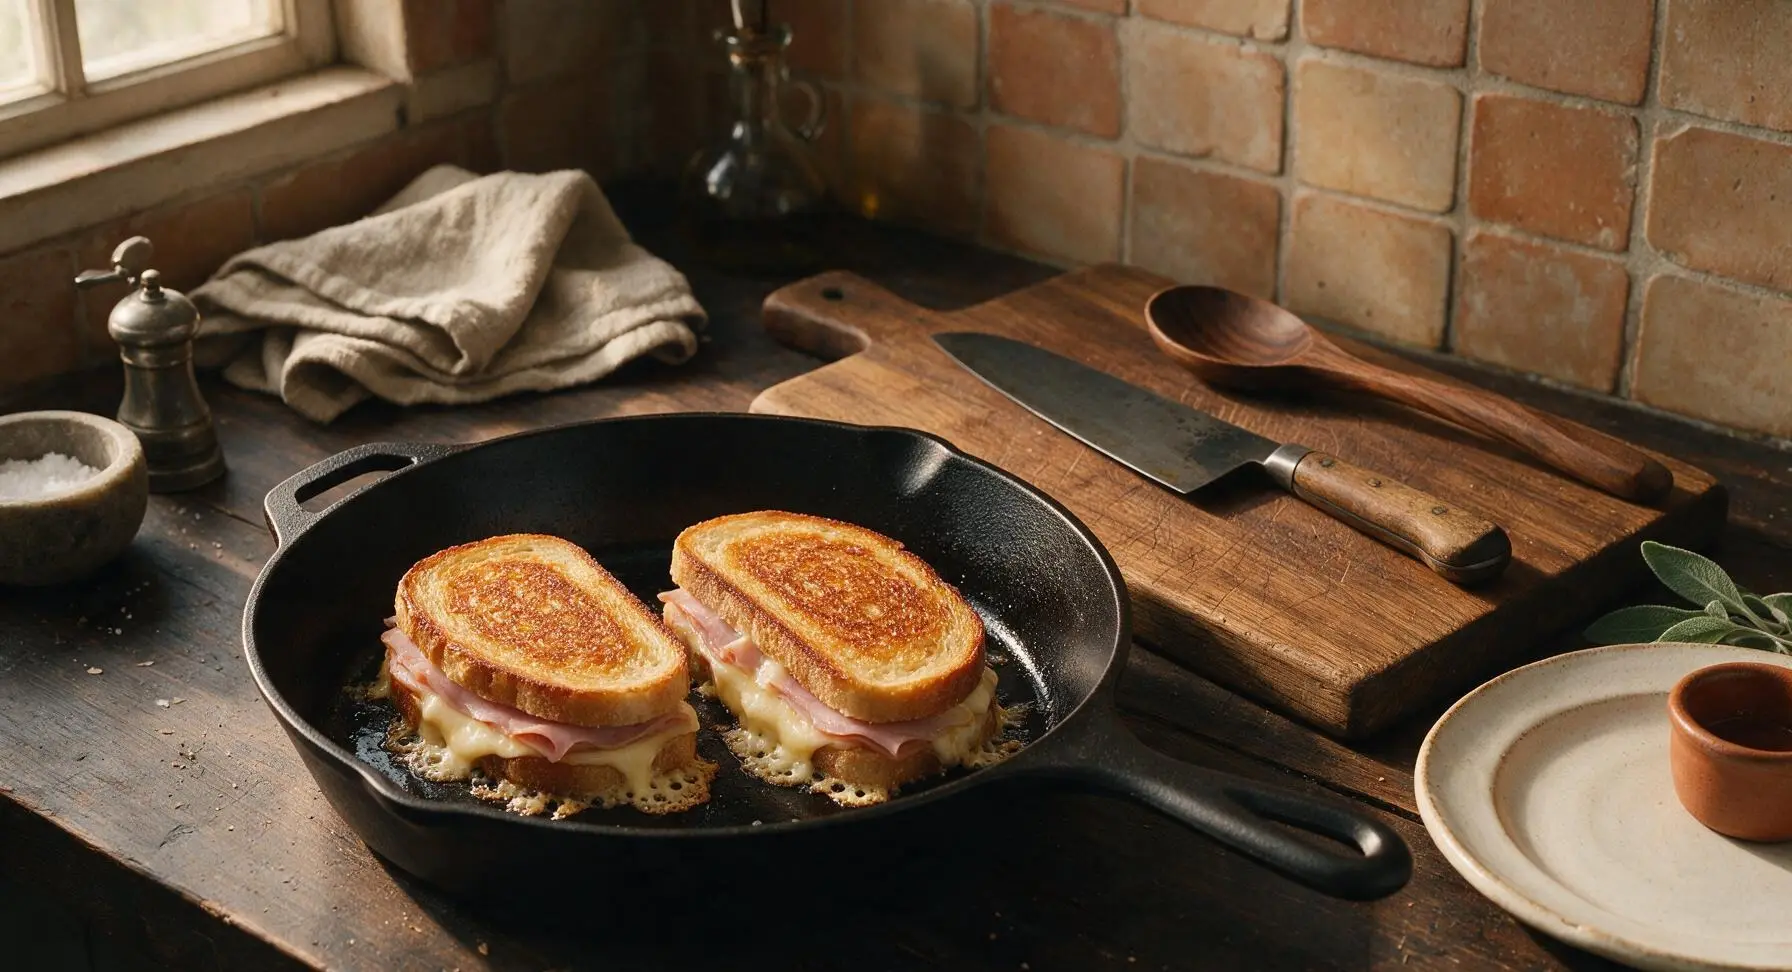
Carefully place both assembled sandwiches into the preheated skillet, laying them flat without overlapping. Cook for 3 minutes over medium-low heat, resisting the urge to press down hard with the spatula (this squeezes out melted cheese and creates dry, compressed toast). The bottom bread should turn a deep golden brown, and cheese should start to melt and bubble around the edges when ready to flip.
Flip and cook second side
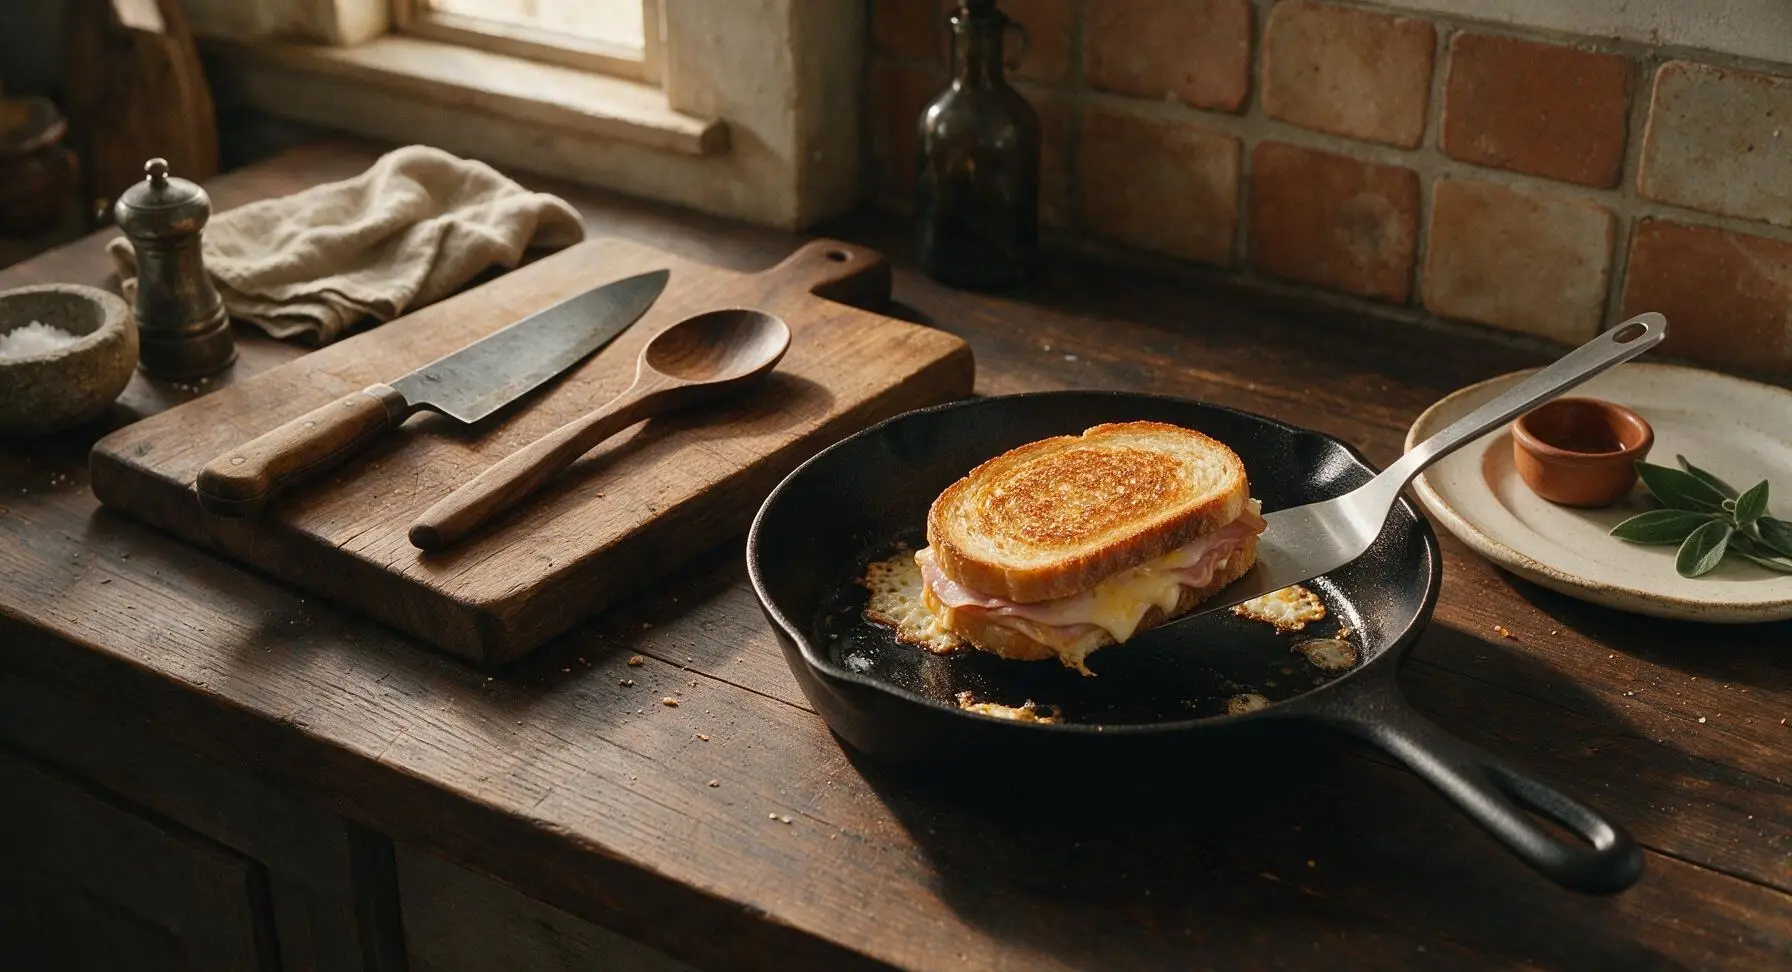
Slide the offset spatula fully under each sandwich to support the entire bread slice, then flip gently in one smooth motion. Cook the second side for another 3-4 minutes, until the bread is equally golden and crispy, and all cheese in the center is fully melted (check by gently lifting a corner of the top bread slice—no firm, un-melted cheese should remain). If bread browns too fast before cheese melts, reduce heat to low to avoid burning.
Rest and slice toasts
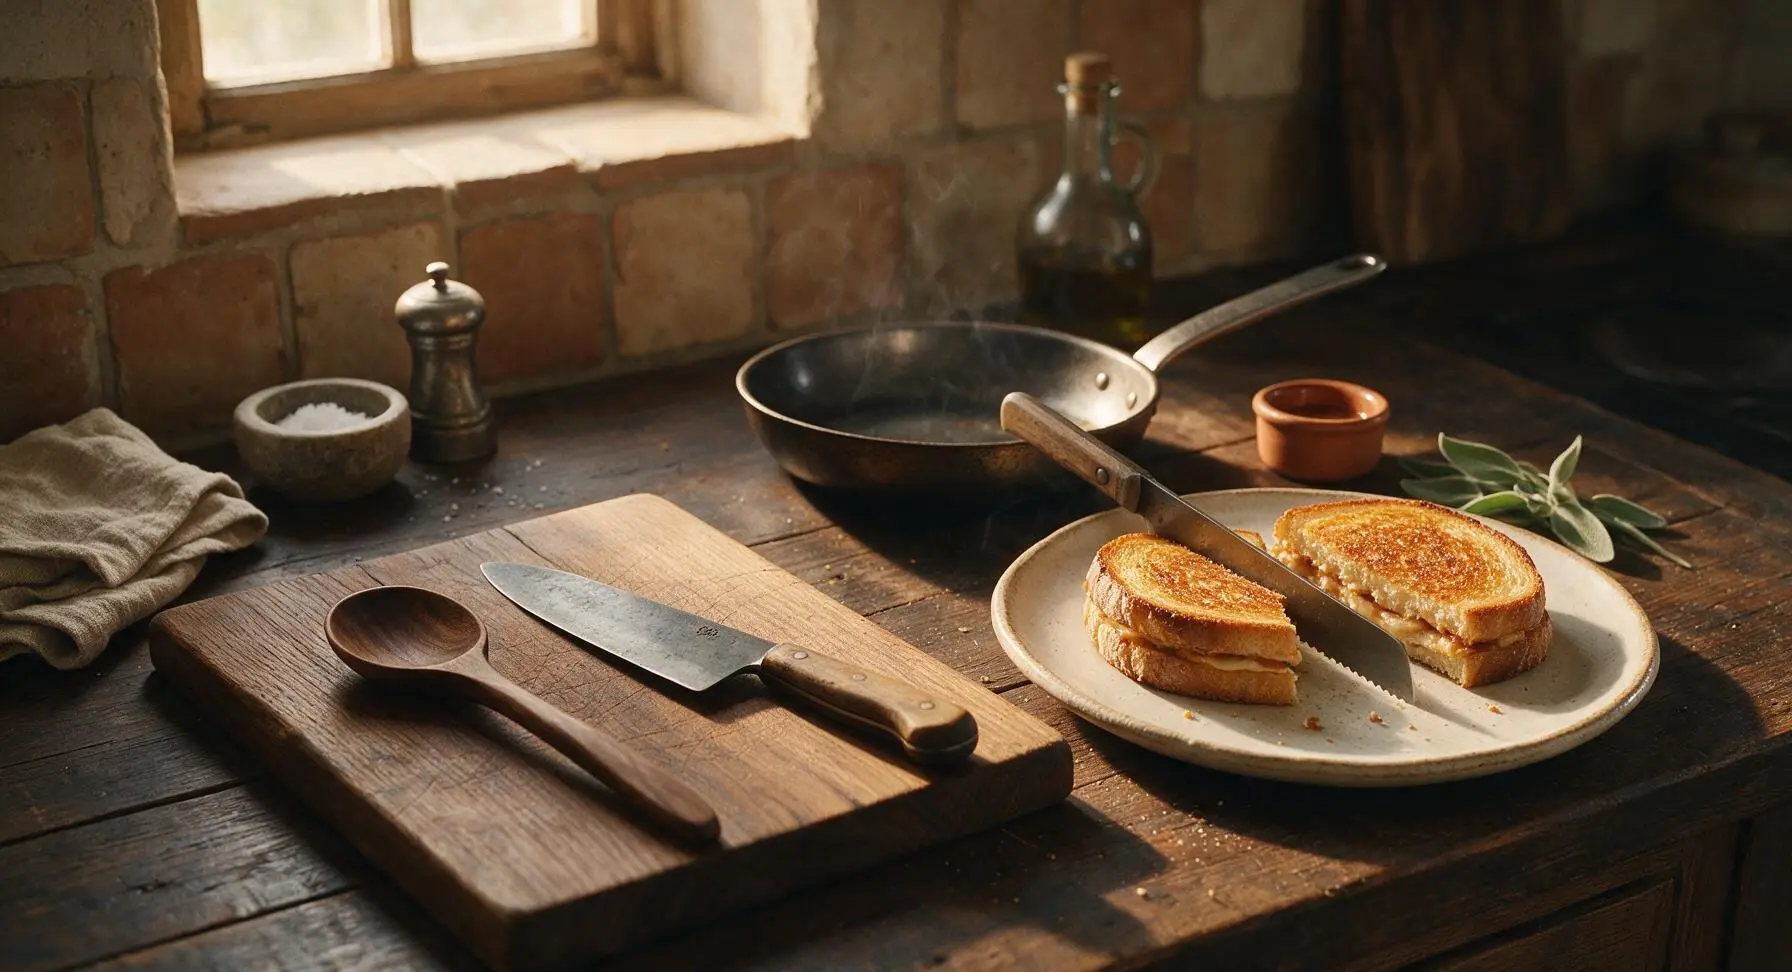
Use the offset spatula to lift the finished toasts out of the skillet, placing them on the top matte cream white ceramic dinner plate from the back-right stack. Let the toasts rest for 1 minute to allow cheese to set slightly (this prevents all filling from oozing out when cut). Use the bread knife to cut each sandwich diagonally into two triangular halves, then garnish with the remaining fresh thyme leaves.
Tips
2.Avoid pressing down on the sandwiches with a spatula while they cook: this squeezes out melted cheese and compresses the soft bread interior, leading to greasy, flat toast instead of light, crispy slices with gooey, contained cheese filling.
3.Let the toast rest for 1 full minute after cooking: this short rest lets melted cheese thicken slightly so it doesn’t gush out the sides on the first bite, and gives the crust time to set to perfect crispness instead of softening from trapped steam.






OMG this is the easiest weeknight win ever! I threw this together in 7 minutes flat when my kids got home from soccer practice and they devoured it before I even got a second piece. Used sourdough bread and a little extra cheddar, game changer!! 10/10 will be adding this to our regular rotation.
Made this in my dorm room with a tiny pan and pre-sliced deli ham, literally so cheap and SO good. Perfect for when I don’t want to spend money on takeout between study sessions.
Took this to my neighborhood potluck last weekend and people kept asking me for the recipe! I did add a sprinkle of everything bagel seasoning on top before toasting, chef’s kiss.
Really solid base recipe! My first go-round the cheese didn’t melt all the way before the bread got too dark, though. Any tips for that? I used thick cut provolone if that matters.
I’ve been making ham and cheese toast for 40 years and this recipe is exactly how I do it! Simple, no fancy ingredients, always comes out perfect. My grandkids beg for it every time they visit.
Wait, why did I never think to butter the outside of the bread before toasting? That’s the trick to getting that perfect golden crispy crust! I used smoked gouda and black forest ham, absolute chef’s kiss.
Made this for meal prep this week, stored the pre-assembled (uncooked) toasts in the fridge and just tossed them in the pan each morning before work. Cooks so fast, way better than my usual sad breakfast bar.
My 4 year old is the pickiest eater on the planet and he ate two whole pieces of this for dinner last night!!! I didn’t even have to bargain with him or bribe him with dessert. I could cry, this is a miracle recipe.
Quick, easy, zero cleanup basically. I added a slice of tomato and a little pinch of oregano for a pizza vibe and it was incredible. 10/10 for lazy Sundays.
I used whole grain bread, low sodium ham, and a little light Swiss for a higher protein version after my workouts. Hits the spot every time, way less greasy than takeout breakfast sandwiches.
Super tasty! Only reason I’m not giving 5 stars is I wish there was a note about using non-stick spray, my first slice stuck a little to the cast iron. Flavor was 10/10 though, will make again.
Made this for a quick late night snack after my concert last night and it hit SO hard. Better than any fast food run I could’ve made, done in 7 minutes just like the recipe says.
Made these for brunch last weekend with a drizzle of hot honey on top after toasting. My guests were literally fighting over the last piece. Who knew something so simple could be such a showstopper?
I never cook, like ever, and I pulled this off perfectly first try! It was so easy even I couldn’t mess it up. My roommate thought I ordered it from the café down the street, LOL.