
ham panini
intro
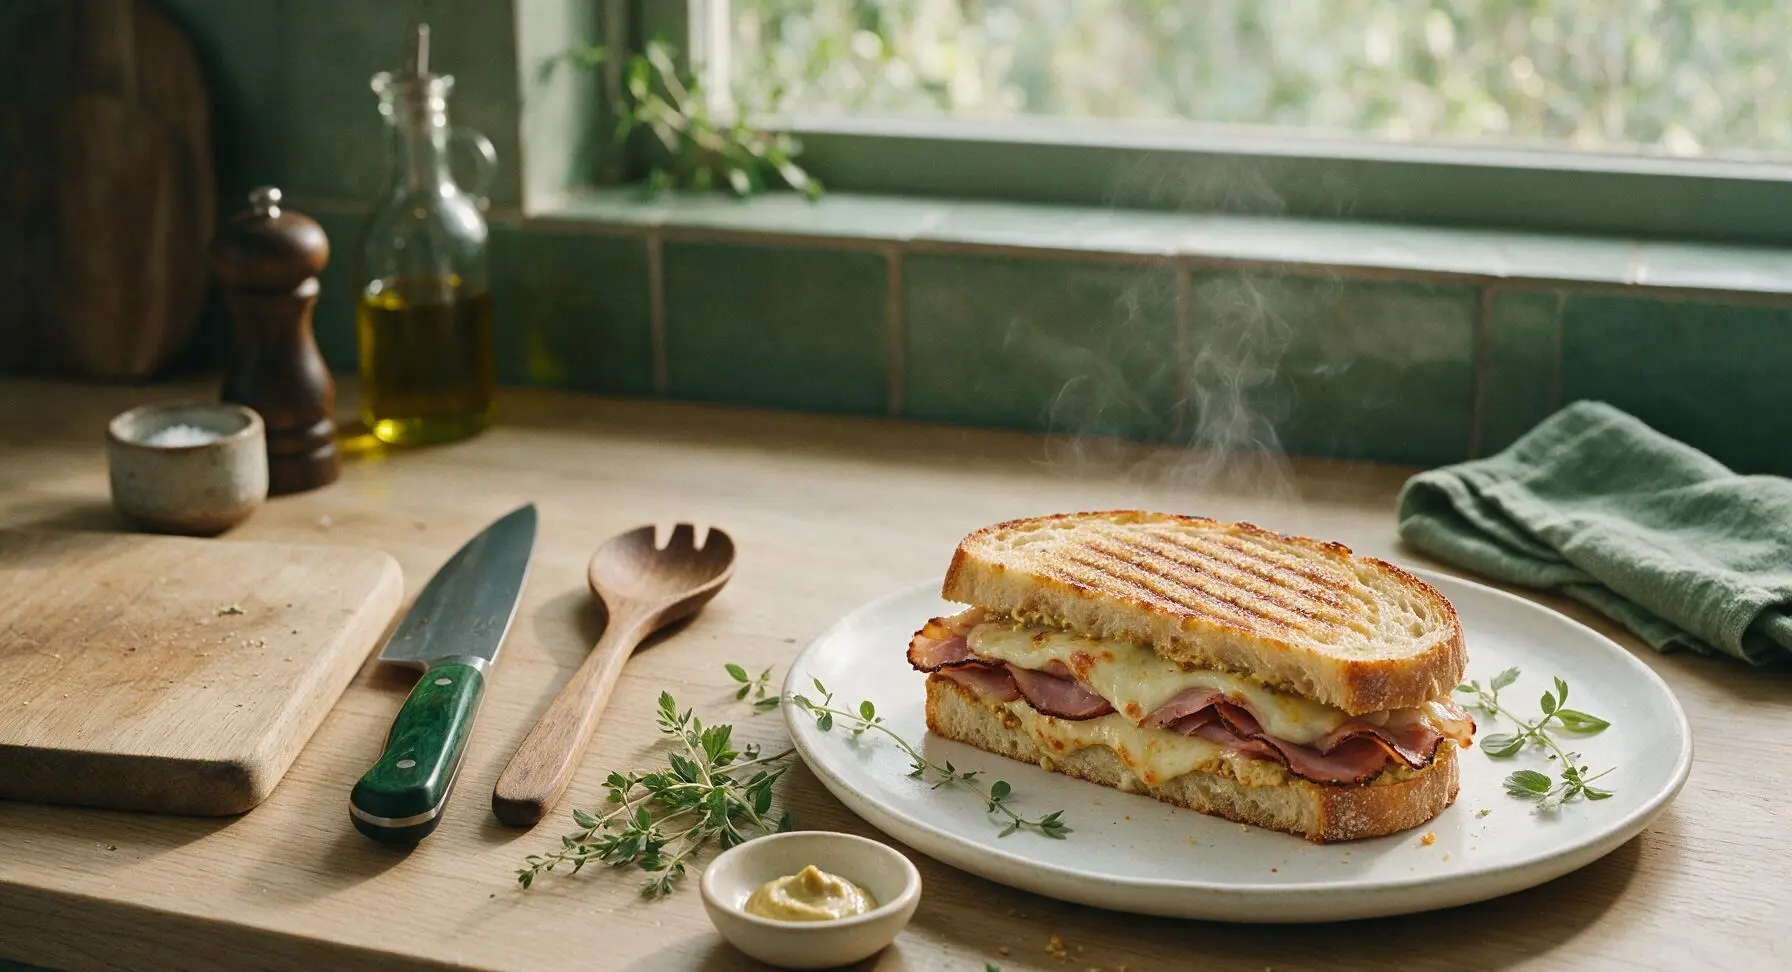
Crispy golden pressed sourdough layered with savory Black Forest ham, melted provolone, and zesty Dijon spread, this classic ham panini delivers satisfying crunch in every warm bite.
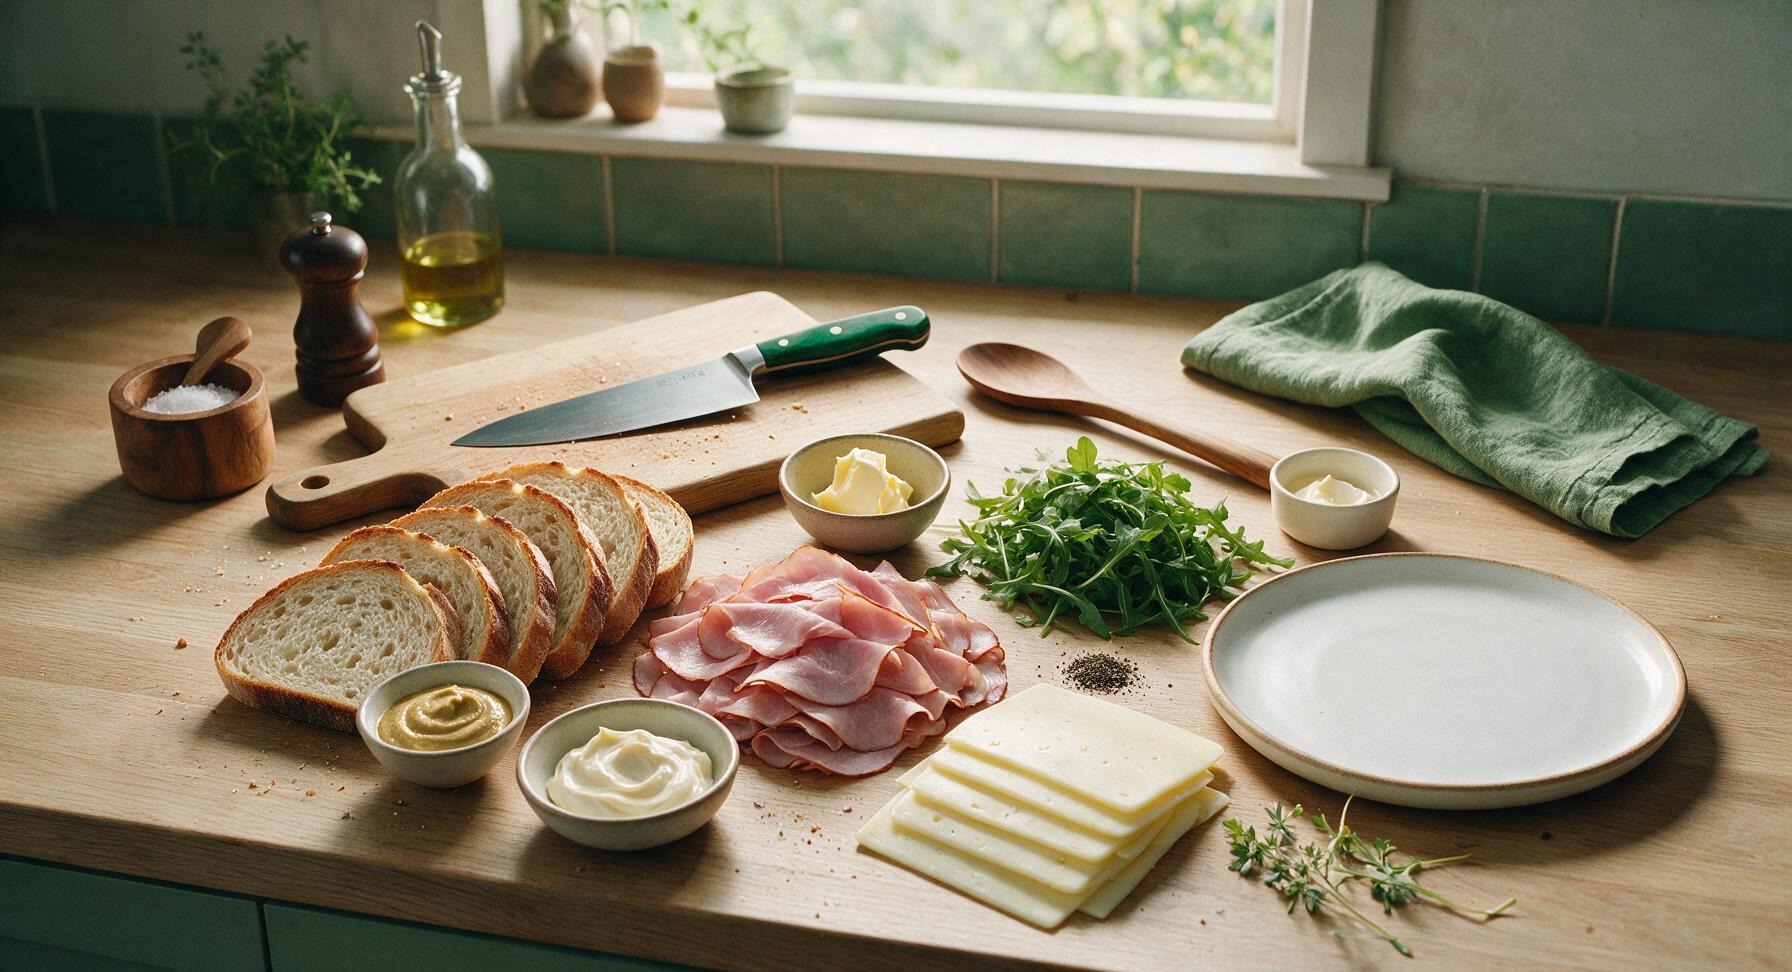
Ingredients
Steps
Prepare Zesty Spread
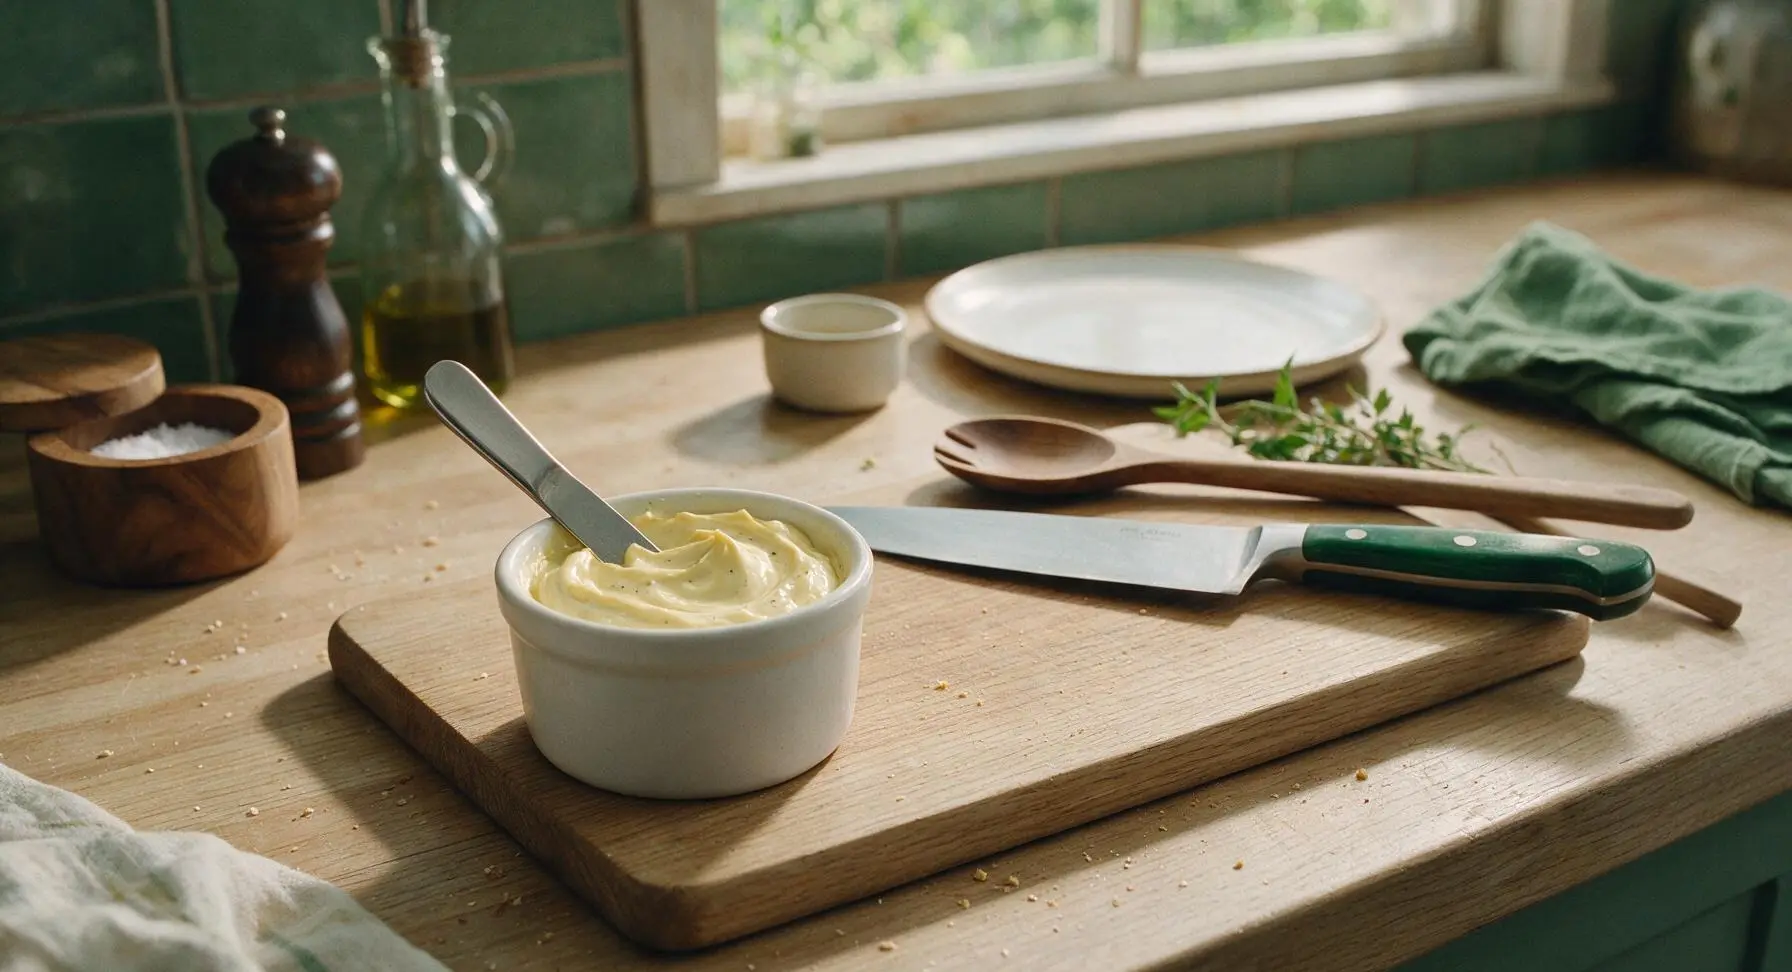
In the matte white ceramic ramekin, stir together 3 tablespoons Dijon mustard, 2 tablespoons mayonnaise, and 1/4 teaspoon freshly ground black pepper using the stainless steel butter knife until fully combined and smooth. The finished spread should be pale creamy yellow with subtle black pepper flecks, with no streaks of separate mustard or mayo remaining.
Butter Bread Slices
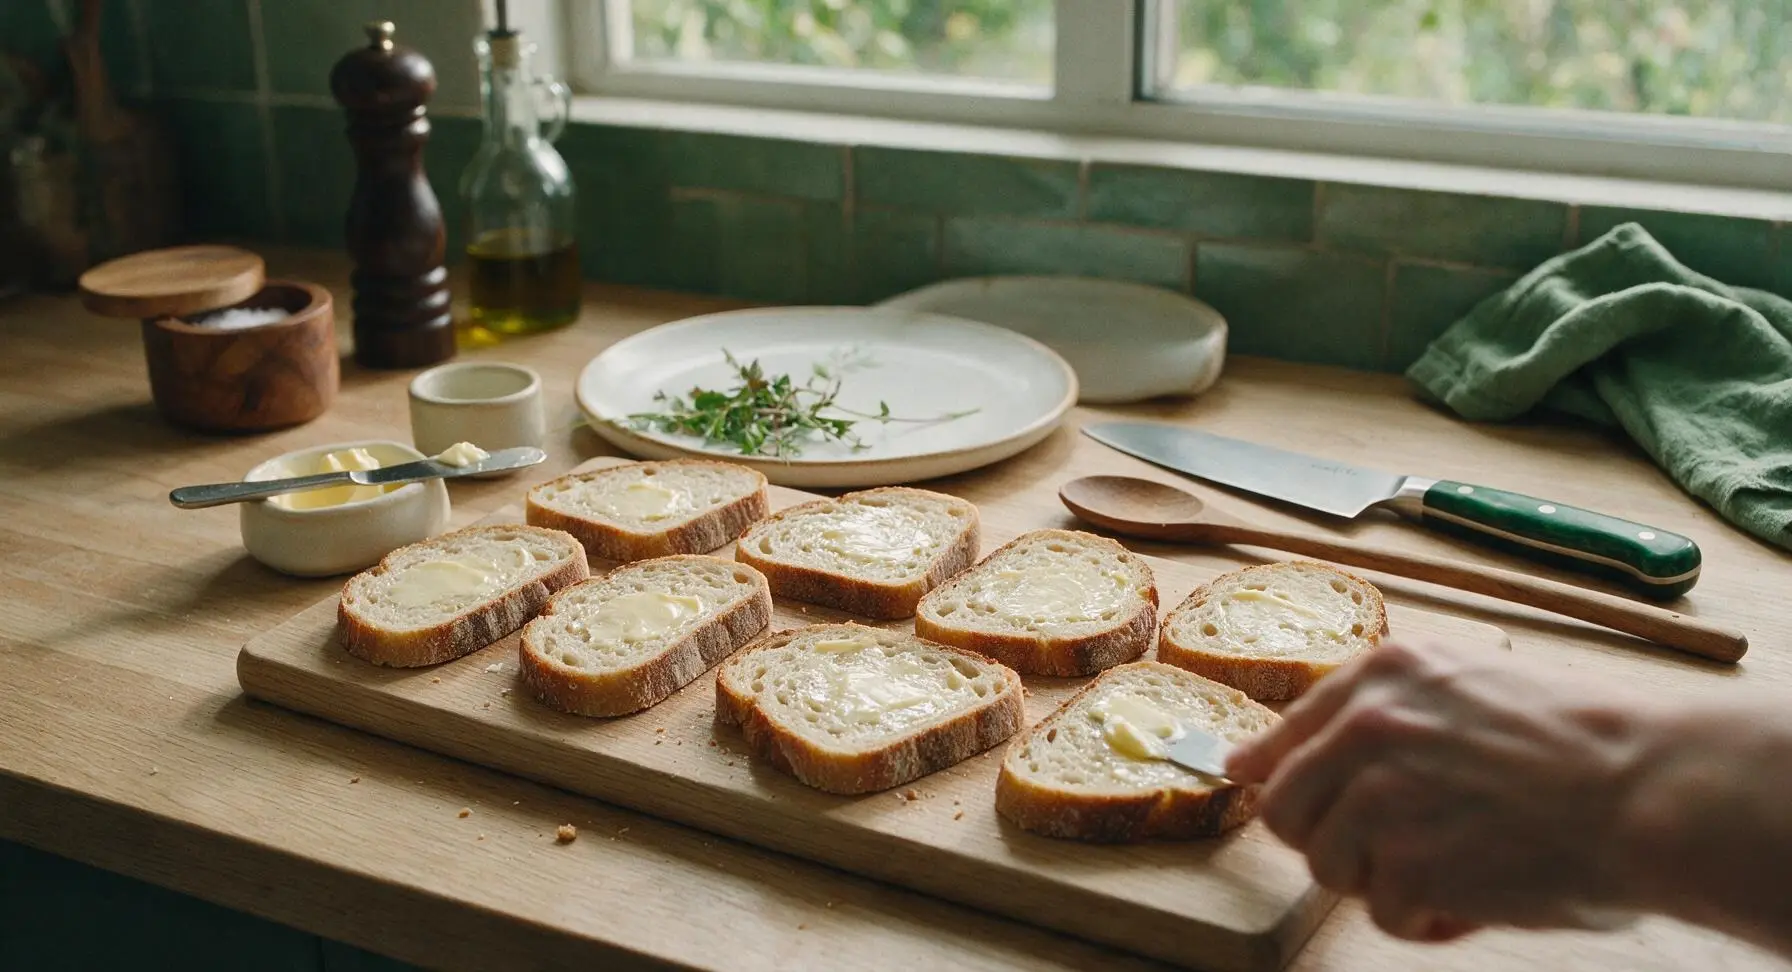
Lay all 8 sourdough slices flat across the bamboo cutting board. Use the butter knife to spread a thin, even layer of softened unsalted butter (roughly 1/4 teaspoon per slice) across one entire side of each bread slice. The buttered side will face outward against the press to create a crispy golden crust; ensure no dry patches of bread remain on the buttered surface, as these will turn pale and tough instead of crisp.
Layer Sandwich Fillings
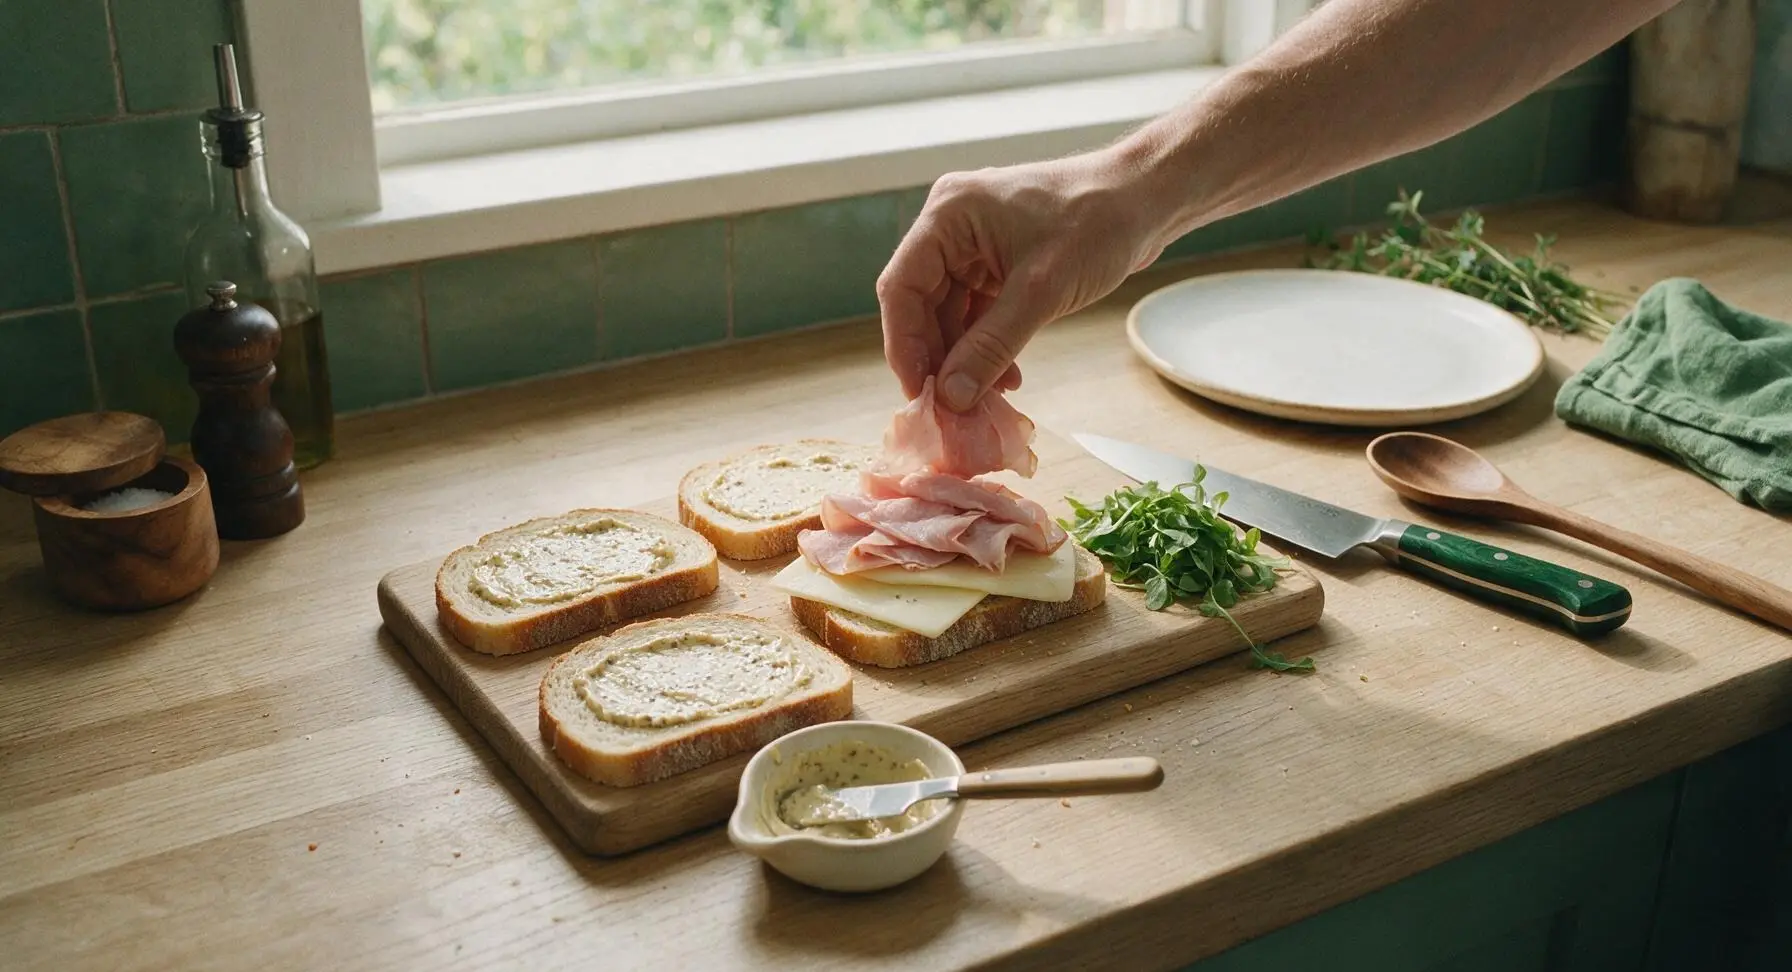
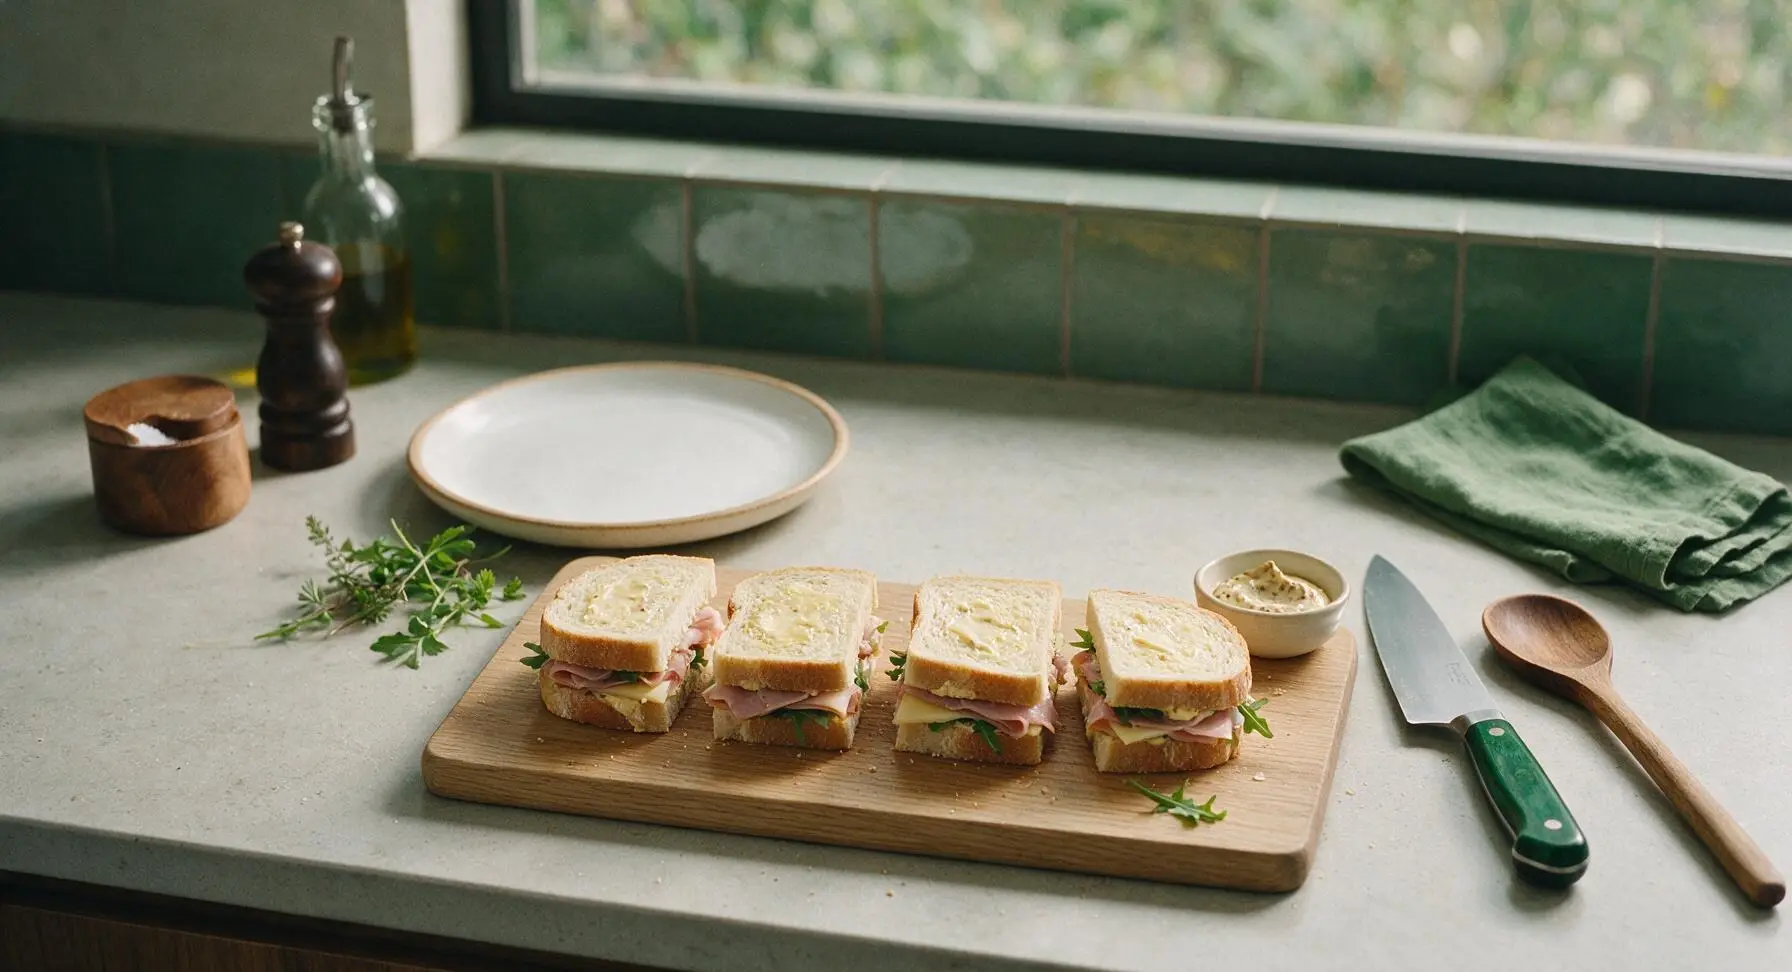
Flip 4 of the bread slices so the buttered side faces down onto the cutting board. Spread 1 heaping teaspoon of the Dijon-mayo mixture evenly across the unbuttered side of each flipped slice. Layer 2 slices of provolone cheese, 85g (about 3 thin folded slices) of Black Forest ham, and 1/4 cup of baby arugula on top of each spread-covered slice, distributing fillings evenly to within 1/2 inch of the bread edges. Spread a second teaspoon of spread across the unbuttered side of the remaining 4 bread slices, then place them spread-side down on top of the fillings to form 4 complete sandwiches, with buttered sides facing outward on both top and bottom.
Preheat Panini Press
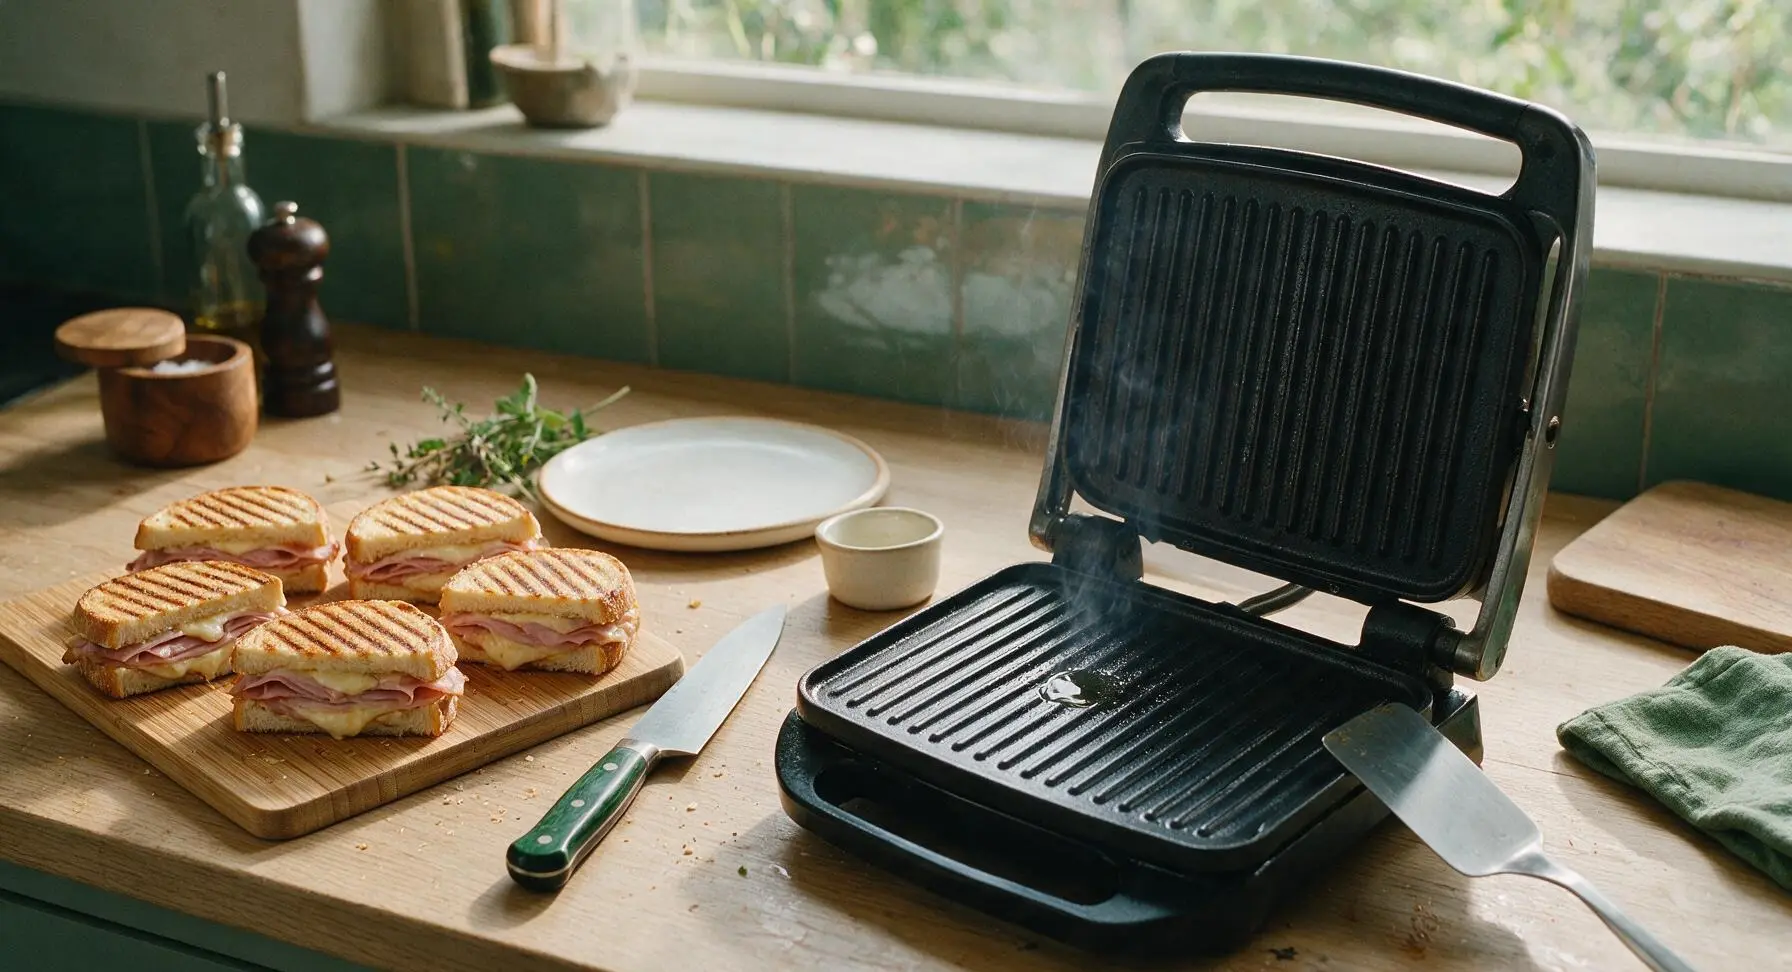
Place the matte black enameled cast iron panini press on the right half of the counter (its fixed cooking position) and preheat over medium heat for 3 minutes, until the ribbed surface is hot enough that a drop of water sizzles and evaporates within 2 seconds of contact. Do not add extra butter or oil to the press, as the butter on the bread exterior is sufficient to prevent sticking. Lean the stainless steel spatula against the right edge of the press for easy access.
Grill Paninis Until Golden
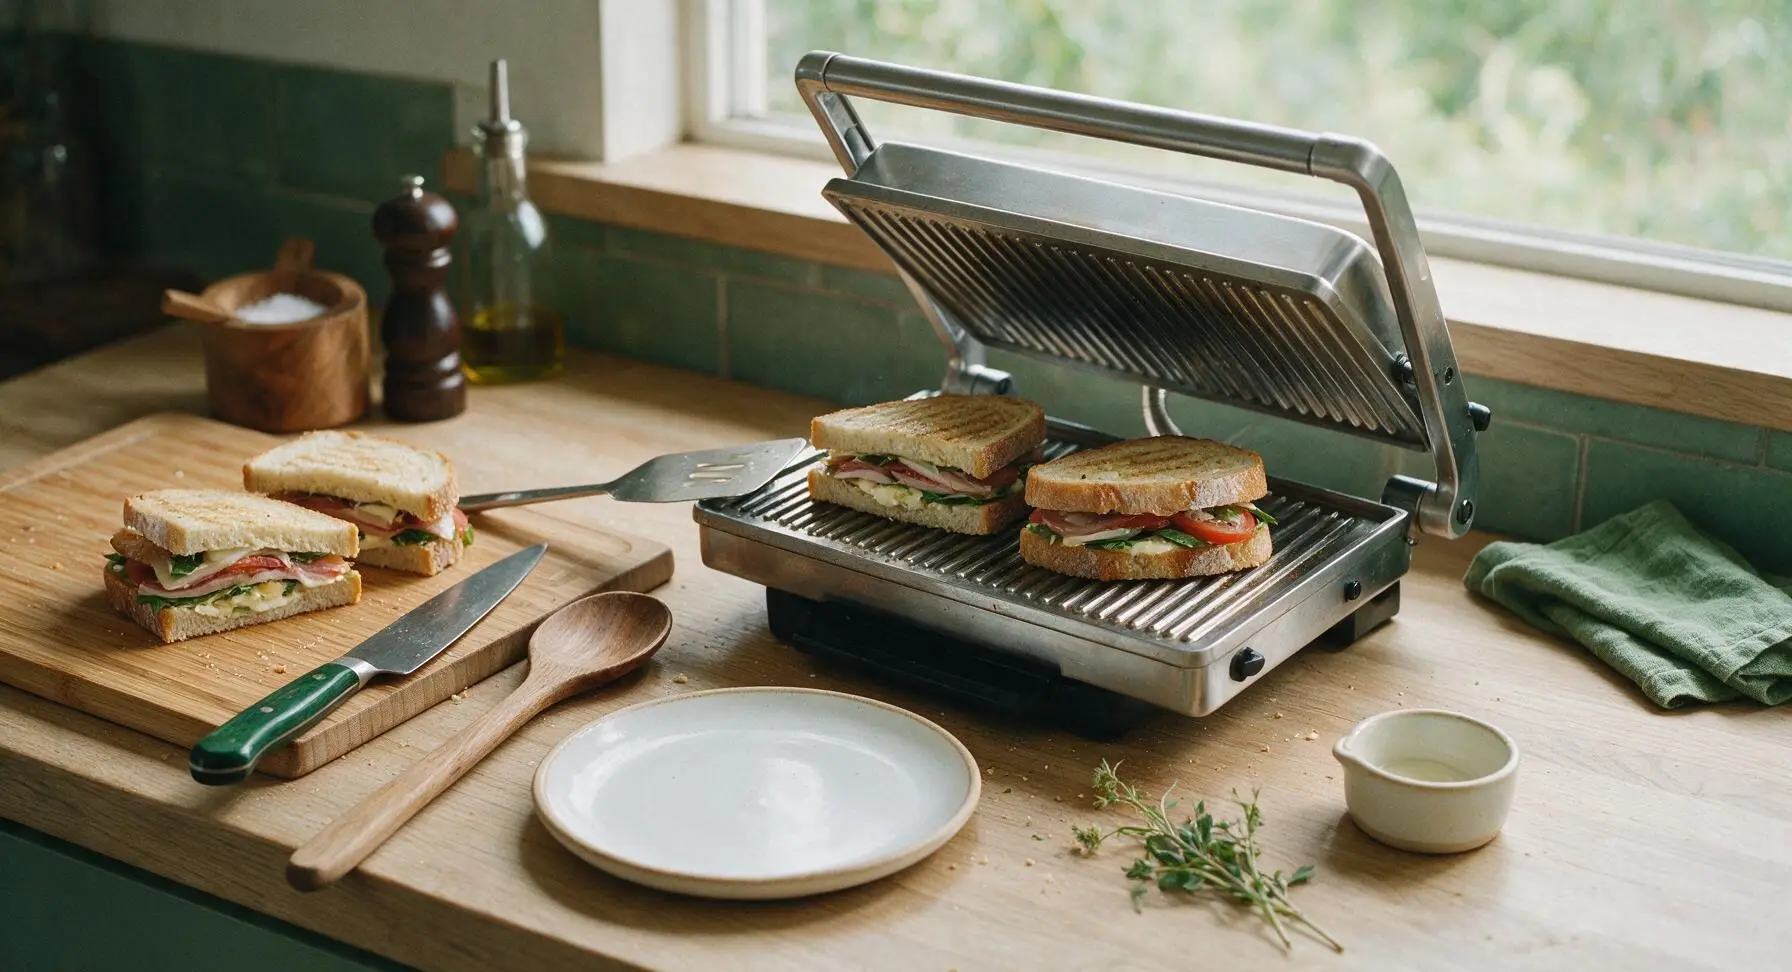
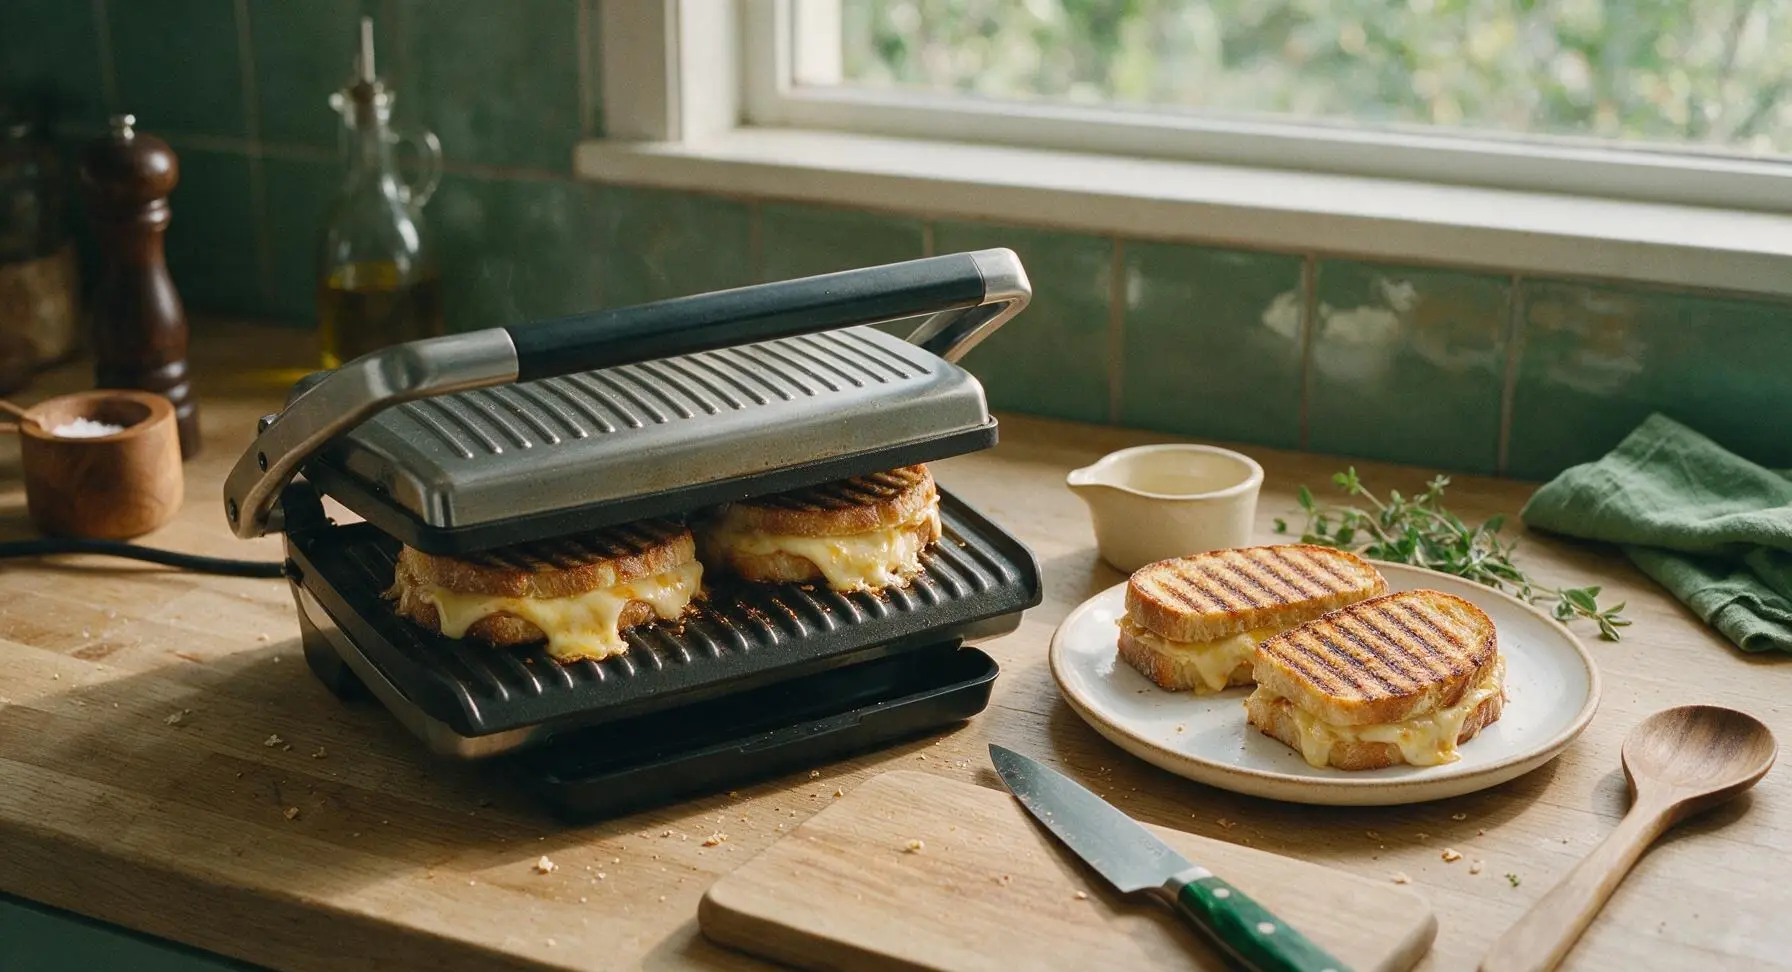
Working in batches of 2 to avoid overcrowding, place assembled sandwiches onto the preheated panini press ribbed surface. Close the heavy press lid and cook for 3 to 4 minutes per batch, until the outer bread is deep golden brown with distinct dark diagonal grill marks, the provolone cheese is fully melted and oozing slightly at the edges, and the ham is warmed through. Use the stainless steel spatula to transfer cooked paninis to the cream white dinner plate, and repeat with the remaining 2 sandwiches, adjusting heat to medium-low if the bread browns too quickly before the cheese melts.
Rest and Slice Paninis
Once all 4 paninis are cooked, transfer them back to the bamboo cutting board and let rest for 1 minute to allow the cheese to set slightly (this prevents fillings from sliding out when cut). Use the 8-inch chef’s knife to cut each panini diagonally into two equal triangular halves, applying gentle, even downward pressure to avoid squeezing fillings out of the bread.
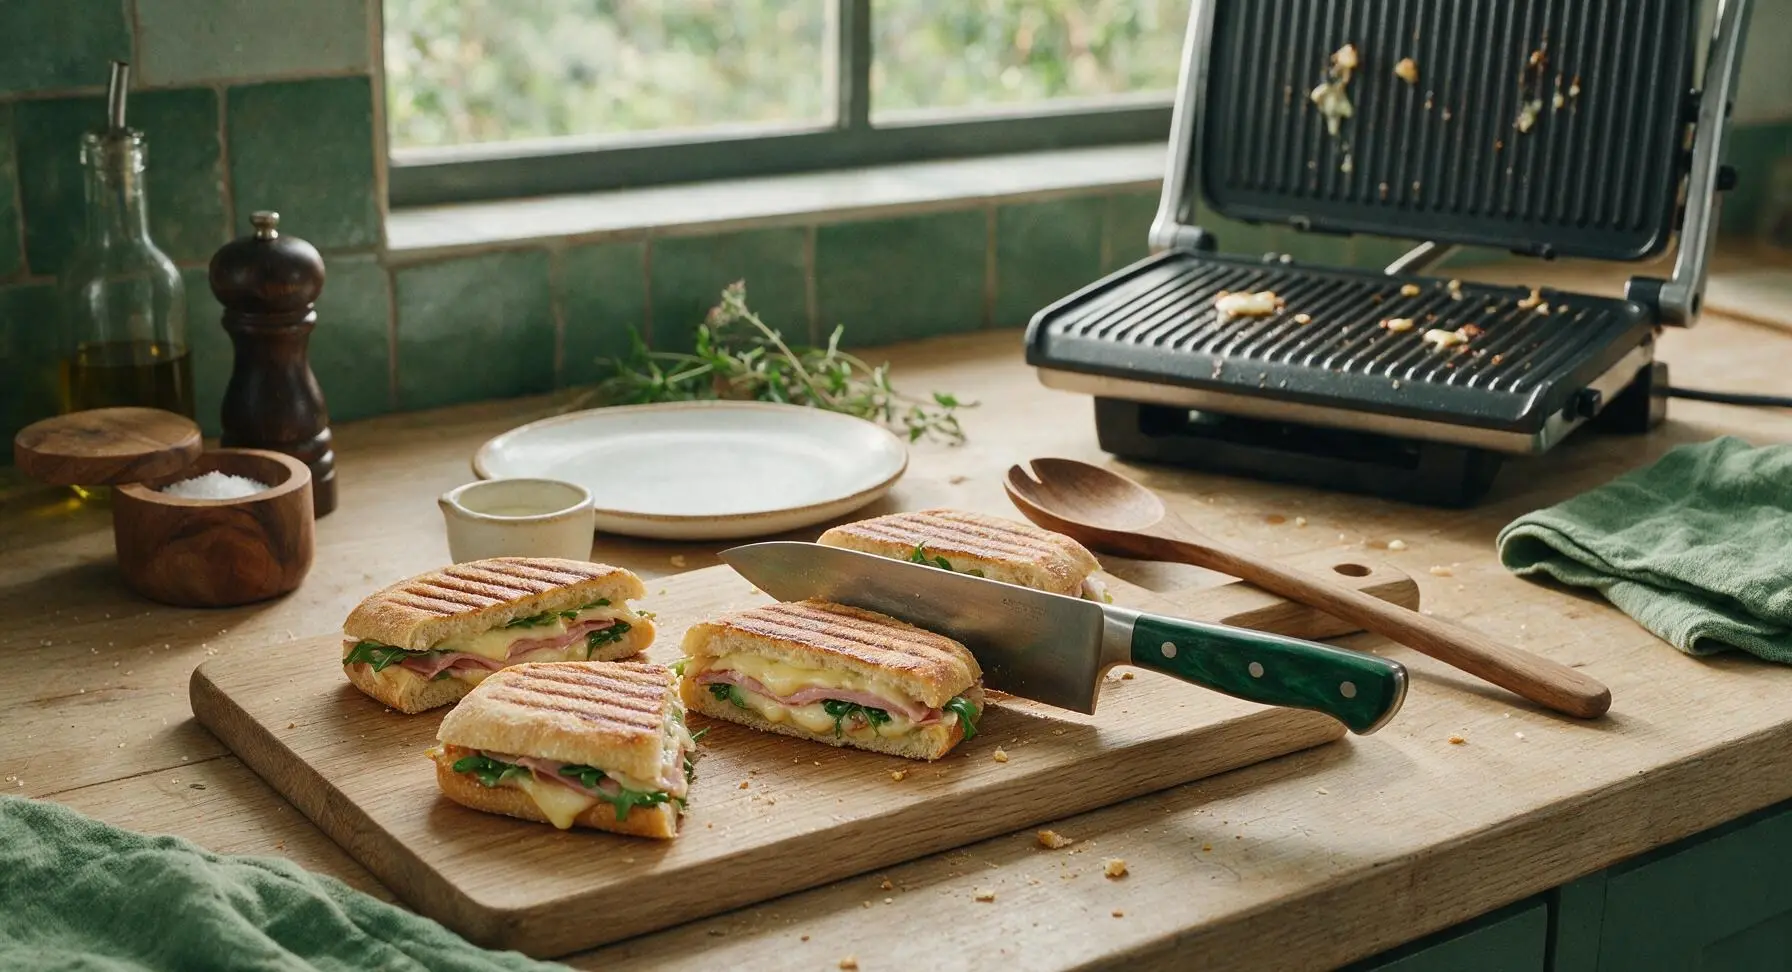
Plate and Serve Warm
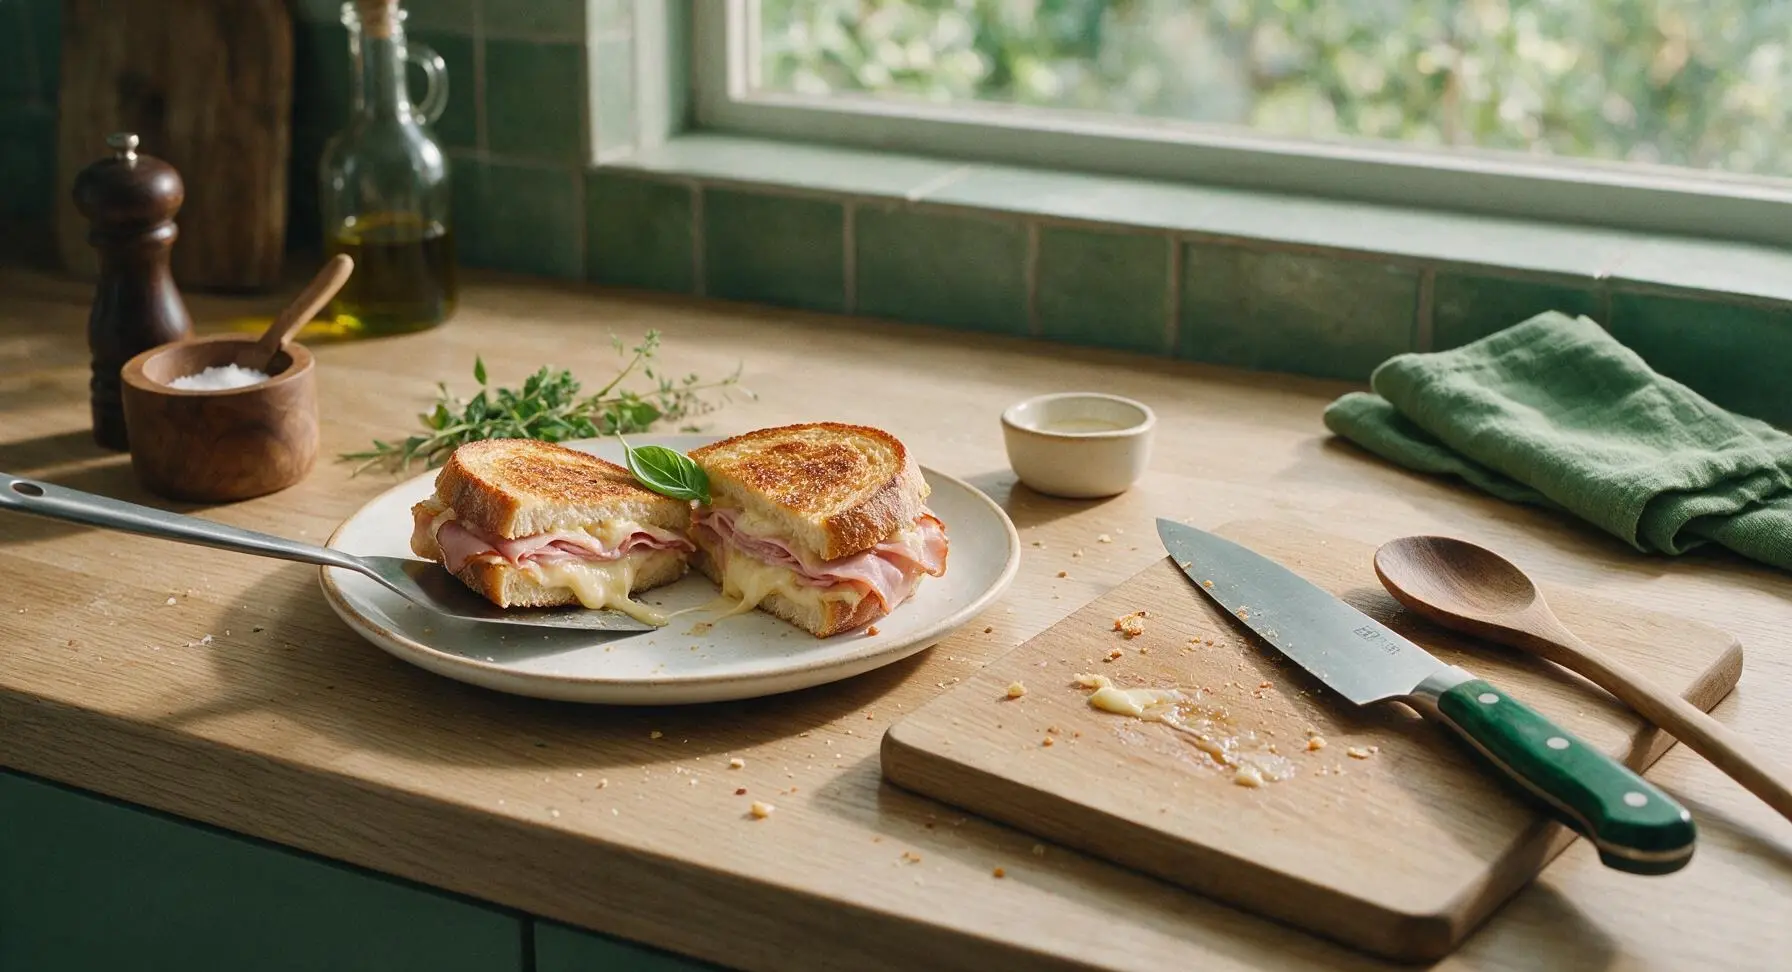
Arrange the sliced panini halves on the cream white ceramic dinner plate, overlapping slightly. Pluck one small fresh basil leaf from the potted plant on the backsplash ledge and tuck it between the panini halves as a bright garnish. Serve immediately while the crust is crisp and the cheese is warm and melted.
Tips
2.Skip extra oil on the press: The thin layer of butter spread on the outer bread slices is all you need for a crisp, golden crust. Adding extra butter or oil to the press surface will make the bread greasy and soggy instead of light and crispy.
3.Let paninis rest before slicing: The 1-minute rest after cooking allows melted provolone to set slightly, so it won’t slide out of the sandwich when you cut into it, and gives the crust time to firm up for the best possible texture.






OMG this is SO good! I threw this together after soccer practice tonight when I had zero energy to cook, 8 minutes total and both my kids devoured it. I added a little extra dijon like I always do, but the base recipe is perfect. Total weeknight win!
Game changer for dorm cooking! I don’t have a fancy panini press, just used my cast iron skillet with a heavy can on top to press it, and it turned out crispy and perfect. Way better than the sad dining hall ham sandwiches. Meal prepped 4 of these for the week for like $5 total.
Solid panini recipe! I used smoked ham from our local butcher instead of deli ham, and it added such a nice deep flavor. Only reason it’s not 5 stars is I wish it had a little note about what cheese pairs best, I used provolone and it worked but wondering if swiss is better?
Added these to my weekly meal prep rotation! They hold up so well in the fridge, I just pop them in the panini press for 2 minutes when I’m ready to eat at work and the bread doesn’t get soggy at all. Perfect quick lunch.
Made these for a casual brunch with my girlfriends this weekend and everyone asked for the recipe! I set out a little topping bar with pickles, roasted red peppers, and different mustards so people could customize, and it was such a hit. So easy to throw together while mimosas are flowing!
As someone who burns literally everything, even toast, this 8 minute cook time was foolproof. I didn’t overcook it, the cheese was perfectly melty, the ham was warm, the bread was crispy. I will be making this every single week for lunch now.
Okay I know it’s called classic ham panini but I added a handful of arugula and a drizzle of hot honey and OH MY GOD it’s next level. The salty ham, melty cheese, peppery arugula, sweet spicy honey? Chef’s kiss. Don’t sleep on that add-on!
Made these on the cast iron griddle out on the patio last weekend for the family, everyone loved them. Only knock is I wish the recipe mentioned you don’t *need* a panini press to make these, I almost skipped it because I thought I had to have special equipment.
I’ve been making ham and cheese sandwiches for my grandkids for 40 years, and this pressed version is now their new favorite. They kept saying it tastes like the fancy sandwiches from the deli downtown, but I made it right in my own kitchen for a fraction of the cost. So simple, so tasty.
Brought a whole platter of mini versions of these to our neighborhood potluck last week and they were gone in 10 minutes! Cut them into quarters, stuck a little toothpick in each, perfect finger food. People were hovering by the platter asking when I’d bring them again.
It’s a solid basic panini, don’t get me wrong, but I felt like it was missing a little something? Maybe a spread? I added mayo and pickles and it was better, but the base recipe felt a little plain for my taste, especially coming from Italian delis in Brooklyn that load their paninis up.
Made these before a day hike last weekend, wrapped them in foil, and they were still warm and toasty when we stopped for lunch at the summit. Way better than squished PB&J, and they traveled so well. Total game changer for trail lunches now.
Just made this for a quick dinner after work and wow, why did I ever spend $12 on paninis from the shop down the street? This took literally 8 minutes start to finish, used leftover ham from Easter, and tasted better than takeout. Will be on repeat.
Okay I don’t even eat pork half the time but I used that plant-based ham and regular cheddar for this and even my meat-obsessed boyfriend said it was better than the takeout panini he gets for lunch every Friday. The cook time is no joke, 4 minutes a side and perfect crisp.
Made these for my teen son and his friends after their basketball game, and the whole crew ate 3 paninis each! They said it was way better than the fast food they usually beg for after games. Super easy to make in batches too, just did two at a time on my griddle.
I keep a little panini press at my desk now (don’t tell HR) and I make this for lunch at least twice a week. It’s so fast, doesn’t make a huge mess, and my coworkers keep hovering asking what smells so good. Worth every penny of the $20 press I bought off Amazon.
First time making any kind of panini ever, and this was so straightforward! I used sourdough bread, black forest ham, and swiss, and it turned out great. Next time I’ll probably add a little more butter to the outside of the bread to get it extra crispy, but that’s just personal preference.
As a dad of three toddlers, I’m always looking for meals that take less than 10 minutes and don’t end up half on the floor. These paninis were a hit! Even my pickiest eater, who refuses to eat anything orange unless it’s a cheeto, ate the whole thing without complaining. Win.
Just tried the hot honey and arugula add-on I saw in another comment, and I’m not exaggerating when I say it’s the best sandwich I’ve ever made at home. The salty sweet combo is unreal, I can’t believe I slept on hot honey for so long. 10/10.
My kids loved it! I let them help assemble their own paninis for dinner last night, they got to pick their own cheese and add pickles if they wanted, and they were so proud to eat something they “made” themselves. Such a fun easy weeknight activity that ends with a delicious meal, can’t beat it.