
Hash Brown Pancakes
intro
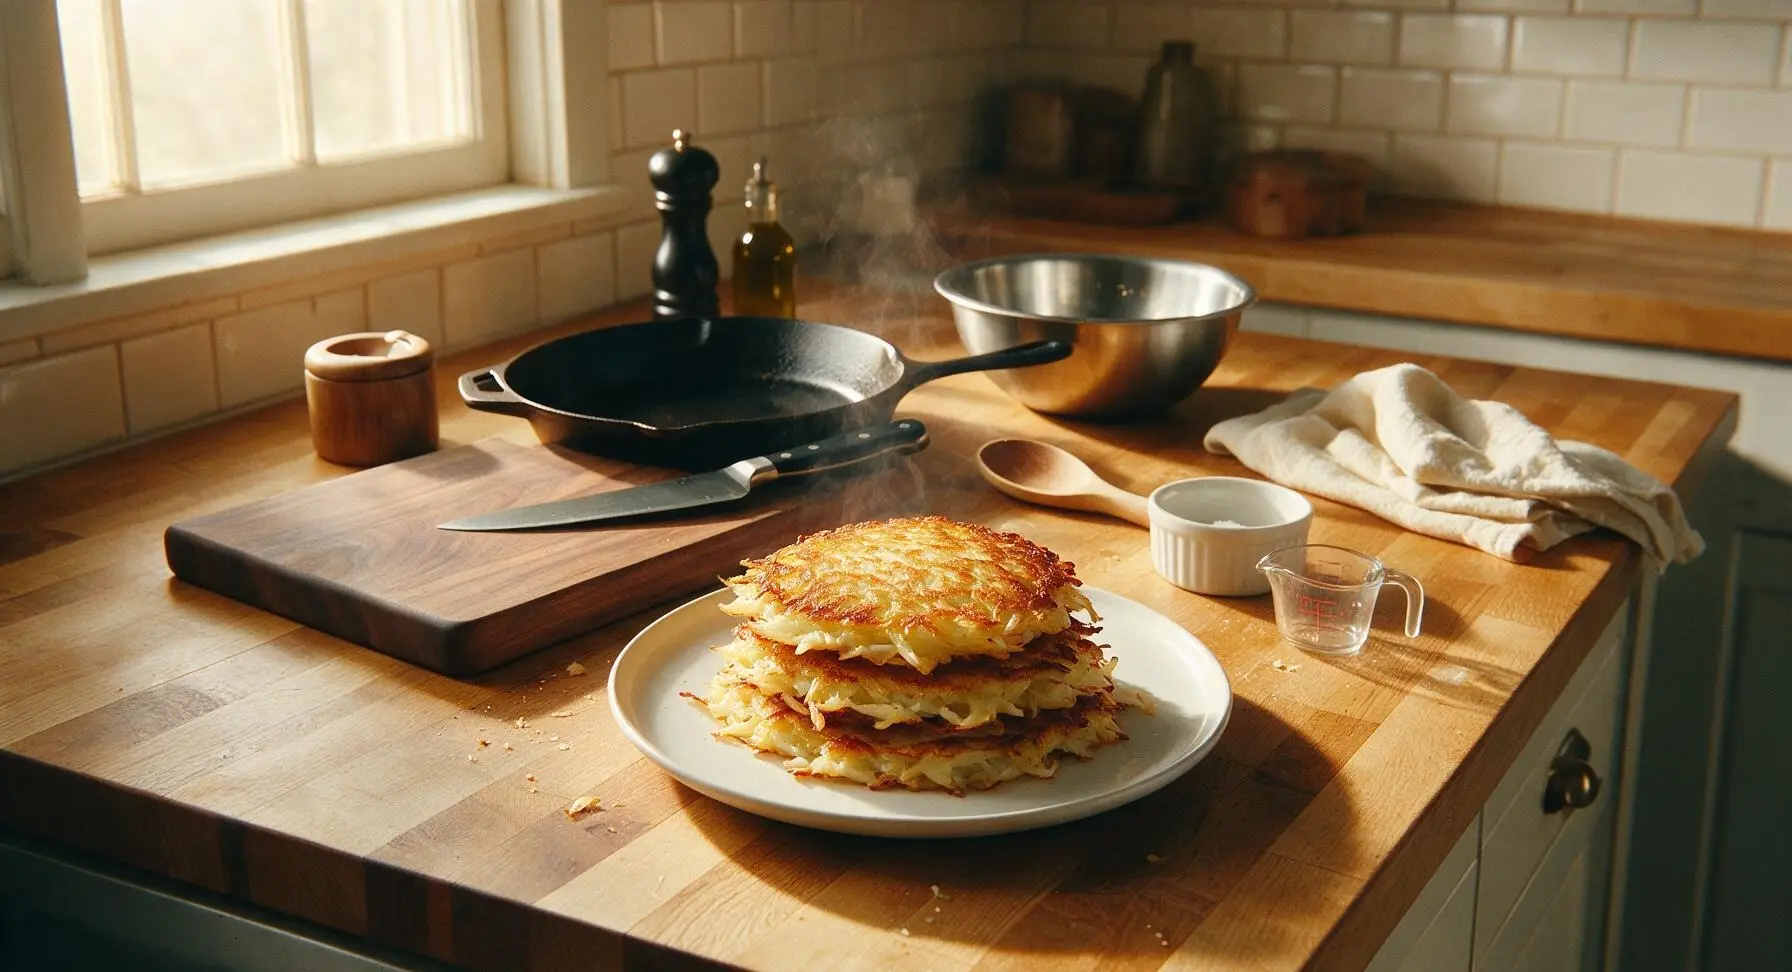
Crispy, golden-edged hash brown pancakes with fluffy tender potato centers—quick, cozy, and perfect for pairing with eggs, sour cream, or applesauce for a fast, satisfying meal.
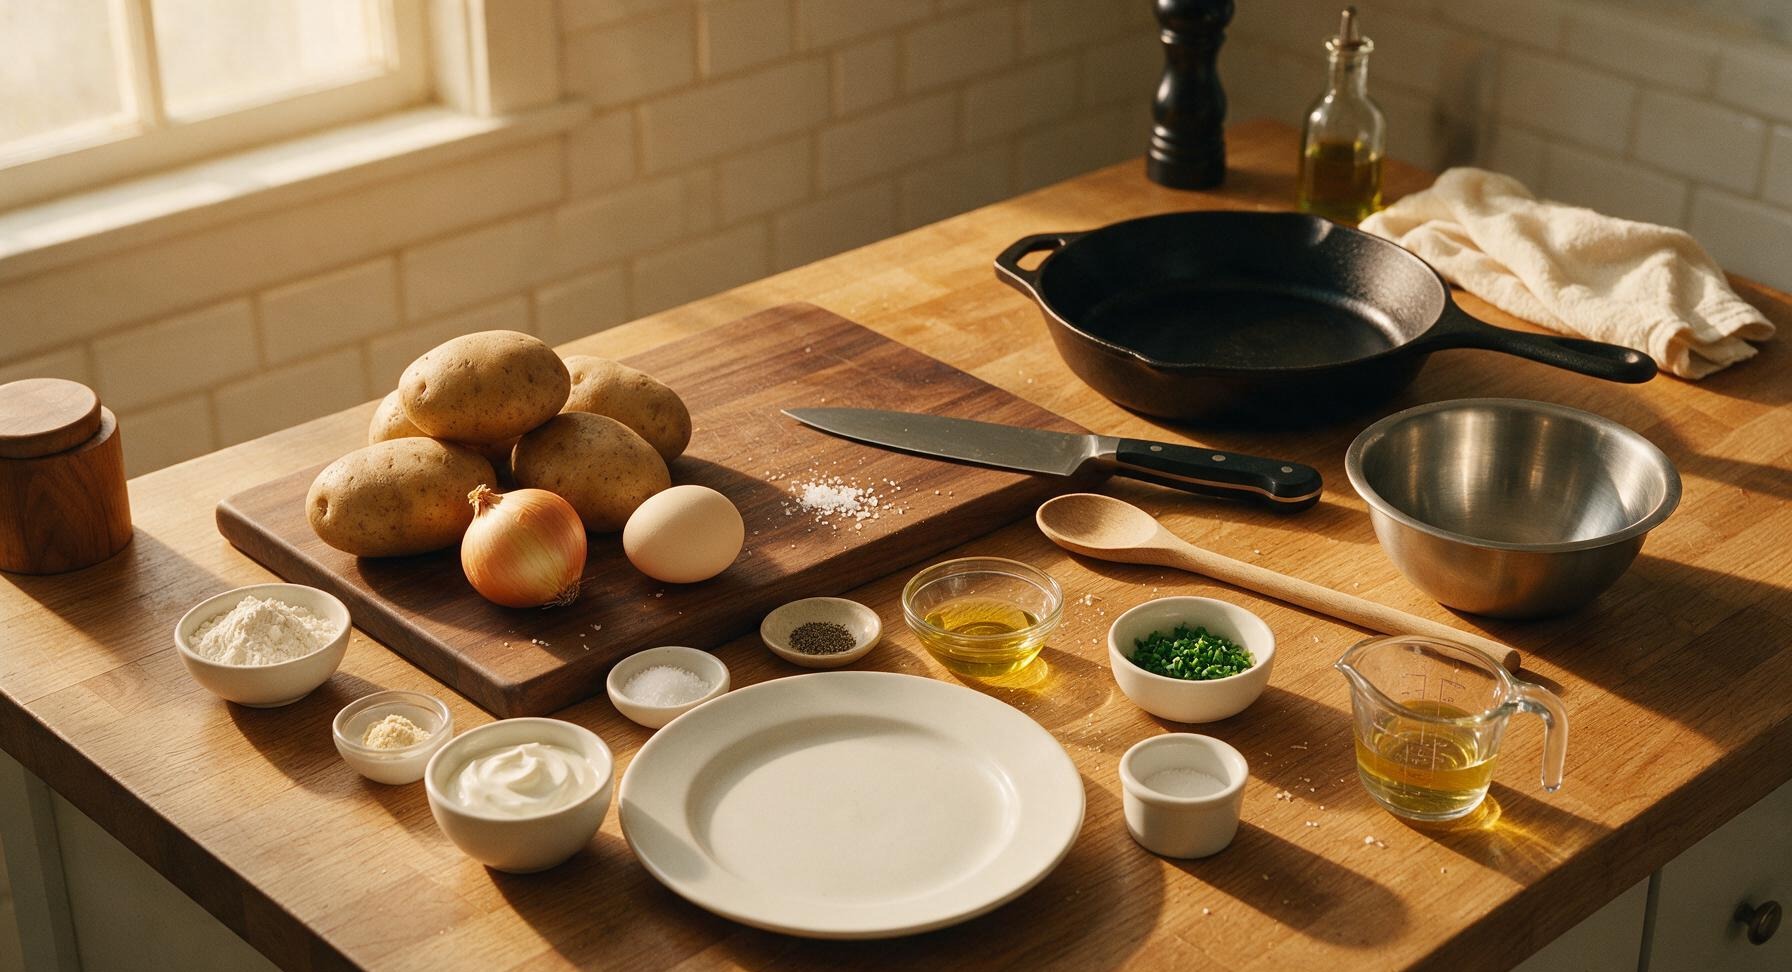
Ingredients
Steps
Shred Potatoes and Onion
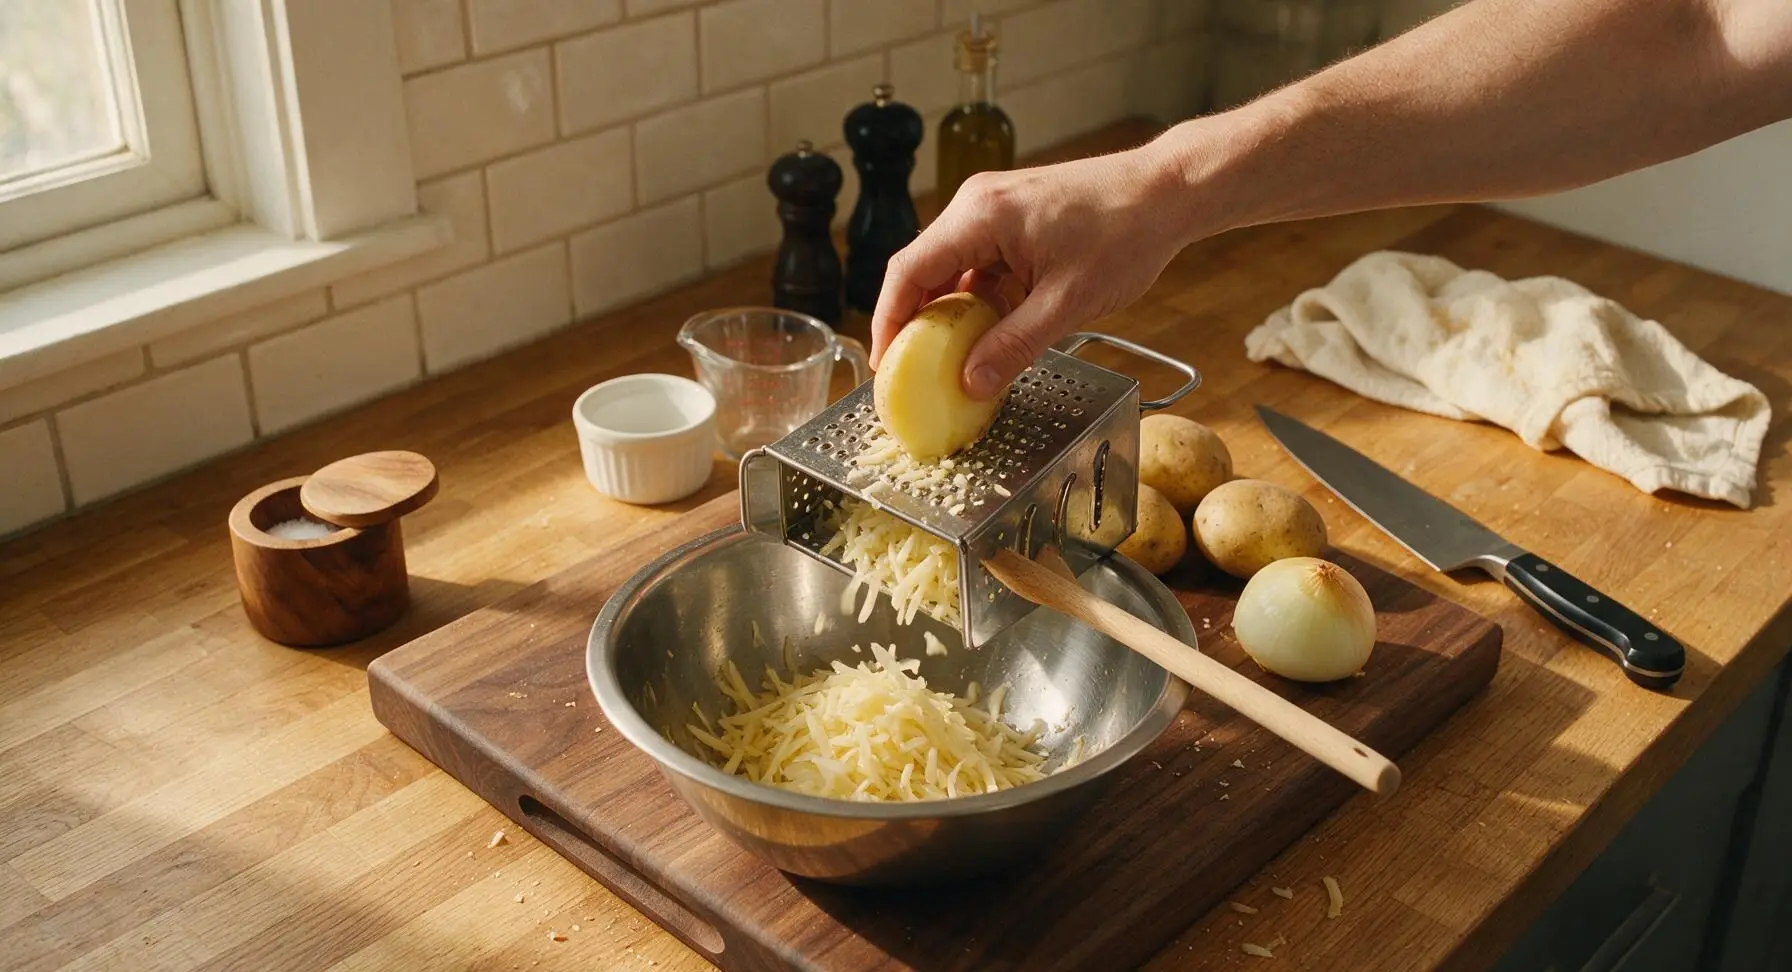
Scrub russet potatoes clean (peel optional for extra rustic texture) and peel the small yellow onion. Set the 4-sided stainless steel box grater on the bamboo cutting board over the medium stainless steel mixing bowl. Shred potatoes and onion using the coarse grating side, until all produce is reduced to uniform 1/8-inch thick shreds with no large unshredded chunks remaining.
Squeeze Out Moisture
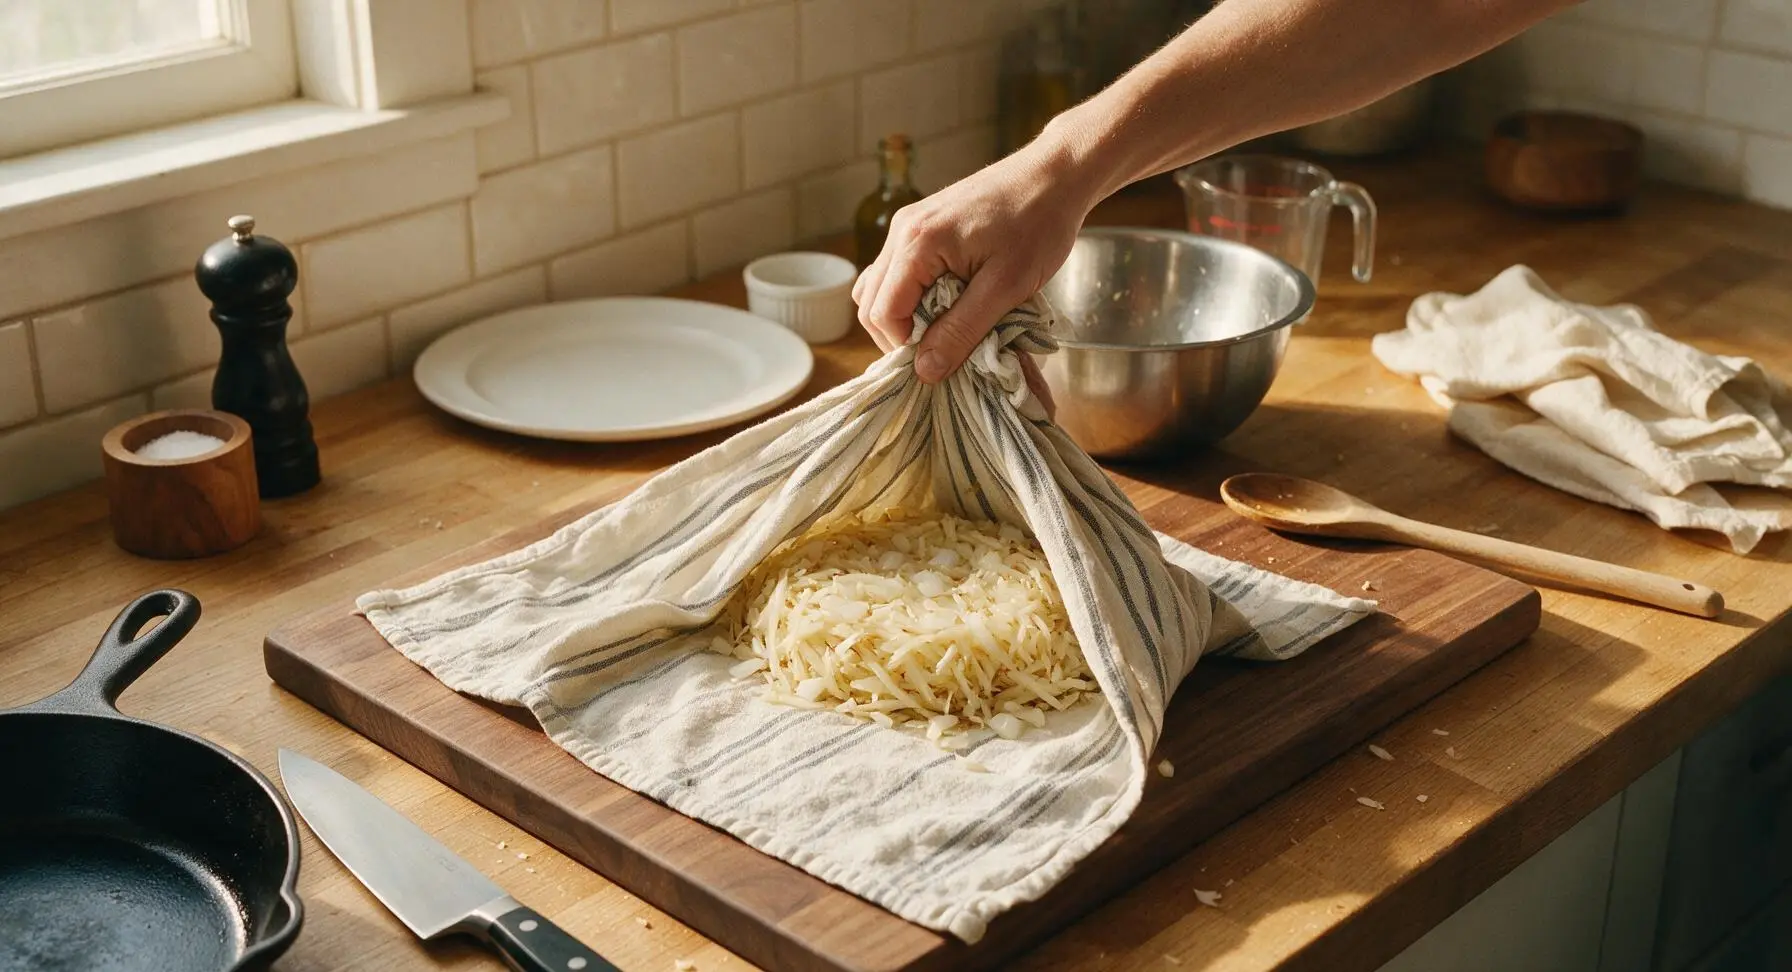
Transfer the shredded potato and onion mixture to the center of the striped cotton kitchen towel laid flat on the cutting board. Gather the towel edges tightly to form a sealed pouch around the shreds. Hold the pouch over the kitchen sink and squeeze firmly for 2–3 minutes, until no more cloudy starchy liquid drips from the towel, and the shreds feel dry and crumbly to the touch. Thorough drying is the most critical step to avoid soggy pancakes.
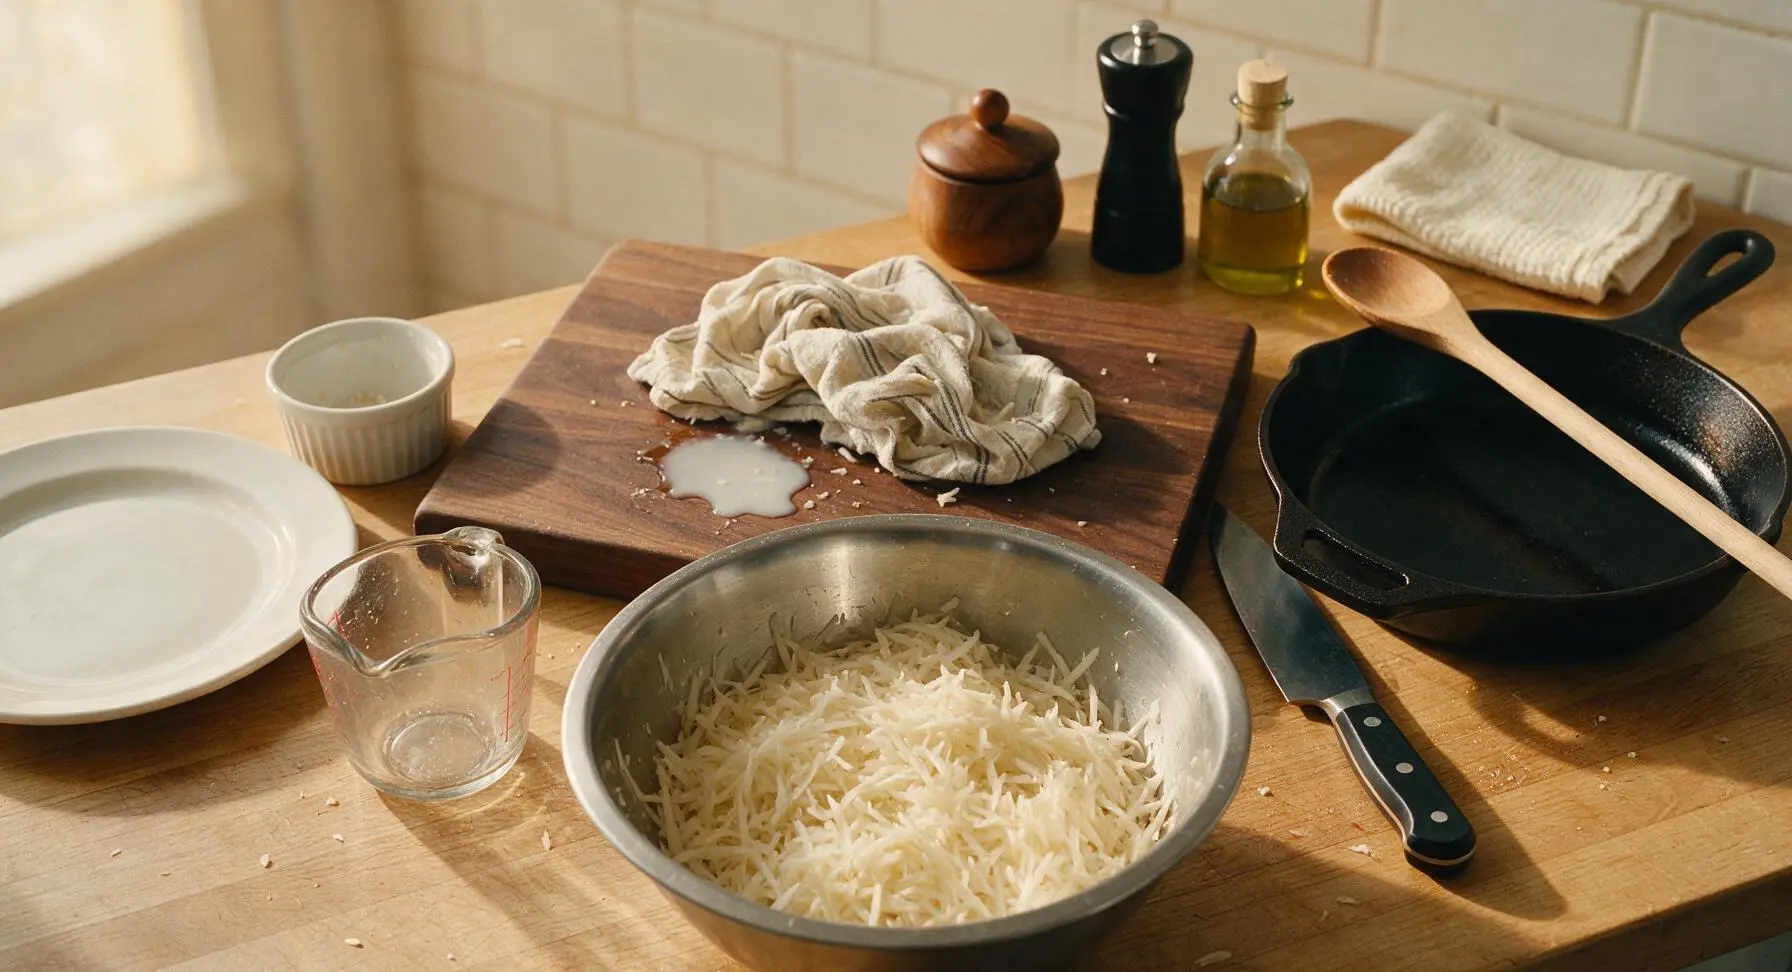
Mix Hash Brown Batter
Crack the large egg into the small stainless steel prep bowl and whisk lightly with a fork until yolk and white are fully combined. Add the beaten egg, 2 tablespoons all-purpose flour, 1 teaspoon kosher salt, 1/2 teaspoon freshly ground black pepper, and 1/4 teaspoon garlic powder to the bowl with dry potato shreds. Stir thoroughly until all shreds are evenly coated, with no dry flour pockets remaining. The mixture should hold its shape when squeezed gently into a ball.
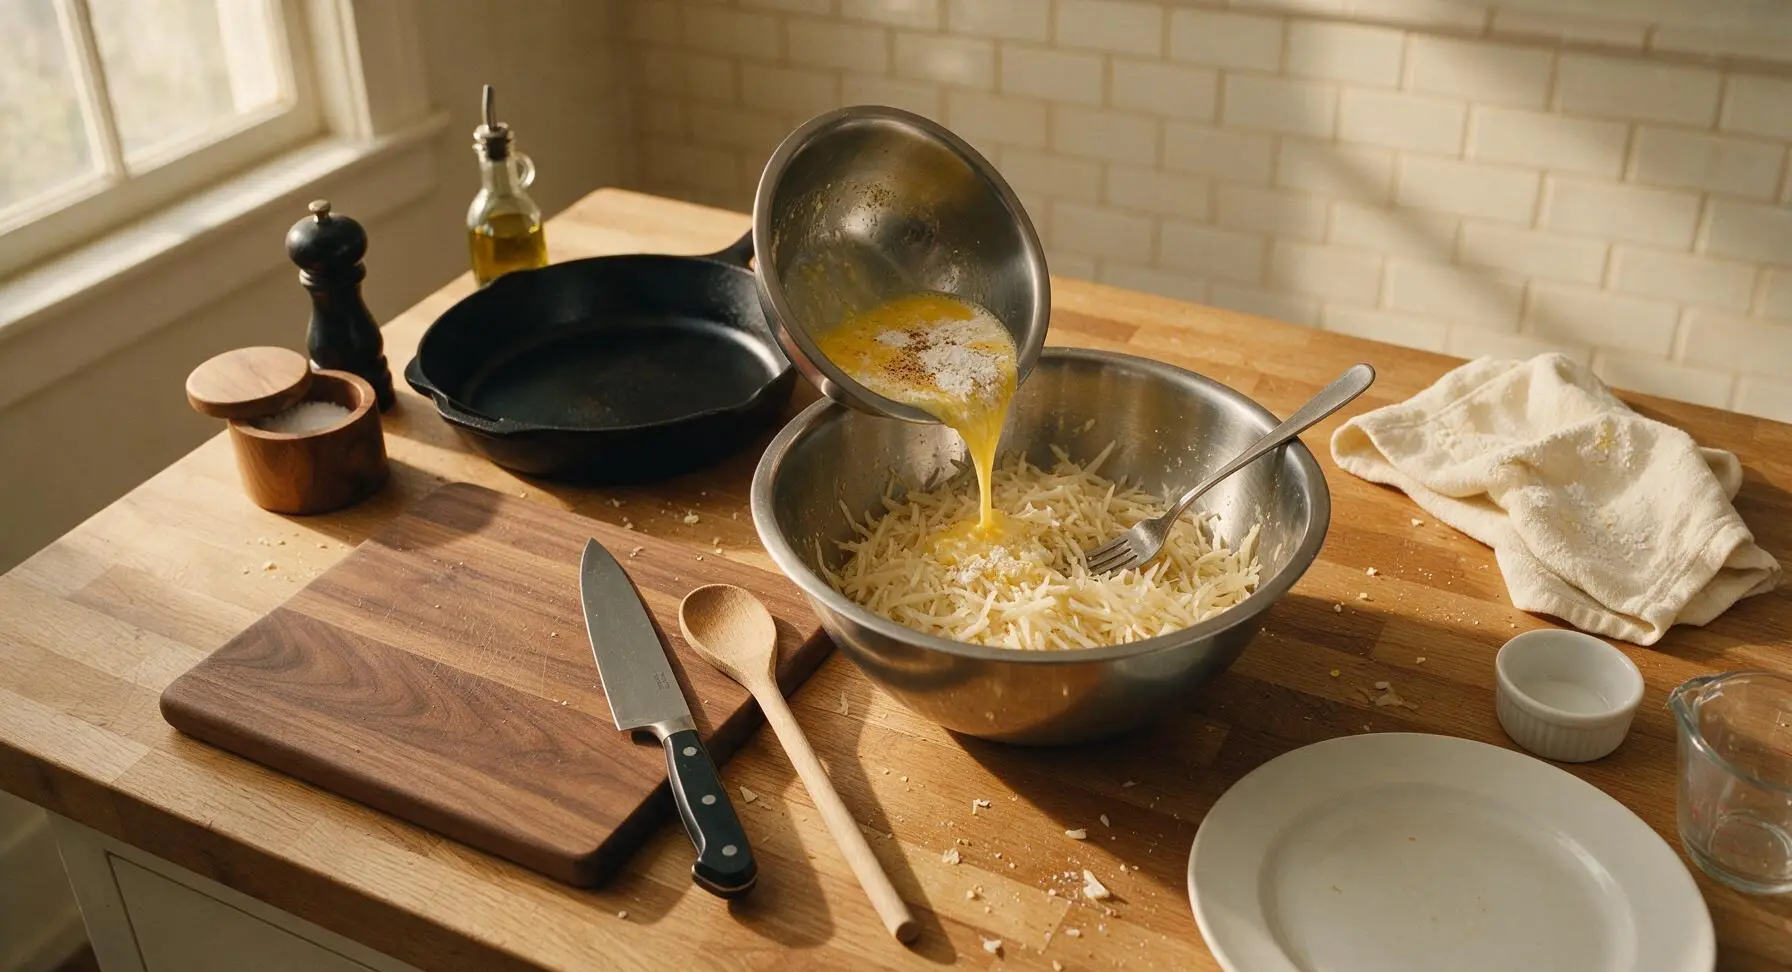
Preheat Cooking Skillet
Place the 10-inch matte charcoal non-stick skillet on the stovetop over medium heat (350°F / 175°C). Add 1.5 tablespoons of neutral oil, and heat for 2 minutes until the oil shimmers and flows easily across the pan, but does not smoke. Test pan temperature by dropping one single potato shred into the oil: it should sizzle immediately on contact when the pan is ready.
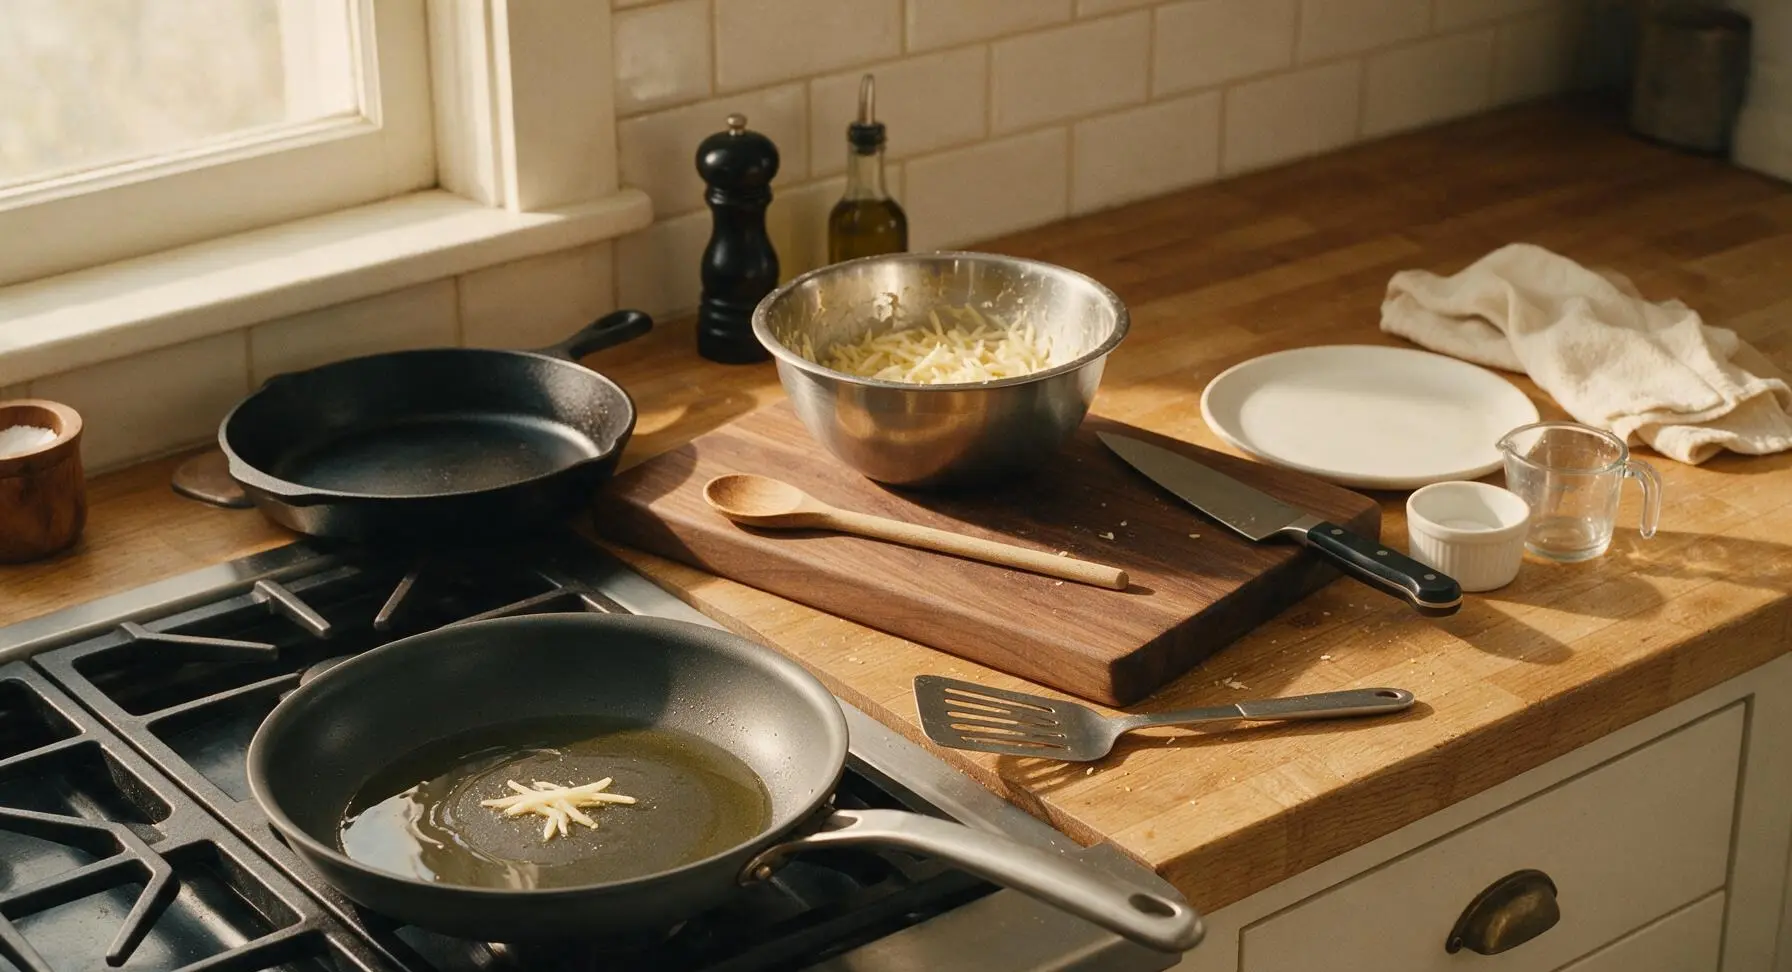
Cook Pancake Batches
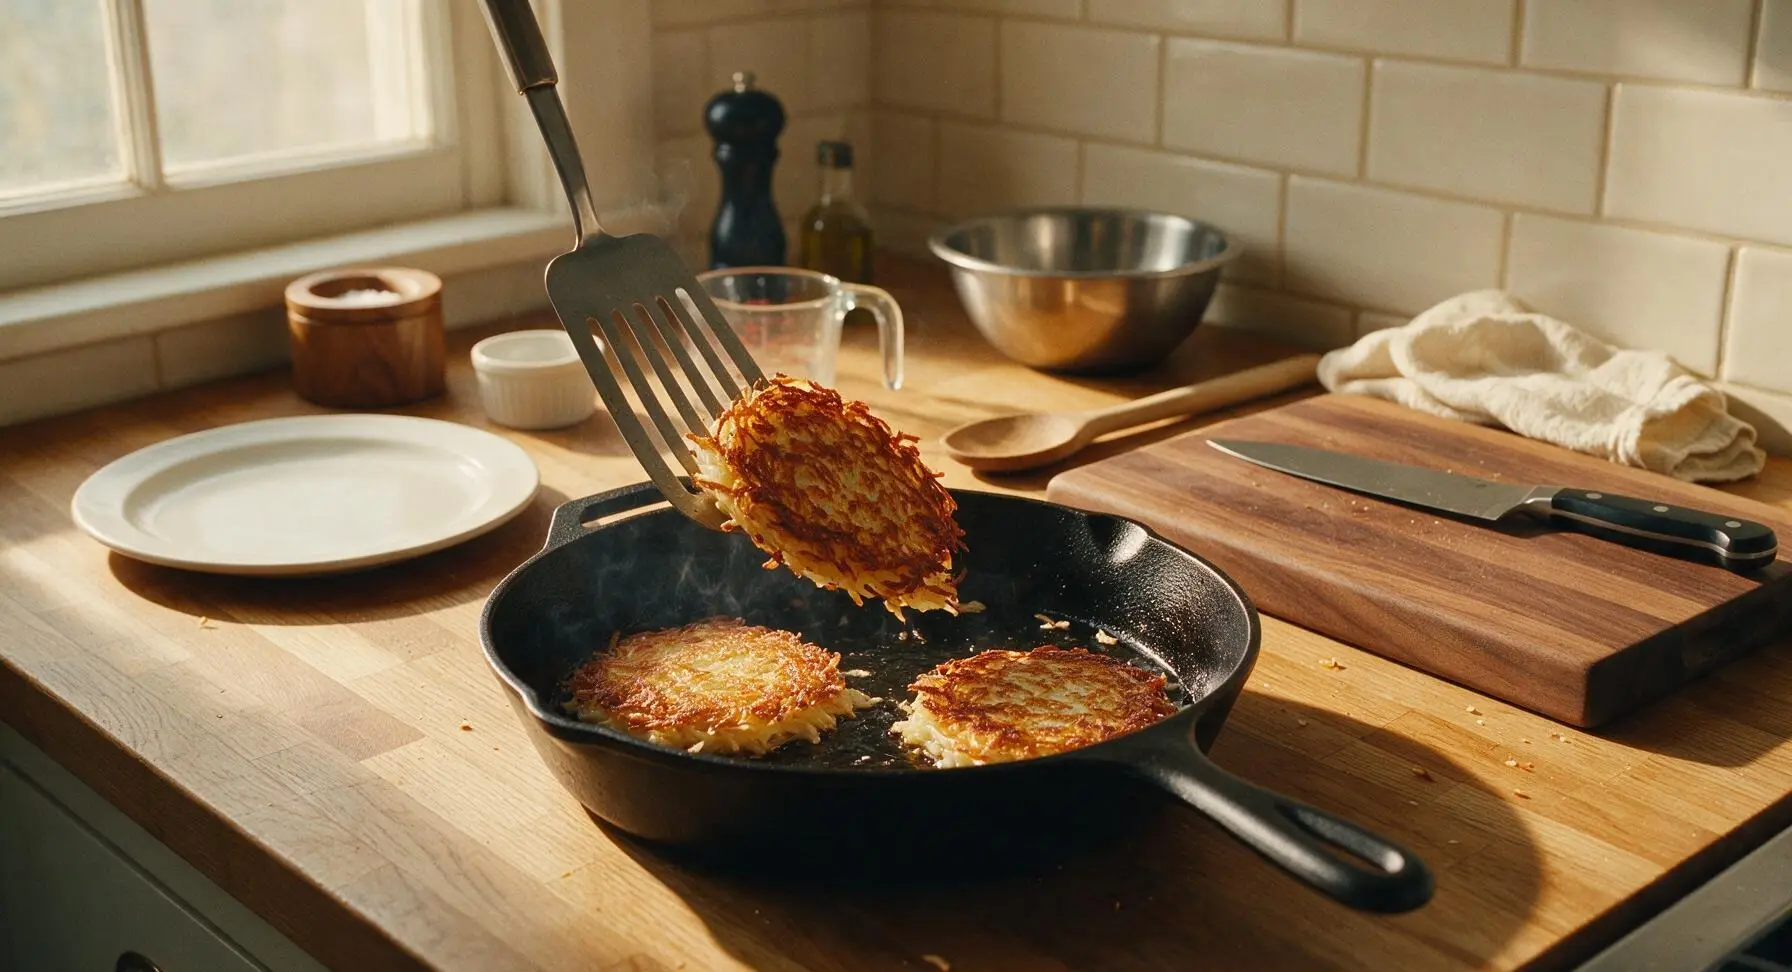
Scoop 1/4-cup mounds of the potato mixture into the preheated skillet, pressing each mound gently with the back of the slotted spatula to form a 1/2-inch thick, 3-inch wide pancake. Cook 3 pancakes per batch to avoid overcrowding the pan. Cook the first side for 4–5 minutes, until the bottom is deep golden brown and crispy around the edges, then flip carefully. Cook the second side for 3–4 minutes, until equally golden and crispy, with no raw crunchy potato in the center. Add the remaining 1.5 tablespoons of oil between batches as needed.
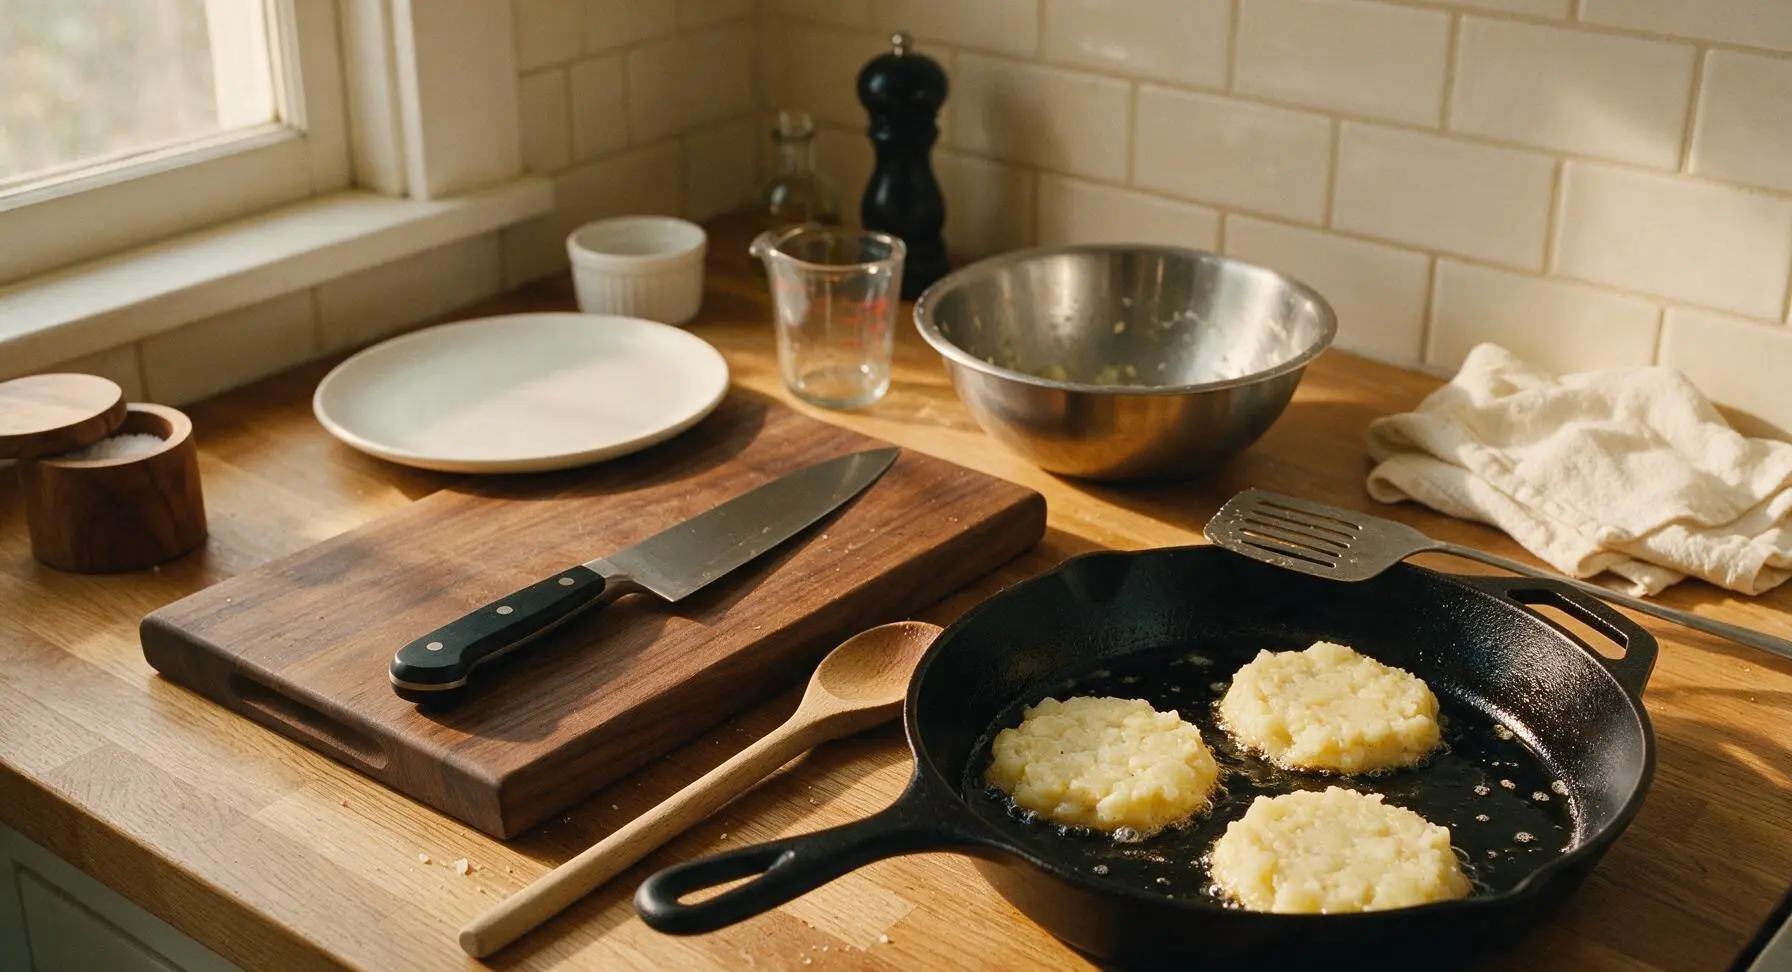
Drain Excess Oil
Transfer cooked pancakes from the skillet to a double layer of white paper towels on the counter next to the stove, and let drain for 30 seconds per side to remove excess surface oil. Lightly season the top of the hot pancakes with a tiny pinch of extra kosher salt while they rest. Do not stack hot pancakes directly on top of each other, as trapped steam will soften crispy edges.
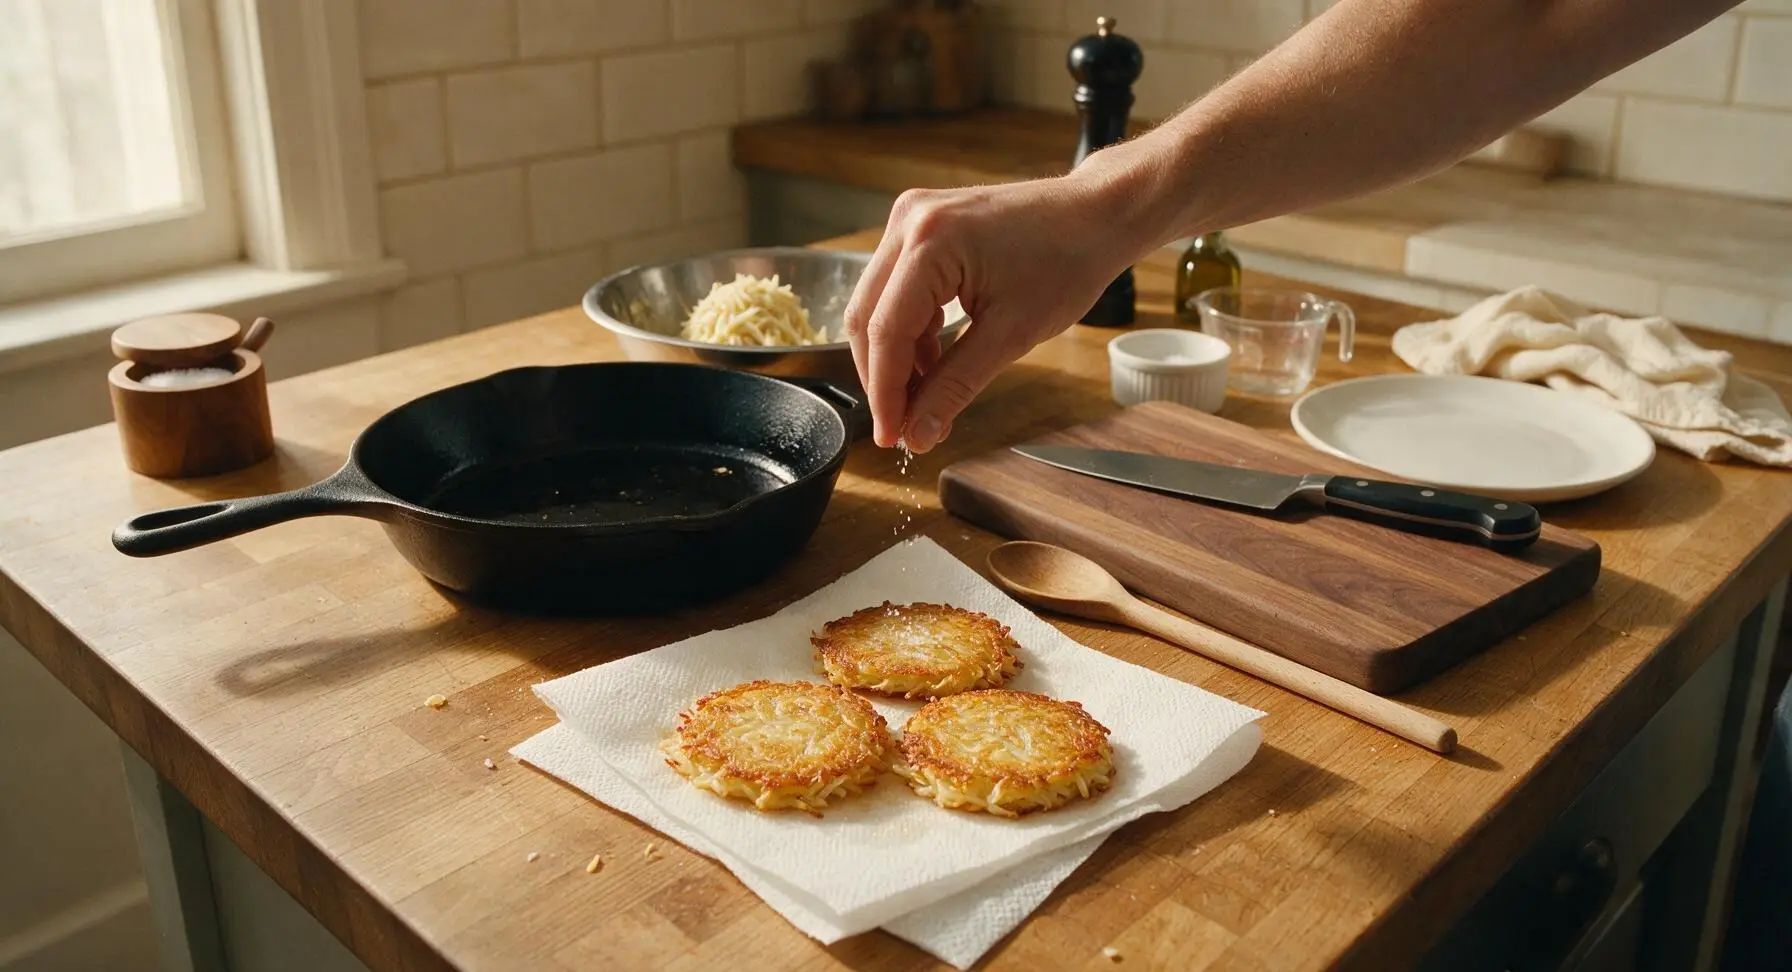
Plate and Garnish
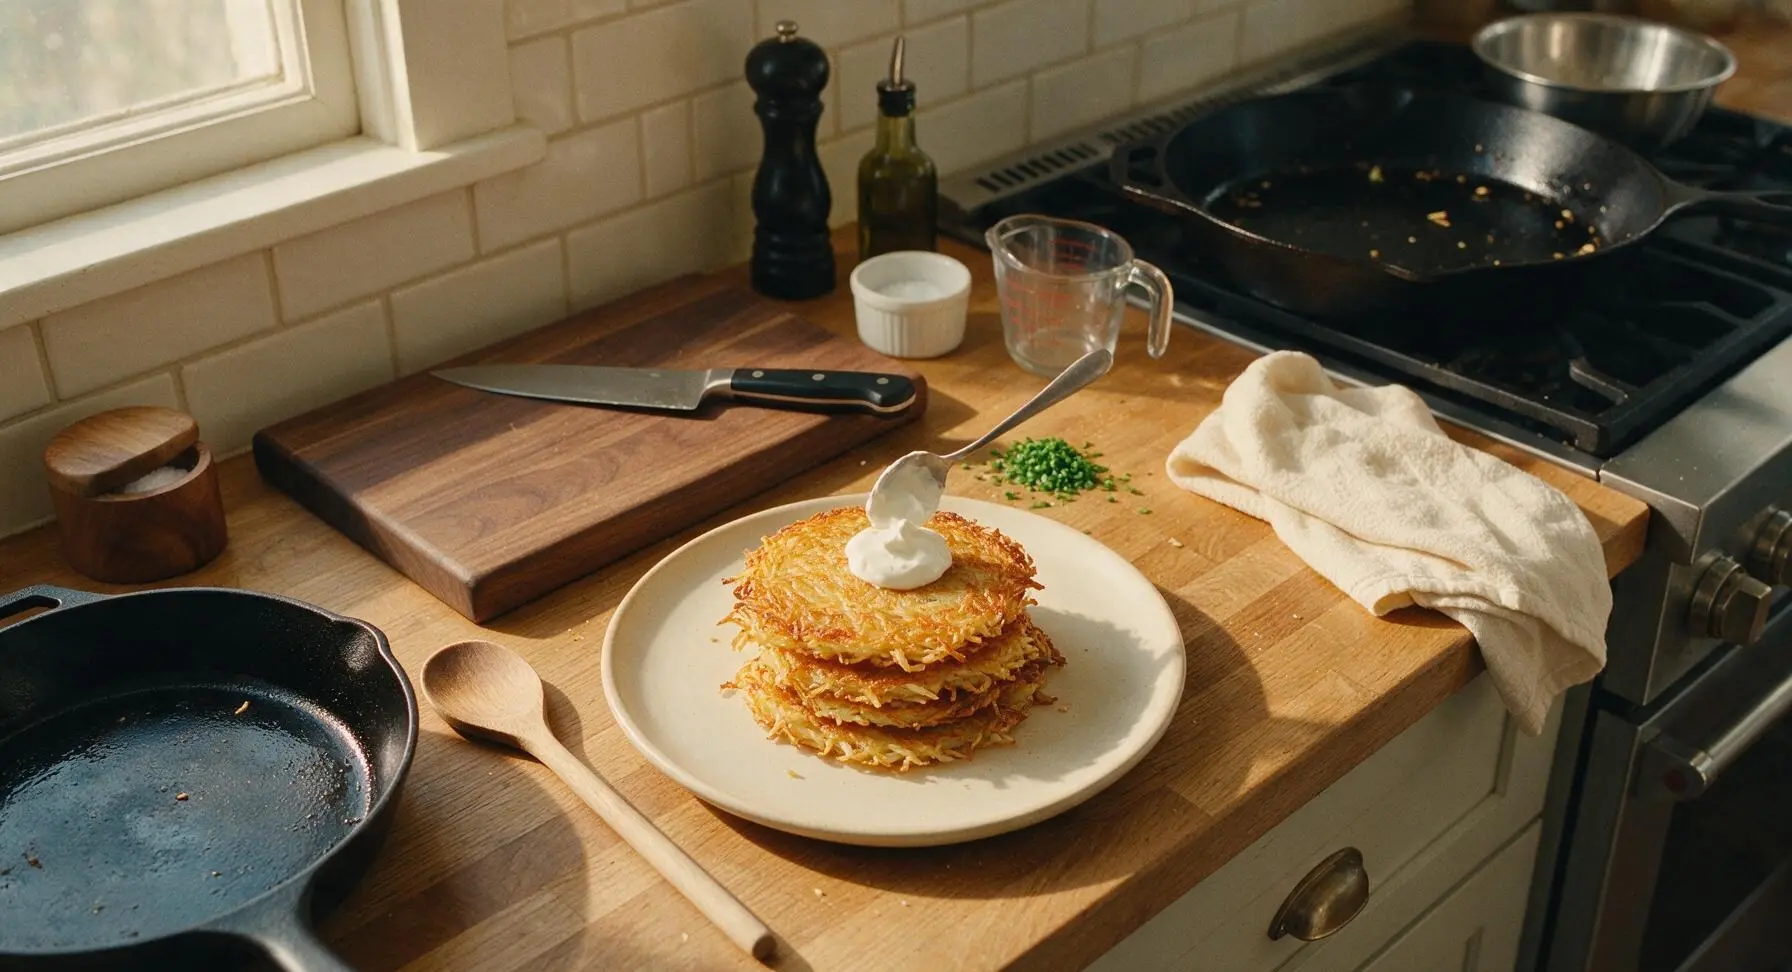
Arrange drained, crispy hash brown pancakes on the matte cream ceramic dinner plate, stacking them slightly offset to allow air flow and preserve crispness. Add a 2-tablespoon dollop of sour cream to the center of the top pancake, and sprinkle freshly chopped chives over the sour cream and plate edge. Serve immediately while hot, with extra sour cream in the small white ramekin on the side.
Tips
2.Skip waxy potato varieties like red potatoes or Yukon Golds for this recipe. Starchy russet potatoes have a lower moisture content and higher starch level that helps the pancakes hold together with minimal flour, creating a fluffy interior and extra-crispy crust when fried.
3.Resist the urge to press down on the pancakes with your spatula while they cook. Pressing squeezes out moisture and forces the pancakes to absorb extra oil, leading to greasy, dense results instead of light, crispy cakes. Only press gently when first placing the mounds in the pan to form an even shape.






OMG these hash brown pancakes are a total game changer for our busy weekday breakfasts! I shredded my potatoes the night before for meal prep, squeezed out all the excess water like I do for regular hash browns, and these cooked up perfectly crispy in 15 minutes flat. My kids gobbled them up before I even got a second one on my plate, 10/10 will make every week now.
Brought these to our neighborhood block party potluck last weekend and people were asking me for the recipe before I even finished setting up my plate! I topped them with a little dollop of sour cream and chives, they were so easy to make in big batches and held up way better than regular breakfast potatoes. SO good, will absolutely be making these for every get together from now on.
Super excited to try these! Quick question—do I need to peel the potatoes first, or can I leave the skins on for extra texture? I feel like potato skins add so much flavor but I don’t want to mess up the texture since this is my first time making any kind of hash brown from scratch.
Finally a quick savory breakfast that fits my gluten free diet without needing any weird specialty flours! I made these this morning with a side of scrambled eggs and avocado, and even my gluten-eating roommate said they were better than the hash browns we get at our local diner. Total win.
These were so easy to throw together but mine came out a little soggy? I think I rushed squeezing the water out of the potatoes. Any tips for getting them extra crispy? I’d love to add these to my weekly meal prep rotation if I can get the texture right.
Made these for Father’s Day brunch this year and the whole family lost their minds. I added a little crumbled bacon and diced onion to the mix, served them with warm maple syrup (don’t knock the sweet and savory combo till you try it!) and everyone came back for seconds. Easy, fast, and totally customizable—10/10 recipe.
As a college student with barely any cooking skills and a super tiny dorm kitchen, I was shocked how well these turned out! No fancy equipment needed, just a box grater, a pan, and 15 minutes, and I have a cheap, filling meal that’s way better than the dining hall hash browns. Already shared the recipe with all my roommates.