
Hat Cookies

intro
Buttery, crisp cutout cookies shaped like cozy winter hats, decorated with smooth red and white royal icing, perfect for filling holiday cookie tins and sharing at festive winter gatherings.
Ingredients
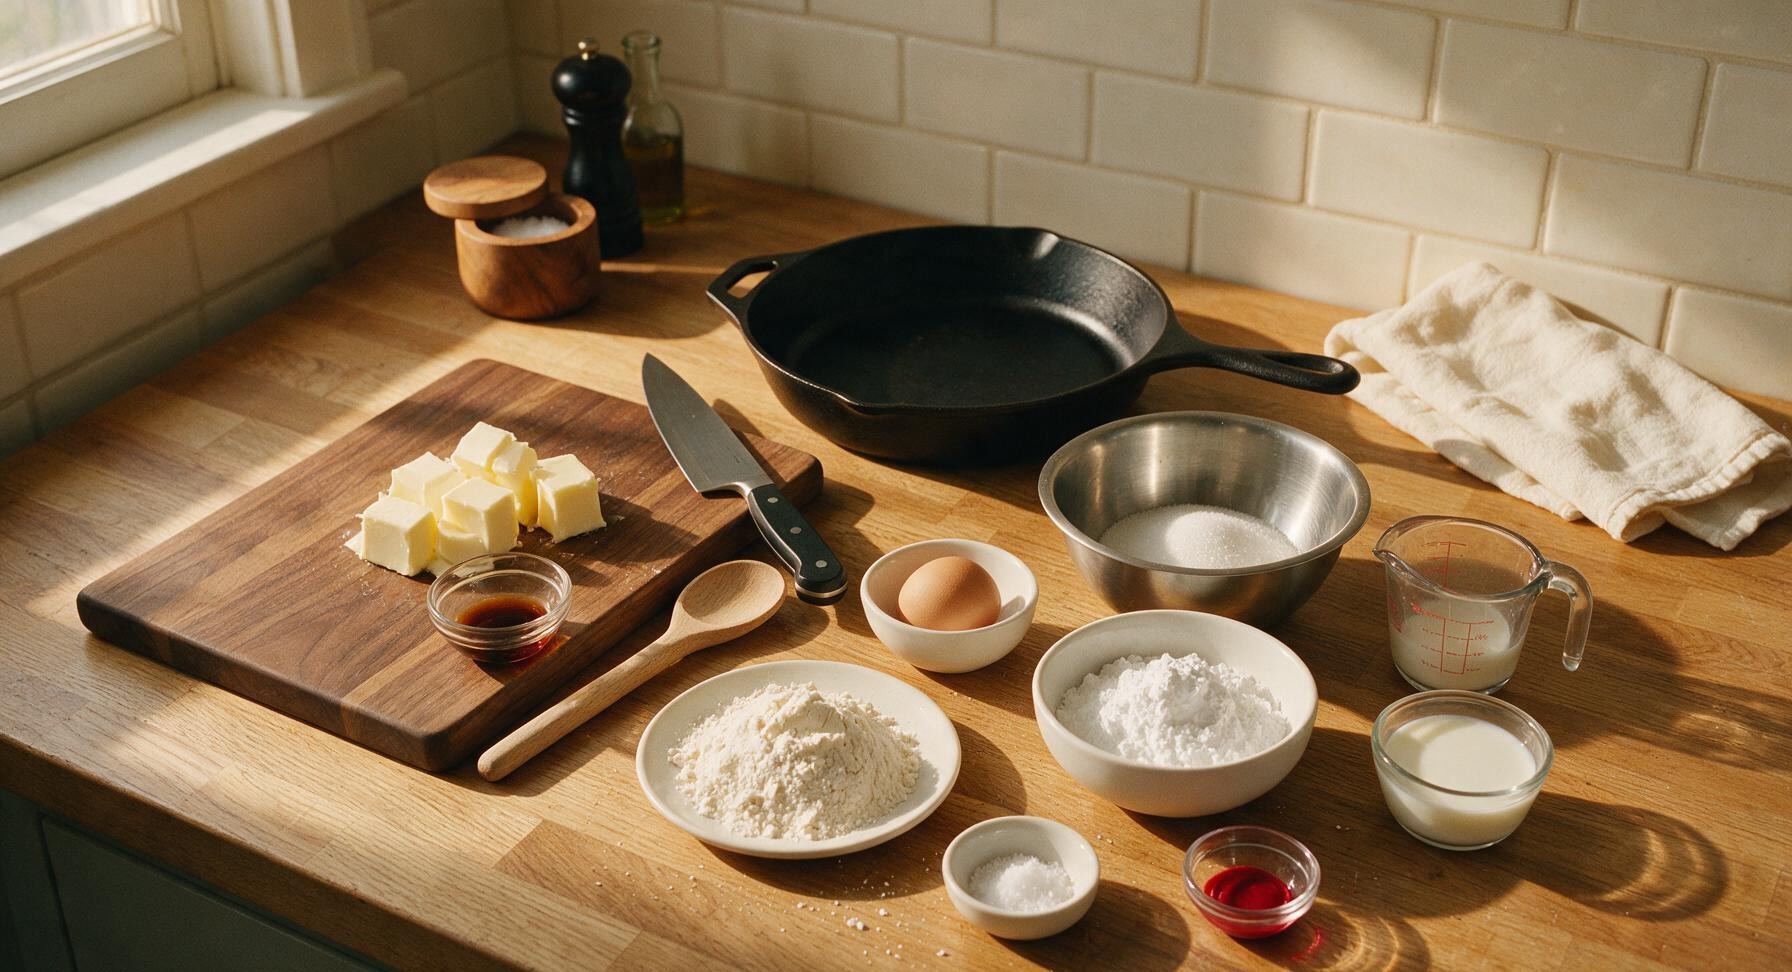
Steps
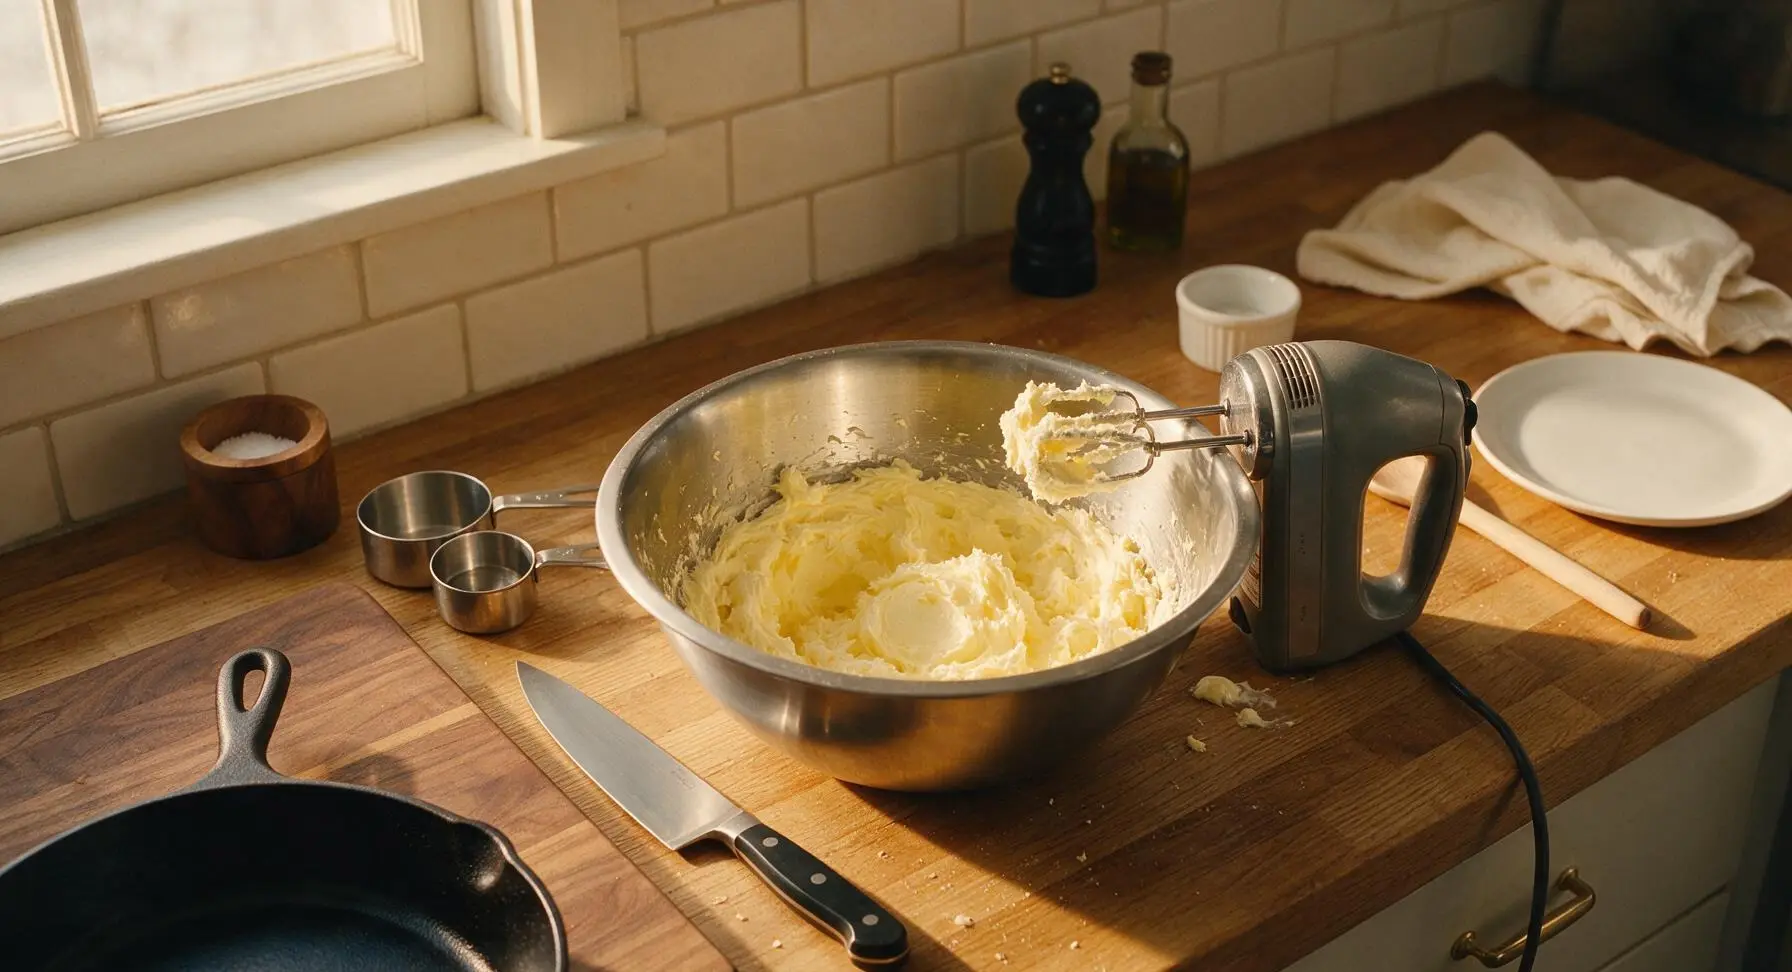
Cream Butter and Sugar
Place the room-temperature unsalted butter and granulated sugar in the large stainless steel mixing bowl. Using the handheld electric mixer set to medium speed, beat the mixture for 3 full minutes until it is pale, fluffy, and light lemon-yellow in color, stopping once to scrape down the bowl sides with the offset spatula. The mixture should leave soft peaks when the beaters are lifted, with no gritty sugar texture remaining.
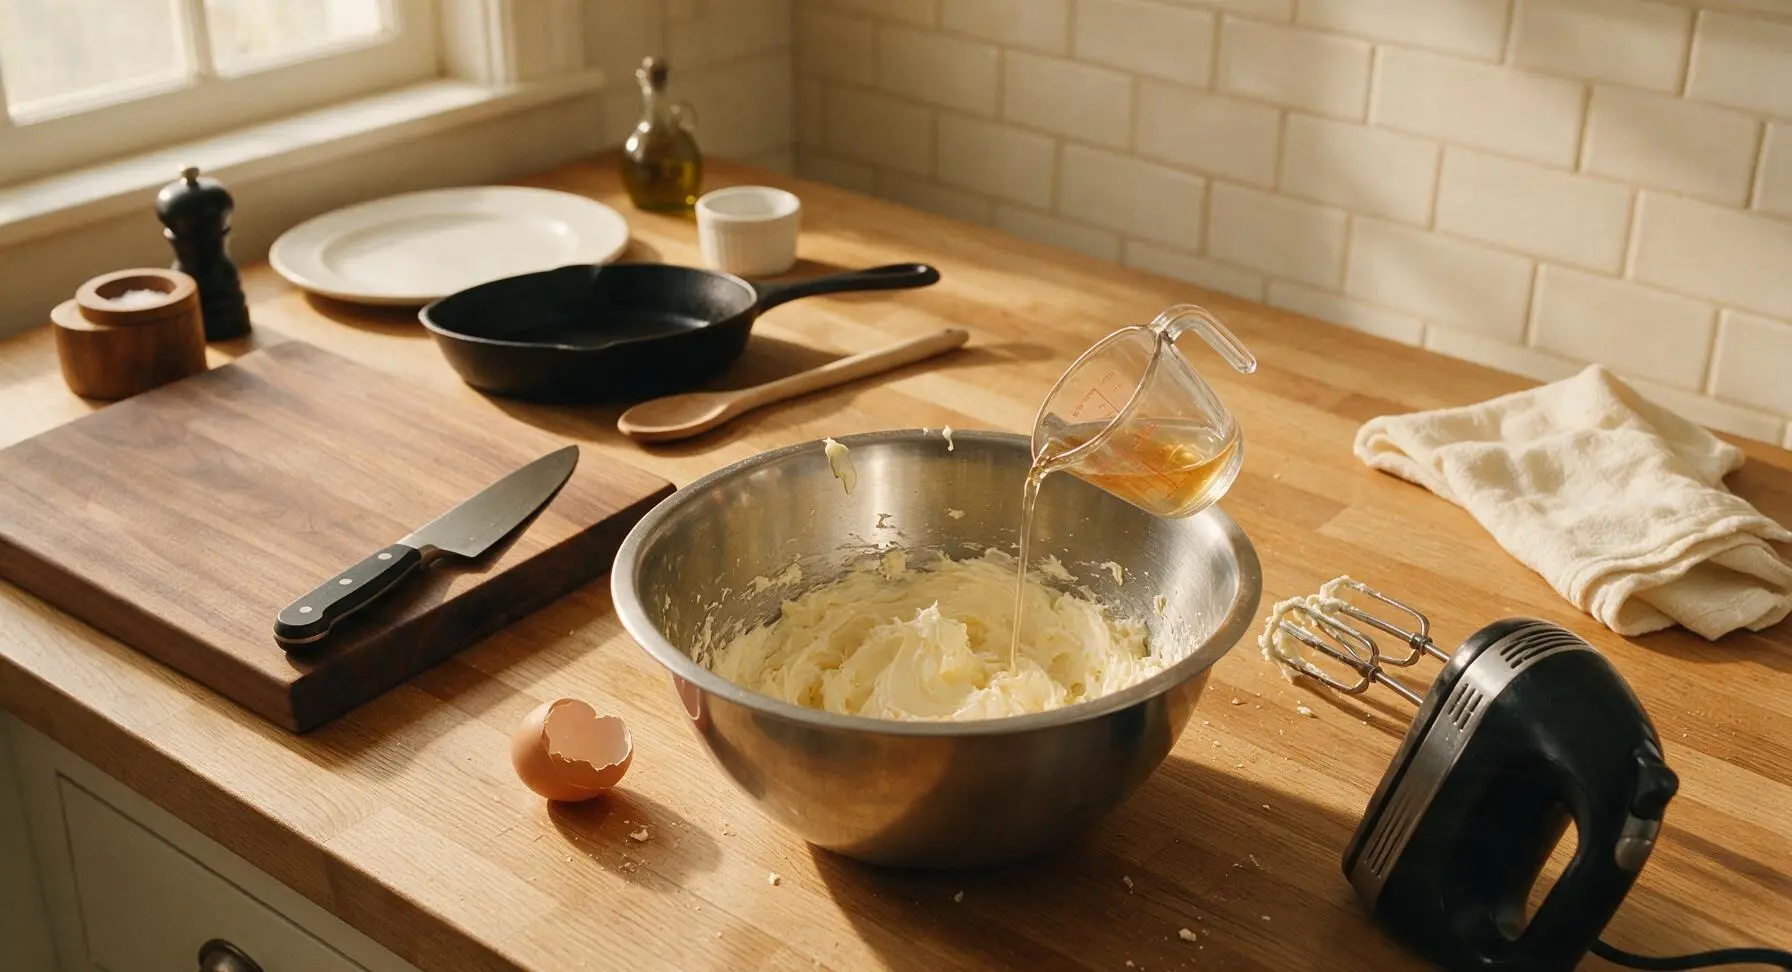
Incorporate Egg and Vanilla
Add the room-temperature large egg and 1 teaspoon pure vanilla extract to the creamed butter mixture. Beat on medium-low speed for 60 seconds until fully combined, scraping down the bowl sides halfway through. Do not overmix, as this can cause cookies to spread while baking; the mixture should be smooth and uniform, with no separated liquid visible.
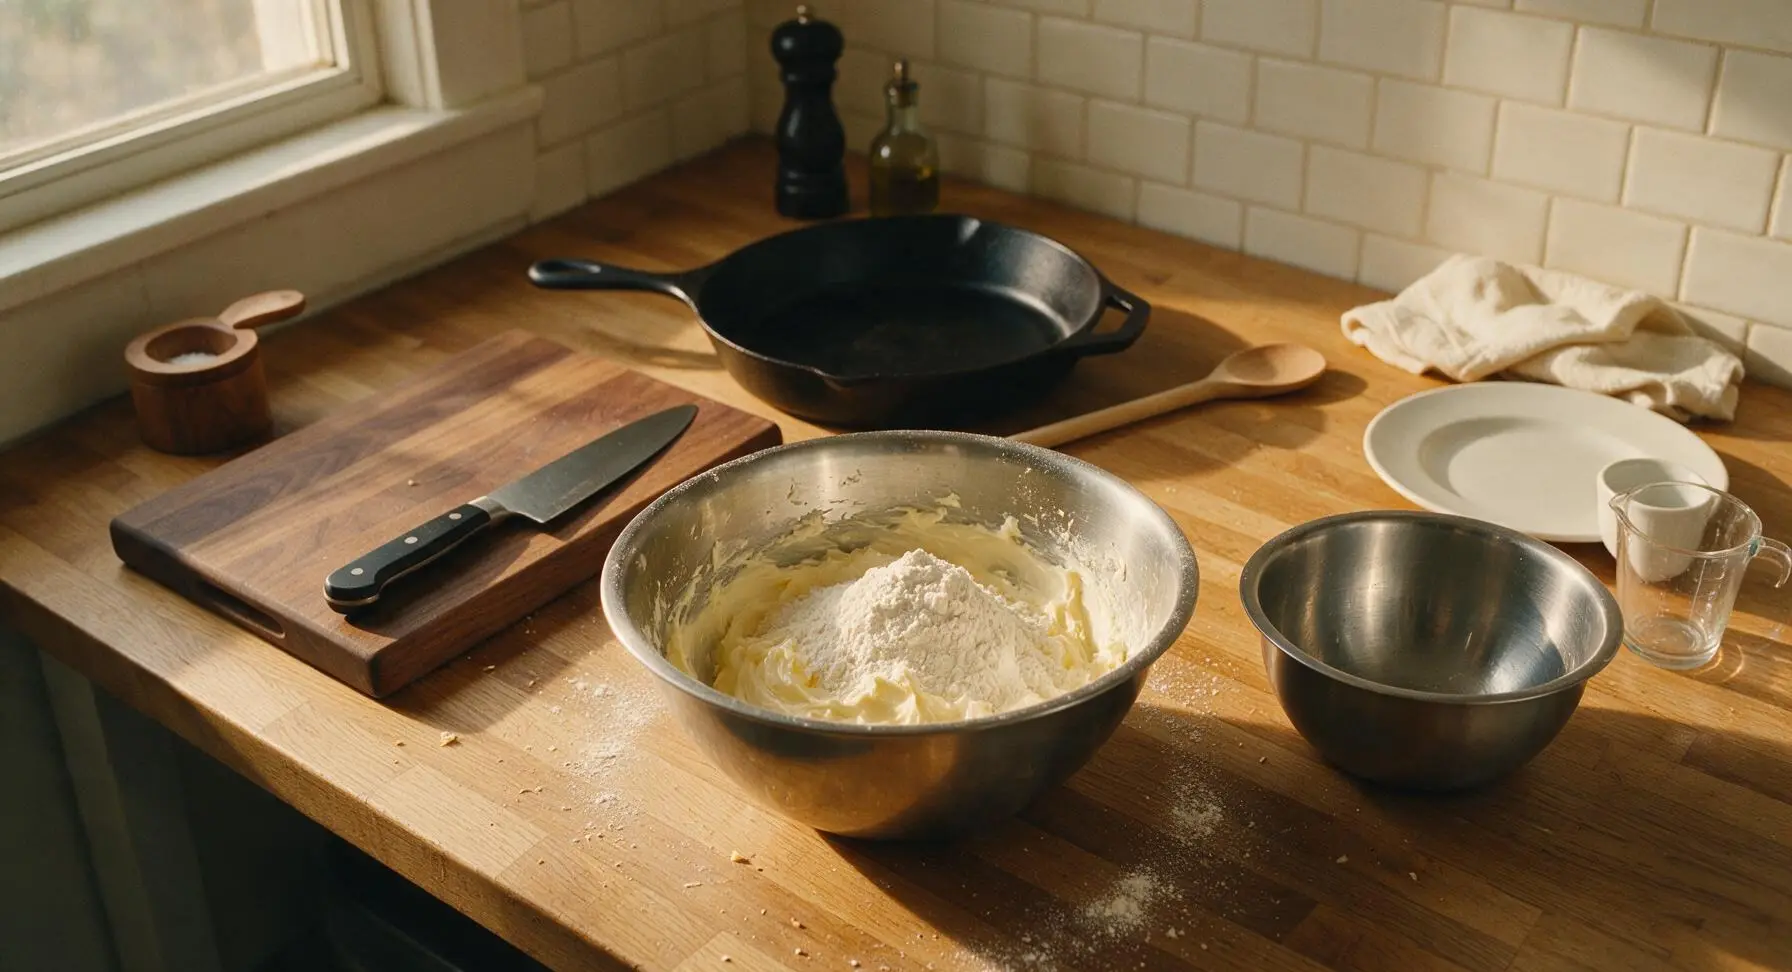
Combine Dry Ingredients
In the small stainless steel mixing bowl, whisk together the all-purpose flour and fine sea salt until evenly distributed. Gradually add the dry flour mixture to the wet butter mixture in 3 separate additions, mixing on the lowest speed only until no dry flour streaks remain. Stop mixing as soon as the dough comes together in a soft, pliable mass; overworking the dough will result in tough cookies.
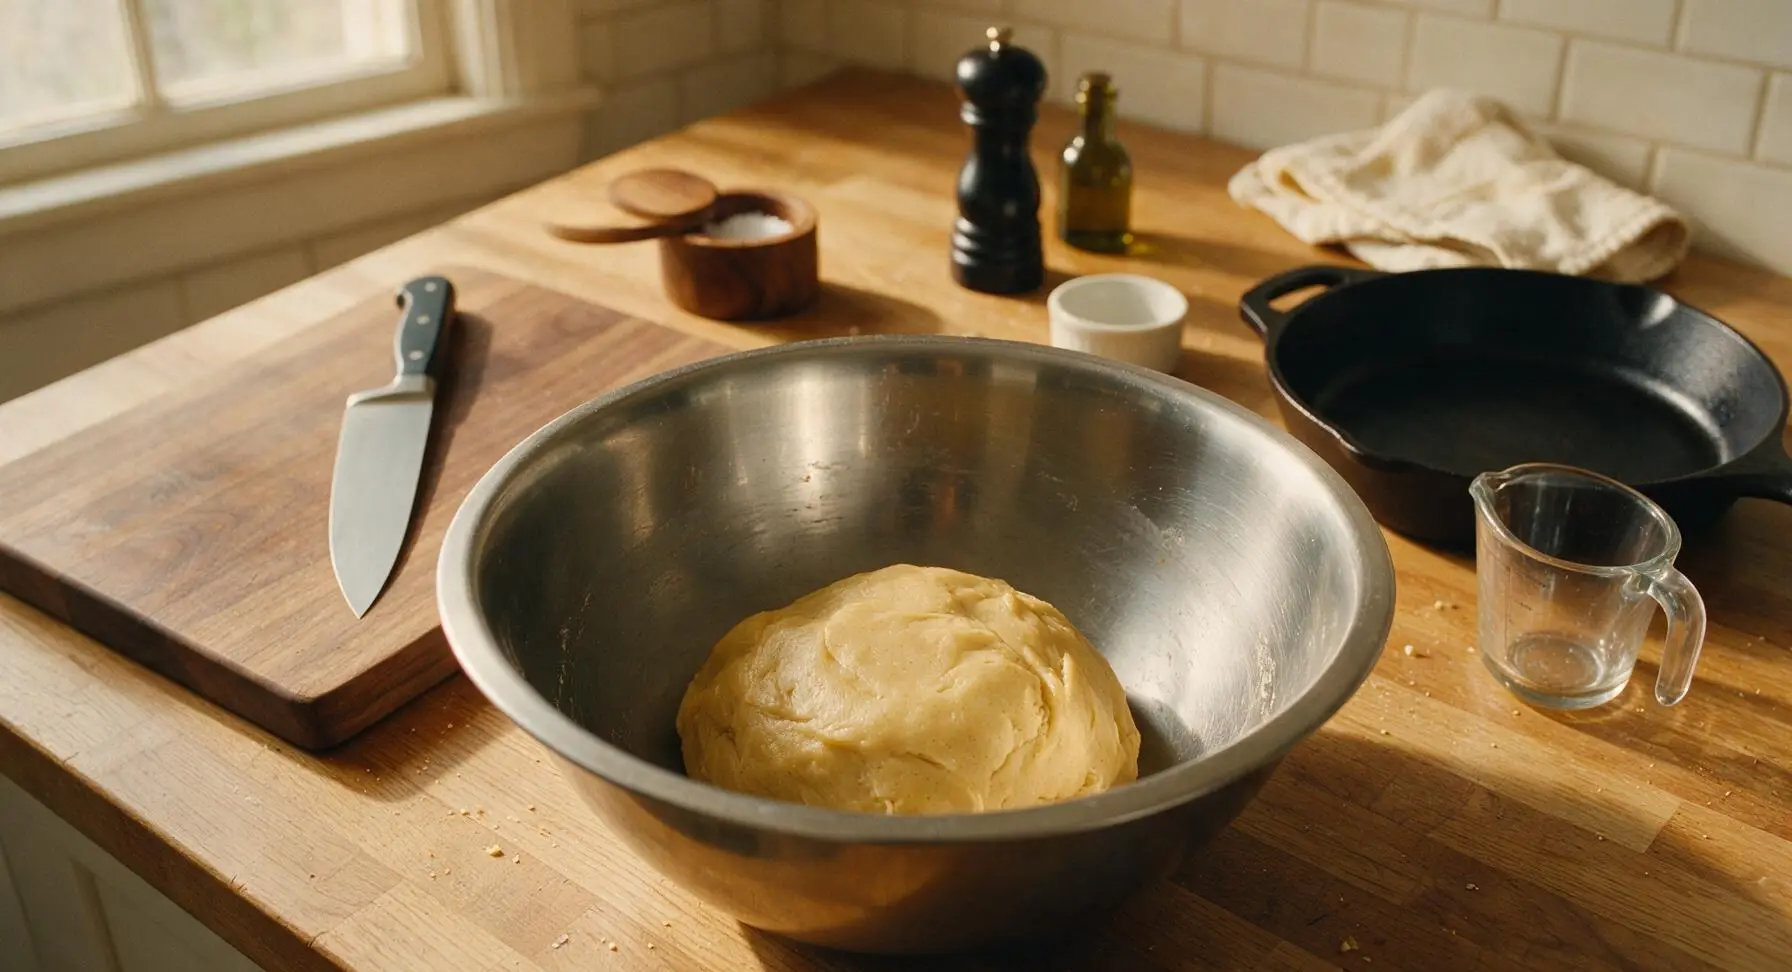
Roll and Chill Dough
Turn the dough out onto a lightly floured section of the counter, and use the beech wood rolling pin to roll it to an even 1/4-inch thickness. Slide the rolled dough slab (resting on a sheet of parchment paper) onto the baking sheet, and chill in the refrigerator for 20 minutes until firm to the touch. Chilling prevents the cookies from spreading and losing their hat shape during baking.
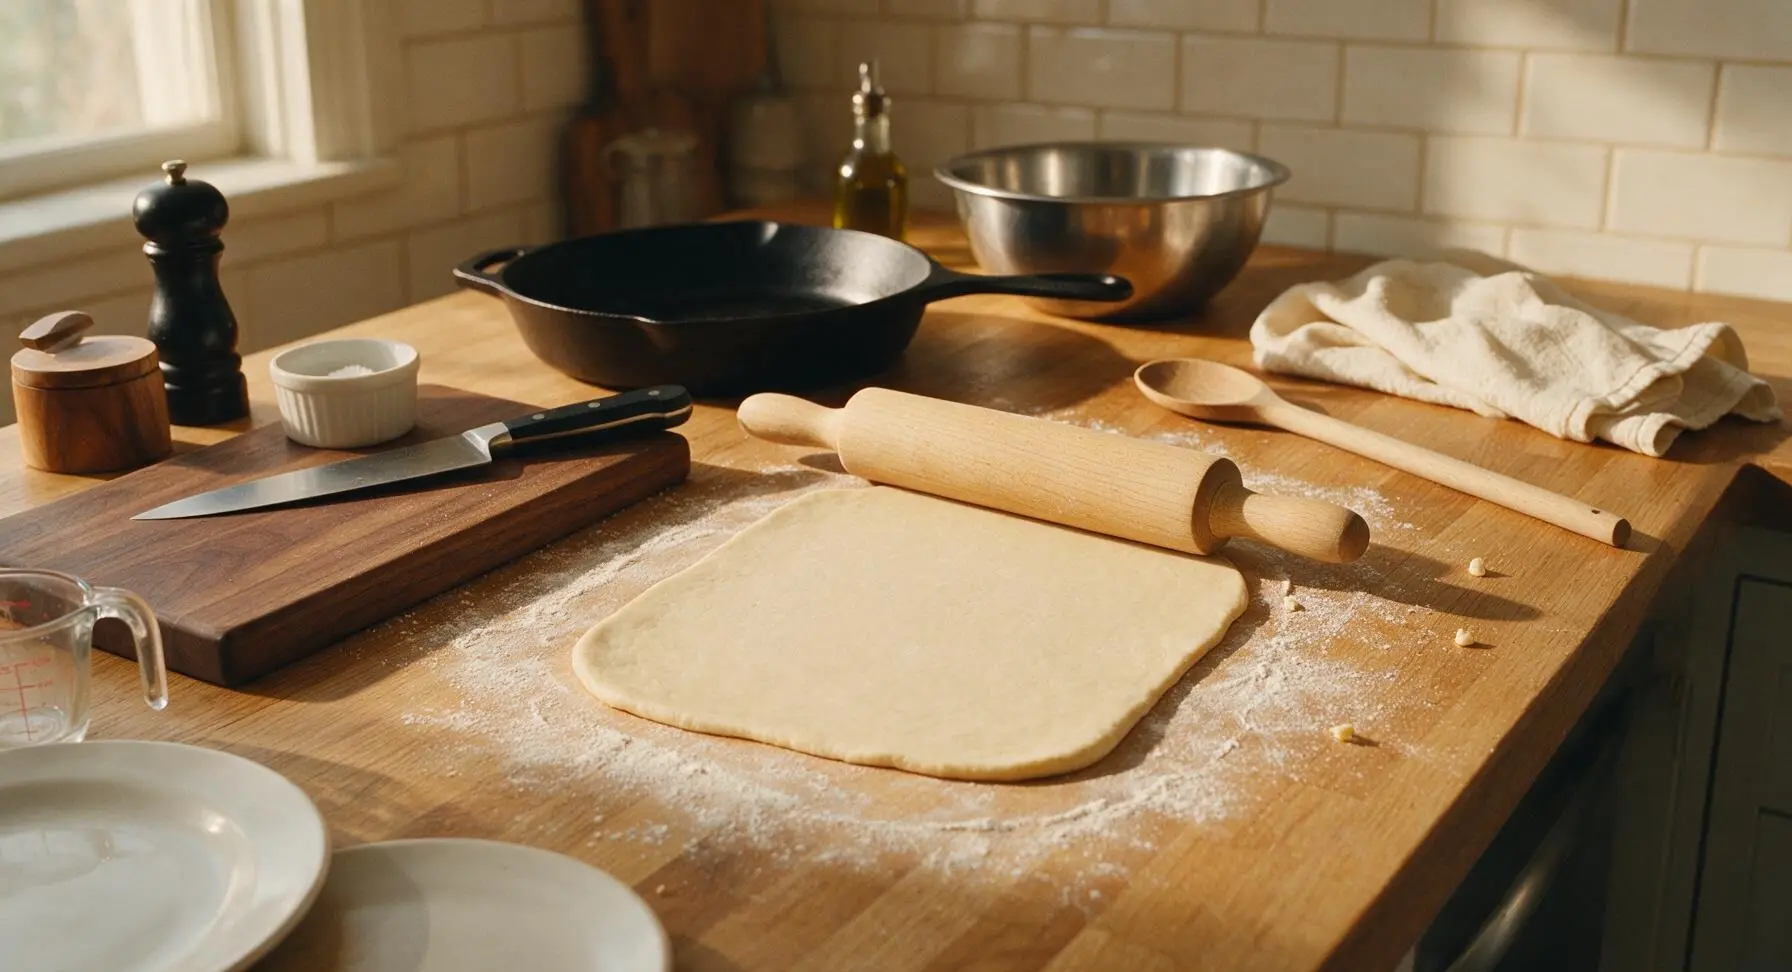
Cut Hat Cookie Shapes
Remove the chilled dough slab from the refrigerator. Press the hat-shaped stainless steel cookie cutter straight down into the firm dough, twisting slightly to release clean edges, and cut shapes as close together as possible to minimize scraps. Gather leftover dough scraps, re-roll to 1/4-inch thickness, and chill for 5 minutes before cutting additional shapes until all dough is used. Use the offset spatula to transfer cut shapes to the parchment-lined baking sheet, leaving 2cm of space between each cookie.
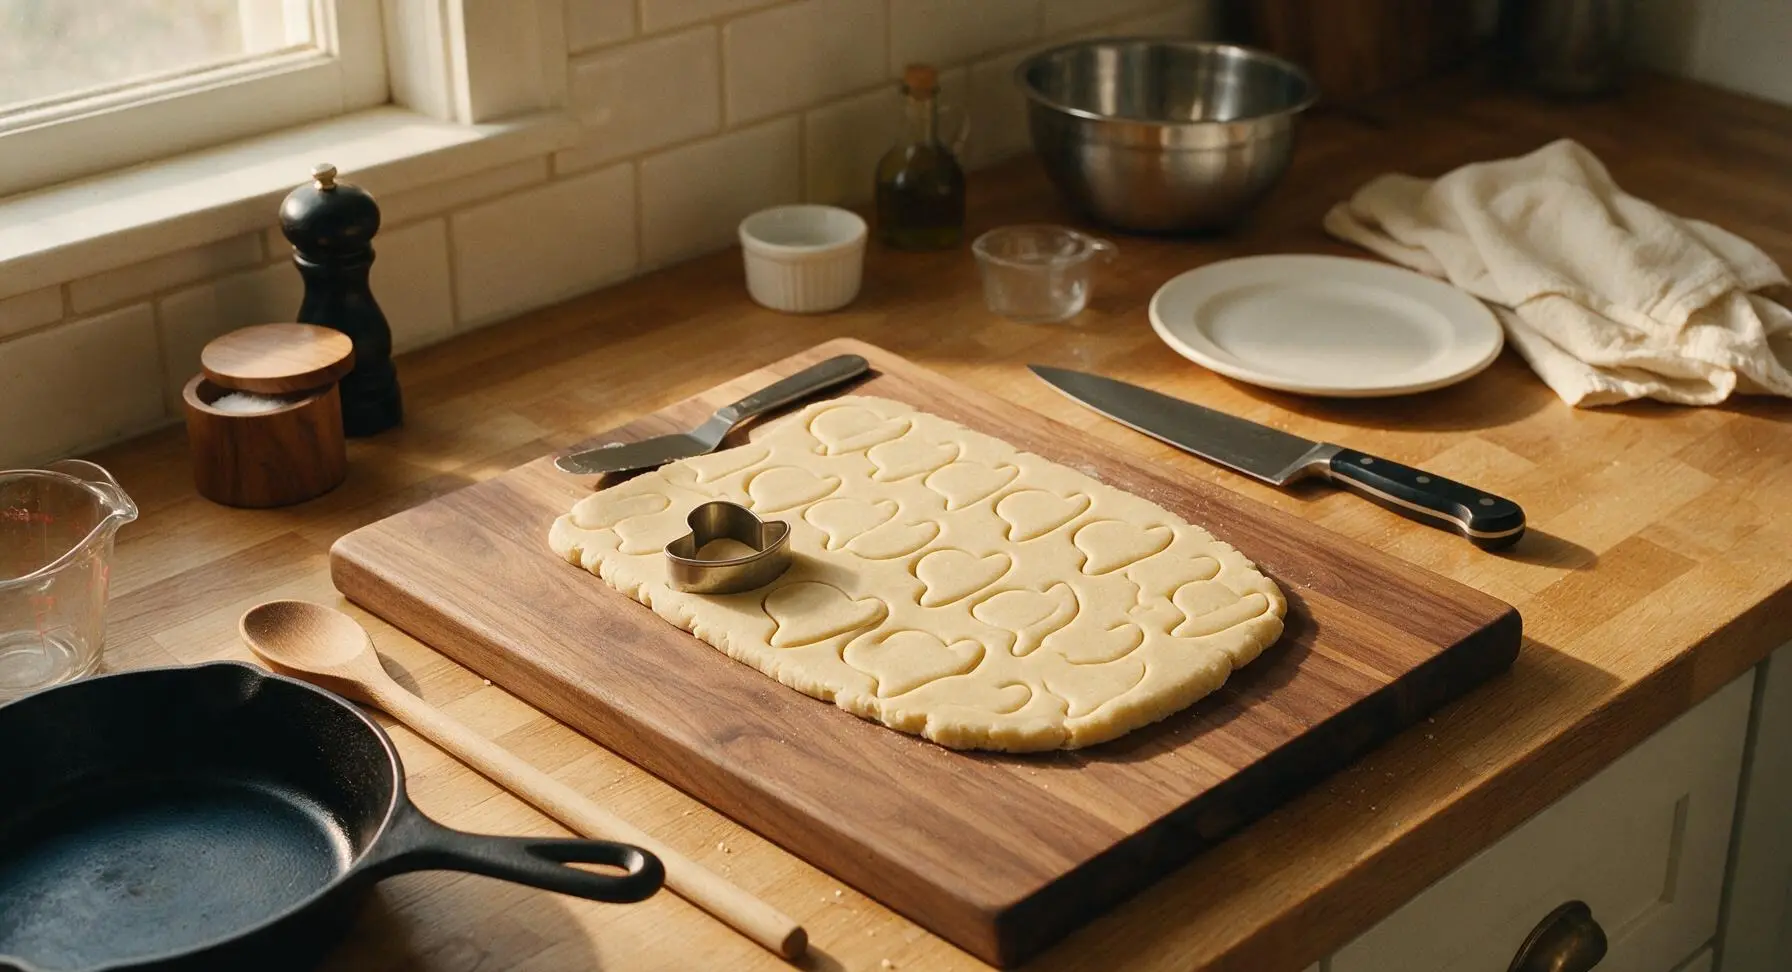

Bake Cookies Evenly
Place the baking sheet in a preheated 175C (350F) oven, and bake for 10-12 minutes until the cookie edges are just pale golden brown, with the centers still pale and set. Do not overbake, as the thin cookie edges will burn quickly. Remove from the oven, and let cookies rest on the baking sheet for 5 minutes before transferring.
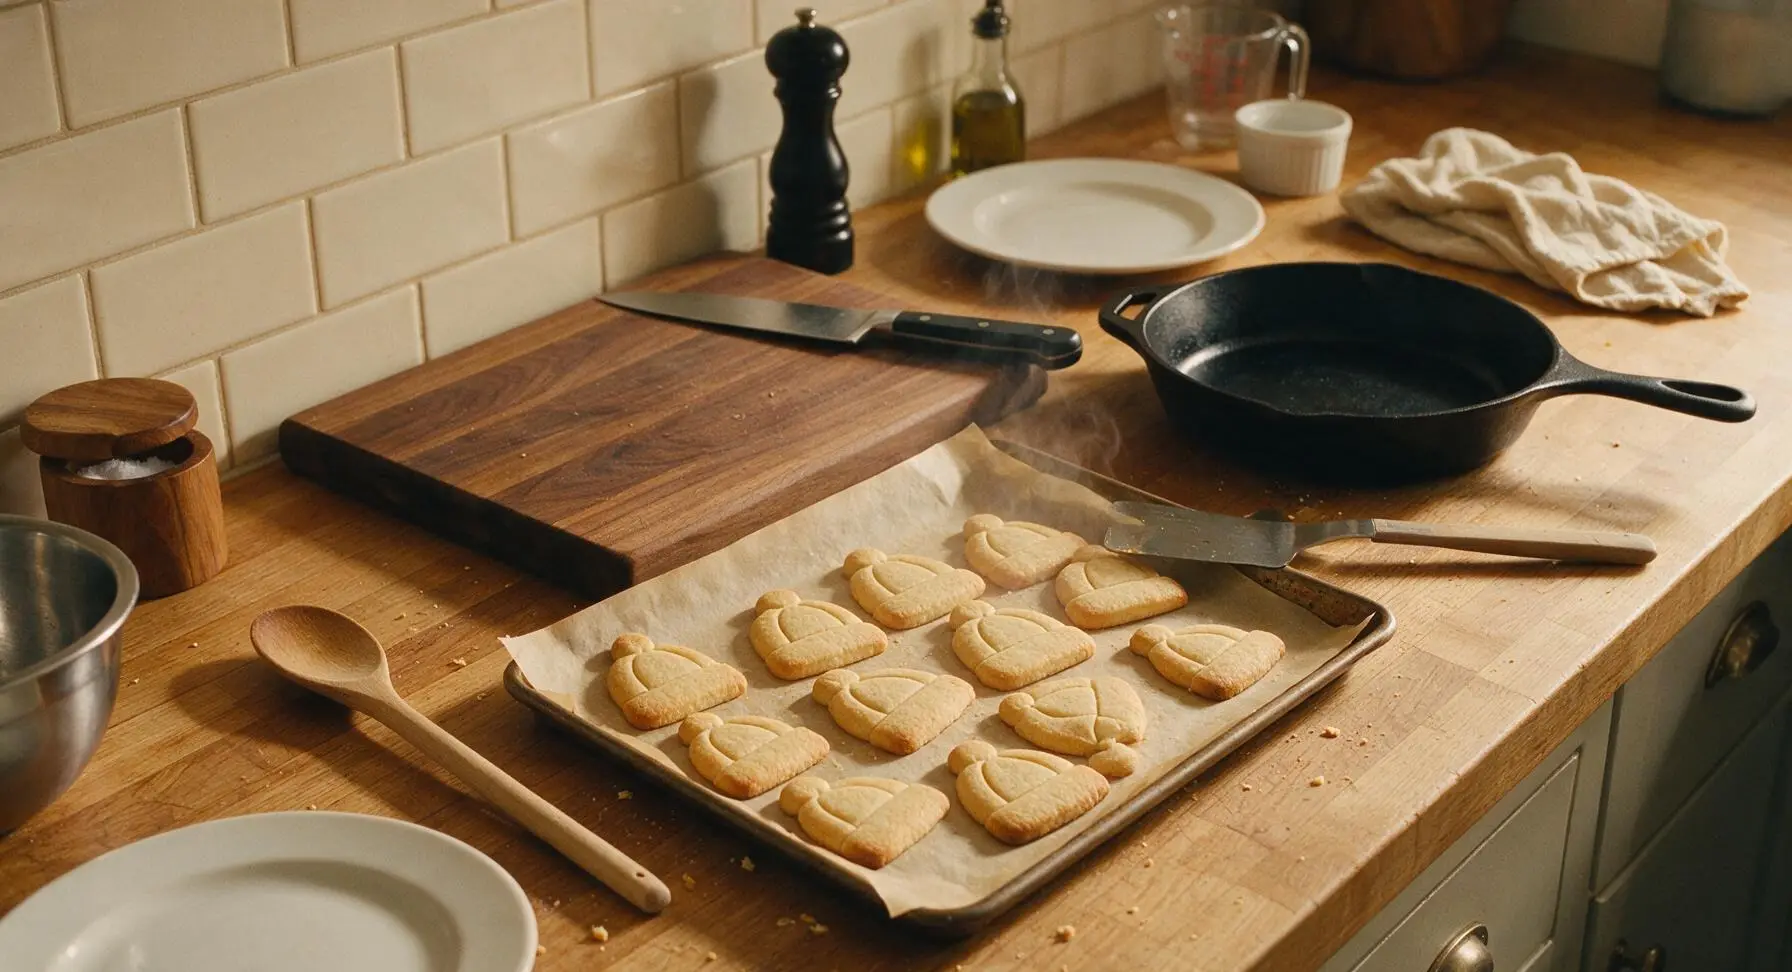
Cool on Wire Rack
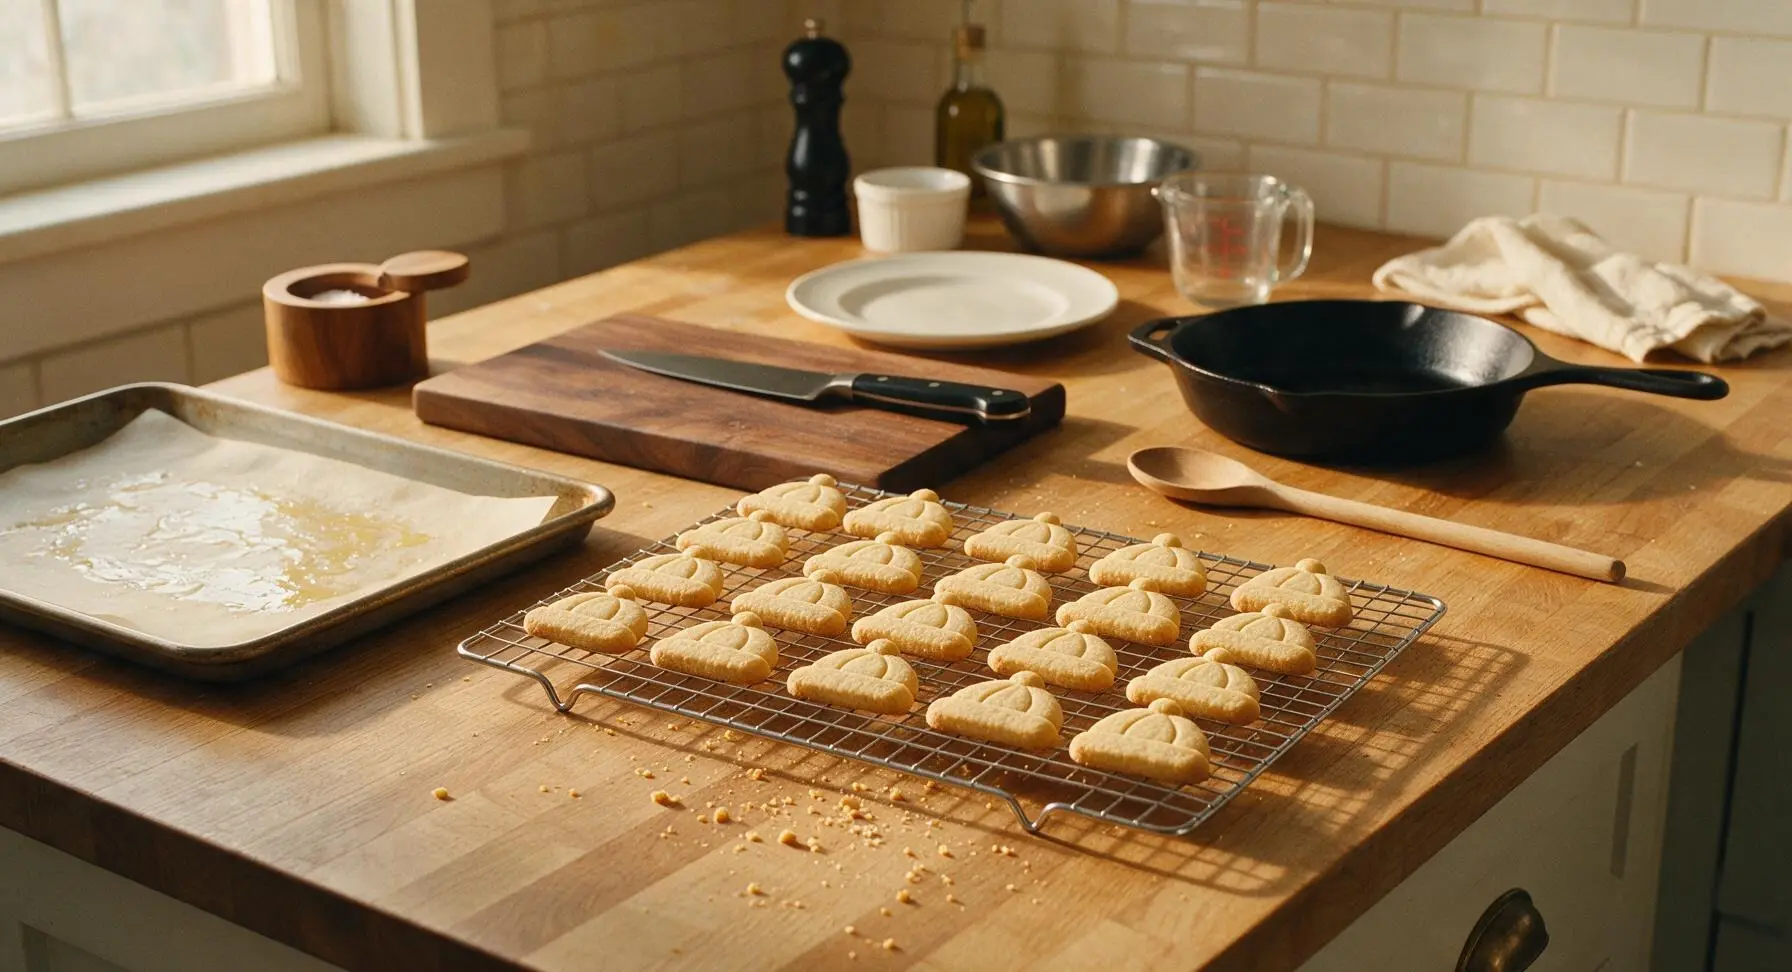
Use the offset spatula to transfer the warm cookies from the baking sheet to the chrome wire cooling rack. Let cookies cool completely to room temperature for 30 minutes before decorating; warm cookies will melt royal icing and cause it to slide off. Gather dough scraps for snacking, and wipe any loose crumbs from the work surface.
Decorate with Royal Icing
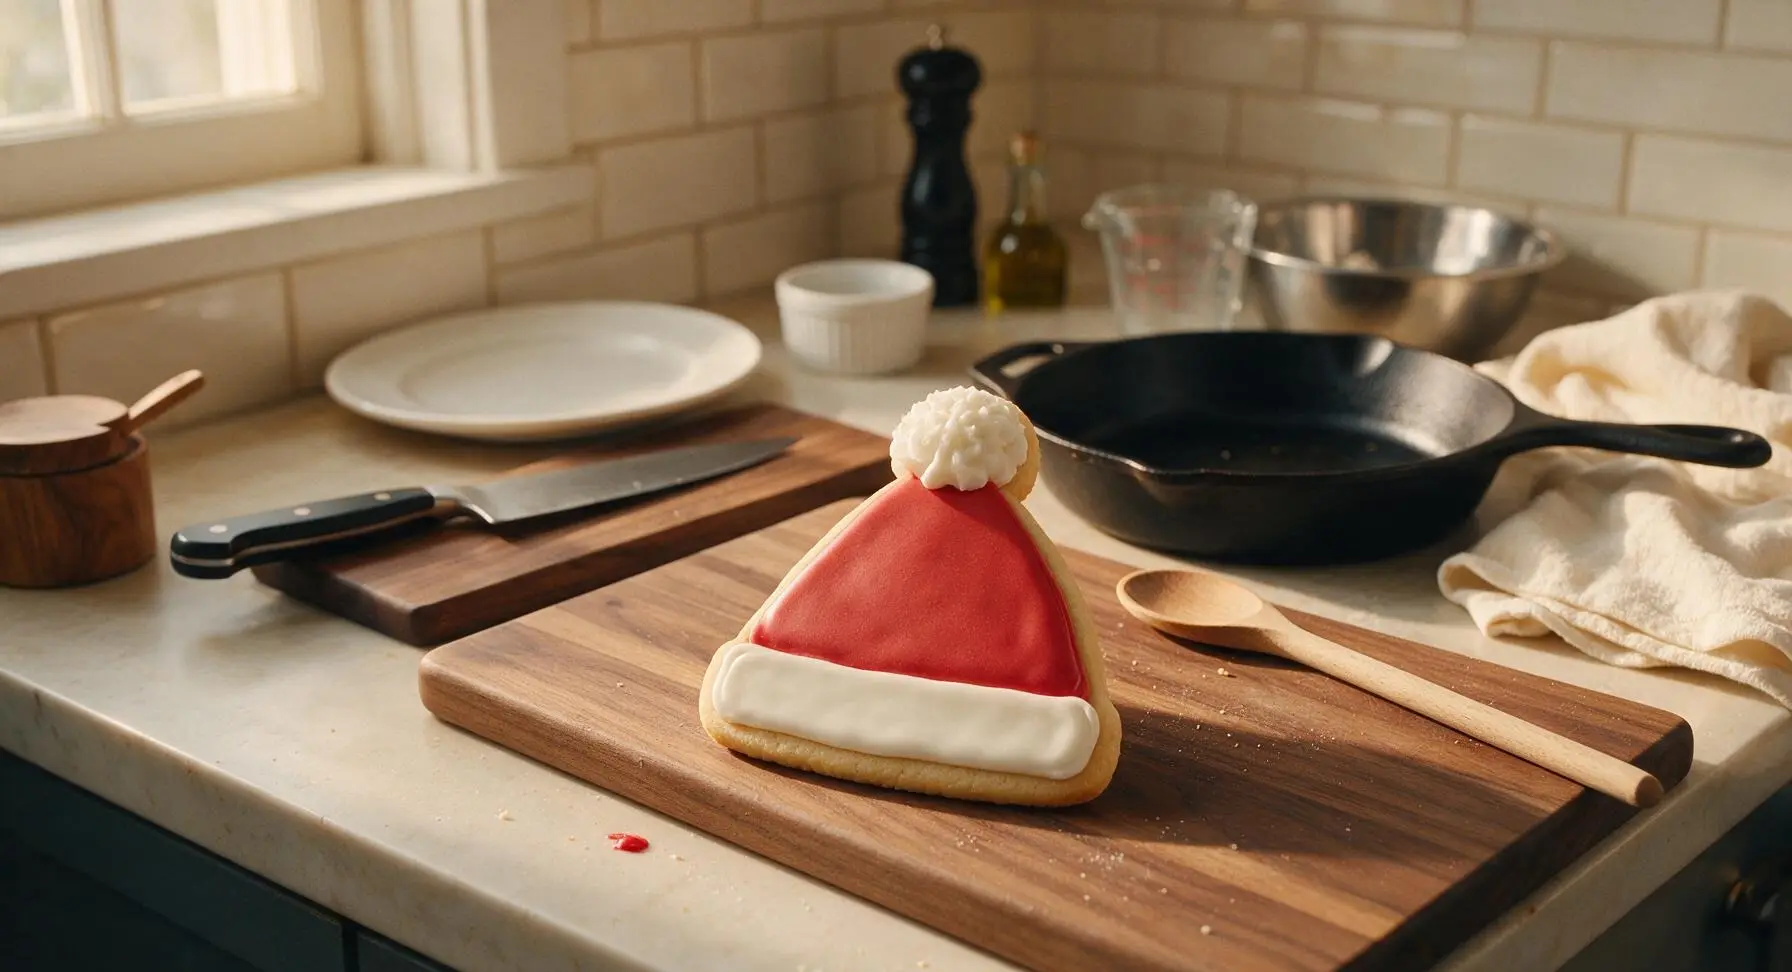
While cookies cool, make royal icing: whisk powdered sugar, 2 tablespoons whole milk, and remaining 1/2 teaspoon pure vanilla extract in the small stainless steel mixing bowl until smooth, adding up to 1 extra tablespoon of milk if needed to reach a thick, slow-flowing pipeable consistency. Transfer 1/3 of the white icing to one clear piping bag fitted with a #2 round tip, then stir red gel food coloring into the remaining icing until evenly colored with no streaks, and transfer to a second piping bag. Pipe red icing to cover the tapered crown of each hat, leaving the curved brim exposed, pipe a thick even band of white icing along the exposed brim, and pipe a small round fluffy dollop of white icing at the very tip of the crown to make a pom-pom. Let iced cookies rest at room temperature for 1 full hour until the icing is completely hard and set to the touch before transferring to the serving platter.

Tips
2.Do not skip chilling the rolled dough before cutting: warm, soft dough will spread excessively in the oven, turning your sharp hat shapes into blobby, unrecognizable forms, and will tear easily when you lift cut shapes to transfer them to the baking sheet.
3.Use gel food coloring instead of liquid food coloring for royal icing: liquid coloring adds extra moisture that thins the icing too much, making it run off cookie edges and take much longer to set, while gel delivers vibrant, consistent color without changing the icing’s thick, pipeable consistency.






OMG these are SO cute! I made them for my kid’s 2nd grade winter class party yesterday and every single kid grabbed one before the brownies even got touched. The 12 minute cook time is no joke, they came out perfectly soft, no burnt edges at all. I used red and white vanilla icing for the hat brims and added little pom-poms out of mini marshmallows, total chef’s kiss. Will absolutely be making these every December from now on!
Full disclosure, I’m terrible at baking. Like, I burn slice-and-bake cookies half the time terrible. But these were actually easy enough for me to pull off for our neighborhood potluck last weekend! I did the hat shapes freehand instead of using a cookie cutter and they looked charmingly lopsided, everyone thought they were intentional. The sugar cookie base is perfectly buttery too, not too sweet. 10/10 for beginner bakers like me.
Made these last night for a movie night snack with my roommates and they were SO good. We did half with peppermint icing and half with regular vanilla, both slapped. Only note is I’d recommend chilling the dough for 20 minutes before cutting out the shapes so they don’t spread too much in the oven, mine got a little puffy the first batch. Still tasty though!
Total game changer. I’ve been looking for a low-effort holiday cookie that isn’t the same old round sugar cookie cutout everyone brings to parties, and these fit the bill perfectly. The little folded winter hat shape looks so impressive but takes 2 seconds to form once you roll the dough out. Brought them to my office holiday lunch last week and three people asked for the recipe before I even left the break room.
Wait, has anyone tried making these with a 1:1 gluten free flour blend? I’m hosting a small holiday get together with a couple gluten free friends and these look too good to pass up, I just want to make sure they turn out right before I commit to making a double batch! The easy difficulty level is right up my alley this busy holiday season.
Made these with my 7 year old niece over the weekend and we had a blast. She loved decorating each hat with different colored icing and putting way too many sprinkles on every single one. The short cook time meant we didn’t have to wait forever for them to cool to decorate, which is perfect for little kids with zero patience. 10/10 family activity, not just a cookie recipe.
I was a little worried these would be too plain since the base is a simple sugar cookie, but wow, the little hint of almond extract in the dough makes them taste so special! I didn’t even have to add extra extract, it’s perfectly measured. I made a batch for my book club meeting and everyone kept going back for seconds. My only regret is not making a double batch.
Total game changer for quick holiday treats! I had 20 minutes to throw something together for my kid’s last minute hockey team snack and these came together so fast. I didn’t even have time to let the dough chill, just rolled, cut, baked, and slapped on some pre-made icing while they were cooling. The kids went crazy for them, multiple parents asked if I bought them from a bakery. 😂
These are perfect for dorm baking! I don’t have any fancy equipment, just a tiny countertop toaster oven and a cheap baking sheet, and they turned out amazing. I cheated a little and used pre-made sugar cookie dough from the campus grocery store to make it even easier, followed the shaping instructions, baked for 12 minutes, and iced them with those cheap gel icing tubes from the dollar store. My whole dorm floor smelled like warm sugar cookies for hours, all my neighbors kept stopping by to grab one. So easy even a broke college student with no real kitchen can pull it off!