
Haupia
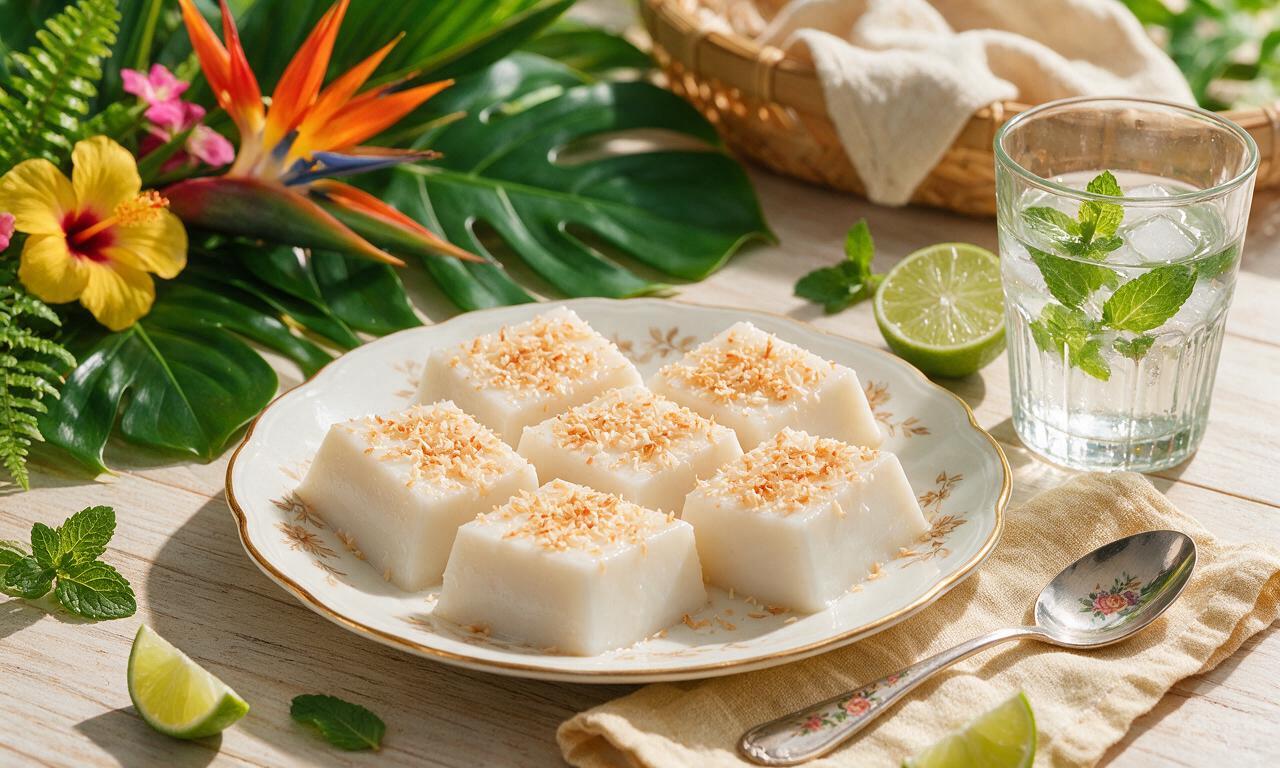
intro
Traditional chilled Hawaiian coconut pudding with a delicate, not-too-sweet flavor and soft, jiggly texture: a light, refreshing tropical treat for warm days.
Ingredients
Steps
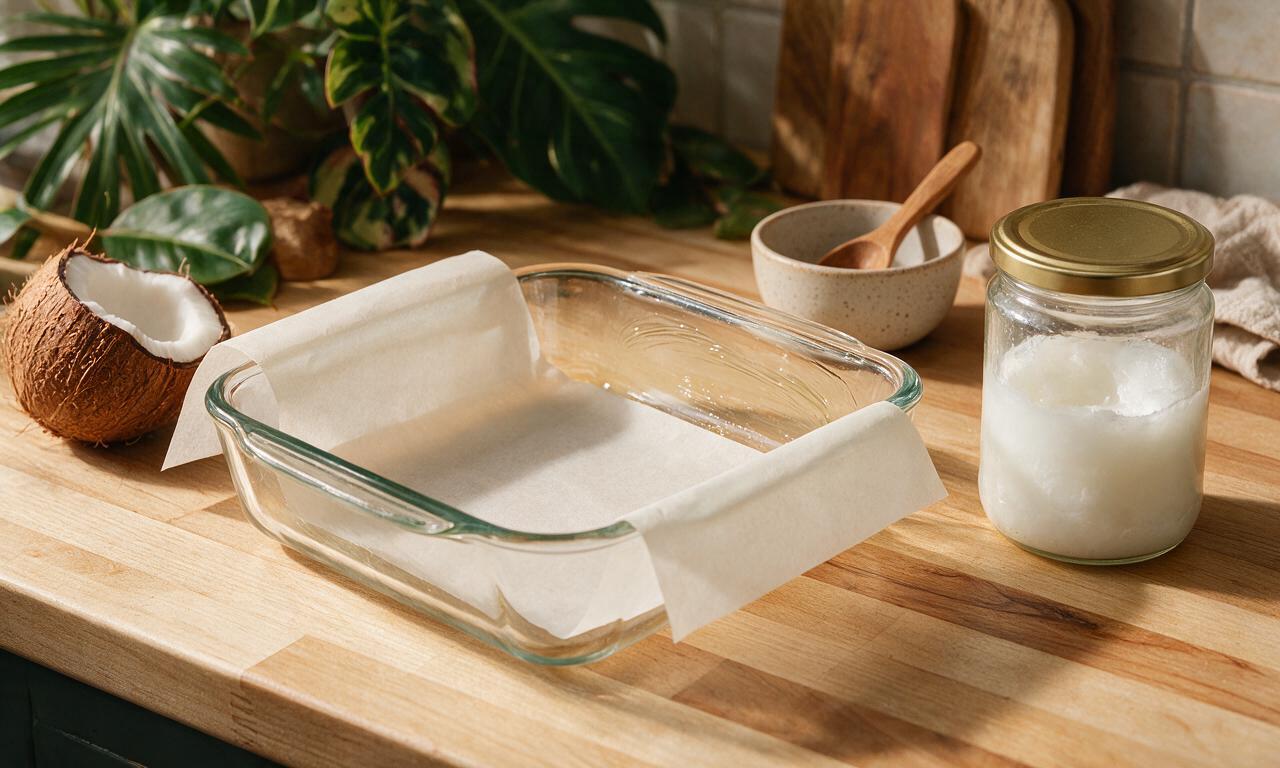
Grease and Line Baking Dish
Lightly grease a 20cm (8-inch) square glass baking dish with 5ml (1 tsp) refined coconut oil, then line the base and two opposite sides with a strip of parchment paper with 5cm (2-inch) overhang to make removing set haupia easy. Set the prepared dish aside at room temperature.
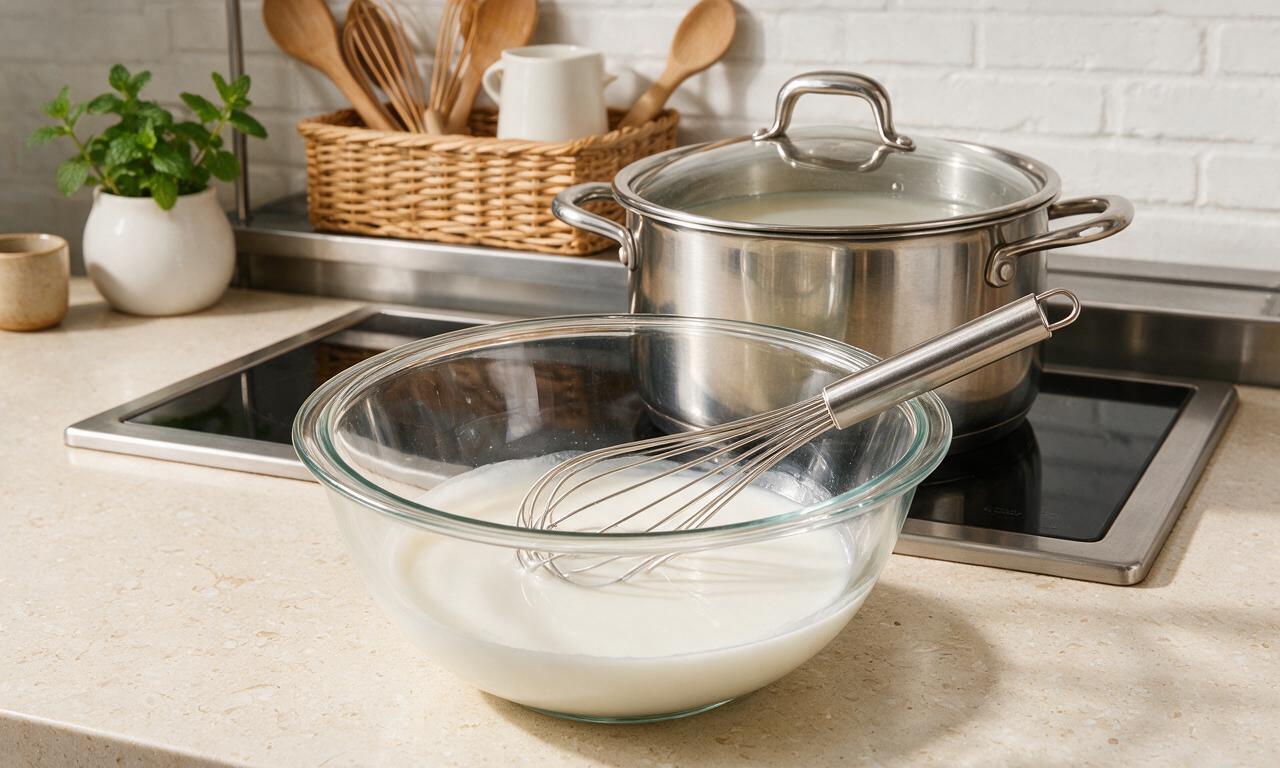
Make Smooth Cornstarch Slurry
In a small mixing bowl, whisk together 60g cornstarch, 1g fine sea salt, and 120ml cold filtered water until completely smooth, with no visible lumps of cornstarch remaining. Set the slurry aside within arm’s reach of your stovetop.
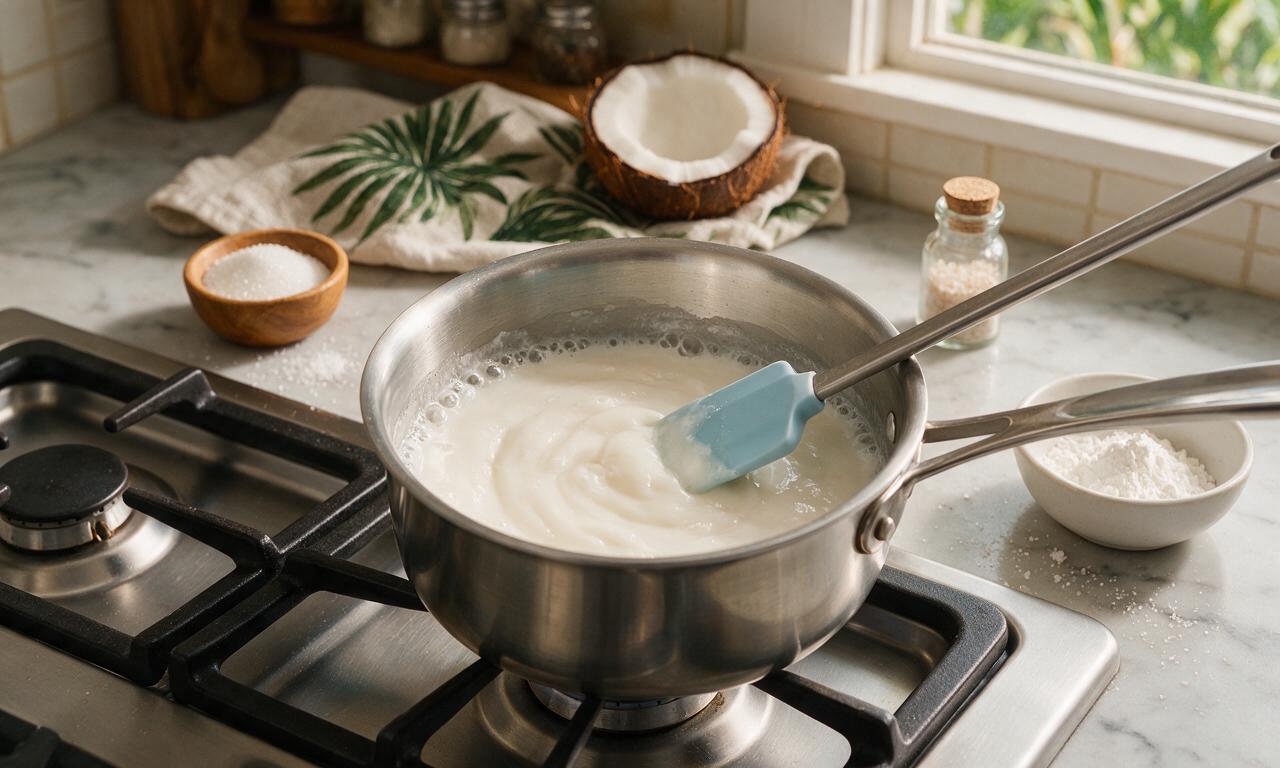
Heat Coconut Milk and Sugar
Pour 400ml full-fat unsweetened coconut milk and 50g granulated white sugar into a small heavy-bottomed saucepan set over medium-low heat. Stir constantly with a silicone spatula for 3-4 minutes, until the sugar fully dissolves and the mixture reaches a gentle simmer (small bubbles forming around the pan edges, ~82°C / 180°F); do not bring the mixture to a rolling boil.
Stir Slurry into Coconut Milk
Give the reserved cornstarch slurry a quick 10-second re-whisk to re-incorporate any starch that settled to the bottom of the bowl, then pour it slowly into the simmering coconut milk while stirring constantly. Continue cooking over medium-low heat for 2-3 minutes, stirring nonstop, until the mixture thickens to a smooth, glossy pudding consistency that coats the back of the spatula (a clear line remains when you run a finger through the coating on the spatula).
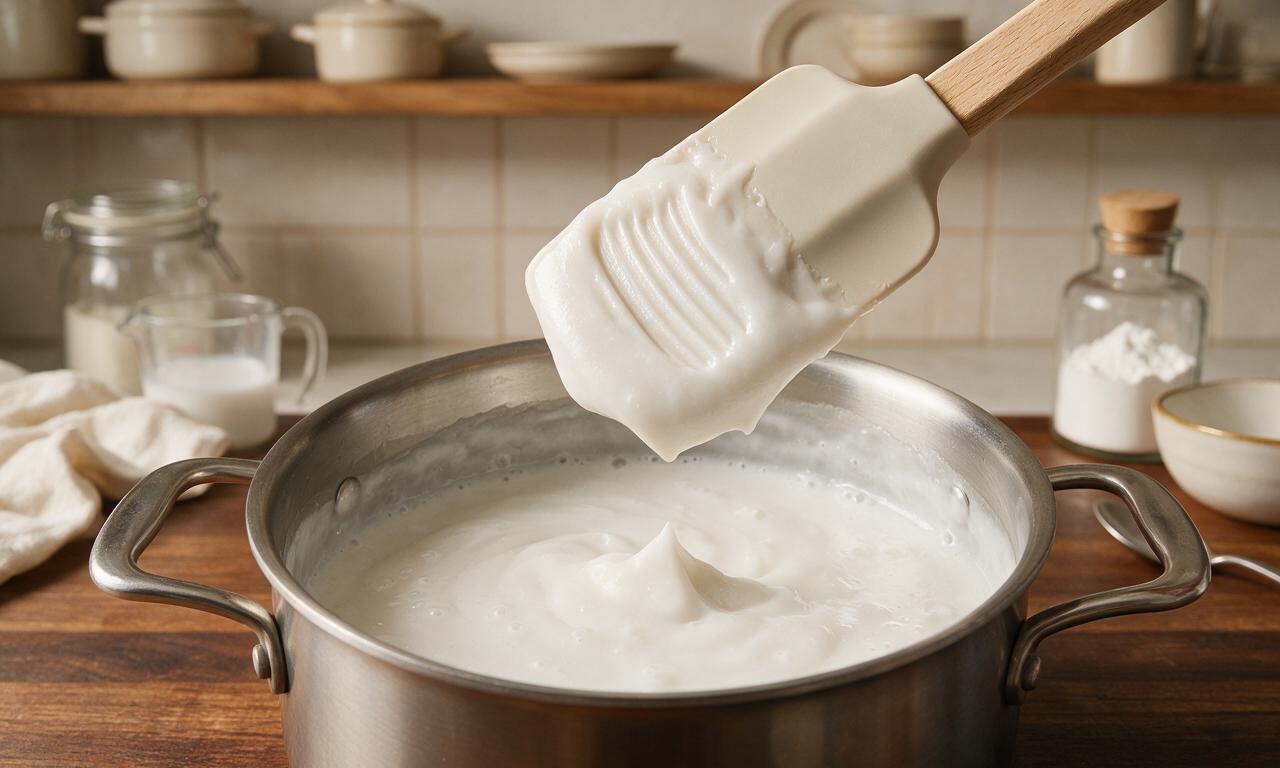
Pour and Spread Haupia Mixture
Immediately pour the thickened haupia mixture into the prepared lined baking dish, using a small offset spatula to spread it into an even, smooth layer across the entire dish. Tap the dish firmly on the counter 3-4 times to pop any trapped air bubbles on the surface of the pudding.
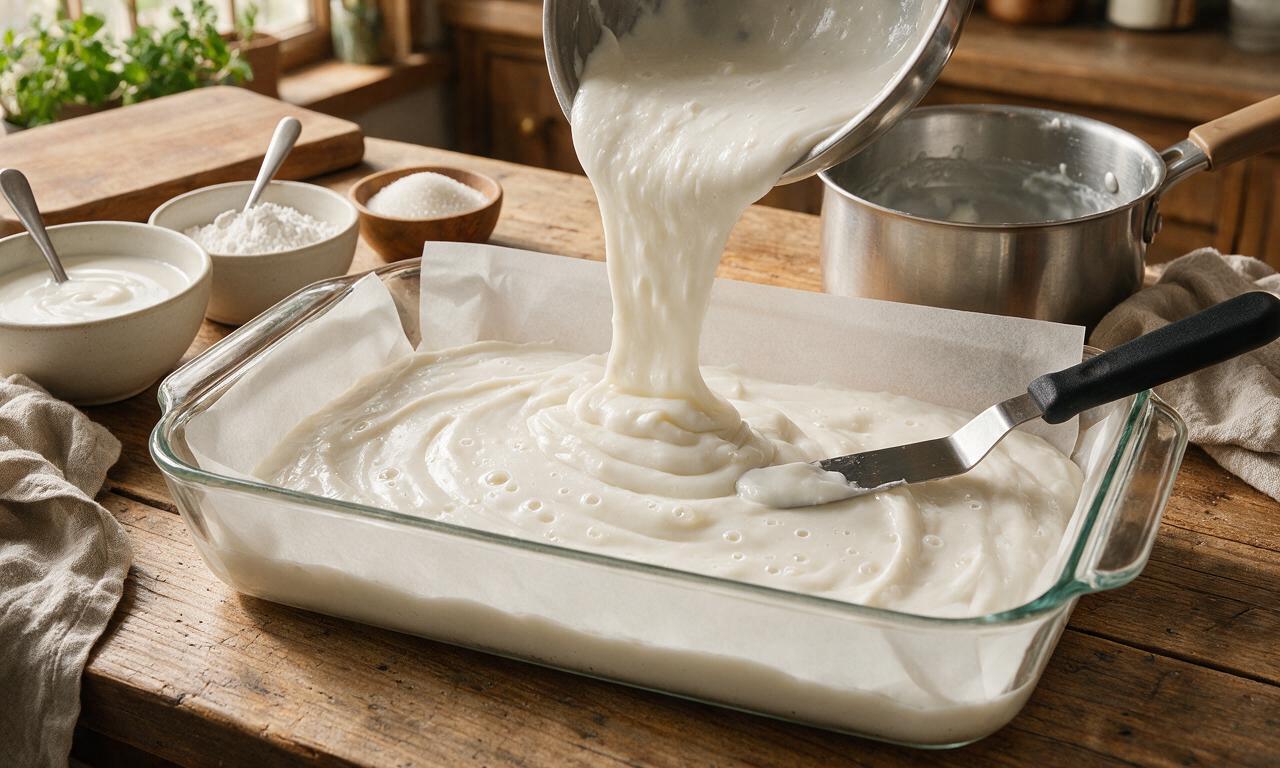
Cool and Chill Haupia
Leave the dish to cool at room temperature for 15 minutes, then cover tightly with plastic wrap and place it on a middle shelf in the refrigerator to chill for a minimum of 2 hours, until the haupia is completely firm and gently jiggly to the touch, with no liquid weeping from the edges.
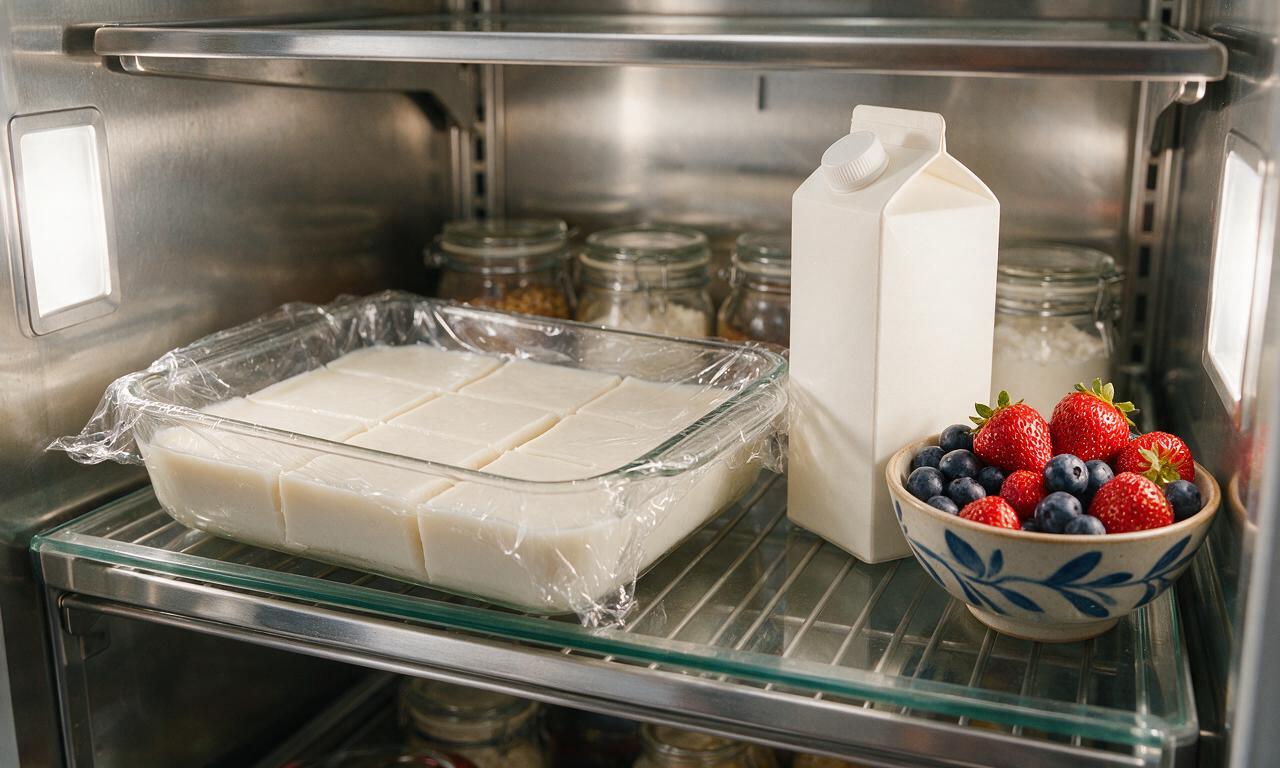
Remove and Cut Haupia
Once fully set, use the overhanging parchment paper to lift the entire block of haupia out of the dish and transfer it to a wooden cutting board. Cut into 8 equal 5cm x 10cm (2-inch x 4-inch) rectangular pieces with a sharp knife dipped in hot water and wiped dry between cuts for clean edges, then serve immediately while chilled.
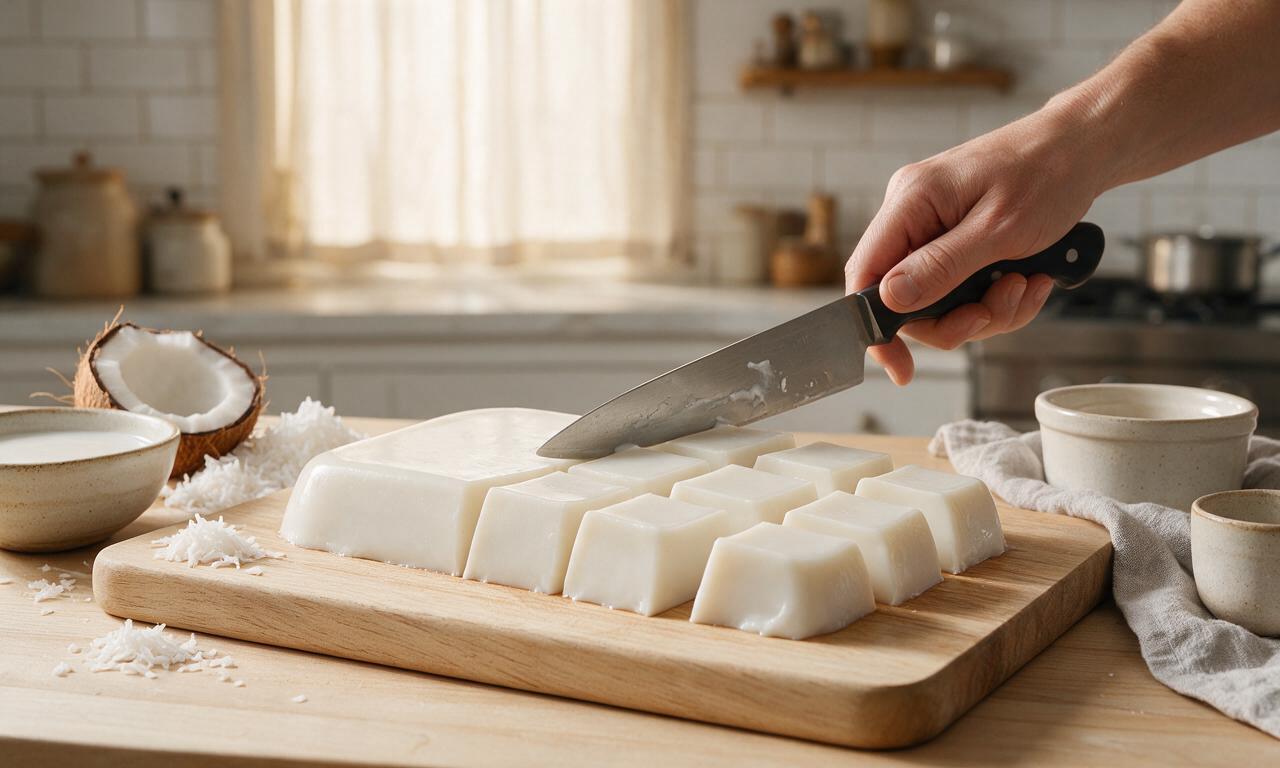
Tips
2.Re-whisk your cornstarch slurry right before adding it to hot liquid, as cornstarch settles quickly to the bottom of the bowl; adding un-mixed slurry will cause stubborn lumps in your finished pudding.
3.Store leftover haupia in an airtight container in the refrigerator for up to 3 days; do not freeze haupia, as freezing breaks down the starch structure and results in a grainy, separated, watery texture when thawed.






OMG this haupia tastes EXACTLY like the stuff I had at a Maui food truck on my honeymoon 5 years ago!!! I was so scared I’d mess it up because I’m terrible at desserts, but it was so easy! Set perfectly in the fridge, no weird lumps, not too sweet. Brought it to my neighbor’s backyard luau party and everyone begged for the recipe. 10/10 will make every other week from now on.
Made this for my daughter’s Hawaiian themed birthday party this weekend and it was a total hit! Even my super picky 7 year old who hates “jiggly food” ate three pieces. I topped half the pan with toasted coconut flakes and the other half with a little drizzle of lilikoi syrup, chef’s kiss. Only note: make sure you give it enough time to chill, I tried cutting a piece after an hour and it was still a little runny. Wait time is so worth it though!
Game changer for my weekly meal prep! I cut these into little bite-sized squares and keep them in a container in the fridge for when I’m craving something sweet after dinner. Way better than reaching for a candy bar, and the coconut flavor is so rich and satisfying. Super low effort for how fancy it feels. 10/10.
Wait, quick question—can I make this with arrowroot starch instead of cornstarch? I have a corn allergy and I’ve been dying to make haupia since I tried it at a food festival last summer. This recipe looks so straightforward I don’t want to mess up the ratios!
SO good. I brought this to our office potluck earlier this week and the entire pan was gone in 10 minutes. People were scraping the edges of the pan to get the last bits! I thought for sure the guys on my construction team would turn their noses up at a “fancy coconut pudding” but they were asking for seconds before everyone else got a serving. Will absolutely be making this for every potluck from now on.
I swapped the regular white sugar for coconut sugar to make it a little less processed, and it came out amazing! Added a tiny pinch of sea salt on top right before serving to make the coconut flavor pop even more. Even my non-vegan roommates were obsessed, they had no idea I made a tiny swap. This recipe is so versatile!
Took my kids to a Hawaiian themed restaurant last month and they have begged for haupia every single night since. I tried this recipe last night and they went crazy for it! My 5 year old said it’s “better than the restaurant version” which is the highest possible praise in this house. Only thing is I accidentally added a little extra vanilla extract and it still tasted perfect. Next time I’m gonna add a layer of chocolate on the bottom for a little treat!
I grew up eating haupia at my grandma’s house in Hilo but I’ve never been able to get the texture right on my own—every batch I made before was either too rubbery or too runny. This recipe had the PERFECT wobbly but firm texture, just like grandma’s. I almost cried when I took the first bite, it tasted exactly like my childhood. Thank you so much for sharing this authentic version, no weird add-ins or fancy ingredients needed.
Super easy recipe, even for someone who burns toast half the time! The only mistake I made was using a tiny saucepan that was too small, so when the coconut milk started bubbling it spilled all over my stovetop. Oops. Still turned out amazing though, I just had to do a little extra cleanup. Pro tip from a messy cook: use a bigger pot than you think you need!
I cut these into thick squares and wrapped them individually in parchment paper to take on my day hike in the Rockies last weekend. They held up perfectly in my backpack (even when it got a little warm out) and were such a refreshing, energizing snack halfway up the trail. Way better than a boring granola bar! Will definitely be making these for all my upcoming outdoor trips.
Wait has anyone tried adding a shot of espresso to this? I love coffee and coconut together, I’m wondering if it would work or if it would mess up the texture. I don’t want to waste a whole can of good coconut milk testing it if it’s gonna be bad!
I made this for my book club’s tropical themed meeting last week and everyone was raving about it! I served it in little individual dessert cups with a tiny paper umbrella on top for extra flair, it looked so cute. The texture was perfect, not too gelatinous, just smooth and creamy. I’ve already shared the recipe with three of my friends from the club.