
Haupia Pie
intro
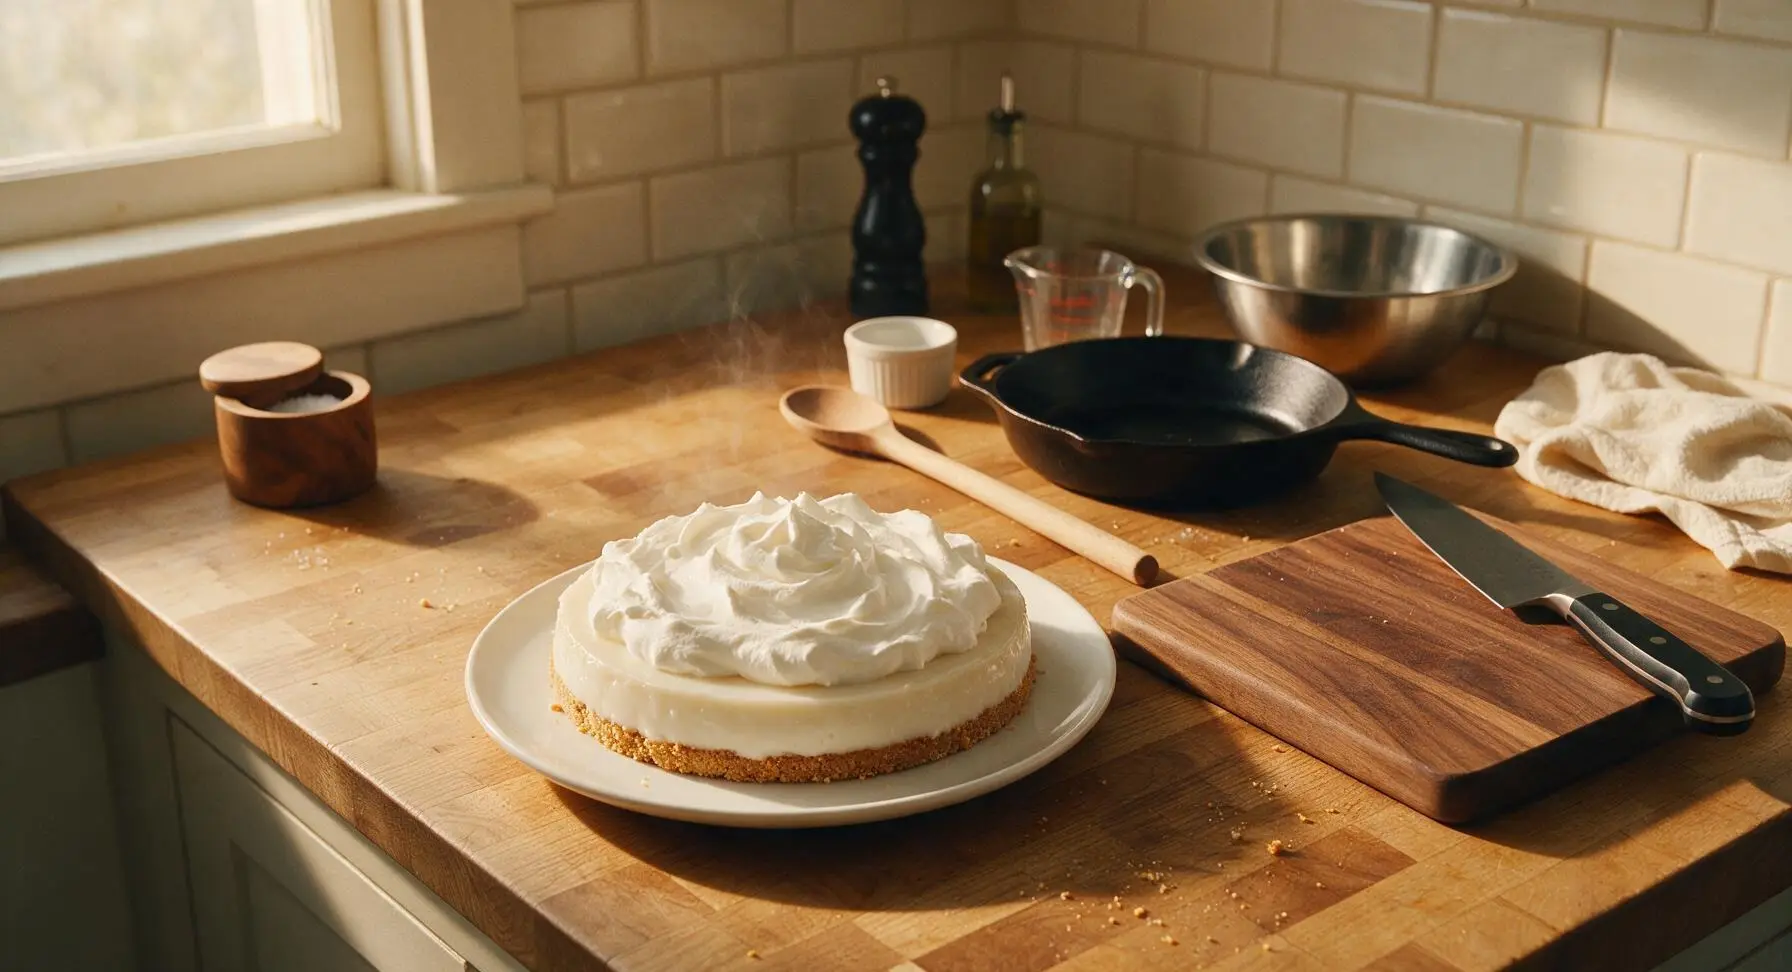
Creamy, jiggly coconut haupia layered over a buttery graham cracker crust, topped with fluffy whipped cream. This iconic chilled Hawaiian dessert is light, not overly sweet, and perfectly refreshing for warm days.
Ingredients
Steps
Make Graham Cracker Crust
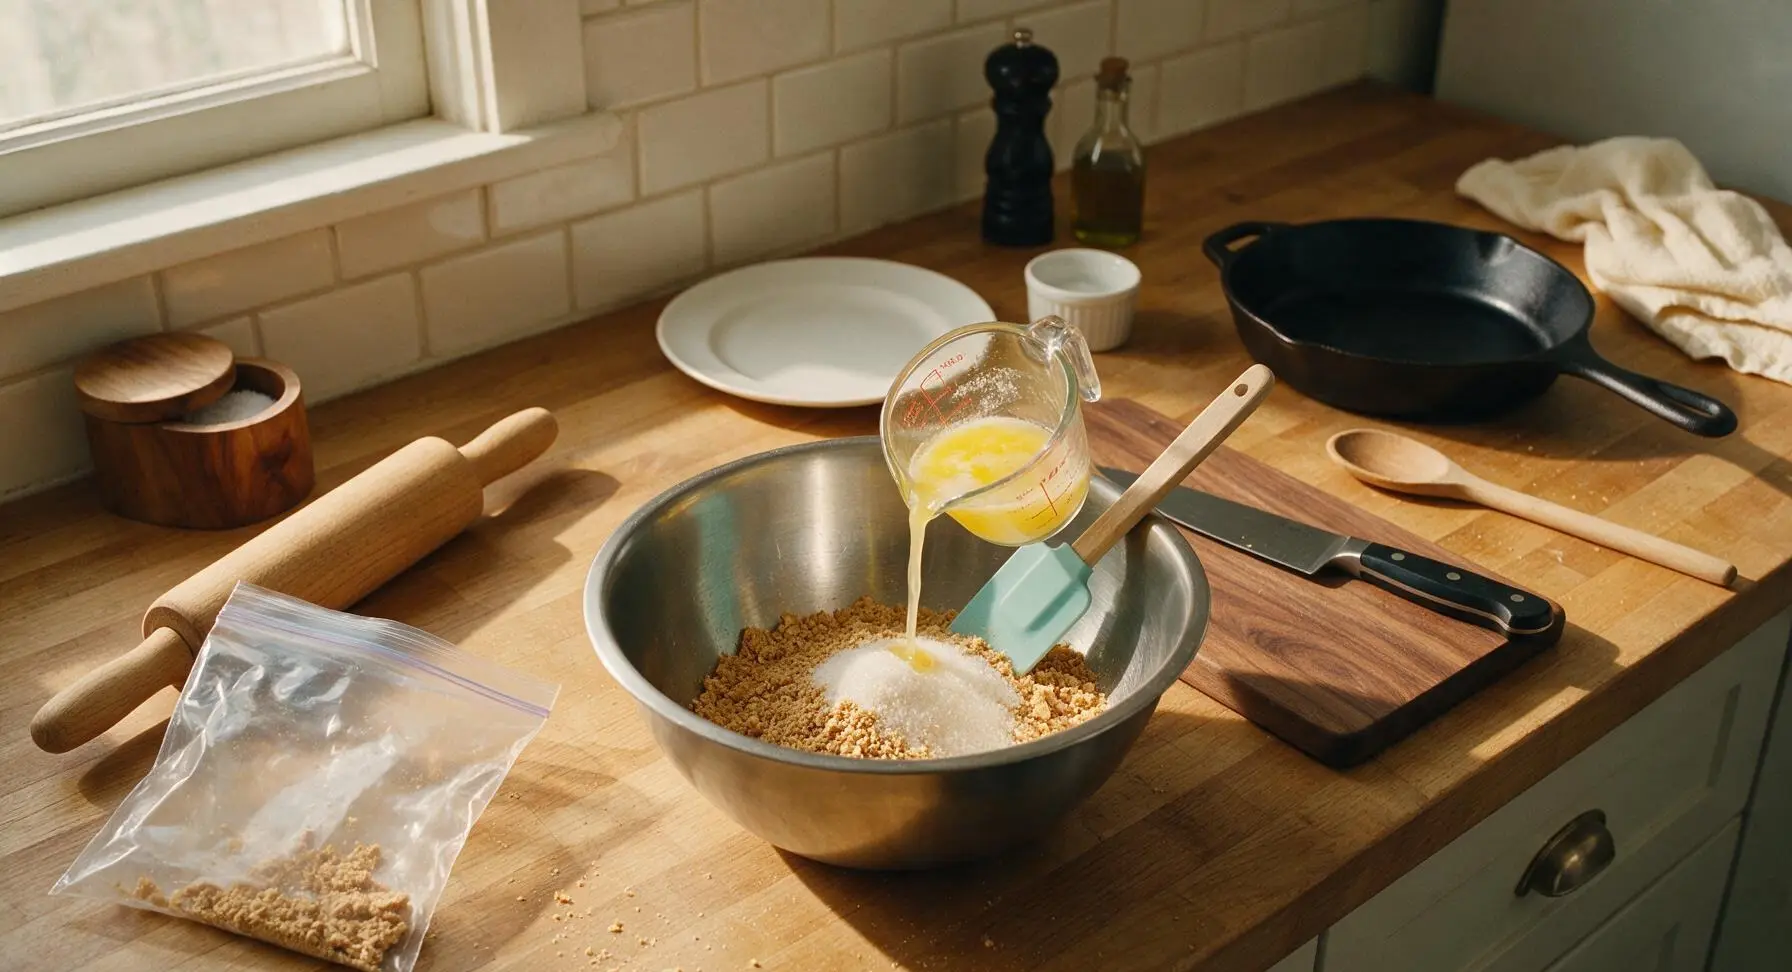
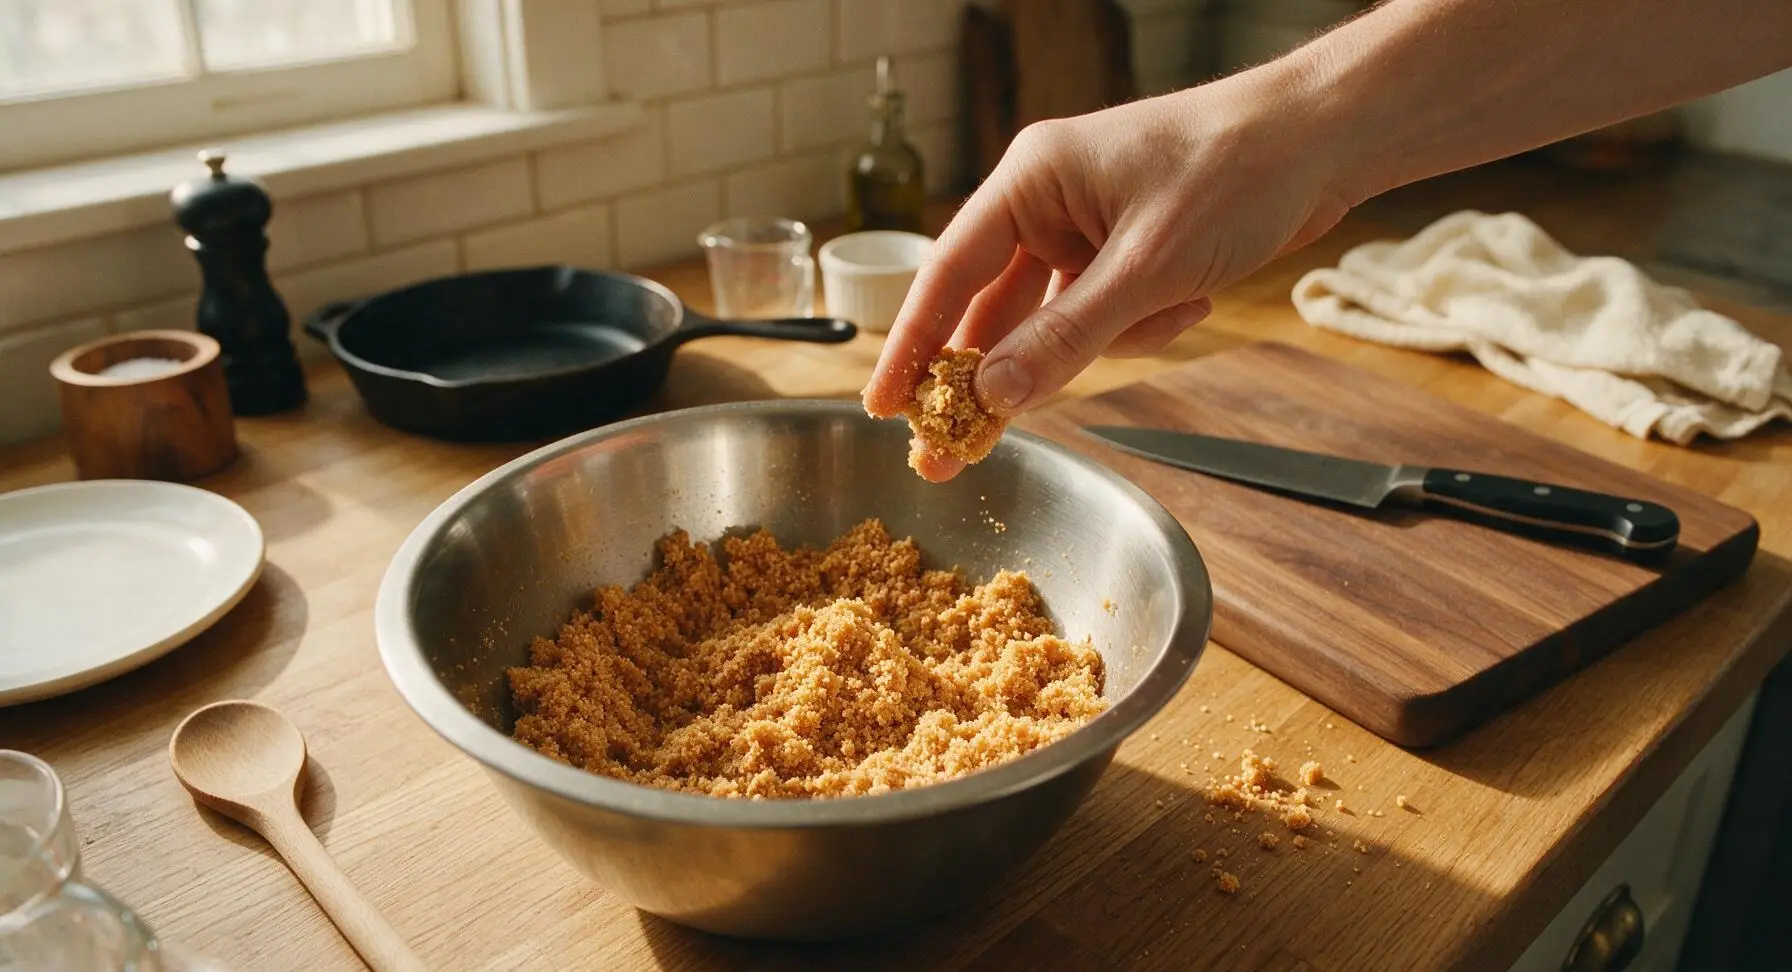
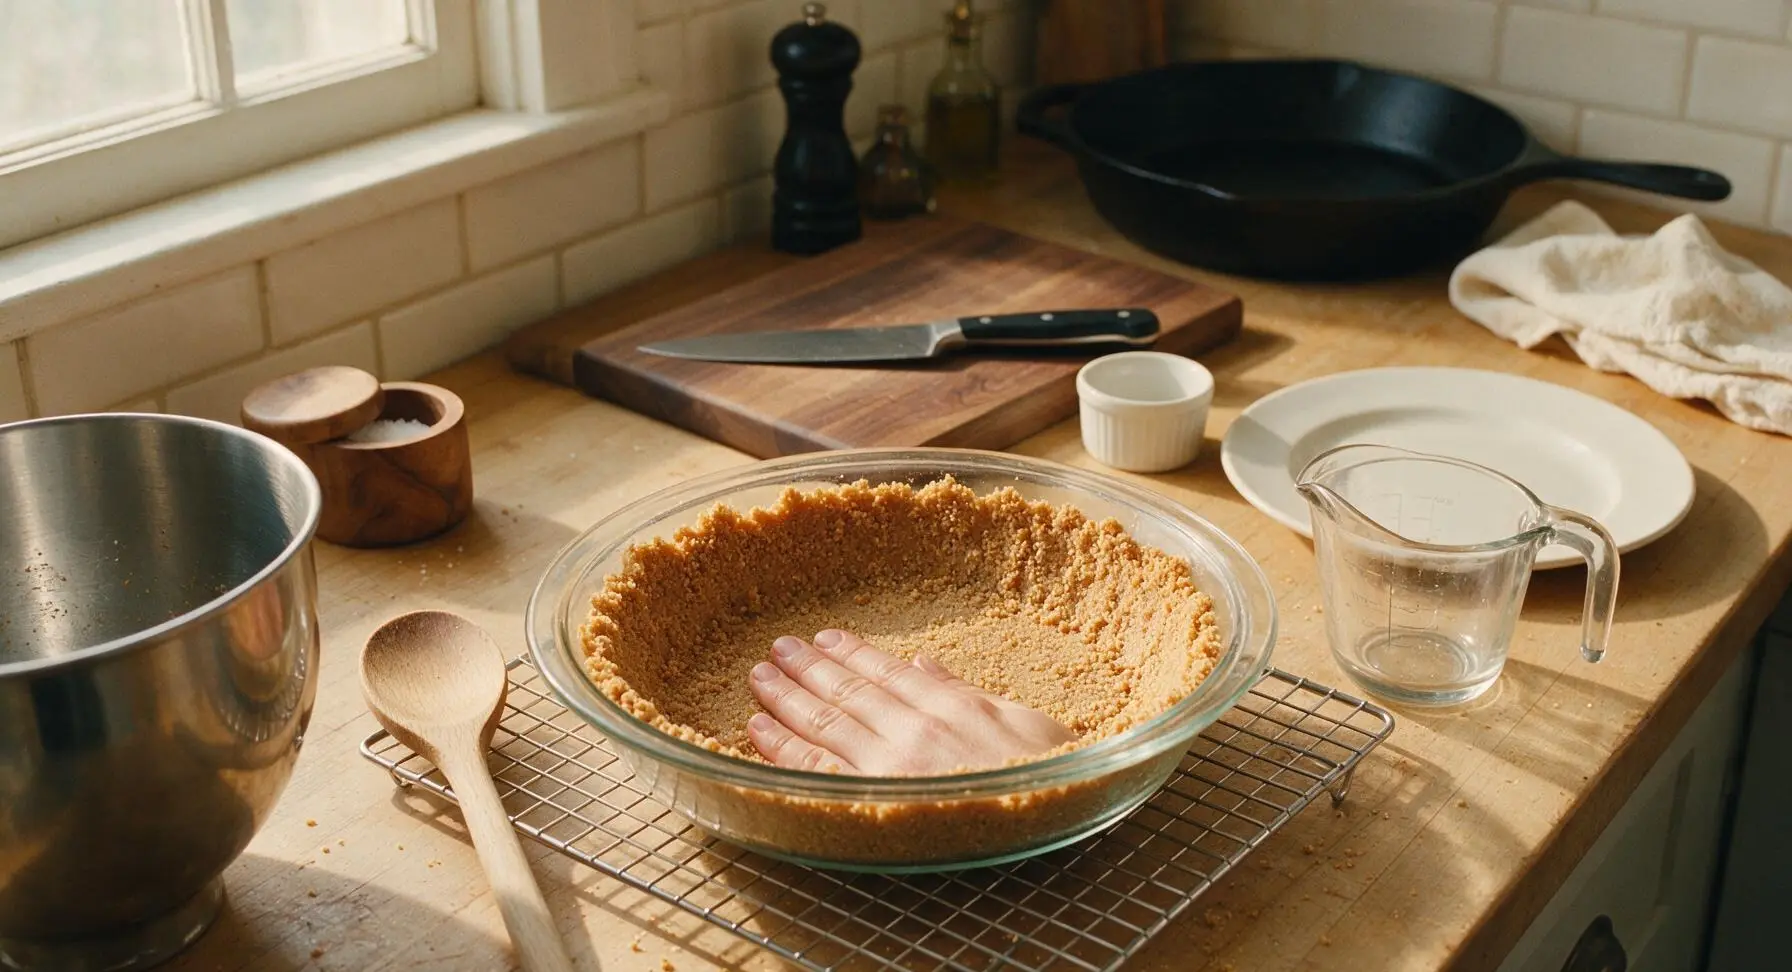
Place 1 ½ cups graham cracker crumbs, 2 tbsp granulated sugar, and 6 tbsp melted unsalted butter in the medium brushed stainless steel mixing bowl. If using whole graham crackers, seal them in the heavy-duty clear zip-top bag and crush to fine crumbs with the solid maple rolling pin first. Stir the mixture with the light turquoise silicone spatula until all crumbs are evenly moistened, reaching a texture similar to damp sand that holds together when squeezed.
Press and Bake Crust
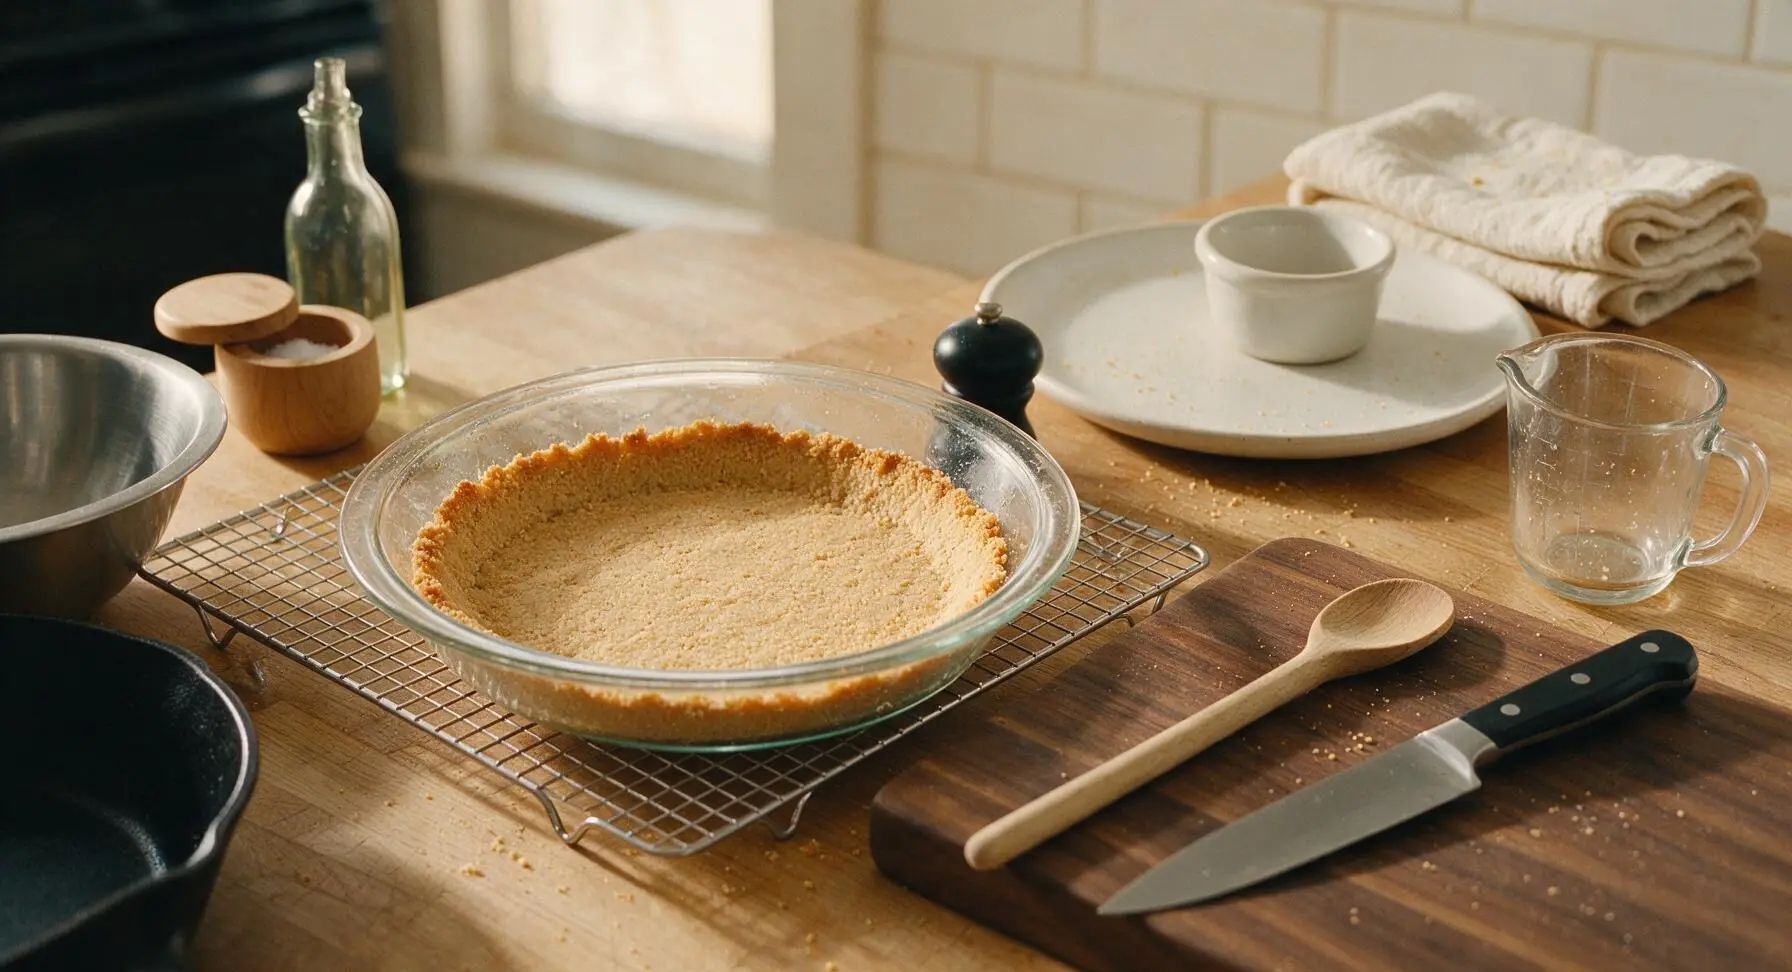
Pour the moistened crumb mixture into the 9-inch clear glass pie dish. Press crumbs firmly and evenly across the dish bottom and 1 inch up the sides to form a compact, uniform crust, using the flat base of the 1-cup glass measuring cup to smooth the surface. Bake at 375°F (190°C) for 10 minutes, until the crust smells nutty and is lightly golden at the edges. Transfer the dish to the chrome wire cooling rack and cool completely to room temperature (about 20 minutes) before adding filling—warm crust will cause the haupia to melt and turn soggy.
Whisk Haupia Base
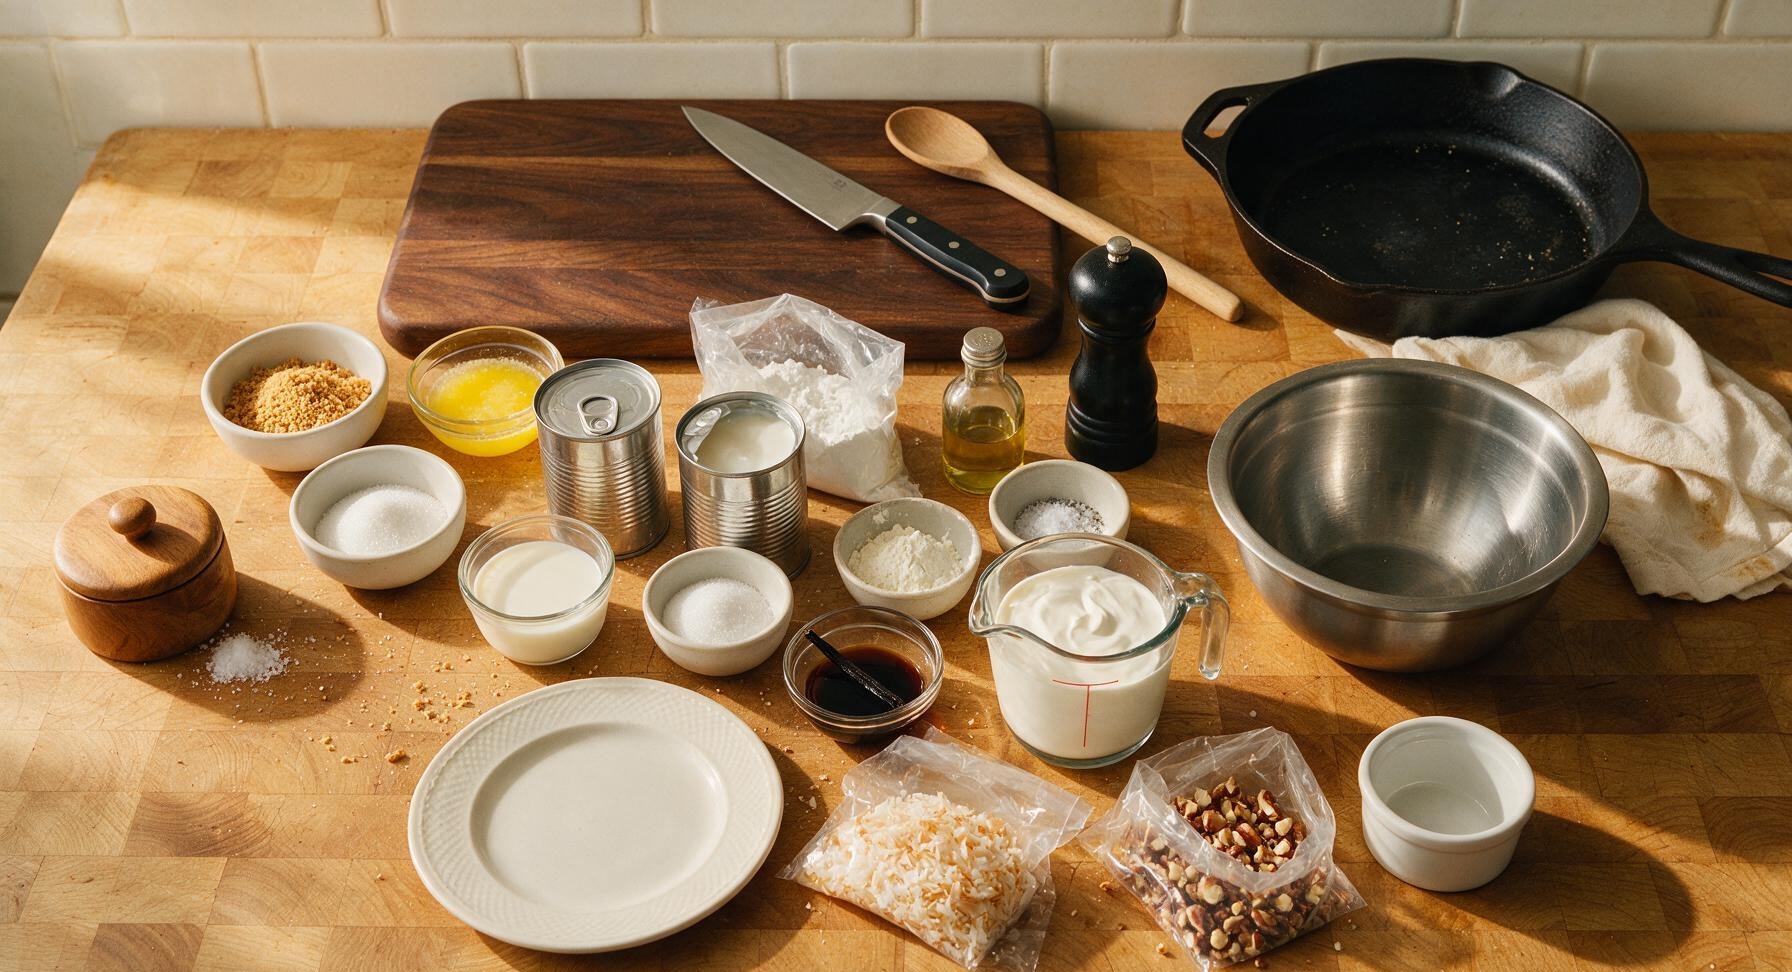
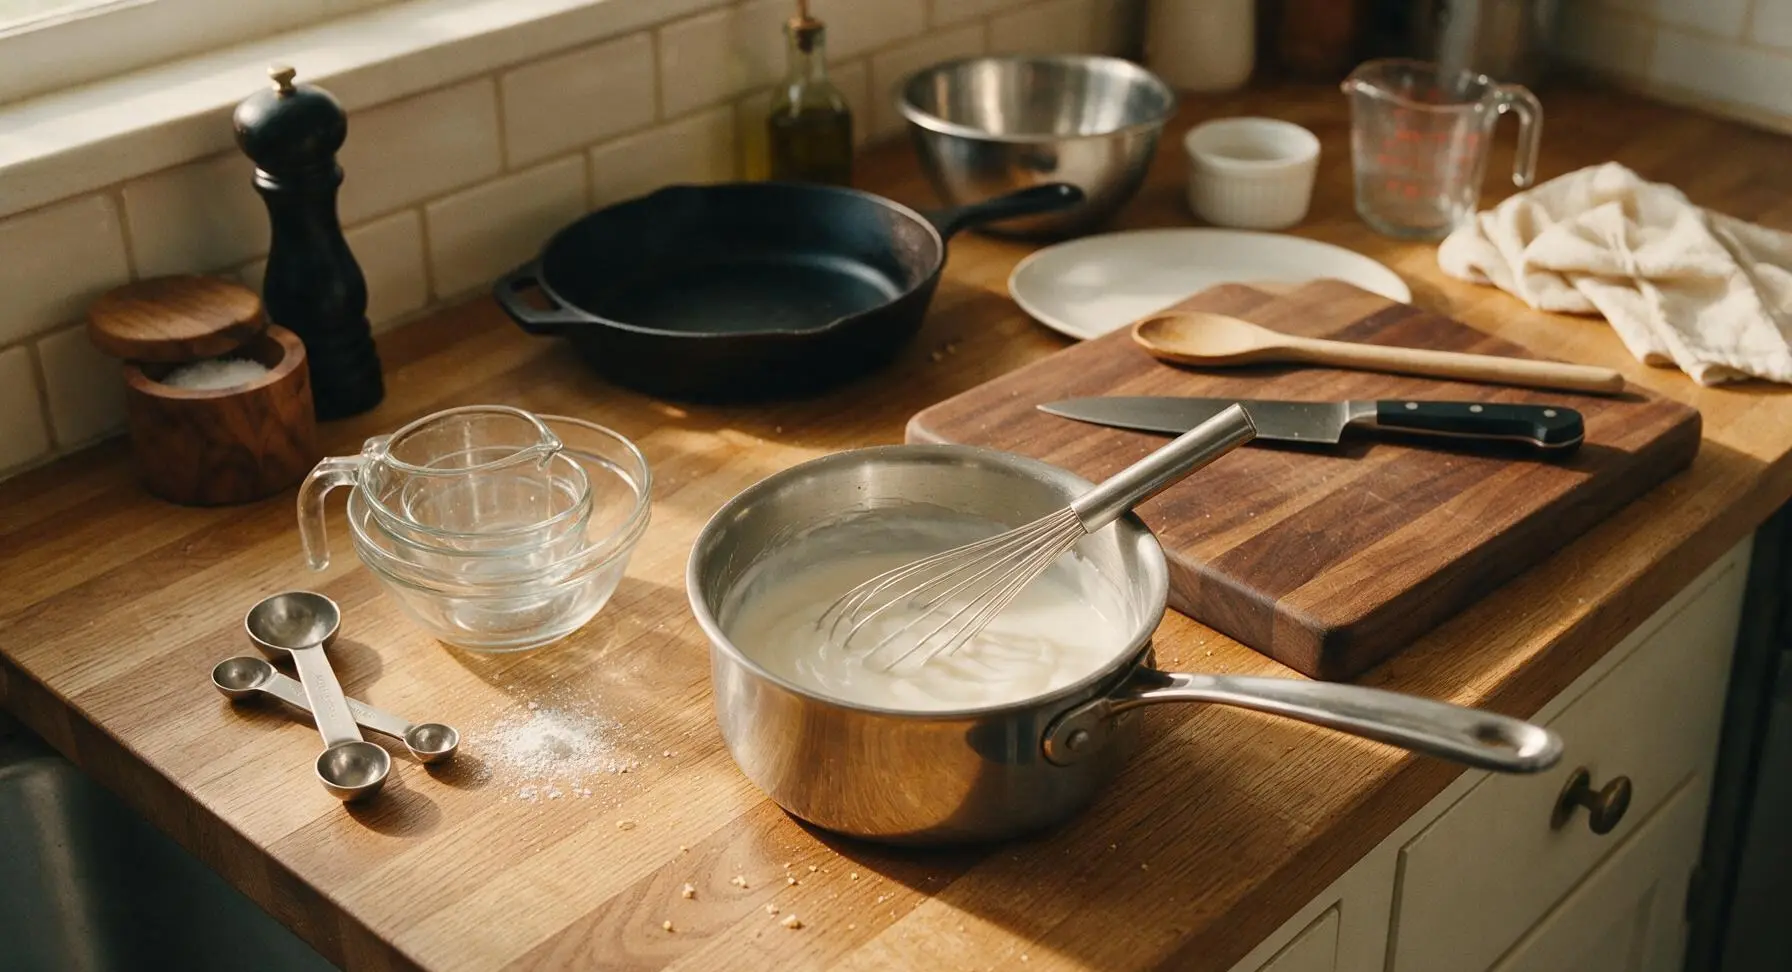
Open the coconut milk cans with the manual matte stainless steel can opener. In the small polished stainless steel saucepan, combine ½ cup granulated sugar, ½ cup cornstarch, and ¼ tsp fine sea salt. Slowly whisk in ½ cup whole milk with the stainless steel wire whisk until the mixture is completely smooth, with no dry cornstarch lumps remaining. Stir in the full-fat coconut milk and 1 tsp vanilla extract, whisking until fully incorporated.
Cook Haupia to Thicken
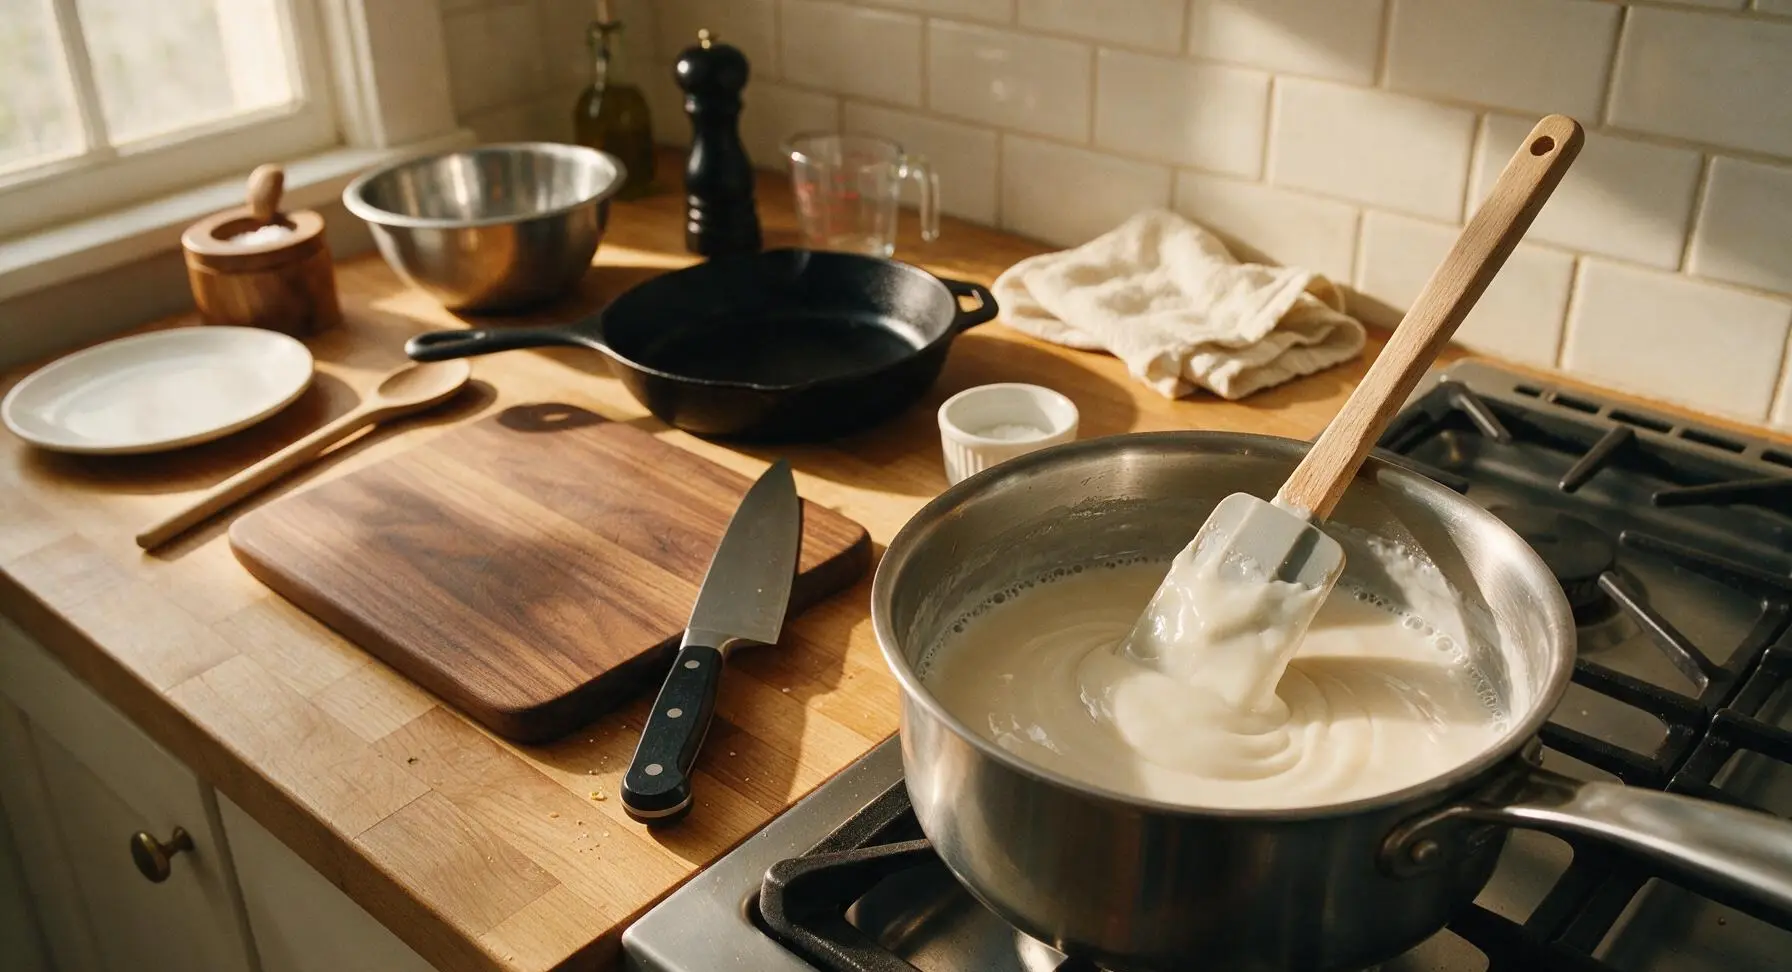
Place the saucepan over medium-low heat, stirring constantly with the silicone spatula and scraping the pan’s bottom and sides to prevent scorching. Cook for 6-8 minutes, until the mixture reaches a gentle simmer and thickens to a glossy, pudding-like consistency that coats the back of the spatula. Test for doneness by running a finger through the coating on the spatula: the line should hold cleanly without running. Remove immediately from heat; overboiling will break down the cornstarch and prevent a firm set.
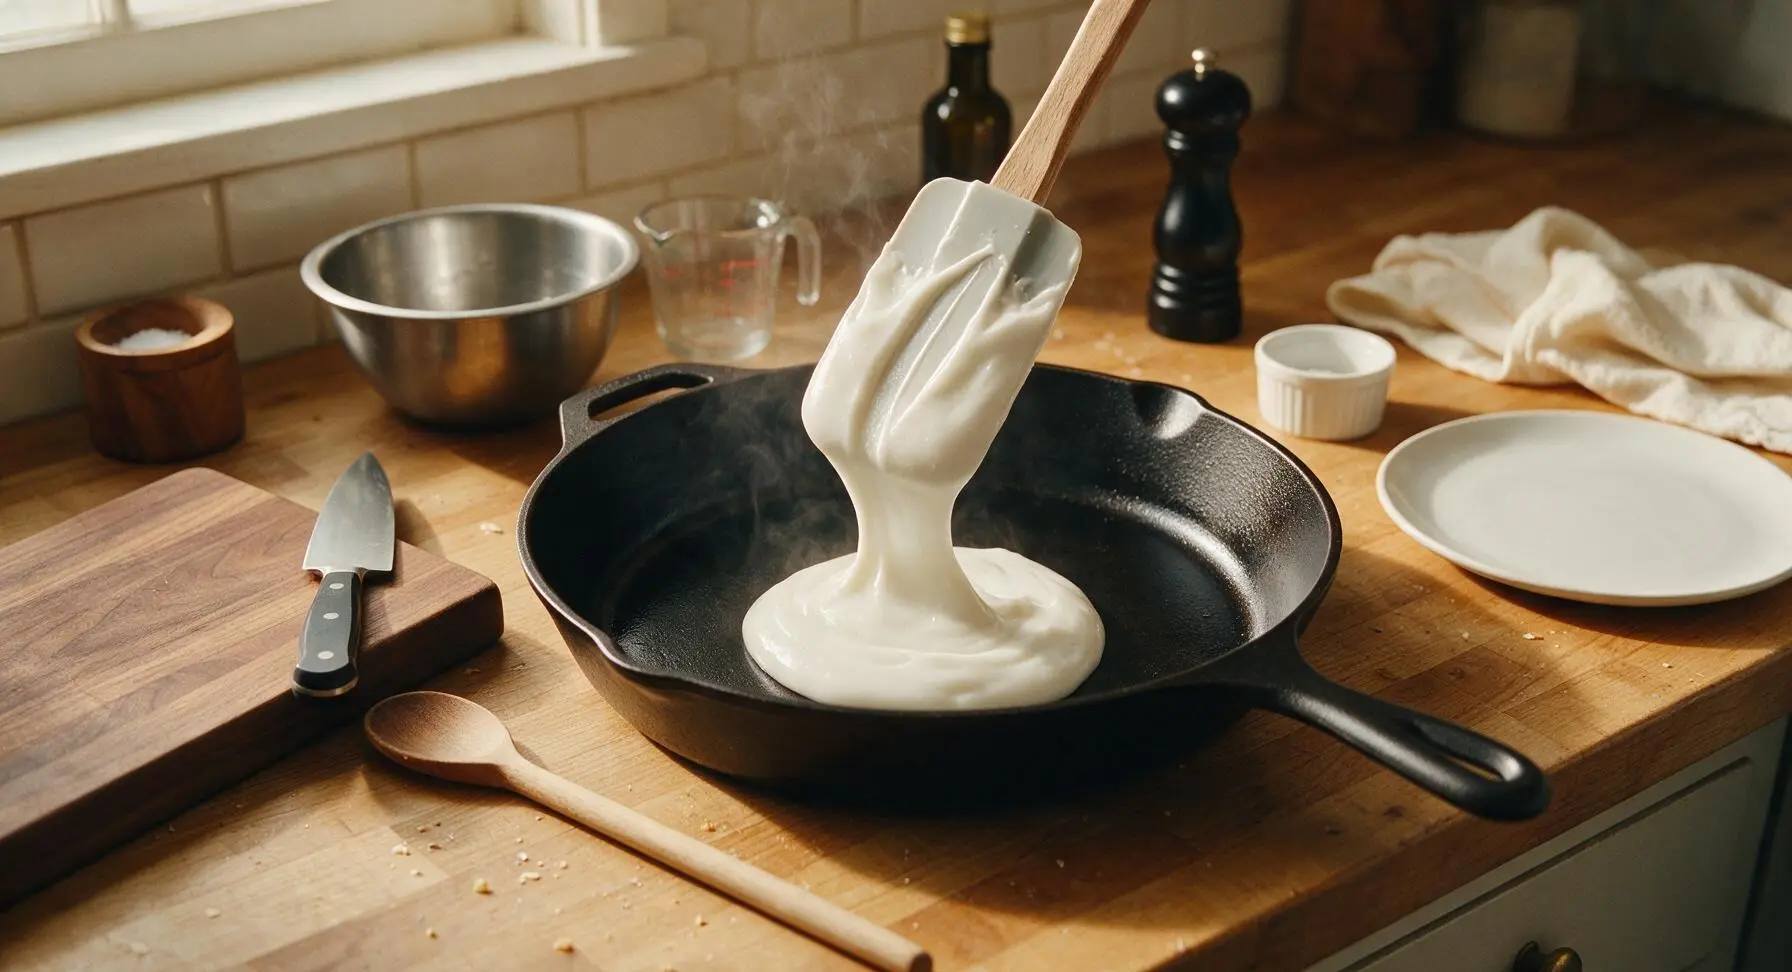
Fill and Chill Pie
Immediately pour the warm thickened haupia directly into the fully cooled graham cracker crust, spreading it into an even, level layer with the silicone spatula. Let the pie rest at room temperature for 15 minutes, then cover loosely with plastic wrap and refrigerate for a minimum of 4 hours (or overnight) until the haupia is completely firm, with no visible jiggle in the center when the dish is gently nudged.
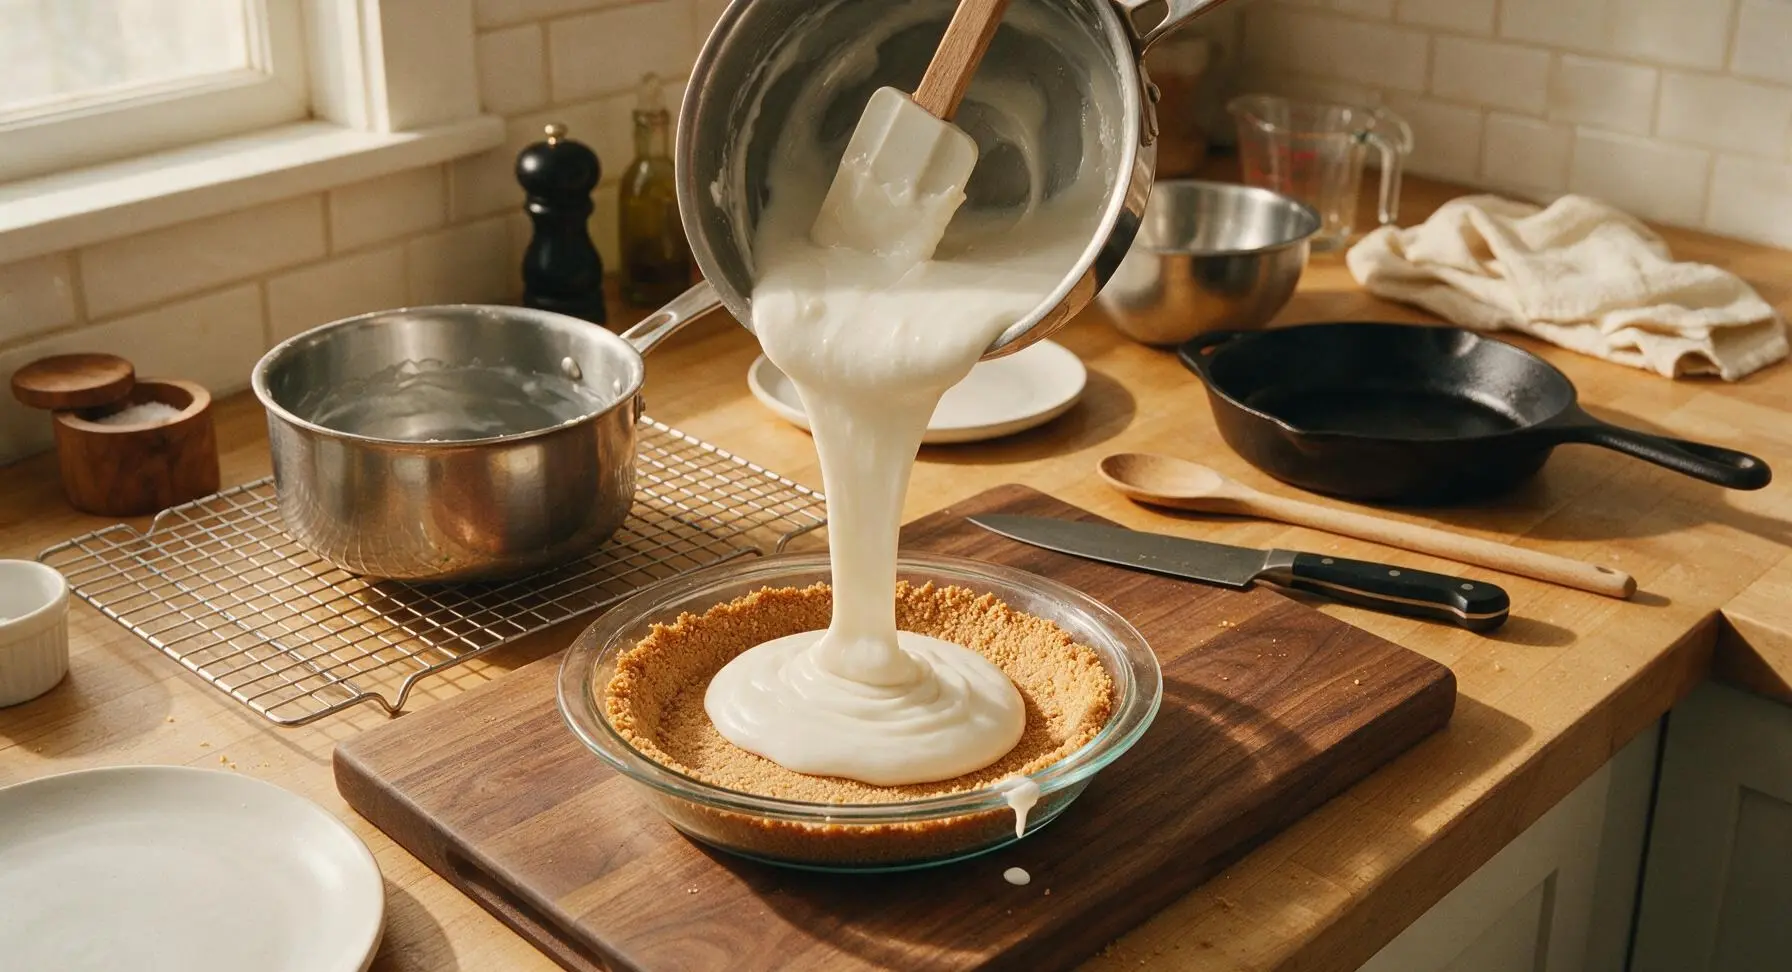
Whip Cream Topping
Once the haupia is fully set, add 1 cup cold heavy whipping cream and 2 tbsp powdered sugar to the clean, dry medium stainless steel mixing bowl. Whisk vigorously with the metal whisk for 2-3 minutes until soft, billowy peaks form that hold their shape without drooping. Do not overwhip, as this will cause the cream to curdle and develop a grainy texture.
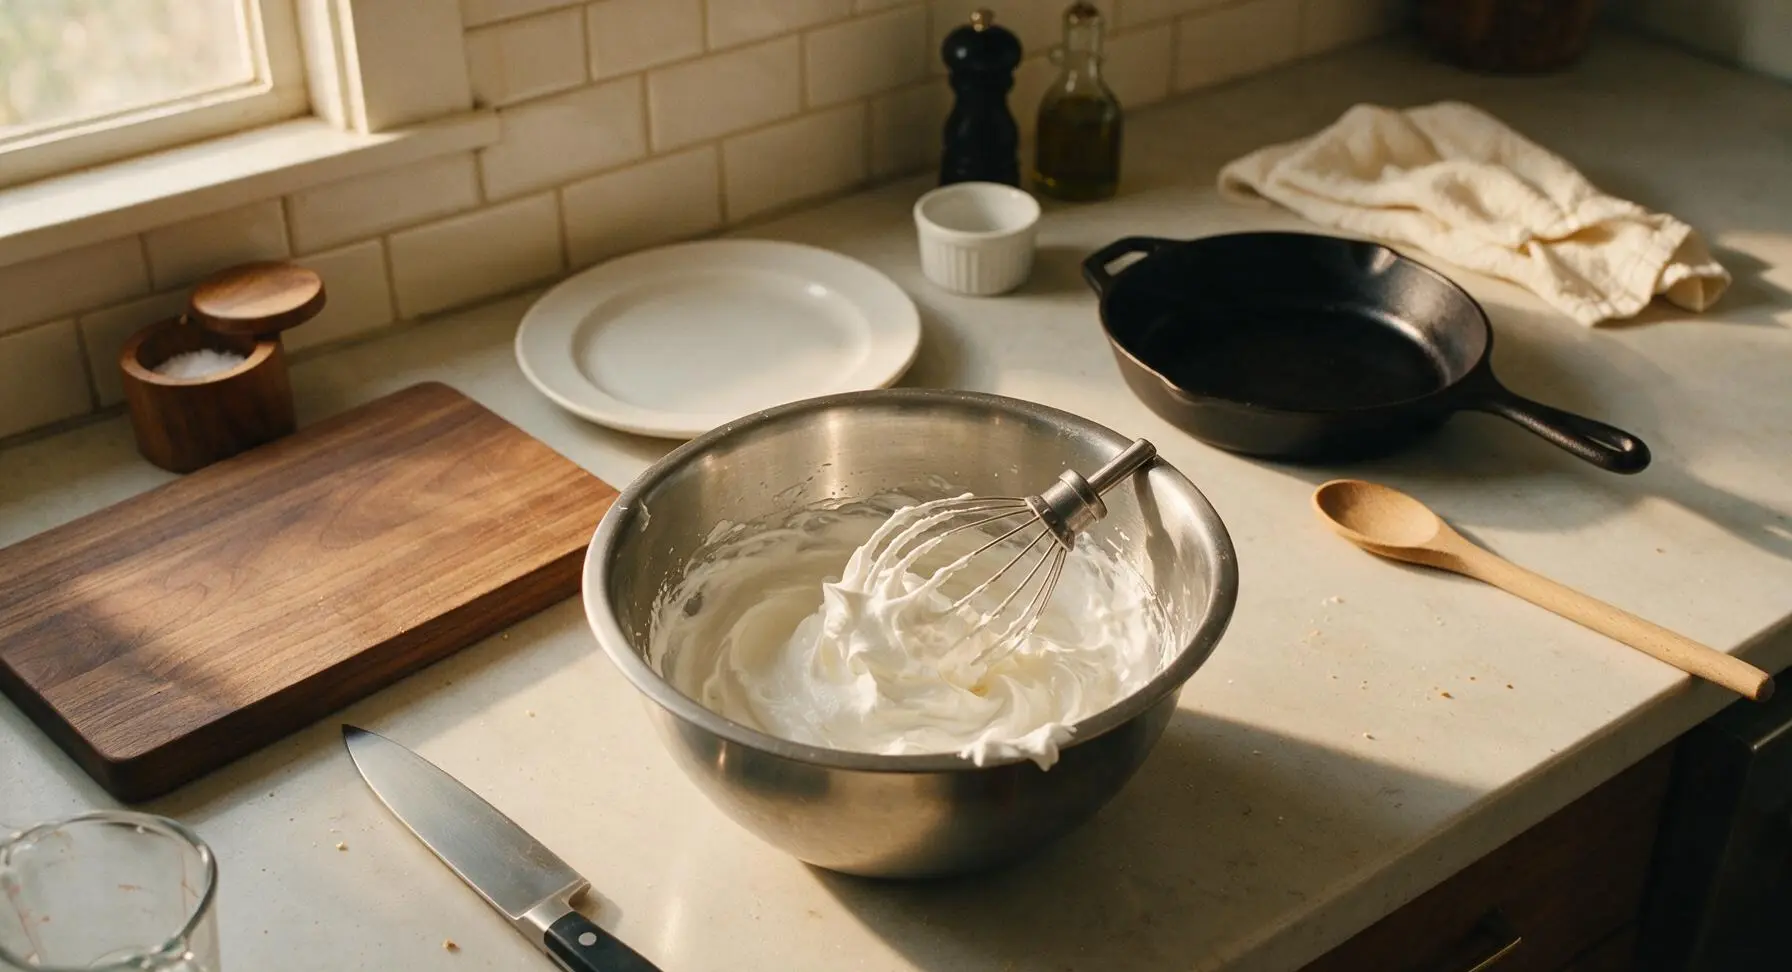
Garnish Finished Pie
Spoon the freshly whipped cream over the top of the chilled set haupia, spreading it in a soft, even layer or leaving it in rustic dollops. Sprinkle the surface evenly with ¼ cup toasted coconut flakes and 2 tbsp chopped roasted macadamia nuts. Return the pie to the refrigerator for 15 minutes to chill before slicing and serving.
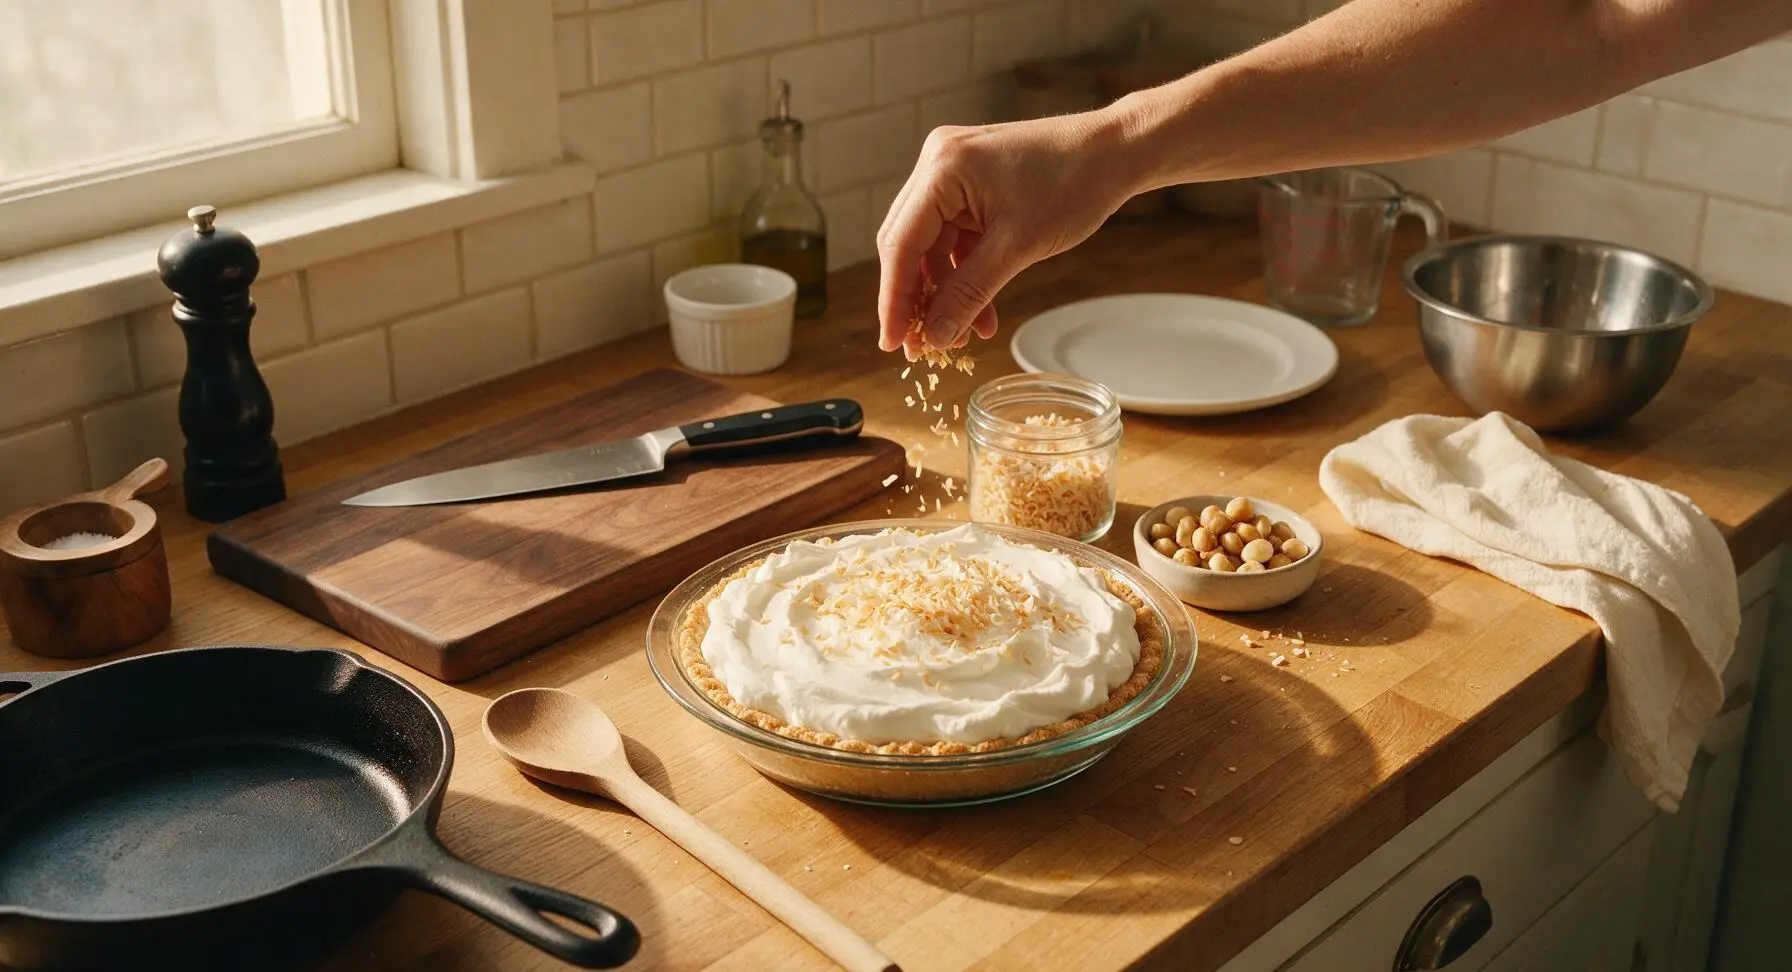
Tips
2.Wait for the graham cracker crust to cool completely (a full 20 minutes on the rack) before pouring in warm haupia filling: pouring filling into a warm crust melts the butter in the crumb layer, leading to a soggy, crumbly crust that separates from the filling as the pie chills.
3.For clean, neat slices when serving, dip the serrated metal pie server in hot water and wipe it dry between every cut: the warm metal cuts cleanly through the firm haupia and soft whipped cream without sticking, creating polished slices that hold their distinct layers.






I’ve been chasing the perfect haupia pie ever since I had it on our trip to Maui 3 years ago! This tasted EXACTLY like what I got at that little beachside food truck. So creamy, not too gelatinous, the shortbread crust I used paired perfectly. The coconut flavor is perfectly sweet, not cloying at all—SO good, even for people who don’t love super rich desserts. 10/10 will make this every summer from now on.
Threw this together last minute for my kid’s end-of-year class party and it was a total hit! My kids loved it, and even with my toddler hanging on my leg the whole time I was cooking it came together so fast I didn’t even stress about messing it up. All the other parents asked where I found the recipe.
This is such a solid easy dessert! I was worried the coconut flavor would be too strong for my roommates who hate super coconut-y things, but even they went back for seconds. The texture is silky smooth, no weird lumps if you stir it constantly while it thickens.
Has anyone tried making this with a gluten-free crust? I have a family dinner coming up next week where two of us are gluten free and I want to make sure it turns out as good as the pictures look! The recipe sounds so easy I don’t want to mess it up with a bad crust swap.
Game changer for my weekly meal prep? Wait no, dessert prep! I make a batch of this on Sundays and it lasts all week in the fridge, perfect for a little sweet treat after my evening classes. Way cheaper than buying the fancy haupia from the Hawaiian spot down the street from campus.
Made this for a rainy Saturday movie night with my partner and it was *chef’s kiss*. I topped it with a little whipped cream and fresh mango, and the flavor combo was unreal. So easy even someone who burns toast can nail this, trust me.
Wait, cook time is only 15 minutes? That seems too good to be true! I thought coconut cream pies took forever to set and bake. Am I missing something? Do you have to bake the crust first if I’m using a store bought graham cracker crust?
I brought this to my office potluck yesterday and it was the first dessert gone! People kept coming back to the table asking if there was more left. I love that it’s not overly heavy, even after a big potluck lunch. 10/10, will be in my regular potluck rotation from now on.
My grandma used to make haupia pie for every family luau when I was a kid, and I was so nervous I wouldn’t be able to replicate her recipe. This one is spot on! The texture is exactly how I remember it—wobbly but firm enough to hold a slice, perfectly coconutty, not too sweet.
OMG this is the perfect summer dessert! It’s light, cold, and doesn’t require you to turn on the oven for an hour in this 110 degree Arizona heat. That’s a win in my book. I added a sprinkle of macadamia nuts on top for extra crunch and it was amazing.
I’m usually a savory over sweet person, but this pie converted me! I was skeptical about a no-bake coconut pie but it’s so creamy and flavorful, I ate two slices right after it finished setting. My husband thought I bought it from a fancy bakery, lmao.
Quick question—can I make this dairy free? My son is allergic to dairy and I want to make this for his birthday luau party next weekend. I know coconut is usually dairy free but I wasn’t sure if there was hidden dairy in the traditional recipe!
As someone who bakes for fun every weekend, I can confirm this recipe is foolproof. I’ve made it three times in the last month and every single time it comes out perfectly set, no lumps, perfect coconut flavor. I even added a layer of lilikoi curd on top last time for a little tropical twist and it was incredible.
Made this with my 8 year old daughter for her school culture project on Hawaii! She was so proud to tell her whole class how she made it herself (I only helped with the stovetop part, obviously). The class ate every last crumb and her teacher asked for the recipe.
Is this easy to make vegan? I see people talking about dairy free, but I also don’t eat eggs or gelatin. I’ve had haupia at Hawaiian restaurants before and loved it, but a lot of pie recipes sneak in gelatin which I avoid.
I made this for my book club meeting last night and everyone was raving! It was the perfect light dessert after we had heavy Cuban food for dinner. The coconut flavor was so refreshing, I can’t believe how quick it came together. I will absolutely be making this again.
Took this on a camping trip last weekend and it was the perfect cold treat to keep in the cooler! It held up way better than I thought it would, even when the cooler got a little warm during the day. All my camping buddies kept asking when I’d make it again. Super easy to pack too!
Wait why did I wait so long to make this? I was worried it would be too complicated or taste fake because of the canned coconut milk, but it tastes like something you’d pay $8 a slice for at a fancy beach cafe. I topped mine with a drizzle of dark chocolate and some toasted coconut, and my roommate said it’s better than the haupia pie we had in Oahu last year.
I made this to go with our weekend smoked brisket spread and it was the ideal sweet finish after all that savory, smoky meat. I was worried it would be too light, but it held its own against all the heavy BBQ sides. Even my dad, who says he ‘hates coconut’, ate two slices.
Super easy recipe for beginner bakers! I’m still learning how to make desserts that don’t come out lumpy or burnt, and this came out perfectly on my first try. I didn’t even have to run to the store for fancy ingredients, I already had all the cornstarch, coconut milk, and sugar in my pantry. Total win.