
Hawaiian Rolls
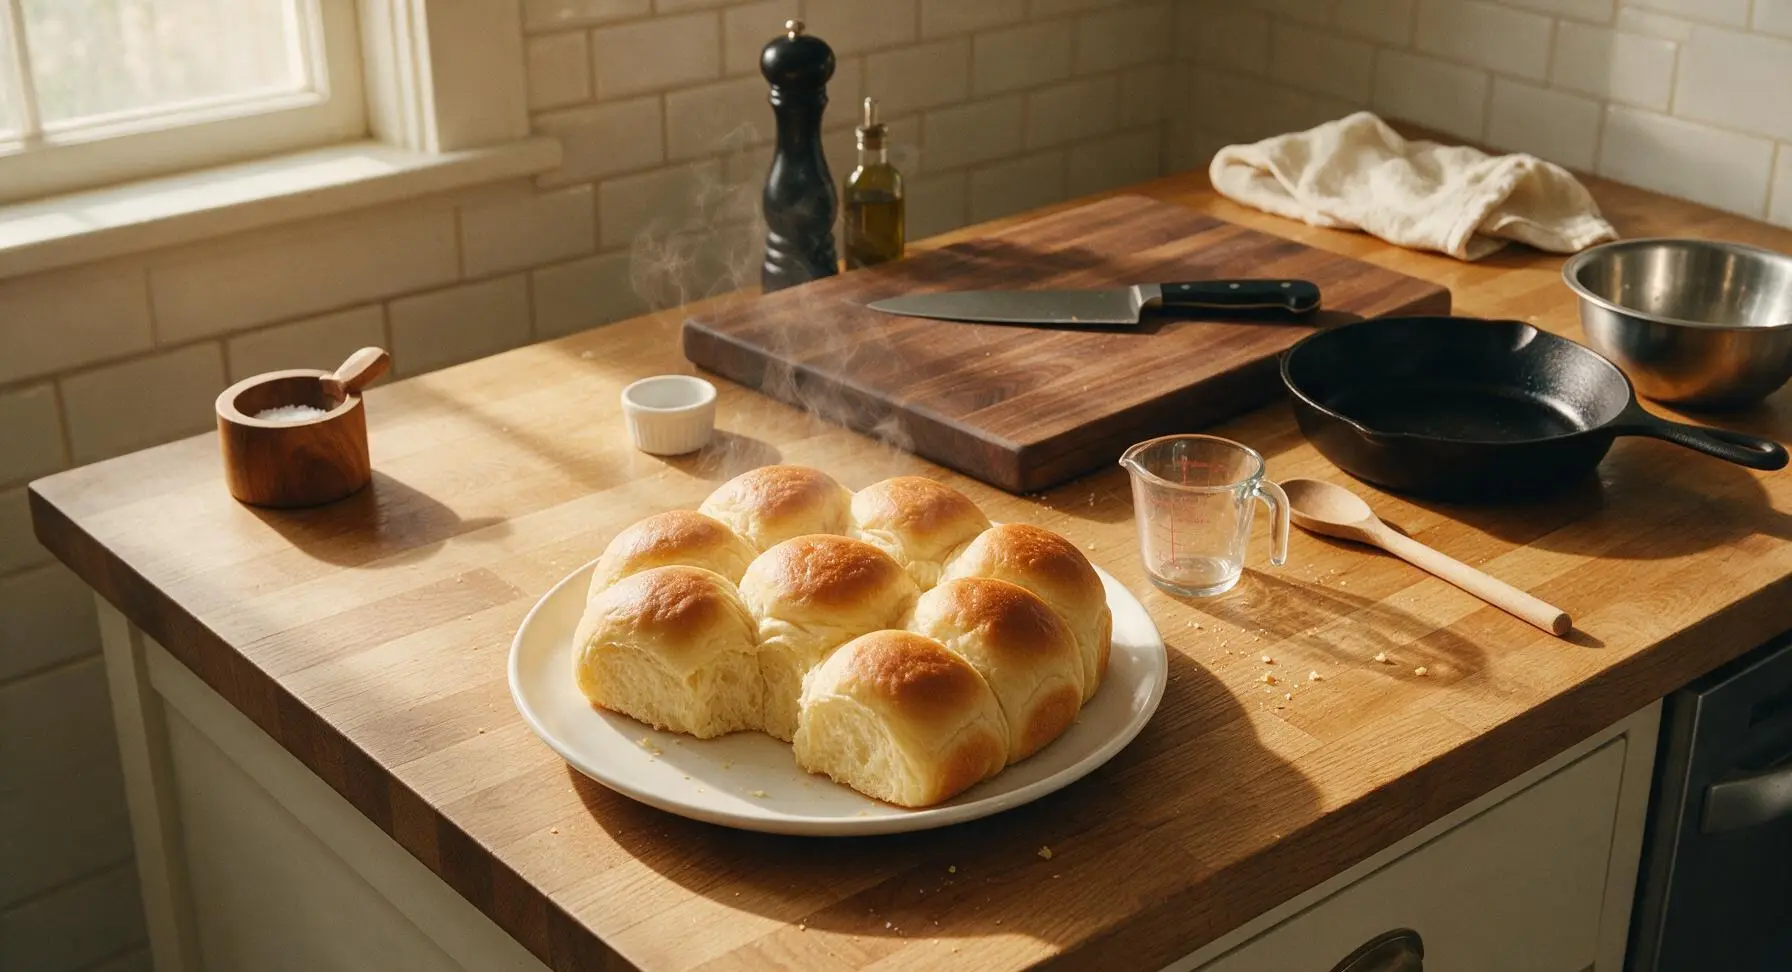
intro
Soft, pillowy, slightly sweet golden rolls with a tender buttery crumb, perfect for sliders, sopping up sauces, or eating warm straight from the pan.
Ingredients
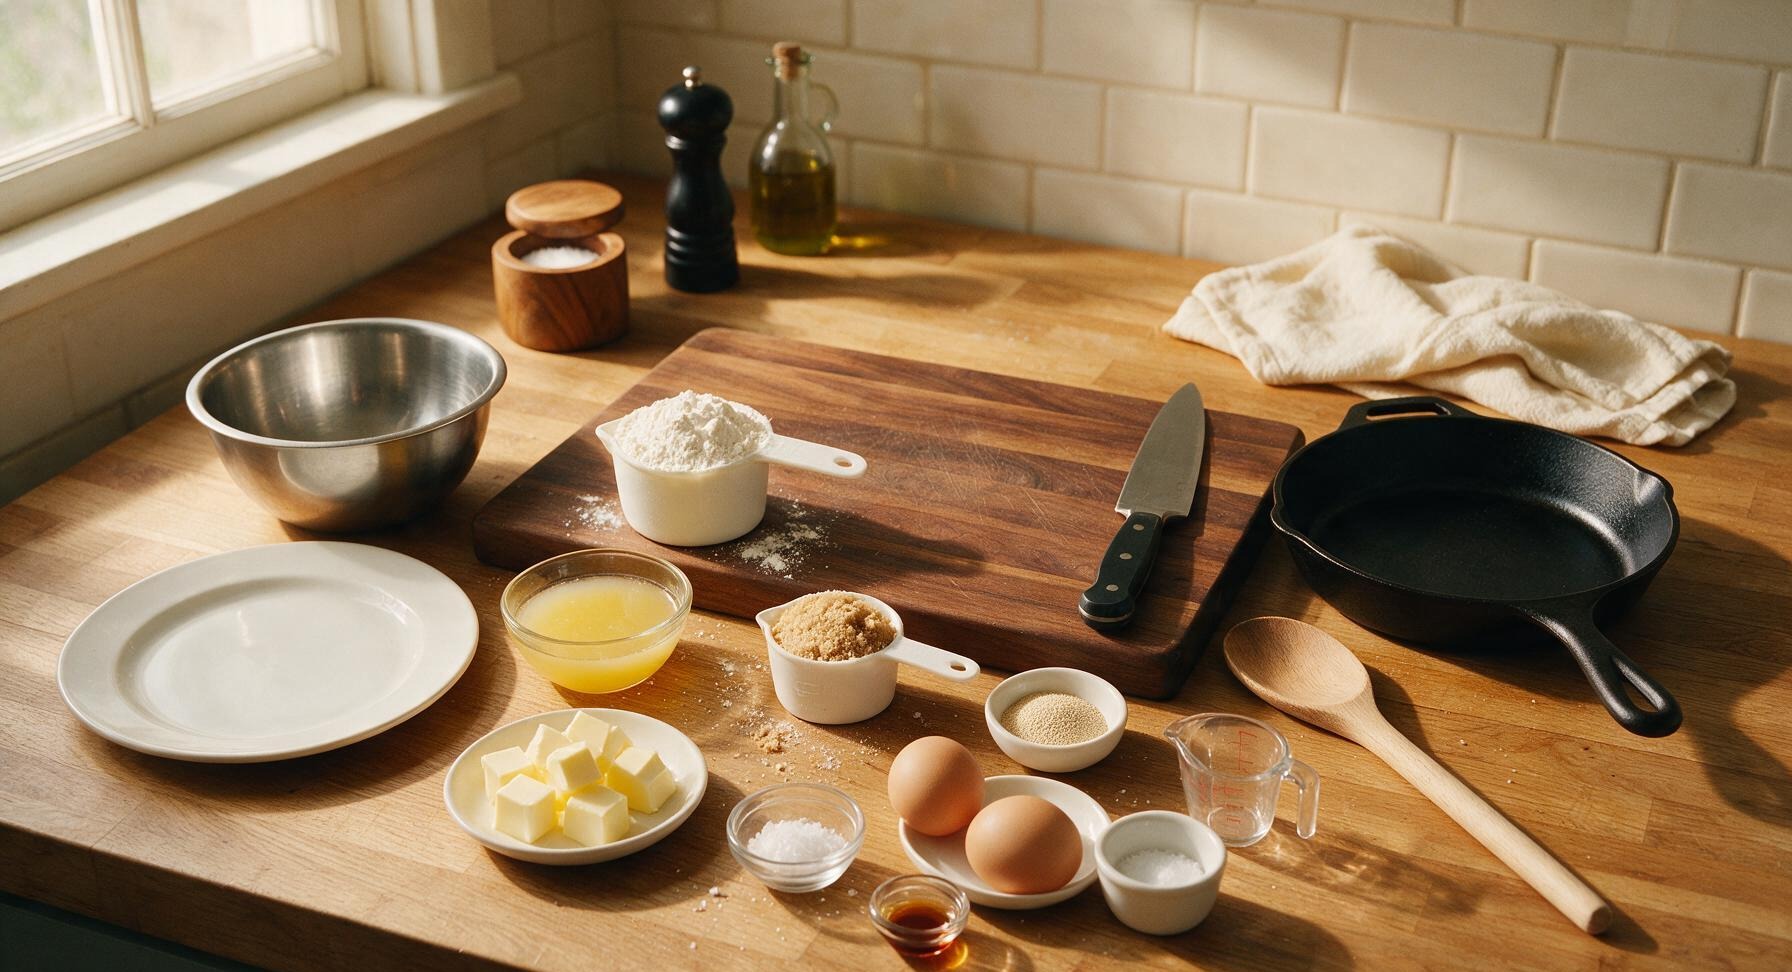
Steps
Warm Base Ingredients
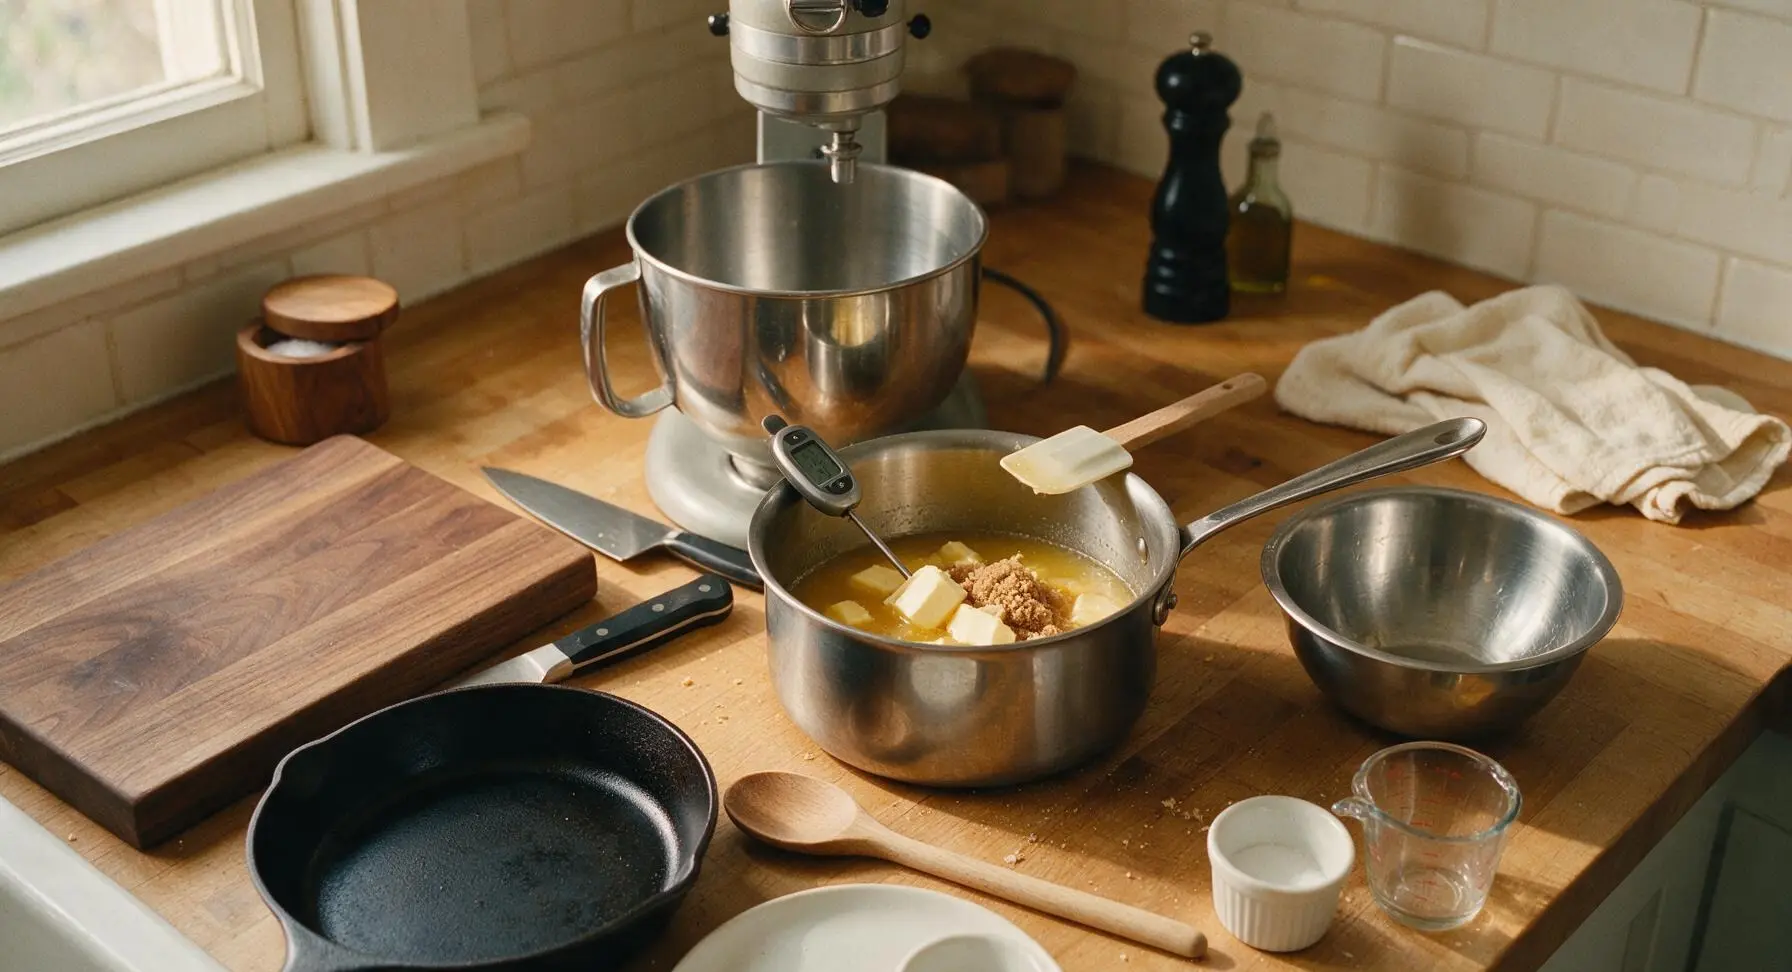
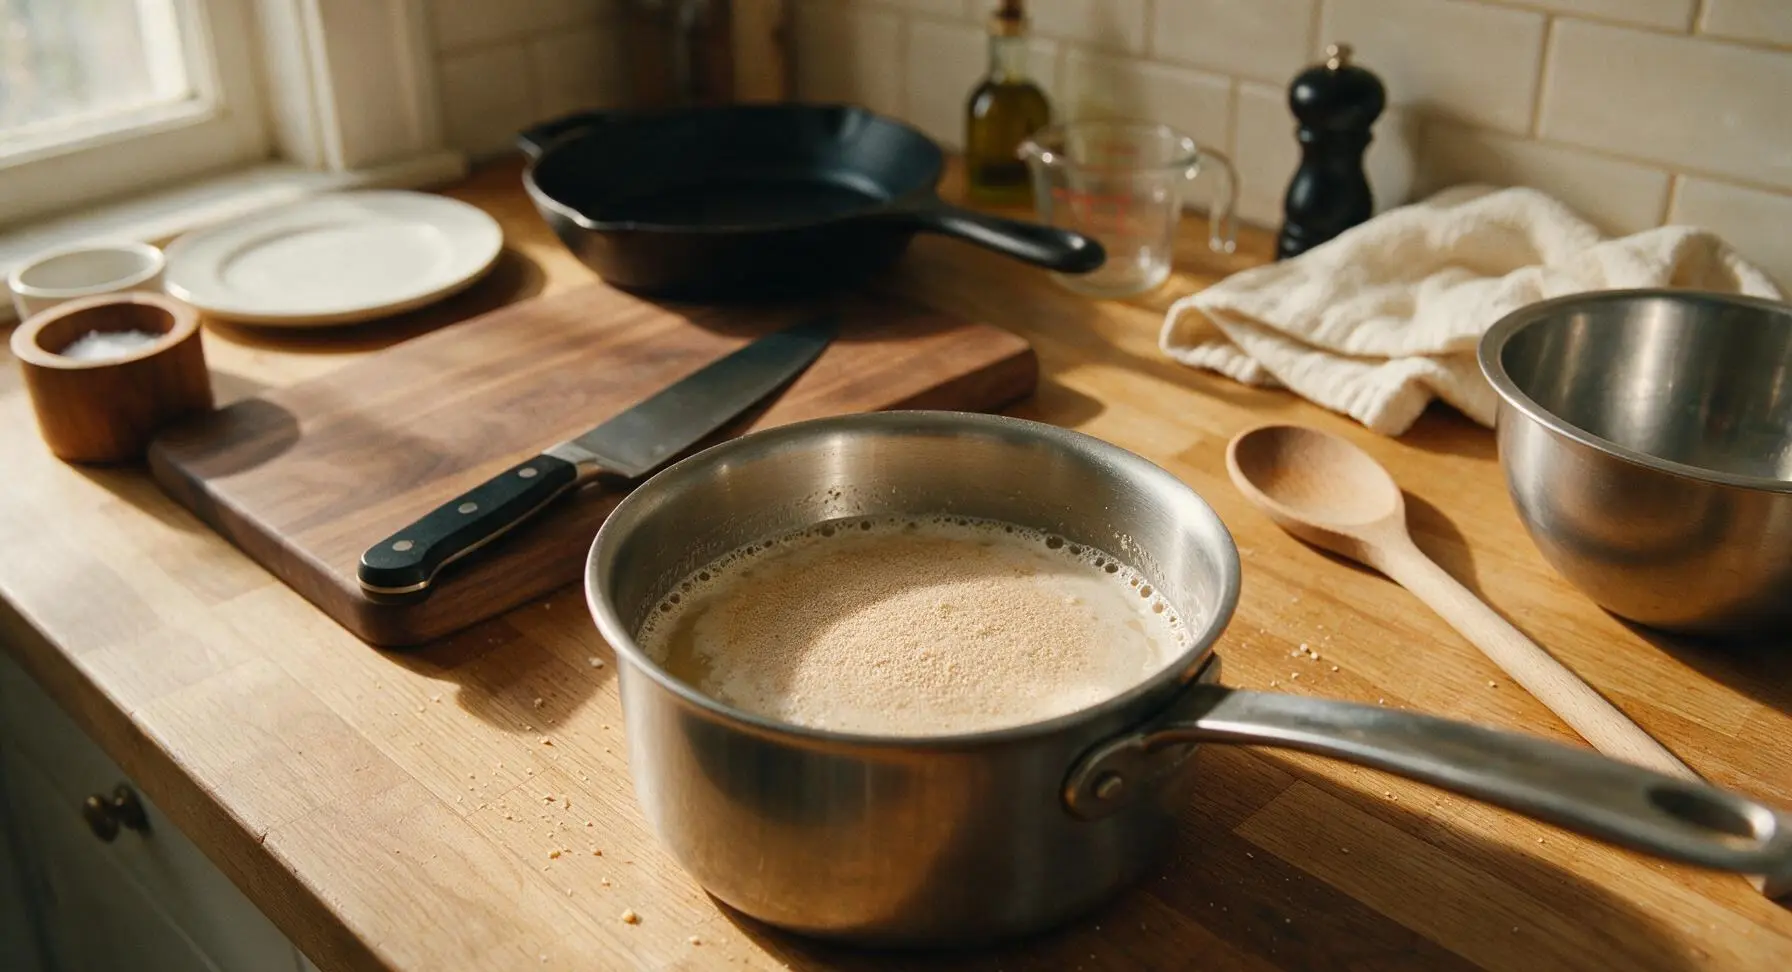
Add 3/4 cup unsweetened pineapple juice, 4 tablespoons (57g) of the unsalted butter, and 1/4 cup packed light brown sugar to the small stainless steel saucepan. Heat over low heat, stirring occasionally with the silicone spatula, until butter melts and the mixture reaches 110-115°F (43-46°C) on the instant-read thermometer – it should feel warm, not hot, to the touch. Remove from heat, stir in 1 teaspoon vanilla extract, then sprinkle the active dry yeast over the surface. Let rest 5 minutes until the yeast foams slightly, confirming it is active.
Combine Dough Ingredients
Pour the activated yeast mixture into the large stand mixer bowl fitted with the dough hook. Add the 2 room-temperature large eggs, beaten lightly, and 1 teaspoon fine sea salt. Turn the mixer to low speed, gradually adding 4 cups (480g) all-purpose flour 1/2 cup at a time, mixing until a shaggy, soft dough forms that pulls away from the sides of the bowl, about 3 minutes. If the dough sticks excessively to the bowl, add up to 2 extra tablespoons of flour, 1 teaspoon at a time.
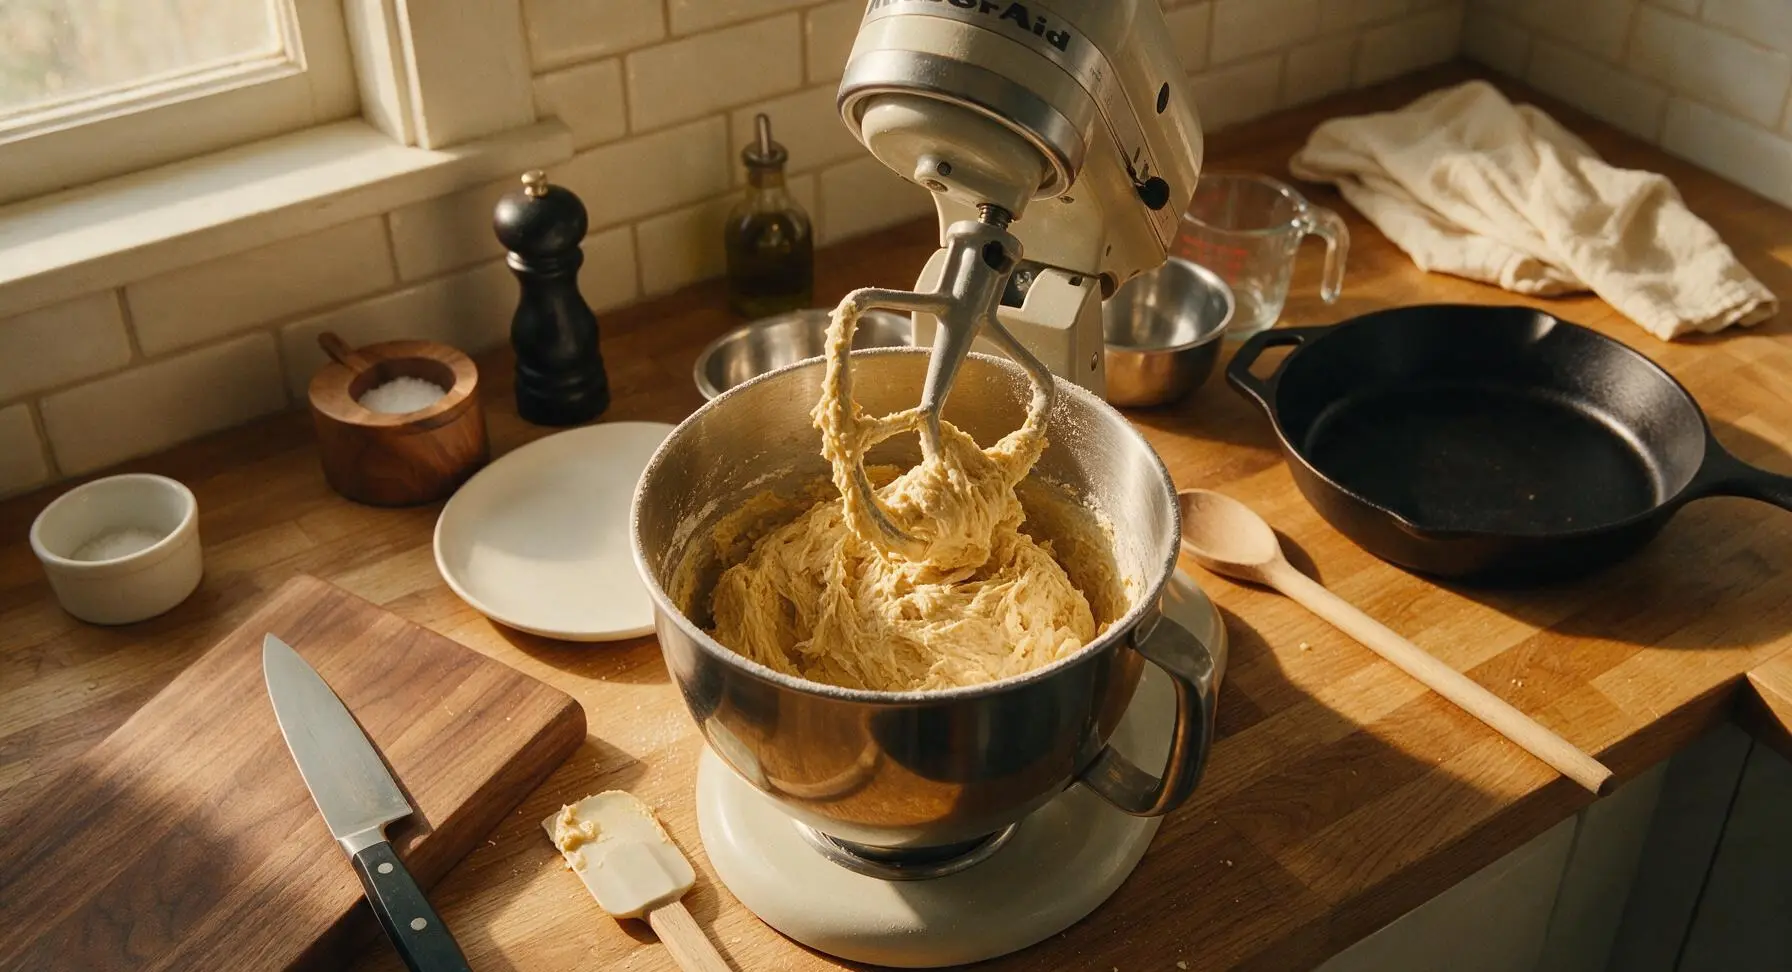
Knead Until Smooth
Increase mixer speed to medium-low, and knead the dough for 6-7 minutes, until it becomes smooth, soft, and elastic. When done, the dough will pull completely away from the bowl sides, form a soft ball around the dough hook, and will spring back slightly when poked gently with a floured finger.
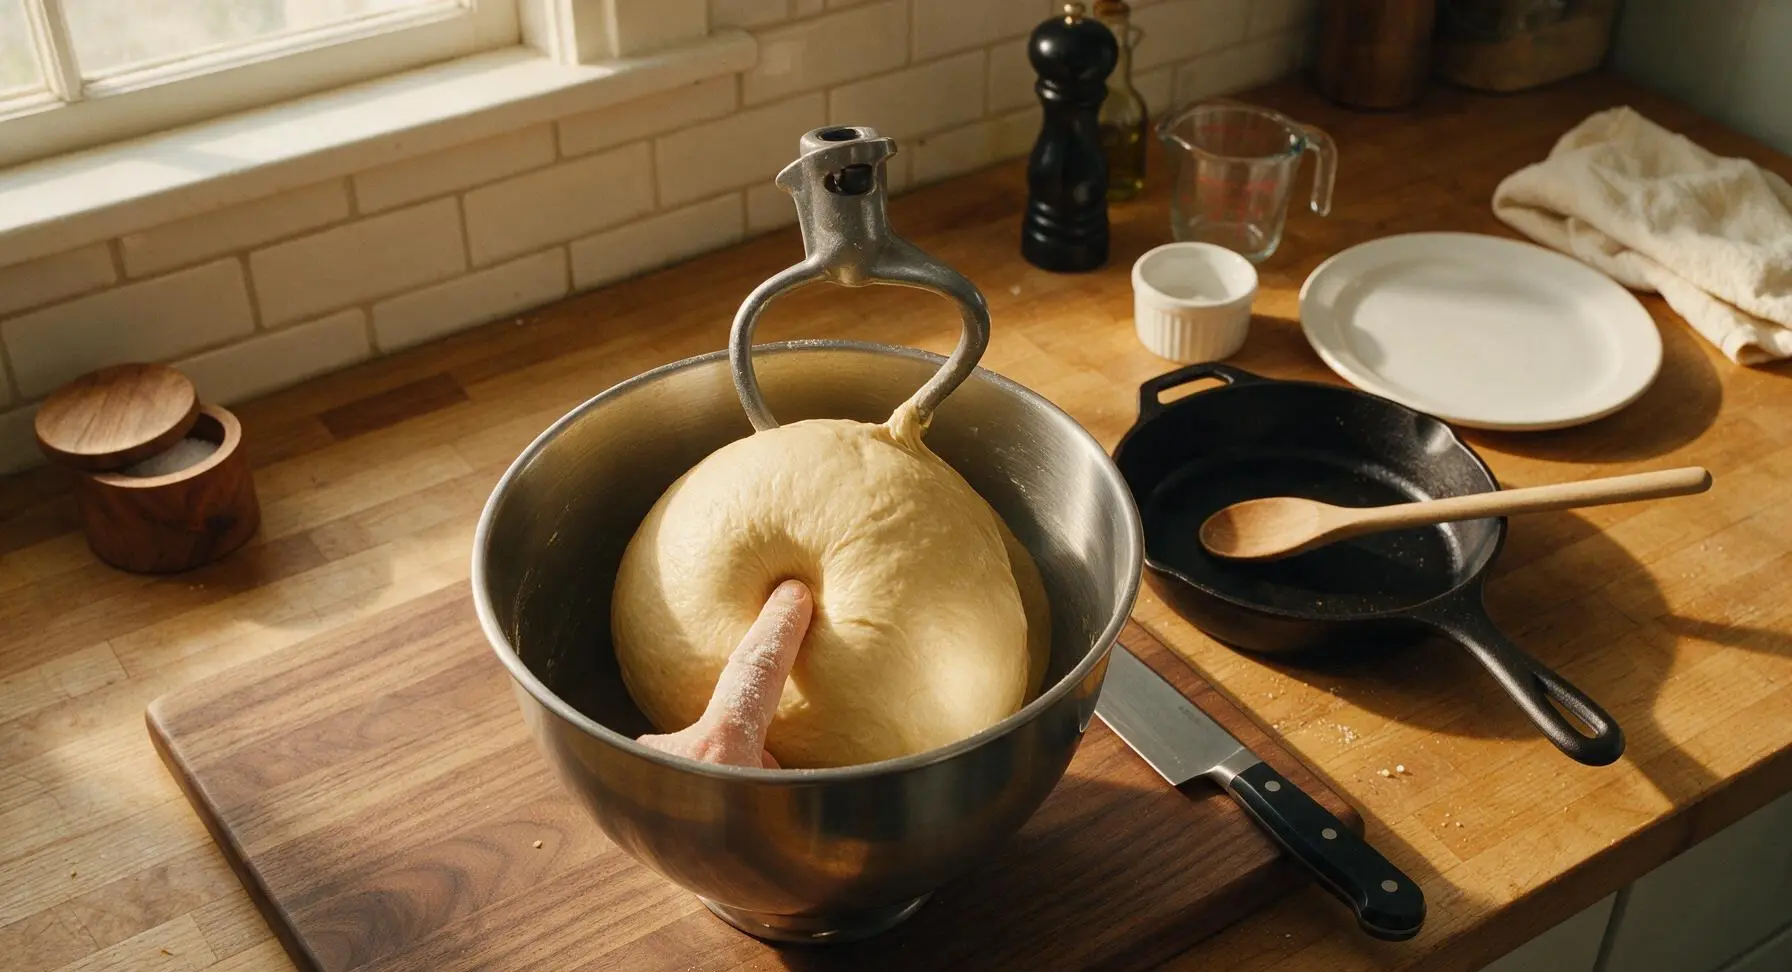
Let Dough Rise
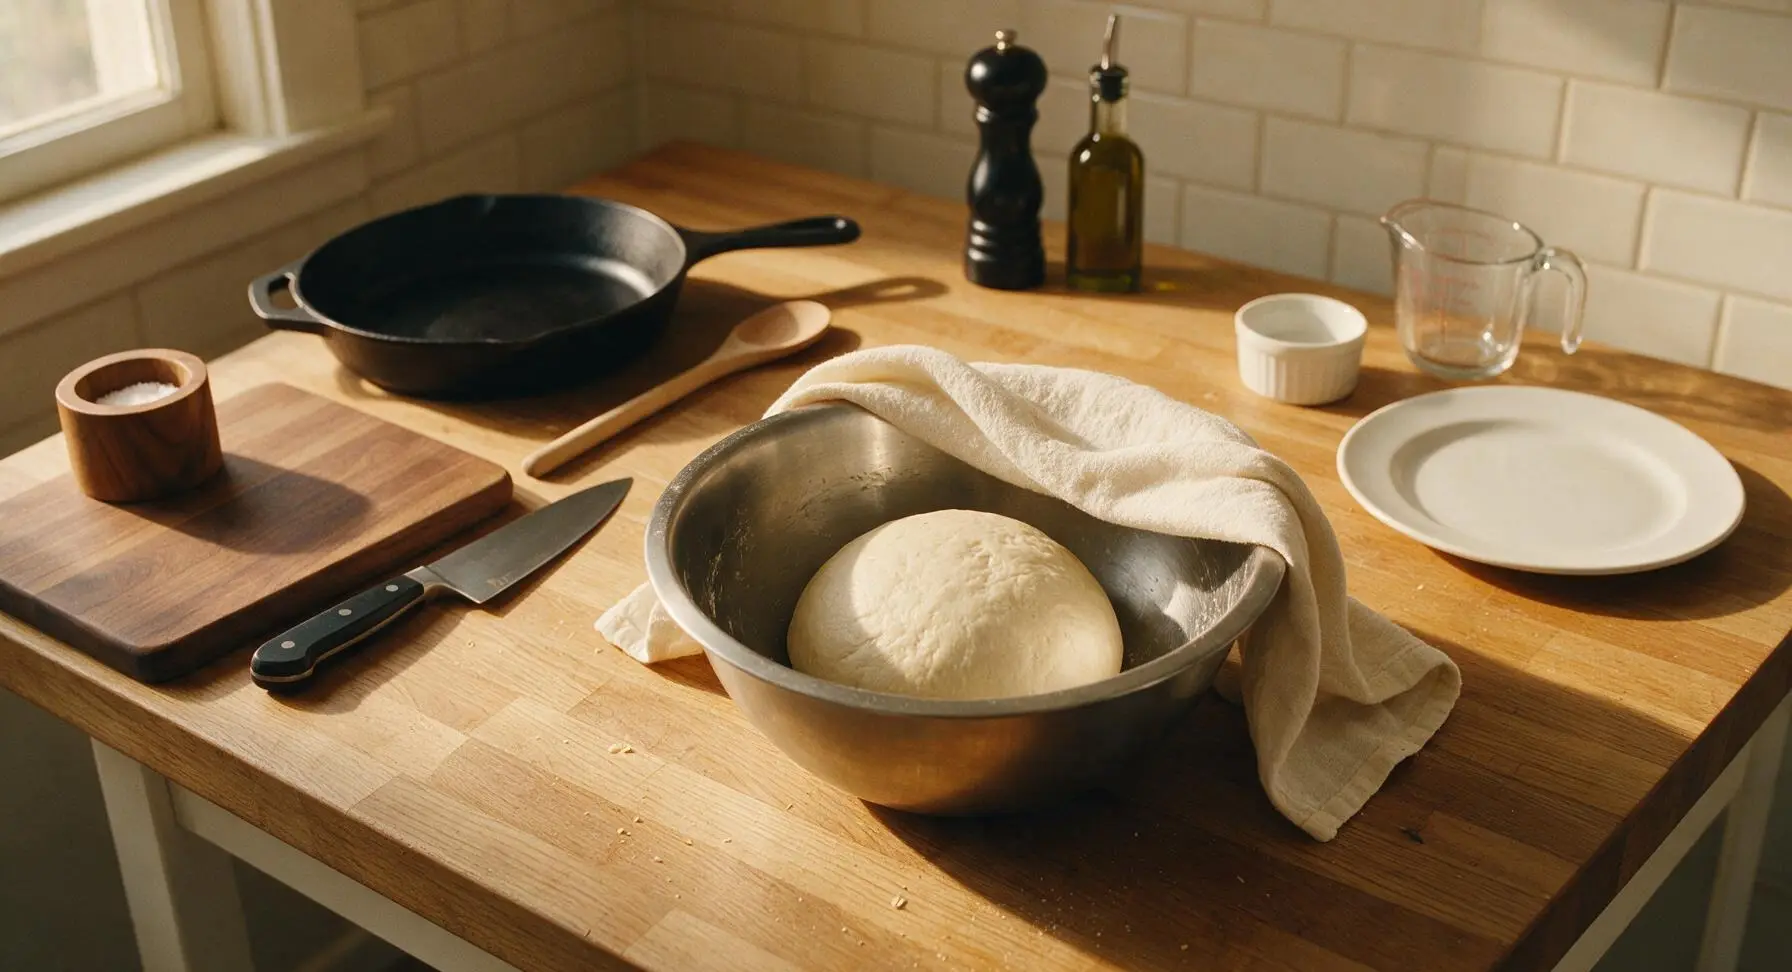
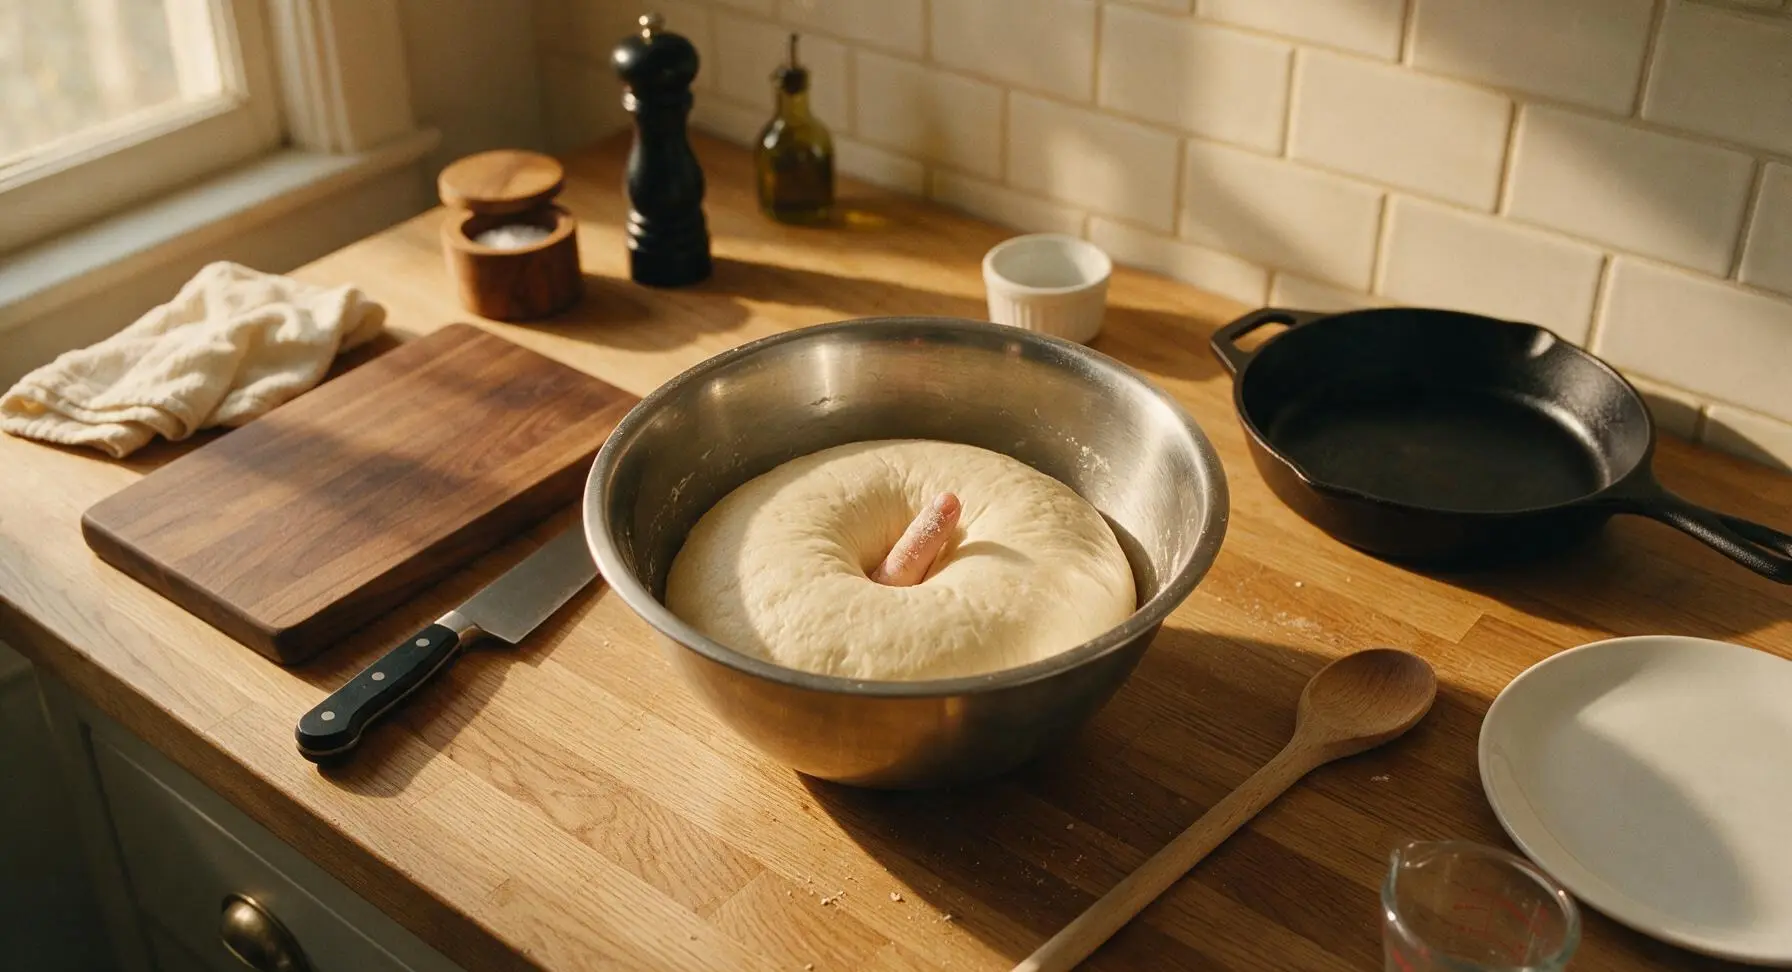
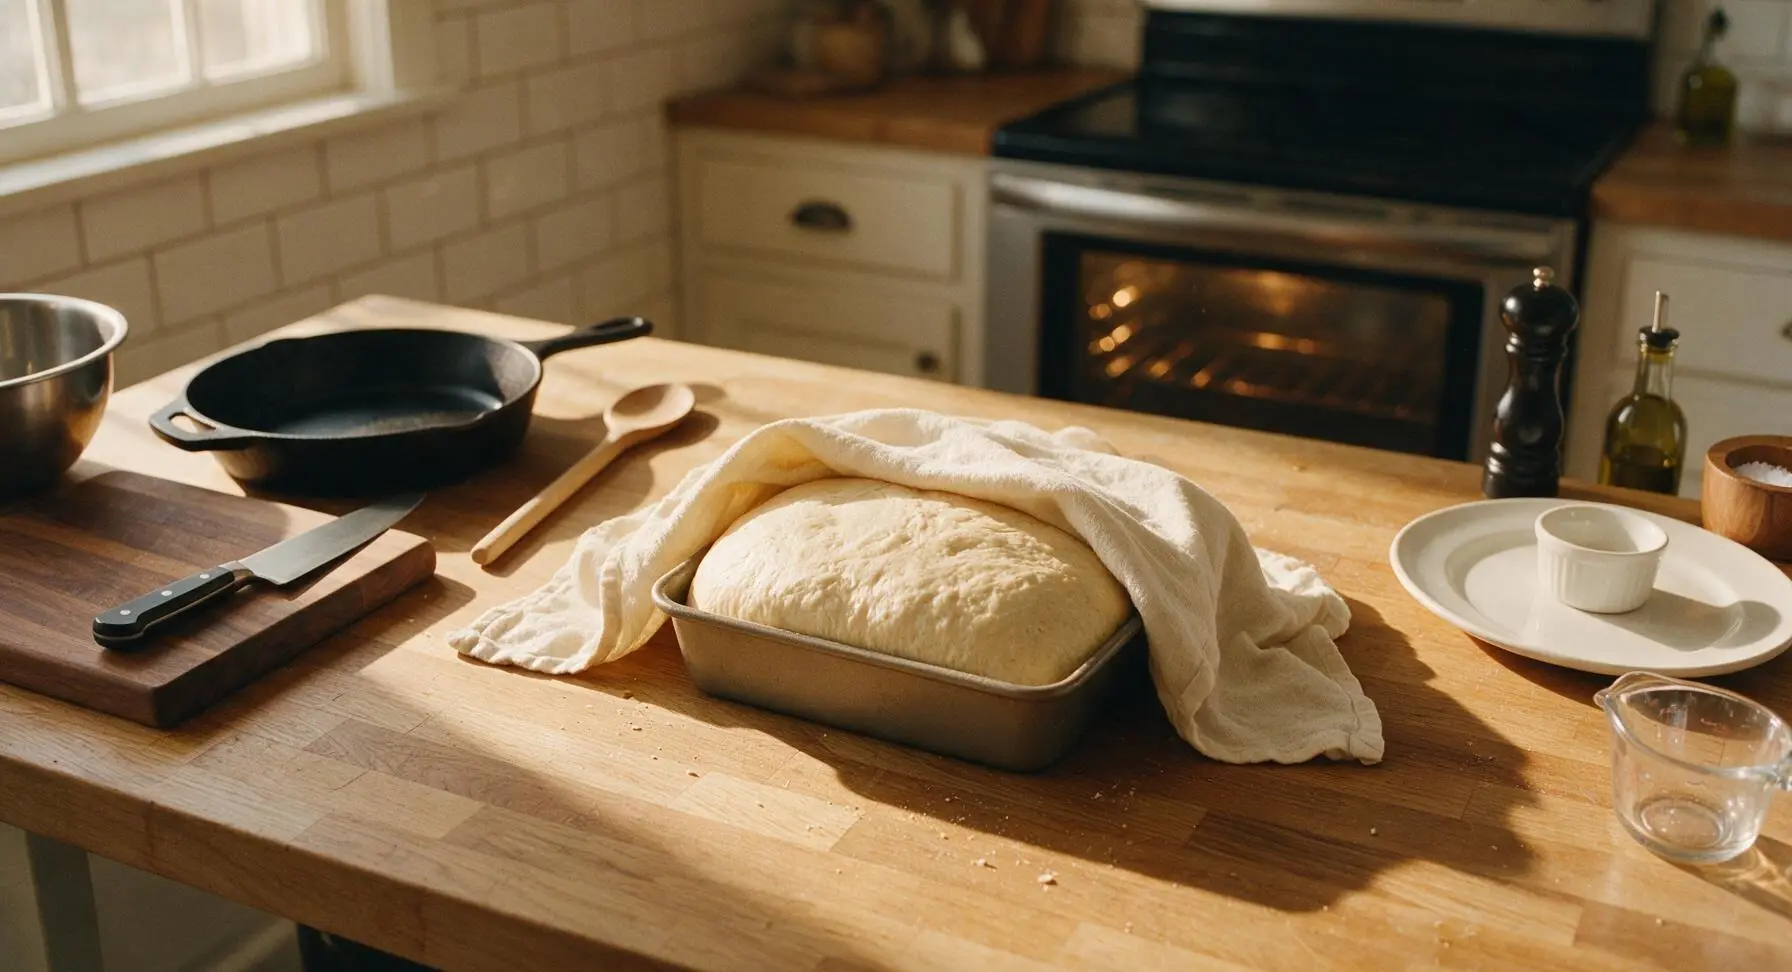
Remove the dough hook from the mixer, form the dough into a smooth tight ball, and place it back into the lightly greased mixer bowl. Cover the bowl tightly with the cream linen towel (moved temporarily from its corner for this step), and let it rise in a warm, draft-free spot for 1 hour, until it doubles in size. When ready, an indentation pressed into the dough will remain and not spring back. Return the towel to its fixed corner after covering.
Shape Individual Rolls
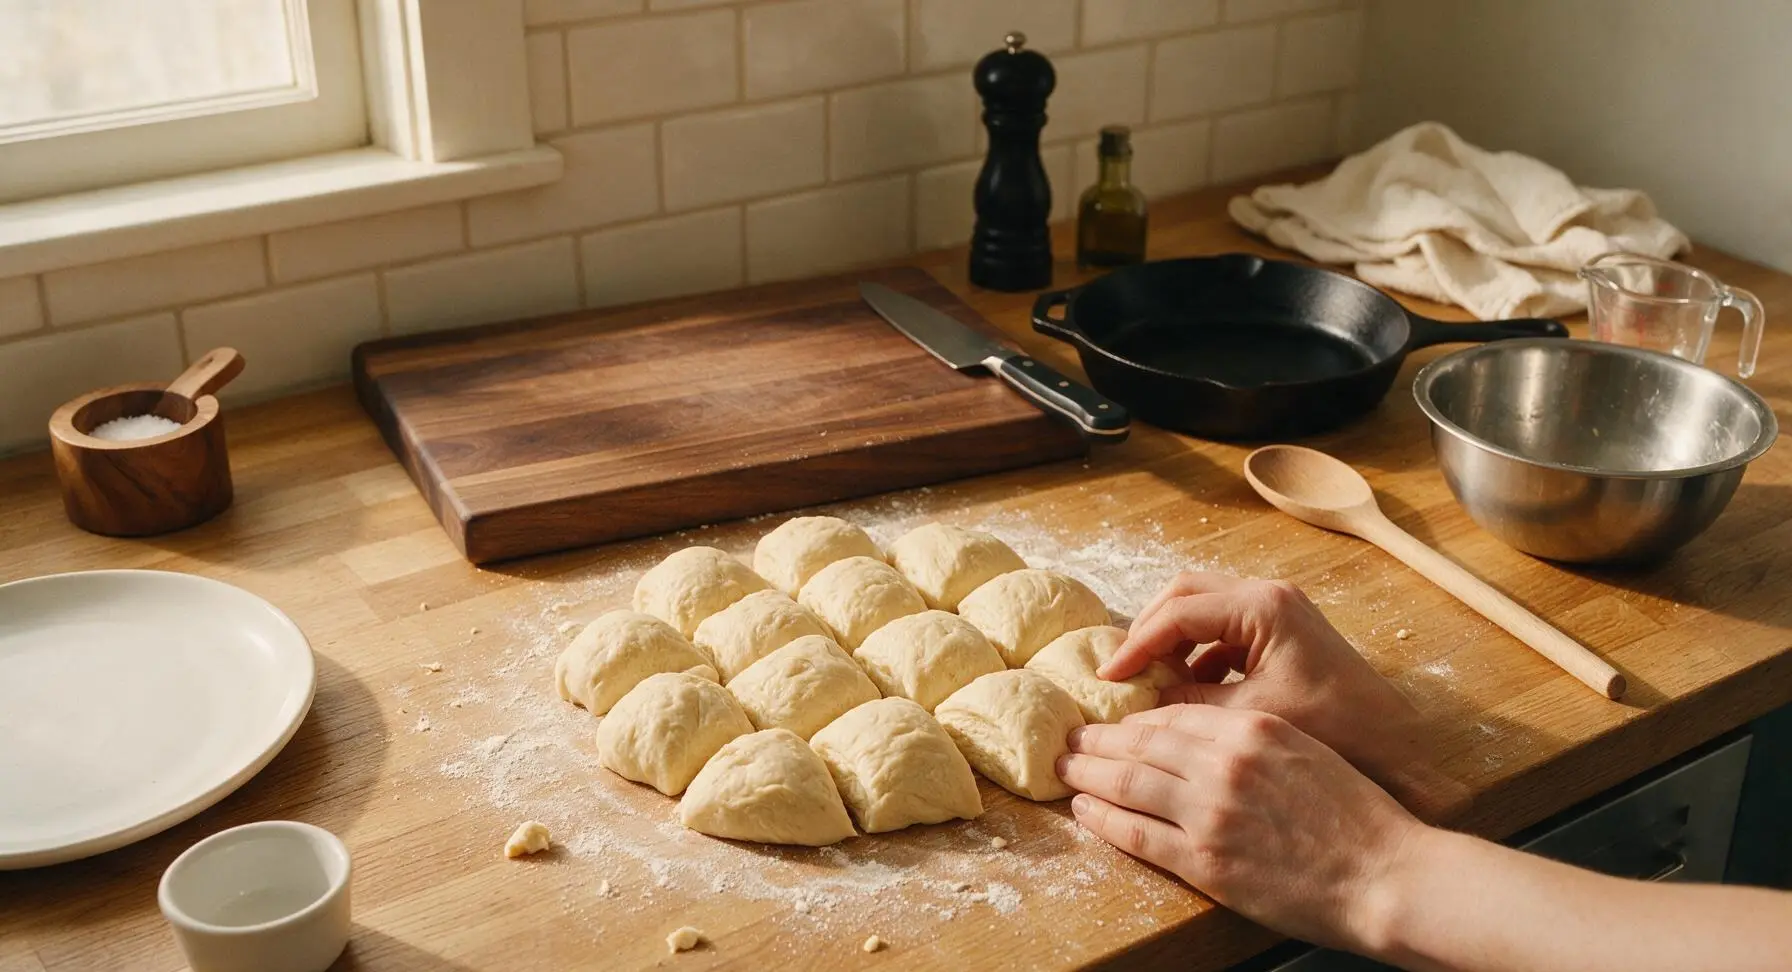
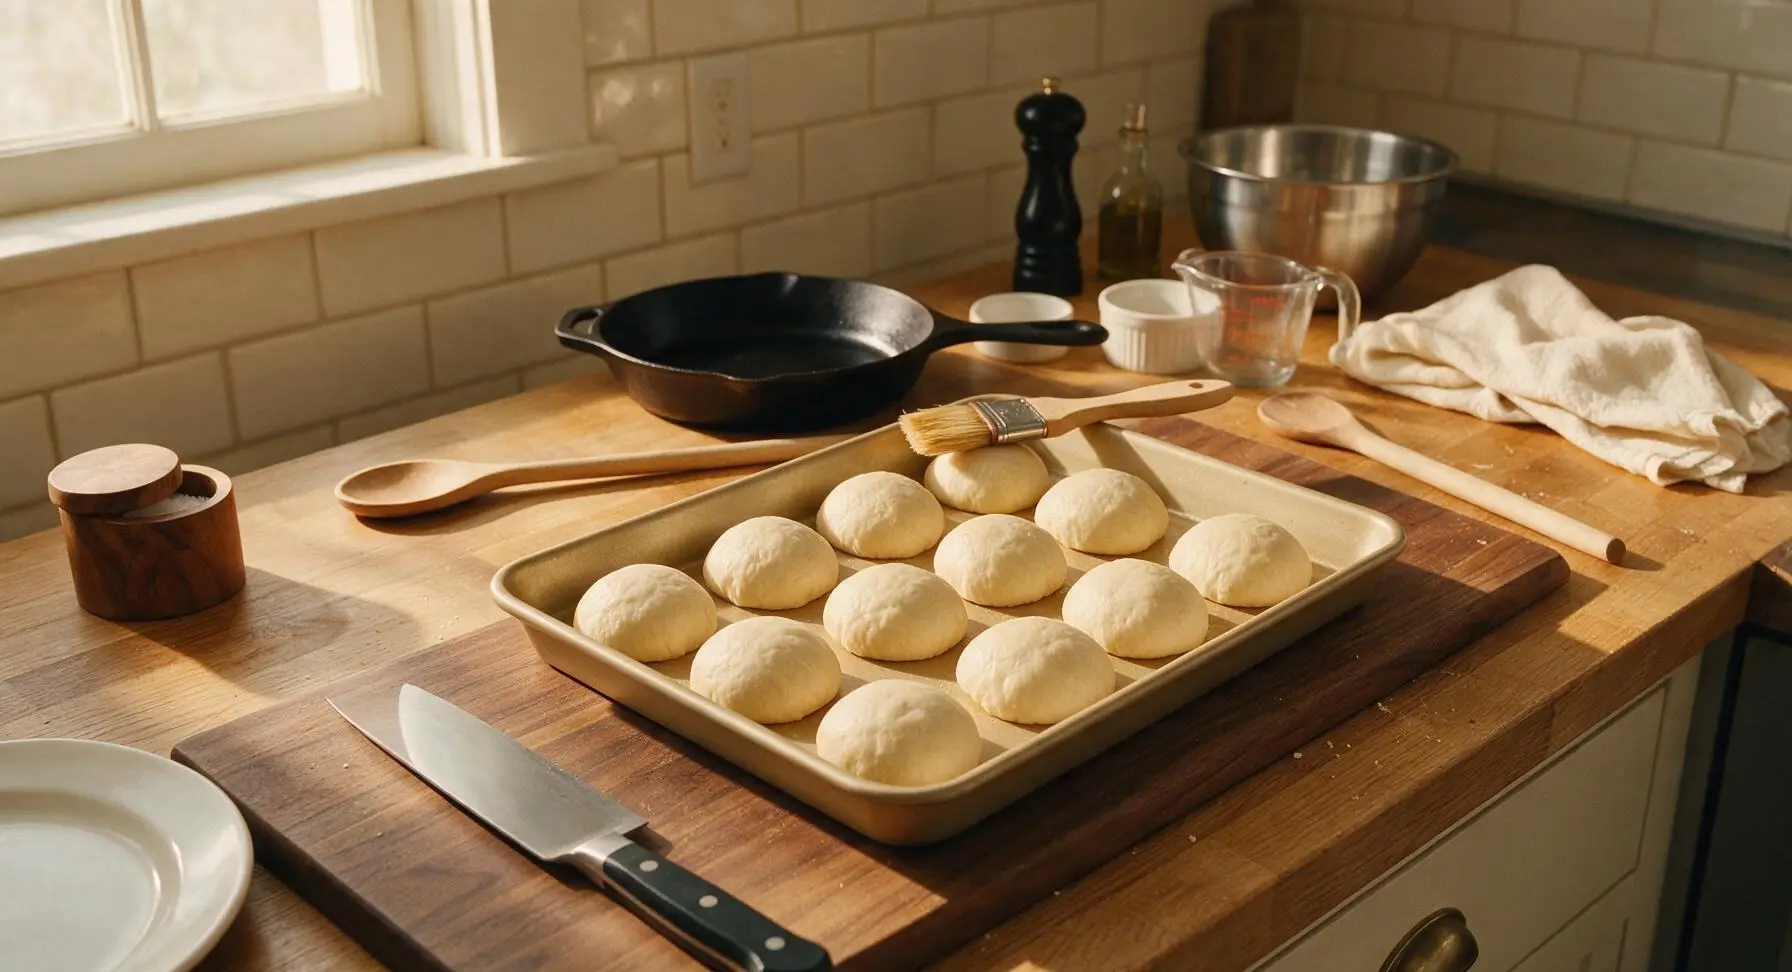
Punch the risen dough down firmly to release all trapped air, then turn it out onto a lightly floured section of the counter. Divide the dough evenly into 12 equal portions (about 65g each). Roll each portion into a tight, smooth ball by cupping your hand over the dough and rolling it in small circles on the counter surface, pinching the seams closed at the bottom.
Let Rolls Rise Again
Cover the baking pan loosely with the cream linen towel (temporarily moved from its corner), and let the rolls rise in a warm draft-free spot for 40 minutes, until they puff up and fill the gaps between them, rising just above the rim of the baking pan. Toward the end of the rise time, preheat the oven to 350°F (175°C). Return the towel to its fixed corner after covering.
Bake to Golden Perfection
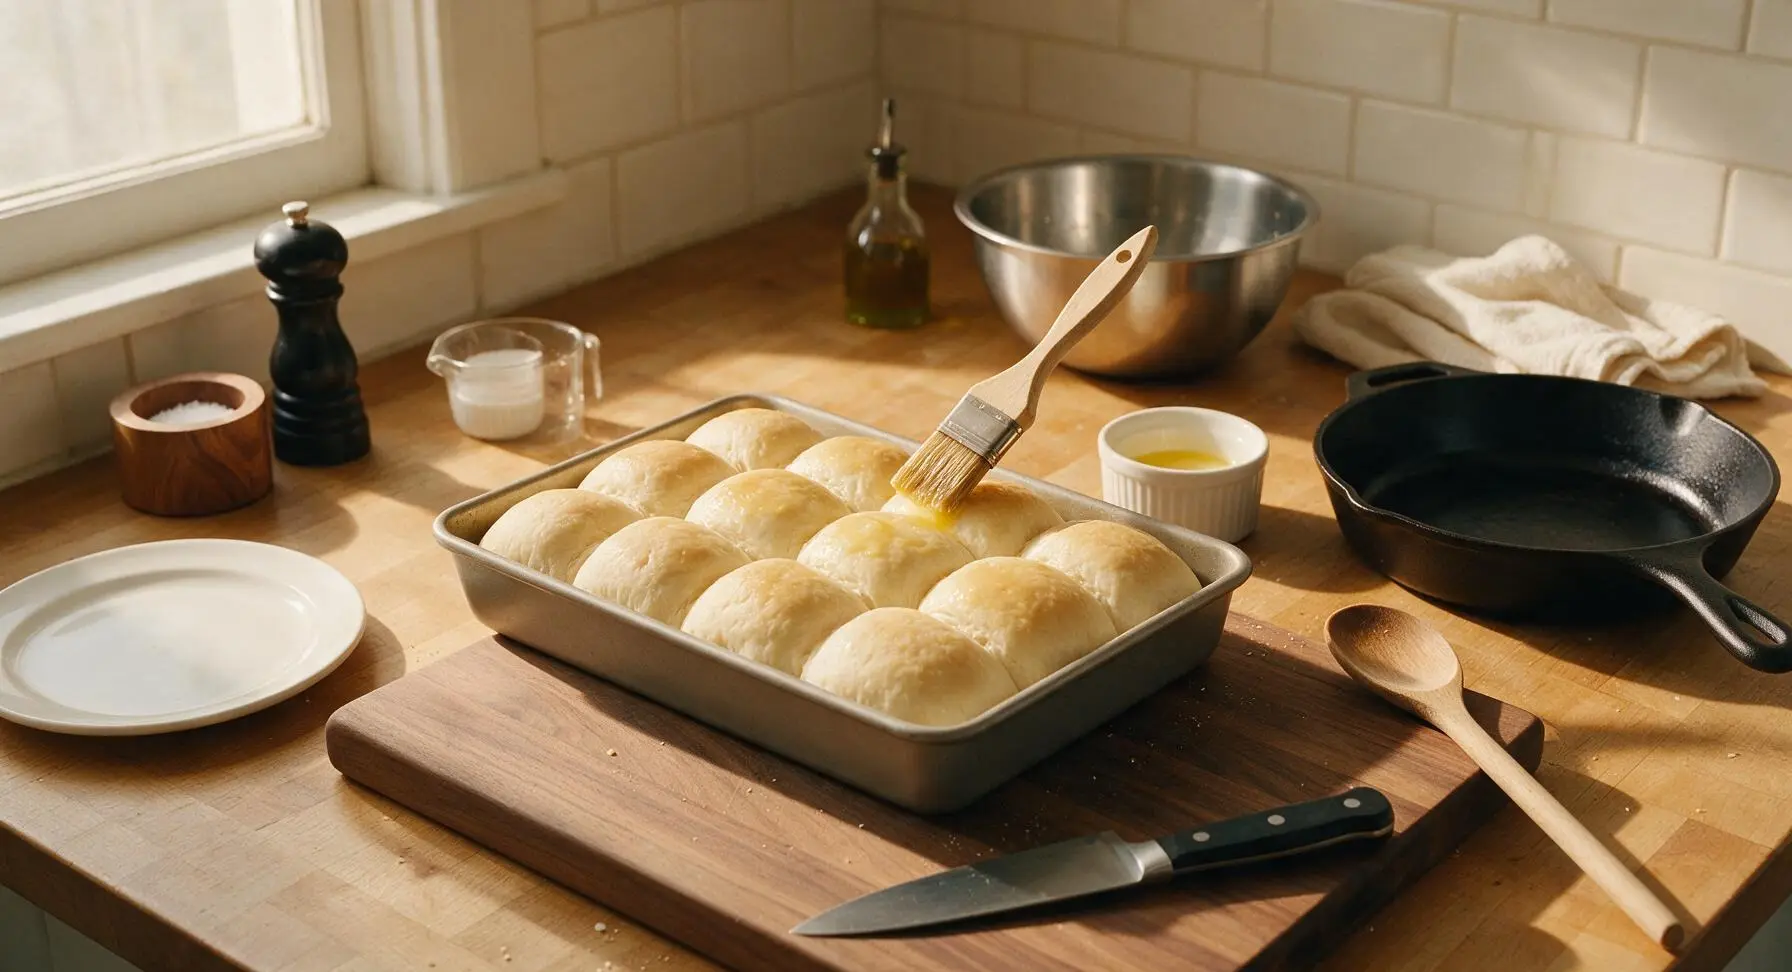
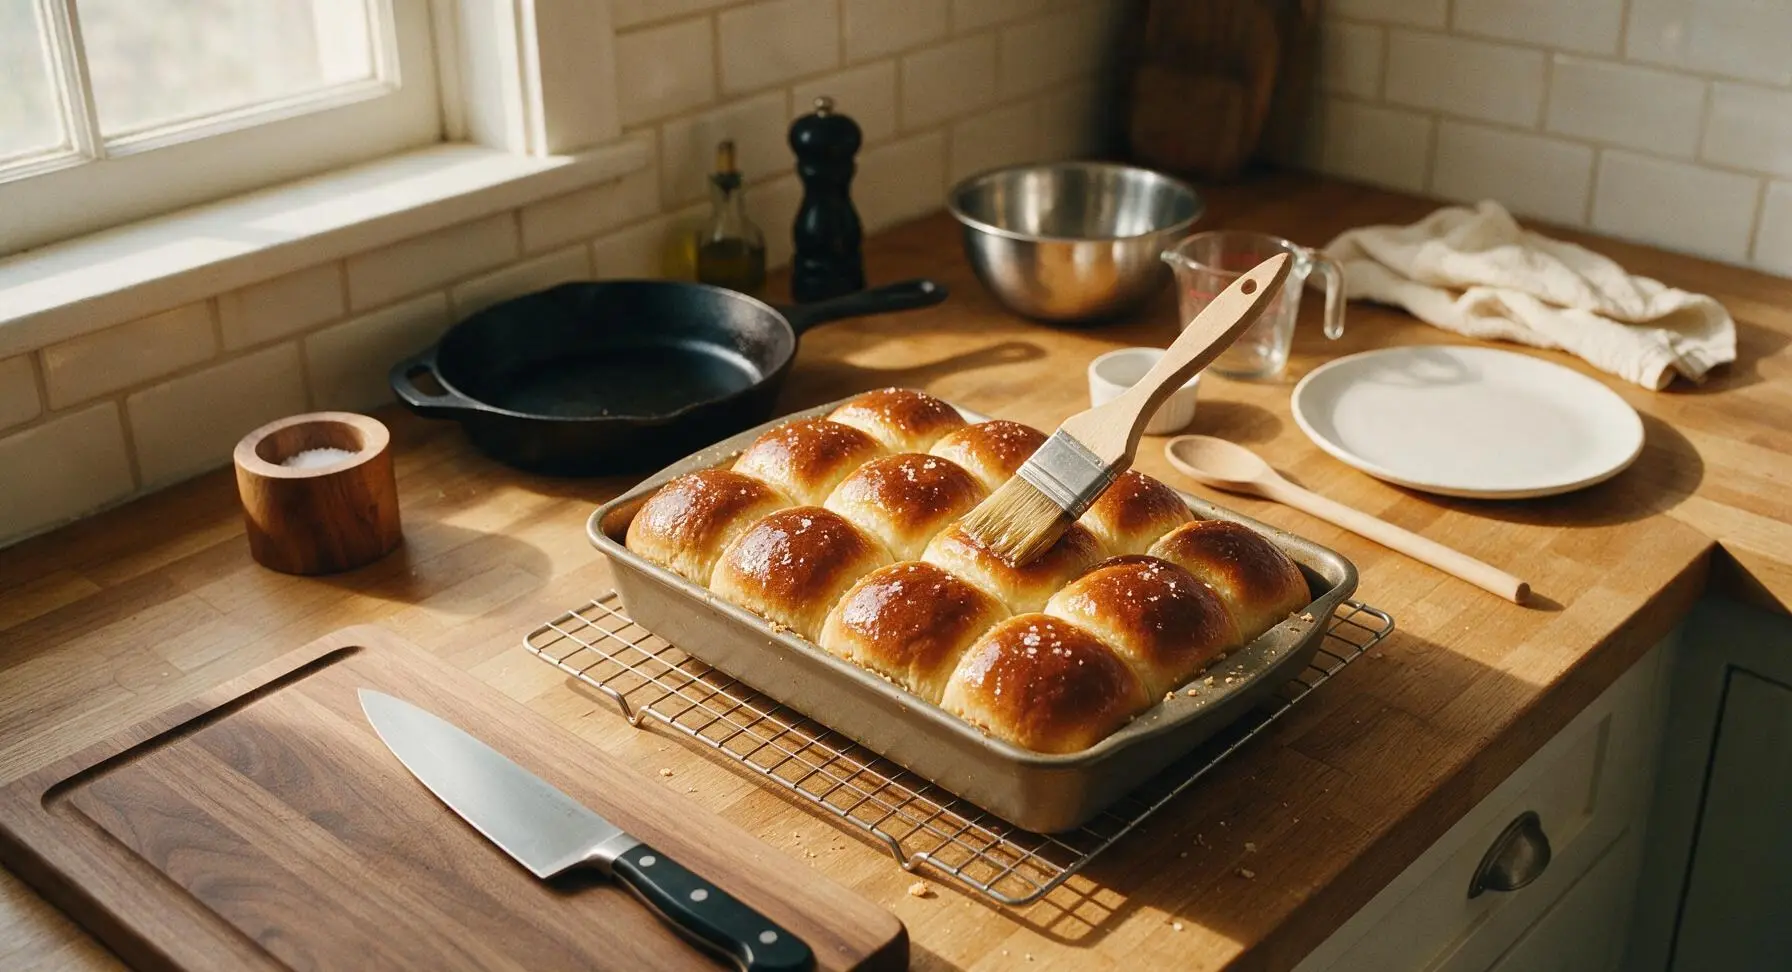
Remove the towel from the pan (return it to its fixed corner), melt the remaining 2 tablespoons (28g) of unsalted butter in a small cream ramekin. Use the pastry brush to gently brush the tops of the risen rolls with half of the melted butter. Bake for 18-20 minutes, until the tops are deep golden brown, and the internal temperature of the center roll reads 190°F (88°C) on the instant-read thermometer.
Glaze and Serve Warm
Remove the baked rolls from the oven, immediately brush the tops with the remaining melted butter, and sprinkle lightly with flaky sea salt. Let the rolls cool in the pan for 5 minutes set on the wire cooling rack, then transfer them to the large cream ceramic serving platter. Pull apart and serve warm.
Tips
2.Store leftover rolls tightly wrapped in plastic wrap at room temperature for up to 3 days. Avoid refrigerating rolls, as the cold dry air will quickly dry out the tender crumb and make them stale faster.
3.Use room temperature eggs rather than cold ones straight from the fridge, as cold eggs will lower the dough temperature, slow yeast activity, and result in uneven rise and a denser texture. To quickly warm eggs, submerge them in warm tap water for 5 minutes before use.


These came out so soft and sweet! I was nervous because I don’t bake bread often and the difficulty said medium, but the instructions were super clear. I brought them to a neighborhood potluck and everyone asked for the recipe. Only thing I messed up was letting them rise a little too long so they stuck together, but that didn’t stop anyone from devouring them!
Wait, do I *have* to use pineapple juice? My kid has a mild pineapple allergy and I’m looking for a substitute that still gives that signature sweet, fluffy roll taste. Would apple juice work as a swap?
Meal prep win! I made a double batch on Sunday, froze half, and they thaw perfectly in 30 seconds in the microwave for quick weeknight sliders. I add a little ham and cheese and it’s the easiest lunch ever. 10/10 no notes.
Bro these are insane. I made them to go with my pulled pork I smoked last weekend and it was the best combo I’ve made all summer. The slight sweetness cuts the smoke from the pork perfectly. Who knew store bought rolls were mid compared to homemade?
Quick question — the recipe says 20 minute cook time, but my oven runs a little hot. At what temperature should I set it, and how do I know when they’re done without burning the bottoms? My last batch of dinner rolls got crispy on the bottom and I don’t want to mess these up!
My grandma used to make Hawaiian rolls for every holiday when I was a kid and I’ve been chasing that taste for years. I made these today and I almost cried — they taste exactly like hers! The fluff, the sweet buttery top, that tiny pineapple kick. Thank you so much for sharing this recipe, it’s going in the permanent holiday rotation.
Took me a minute to get the hang of kneading the dough since I usually use a stand mixer and mine broke last week, but even kneading by hand these turned out amazing. Brushing the melted butter on top right after they come out of the oven is non-negotiable, don’t skip that step y’all.
Wait can I make the dough the night before and let it rise in the fridge? I’m hosting brunch tomorrow and don’t want to wake up at 6am to let dough rise if I can prep tonight.
Made these for my son’s birthday cookout and the grown ups ate more of them than the kids did lmao. I even added a little sprinkle of flaky sea salt on top of the butter glaze and it was chef’s kiss. Highly recommend that little upgrade if you like that sweet-salty vibe.
Okay I was SO intimidated because I’ve never made any kind of yeast bread before, and the difficulty said medium, but I followed the steps exactly and they came out perfect on the first try! They’re so pillowy soft, even my super picky husband said they’re better than the ones we get at the grocery store bakery. Win for beginner bakers!