
Hawaiian Shave Ice
intro
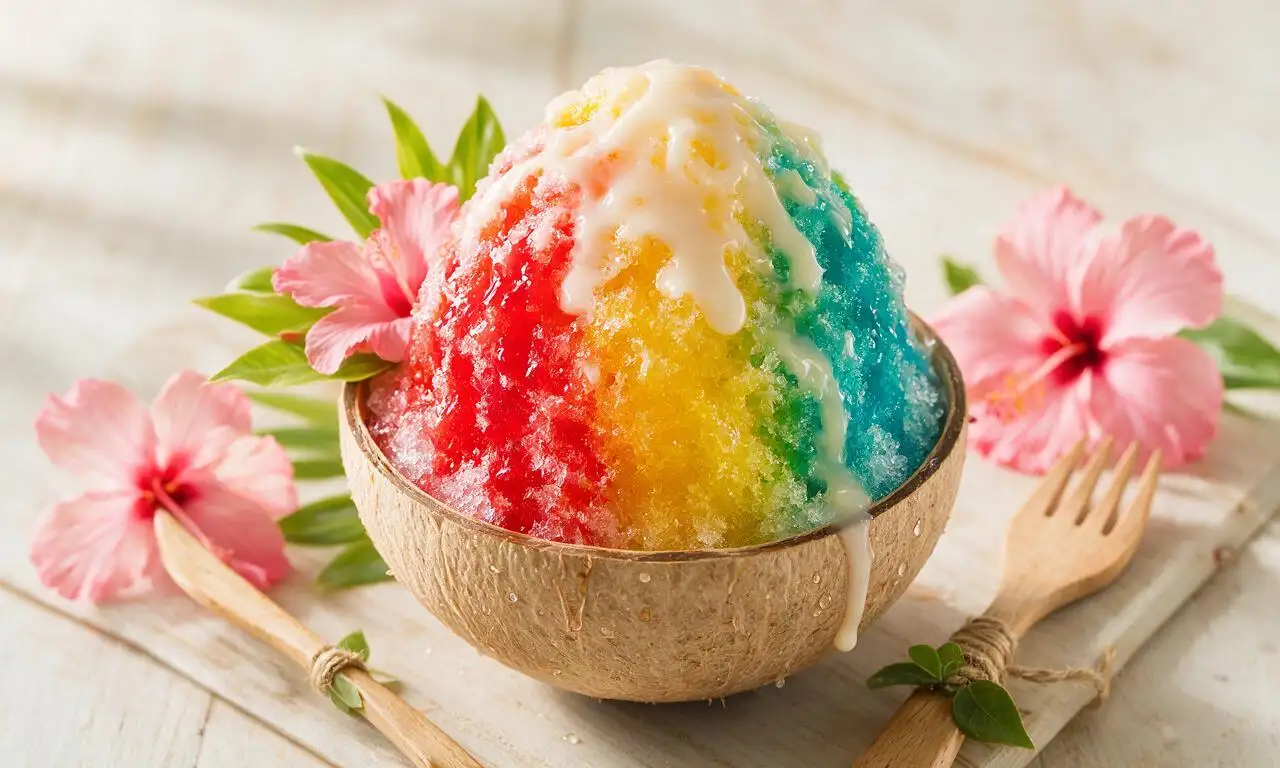
Fluffy, snow-soft shaved ice drenched in bright tropical fruit syrups, topped with creamy condensed milk for a classic, cooling Hawaiian local treat.
Ingredients
Steps
Freeze clear ice blocks
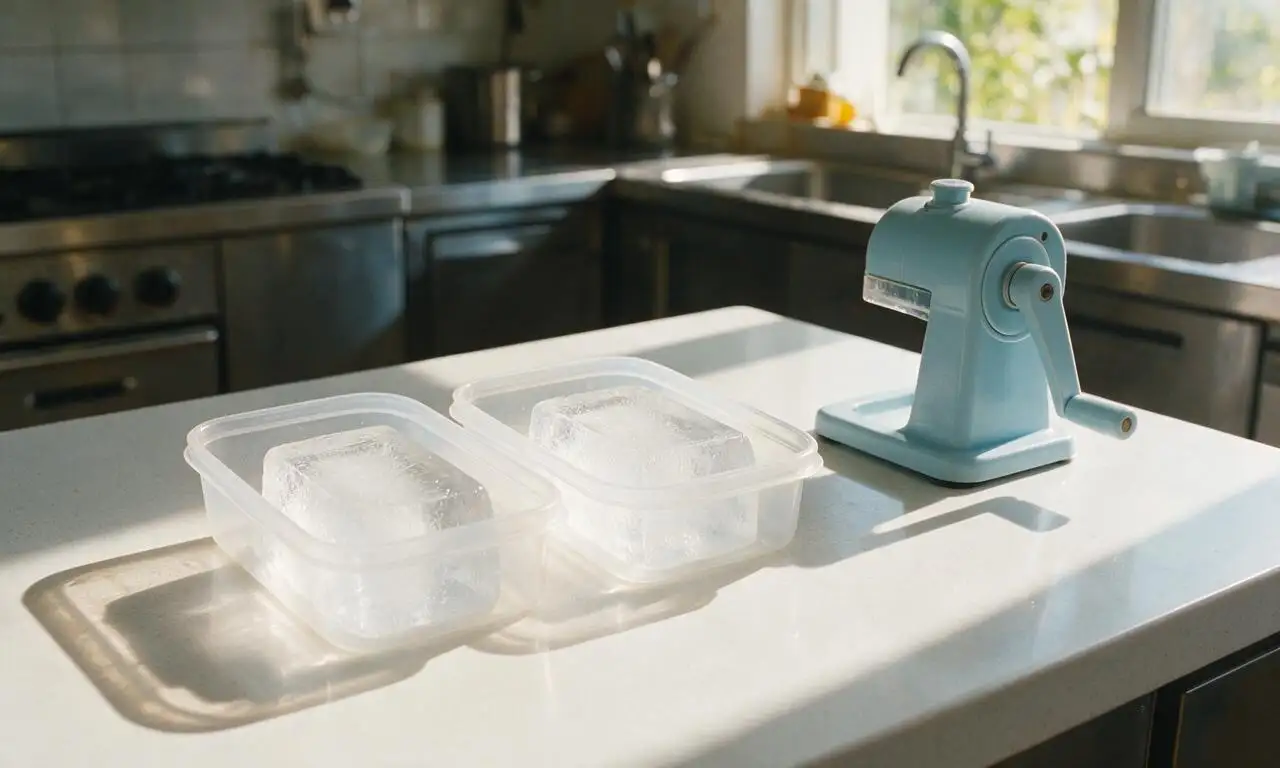
Pour 4 cups (960ml) purified water into 2 shallow, lidded 2-cup freezer-safe containers. Seal lids tightly, place on a level freezer shelf set to 0°F (-18°C), and freeze for a minimum of 4 hours (or up to 24 hours) until completely solid, with no slushy center. For extra-clear ice, boil water first and cool completely before pouring, to reduce trapped air bubbles.
Cook simple syrup base
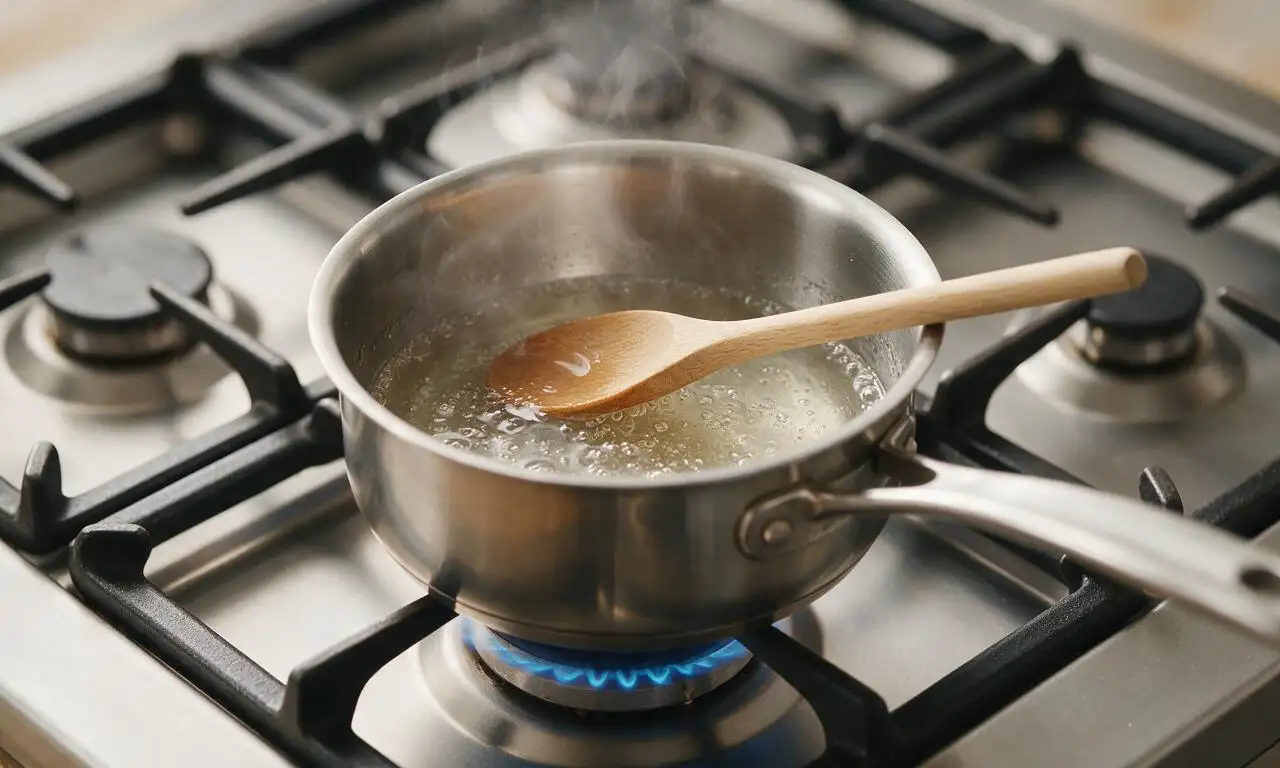
Combine 1 cup (200g) granulated sugar and 1 cup (240ml) purified water in a small saucepan over medium heat (350°F/175°C stovetop). Stir constantly for 3-4 minutes until sugar fully dissolves and liquid comes to a gentle simmer, with no grainy texture remaining. Remove from heat and let cool to room temperature, about 20 minutes.
Mix three fruit syrups
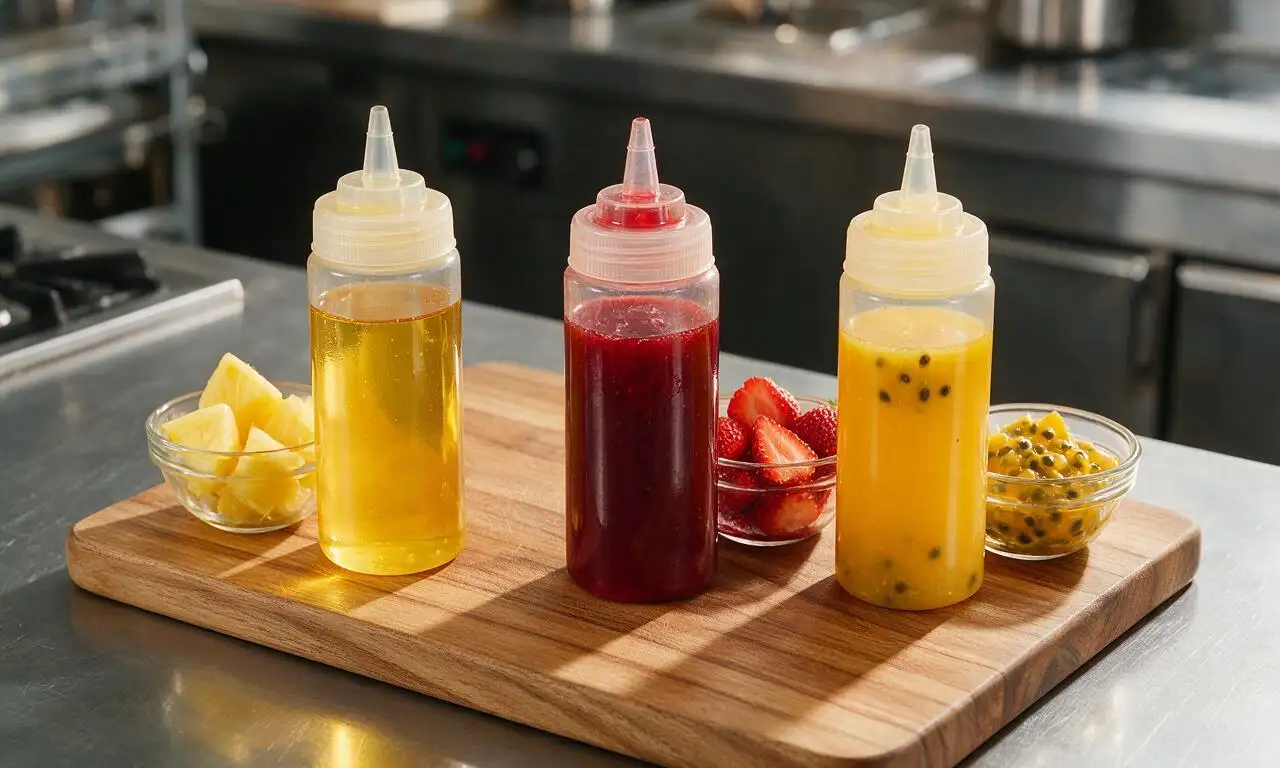
Divide the cooled simple syrup evenly between 3 lidded squeeze bottles (⅓ cup/80ml per bottle). Add 1 cup (165g) thawed, blended pineapple chunks (strained through a fine-mesh sieve to remove tough fiber) to the first bottle, 1 cup (150g) thawed, blended strained strawberry chunks to the second, and ½ cup (120ml) passion fruit puree to the third. Seal bottles, shake vigorously for 30 seconds each to combine, then chill in the fridge for 1 hour before use.
Prep serving cups
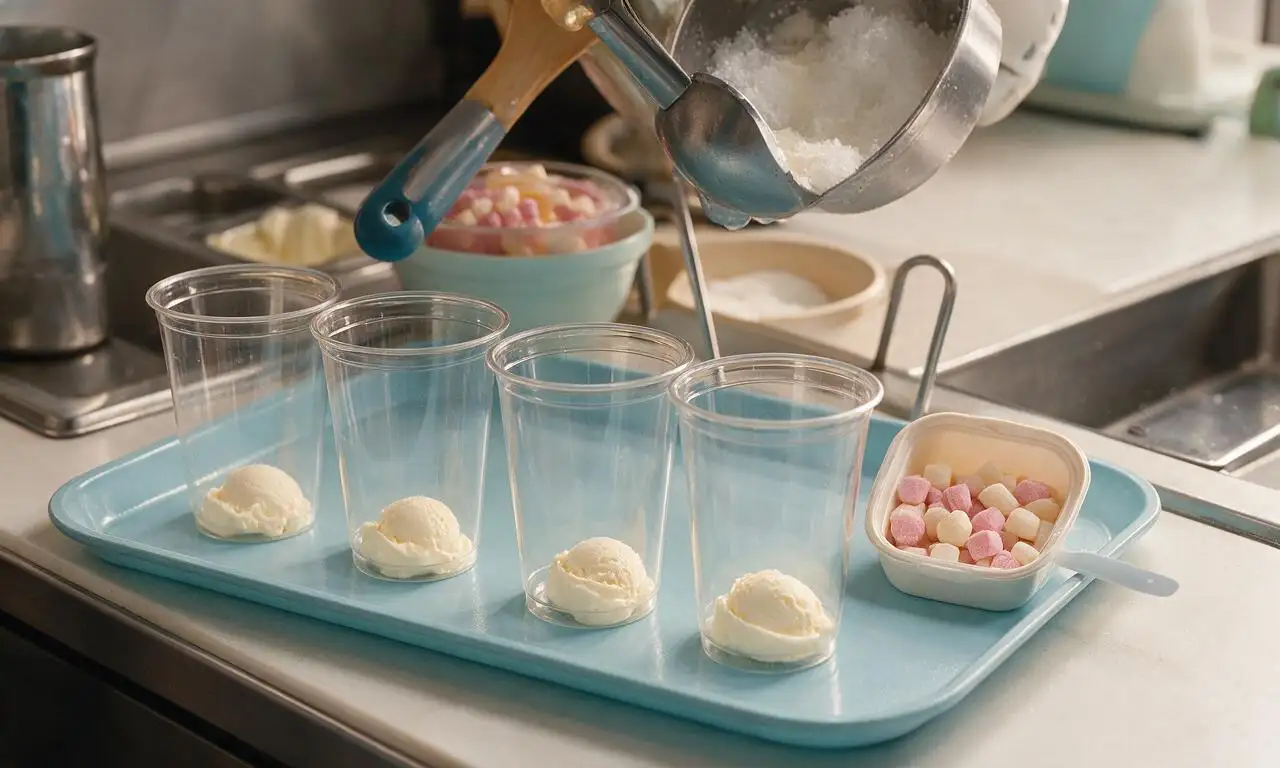
Place 4 12-oz paper or glass serving cups on the counter. Add one 2-tbsp (32g) scoop of vanilla ice cream to the bottom of each cup, pressing it gently down to create a flat base layer. Set cups aside in the freezer for 5 minutes to keep the ice cream firm while you shave the ice, so it does not melt quickly when ice shavings are added.
Shave ice to fluffy texture
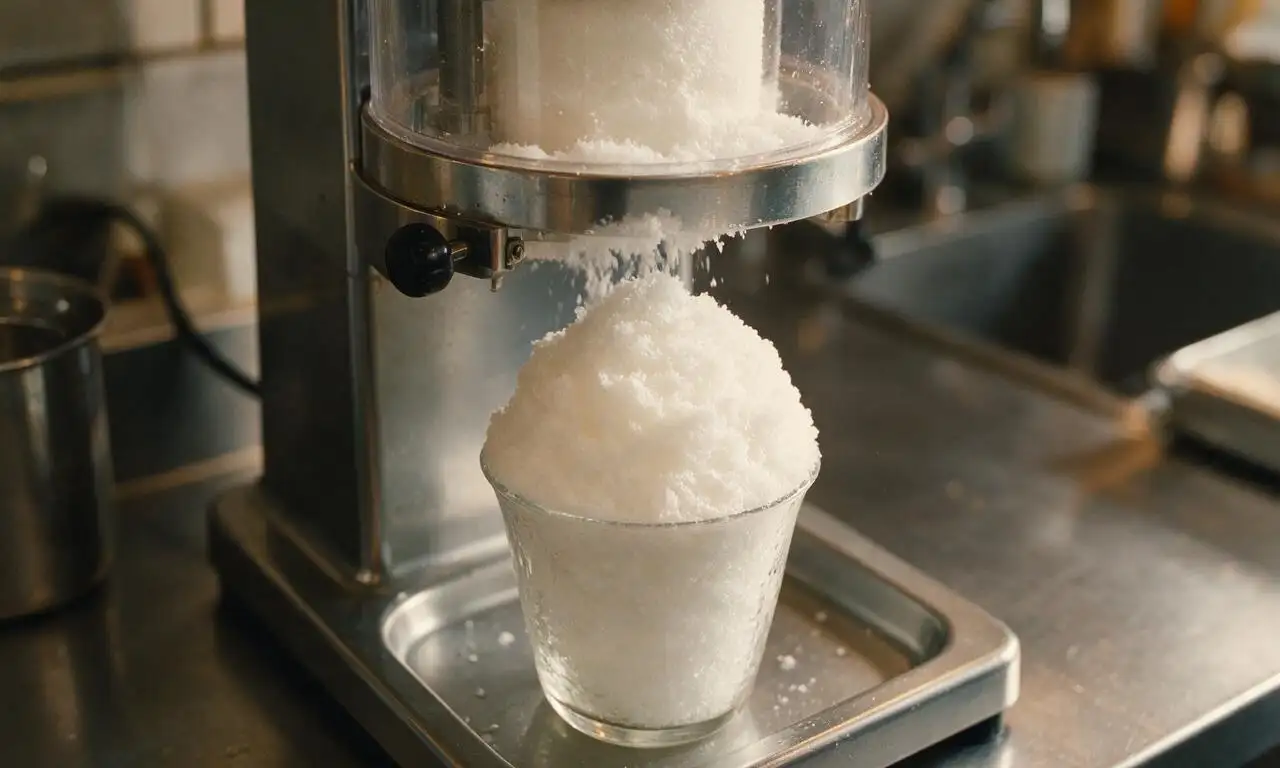
Remove one ice block from the freezer, let it sit at room temperature (70°F/21°C) for 2 minutes to soften slightly so it shaves smoothly without producing hard, crunchy chunks. Hold the ice block against the shave ice machine blade, adjusted to the finest shave setting, and crank or run the machine to collect light, snow-like ice directly into each prepared cup, mounding it 1-2 inches above the cup rim in a rounded dome shape. Do not pack the ice down tightly, as this will create a dense, crunchy texture instead of the signature soft, melt-in-your-mouth shave ice.
Add syrups and toppings
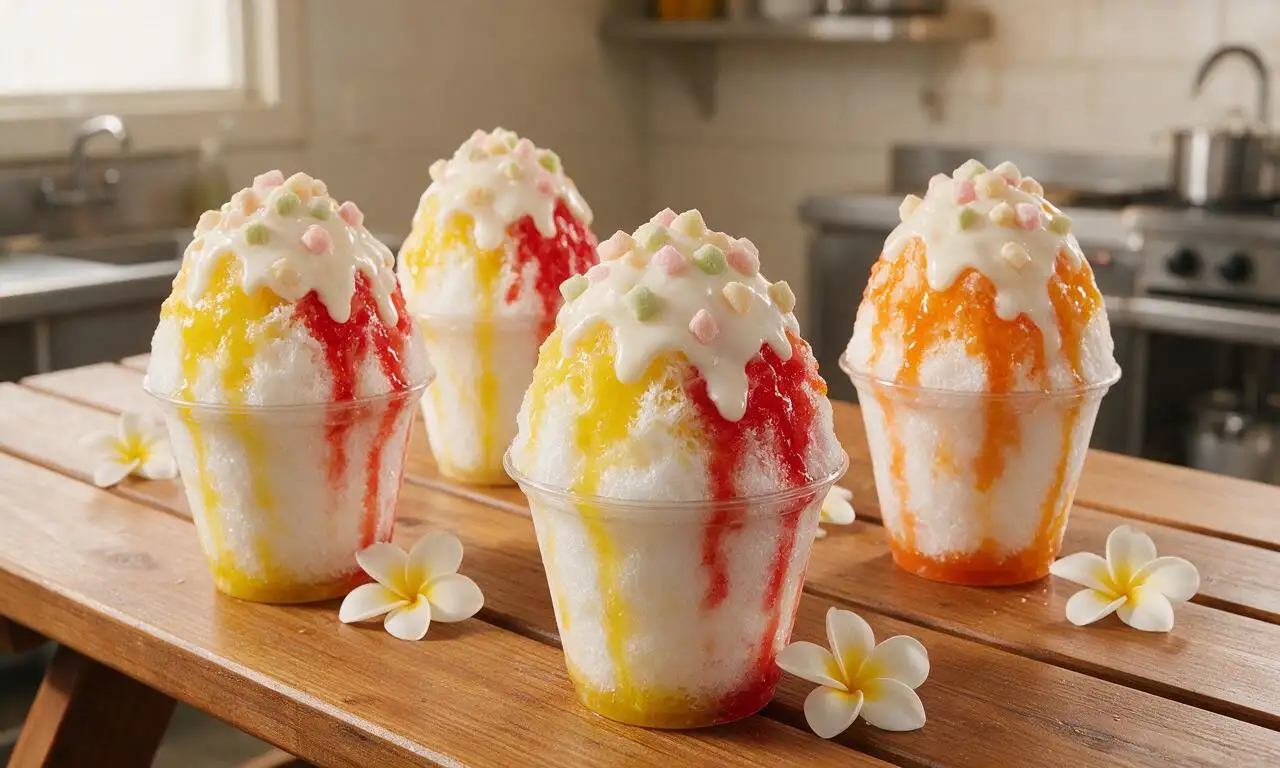
Drizzle 2 tbsp of your chosen fruit syrups over the top of each ice mound, moving the squeeze bottle in a slow circular pattern to let syrup seep down through the ice layers (use 3-4 tbsp total syrup per serving to avoid over-saturating and melting the ice too fast). Drizzle 2 tbsp sweetened condensed milk over the top of each mound for a creamy, sweet finish, then sprinkle 1 tbsp of mini mochi cubes over the condensed milk. Serve immediately, within 2 minutes of adding toppings, before the ice starts to melt and become slushy.
Tips
2.Temper frozen ice blocks at room temperature for 1-2 minutes before shaving; ice that is frozen rock-hard straight from the freezer will produce brittle, grainy shavings instead of light, fluffy ice that absorbs syrup evenly.
3.Avoid packing shaved ice down into the cup when building your mound—tight compression turns soft ice into a dense, snowball-like texture that does not absorb syrup properly, leading to plain, flavorless bites.






OMG this was such a game changer for our backyard luau potluck last weekend! I’ve been shelling out for overpriced shave ice from the boardwalk stand for years and never realized how easy it is to nail that perfect fluffy texture at home. No weird crunchy ice chunks at all, just that soft, snow-like shave ice I remember from trips to Hawaii as a kid. My kids went crazy for the li hing mui syrup drizzle, even their neighborhood friends asked for seconds (and thirds). Total hit, I already sent the recipe link to three of my neighbors!
This was SO good, though I totally messed up the timing my first go-round! I decided to whip this up on a whim for my kids’ after-school snack and didn’t notice the syrups need 5 whole hours to chill. Ended up using store-bought syrup the first time, but when I made the homemade syrup the next day? Total night and day difference, way better than anything from the grocery store. Definitely plan ahead next time! Also, pro move: add a tiny scoop of vanilla ice cream at the bottom of the cup before adding the ice, just like the local shave ice shops do.
Perfect easy summer treat for my tiny dorm kitchen! I don’t have a ton of fancy equipment, so I grabbed a $15 manual ice shaver off Amazon and it worked like an absolute charm. I prepped a big batch of the pineapple and coconut syrups on Sunday for my weekly meal prep, and I’ve been having shave ice every night after class this week when it’s 90 degrees out. 10/10, way cheaper and tastier than hitting the food truck right by campus!
Made this right after a brutal 6 mile hike last Saturday when it was 105 degrees out, and it was the most refreshing thing I’ve ever eaten! I mixed up fresh strawberry and lime syrup, topped the whole thing with a drizzle of condensed milk and toasted coconut, and my partner said it tasted even better than the shave ice we got on our Maui trip last year. Quick note: don’t skip the step of letting the shaved ice rest for a minute before adding syrup, it makes such a huge difference in how the syrup absorbs instead of just running straight to the bottom!