
Hazelnut Creamer Homemade Coffee Creamer

title 1
Hazelnut Creamer Homemade Coffee Creamer
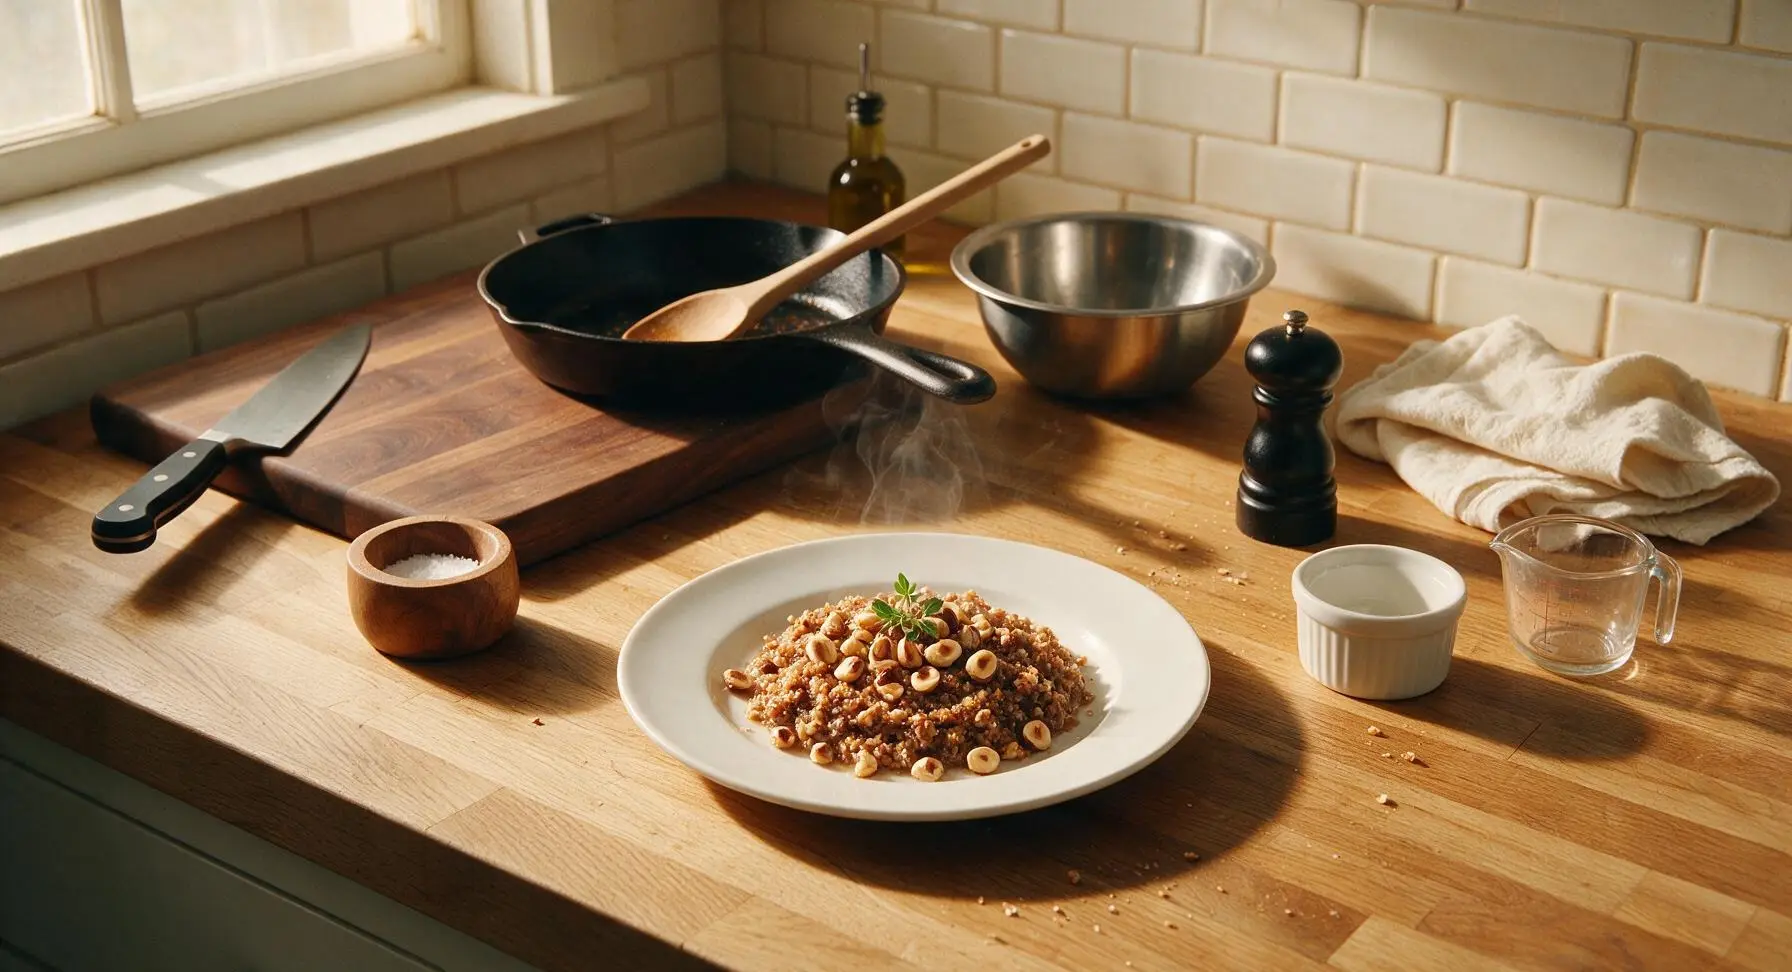
⏱️ cook time 10 minutes
🍽️ servings 16
⚡ Difficulty easy

intro

Rich, toasty homemade hazelnut coffee creamer made with simple, real ingredients and no artificial flavors, for a smooth, nutty upgrade to your daily morning coffee.

Ingredients
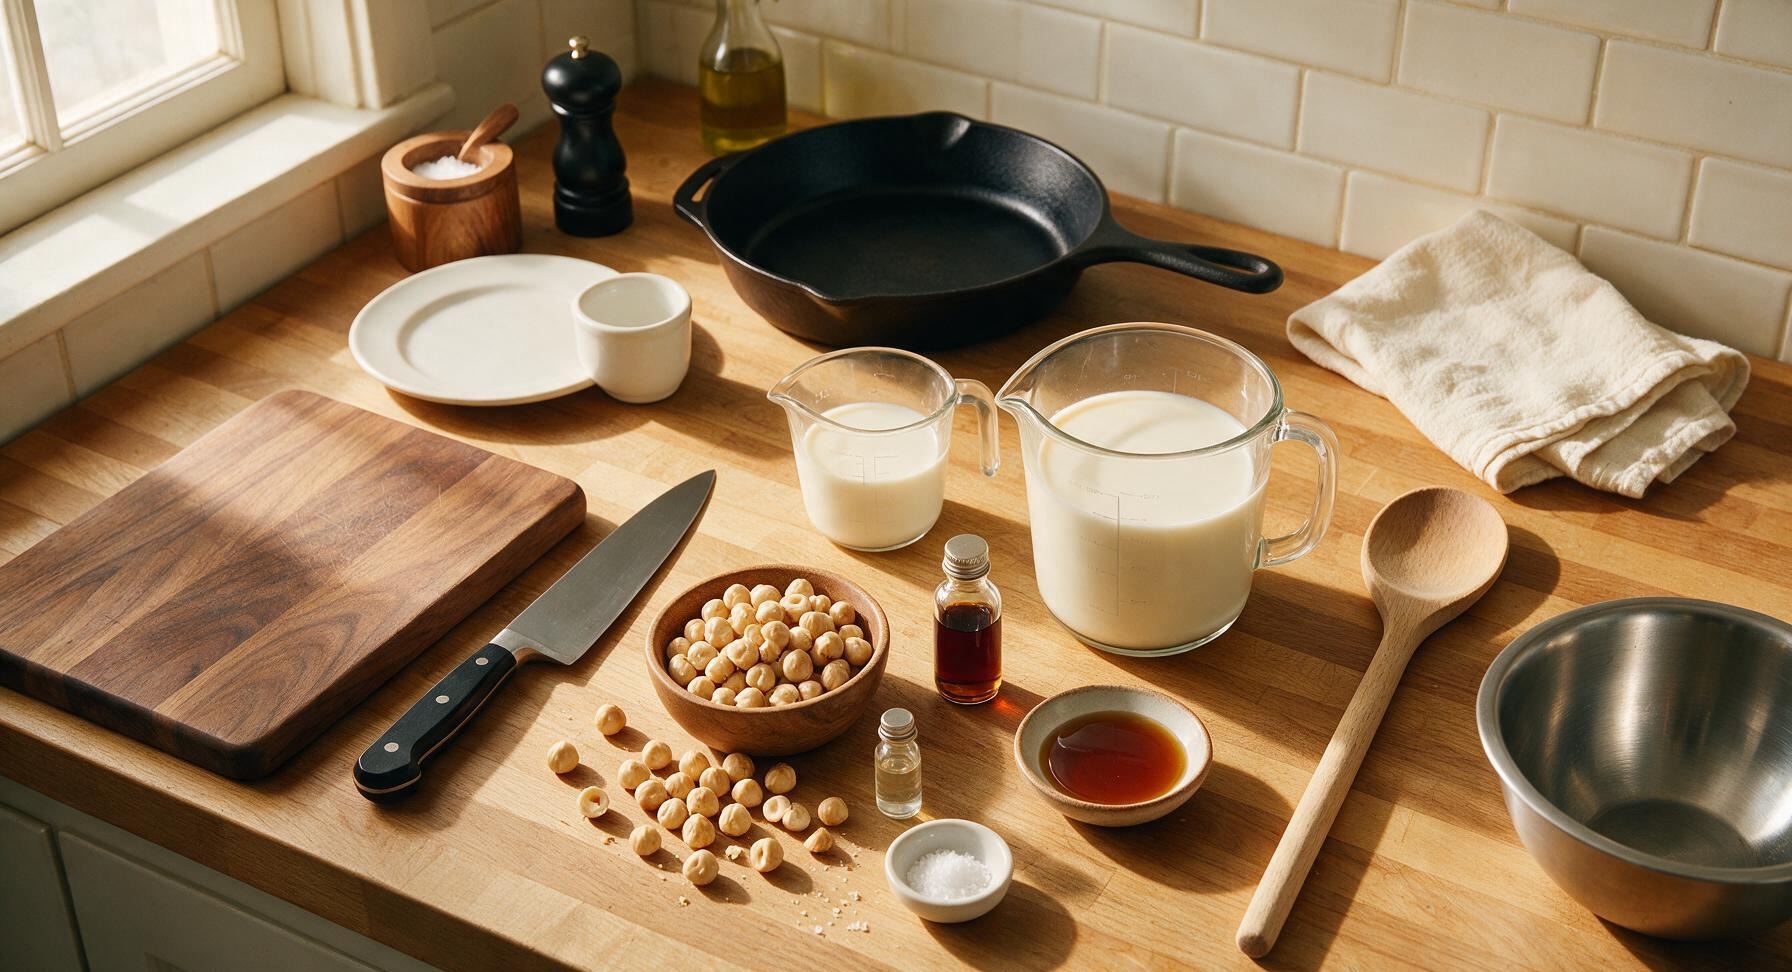
Raw blanched hazelnuts 1 cup (140g)
Half-and-half 2 cups (480ml)
Pure maple syrup 3 tbsp (45ml)
Pure vanilla extract 1 tsp (5ml)
Fine sea salt 1/4 tsp (1g)
Natural hazelnut extract (optional) 1/8 tsp (0.6ml)

Steps

1

Toast the Hazelnuts

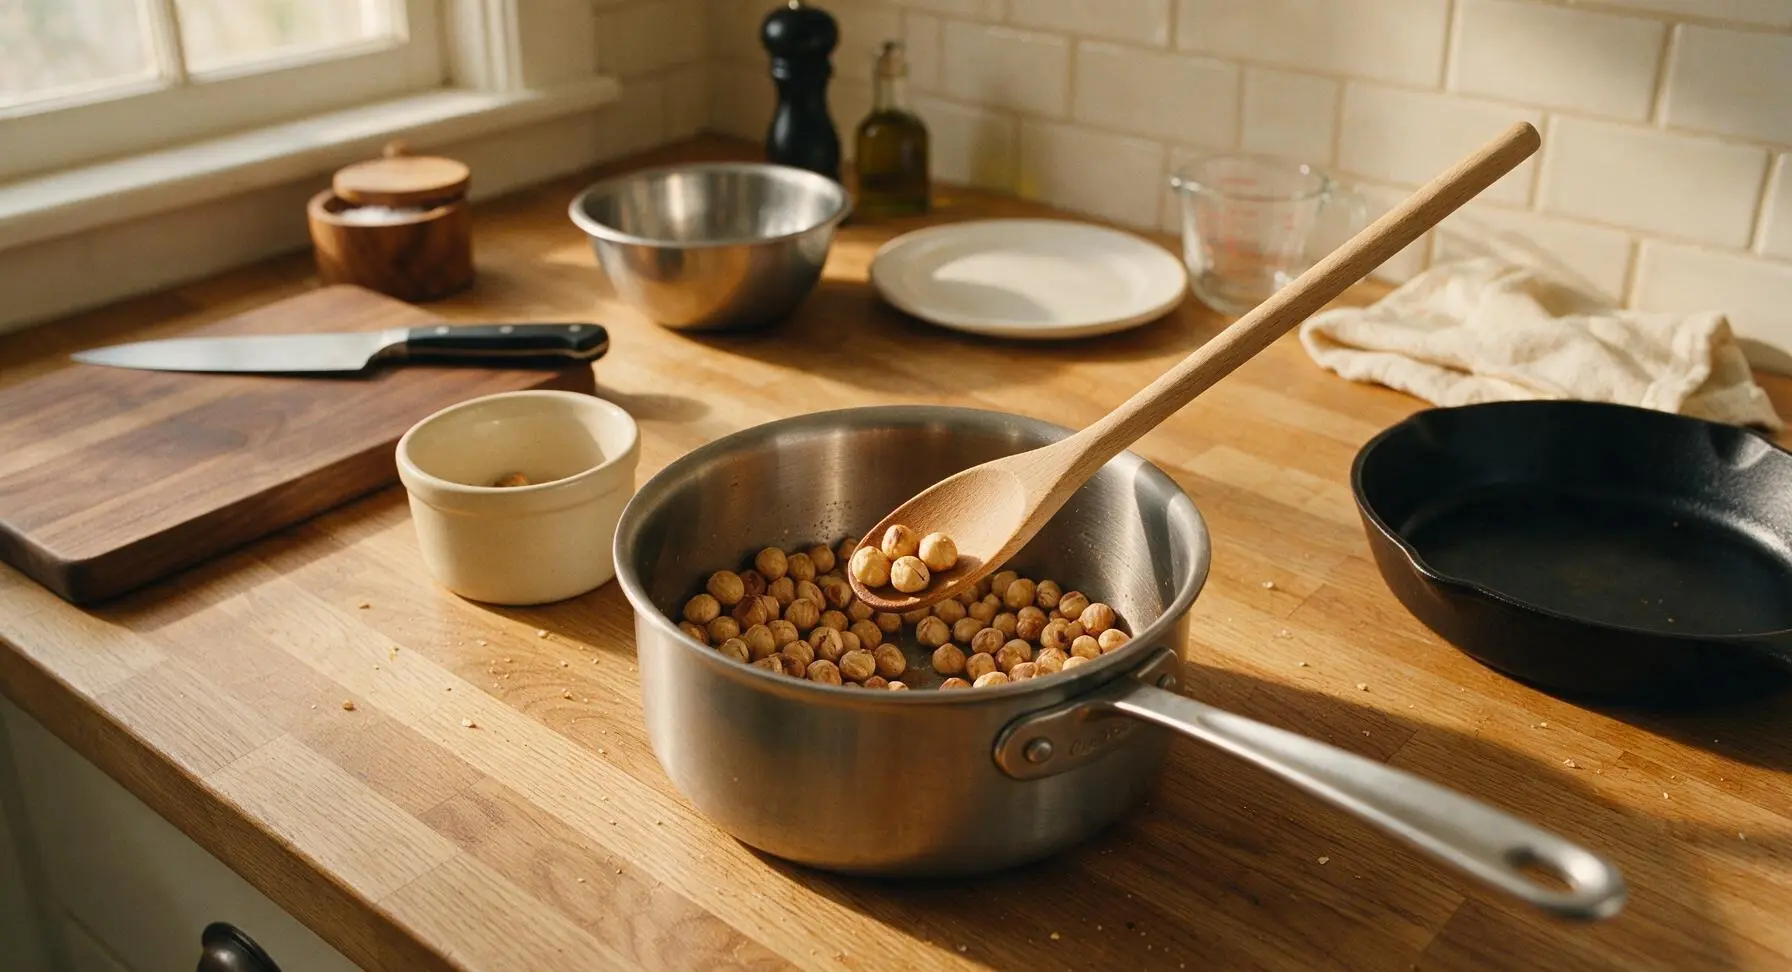
Place the 1.5-quart brushed stainless steel saucepan over medium-low heat, with no added oil or butter. Pour the 1 cup of raw hazelnuts into the dry pan. Stir continuously with the light beech wood stirring spoon for 3 to 4 minutes, until the nuts release a rich, toasty aroma, their outer papery skins show fine cracks, and a nut cut open with the paring knife reveals a pale golden brown interior. Immediately remove the pan from heat to prevent burning, as hazelnuts turn bitter very quickly once over-toasted.
Step 1
step1:Toast the Hazelnuts
2

Remove Hazelnut Skins

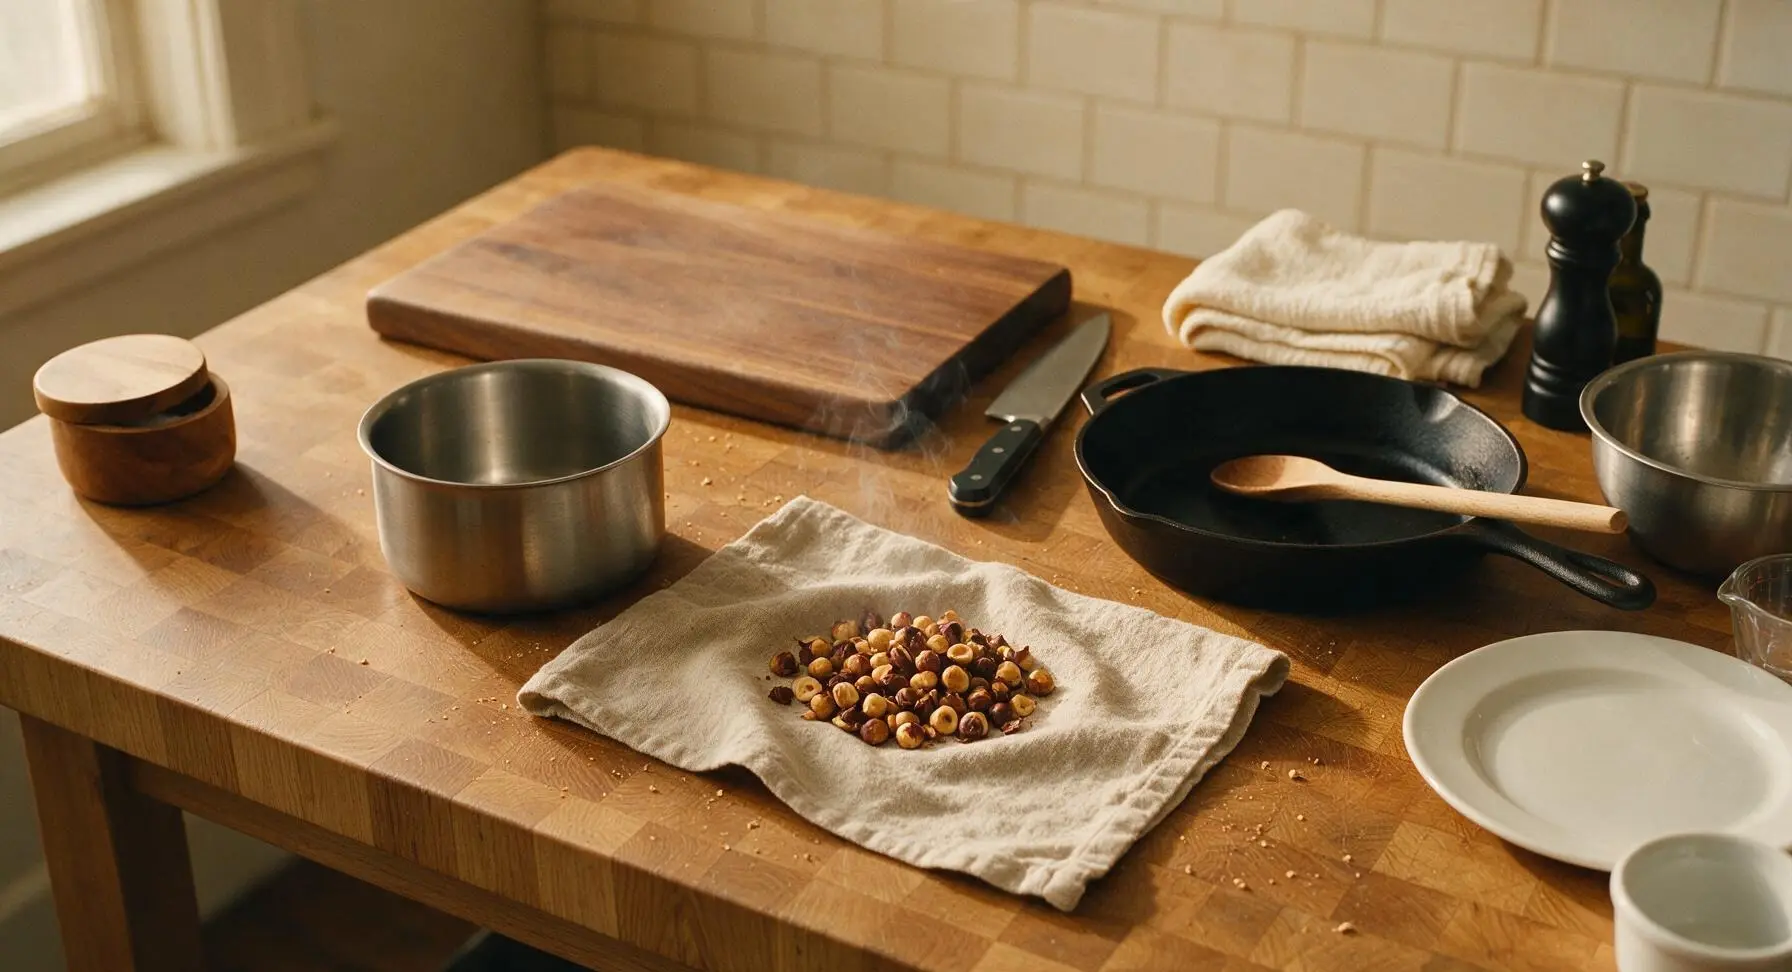
Pour the warm toasted hazelnuts onto the center section of the draped oatmeal linen tea towel, and let them cool for 2 minutes until they are safe to touch without burning fingers. Gather the edges of the towel around the nuts to form a loose pouch, then rub the nuts vigorously through the fabric for 30 seconds to flake off the bitter, papery brown outer skins. You do not need to remove every last trace of skin; removing roughly 80% is enough to prevent a bitter, gritty final texture.
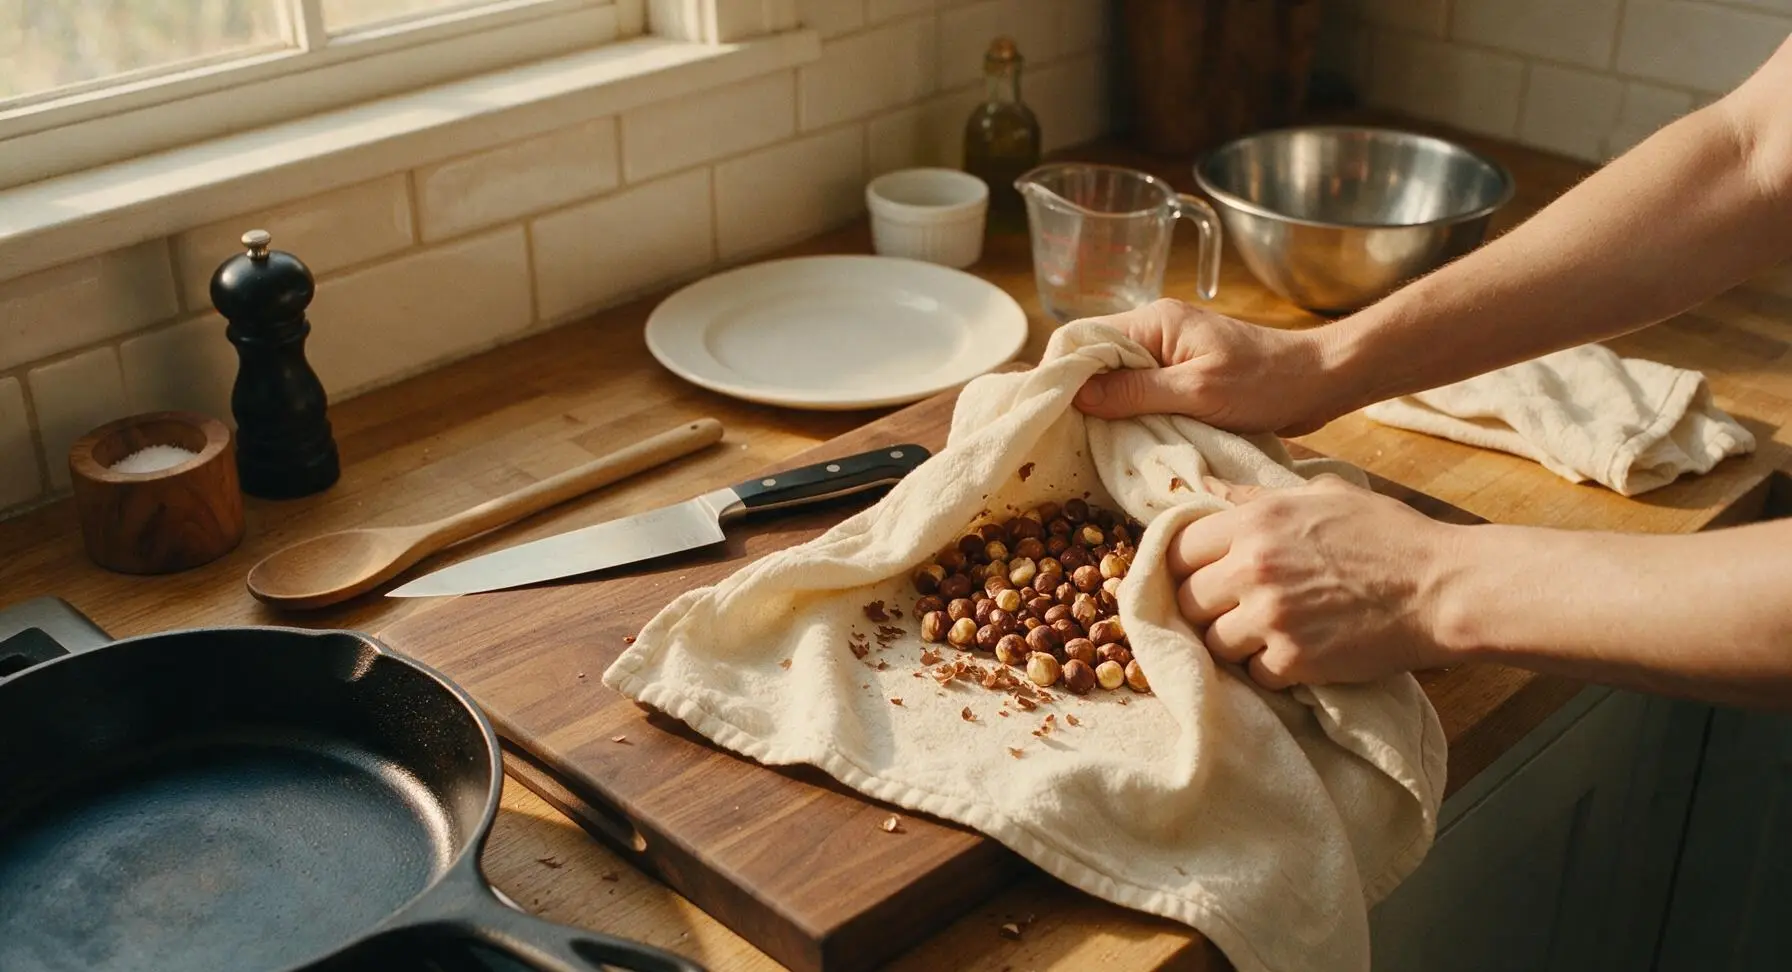
Step 2
step2:Remove Hazelnut Skins
Step 2
step2:Remove Hazelnut Skins
3

Combine Cream Base

Transfer the skinned toasted hazelnuts back into the stainless steel saucepan. Pour in the measured 2 cups of half-and-half, 3 tablespoons of pure maple syrup, and 1/4 teaspoon of fine sea salt. Stir gently with the beech wood spoon to evenly combine all ingredients, making sure no syrup is stuck to the bottom of the pan.
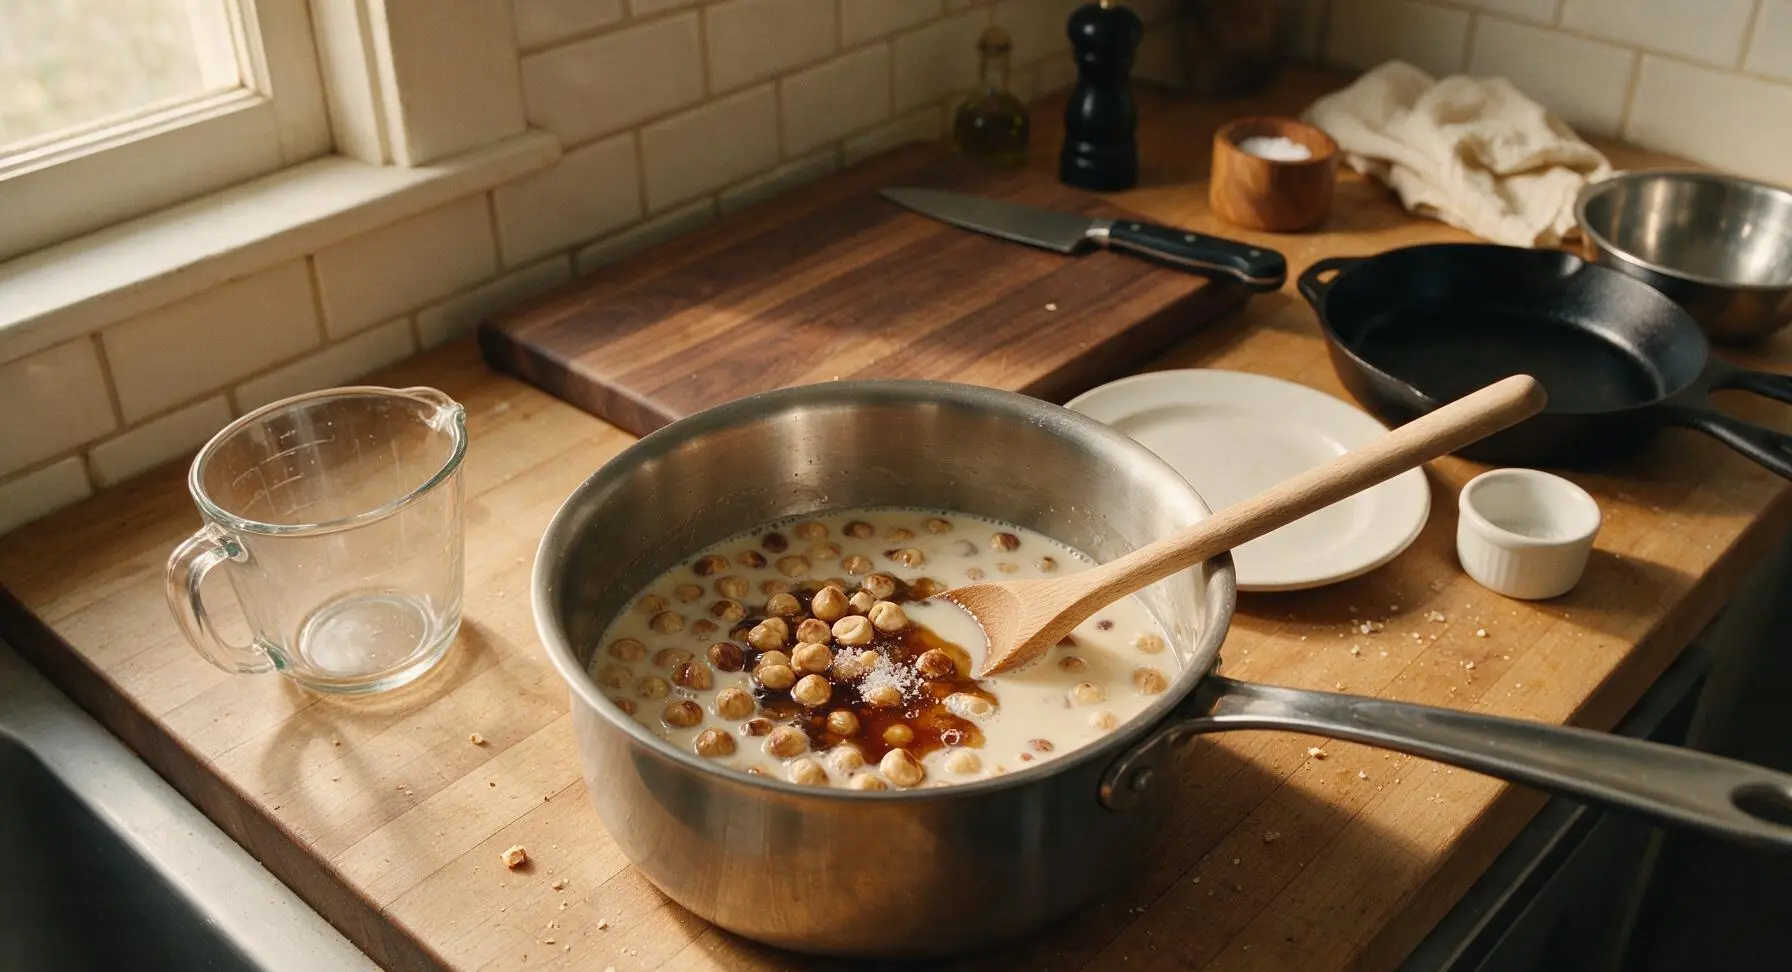
Step 3
step3:Combine Cream Base
4

Heat and Steep Nuts

Return the saucepan to medium-low heat. Warm the mixture slowly, stirring occasionally, until it just reaches a gentle simmer—look for tiny, steady bubbles forming around the inner edge of the pan, with an internal temperature of 170°F (77°C). Do not let the mixture come to a full rolling boil, as high heat will curdle the dairy and create a lumpy, grainy texture. Once the first simmer bubbles appear, turn off the heat, cover the pan with its matching stainless steel lid, and let the hazelnuts steep for 30 minutes to infuse their nutty flavor into the cream base.
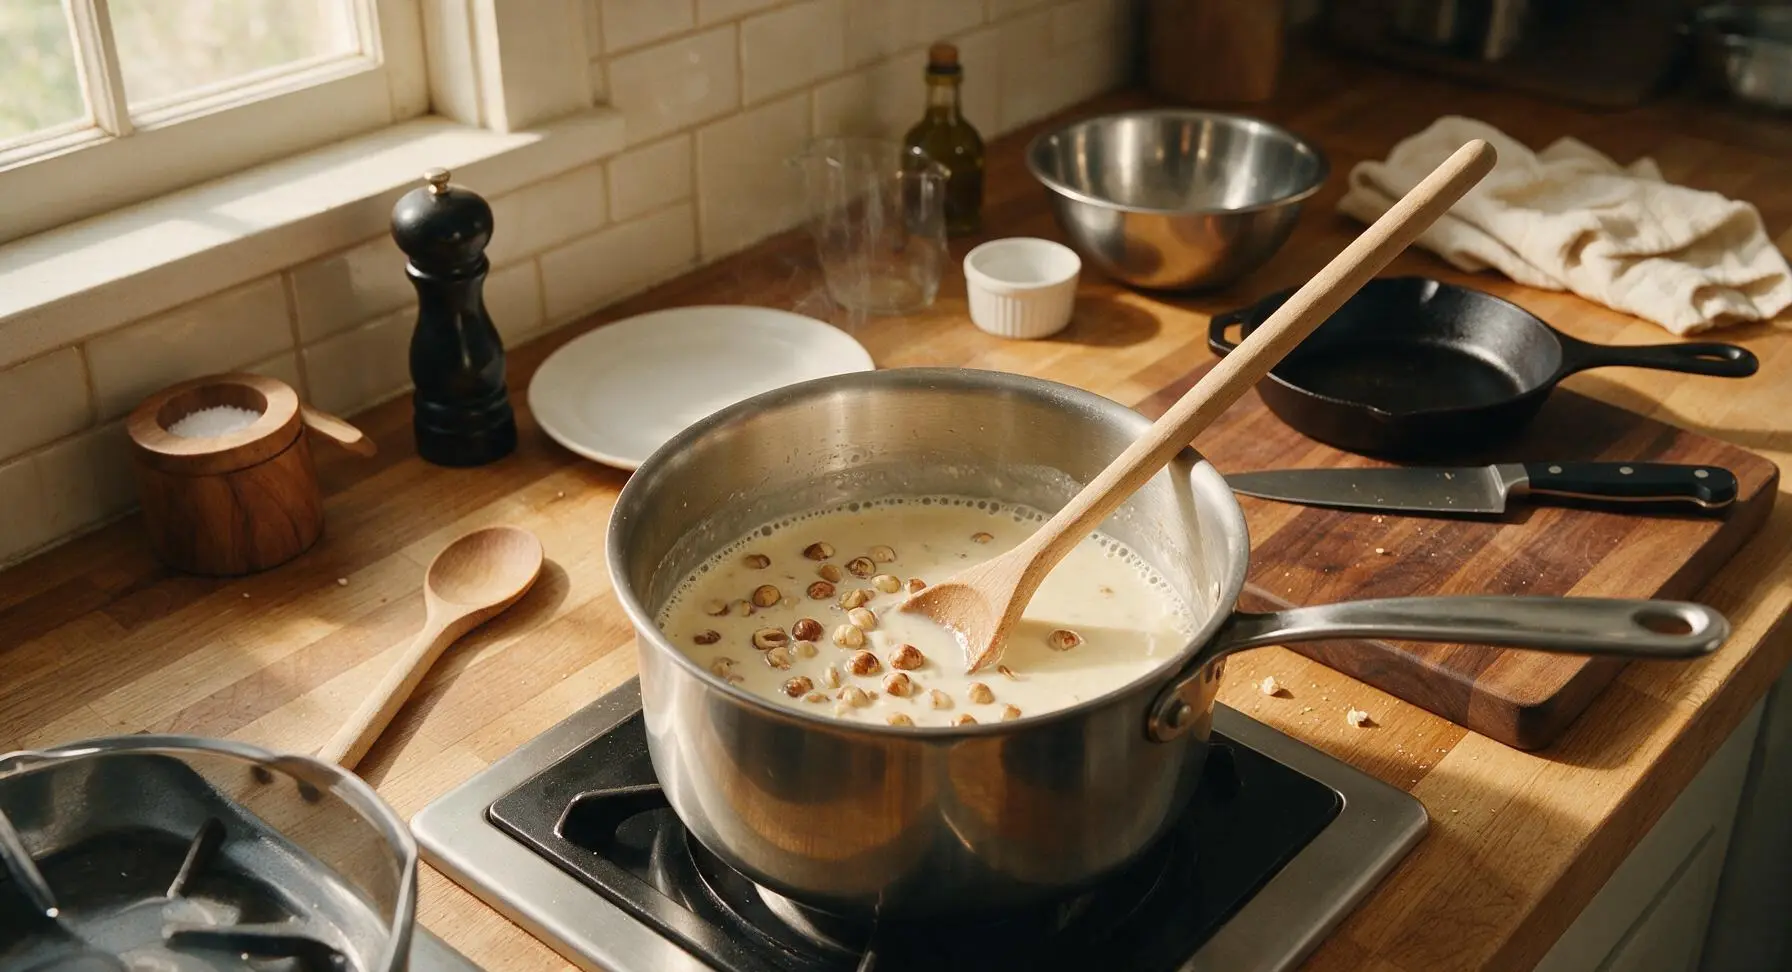
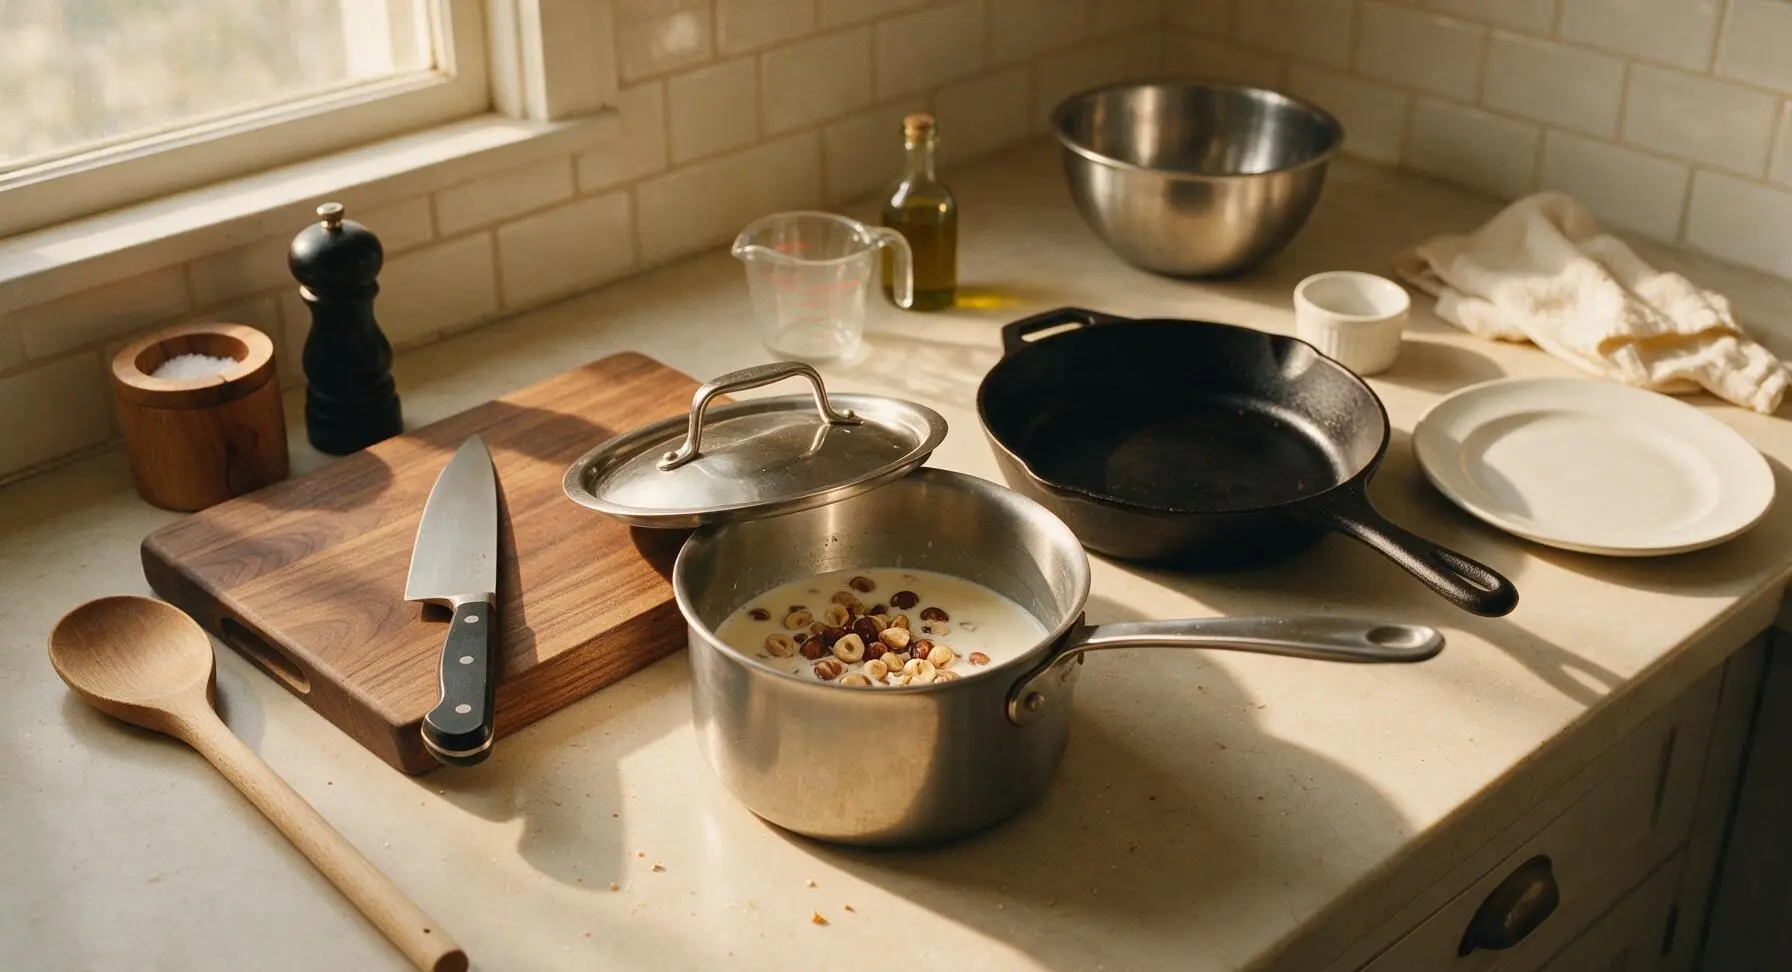
Step 4
step4:Heat and Steep Nuts
Step 4
step4:Heat and Steep Nuts
5

Stir in Extracts

After the 30-minute steep time, lift the lid from the saucepan and set it back in its permanent storage spot behind the pan. Stir in 1 teaspoon of pure vanilla extract, plus the optional 1/8 teaspoon of natural hazelnut extract for a deeper, more candy-like nutty flavor. Stir gently for 10 seconds to evenly distribute the extracts through the warm cream.
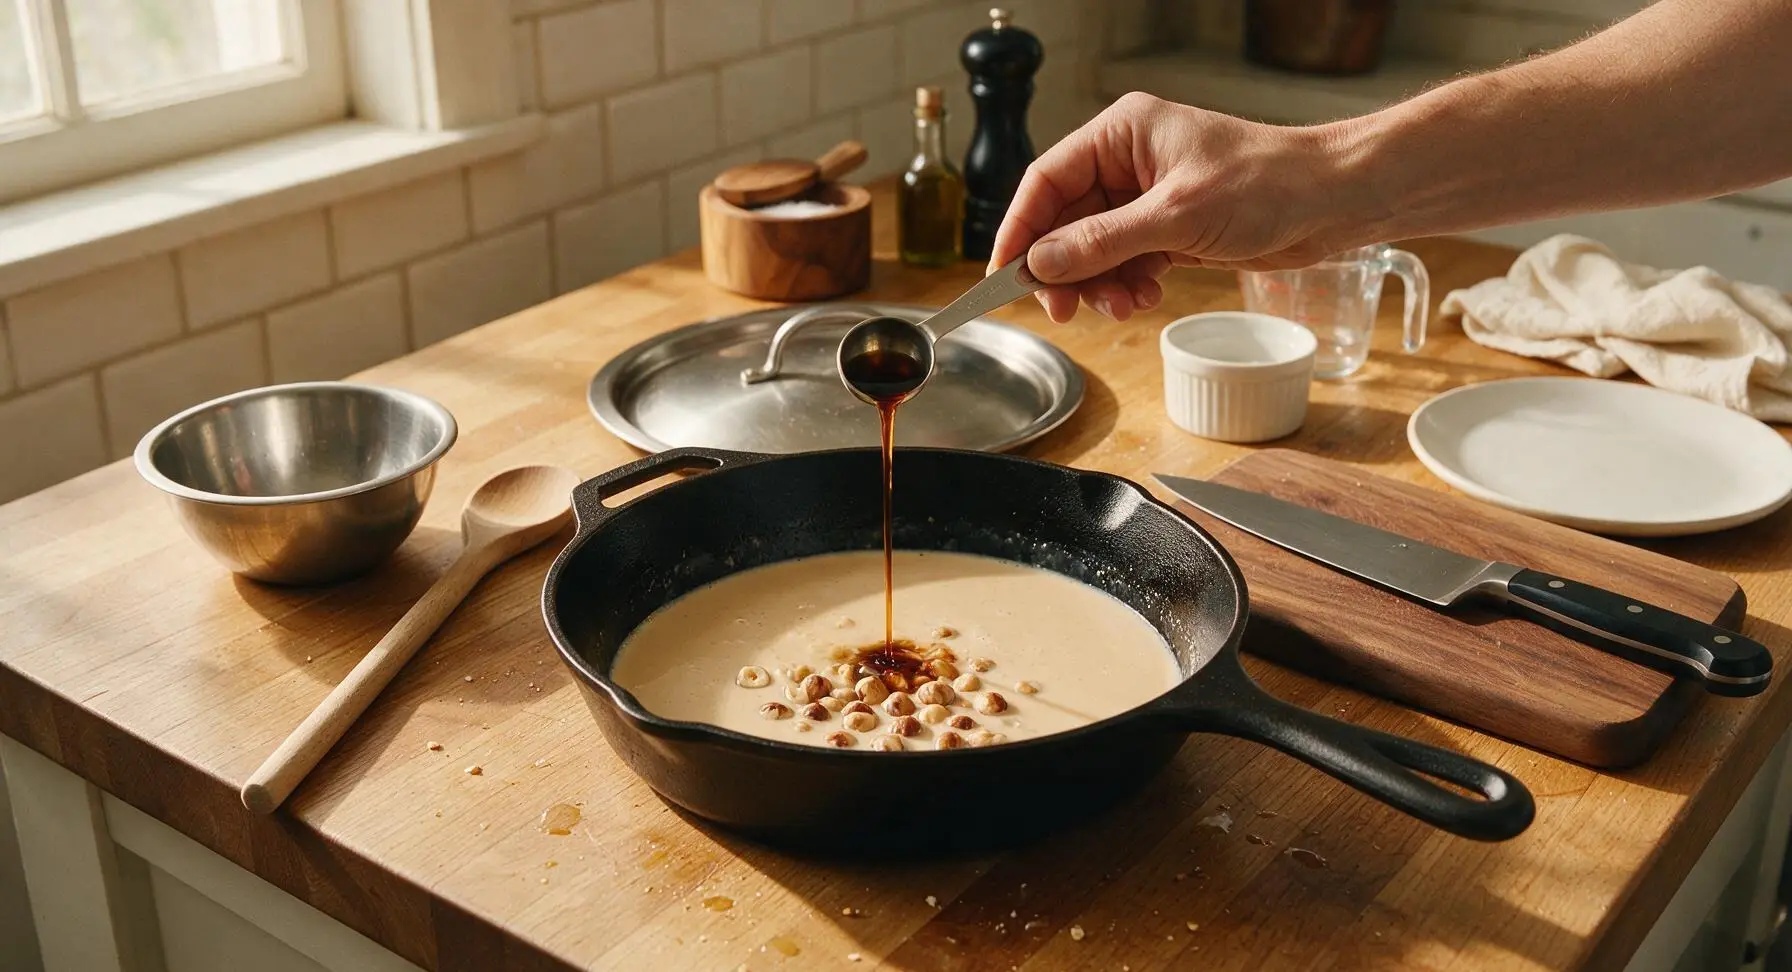
Step 5
step5:Stir in Extracts
6

Strain Out Solids

Set the fine-mesh stainless steel sieve over the open mouth of the 500ml glass storage bottle, then line the sieve with the unfolded cotton nut milk bag. Slowly pour the steeped hazelnut cream mixture through the lined sieve, letting it drain naturally into the bottle below. Once most of the liquid has drained, gently press the remaining hazelnut solids with the back of the beech wood spoon to extract all the flavored cream; do not squeeze the nut milk bag hard, as this will push fine, gritty hazelnut particles into the finished creamer. Spent hazelnut solids can be saved to stir into oatmeal or yogurt, or discarded.
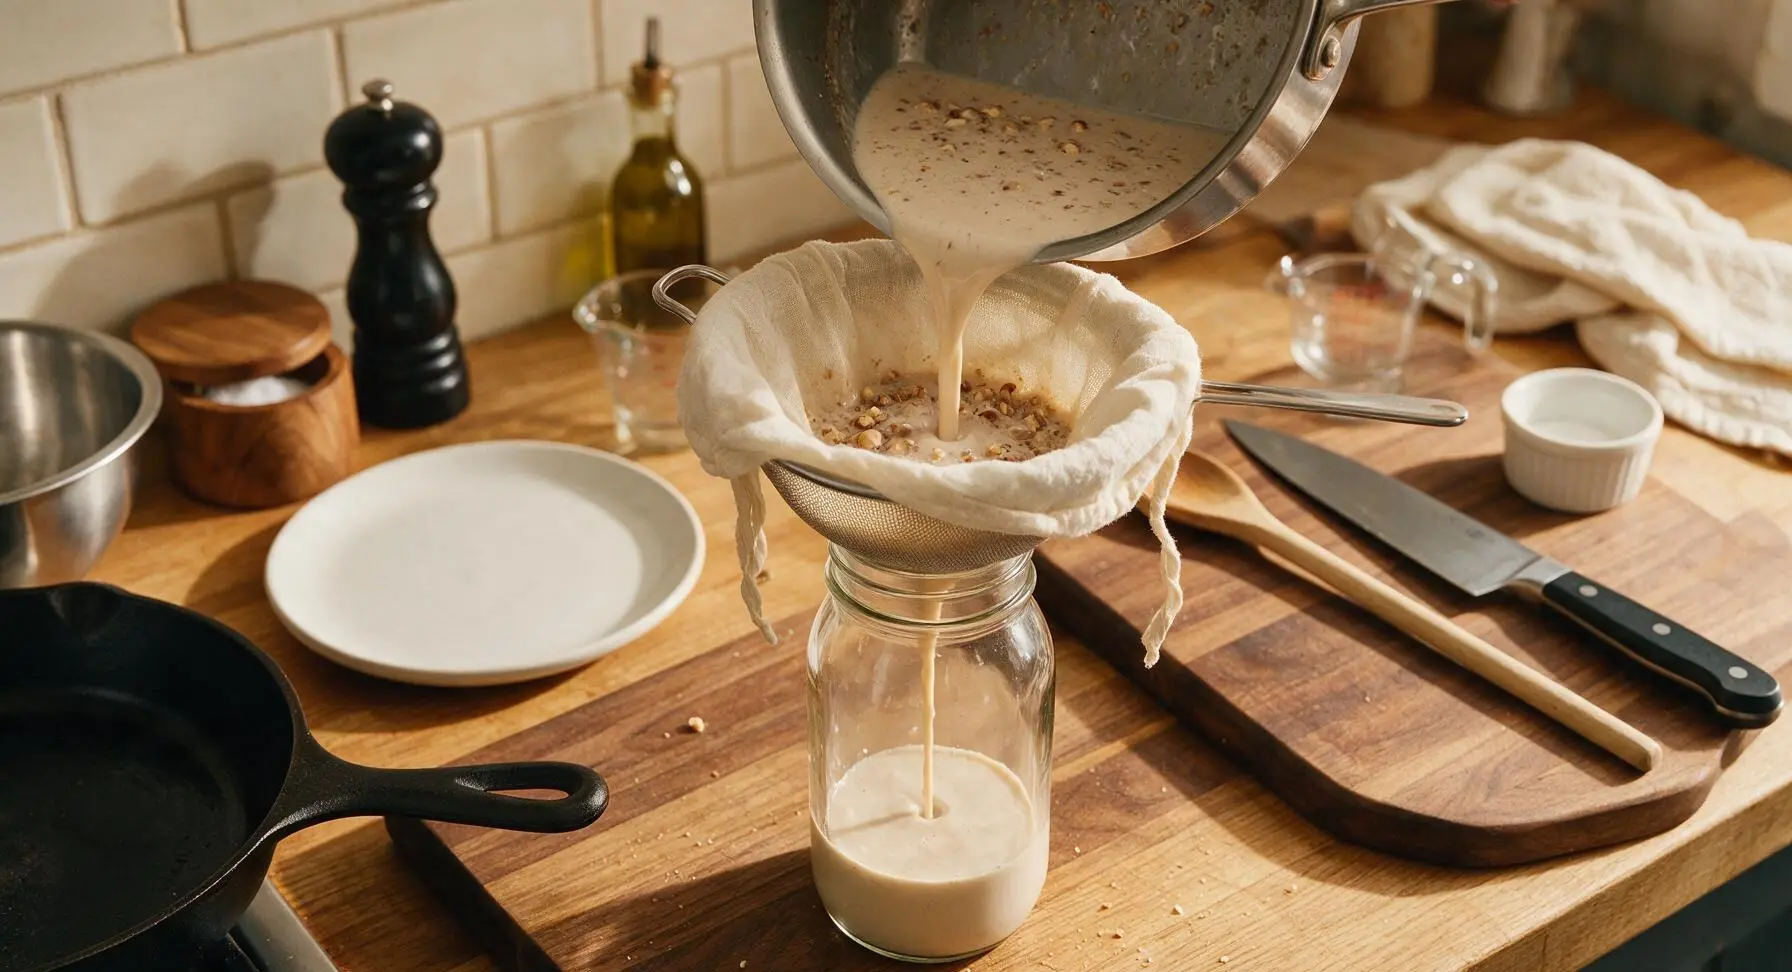
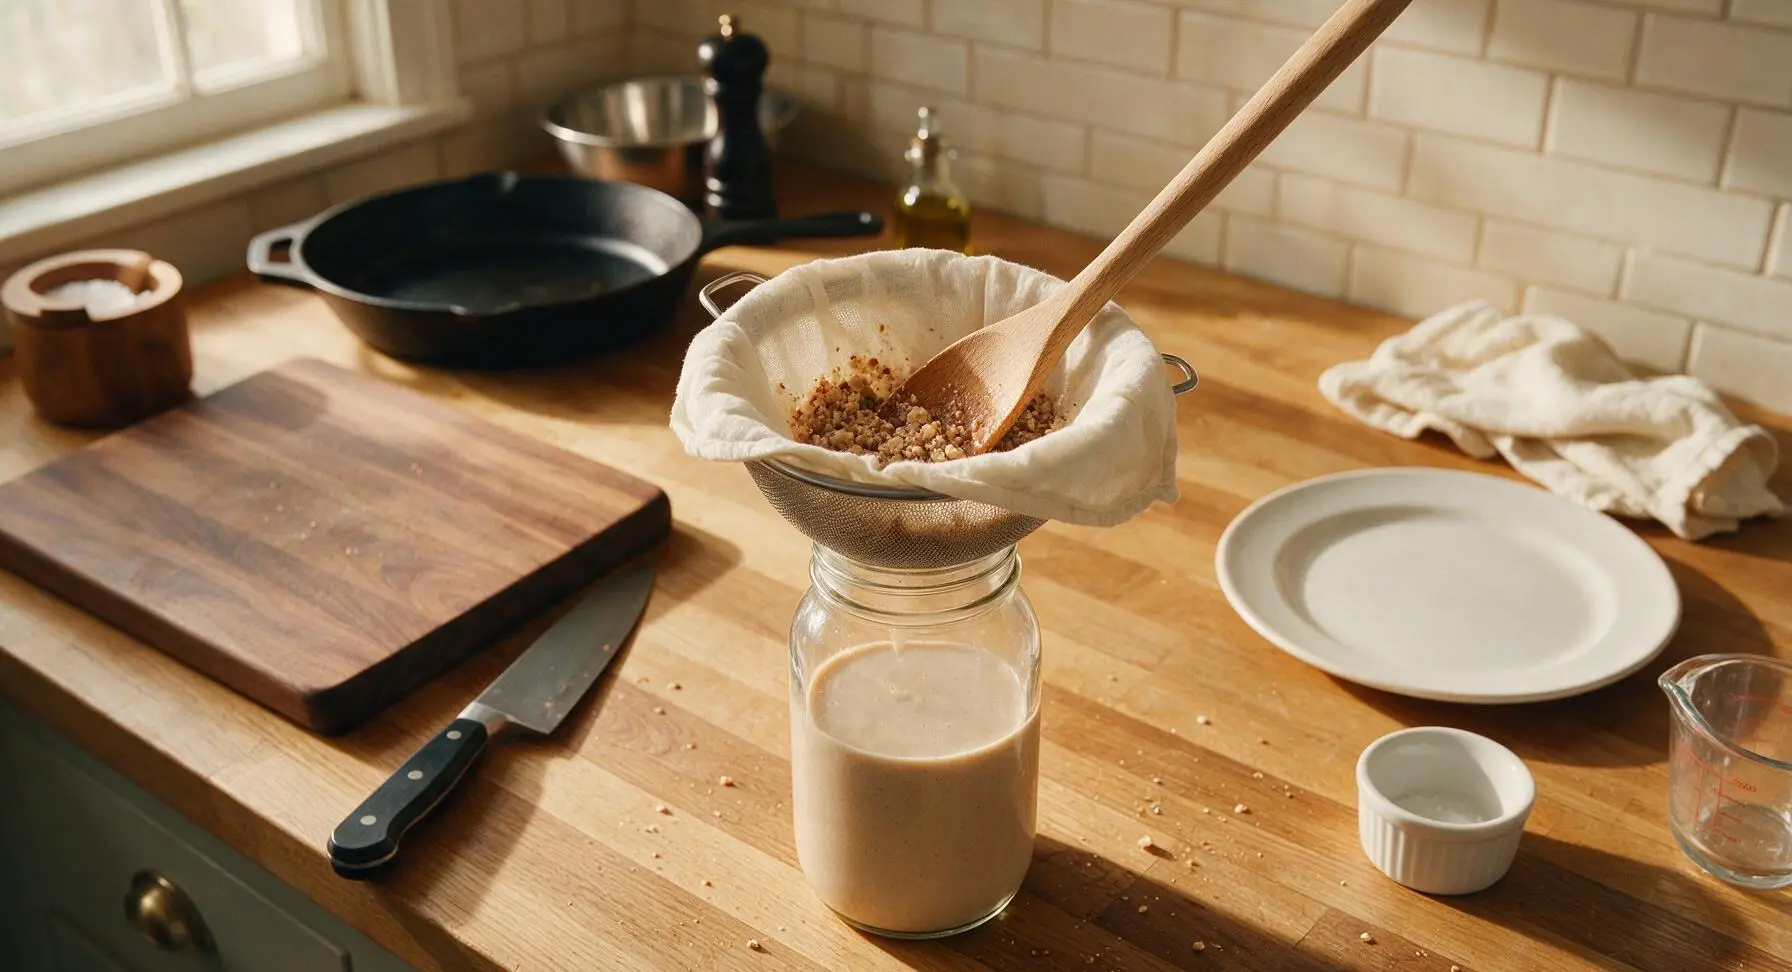
Step 6
step6:Strain Out Solids
Step 6
step6:Strain Out Solids
7

Chill Before Use

Once all the creamer has drained into the storage bottle, wipe any drips from the bottle neck, then secure the bamboo screw cap tightly. Give the bottle 2-3 gentle shakes to combine any slightly separated ingredients, then place it in the refrigerator to chill completely for at least 2 hours before use. The creamer will thicken slightly as it chills; give it a quick shake before each pour into coffee.
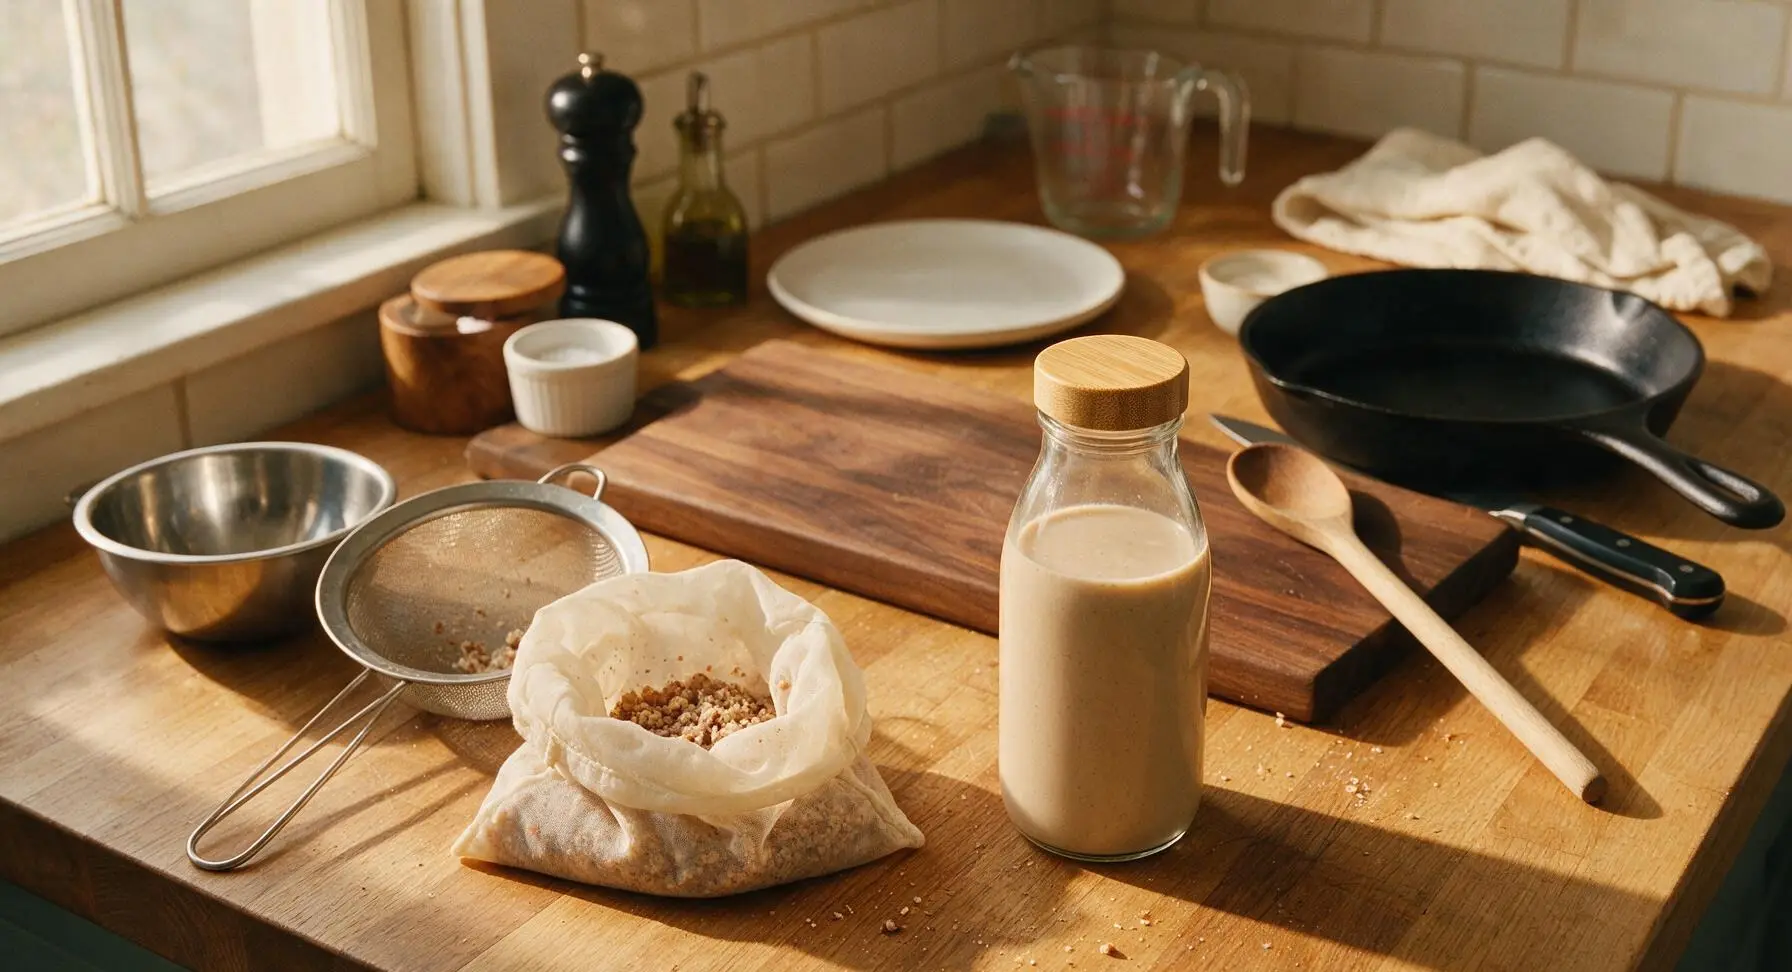
Step 7
step7:Chill Before Use

Tips

1.Skip the optional hazelnut extract if you prefer a milder, naturally nutty flavor—30 minutes of steeping with toasted hazelnuts delivers rich, warm nut notes on its own, and too much extract can create an artificial, candy-like taste that overwhelms the delicate cream base.
2.Never let the cream base come to a rolling boil when heating: high heat causes milk proteins in half-and-half to curdle, creating a lumpy, grainy creamer that will not mix smoothly into hot coffee. Keep heat to medium-low and remove the pan from heat as soon as you see the first tiny bubbles forming around the pan edge.
3.Store the finished creamer in a sealed airtight glass bottle in the coldest part of your refrigerator (not the door, which experiences temperature fluctuations) for up to 7 days. Do not freeze the creamer, as the dairy will separate and develop a grainy, watery texture when thawed. A quick 2-second shake before each pour will fix any minor natural separation that occurs as it sits.


✨ You May Also Like

Drinks & Beverages
🍜 Mexico

A bright, balanced tequila-based cocktail with zesty fresh lime, smooth orange liqueur, and a signature salt rim, perfect for warm summer sipping.

⏱️ 5 minutesDrinks & Beverages ★ 4.9
Drinks & Beverages
🍜 United States

Thick, creamy, nostalgic classic vanilla milkshake with a rich, smooth texture, topped with whipped cream and a cherry for cool, sweet refreshment.

⏱️ 5 minutesDrinks & Beverages ★ 4.7
Drinks & Beverages
🍜 United States

A bright, golden strong ale with fruity banana-clove notes, subtle hop spice, and soft carbonation, brewed in classic Trappist Tripel tradition.

⏱️ 2 hours aDrinks & Beverages ★ 4.5
Drinks & Beverages
🍜 United States

A frothy, nostalgic American soda fountain treat pairing bubbly cold root beer with creamy vanilla ice cream, perfect for cooling down at warm weather gatherings.

⏱️ 20 minuteDrinks & Beverages ★ 4.8
Drinks & Beverages
🍜 United States

Tart, funky, effervescent American Wild Ale is a complex fruity craft beer brewed with wild yeast, delivering bright, zesty notes perfect for warm-weather sipping.

⏱️ 2 hours aDrinks & Beverages ★ 4.4
Drinks & Beverages
🍜 United States

Bright, bubbly copycat of the iconic American caramel cola, balanced with citrus and warm spice, perfect for sipping ice-cold on hot days.

⏱️ 15 minuteDrinks & Beverages ★ 4.8

Hazelnut Creamer Homemade Coffee Creamer:Frequently Asked Questions

1.Can I use unblanched hazelnuts instead of raw blanched hazelnuts for this recipe? ▾
Absolutely, just plan for one extra prep step! Toast unblanched hazelnuts at 350°F for 10 minutes, then wrap them in a clean kitchen towel and rub vigorously to slough off the bitter, papery brown skins before using. Skipping this step will leave your creamer murky, slightly astringent, and less smoothly nutty than intended.
2.How long does this homemade hazelnut creamer stay fresh in the fridge? ▾
Stored in a tightly sealed, clean glass jar, this creamer will stay fresh for 7 to 10 days in the refrigerator. Give it a quick, gentle shake before each use, as natural separation is totally normal with real, preservative-free ingredients—no weird stabilizers here to keep it perfectly homogenized.
3.Can I make this creamer dairy-free for a vegan version? ▾
You can easily swap the half-and-half for an equal mix of unsweetened barista oat milk and full-fat canned coconut cream (1:1 ratio) for a rich, dairy-free vegan version. Stick to pure maple syrup as your sweetener, and note the shelf life will be slightly shorter, around 5 to 7 days.
4.Do I need to soak the hazelnuts before making this creamer? ▾
Soaking is not strictly required if you have a high-speed blender, but it does yield an even silkier final texture. If you don’t have a high-powered blender, soak hazelnuts in hot water for 1 hour (or cold water for 4 hours) then drain before blending to cut down on grit and make straining faster and easier.
5.Why is there a tiny pinch of fine sea salt in the recipe? Will it make the creamer salty? ▾
That small pinch of sea salt won’t make your creamer taste salty at all—it actually amplifies the toasty hazelnut flavor, balances the sweetness from the maple syrup, and rounds out the warm vanilla notes so none of the flavors taste flat or one-note. Stick to the 1/8 teaspoon measurement for best balance.
6.Can I adjust the sweetness level of the creamer to taste? ▾
Absolutely! The listed maple syrup measurement is a starting point for a lightly sweetened creamer that won’t overpower your coffee. Start with less if you prefer barely sweet coffee, or add an extra teaspoon or two of maple syrup if you like a sweeter, dessert-style creamer, tasting as you go.
7.Do I need to strain the creamer after blending, and what should I use to strain it? ▾
Yes, straining removes tiny leftover hazelnut particles for a silky, smooth texture matching store-bought options. Use a fine-mesh sieve lined with 2 layers of cheesecloth or a clean nut milk bag, pour the blended mixture through slowly, and press gently to extract all the creamy liquid without pushing grit through.
8.Can I use roasted hazelnuts instead of raw ones for a deeper flavor? ▾
You absolutely can! Raw blanched hazelnuts give a mild, bright nutty flavor, but toasting them (or using pre-roasted unsalted hazelnuts) for 8 to 10 minutes at 350°F brings out a deeper, richer, toasty hazelnut taste that pairs perfectly with bold, dark roast coffee. Avoid salted or oiled pre-roasted nuts.
9.Will this creamer curdle when I pour it into hot coffee? ▾
Curdling is rare with this recipe, but it can happen if your coffee is extremely hot and highly acidic, or if your creamer is ice cold when added. To avoid this, warm your creamer slightly (10 to 15 seconds in the microwave) before pouring, or let freshly brewed coffee sit 1 minute first.
10.Can I use a different sweetener instead of pure maple syrup? ▾
You can swap maple syrup for an equal amount of honey (if you don’t need a vegan version) or plain simple syrup, which mixes in seamlessly without graininess. Avoid granulated sugar, which won’t fully dissolve in the cold creamer base and will leave a gritty, sandy texture at the bottom of your jar.
11.What can I do with the leftover hazelnut pulp after straining the creamer? ▾
Don’t toss that leftover hazelnut pulp! Spread it thin on a baking sheet, bake at 200°F for 1 to 2 hours until fully dry, then blitz it into fine hazelnut meal to use in cookie dough, oatmeal, smoothie bowls, or homemade energy bites. It adds great nutty flavor and cuts down on food waste.

Comments (16)

2 hours ago

OMG this hazelnut creamer is a total game changer! I’ve been wasting so much money on store bought creamer loaded with weird additives, and this takes 10 whole minutes to make? Blended up a batch this morning for my weekday coffee prep and it’s SO good — tastes exactly like the fancy coffee shop hazelnut lattes I pay $6 for. 10/10 will make every week from now on.

1 hour ago

So glad you love it, Mia! It stays good in the fridge for up to a week, which makes it perfect for that weekly meal prep you mentioned. Enjoy those lattes at a fraction of the coffee shop price!

yesterday

My kids loved helping me stir this together after school yesterday! I added a tiny extra splash of vanilla because we’re all vanilla obsessed, and even my husband who swears he only drinks black coffee snuck a splash into his morning mug today. So easy even my 8 year old could help measure ingredients without making a huge mess. Will absolutely be bringing a jar to our next neighborhood potluck brunch!

3 days ago

Super easy recipe, turned out great overall! My only note is that I used regular toasted hazelnuts instead of blanched and it left a little bit of a gritty texture even after I strained it twice. Flavor is spot on though, way better than the chemical-tasting sugar free creamer I used to buy. Any tips for getting it totally smooth?

2 days ago

I had the same grit issue the first time! Let the hazelnuts steep in the warm milk for 15 extra minutes before straining through a fine mesh sieve lined with cheesecloth, that caught all the tiny bits for me!

2 days ago

Great tip from @NuttyForNuts! I also recommend letting the mixture cool slightly before straining, and if you don’t have cheesecloth a clean coffee filter works just as well to catch those fine hazelnut particles. Glad you loved the flavor!

5 days ago

Wait this is so easy I made it in my dorm room mini kitchen? No fancy equipment needed, just a small pot and a mason jar to store it. Saved me so much money this month already since I don’t hit up the campus coffee shop between classes anymore. My roommate keeps stealing sips out of my jar lmao.

4 days ago

Wait I’m in a dorm too! Does it need to stay super cold? My mini fridge is packed to the gills with energy drinks and frozen pizza, trying to see if I can squeeze a jar in.

1 week ago

Finally a homemade creamer that doesn’t have any weird hidden gluten! I swapped the regular whole milk for oat milk to keep it dairy free for my sensitive stomach, and it turned out perfectly creamy, no weird separation at all. The hazelnut flavor is warm and nutty, not artificial at all. Already shared the recipe with my whole celiac support group chat!

2 weeks ago

Flavor was good, but mine separated a little bit in the fridge after 2 days? I shook it up real good before using and it was fine, just a little unexpected. Maybe I heated the milk too hot when I mixed in the hazelnut extract? Not sure, would make again but figure out the separation thing first.

1 week ago

I had that happen my first batch too! Turned out I skipped letting the mixture cool completely before pouring it into the jar and popping it in the fridge. Let it sit on the counter for 20 mins first, no separation since!

1 week ago

Hank is exactly right! Sudden temperature changes can cause that minor separation, and a good shake before each use will also help it mix right back up if it does happen. So glad you enjoyed the flavor even with that little hiccup!

2 days ago

Added this to my weekly Sunday meal prep rotation! I make a big batch every Sunday, pour it into little reusable travel bottles, and grab one on my way out the door for work every morning. Tastes amazing in iced coffee too, not just hot! Game changer for my early 6am shifts.

1 day ago

Love the travel bottle idea for on-the-go coffee! It works so well in iced drinks because it mixes in smoothly without clumping, unlike a lot of thicker store bought creamers. Hope those early shifts feel a little easier with a great cup of coffee to start!

5 minutes ago

Wait has anyone tried adding a little cinnamon and a pinch of nutmeg to this to make a fall spiced hazelnut creamer? I’m about to whip up a batch right now and I’m curious if that slaps or if I should stick to the base recipe first.

3 minutes ago

I did that last week! Added 1/4 tsp cinnamon and a tiny dash of maple syrup, it was literally better than the pumpkin cream cold brew from Starbucks. 10/10 recommend, you won’t regret it.

just now

That sounds like a delicious custom twist! We’ve tested adding a pinch of sea salt too to make the hazelnut flavor pop even more — let us know how your spiced version turns out!

1 week ago

My granddaughter taught me how to pull up this recipe on my phone last week, and I’ve made three batches already! I used to drink my coffee black for 40 years, but this creamer is so smooth and nutty I don’t think I can go back. Shared a jar with my buddy down at the VFW and he asked for the recipe too. Great stuff, no fancy hard to find ingredients either.

3 days ago

Really great base recipe! I cut the added sweetener in half because I don’t like my coffee super sweet, and it was still absolutely delicious. The hazelnut flavor comes through really nicely even without extra sugar. Only giving 4 stars because I wish the recipe noted how long it stays good in the fridge right off the bat, I had to dig through comments to find that info.

2 days ago

Thanks so much for the honest feedback, Liz! We’ve updated the recipe card to note that it stays fresh in an airtight container in the fridge for 7-10 days, so future readers don’t have to hunt for that info. So glad you loved the lower sugar version!

yesterday

Made this for my husband this morning for our first wedding anniversary breakfast in bed! He’s obsessed with hazelnut coffee, and he said it was better than any creamer we’ve ever bought from the store. Served it alongside homemade blueberry muffins and he said it felt like we were at a fancy bed and breakfast. 10/10, will make for all our future weekend brunches.

12 hours ago

That is so sweet! Happy anniversary! I made this for my partner’s birthday breakfast too, paired with chocolate chip pancakes, and he asked me to make it a permanent staple in our fridge.

10 hours ago

Happy first anniversary! That sounds like such a lovely, thoughtful breakfast — we’re so honored this recipe got to be a small part of your special day. Cheers to many more years of great meals (and great coffee!) together.

2 weeks ago

I work part time at a local coffee shop and I’m low key embarrassed how much I like this homemade creamer better than the commercial hazelnut syrup we use at work? It’s creamier, the nut flavor is way more natural, and it doesn’t leave that weird artificial aftertaste in your mouth. I’ve started making a batch to bring in for my own shifts, and my coworkers keep asking where I got it.

5 days ago

Finally a hazelnut creamer I can make for my son who has a soy allergy! All the store bought hazelnut creamers have soy lecithin in them, which he can’t have, and this uses super simple, whole ingredients I can feel good about giving him. He said it makes his morning hot cocoa taste like a fancy treat too, not just coffee! Win win.

4 days ago

That makes us so happy to hear! It works beautifully in hot cocoa, steamy chai, and even poured over a bowl of oatmeal for a little hazelnut twist too. So glad your son can enjoy it safely with his soy allergy.

2 days ago

Brought a thermos of coffee with this creamer on my early morning hike up the local trail today, and it was the perfect warm pick me up when I hit the summit. So much lighter than the super thick sweet creamers I usually bring, so it didn’t weigh me down, and the hazelnut flavor was such a nice treat to enjoy while watching the sunrise. Will definitely be packing this on all my future hikes!

1 week ago

Love that I can make this with ingredients I already have in my pantry, no fancy runs to the grocery store needed! I store it in old glass pasta sauce jars I’ve cleaned out instead of buying new containers, so it’s zero waste for me too. Way less plastic waste than buying a new plastic creamer bottle every week, which is a huge win for my household.

5 days ago

The pasta sauce jar storage hack is genius! I’ve been using old mason jars but I go through so much pasta sauce I have a million empty jars sitting in my recycling bin, I’m definitely stealing that idea.

4 days ago

We love that zero waste hack! Storing it in glass also helps it stay fresh a little longer than plastic, so that’s an added bonus. Thanks for sharing that great tip with the rest of the community!

30 minutes ago

Just made my first batch! The flavor is chef’s kiss, but I think I added a little too much hazelnut extract on accident so it’s a tiny bit strong for my taste. Next time I’ll measure more carefully instead of just pouring straight from the bottle, oops. Even with that it’s still way better than store bought!

10 minutes ago

I did the exact same thing my first batch! I just added a little extra half and half to mellow it out, and it was perfect. No waste, no problem!



