
Heart-shaped candies
intro
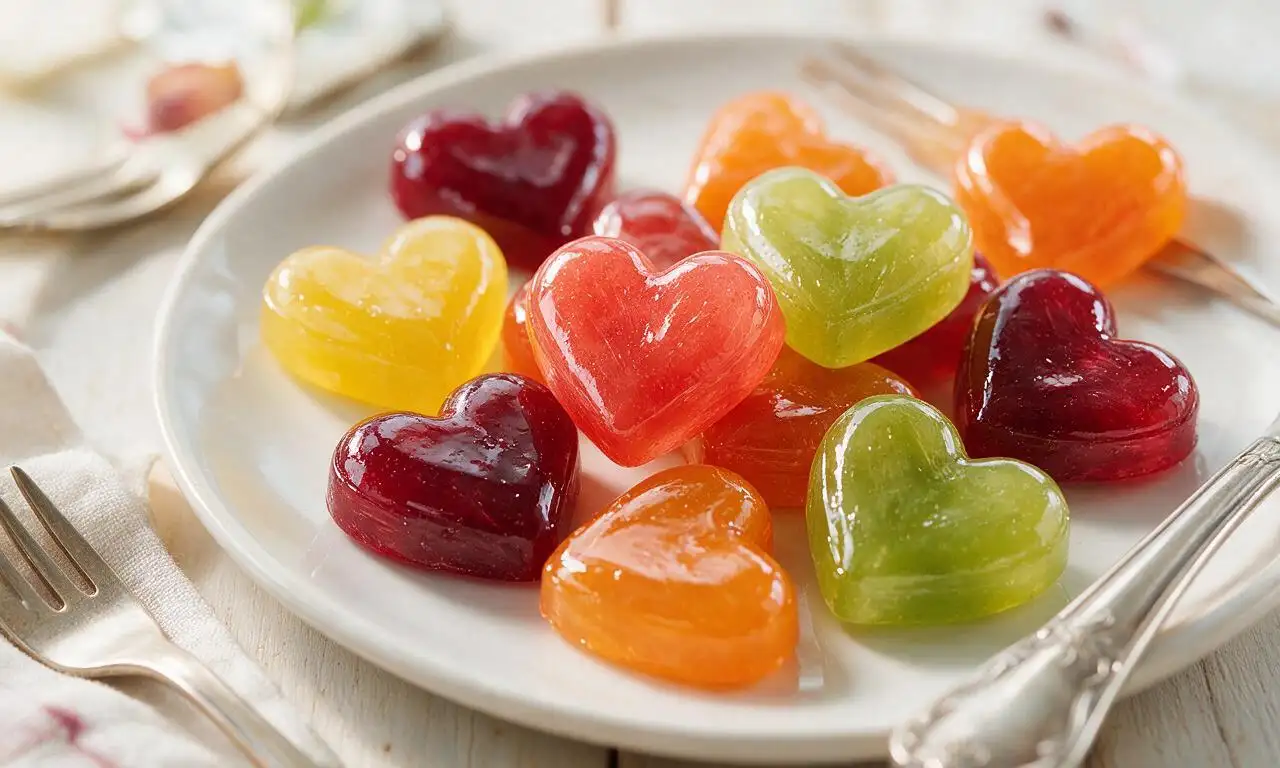
Glossy, fruit-flavored homemade heart-shaped hard candies, customizable in color and taste, perfect for sweet Valentine’s Day gifting and sharing.
Ingredients
Steps
Prep molds and tools
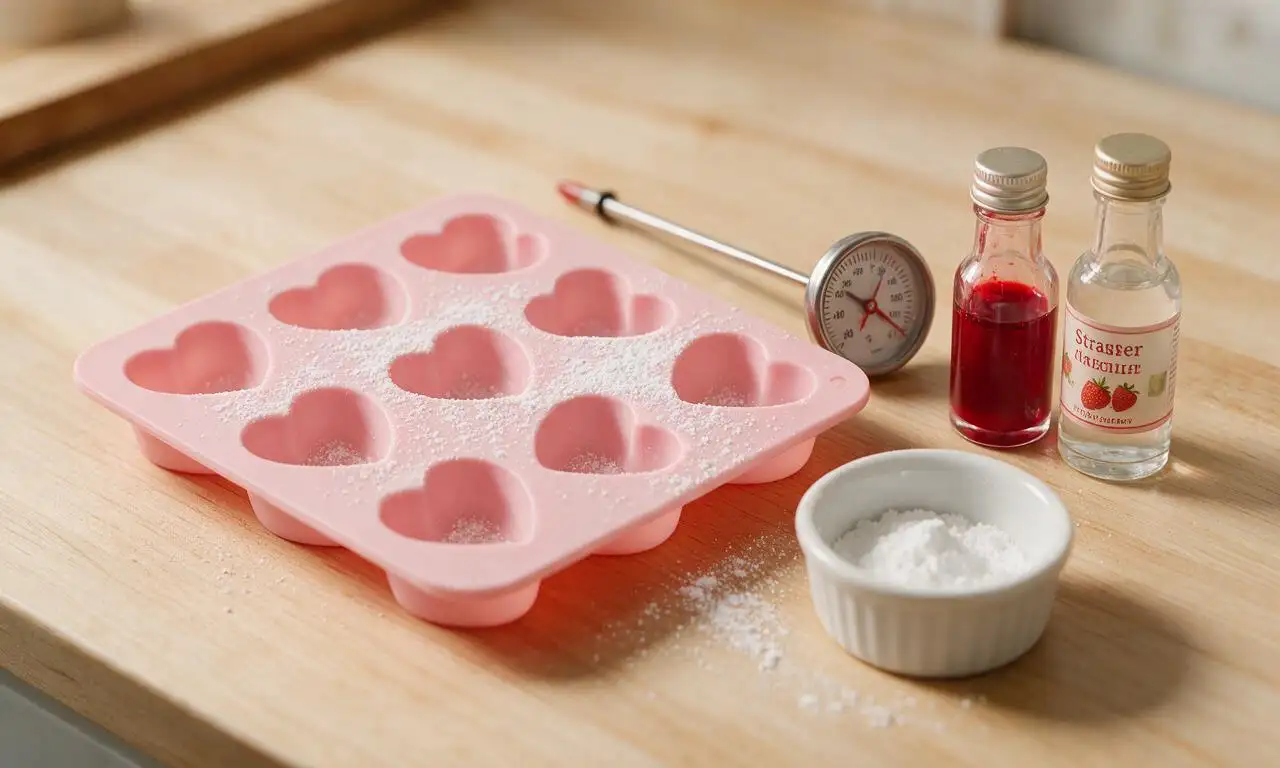
First, lightly dust a 24-cavity silicone heart candy mold (each cavity 2.5cm wide) with 2 tablespoons of powdered sugar to prevent sticking. Set the mold on a heatproof cutting board, and arrange your candy thermometer, measured flavor extract, and food coloring within arm’s reach, as hot sugar sets very quickly once removed from heat.
Boil sugar syrup base
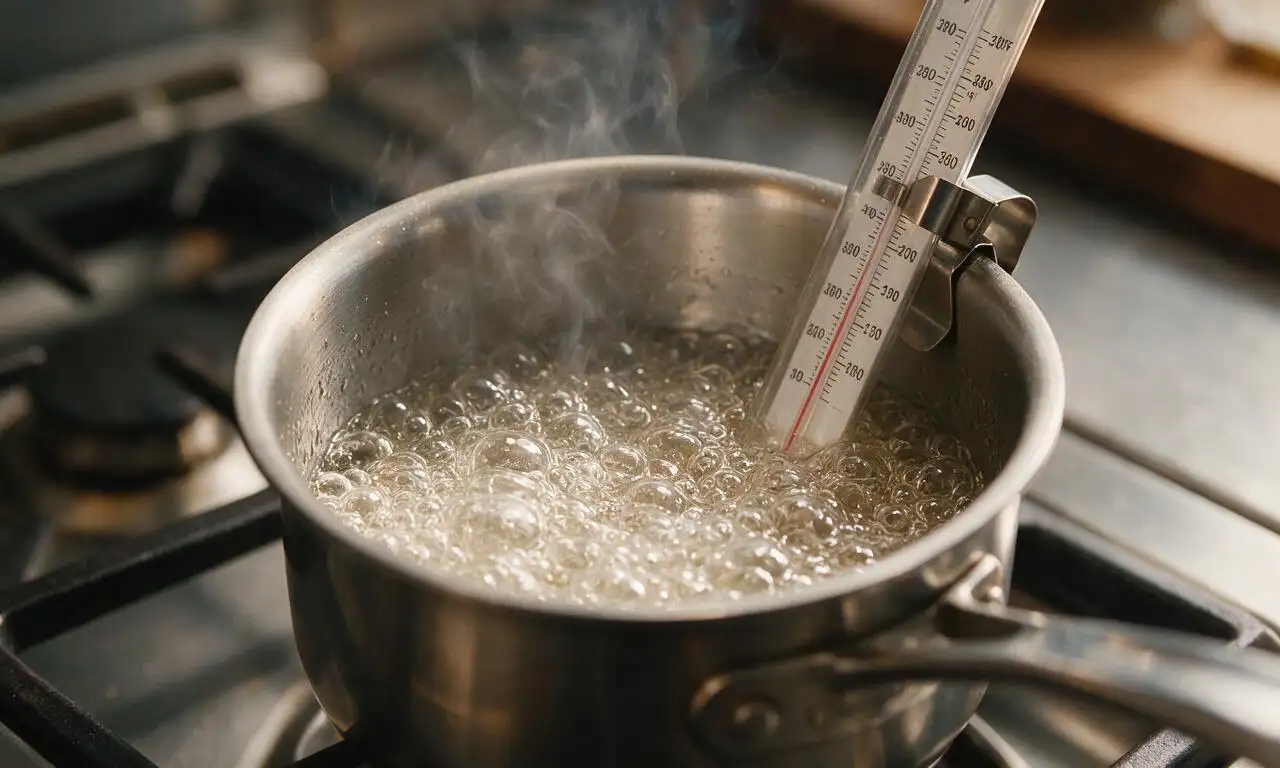
Combine 200g granulated sugar, 60ml light corn syrup, and 60ml filtered water in a small heavy-bottomed saucepan over medium heat. Stir gently until all sugar fully dissolves, then stop stirring entirely. Clip a candy thermometer to the pan side (ensure the tip does not touch the hot pan bottom) and bring the syrup to a rolling boil until it reaches 149°C (300°F, hard crack stage), about 8-10 minutes. Do not stir once boiling to avoid grainy, cloudy candy.
Add flavor and color
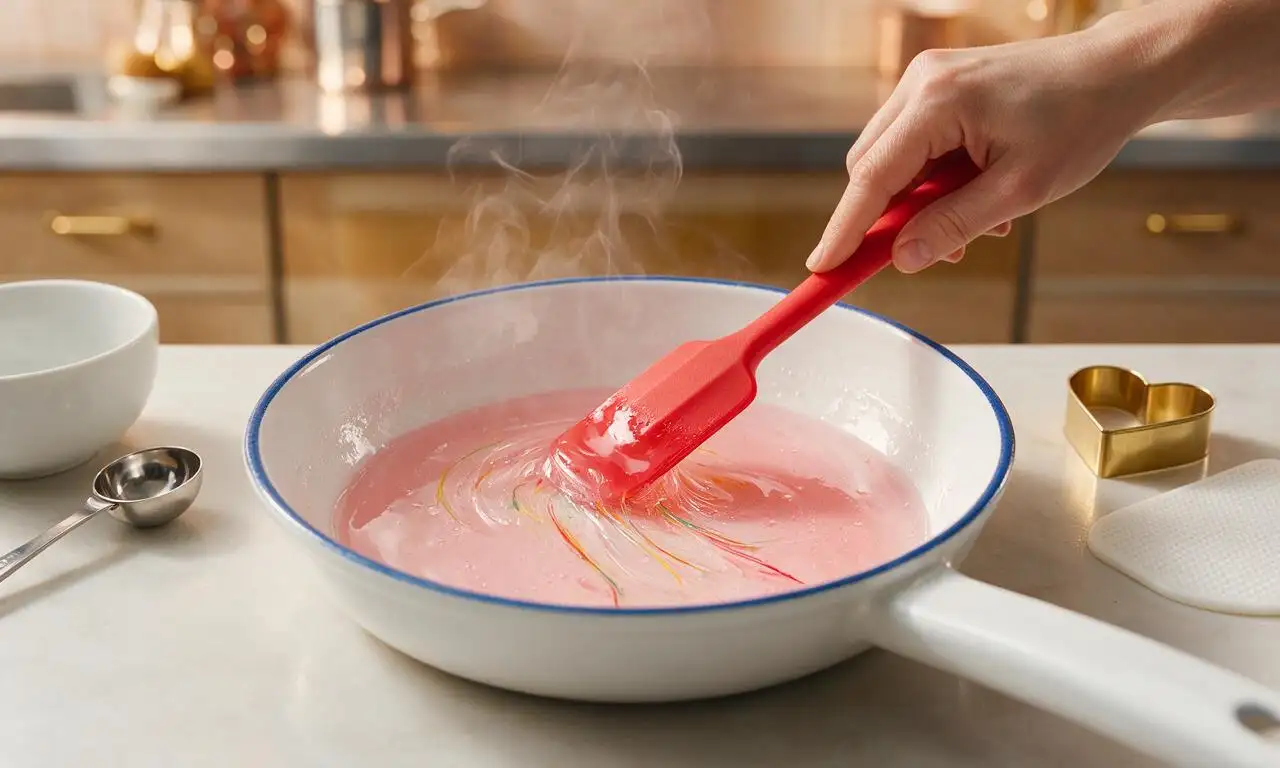
As soon as the syrup reaches 149°C, immediately remove the pan from the stovetop. Let the bubbles settle for 30 seconds, then stir in 1 teaspoon of your chosen fruit extract and 2-3 drops of red or pink gel food coloring with a heatproof silicone spatula, mixing just until evenly combined. Do not overmix, as this can introduce air bubbles and cloud the finished candy.
Fill heart mold cavities
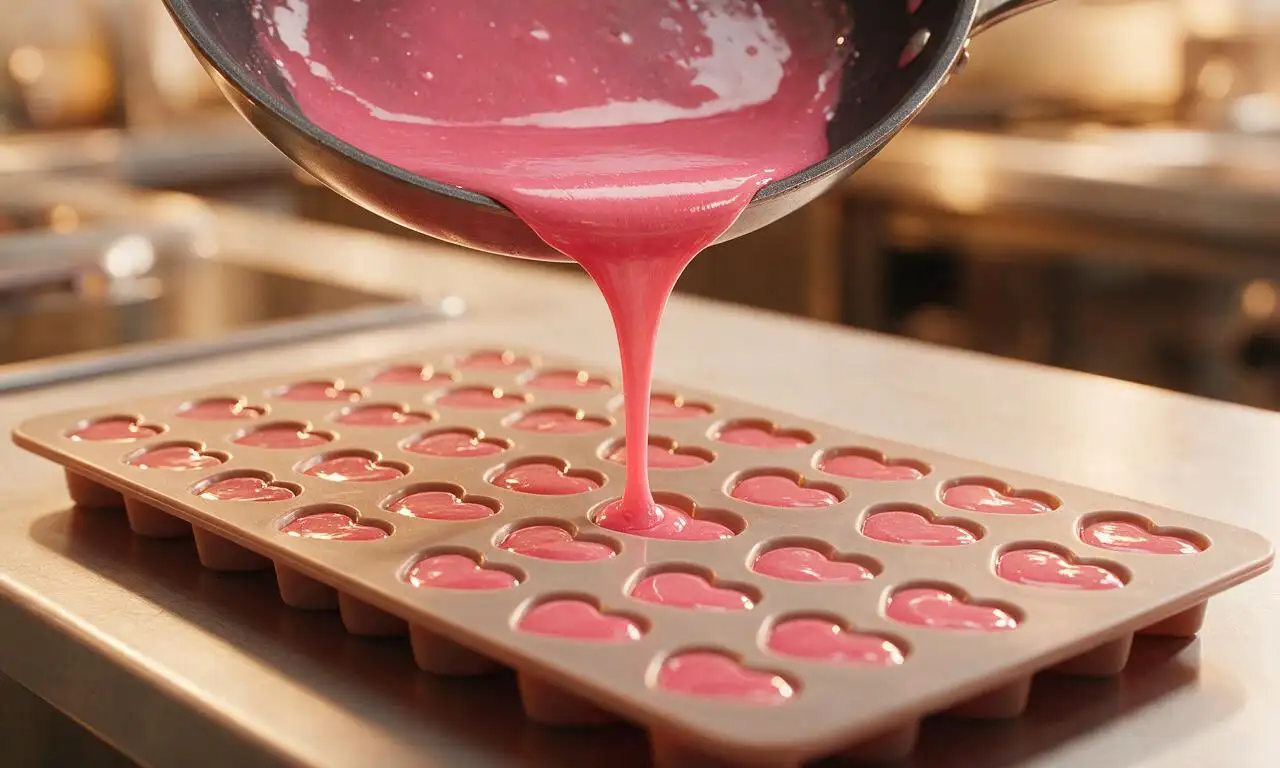
Carefully pour the hot colored syrup in a thin, slow stream into each prepared heart mold cavity, filling each to within 1mm of the top to avoid overflow as the candy sets. Work quickly, as the syrup will start to thicken and harden within 2-3 minutes off heat. If the syrup thickens mid-pour, set the pan back over low heat for 10 seconds to re-liquefy before continuing.
Let candies fully set
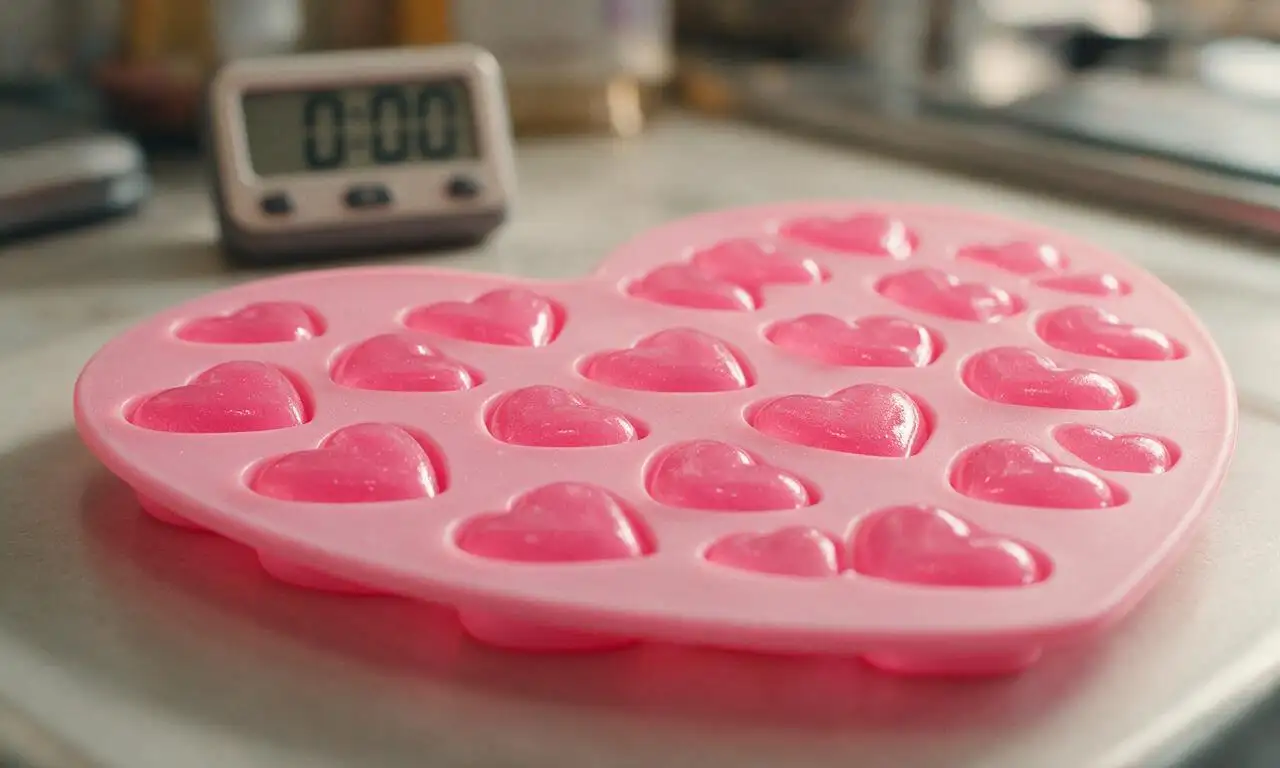
Leave the filled mold completely undisturbed at cool room temperature (18-20°C / 65-68°F) for 1 full hour, until the candies are rock-hard, cool to the touch, and pull away easily from the silicone without bending. Do not place the mold in the refrigerator, as condensation will cause the candy surface to become sticky.
Unmold and finish candies
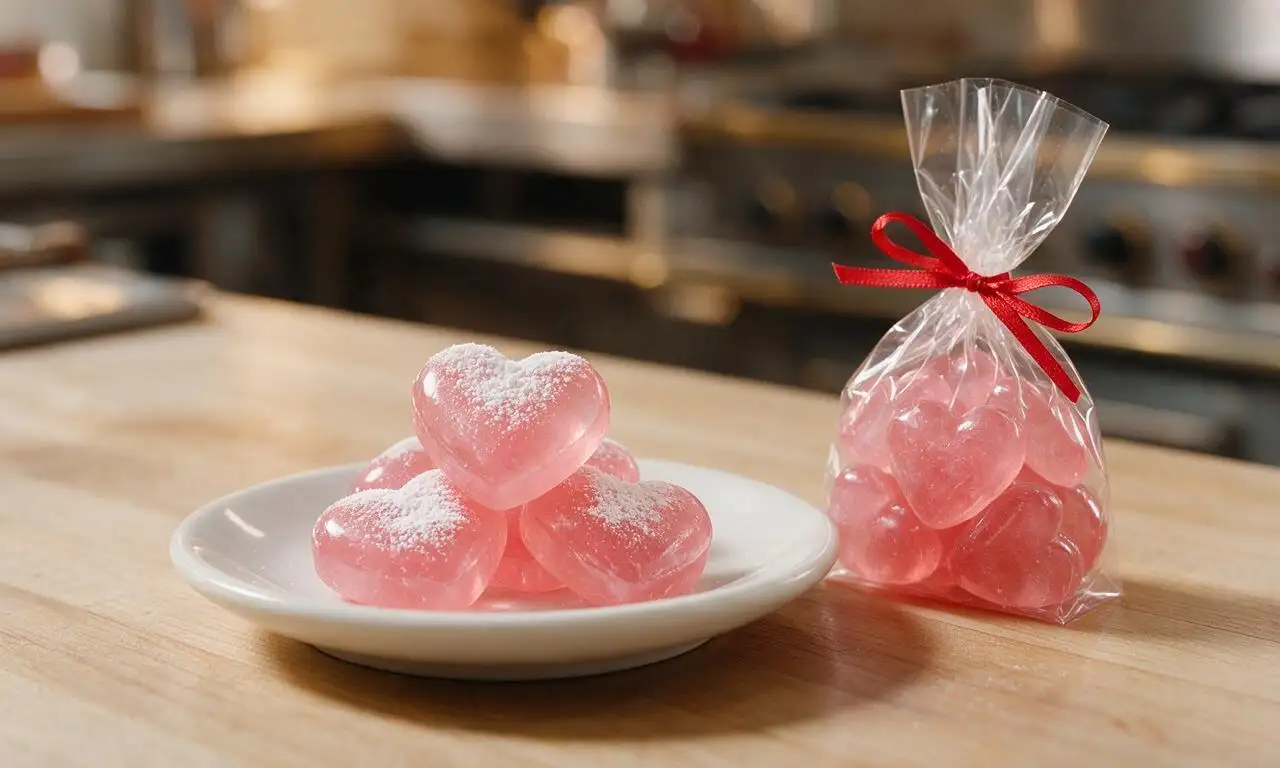
Gently flex the silicone mold to pop each hardened heart candy out, then lightly toss the candies in the remaining 3 tablespoons of powdered sugar to add a thin non-stick coating, brushing off any excess powder with a dry pastry brush. Candies are ready to eat immediately, or package in sealed cellophane bags for gifting.
Tips
2.Avoid using liquid food coloring for this recipe, as the added water can make the candy grainy or prevent it from setting firmly; gel food coloring delivers vibrant, clear color without extra moisture.
3.If you live in a very humid climate, stir 1/4 teaspoon of cream of tartar into the sugar syrup before boiling to help the candy set to a hard, non-sticky texture even in moist air.






OMG these heart candies were such a hit for my kid's Valentine's class party! I swapped the red food coloring for beet juice to make it natural and no one even noticed. SO good, even the picky eaters asked for seconds.
Game changer for homemade candy! I thought this would be way harder since difficulty is medium, but the steps were super straightforward. I added a little sea salt on top of the raspberry flavored ones and *chef's kiss*.
Made these for my roommate's Galentine's movie night and they were gone in 10 minutes flat. I did half vanilla, half strawberry flavor, and dusted them with a little edible glitter for extra sparkle. 10/10 will make again.
Uh, help? I followed the recipe exactly but my candy didn't set properly after the full hour, it's still all goopy in the molds. Did I mess up the temperature when boiling the sugar? I don't have a candy thermometer so I guessed.
Made these with my dorm floor mates last weekend for our little Valentine's social! We didn't have fancy heart molds so we poured the candy onto a parchment lined baking sheet and cut out hearts with cookie cutters right before it fully set. Worked like a charm, saved us a trip to the craft store.
I swapped the gelatin for agar agar to make these vegan and they turned out perfectly! Used coconut extract instead of vanilla for a tropical twist, my whole plant-based potluck group went crazy for them. Will definitely add these to my regular treat rotation.
Brought these to my office potluck last week and everyone was asking for the recipe! I did a mix of milk chocolate and white chocolate drizzle on top and they looked so fancy, people thought I bought them from a boutique candy shop.
These taste just like the old-fashioned hard candies my mom used to make when I was a kid! I used lemon and orange extracts to make a few citrus flavored hearts for my grandkids, and they loved picking out their favorite colors. My only note is the set time took a little longer than an hour for me, probably because my kitchen is pretty cold in the winter.
Made these for my girlfriend for our anniversary at home instead of buying fancy chocolates, and she cried (happy tears!). I did dark cherry flavor and dusted them with gold luster dust, looked super romantic. Way more thoughtful than store-bought, 10/10.
Wait, has anyone tried making these sugar free? I'm on keto and miss having little hard candies, I was thinking of using allulose instead of granulated sugar but I don't know if it'll set the same.
My kids loved picking out the food coloring and flavors and helping pour the syrup into the molds! We made a bunch of extra to bag up as little valentines for their classmates and teachers, it was such a fun weekend activity. Just be extra careful with the hot sugar around little hands, obviously.
Second time making these and they turned out even better! First time I messed up the temp like I mentioned earlier, but this time I got a candy thermometer and they set perfectly. I even added little pop rocks to the center for a fun fizz surprise, and my friends lost their minds over them.
Wait, how long do these keep for? I want to make a big batch a week before my sister's bridal shower to use as little party favors, but I don't want them to get sticky or go bad before the event.
This was my first time ever making candy from scratch and I was so nervous, but the step by step instructions made it so easy! Mine didn't look quite as perfect as the photos (a couple of the hearts had lumpy edges) but they tasted amazing, so I'm calling it a win.