1.Why do I need to add vegetable shortening instead of just using plain milk chocolate?
▾
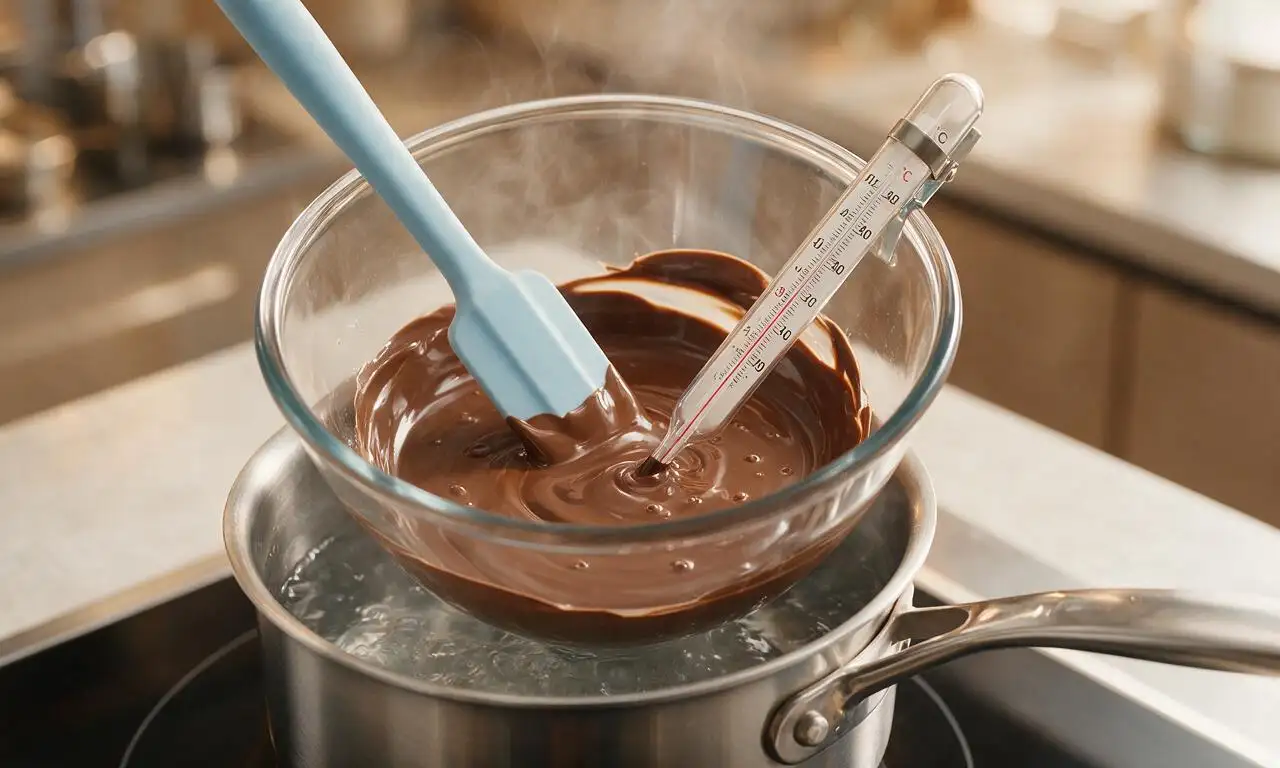
Adding a small amount of unflavored food-grade vegetable shortening thins melted chocolate to the perfect piping consistency, so it flows easily to form that classic sharp teardrop point. It also helps create that signature snappy, smooth melt-in-your-mouth bite, and cuts down on common tempering mishaps that lead to dull, crumbly chocolate. Skip butter or margarine here—their water content will cause chocolate to seize up.
2.Can I use dark or white chocolate instead of 30-40% cacao milk chocolate to make these?
▾
Absolutely! For dark chocolate Kisses, opt for a 50-60% cacao bar for a balanced, not overly bitter bite, and for white chocolate versions, pick a high-cacao-butter bar (not cheap candy melts) to avoid a fake waxy aftertaste. Add ¼ teaspoon extra shortening per cup of thicker dark chocolate to keep the smooth, pipeable consistency you need for clean teardrop shapes.
3.Do I really need to temper the chocolate for these copycat Kisses?
▾
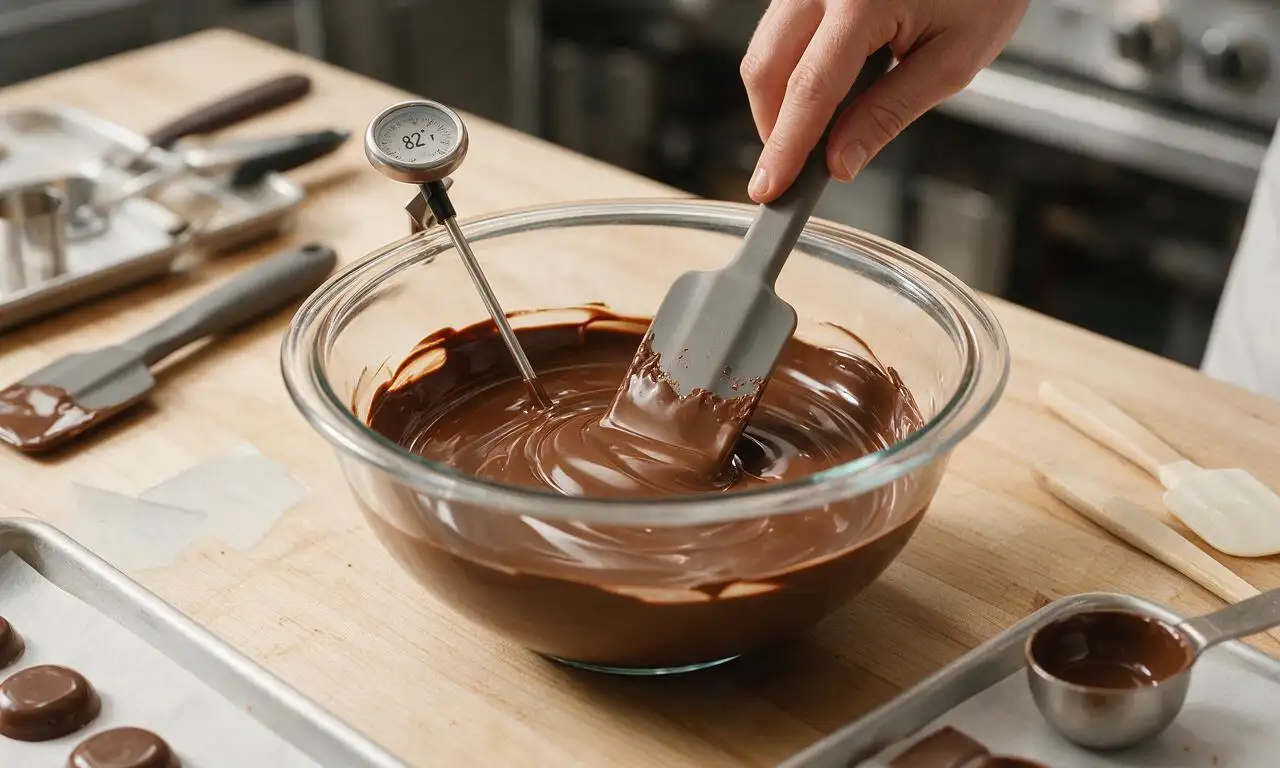
For the most authentic, shelf-stable result that doesn’t melt at room temperature or develop chalky white fat bloom, tempering is absolutely worth the extra 10 minutes of work. If you’re crunched for time and plan to store finished Kisses in the fridge and eat them within 3 days, you can use a quick melt-and-pour method, but the texture and snap won’t match classic Hershey’s Kisses.
4.What’s the easiest way to get that iconic teardrop Kiss shape without a special mold?
▾
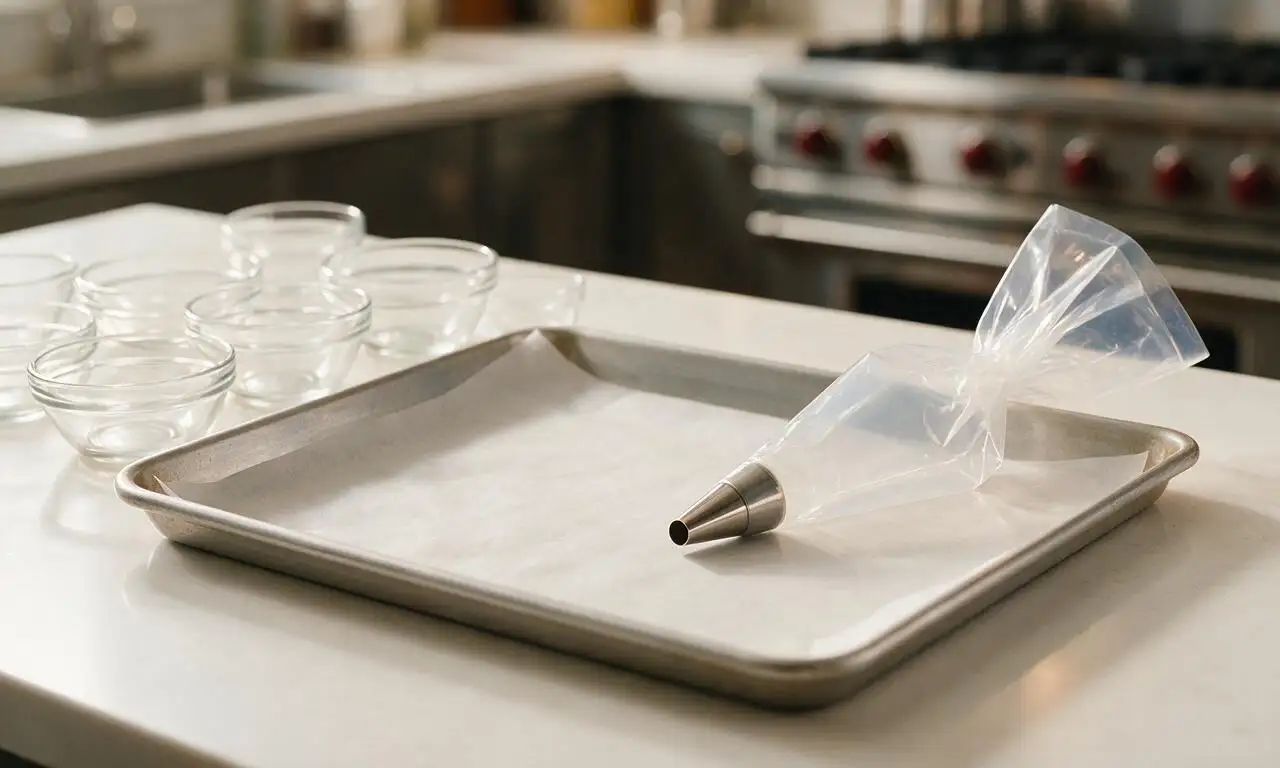
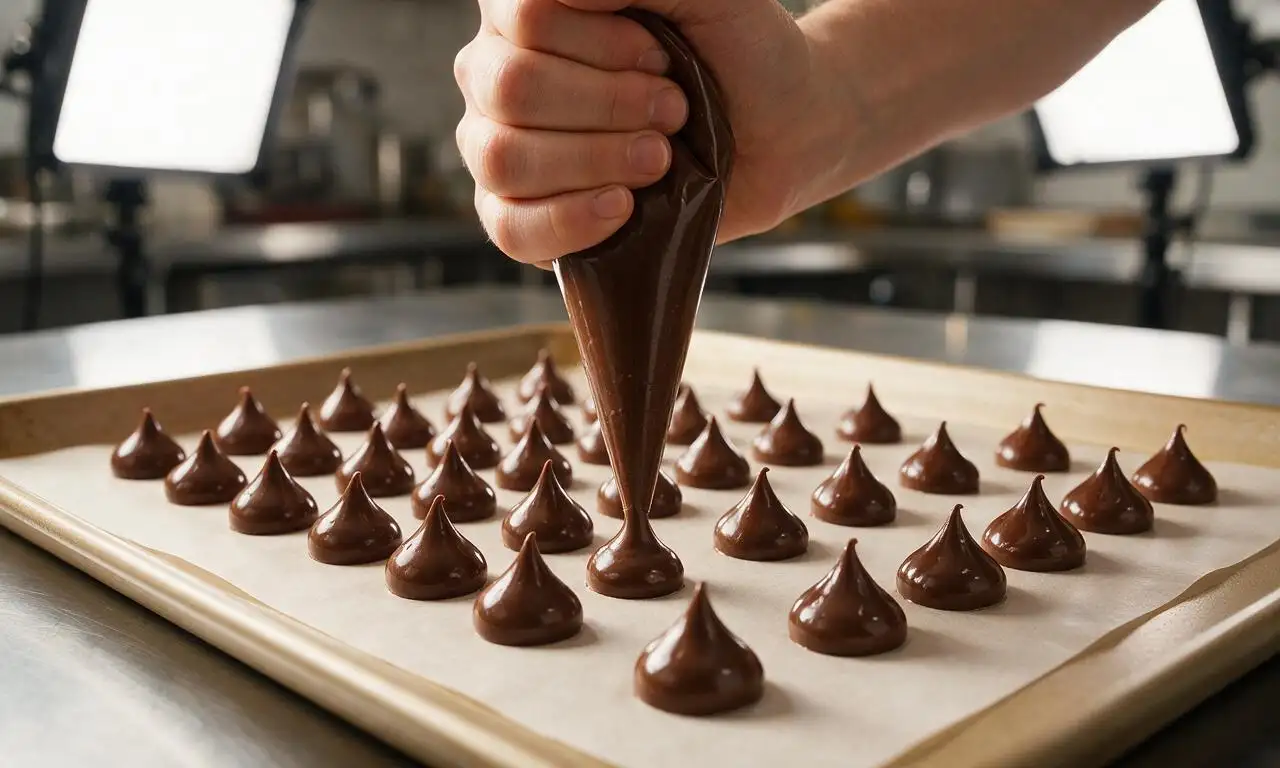
You don’t need a fancy custom mold! Line a rimmed baking sheet with parchment paper, fill a piping bag fitted with a ½-inch round tip with your melted chocolate mixture, hold the bag perfectly straight 1 inch above the parchment, squeeze steadily to form a 1-inch wide round base, then pull straight up quickly as you release pressure to leave that signature pointed top.
5.My chocolate seized up when I was melting it—can I fix it?
▾
Seizing happens when even a tiny drop of water gets into melted chocolate, turning it grainy, lumpy, and thick. You can usually rescue it by stirring in 1 teaspoon of warm, unflavored vegetable shortening at a time, stirring gently between additions, until it smooths back out to a pourable consistency. Rescued chocolate works perfectly for these Kisses, even if it’s not ideal for high-end fancy confections.
6.Can I add mix-ins like nuts, caramel, or cookie bits to these copycat Kisses?
▾
Definitely! Finely chopped toasted pecans, crispy rice cereal, tiny bits of soft caramel, or crushed peppermint work beautifully for fun custom variations. Just keep mix-ins to no more than ¼ cup per cup of melted chocolate, and stir them in right before piping so they don’t sink to the bottom. Skip large, chunky add-ins, as they will clog your piping tip and ruin that smooth teardrop shape.
7.How long do these homemade Kisses stay fresh, and how should I store them?
▾
If you properly tempered the chocolate, store fully cooled Kisses in an airtight container in a cool, dark spot (60-65°F is ideal) away from strong-smelling foods, and they’ll stay fresh for up to 3 weeks. If you skipped tempering, keep them in an airtight container in the fridge for up to 1 week, and let them sit at room temp for 5 minutes before eating for the creamiest texture.
8.Can I make these without a piping bag?
▾
Of course! If you don’t have a piping bag, snip a ½-inch corner off a heavy-duty zip-top plastic bag to use as a budget DIY alternative. If even that isn’t available, use a small 1-teaspoon cookie scoop to drop mounds of chocolate onto parchment, then tap the baking sheet firmly on the counter to help the chocolate settle into a soft rounded shape—you just won’t get quite as sharp a classic point.
9.Why do my finished Kisses have dull, streaky tops instead of a glossy finish?
▾
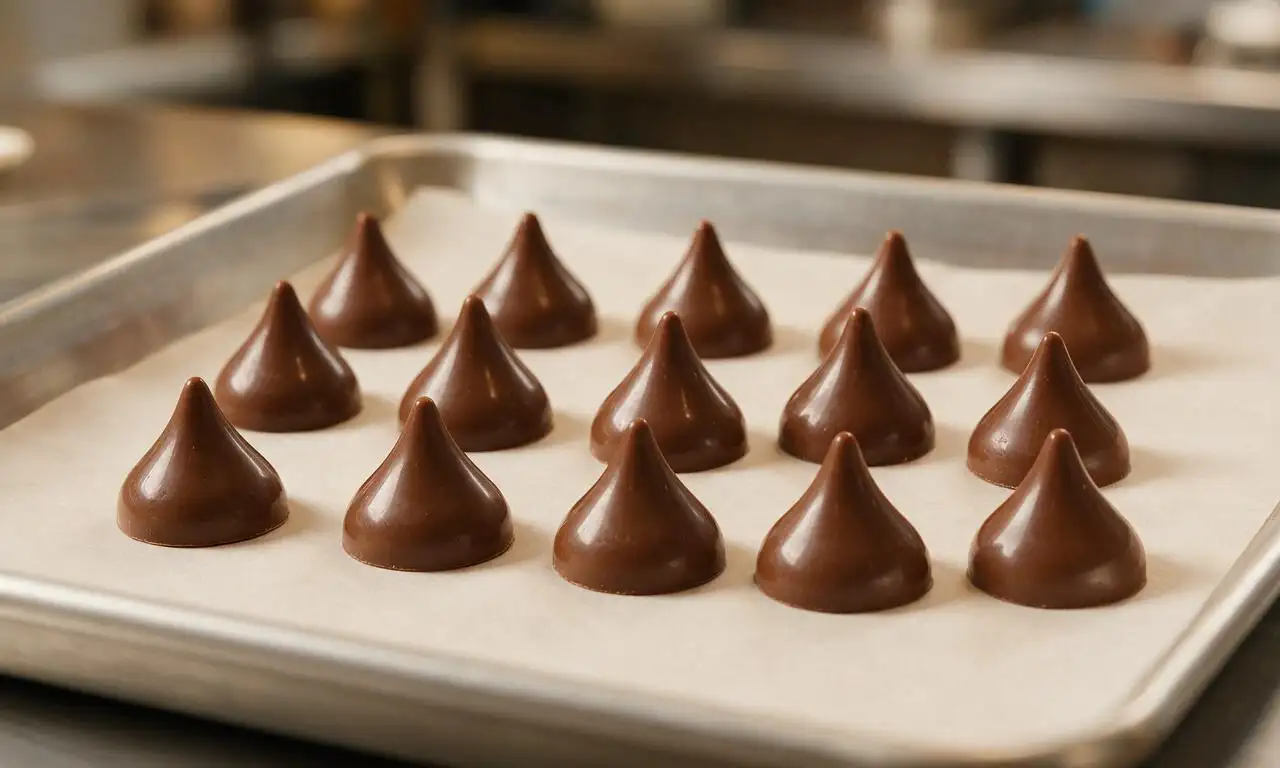
Dull, streaky, or splotchy tops almost always come from one of two issues: either the chocolate wasn’t tempered correctly, so cocoa butter separated unevenly as it set, or you let the Kisses set in a space that was too warm or too humid. For the shiniest, most authentic finish, let piped Kisses set undisturbed in a cool, low-humidity spot for 1 to 2 hours, and don’t move them until they’re fully firm.
10.How do I add those little paper plumes like real Hershey’s Kisses have?
▾
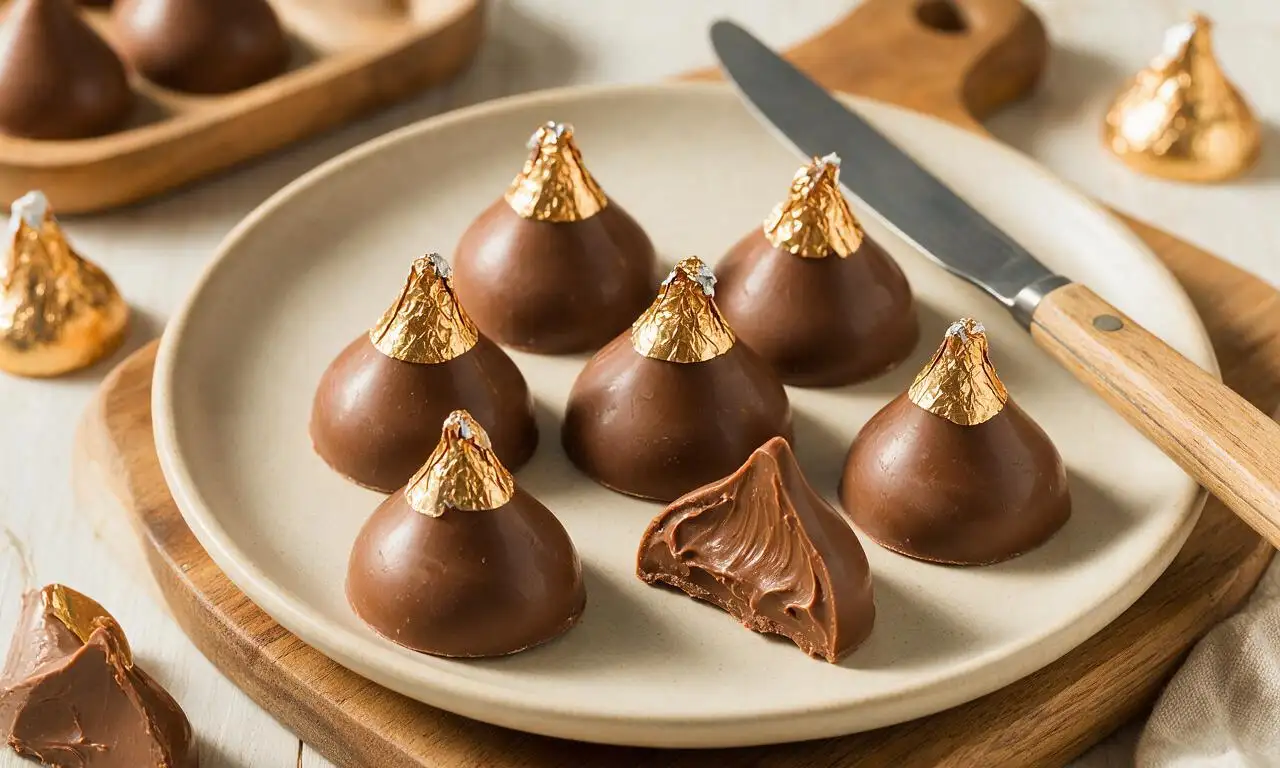
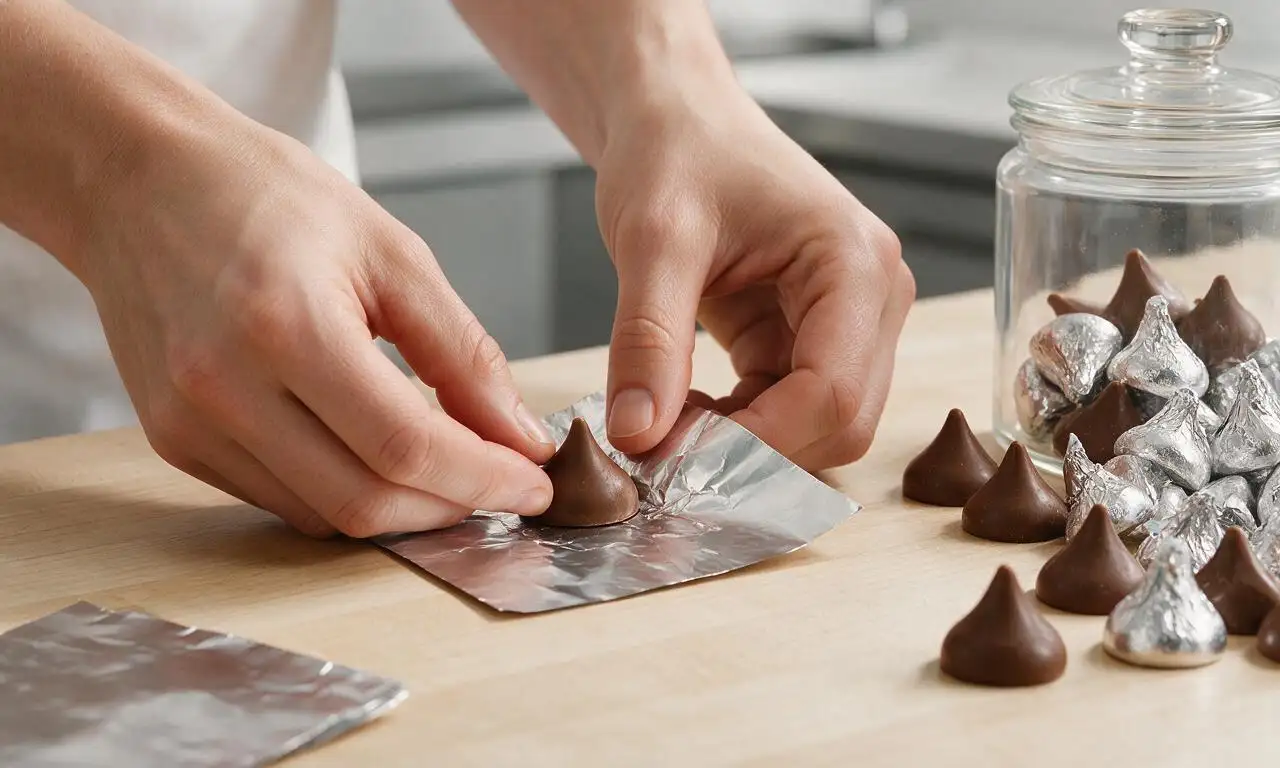
For that classic nostalgic touch, you can buy pre-cut paper plumes online, or make your own by cutting 1-inch long, ¼-inch wide strips of uncoated parchment paper. Wait until the piped chocolate is partially set (not fully hard, about 20 minutes after piping) then tuck one end of the paper strip into the point of each Kiss, and let them finish setting fully so the paper stays securely anchored.
11.Can I use chocolate chips instead of finely chopped bar chocolate for this recipe?
▾
I don’t recommend it for the most authentic texture! Most commercial chocolate chips have added stabilizers to help them hold their shape when baked, which makes them thicker and less smooth when melted, leading to slightly waxy-tasting Kisses that lack that classic creamy melt. If you only have chips on hand, add an extra ½ teaspoon of shortening per cup of chips to thin them out as they melt.
12.My piped Kisses won’t hold a sharp point—what am I doing wrong?
▾
If your chocolate is too warm or too thin, it will spread and lose its point right after piping, leaving a flat blob instead of a crisp teardrop. Let the melted chocolate cool for 2 to 3 minutes, stirring occasionally, until it’s thick enough to leave a slow, thick ribbon when you lift your spoon out of the bowl, then try piping again. Be sure to pull straight up quickly, not at an angle, when you finish each Kiss.
13.Can I make these dairy-free or vegan for friends with dietary restrictions?
▾
Absolutely! Swap the standard milk chocolate for a high-quality vegan milk chocolate made with oat or coconut milk, and double-check that your vegetable shortening is unflavored and free of dairy-derived additives. Use pure vanilla extract (some imitation vanillas have hidden dairy carriers) and the final result will be nearly indistinguishable from the original, even for non-vegan eaters.
14.How much vanilla extract should I add, and can I use imitation vanilla?
▾
Use ¼ teaspoon of pure vanilla extract per 8 ounces of chopped chocolate to get that subtle, warm background flavor that matches classic Hershey’s Kisses without making the chocolate taste boozy or overly perfumed. You can use imitation vanilla if that’s what you have on hand, but it has a slightly flat, artificial aftertaste, so cut the amount by half to avoid that noticeable fake flavor.
15.Can I use these homemade Kisses in other recipes, like cookies or s'mores?
▾
You sure can! These copycat Kisses work perfectly as a drop-in replacement for store-bought Kisses in all your favorite recipes, from peanut butter blossom cookies to s’mores, hot chocolate toppers, and trail mix. Just note that if you didn’t temper the chocolate, they will melt faster in baked goods, so chill them for 15 minutes before adding them to cookie dough to help them hold their shape.
16.What’s the best way to package these homemade Kisses for holiday gifting?
▾
For a nostalgic, gift-worthy presentation, nestle fully set Kisses in mini paper candy cups, tuck them into a decorative tin lined with acid-free tissue paper, and tie the tin with a festive ribbon. If you added the classic paper plumes, avoid packing them too tightly so the delicate points don’t break. For reliable gifting, be sure to temper the chocolate so it doesn’t melt or develop bloom during transit.







OMG these taste EXACTLY like the real Hershey's Kisses! I made a batch for my kid's class Valentine's party and every single kid was begging for more. So easy too, I didn't even have to run to the store for fancy ingredients. Total game changer for last minute treat prep!
I was skeptical these would live up to the hype but wow, the texture is spot on! I used a little extra vanilla because that's my vibe and they came out so creamy, no weird waxy aftertaste like some homemade chocolate candy recipes have. Will be making these every holiday from now on.
Wait, how do you get that perfect little point on top? Mine all came out kind of flat and lumpy? They taste amazing but don't look as cute as the pictures 😂 Did I pour too fast? Wait too long for the chocolate to set before piping?
Brought these to our neighborhood block party potluck this weekend and people thought I bought the fancy gourmet version from the candy shop! Nobody believed they were homemade, let alone copycat Hershey's Kisses. I added a tiny pinch of sea salt on top of half the batch for the sweet-salty crowd and those were gone first. 10/10
Made these with my 7 year old twins last night for a rainy day activity and it was so easy even they could help pour the chocolate into the molds! Only mess was a little chocolate on the counter (and their cheeks, and the dog...) but totally worth it. They are so proud to give these to their teachers tomorrow.
I made the regular version and it's perfect, but has anyone tried making these with sugar free chocolate chips? I'm type 1 diabetic and miss the old Hershey's Kisses so bad, would love to swap for my next batch if it works the same with the method here!
Wait this is so easy even I can make this in my dorm room? I have a mini fridge and a microwave, no fancy double boiler or anything. Melted the chocolate in 30 second bursts in the microwave, poured into a silicone mold I got for $5 on Amazon, stuck em in the fridge for an hour and boom. Kisses for days for way cheaper than buying the bag at the campus store. Obsessed.
How long do these stay good for? I want to make a big batch ahead for Christmas cookie tins for the neighbors, don't want them to get that weird white bloom on them before I hand them out!
These are already perfect as is, but wait a second, has anyone stuffed these with a little peanut butter? Like the peanut butter truffle kisses they sell around Easter? I feel like that would be next level, but don't know if I should freeze the peanut butter dollops first or what.
Full transparency: I burned the first batch of chocolate because I had the heat too high on the stove. Oops. Second batch I followed the directions exactly, melted it super low, and they came out perfect. Don't be like me, don't rush the melting step! It's so worth going slow.
Made 200 of these for my best friend's bridal shower favors, put them in little tulle bags with a custom tag that said 'We kissed the single life goodbye' and they were the biggest hit! People still text me asking for the recipe months later. So easy to scale up for big batches too, no weird issues even when I tripled the recipe. 10/10
This recipe is so straightforward, quick question! Do I have to use the official Hershey's Kiss shaped silicone mold, or can I use a regular candy mold? I have a bunch of round truffle molds already at home, would that work even if they don't have the kiss shape?
I added a single toasted almond in the center of each one to copy the almond kisses they sell, and oh my GOD it's better than the store bought version. The nuttiness adds such a good crunch against the smooth milk chocolate. My husband ate half the batch in one sitting oops
I make a batch of these every Sunday to keep in my desk at work for when that 3pm sugar craving hits. Way better than hitting the vending machine for a candy bar, and I know exactly what's in them. I use dark chocolate for half the batch to make them feel a little fancy, and they hit every time.
Wait this is so much cheaper than buying name brand kisses! I did the math, a big bag of chocolate chips makes almost twice as many kisses as a regular bag from the candy aisle for half the price. Perfect for when you need a ton of candy for treat bags on a budget.
Tried this with oat milk chocolate chips to make them vegan for my niece who can't have dairy, and they turned out so good! Even the non-vegans at the family dinner were grabbing them off the platter, nobody could tell the difference. So happy there's an easy swap that works.
Made these for our family game night last night and they were the perfect bite sized snack to pass around while we played board games. No messy crumbs, no sticky fingers, just perfect little chocolate bites. I even hid a few in the pantry for myself because I knew my teenagers would demolish the whole plate 😂
The regular milk chocolate version is 10/10, but has anyone tried this with white chocolate? I'm obsessed with the white chocolate kisses they come out with around the holidays, would love to make my own version at home with a little crushed candy cane on top for Christmas.