
hibachi shrimp
intro
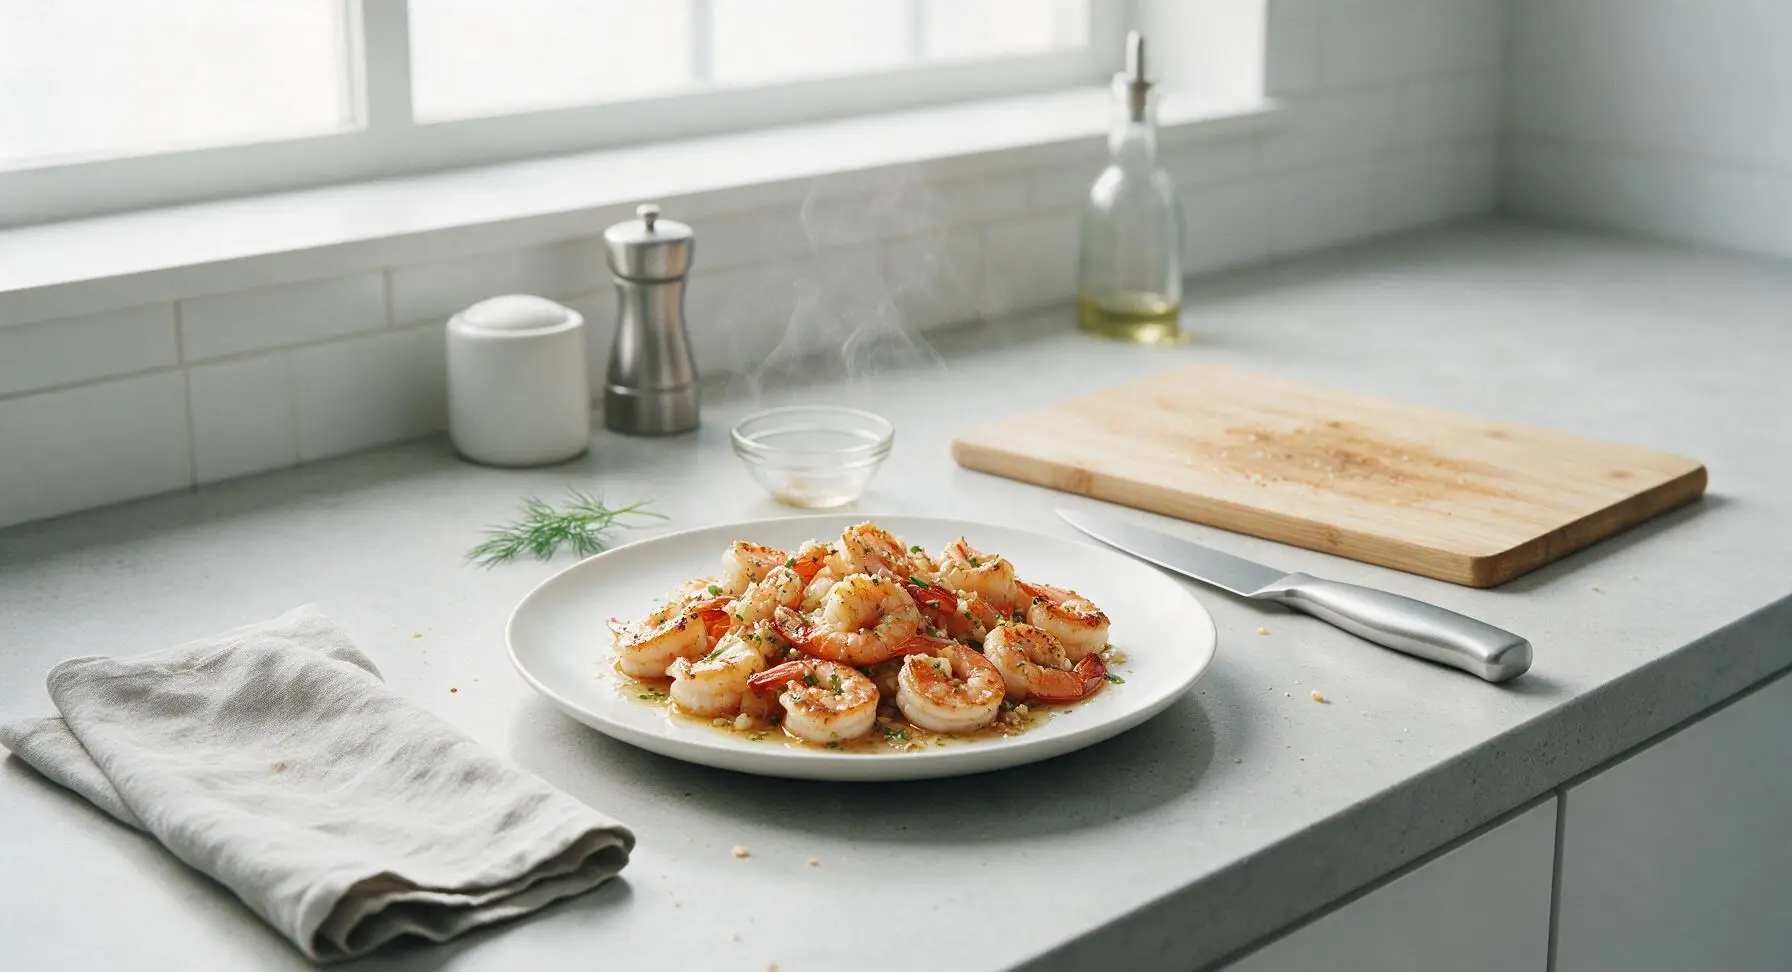
Juicy, garlicky hibachi shrimp seared to crisp-tender perfection, tossed in umami garlic butter with bright lemon, replicating the beloved Japanese steakhouse table-side favorite.
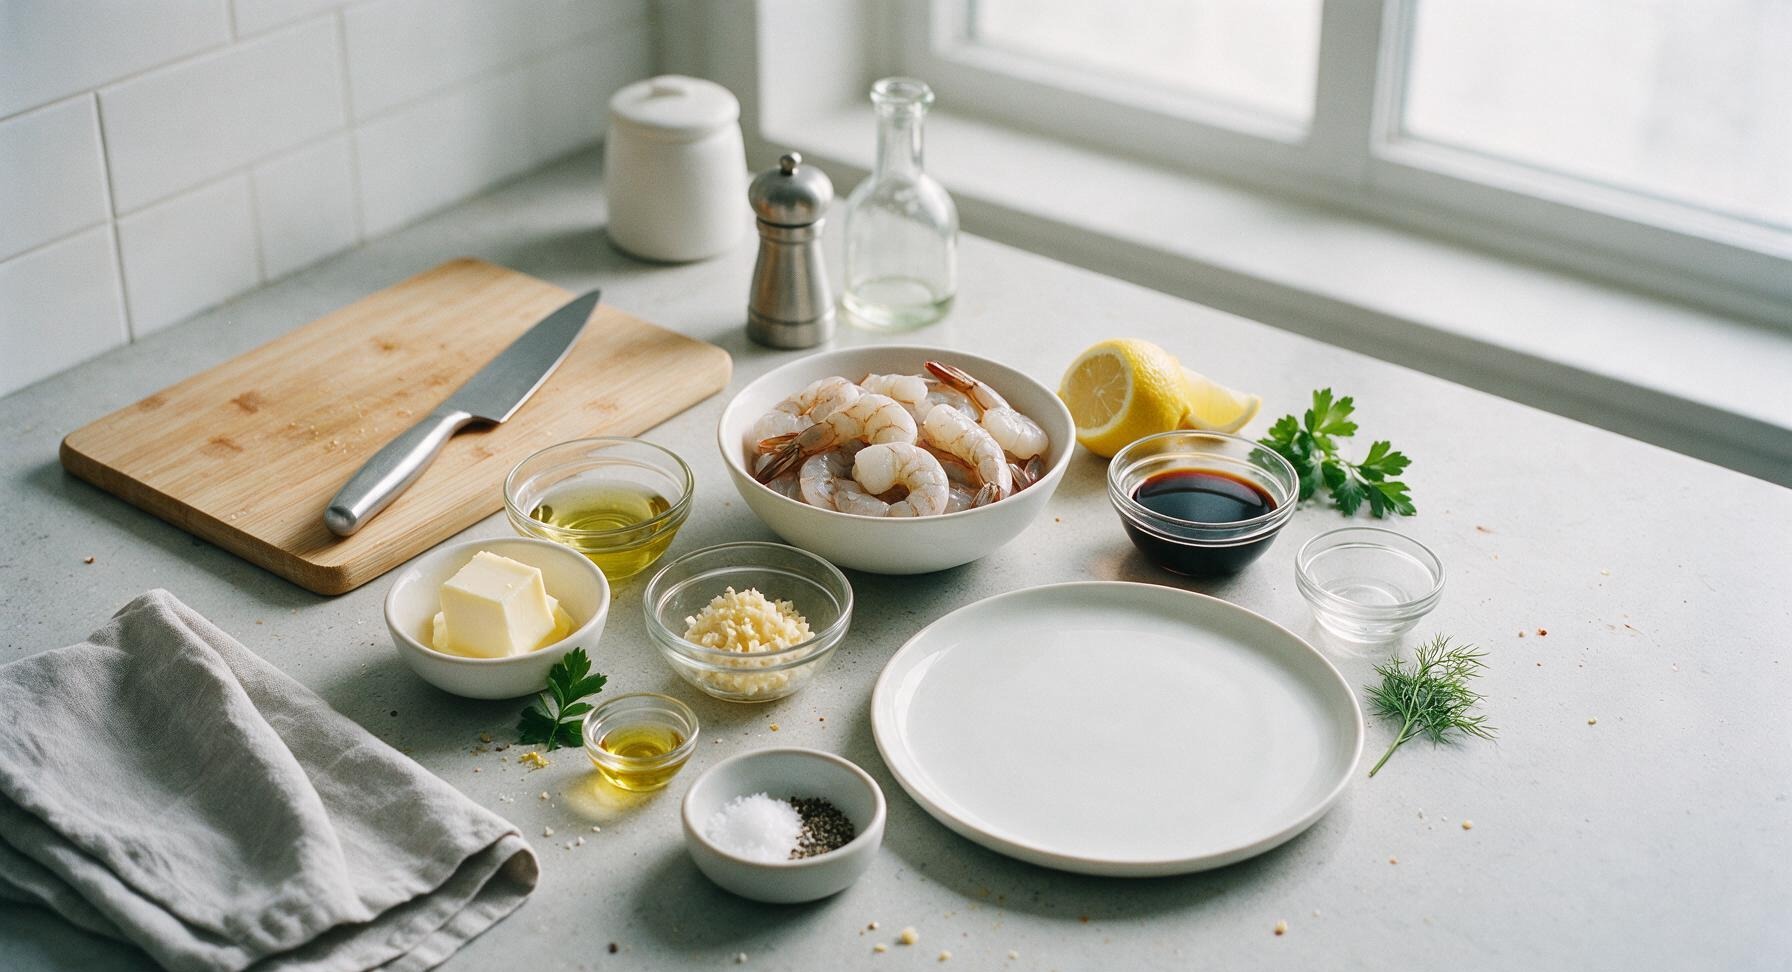
Ingredients
Steps
Pat Shrimp Dry
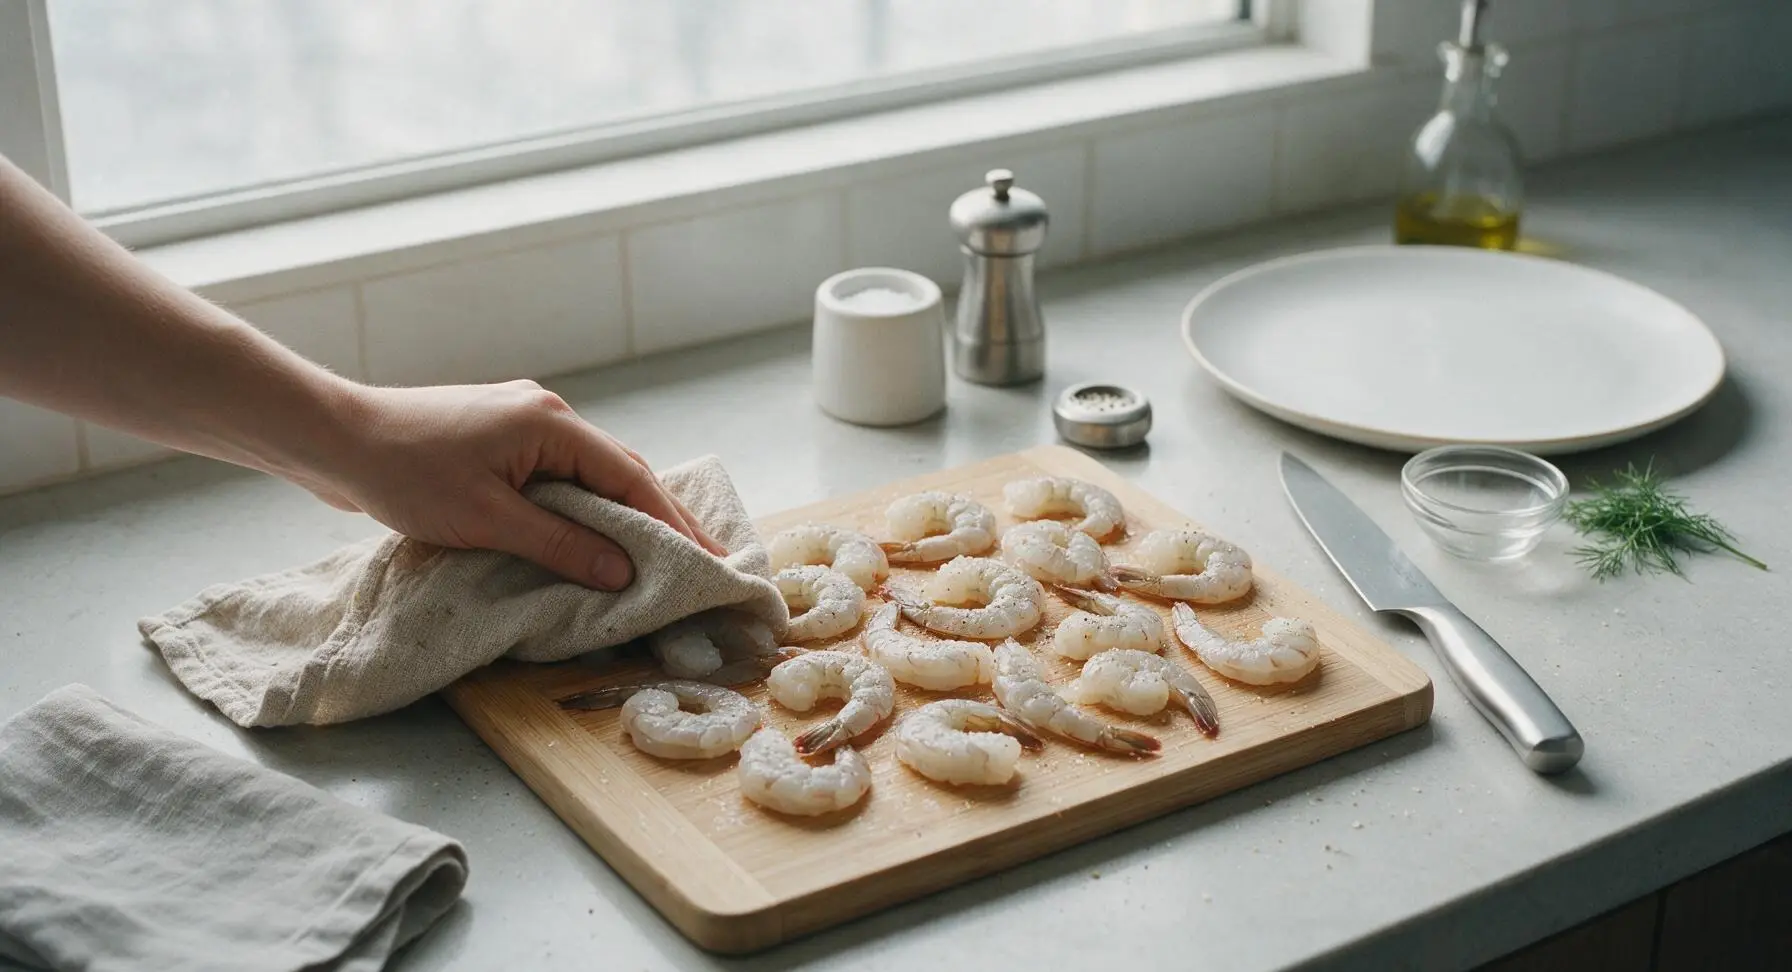
Place the peeled, deveined raw shrimp in a single loose layer across the maple cutting board. Use a clean corner of the oatmeal linen towel to thoroughly pat every shrimp completely dry on all sides, paying extra attention to the areas where the shell was removed. Season evenly with 1/2 tsp kosher salt and 1/4 tsp freshly ground black pepper, tossing gently to coat all surfaces. Fully dried shrimp is critical to achieve a crisp, golden hibachi-style sear instead of steaming.
Mix Garlic Butter Sauce
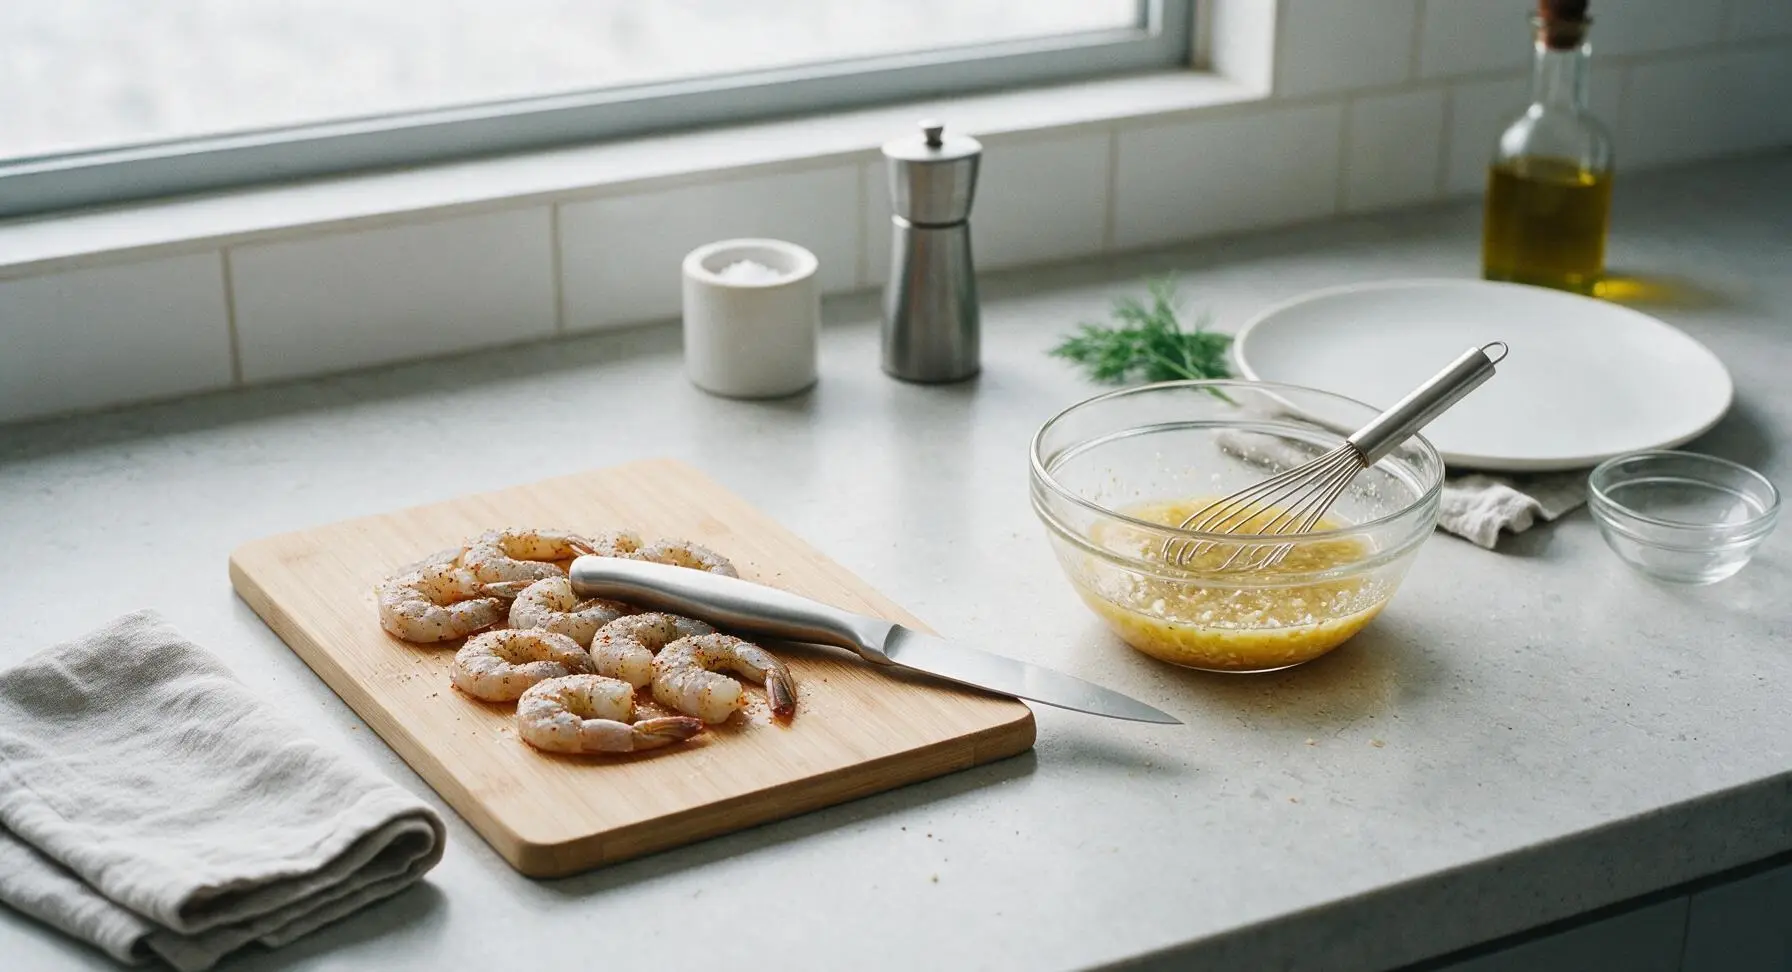
In the 2-cup clear tempered glass mixing bowl, combine the cubed unsalted butter, low-sodium soy sauce, toasted sesame oil, 1 tsp lemon zest, 2 tbsp fresh lemon juice, and finely minced garlic. Use the small stainless steel whisk to stir the mixture until fully smooth, with no remaining lumps of soft butter. Set the mixed sauce bowl to the right of the cutting board, within easy reach for cooking.
Preheat Griddle Pan
Retrieve the 12-inch pre-seasoned carbon steel flat-top griddle pan and place it in the center-right counter position, over a burner set to medium-high heat. Allow the pan to preheat for 3 full minutes until evenly hot, then add 1 tbsp avocado oil, swirling to coat the entire cooking surface in a thin, even layer. The oil should shimmer gently but not smoke, indicating it is at the correct searing temperature.
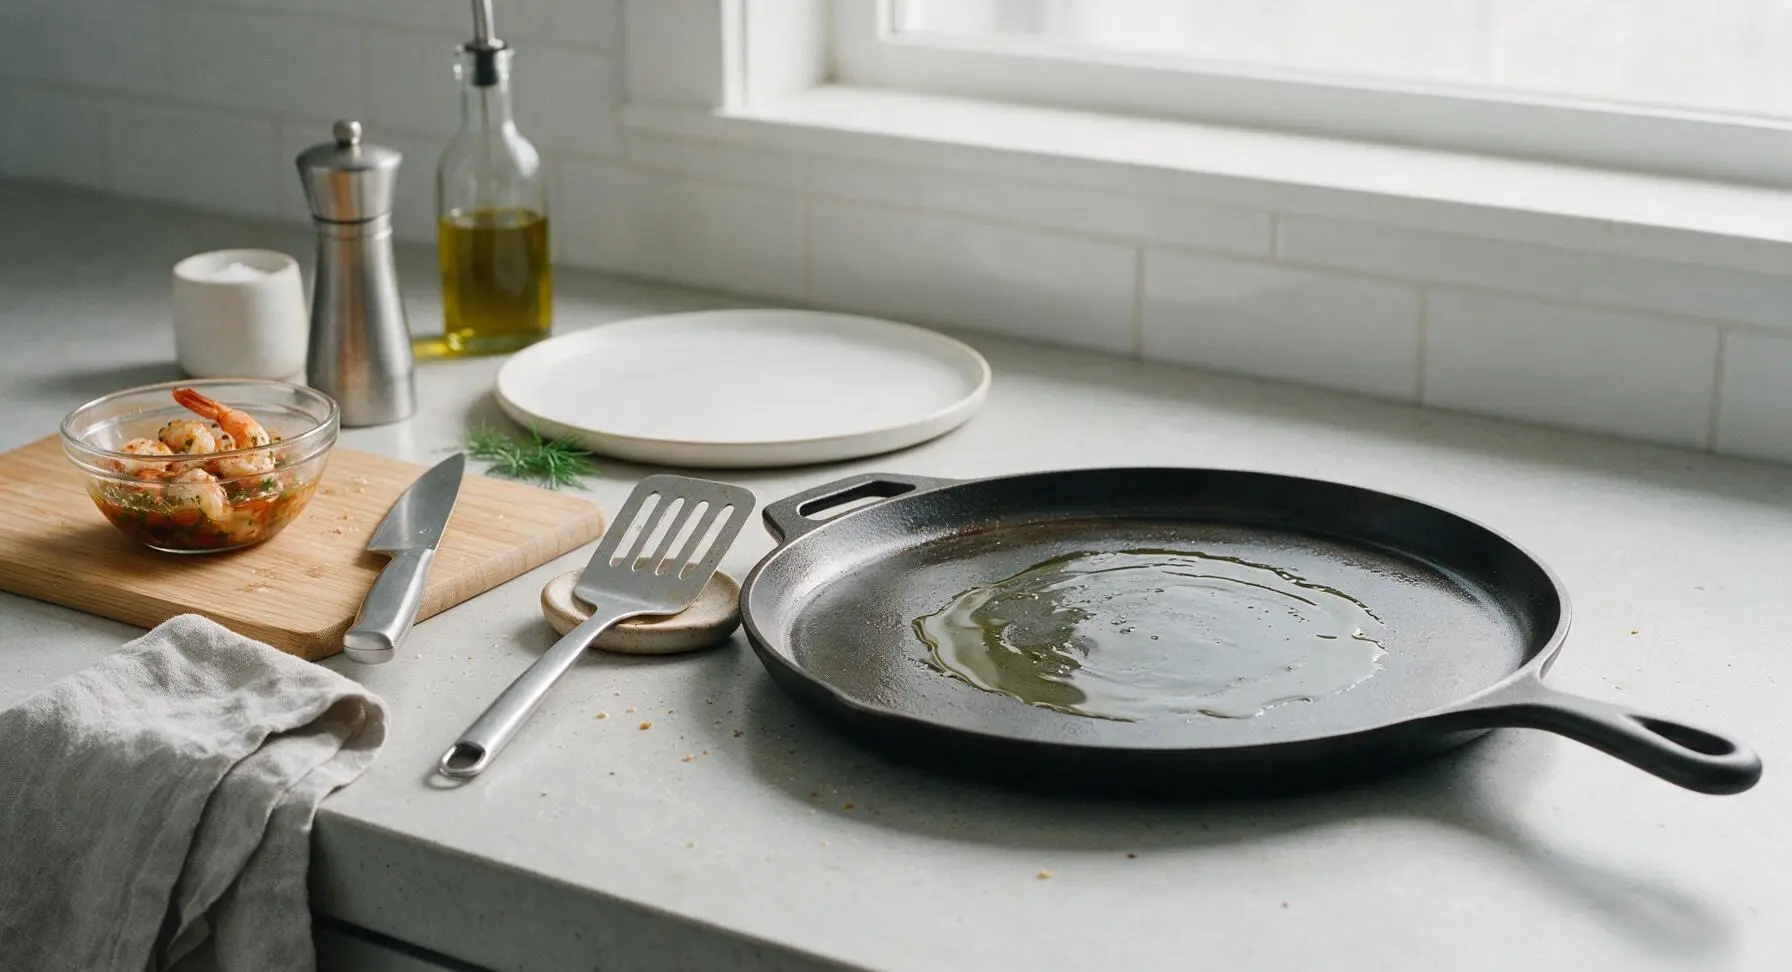
Sear Shrimp First Side
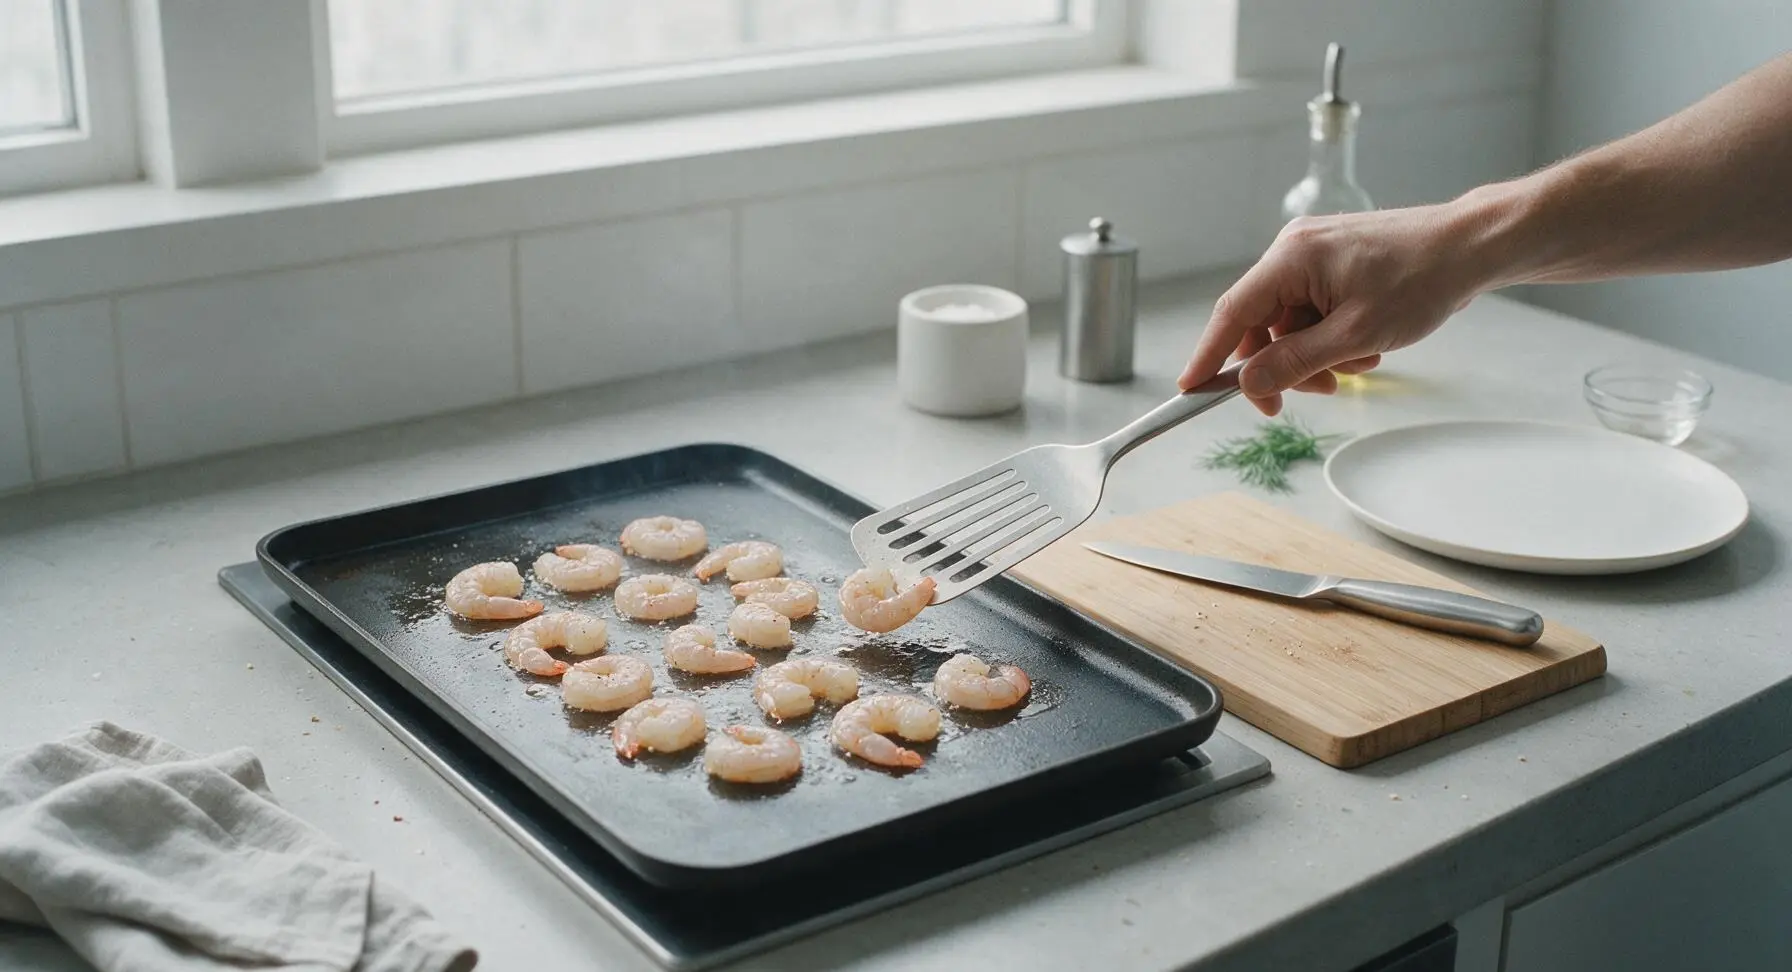
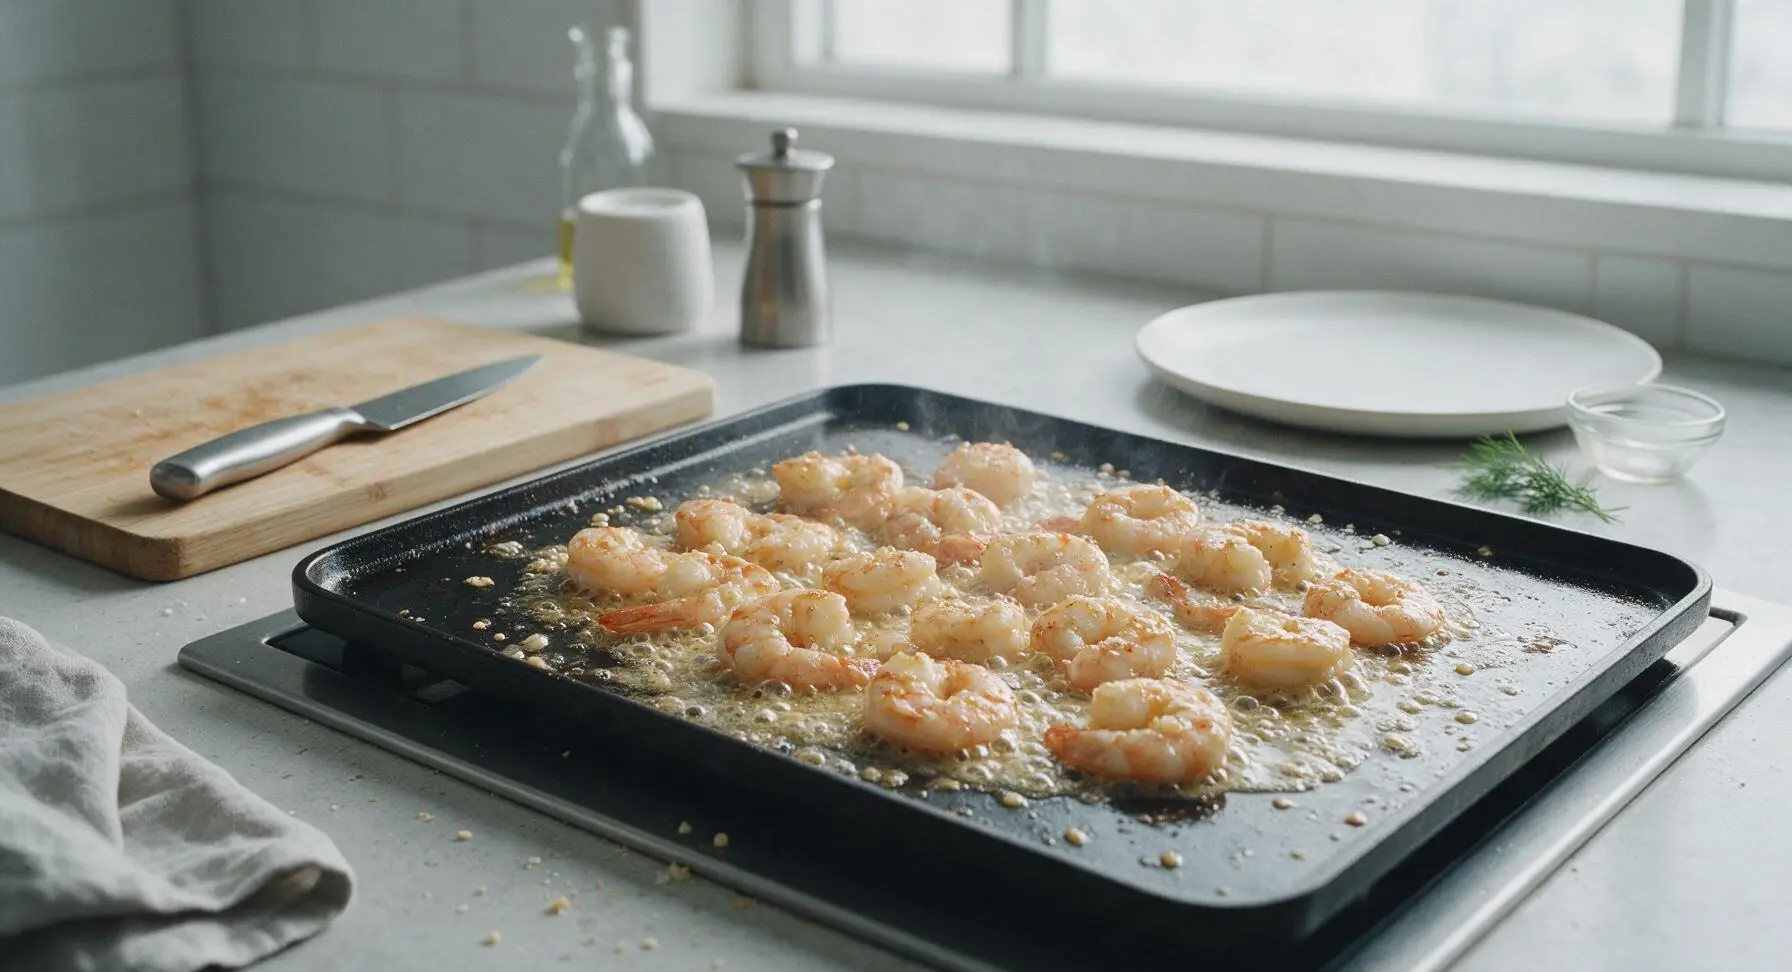
Arrange the seasoned shrimp in a single, even layer on the hot oiled griddle, leaving 1/2 inch of space between each piece to avoid crowding (cook in two batches if your pan is smaller). Let the shrimp cook undisturbed for exactly 2 minutes, until the surface touching the pan develops a deep golden-brown, slightly crisp sear. Do not move or prod the shrimp early, as this will break the forming crust and prevent even browning.
Flip and Toss with Sauce
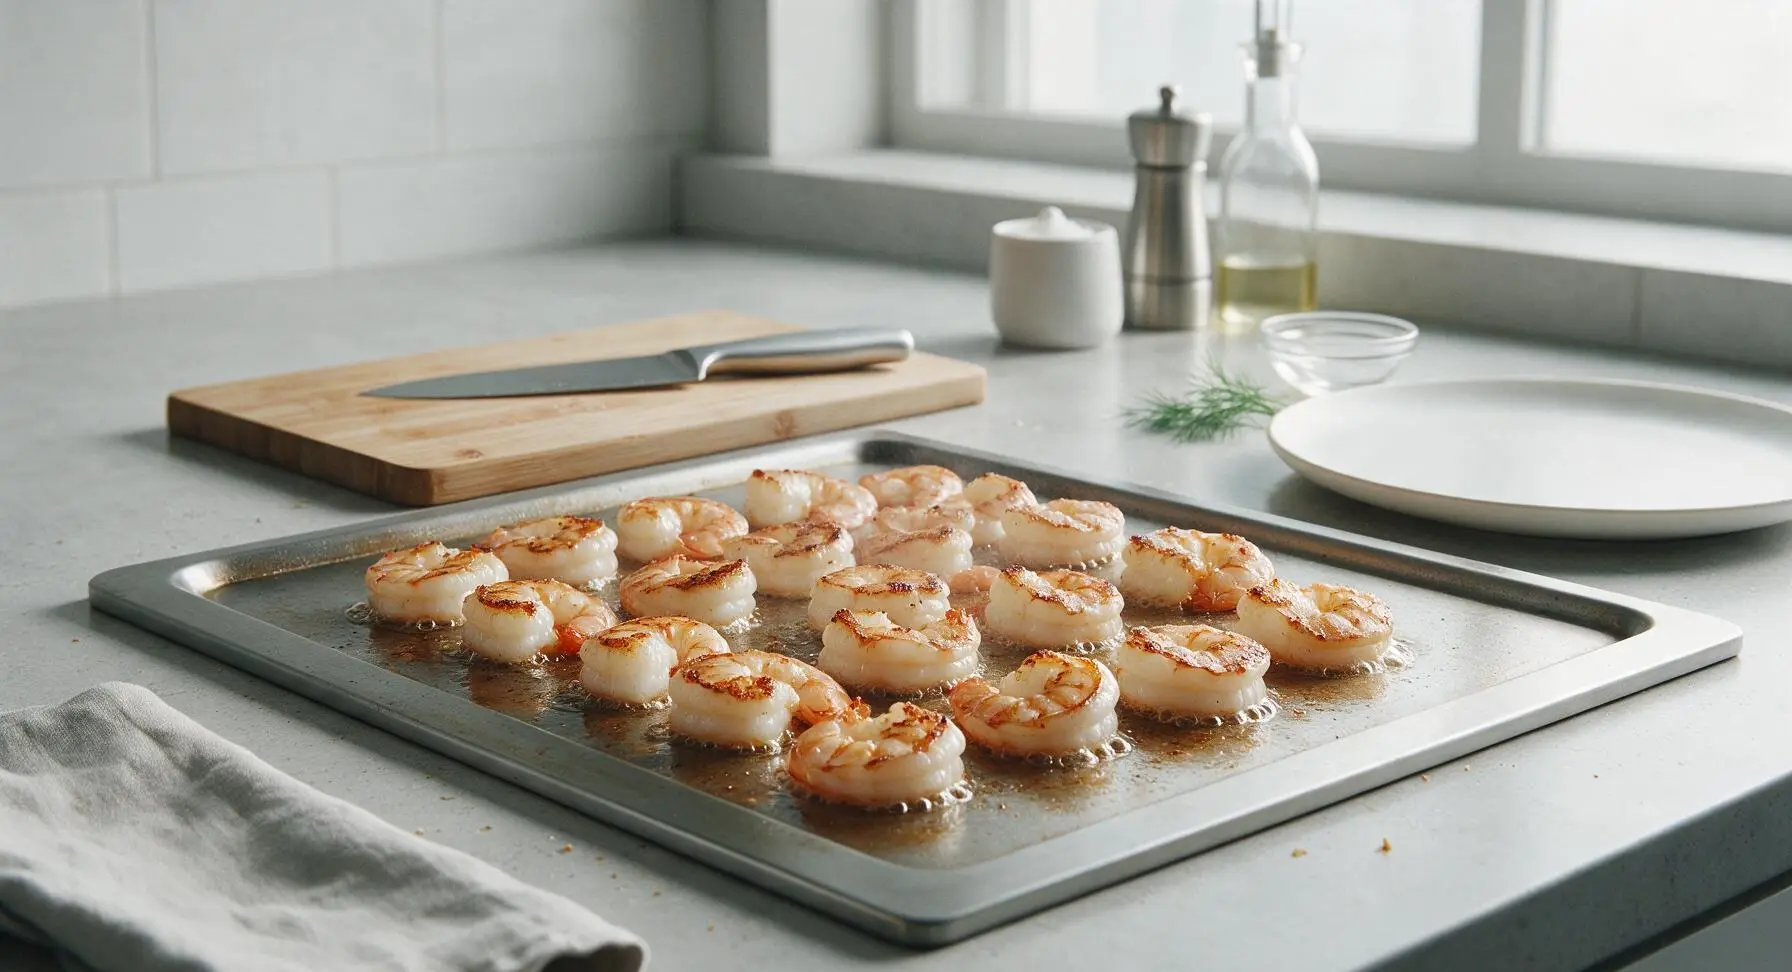
Use the slotted spatula to quickly flip each shrimp to its uncooked second side. Immediately pour the entire batch of prepared garlic-butter sauce over the shrimp in the pan. Toss gently with the spatula to coat every shrimp evenly in sauce, then cook for an additional 1.5 to 2 minutes, until the shrimp are fully opaque with no translucent gray patches (internal temperature of 120°F, as carryover cooking will finish them off heat). The sauce will bubble rapidly and thicken slightly, clinging to the shrimp surface as the garlic becomes fragrant.
Rest Cooked Shrimp
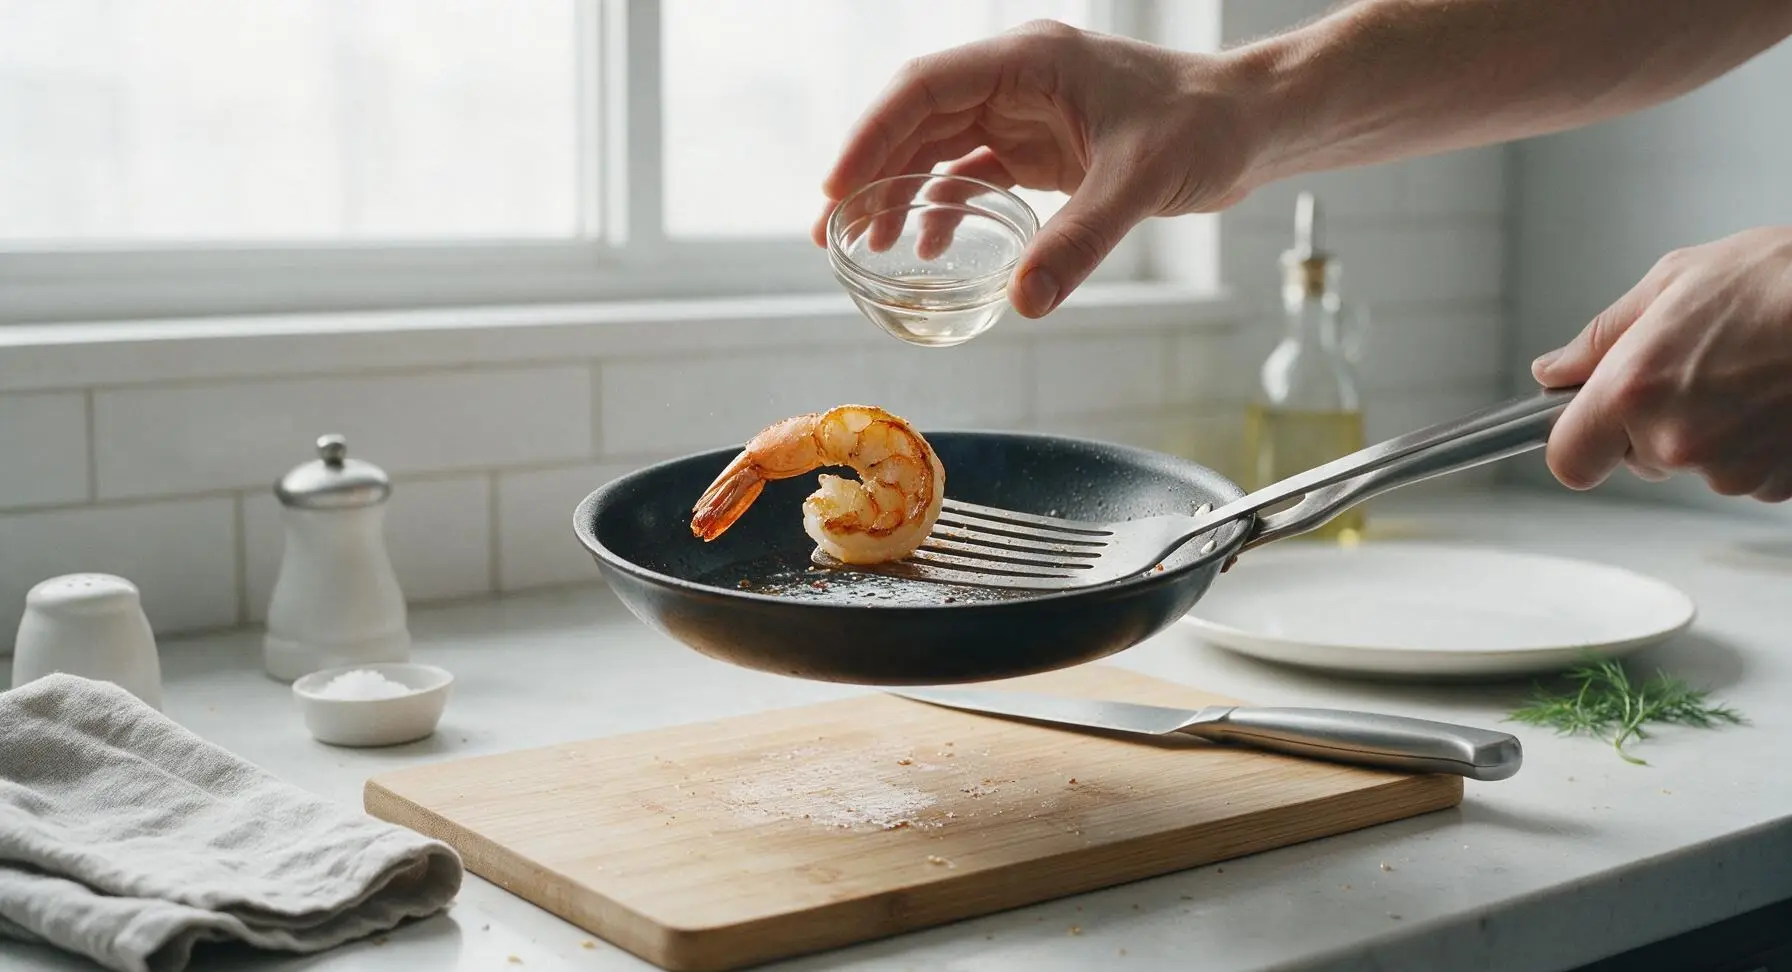
Turn off the heat under the griddle. Toss the shrimp once more to coat fully in the thickened pan sauce, then use the slotted spatula to transfer all shrimp to a clean holding plate to rest for 1 full minute. This rest allows the shrimp juices to redistribute, preventing tough, dry texture, and lets the sauce set slightly on the shrimp surface.
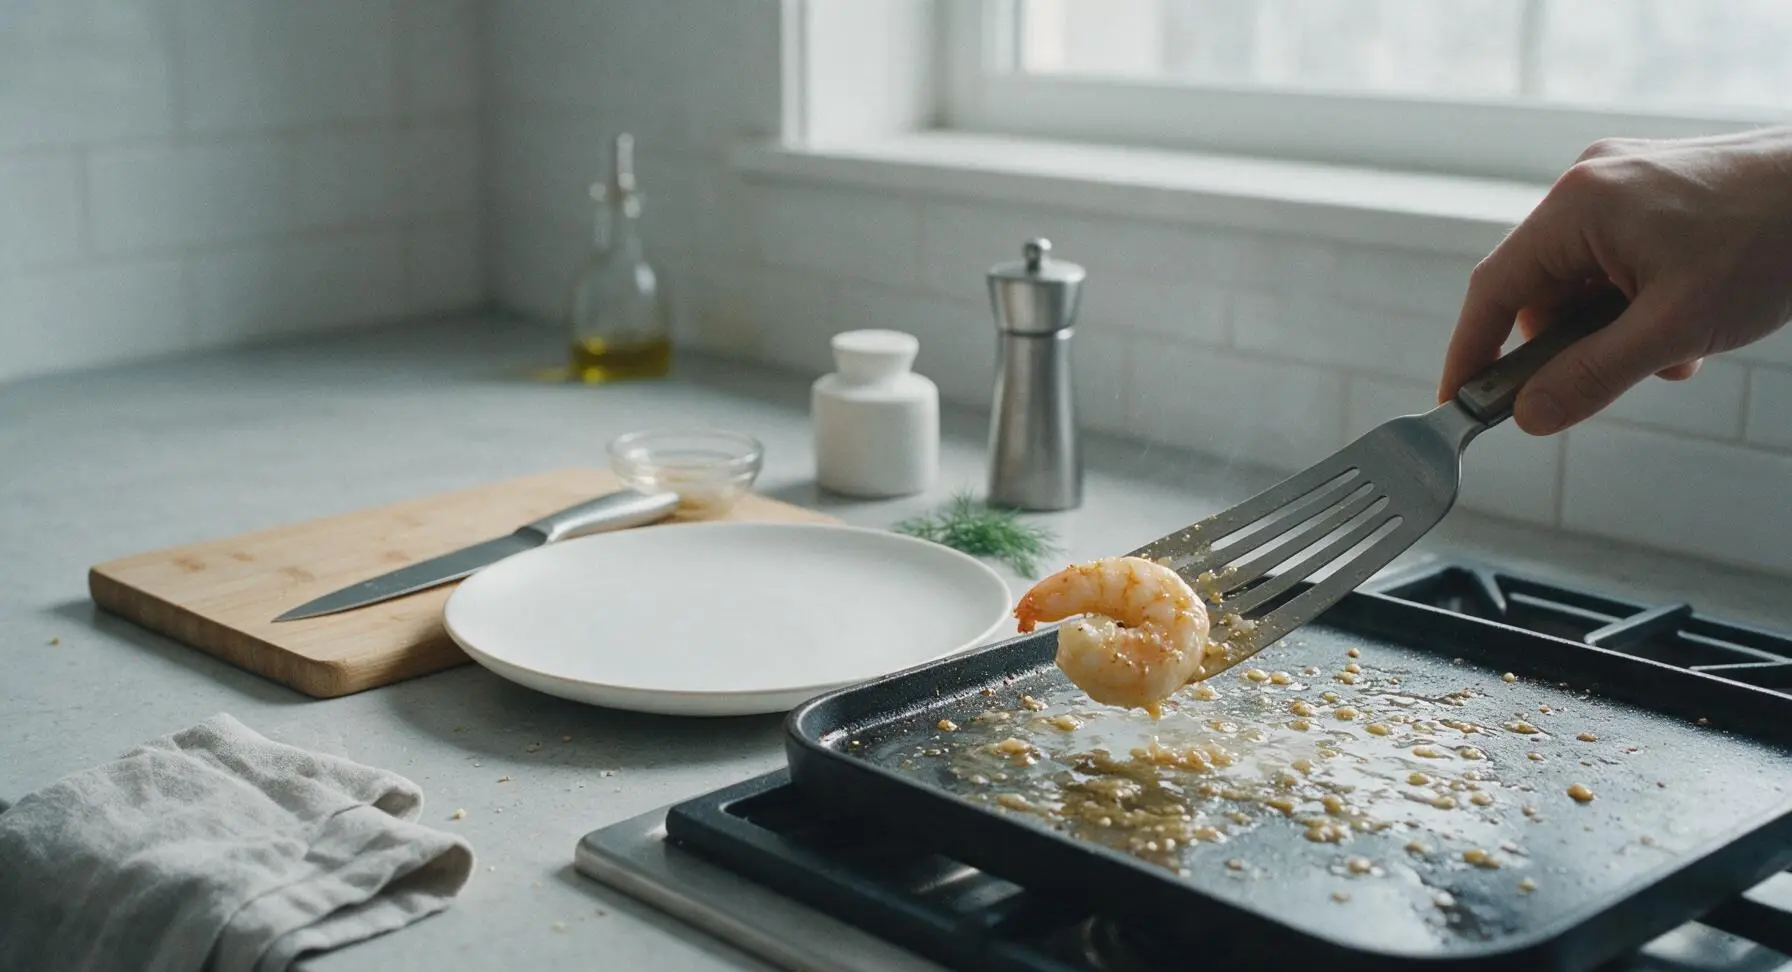
Plate and Garnish
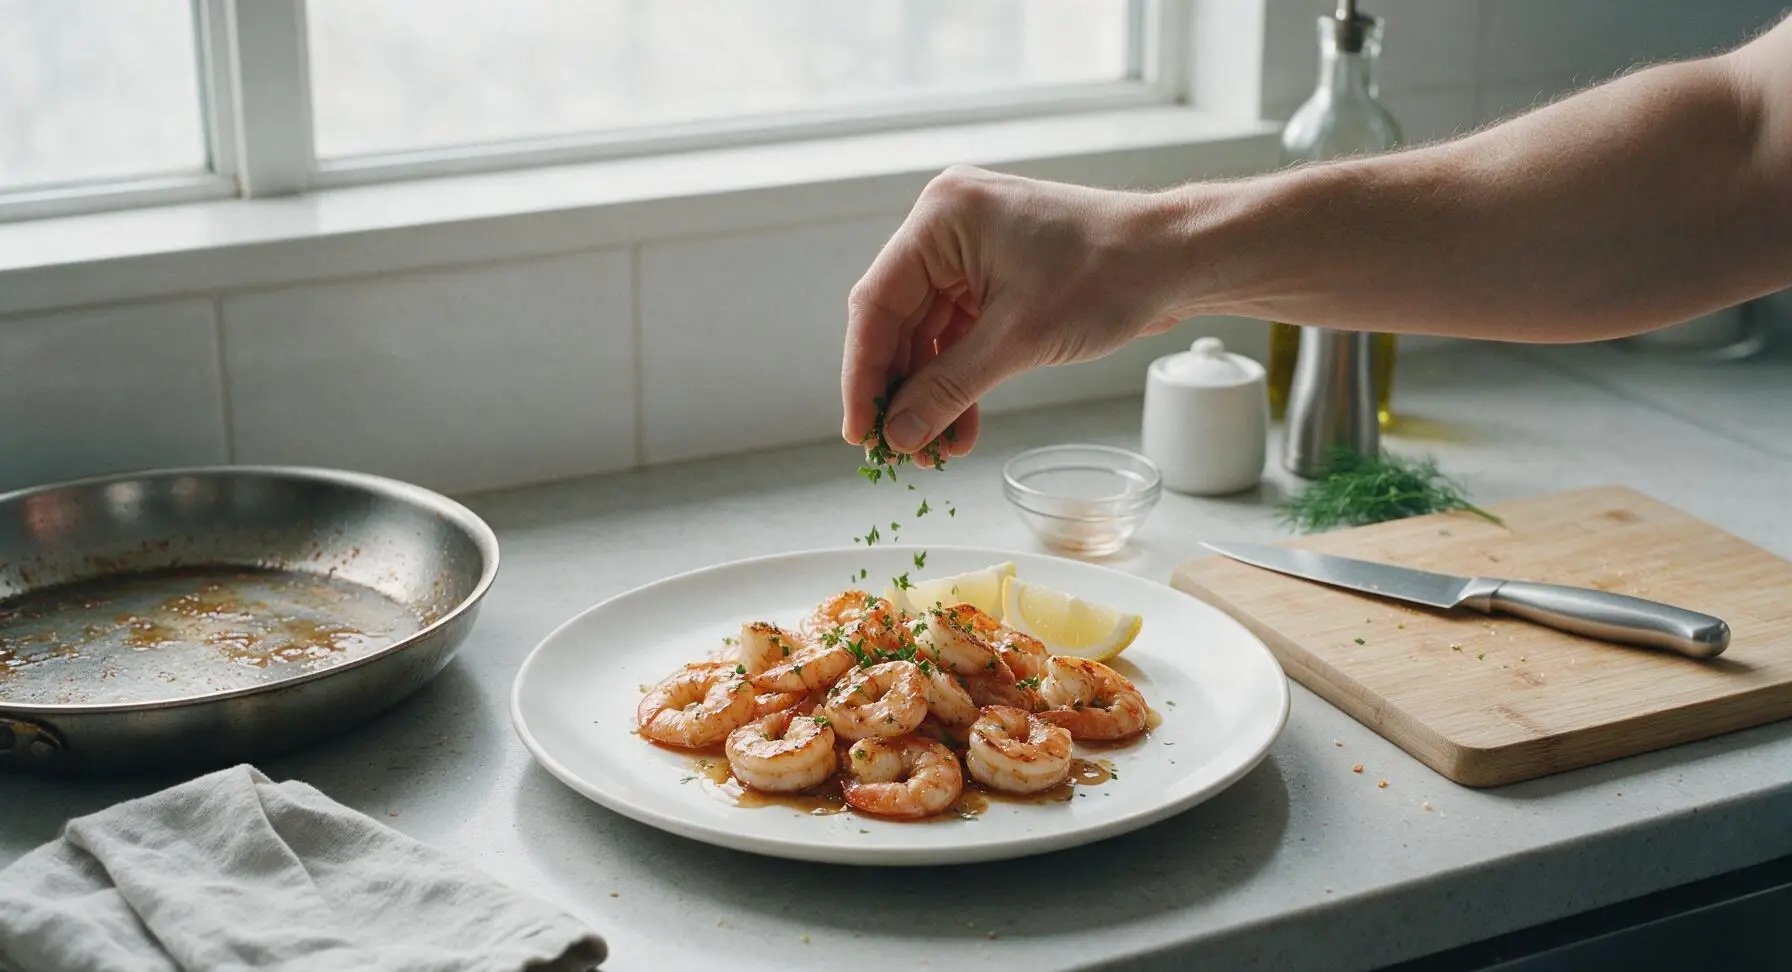
Pile the rested shrimp loosely in the center of the matte off-white ceramic dinner plate. Drizzle any remaining thickened pan sauce over the top of the shrimp. Sprinkle evenly with 2 tbsp chopped fresh flat-leaf parsley, and tuck fresh lemon wedges around the plate rim for guests to squeeze over top. Serve immediately while hot, paired with yum yum sauce or mustard sauce if desired.
Tips
2.Avoid overcooking shrimp: Shrimp turn tough and rubbery when heated past 125°F internal temperature. Remember they will continue to cook for 1–2 minutes after being removed from the hot pan (carryover cooking), so pull them just as they turn fully opaque with no remaining gray translucency.
3.Use a high-smoke-point oil for searing: Avocado oil has a smoke point of 500°F, making it ideal for the high-heat sear. Save butter and sesame oil for the final sauce toss, as their low smoke points cause them to burn quickly and create a bitter, off flavor if used to preheat the pan.






OMG this hibachi shrimp was a total game changer for our weeknight family dinner! I was shocked it only took 8 minutes total cook time, way faster than waiting for takeout from our local Japanese steakhouse. My kids devoured every last bite and asked if we can have it every Friday now. Served it with leftover fried rice and sautéed zucchini just like they do at the restaurant, SO good!
Super easy recipe, turned out really tasty! My only note is that I cooked my shrimp a little over 2 minutes too long because I got distracted grabbing soy sauce, so they were a tiny bit rubbery. Definitely keep a close eye on them since the cook time is so fast, otherwise the flavor is spot on for hibachi.
Added this to my weekly meal prep rotation! I make a big batch on Sunday, portion it out with white rice and steamed veggies, and it reheats like an absolute dream all week. No sad desk lunch when you’ve got hibachi shrimp waiting for you in the office fridge, trust me.
Bro I cannot cook at all, like I burn toast half the time, and this still came out perfect?? It’s so easy, 8 minutes total, I didn’t even make a huge mess in my tiny apartment kitchen. 10/10 will be making this for my date next weekend, hope it impresses them lmao.
I’m so excited to make this! Quick question though – has anyone tried making this with gluten free tamari instead of regular soy sauce? I have celiac so regular soy sauce is a no-go for me, but I’ve been craving that classic steakhouse hibachi shrimp flavor for months!
This was so good! I added a tiny pinch of cayenne and a squeeze of fresh lime at the end to give it a little zing, and my whole family said it was better than the hibachi we get when we go out for birthdays. Will absolutely be making this again and again!
Made this for my neighborhood block party last weekend and people were hovering around the platter the whole time! I tripled the recipe and still ran out in 15 minutes, multiple neighbors asked for the recipe before I even left. Easy, fast, total crowd pleaser – 10/10, no notes.