
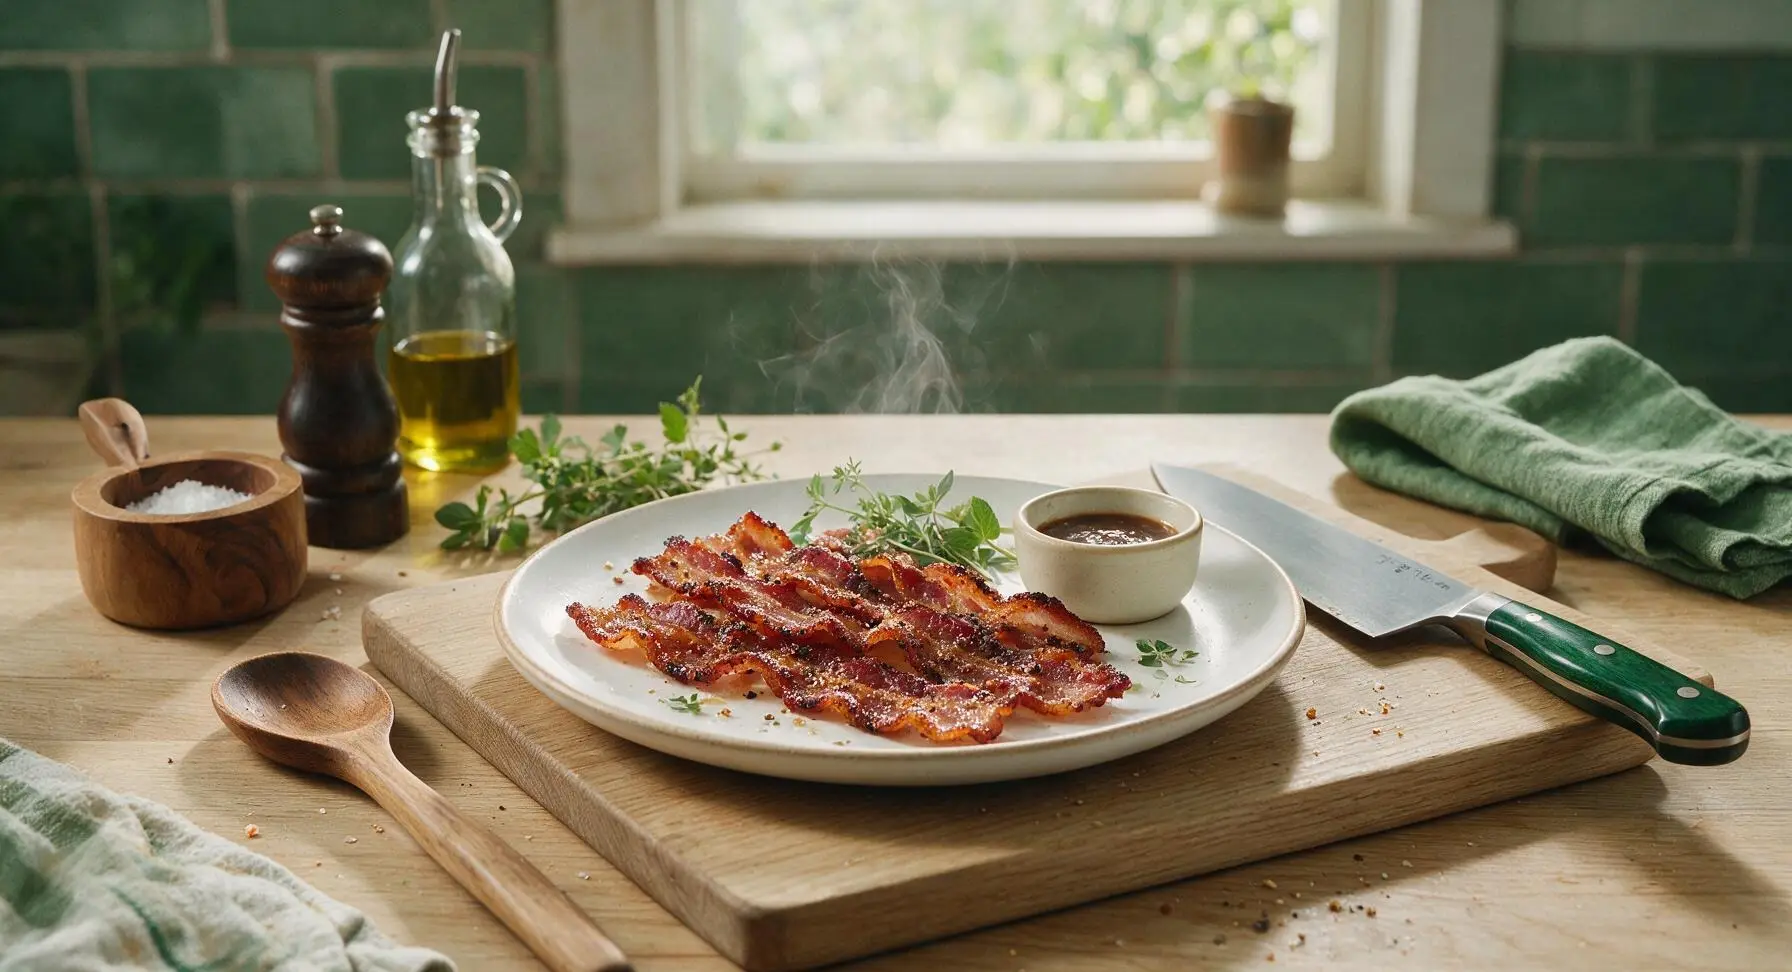
hillbilly bacon

title 1
hillbilly bacon
⏱️ cook time 20 minutes
🍽️ servings 4
⚡ Difficulty easy

intro

Crispy, caramel-edged hillbilly bacon is a beloved Appalachian staple, slow-fried in cast iron with a pepper and brown sugar crust for salty-sweet flavor perfect with biscuits and gravy.

Ingredients
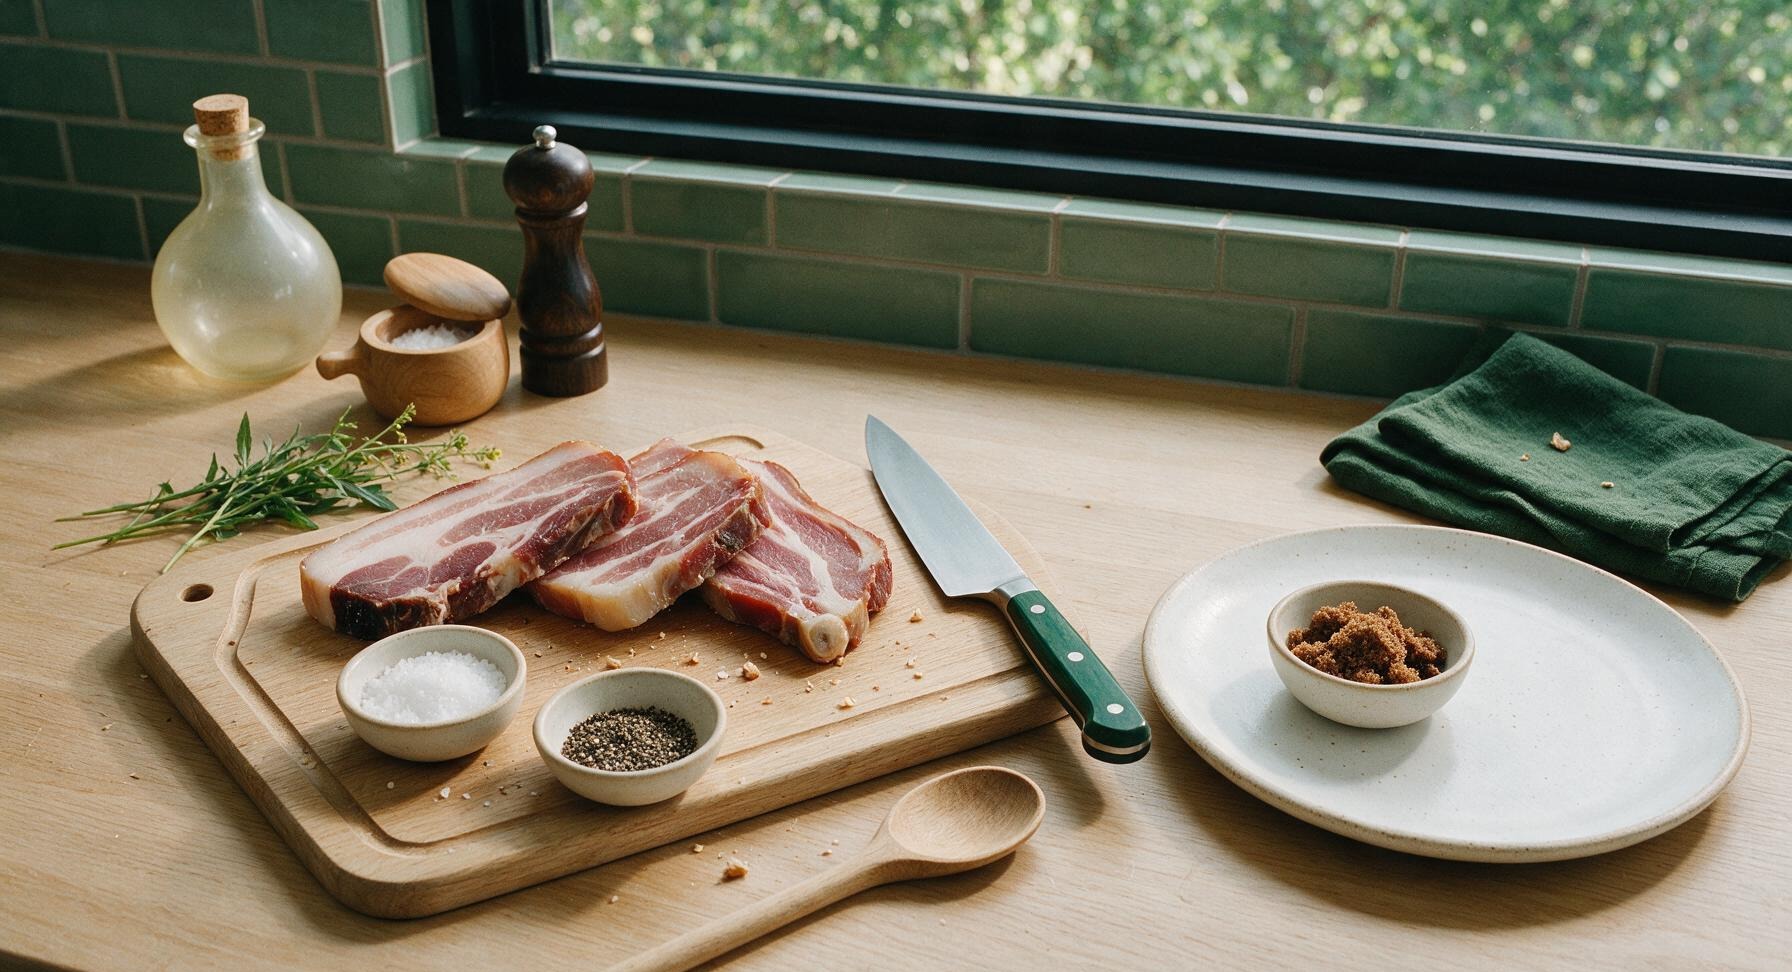
Dry-cured thick-cut hillbilly side pork (bone-in, 1/2-inch slices) 450g (1lb)
Coarse kosher salt 1 tbsp
Coarse ground black pepper 2 tsp
Dark brown sugar 1 tbsp

Steps

1

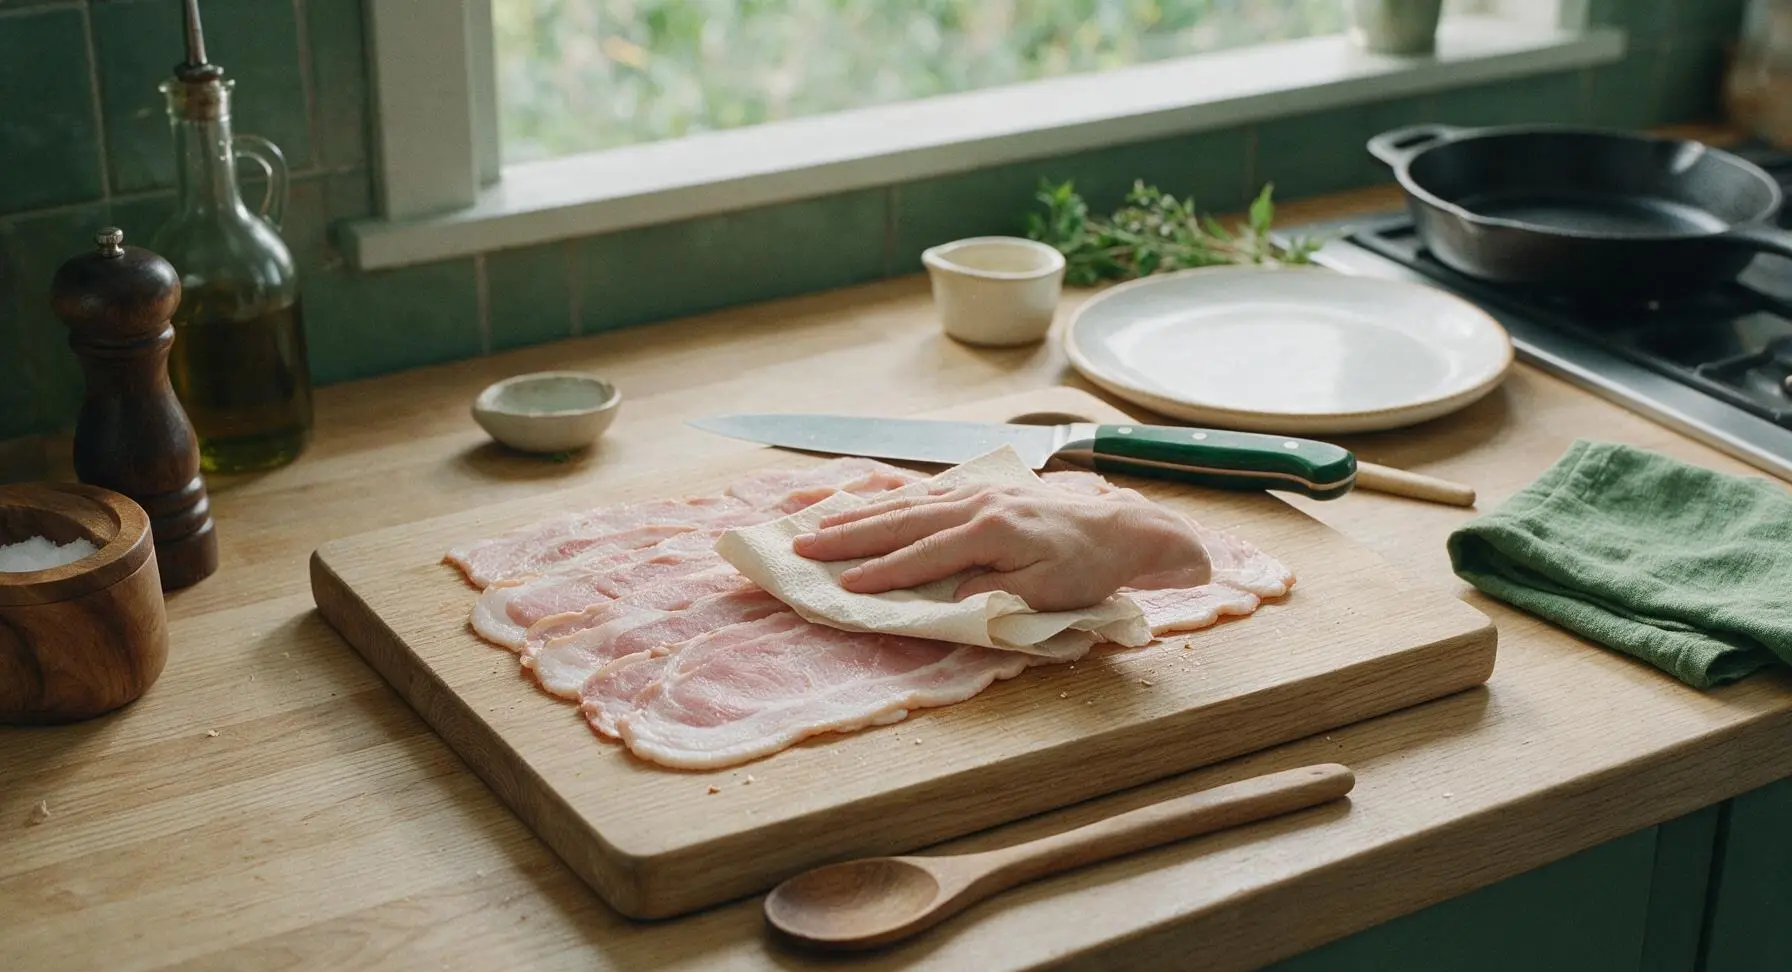
Pat Bacon Dry

Remove the 450g thick-cut cured hillbilly side pork from its packaging, arrange slices in a single layer on the honey oak cutting board. Pat every slice thoroughly on both sides with sheets of unbleached paper towel to remove all surface moisture—this is critical for achieving crispy, not rubbery, edges. Discard used damp paper towels in a nearby bin. Slices are ready when no visible wetness remains on the meat or fat surface.
Step 1
step1:Pat Bacon Dry
2

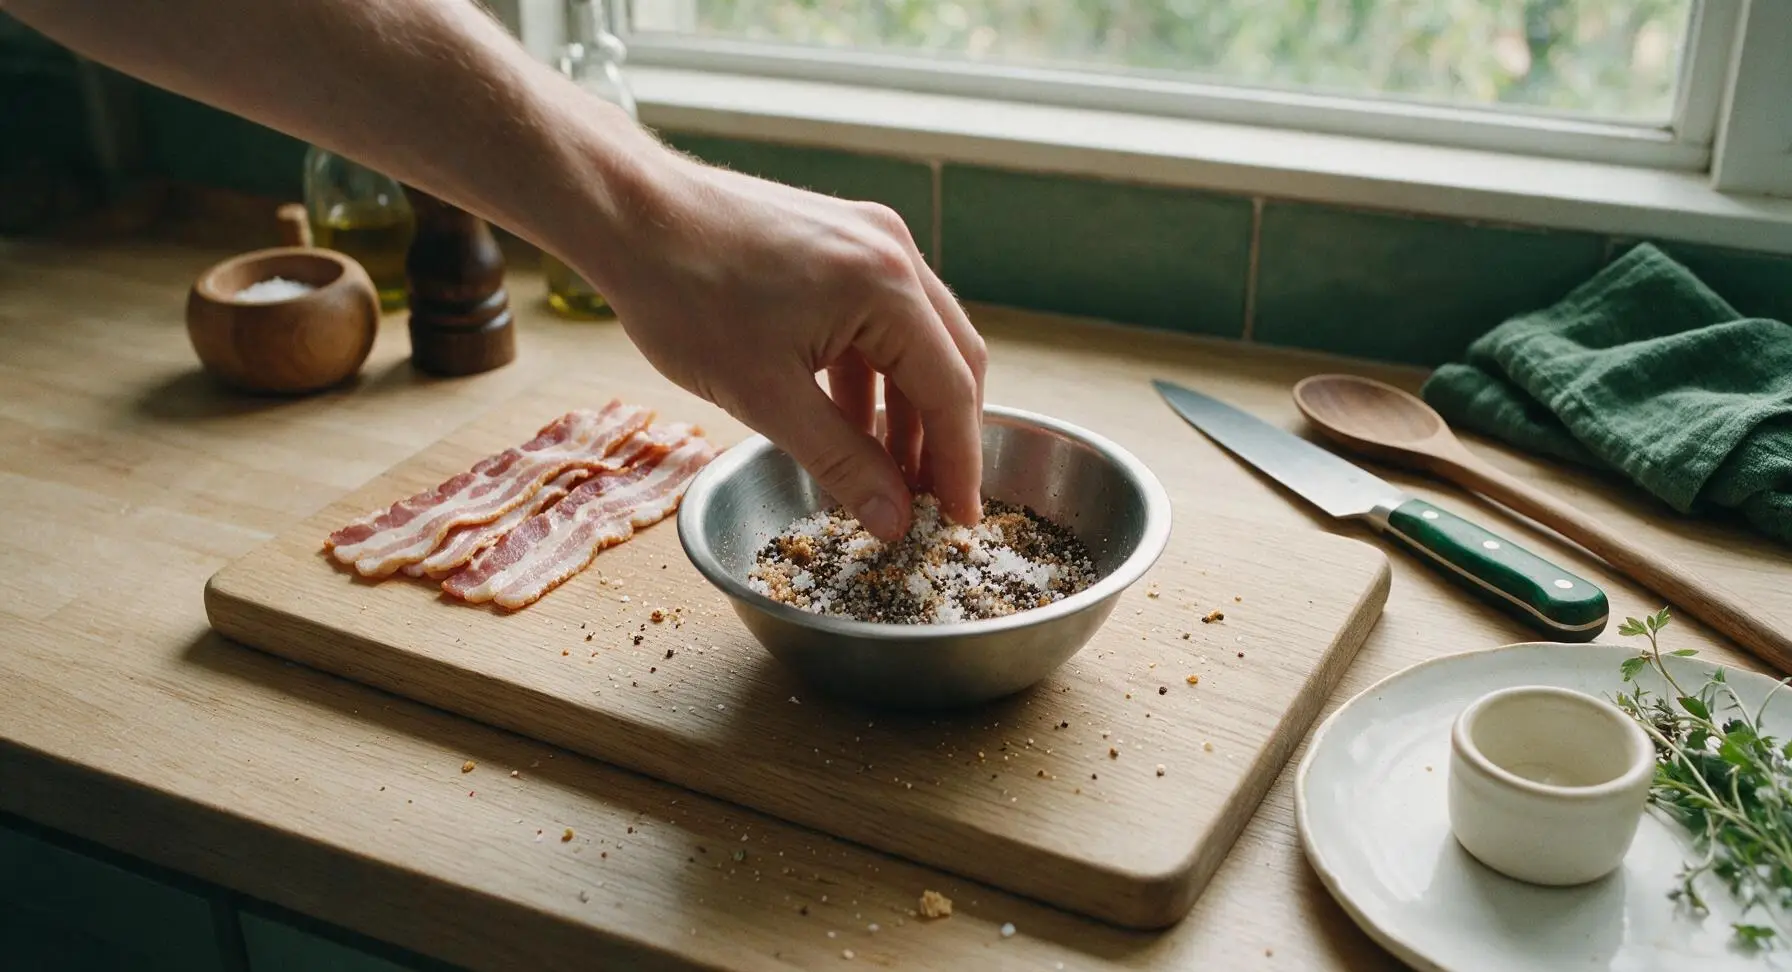
Mix Seasoning Blend

Add 1 tablespoon coarse kosher salt, 2 teaspoons coarse ground black pepper, and 1 tablespoon dark brown sugar to the small stainless steel mixing bowl. Stir the blend with a fingertip until the brown sugar is fully broken up and evenly distributed, with no large clumps remaining.
Step 2
step2:Mix Seasoning Blend
3

Preheat Cast Iron Skillet

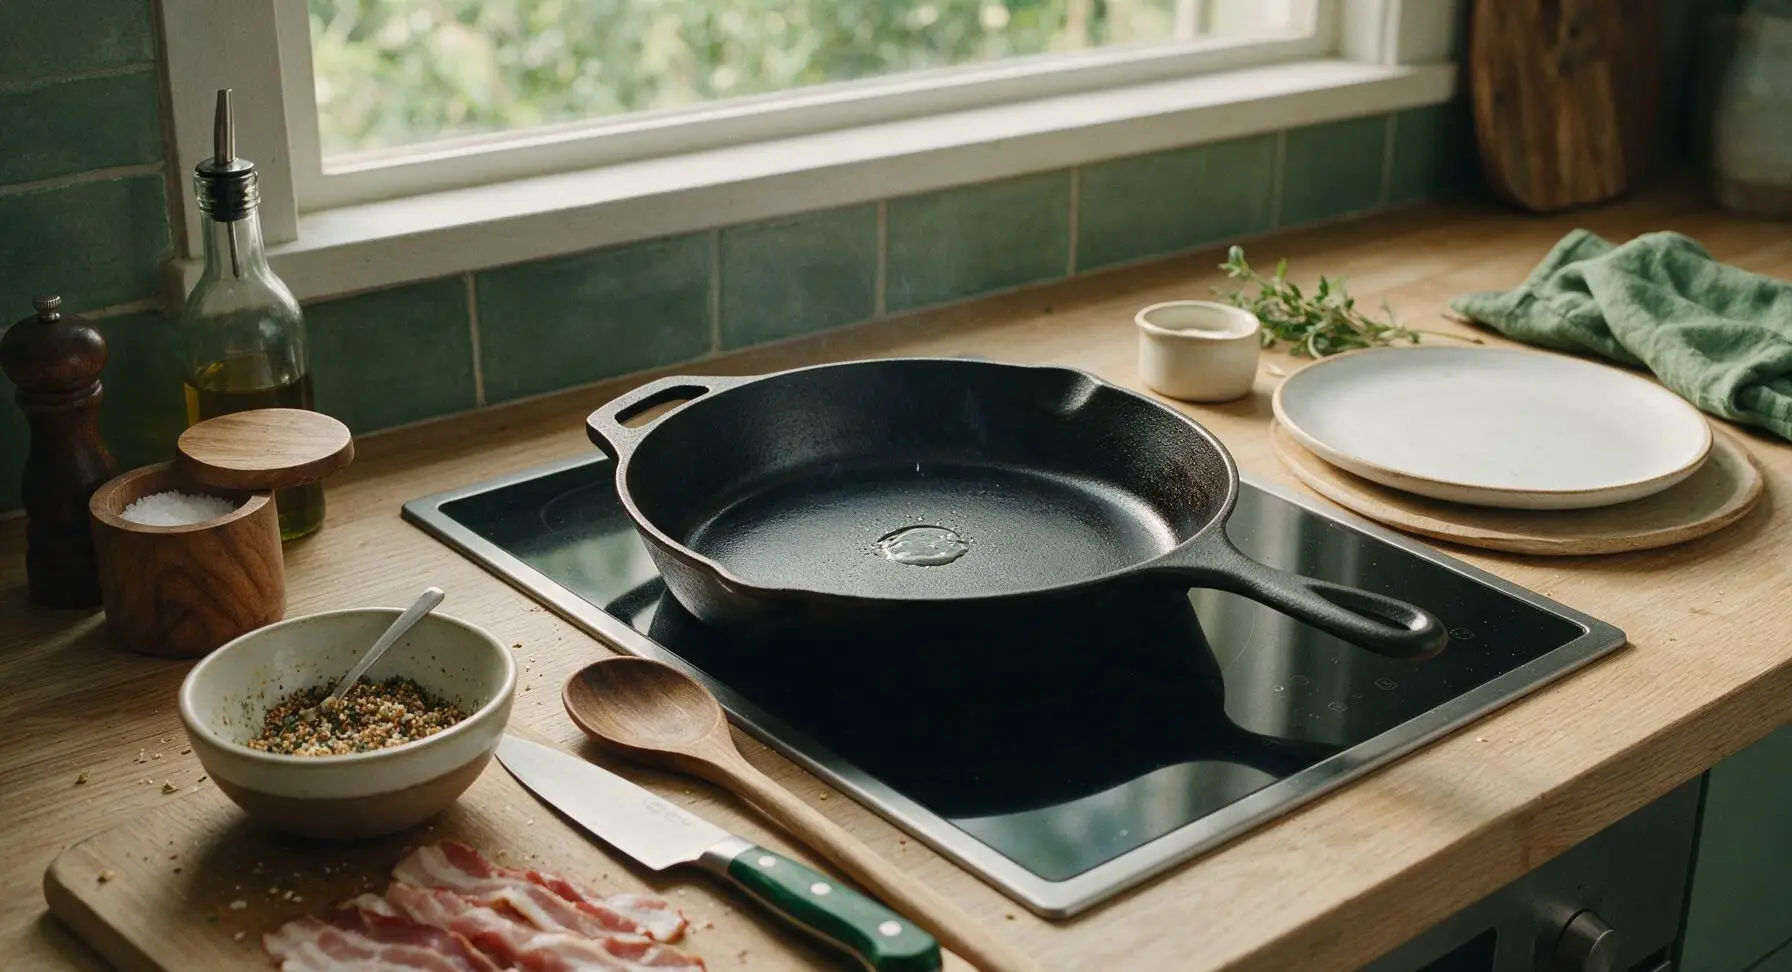
Move the 10-inch seasoned cast iron skillet from its storage ledge to the active stovetop burner set to medium-low heat (325°F / 160°C). Let it preheat for 3 full minutes—do not use higher heat, as this will burn fat before the bacon cooks through. The skillet is ready when a drop of water flicked onto the surface beads and dances across the pan instead of evaporating instantly.
Step 3
step3:Preheat Cast Iron Skillet
4

Add Bacon to Pan

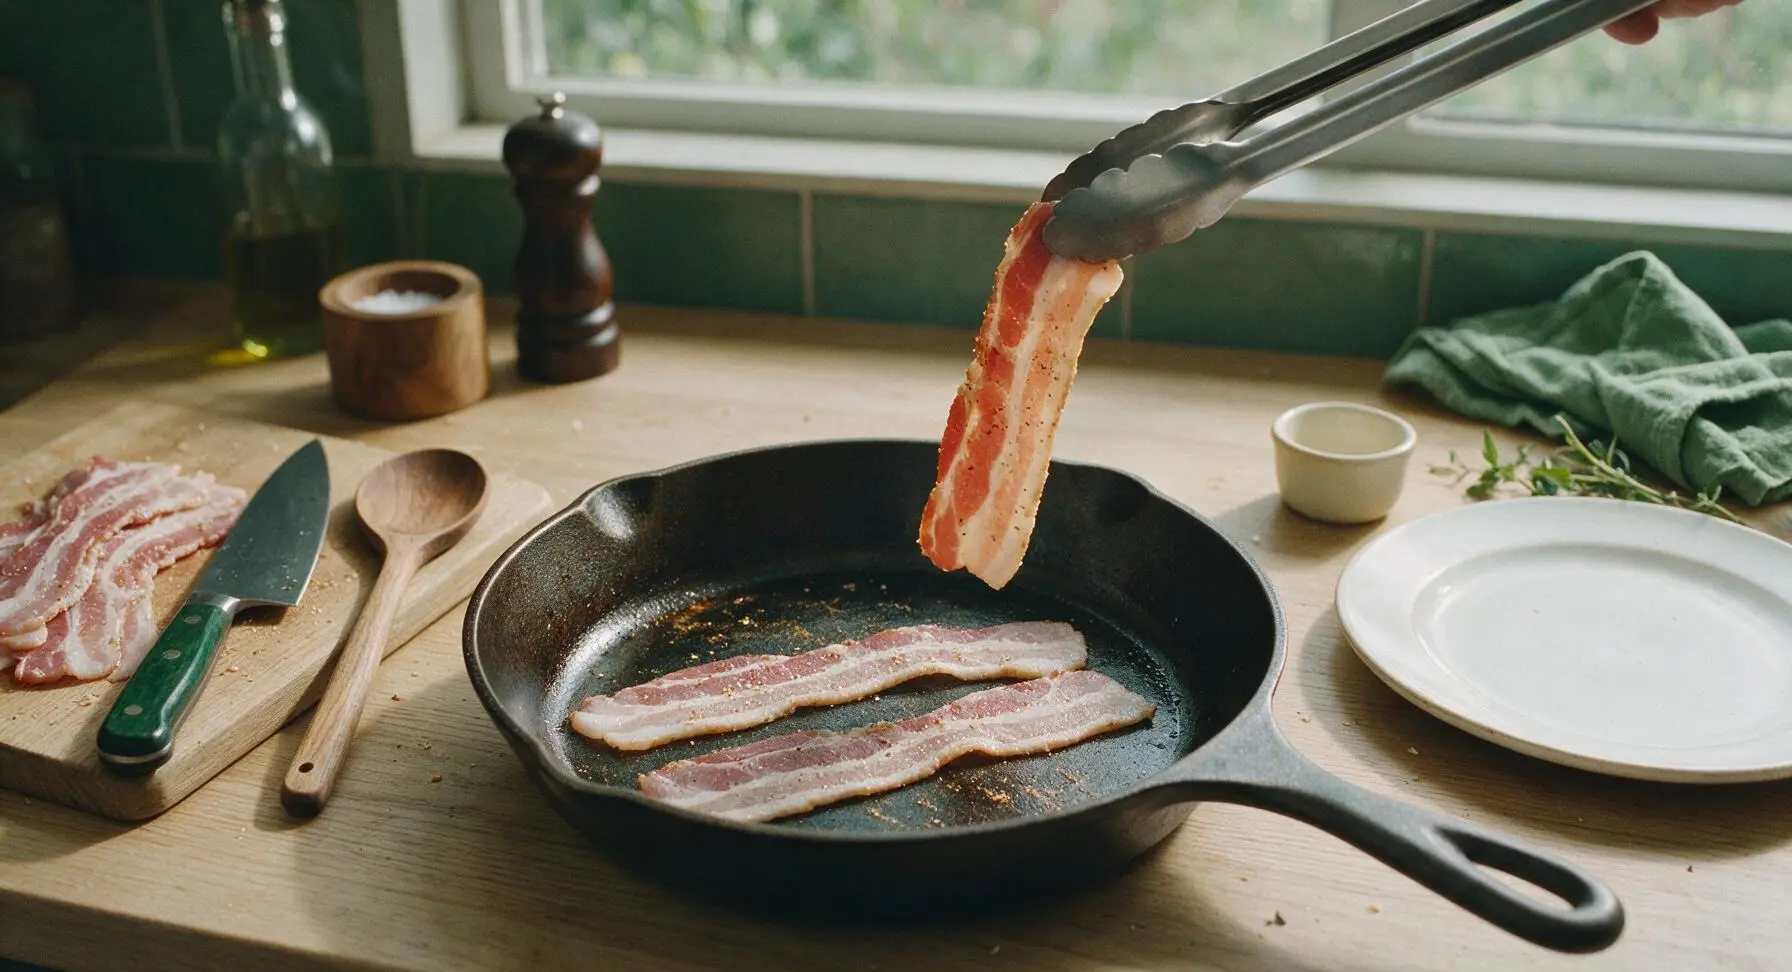
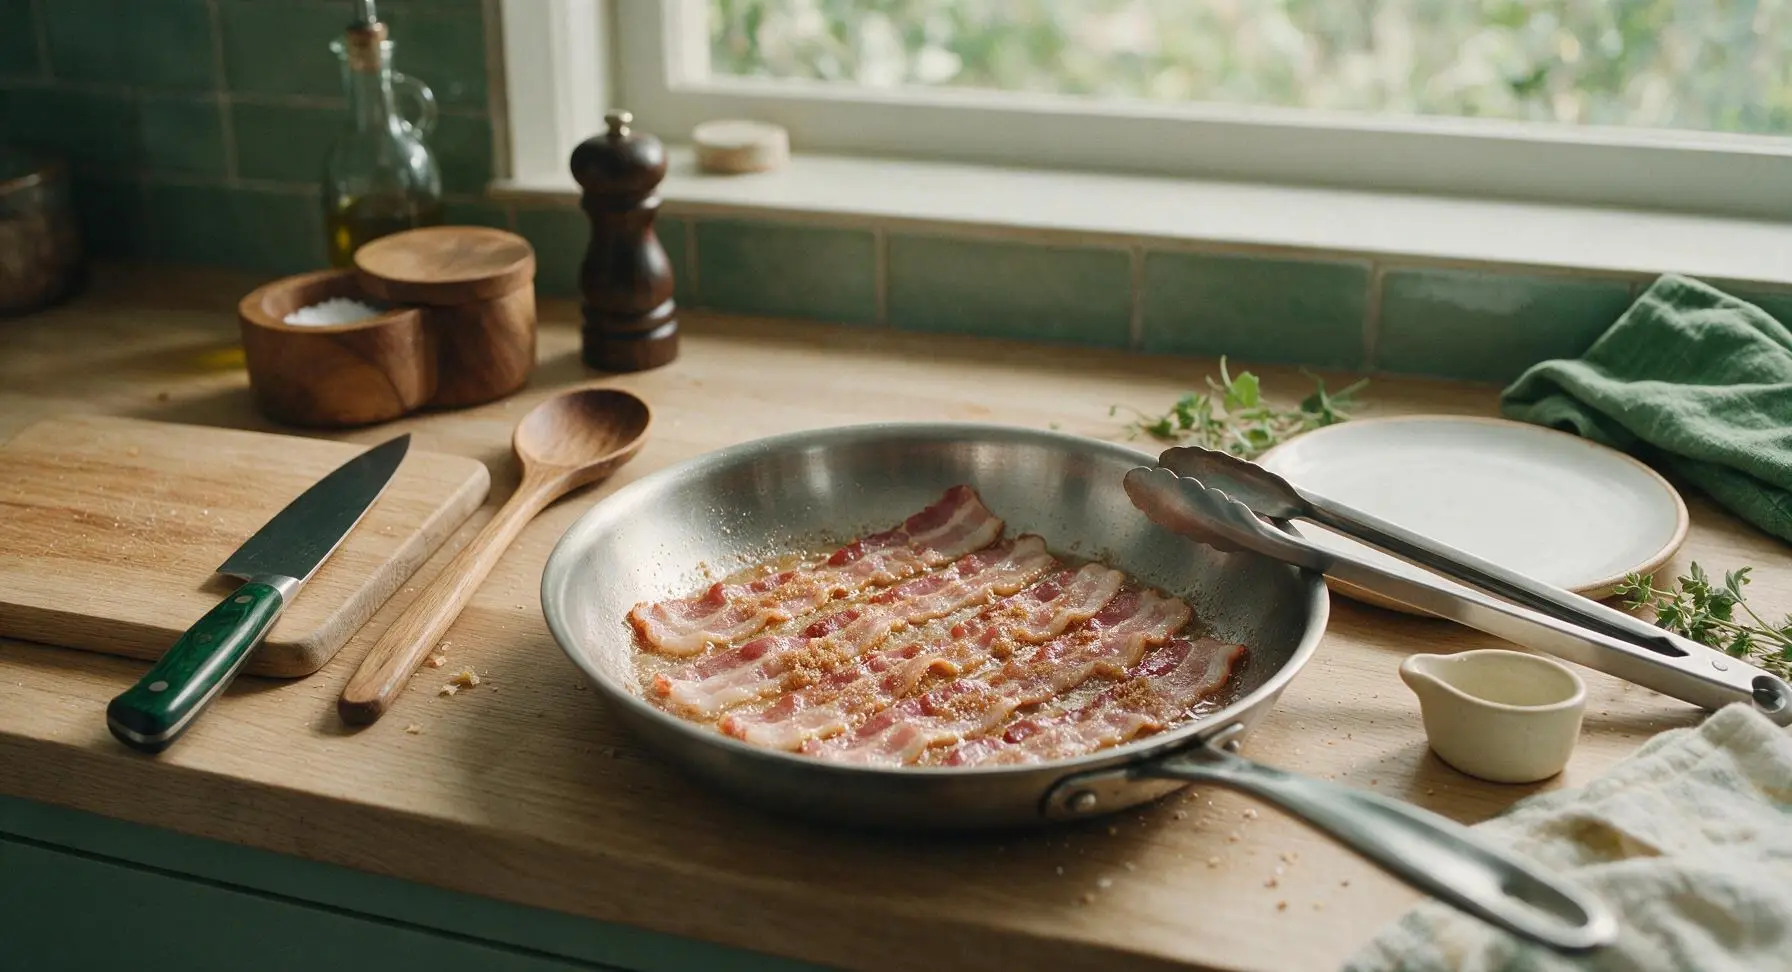
Lightly sprinkle half of the seasoning blend evenly over one side of the bacon slices. Use the stainless steel tongs to place slices seasoned-side down in the preheated skillet in a single layer, ensuring no slices overlap. Cook in two batches if slices do not fit with 1cm of space between them to avoid steaming. Sprinkle the remaining seasoning blend over the unseasoned top side of the bacon in the pan.
Step 4
step4:Add Bacon to Pan
Step 4
step4:Add Bacon to Pan
5

Cook First Side Slowly

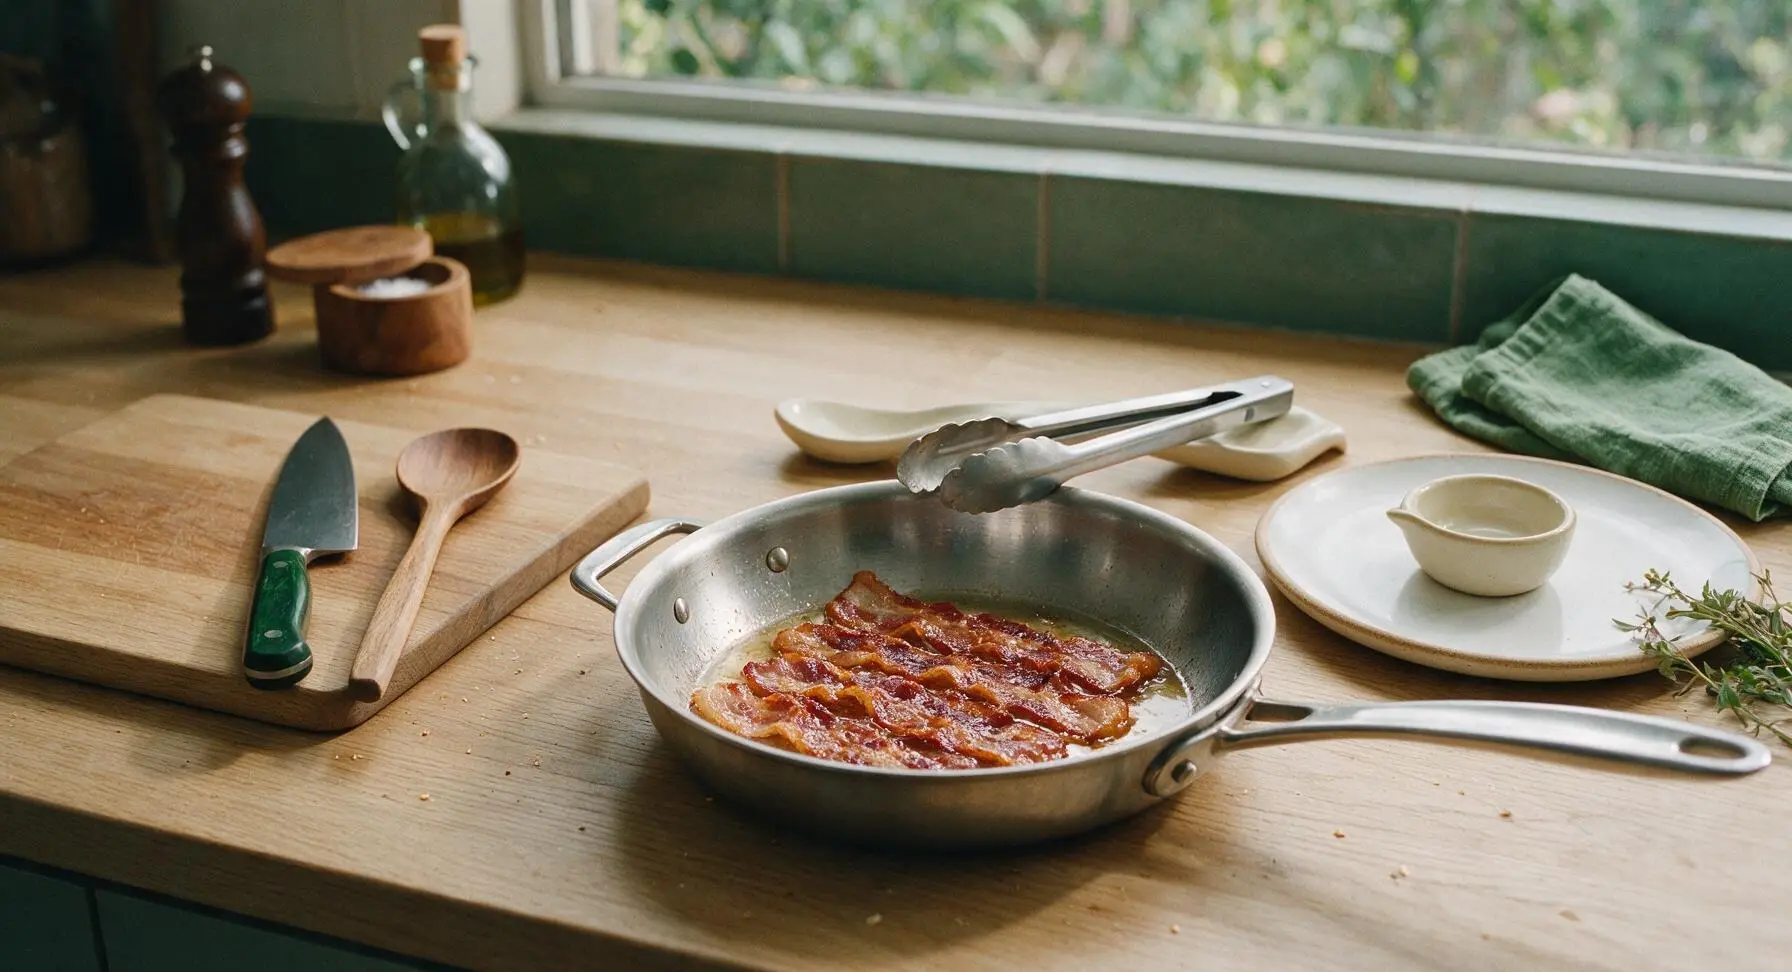
Let the bacon cook undisturbed on the first side for 6 to 8 minutes. Watch for fat to render slowly, edges to turn light golden, and brown sugar to caramelize into a deep amber crust. If the fat starts to smoke at any point, turn the heat down 1 setting—smoking fat indicates too high a temperature that will create bitter, burnt bacon.
Step 5
step5:Cook First Side Slowly
6

Flip Bacon Slices

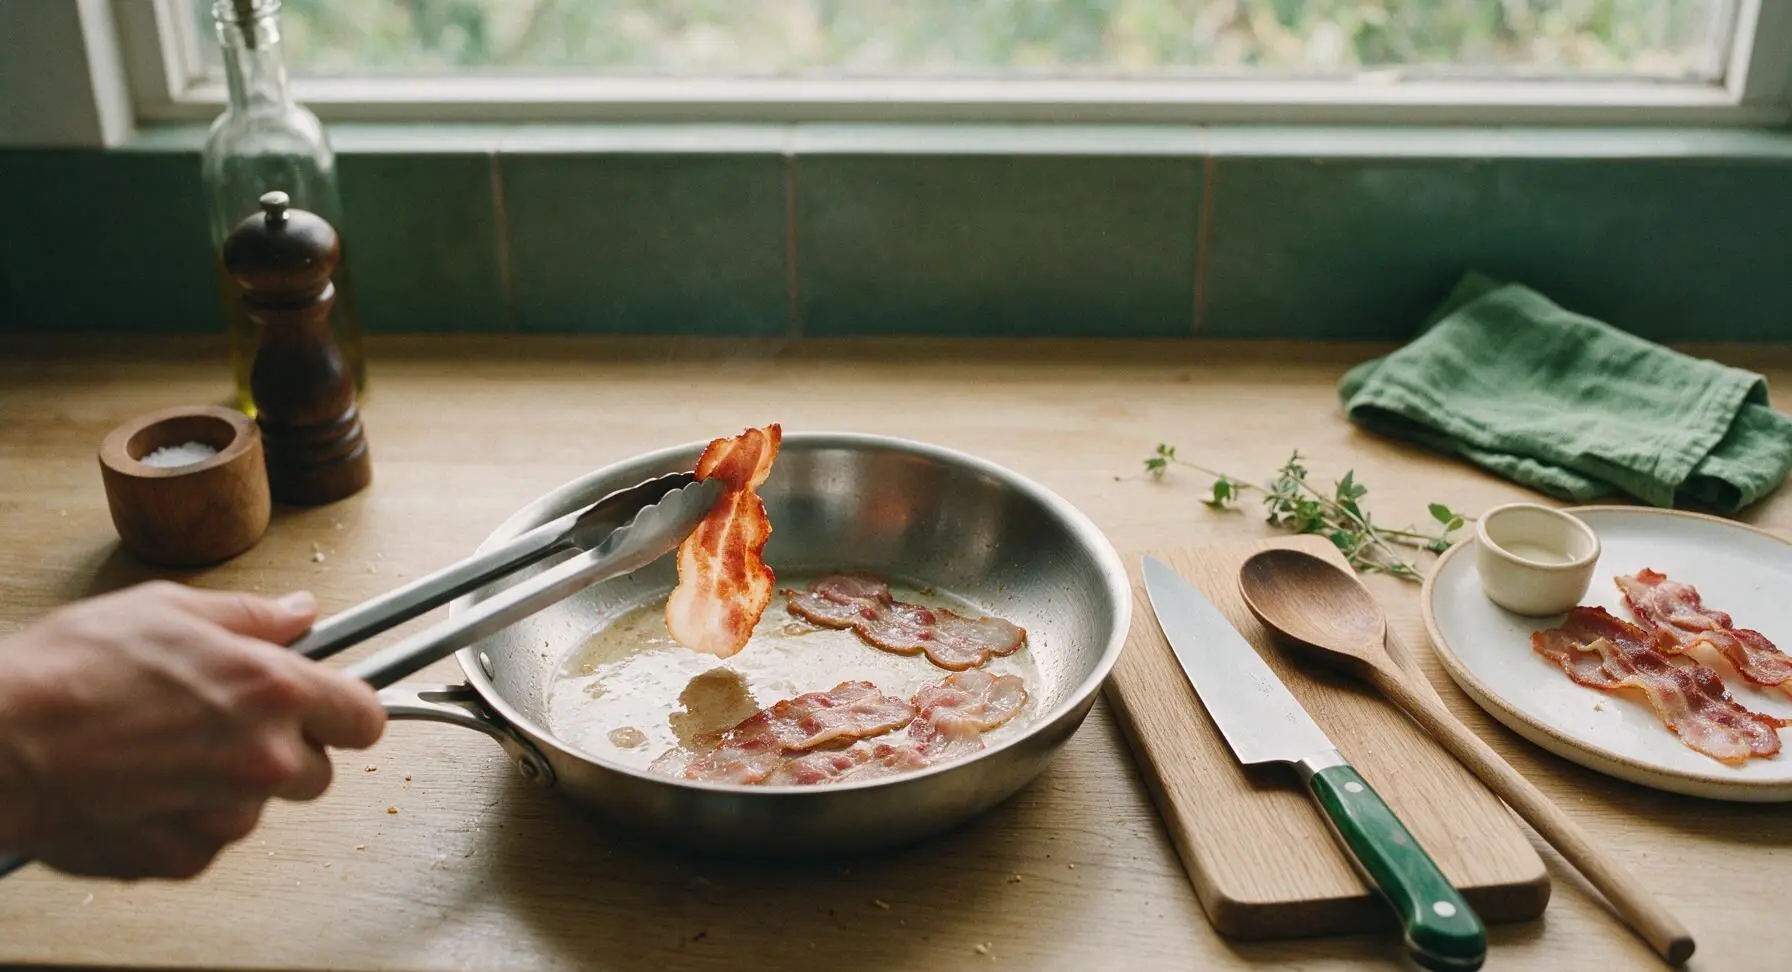
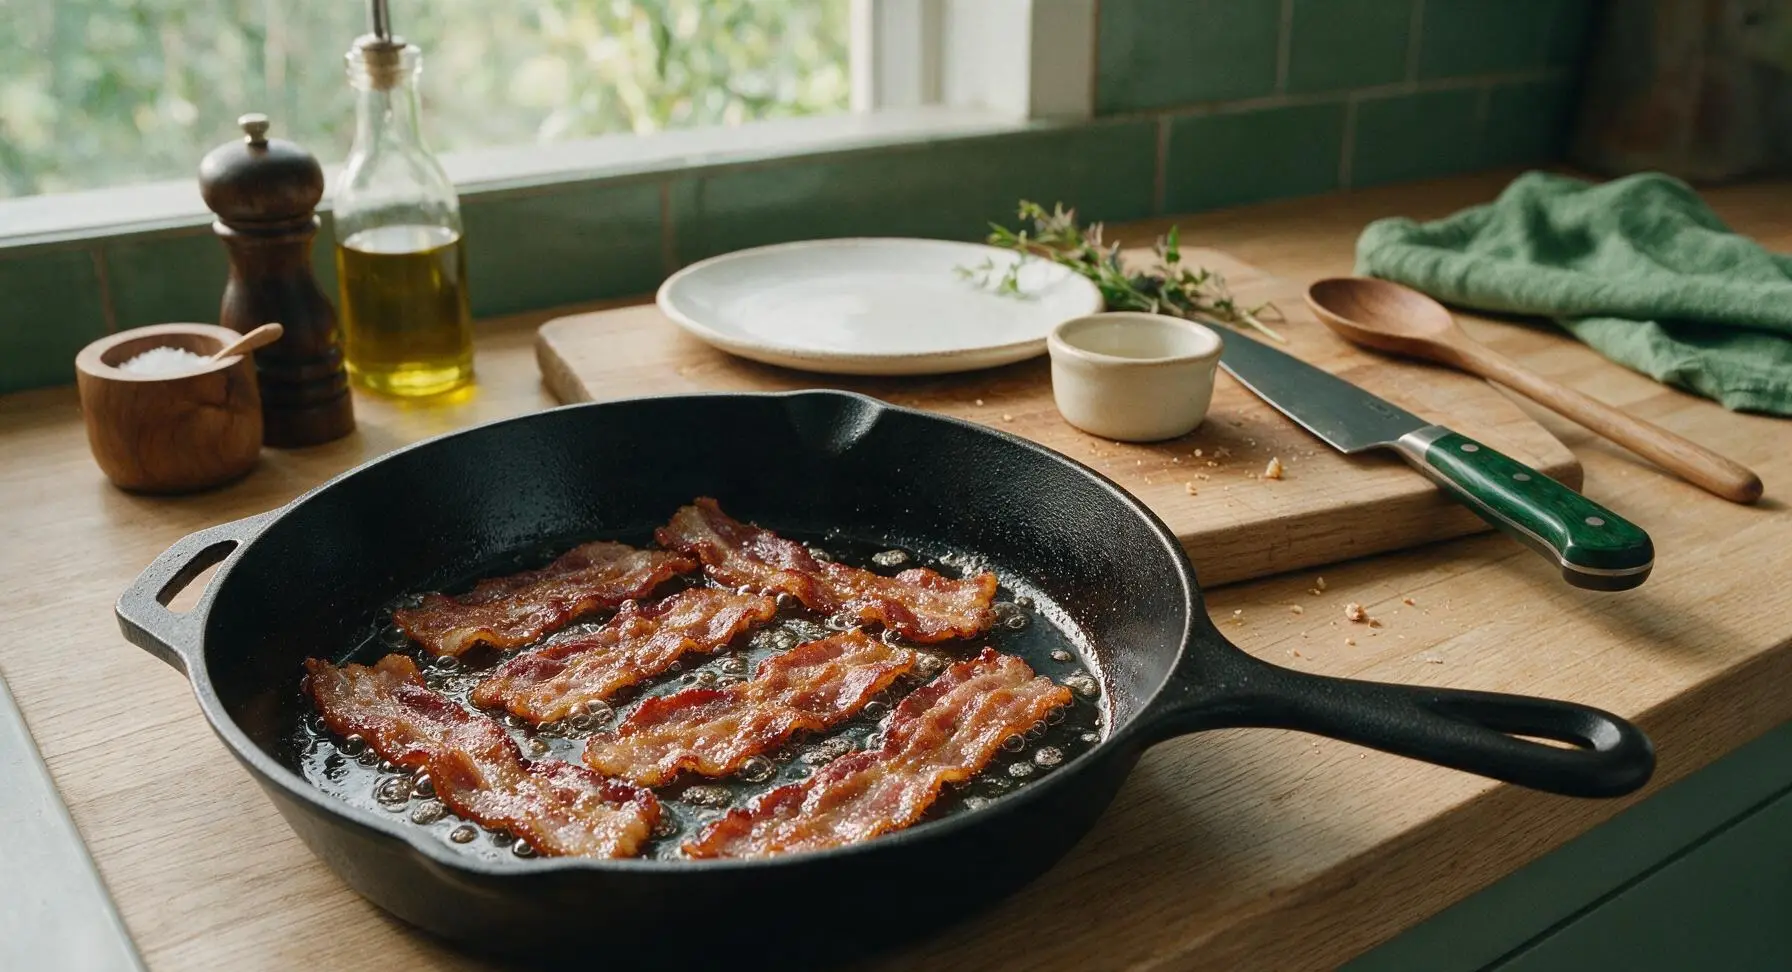
Use the stainless steel tongs to flip each bacon slice individually. Cook the second side for another 5 to 7 minutes, until fat is fully rendered, slices are deep golden brown on both sides, and edges are crispy but not charred black. For chewier bacon, reduce second-side cook time by 2 minutes; for extra crispy bacon, add 1 minute of cook time.
Step 6
step6:Flip Bacon Slices
Step 6
step6:Flip Bacon Slices
7

Drain Cooked Bacon

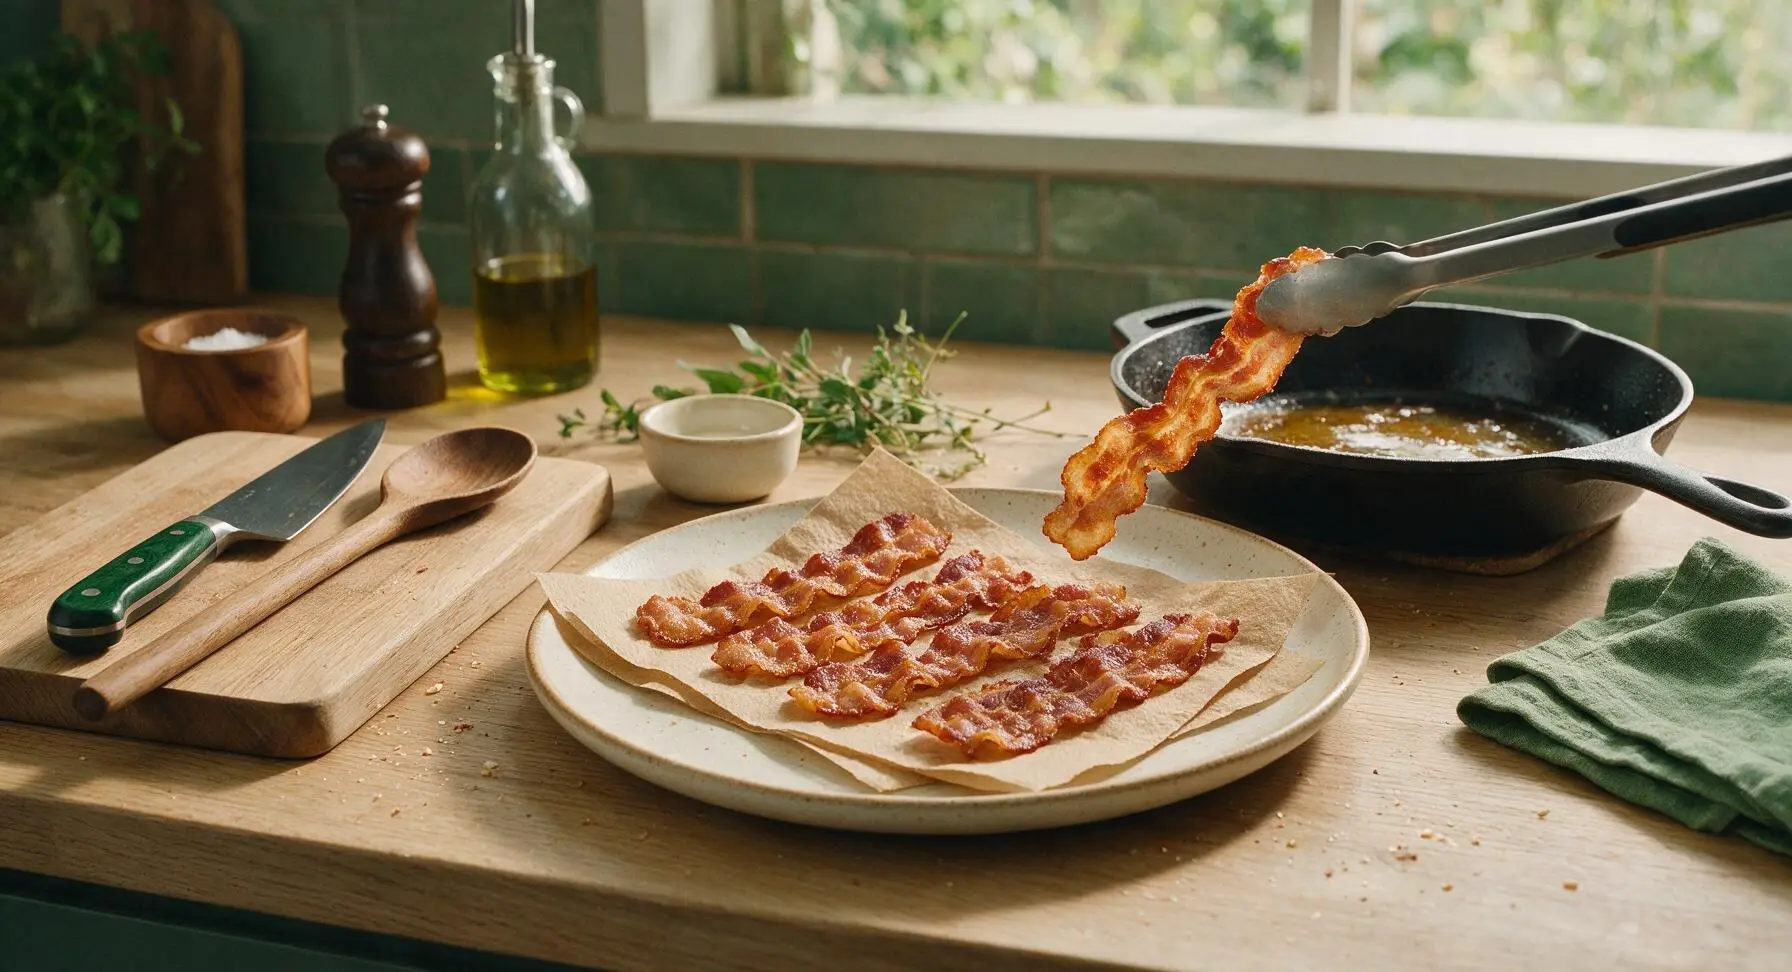
Line the speckled cream stoneware dinner plate with two sheets of unbleached paper towel. Use the tongs to transfer cooked bacon slices from the skillet to the paper towel-lined plate, arranging them in a single layer so they drain evenly. Let rest for 1 minute to let excess grease absorb into the paper towel, which prevents soggy bacon.
Step 7
step7:Drain Cooked Bacon
8

Plate and Serve Warm

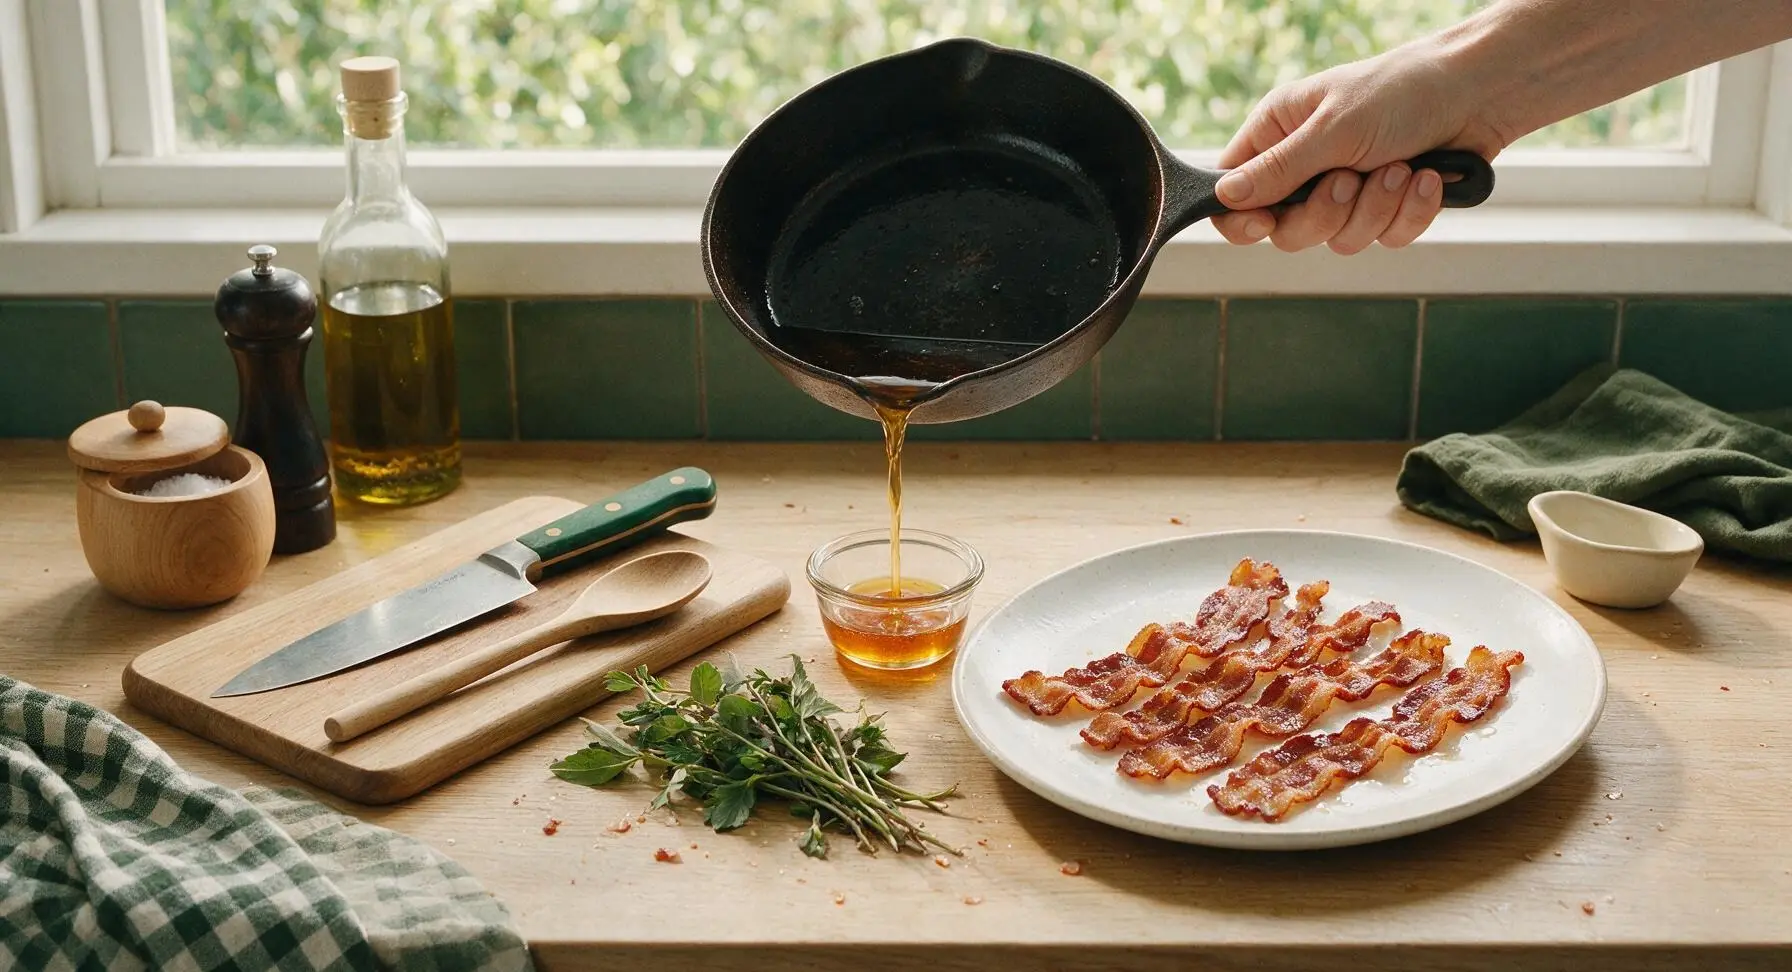
Discard the grease-soaked paper towels from under the bacon. Arrange drained bacon slices neatly fanned across the plate. Serve immediately while hot and crispy, paired with buttermilk biscuits, scrambled eggs, or sawmill gravy for a classic Appalachian meal. Pour remaining rendered bacon grease from the skillet into the clear glass ramekin to save for future cooking.
Step 8
step8:Plate and Serve Warm

Tips

1.Always pat bacon completely dry before cooking: residual surface moisture creates steam in the hot pan, which leads to rubbery, floppy bacon instead of crisp, evenly rendered slices with caramelized edges.
2.Resist the urge to cook on high heat: medium-low temperature allows thick fat layers to render slowly without burning the brown sugar seasoning or charring edges before the bacon cooks through, preventing bitter off-flavors.
3.Save every drop of rendered bacon grease: strain it into a sealed glass jar and store it in the fridge for up to 3 months to use for frying eggs, roasting potatoes, or sautéing collard greens, adding rich, deep pork flavor to every dish.


✨ You May Also Like

Breakfast
🍜 United States

Crisp-edged, fluffy lard griddle cakes are a nostalgic homestyle staple, with rich savoriness from rendered lard, perfect topped with maple syrup or savory gravy.

⏱️ 25 minuteBreakfast ★ 4.8
Breakfast
🍜 United States

Flaky, buttery homemade buttermilk biscuits smothered in creamy, peppery pork sausage gravy: a beloved, hearty Southern American comfort food classic.

⏱️ 35 minuteBreakfast ★ 4.8
Breakfast
🍜 United States

Golden, custardy brioche stuffed with sweet cream cheese and fresh berries, pan-fried to crisp perfection. An indulgent, cozy breakfast perfect for slow weekend mornings.

⏱️ 30 minuteBreakfast ★ 4.7
Breakfast
🍜 United States

Flaky, buttery Southern-style biscuits stuffed with savory salty country ham, a portable, satisfying classic perfect for casual on-the-go meals.

⏱️ 25 minuteBreakfast ★ 4.8
Breakfast
🍜 United States

Iconic puffy baked pancake popularized in Seattle, with crisp golden edges and soft custardy center, served warm with classic sweet toppings.

⏱️ 35 minuteBreakfast ★ 4.6
Breakfast
🍜 United States

Fluffy, golden pancakes studded with juicy peak-summer mixed berries, drizzled with maple syrup for a bright, comforting, crowd-pleasing family breakfast.

⏱️ 25 minuteBreakfast ★ 4.7

hillbilly bacon:Frequently Asked Questions

1.What’s the difference between hillbilly side pork and regular store-bought bacon? ▾
Great question! Unlike wet-cured, smoked supermarket bacon, dry-cured hillbilly side pork is unsmoked, salt-cured straight from the pork belly, often sold bone-in in ½-inch thick cuts at regional Appalachian butcher shops. It has a richer, porkier, less processed flavor that forms the base of this classic dish.
2.Can I use regular thin-cut bacon if I can’t find authentic hillbilly side pork? ▾
You can, but you’ll need to adjust your cook time and seasoning! Skip thin-cut if possible, opt for the thickest (at least ¼-inch) unsmoked dry-cured bacon you can find. Cut the brown sugar and pepper amounts by a third, and fry 2-3 minutes less per side to avoid burning the sugar crust before the bacon crisps.
3.Why is cast iron recommended for cooking this recipe? ▾
Cast iron holds even, steady low heat perfectly for slow-frying, which prevents the brown sugar crust from burning while the thick pork renders enough fat to get crispy, caramelized edges. It also builds seasoning with every use, making future batches taste even better. A heavy-bottomed stainless steel skillet works as a backup if you don’t have cast iron.
4.Do I need to remove the bone from the side pork before cooking? ▾
Nope! Leave the small rib bones in while you fry—they add deep, rich pork flavor to the meat and rendered fat as it cooks. Once slices are done, let them rest 1 minute, and the small bones will pull right out easily with a pair of tongs, no fancy knife work required.
5.How much salt, pepper, and brown sugar should I use per slice? ▾
For each ½-inch thick slice, aim for about ¼ teaspoon of coarse kosher salt, ½ teaspoon of coarse ground black pepper, and 1 teaspoon of packed dark brown sugar. Pat the seasoning firmly onto both sides of the pork right before it hits the skillet, so it sticks instead of falling off into the pan fat.
6.What heat setting should I use to keep the brown sugar from burning? ▾
Stick to medium-low heat the whole time—this is slow-fried, not high-heat seared! If your pan starts smoking, turn the heat down a notch. Cook 6-7 minutes per side, until edges are deep golden caramel, fat is rendered, and the crust doesn’t taste raw or grainy. Rushing with high heat causes burnt, bitter bacon every time.
7.My brown sugar keeps sliding off the pork when I fry it—what am I doing wrong? ▾
That usually happens if the pork surface is too wet, or you add the sugar too early. Pat the side pork completely dry with paper towels before seasoning, then press the brown sugar and pepper firmly into both sides to create a tight crust. Add slices to the pan immediately after seasoning, so the sugar doesn’t dissolve and slide off.
8.Can I make this bacon ahead for a large breakfast crowd? ▾
Absolutely! Cook the bacon ¾ of the way (about 4 minutes per side) the night before, let it cool completely, then store it in an airtight container in the fridge. When you’re ready to serve, pop slices on a sheet pan in a 375°F oven for 3-4 minutes to crisp the crust and reheat evenly, no last-minute skillet crowding needed.
9.What should I do with the leftover rendered bacon fat? ▾
Never pour it down the drain! Let the fat cool slightly, strain out any burnt sugar or pepper bits, and store it in a sealed glass jar in the fridge for up to 3 months. Use it to fry eggs, roast potatoes, or mix into flaky biscuit dough for the full classic Appalachian breakfast spread—it has a wonderful salty-sweet, peppery kick.
10.Is this supposed to be extra crispy, or can I cook it to a chewier texture? ▾
Traditional hillbilly bacon is cooked until edges are shatteringly crisp with a tender, slightly chewy meat center, but you can adjust cook time to your preference! For chewier bacon, pull slices 2 minutes earlier, before all edge fat fully renders. Just make sure pork reaches 145°F internal temp for food safety, no matter your texture preference.
11.Can I add extra seasonings to the crust, like paprika or cayenne? ▾
Of course! The classic recipe sticks to salt, pepper, and brown sugar, but a pinch of smoked paprika, cayenne, or light dusting of garlic powder works great if you want to mix it up. Just keep extra seasonings to ⅛ teaspoon per slice max, so you don’t overpower the natural rich pork flavor that makes this dish special.
12.What are the best sides to serve with hillbilly bacon? ▾
The iconic pairing is flaky buttermilk biscuits and creamy sawmill gravy, but it also works perfectly with over-easy eggs, fried apples, crispy hash browns, or buttered grits. Save a couple slices to crumble over a wedge salad later too—the salty-sweet pepper crust adds amazing crunch to leafy greens and tangy dressing.

Comments (5)

2 days ago

OMG y’all, this Hillbilly Bacon was an absolute game changer for our Sunday family breakfast! Took literally 20 minutes total, way easier than I thought it would be, and my husband and two kids loved it and devoured every single piece. I brought the leftovers to my office potluck today and everyone was begging for the recipe. SO good, will be making this every weekend from now on!

yesterday

Wait did you bring bacon to an office potluck? That’s such a power move! I made this for our camping trip last weekend and it held up so well over the camp stove too, total crowd pleaser.

yesterday

So glad it was a hit with your family and coworkers! Love that you repurposed leftovers for the potluck—this bacon works for literally every meal occasion.

3 days ago

As someone who meal preps breakfast for the whole work week, this is perfect! Super easy, 20 minute cook time means I can throw it together on Sunday night without a huge hassle. It stays great in the fridge all week, and I just warm a couple pieces up in the microwave each morning. 10/10, no more sad frozen breakfast sandwiches for me!

2 days ago

Thrilled this fits your meal prep routine! Pro tip: if you line your baking sheet with parchment paper, cleanup is even faster for those busy Sunday prep sessions.

1 week ago

I grew up eating something just like this at my grandma’s house in Georgia, so I was skeptical if a recipe online could measure up. Let me tell y’all, this tasted exactly like her version! Crispy, perfectly seasoned, not too greasy. I made it for my kid’s birthday brunch and everyone raved. Only thing I added was a tiny pinch of red pepper flakes for a little kick, chef’s kiss.

yesterday

Y’all I am terrible at cooking, like burn toast level bad. I saw this recipe said easy and 20 minutes so I figured I’d give it a shot for my roommate’s birthday breakfast. IT WORKED! It came out crispy and flavorful, almost no burnt pieces, my roommate thought I ordered it from a fancy brunch spot. Total confidence booster, I’m already planning to make it for our tailgate next weekend. Only reason I’m not giving 5 stars is I forgot not to overlap the bacon on the tray so a couple pieces were a little undercooked, but that was totally my bad!

2 hours ago

Oh this is a TAILGATE STAPLE for our group! I make a big batch every football Saturday and it’s gone before the first quarter ends. Pro tip: make extra, people will sneak pieces before you even get it on the serving platter.

30 minutes ago

That’s amazing to hear, especially if you’re new to cooking! So stoked this gave you a confidence boost—you’re gonna crush that tailgate batch, I just know it.

5 minutes ago

So happy I found this! I’ve been looking for easy gluten-free brunch options that don’t require a million fancy ingredients, and this fits the bill perfectly. No weird additives, just simple, tasty bacon. I served it with scrambled eggs and fruit for my book club meetup and all the ladies asked for the recipe. Will be in my regular rotation for sure!

just now

Wait were you the one who brought that bacon to our meetup earlier today??? I’ve been thinking about it ever since I left! I was too busy grabbing a second piece to ask who made it, I’m definitely pulling this recipe up to make this weekend.



