
hoagie bun
intro
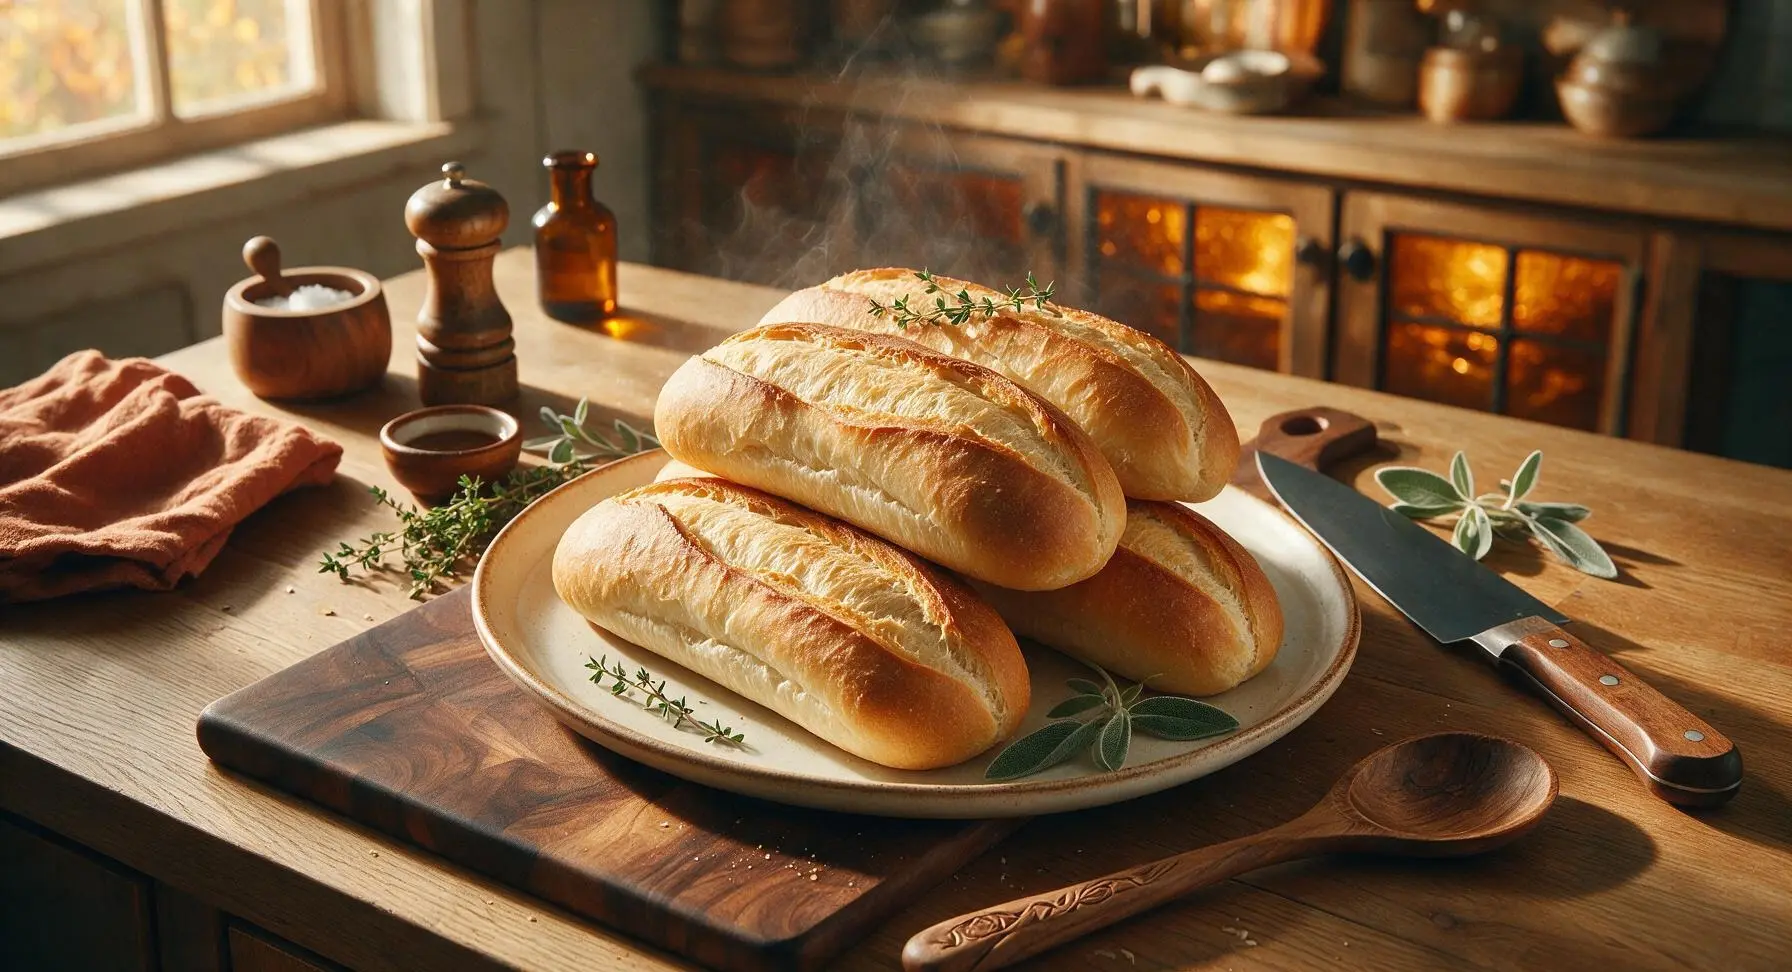
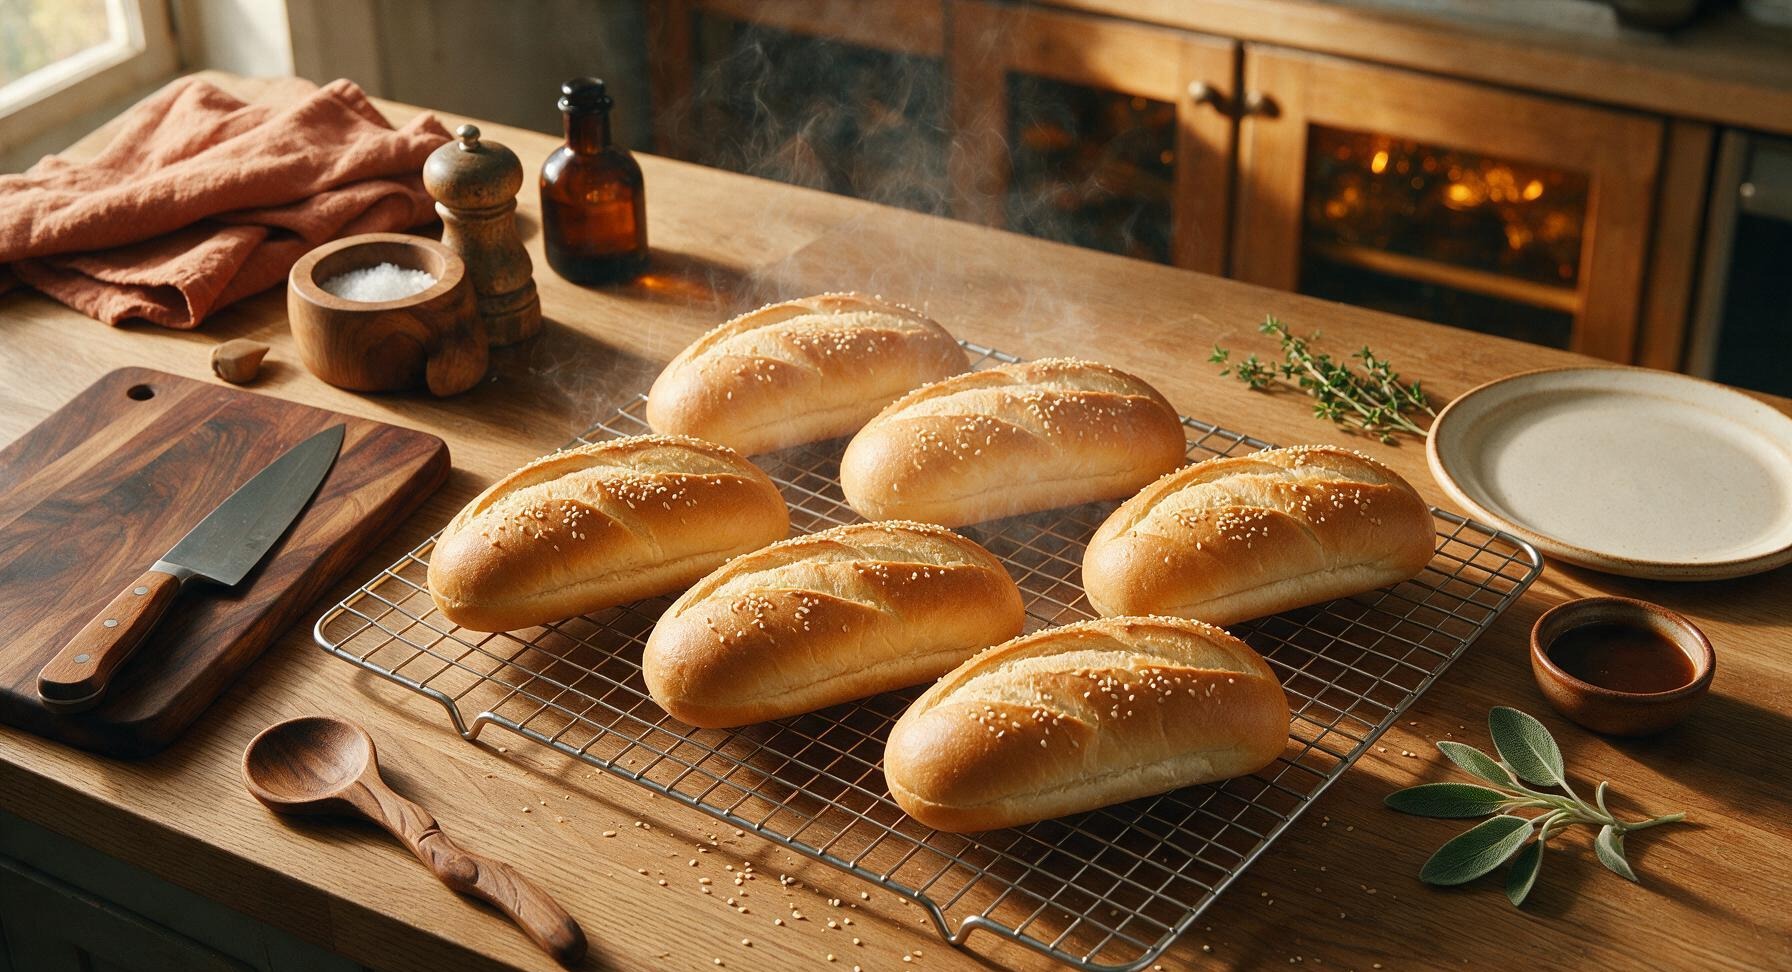
Soft, chewy hoagie buns with a crisp golden crust and sturdy, airy crumb, built to hold hearty sandwich fillings from meatballs to cold cuts to BBQ pulled pork.
Ingredients
Steps
Combine Dough Ingredients
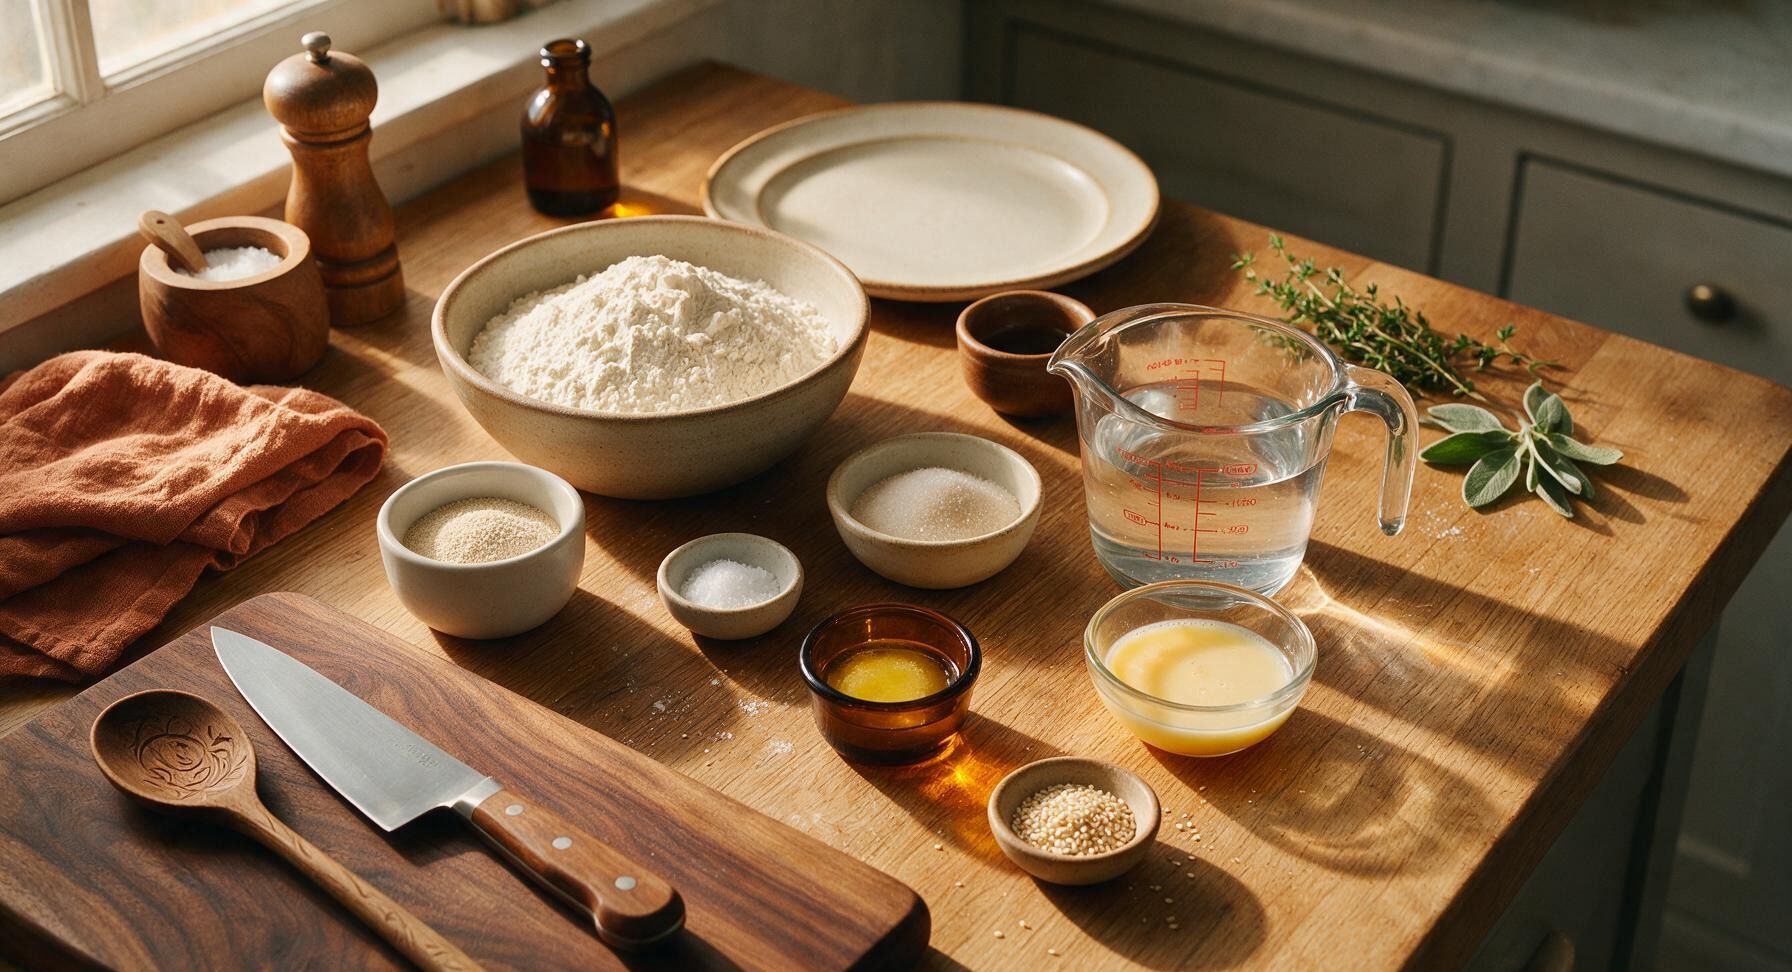
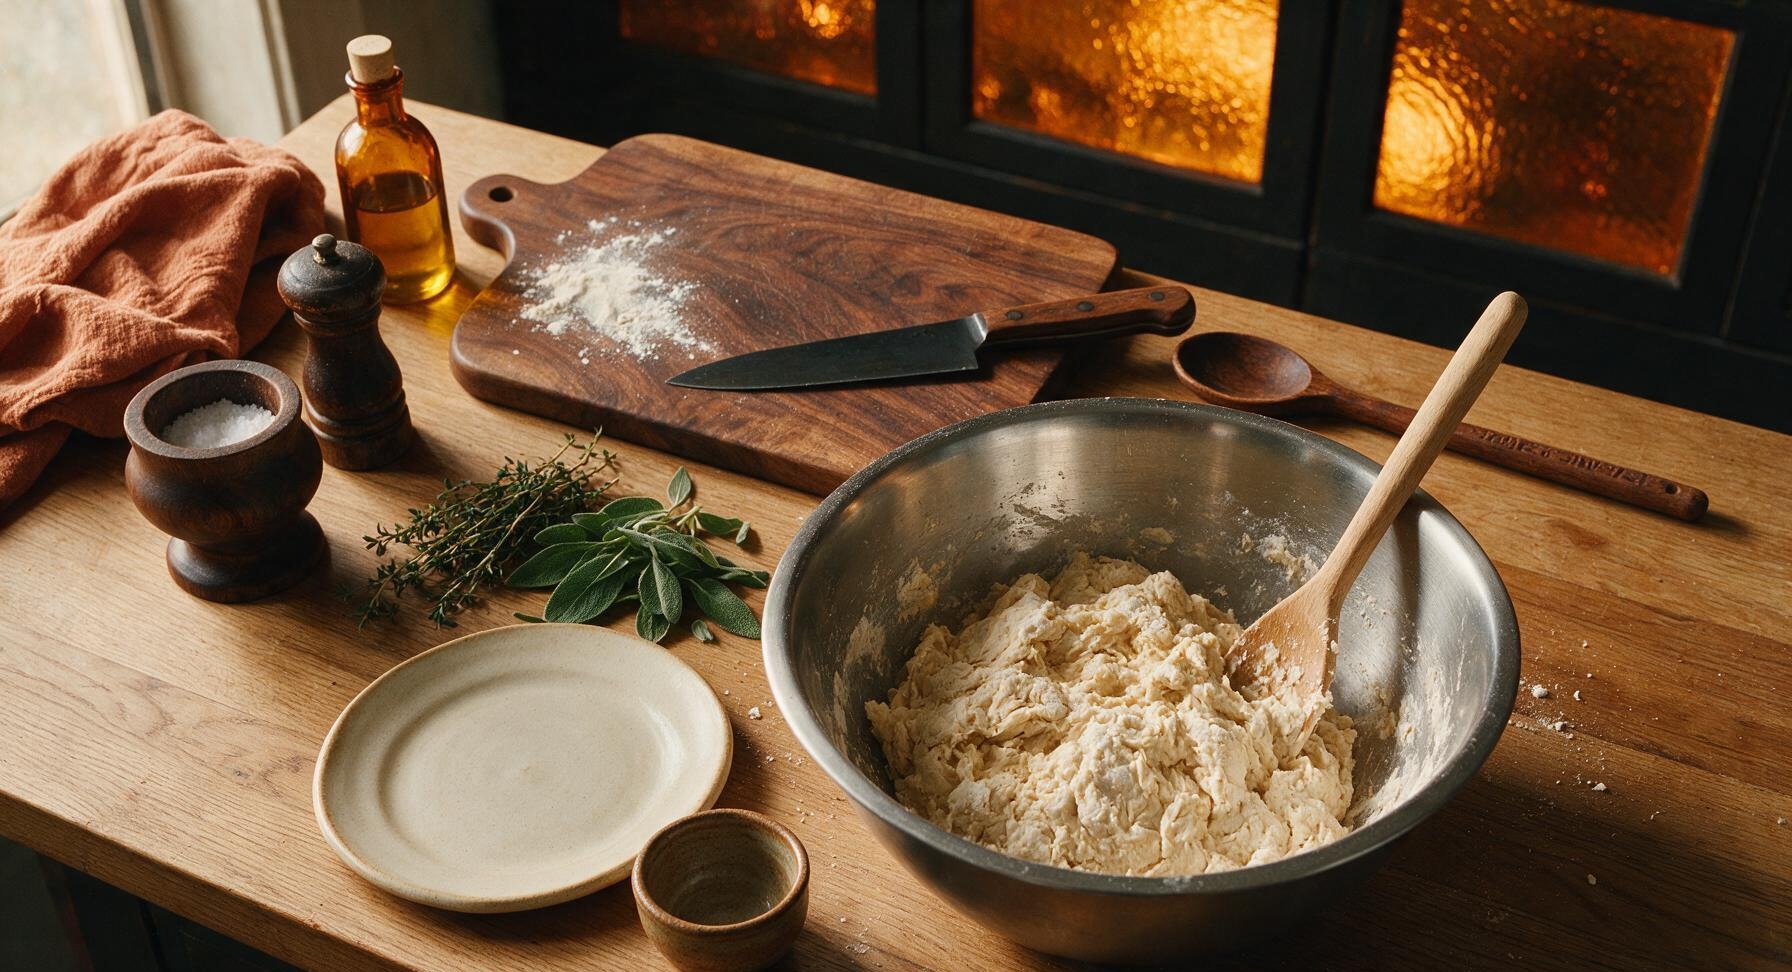
In the brushed stainless steel mixing bowl, combine 500g all-purpose flour, 7g instant yeast, 15g granulated sugar, and 8g fine sea salt, stirring briefly with the beech wood mixing spoon to evenly distribute dry ingredients. Pour in 300ml warm water (105-110°F / 40-43°C, warm to the touch but not hot) and 30g cooled melted butter. Stir with the spoon until a shaggy, lumpy dough forms, with no dry flour pockets remaining at the bottom of the bowl.
Knead Until Smooth
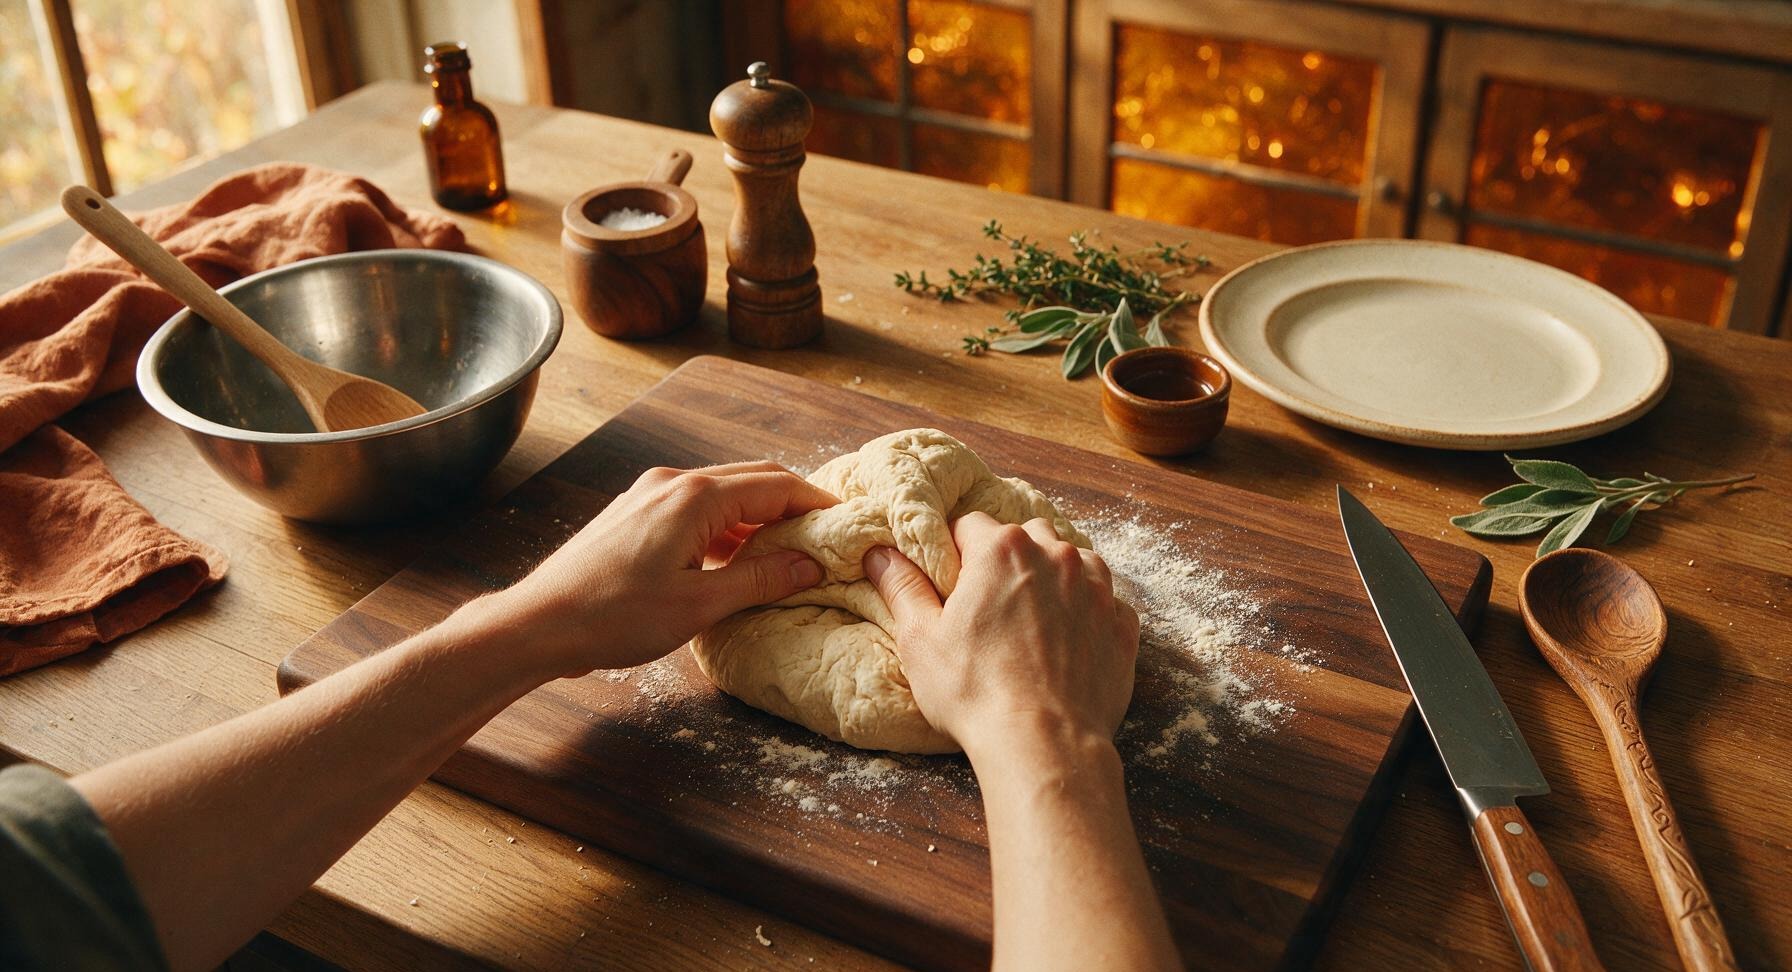
Turn the shaggy dough out onto the central beech wood work board (no extra flour needed initially, to avoid tough buns). Knead by hand for 8-10 minutes, folding the dough over itself, pushing forward with the heel of your hand, and rotating a quarter turn each fold. The dough is ready when it is smooth, elastic, and springs back slowly when poked with a finger, with no thick sticky residue left on your hands or the board.
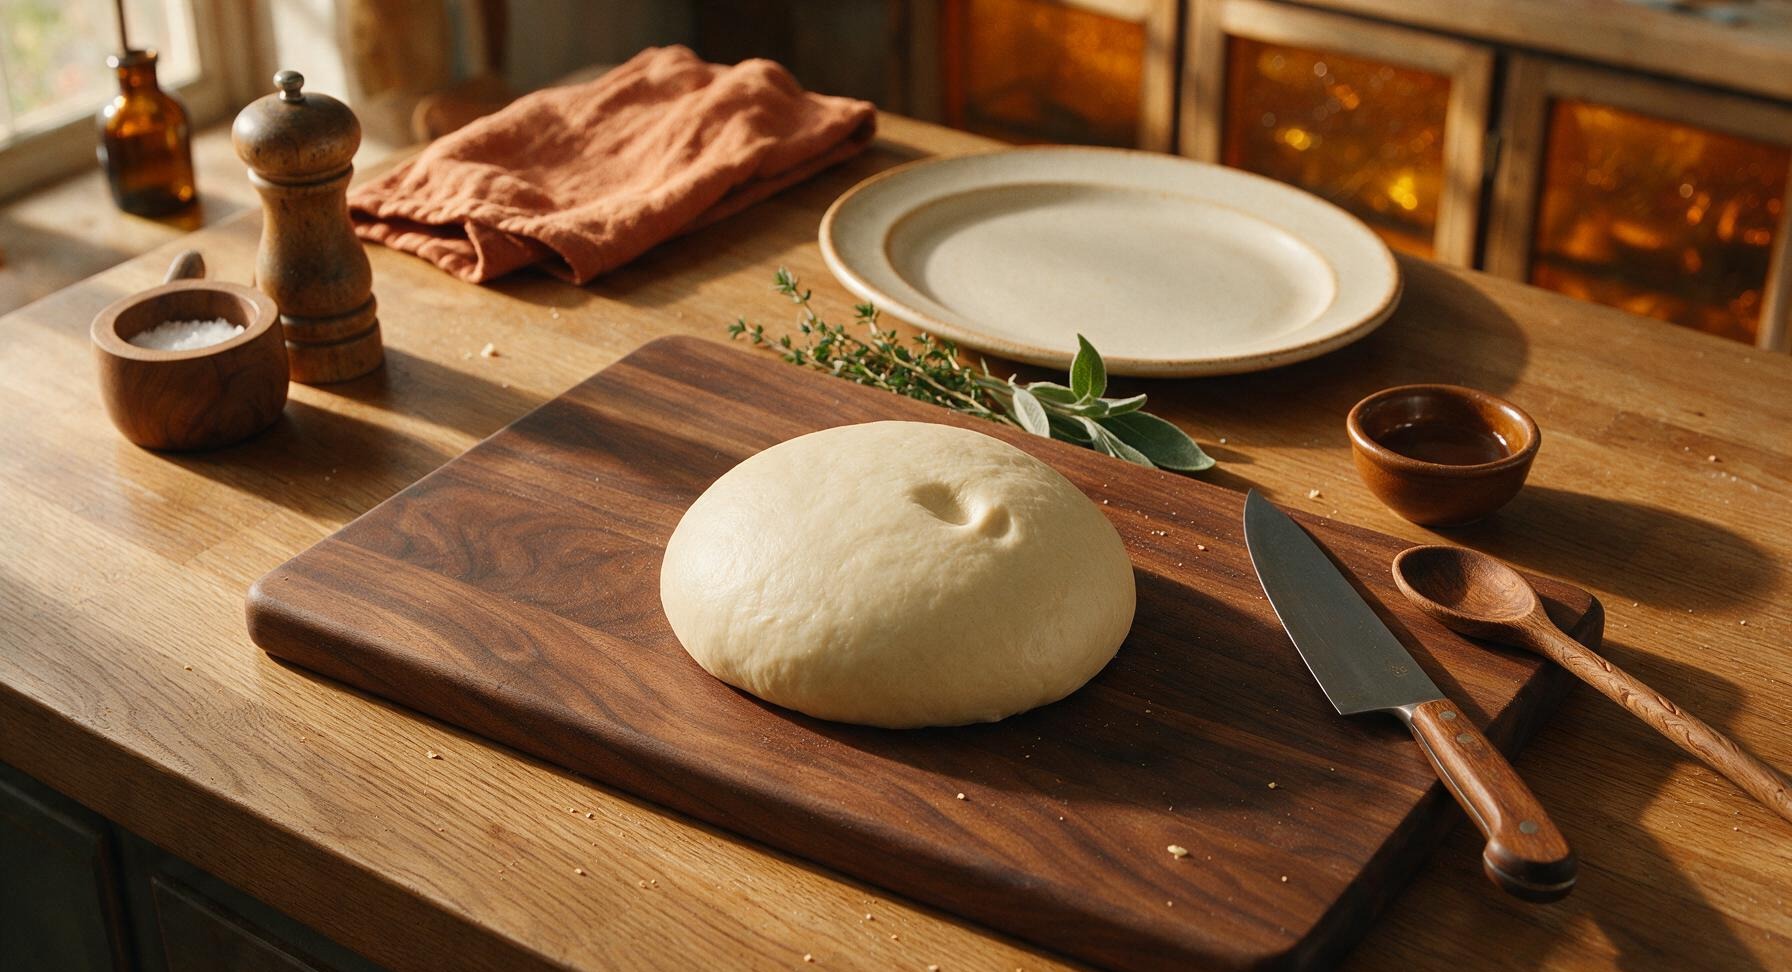
Let Dough Rise
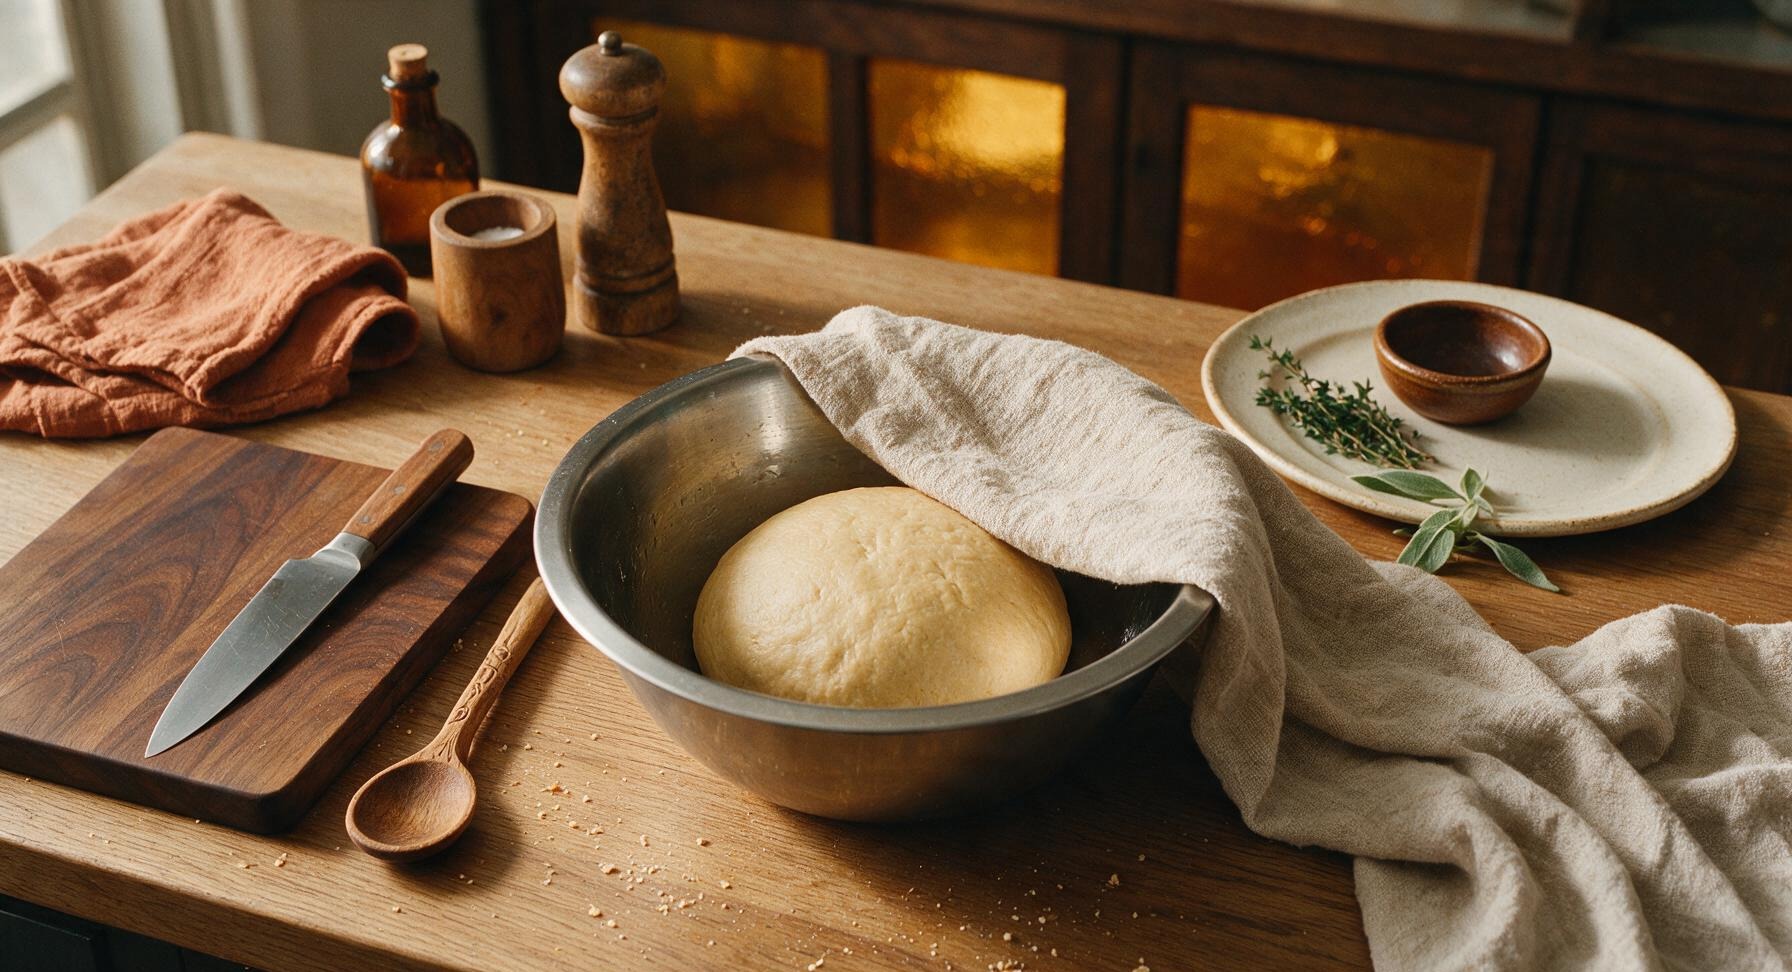
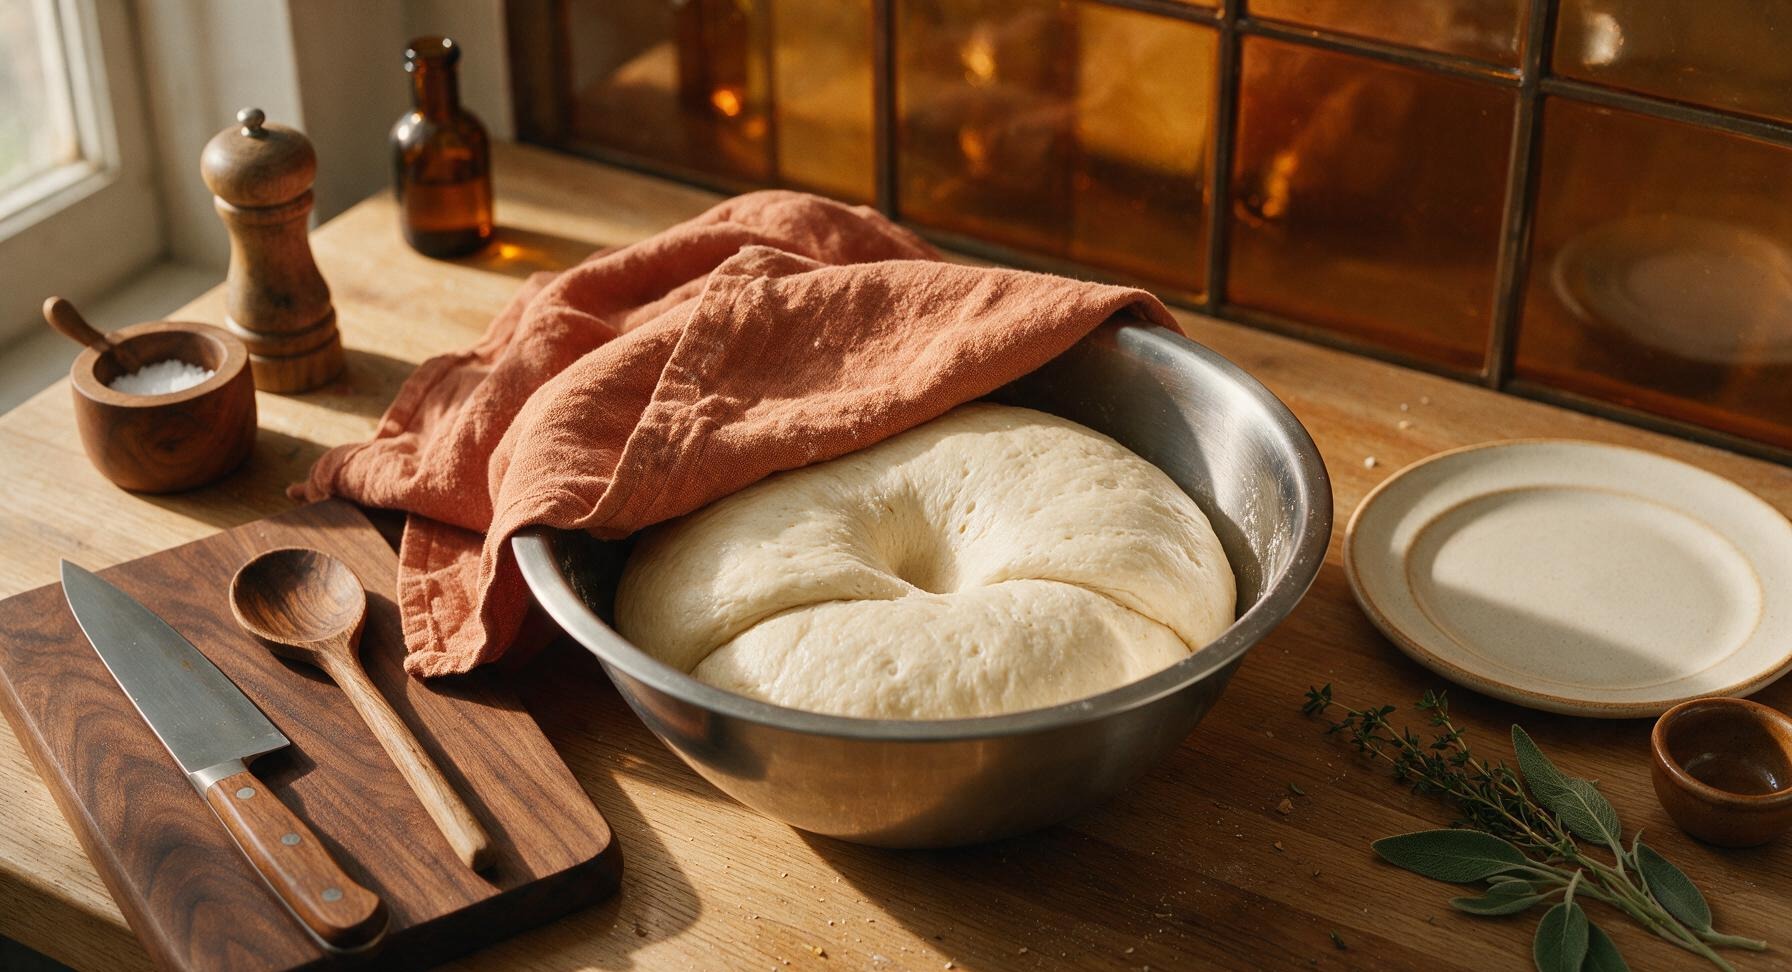
Form the kneaded dough into a tight ball, place it back into the stainless steel mixing bowl, and cover the bowl loosely with a corner of the oatmeal linen towel (the bulk of the towel remains draped over the counter edge in its fixed position). Let the dough rise in a warm, draft-free spot for 1 hour, or until it doubles in size, and leaves a deep indent when poked with a floured finger that does not spring back.
Shape Hoagie Rolls
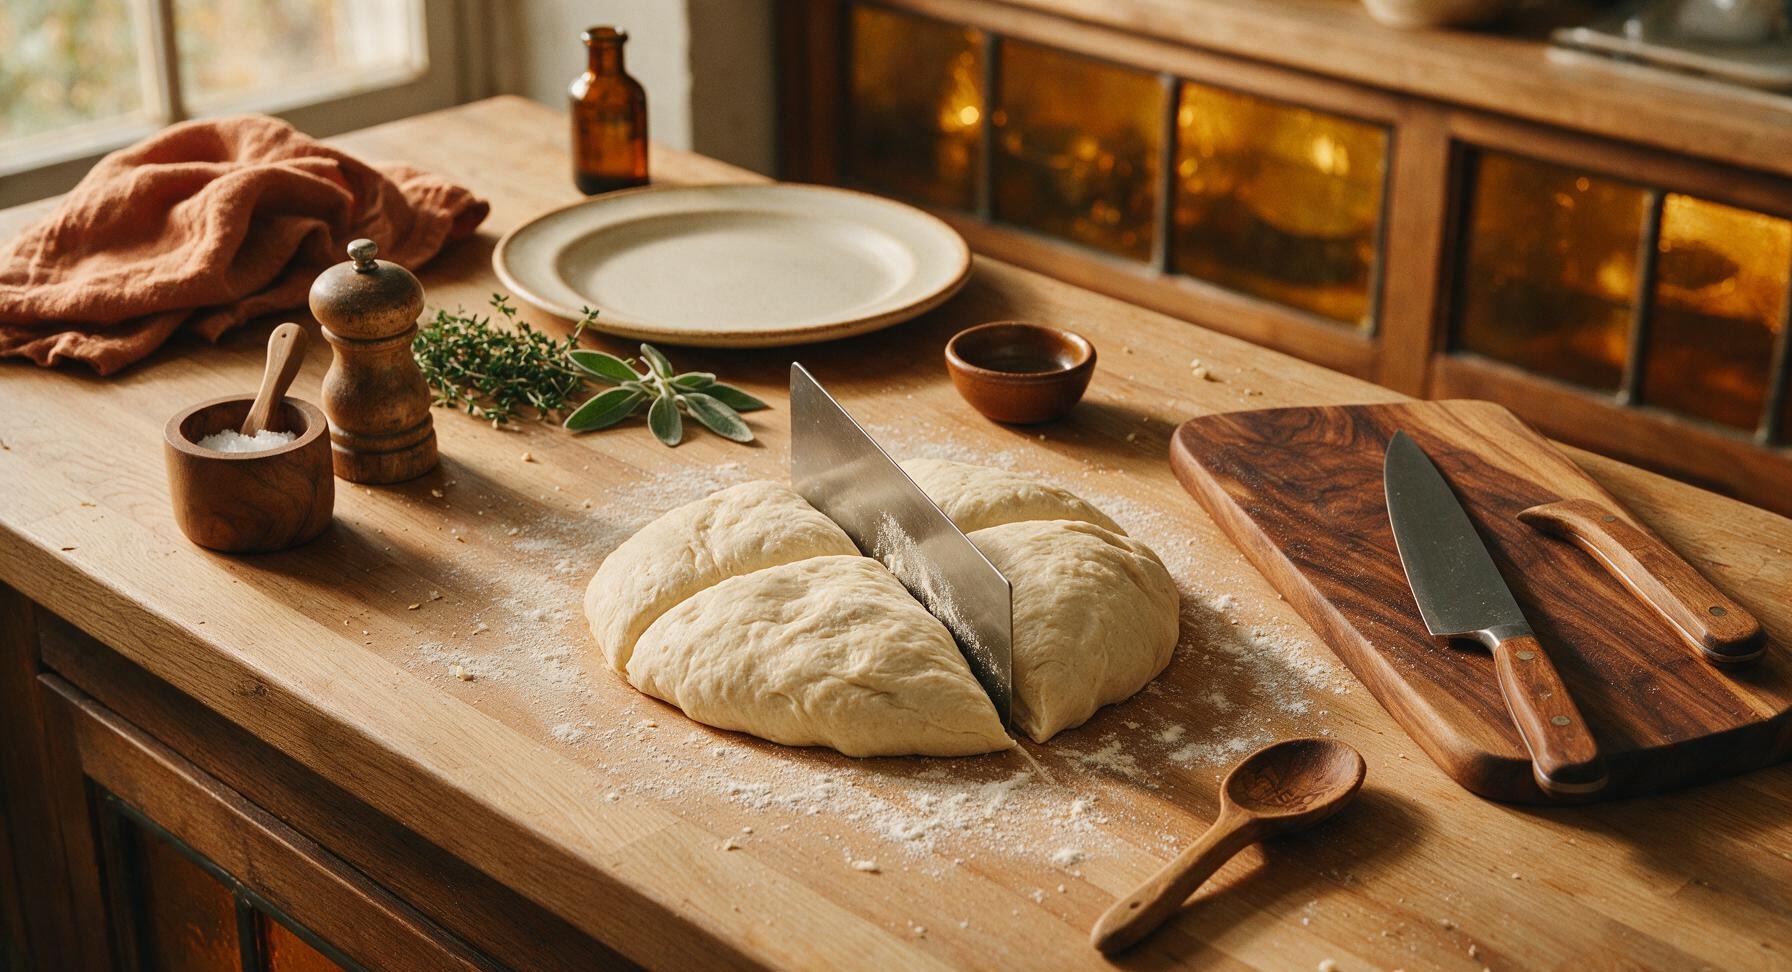
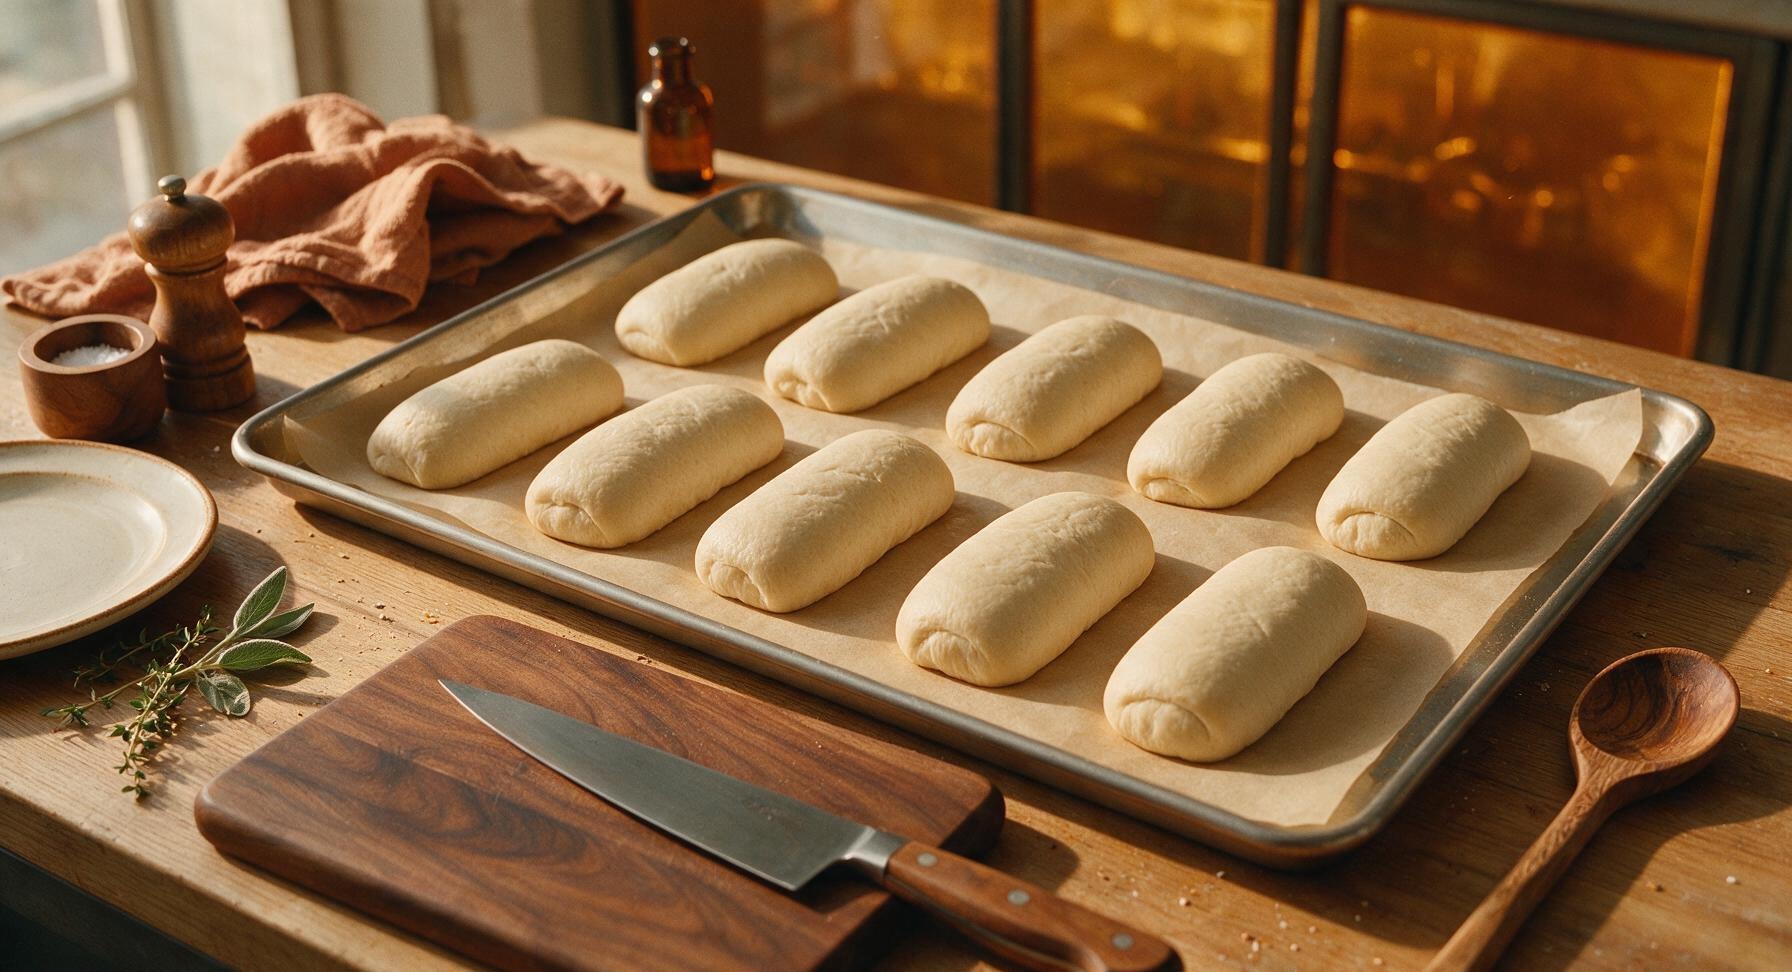
Turn the risen dough out onto the beech wood work board, pressing gently to deflate all large air bubbles. Use the stainless steel dough scraper to divide the dough evenly into 8 equal pieces (each ~105g, for 6-inch hoagie buns). Shape each piece into an oblong roll: fold the sides of each dough piece into the center, seal the seam, then roll back and forth with your palms to taper the ends slightly, creating a 6-inch long, plump log. Place shaped rolls seam-side down on the parchment-lined stainless steel baking sheet, leaving 2 inches of space between each roll for expansion.
Proof and Prep Oven
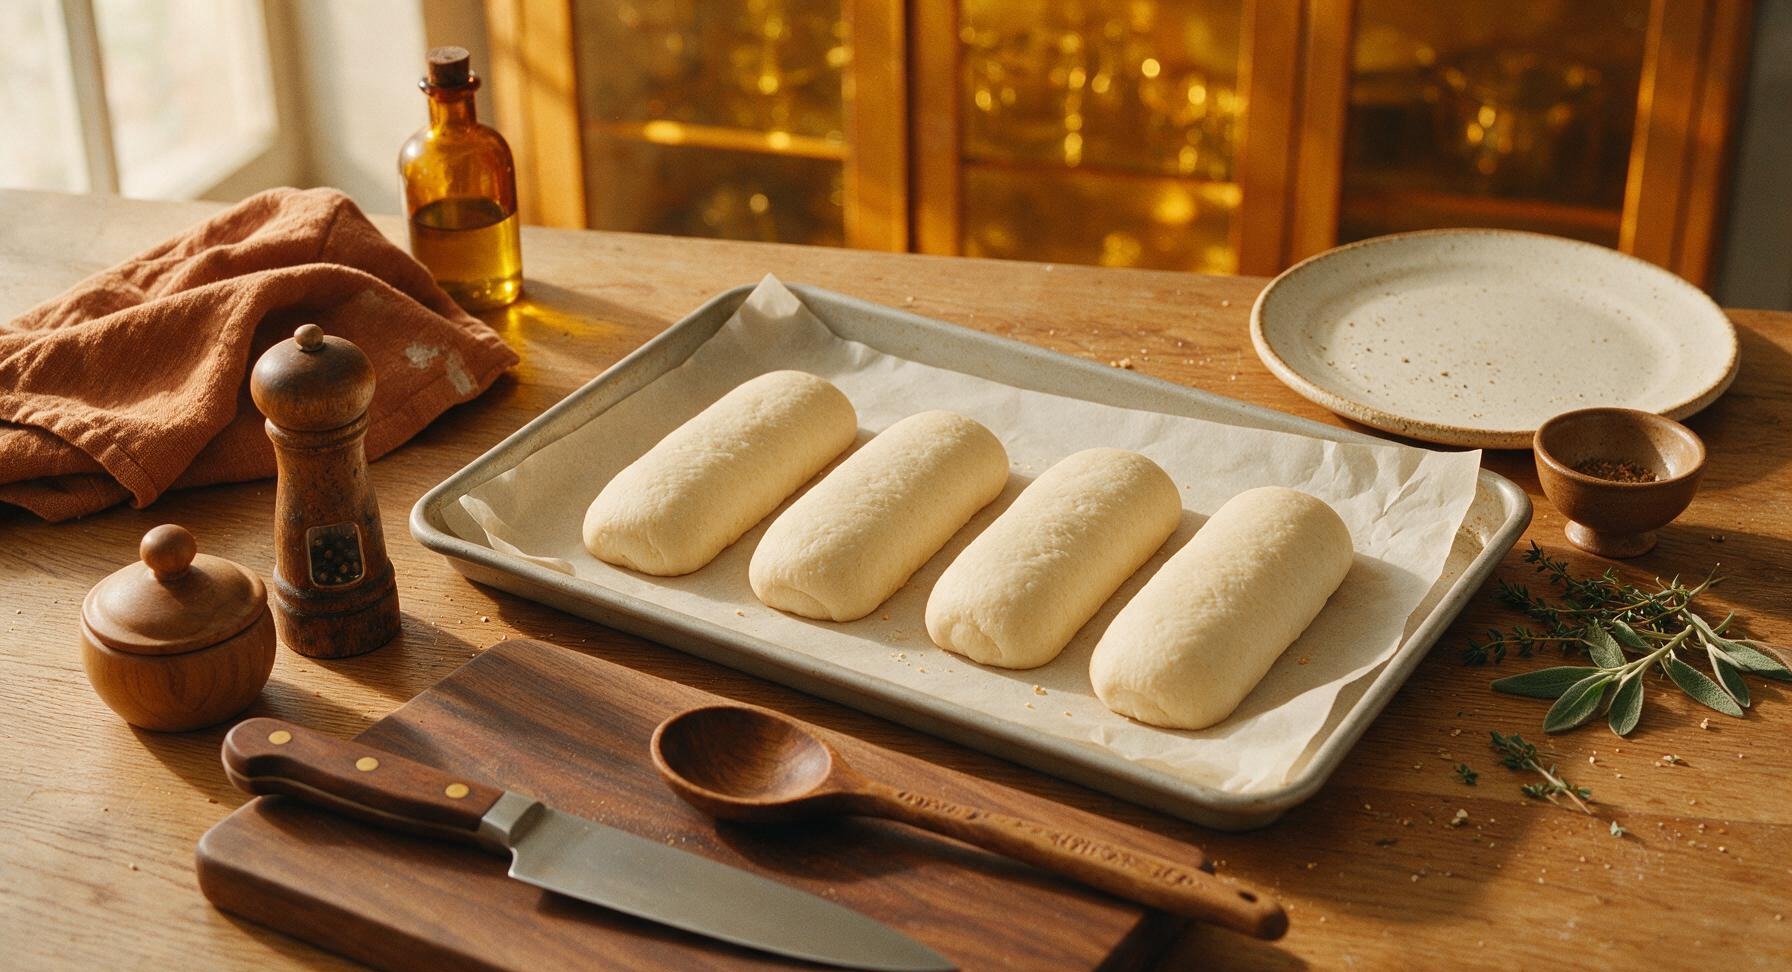
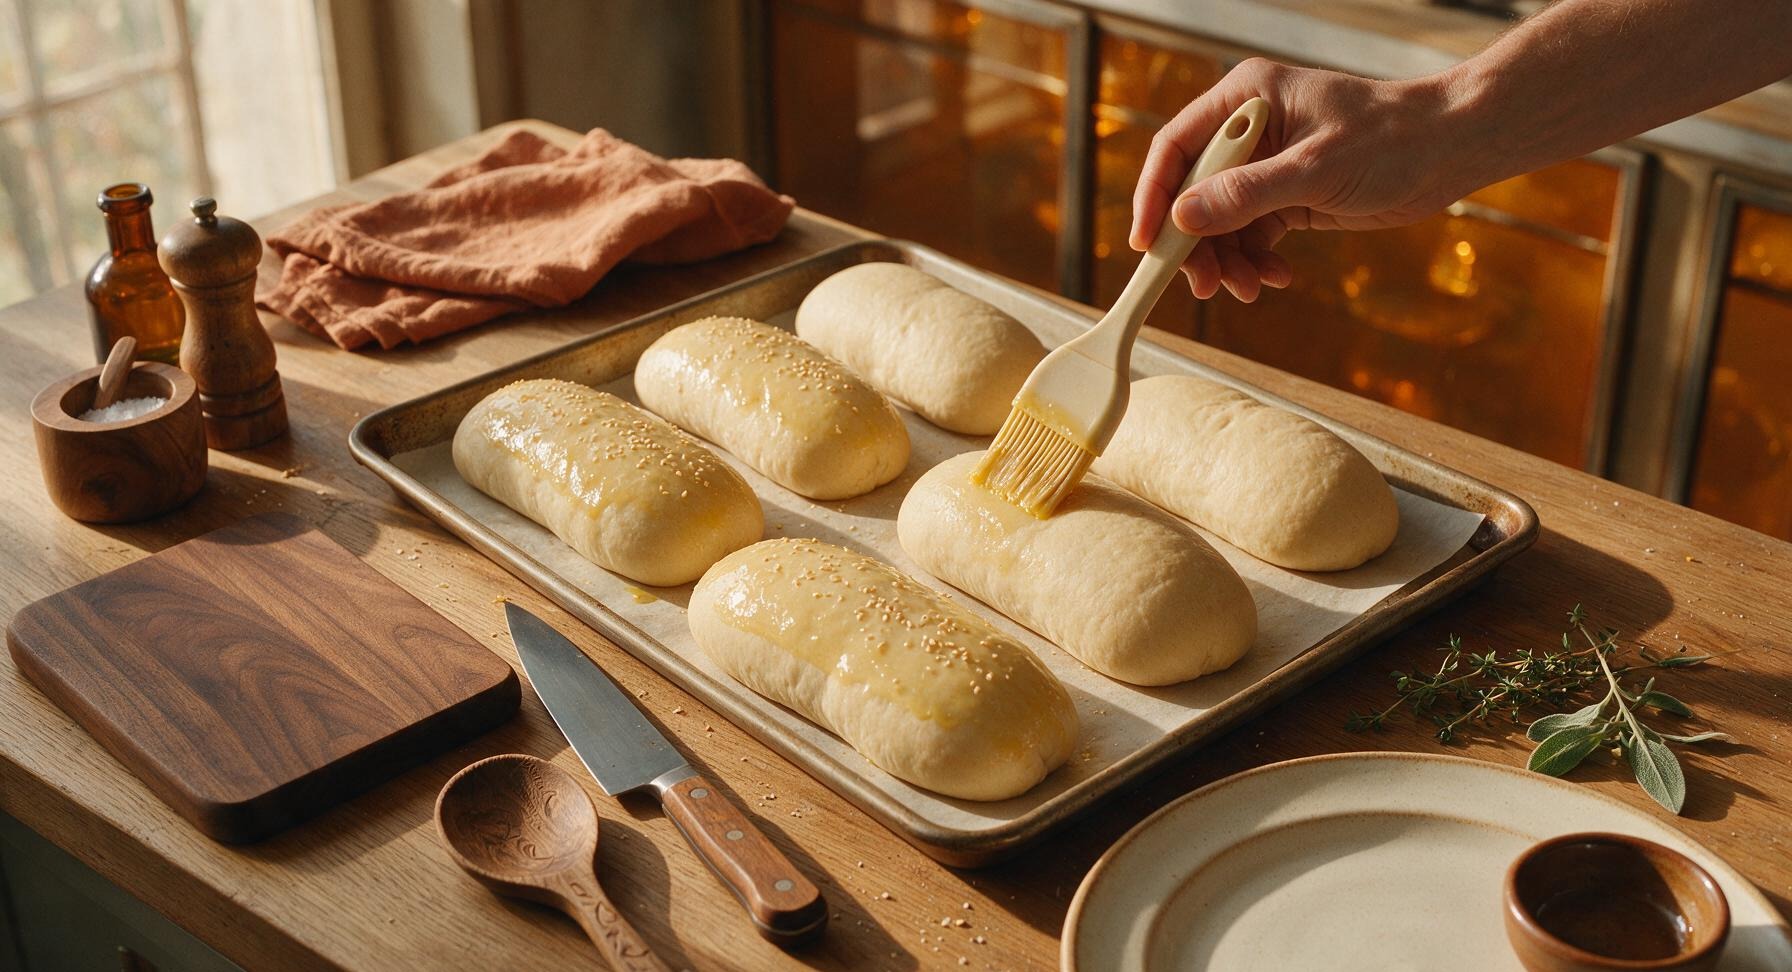
Loosely cover the shaped rolls on the baking sheet with the corner of the linen towel, and let them proof for 30 minutes in a warm draft-free spot, until they are puffy and spring back slowly when gently poked (the indent will fill in halfway after 2 seconds). While rolls proof, preheat oven to 400°F (200°C), positioning a rack in the center of the oven. Once proofed, use the silicone basting brush to gently coat the top of each roll with egg wash, taking care not to deflate the puffy dough. Sprinkle tops with sesame seeds if using.
Bake Until Golden
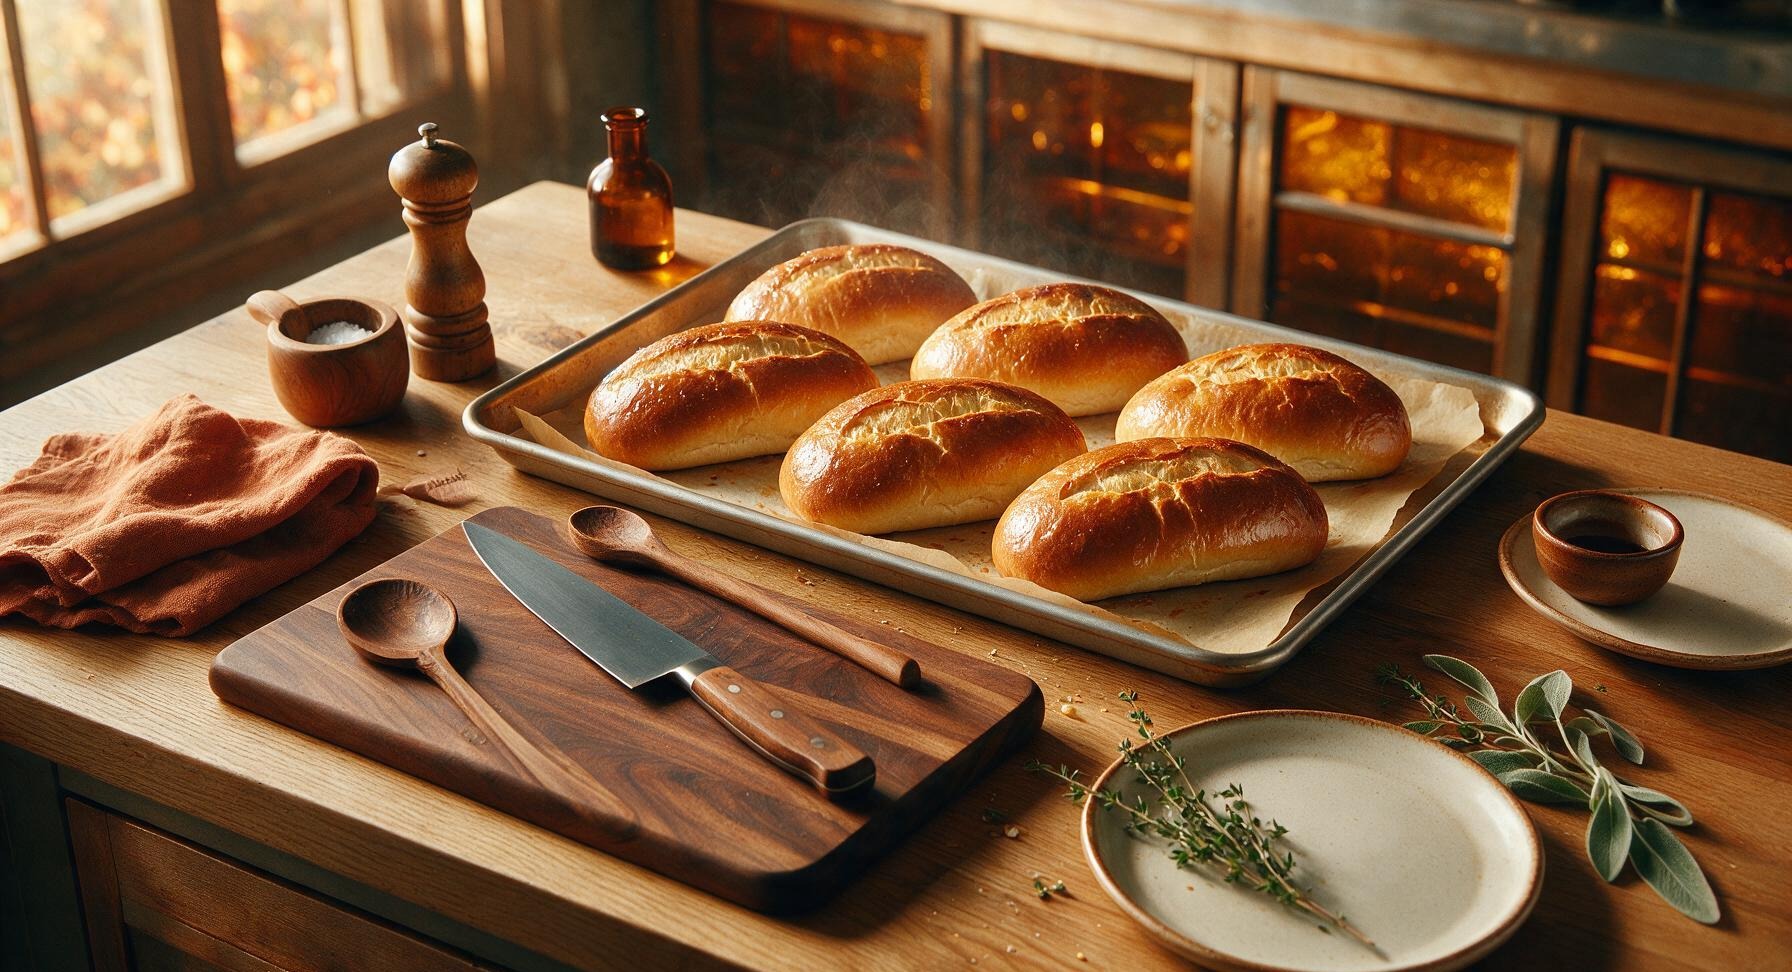
Place the baking sheet with proofed, egg-washed rolls on the center rack of the preheated 400°F (200°C) oven. Bake for 15-18 minutes, rotating the sheet halfway through baking, until the tops are deep golden brown, the internal temperature of the buns reaches 190°F (88°C) on an instant-read thermometer, and the bottoms sound hollow when tapped.
Cool Before Serving
Immediately transfer the baked hoagie buns from the baking sheet to the matte chrome wire cooling rack. Let them cool for at least 15 minutes before slicing or using for sandwiches, to allow the crumb to set and avoid gummy texture. Once cooled, arrange buns on the cream ceramic serving platter for serving, slicing lengthwise to fill with desired sandwich fillings.
Tips
2.Verify your warm water is between 105-110°F (40-43°C) before adding yeast: water hotter than 120°F will kill yeast and prevent the dough from rising, while water colder than 100°F will slow yeast activity and lead to a long, uneven rise with less developed flavor.
3.Resist the urge to slice buns immediately after baking: cutting into warm buns causes the soft interior crumb to compress and turn gummy, as the gelatinized starches have not had time to set as they cool. For soft, intact crumb, let buns cool a full 15 minutes on the rack before slicing, and reheat slices briefly if you prefer warm bread.






OMG these came out SO good!!! I’ve been buying store bought hoagie buns for years for our weekly sandwich night and these are a total game changer. Chewy on the outside, soft inside, perfect for piling high with cold cuts and veggies. My kids begged for seconds of just the bun, no fillings lmao.
First time making any kind of yeast bread and these turned out pretty good! I think I let them rise a little too long because they spread out more than I expected, so they were flatter than ideal hoagies. Still tasted amazing though, held up great to meatballs and marinara for our Sunday dinner.
Made these for a neighborhood potluck over the weekend to go with the Italian subs I brought, and people were losing their minds asking where I got the buns. When I said I made them from scratch no one believed me! 10/10 will be making these every time I host from now on.
These are perfect! Wondered if anyone has tried swapping half the all purpose flour for whole wheat flour? I love adding whole grains where I can and don’t want to mess up the texture.
Made these to go with smoked brisket sandwiches for our game day watch party, and flavor was 10/10. Only note is my oven runs hot, so I pulled them at 14 minutes and they were still a little crispier on the bottom than I like. Next time I’ll drop the temp by 25 degrees.
These are meal prep GOLD. I make a double batch every Sunday, slice them, and freeze them individually. They thaw in like 30 seconds in the microwave and taste just as fresh as the day I baked them. Saved me so much money on bakery buns for my work lunches!
Wait, did I do something wrong? My dough was SO sticky I could barely shape it, I had to add like an extra half cup of flour just to be able to handle it. Did anyone else have this issue?
Game. Changer. I’m a diehard hoagie fan and have been searching for a copycat recipe for the soft, chewy buns from my favorite sub shop back east for YEARS. This is dead on. Chewy crust, pillowy inside, perfect size for piling on all the toppings. I’ll never buy buns again.
Used these for homemade cheesesteaks last night and HOLY COW. They held up perfectly to all the greasy, cheesy meat and peppers without getting soggy at all. Even my husband who is super picky about bread said these were better than the ones from the cheesesteak shop down the street.
Just pulled these out of the oven and my whole house smells like a bakery. Can’t wait to make turkey clubs for dinner tonight! They look perfect already.
Quick question! I only had instant yeast on hand instead of active dry, so I just mixed it straight into the flour instead of proofing it. They turned out fine, but did I mess up the rise at all? They were maybe a tiny bit denser than the photos but still really good.
Brushed the tops with a little egg wash and sprinkled sesame seeds and poppy seeds on before baking, and *chef’s kiss*. Felt like I was eating a fancy deli sandwich at home. The texture was spot on, even with the added toppings.
SO good. Made these for pulled pork sandwiches last weekend at our cookout and every single person asked for the recipe. Even my super snobby foodie cousin was impressed. Will be making on repeat.
Just made a batch of these but divided the dough into 12 smaller portions instead of 8 to make slider buns for our party tomorrow! They rose perfectly and are the cutest little size, taste exactly like the big version. Would that mess anything up if I do that every time for sliders?
I was so intimidated to try this because I’ve always thought homemade bread was too hard (medium difficulty made me nervous!) but the instructions were so clear and easy to follow. My buns came out looking exactly like the photos, I’m so proud of myself! Worth every minute of effort.
Pro tip: Brush the warm buns with melted garlic butter right when you pull them out of the oven. Game. Changing. I’ll never eat a plain hoagie bun again.
I run the lunch program at our local high school and tested these out for the Italian sub day last week. The kids went crazy for them! We made 4 dozen and they were all gone before the end of the first lunch period. The 18 minute cook time was exactly right for our commercial convection ovens too, which was a nice surprise.