
hoagie roll
intro
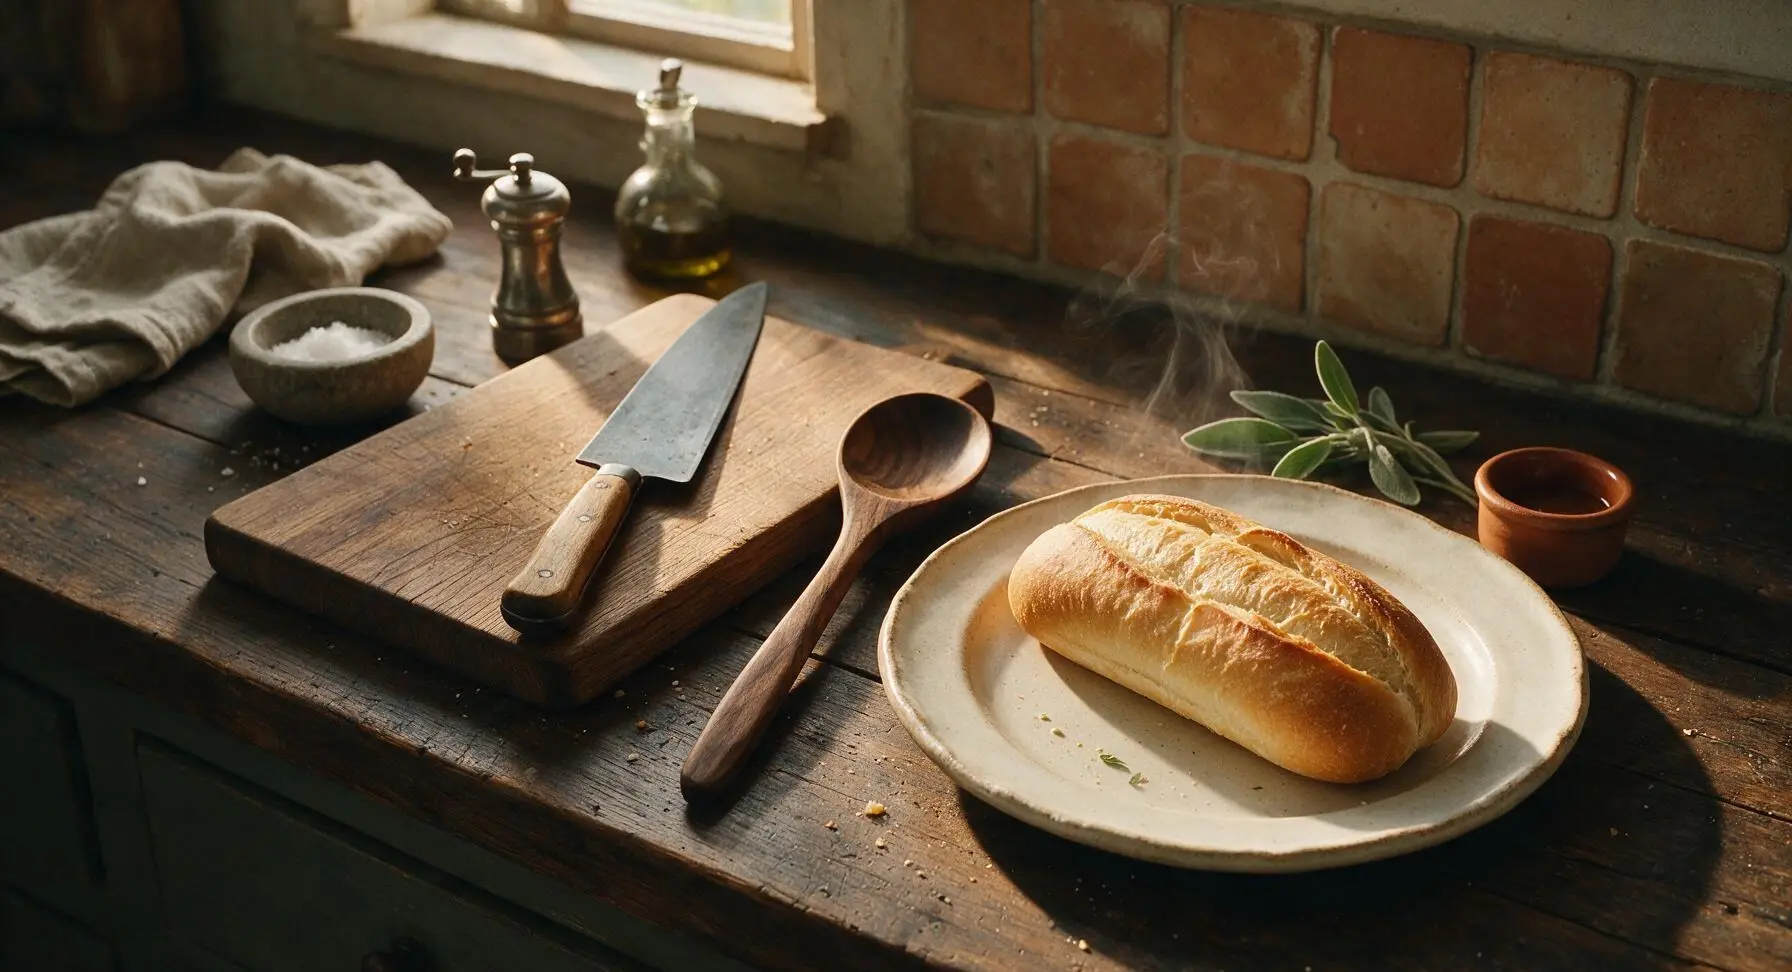
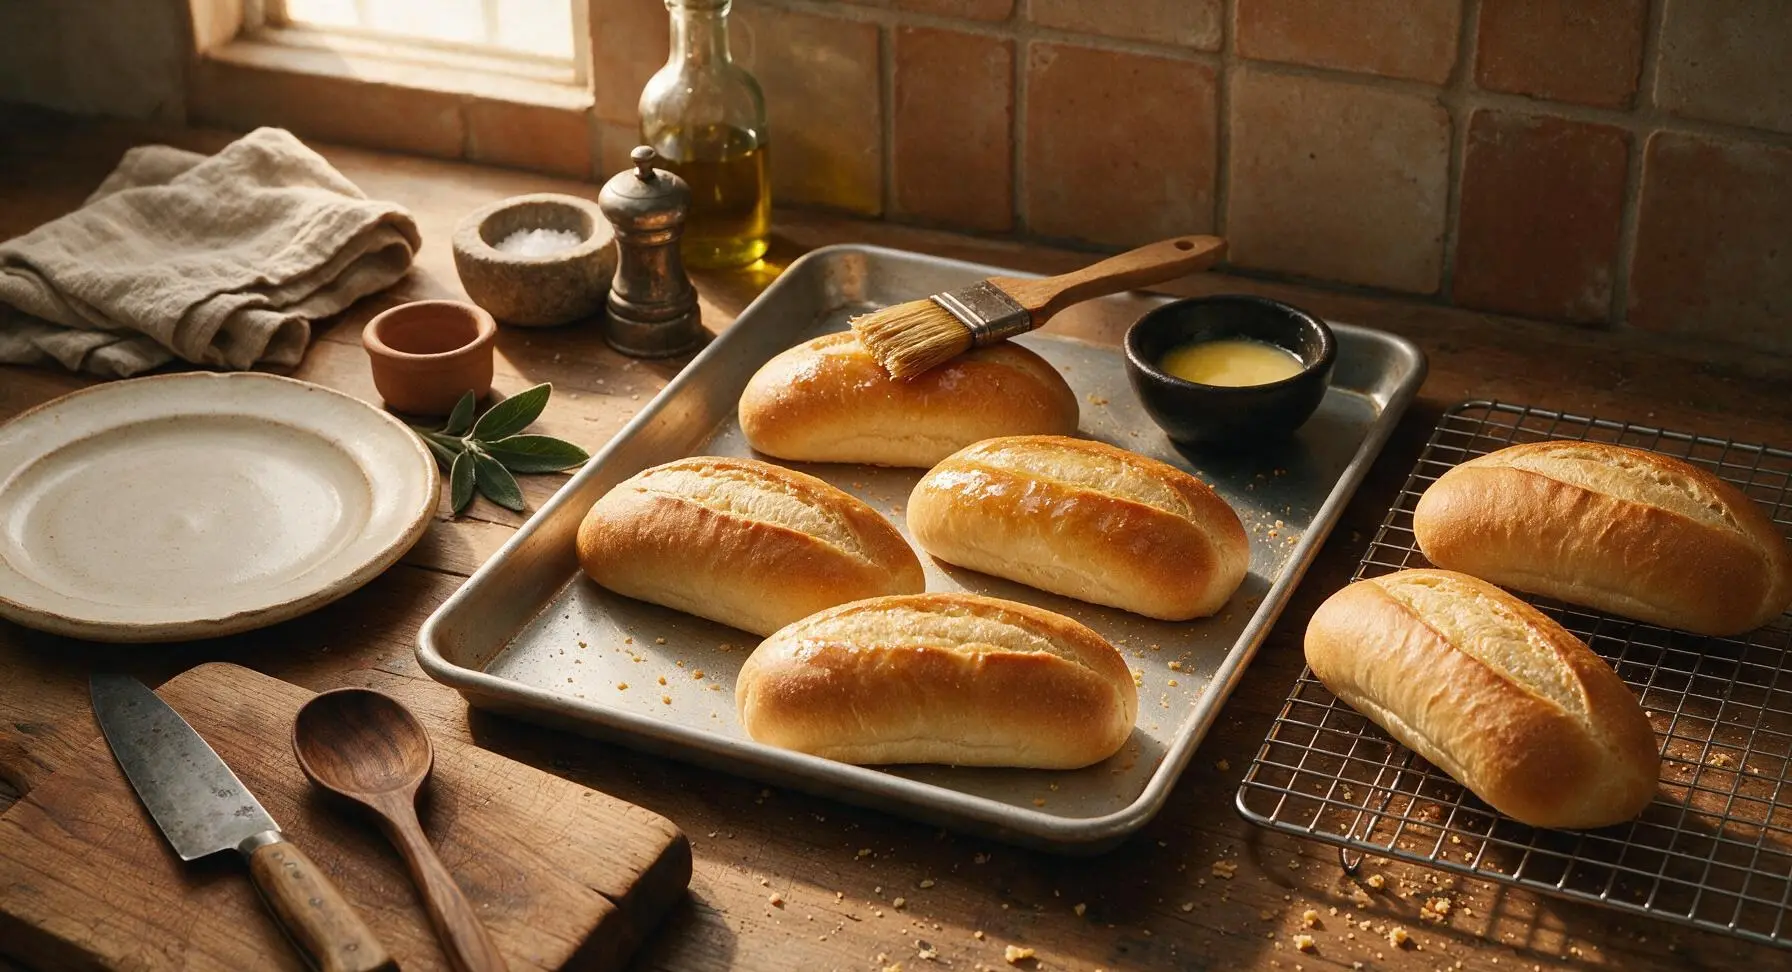
Soft, chewy hoagie rolls with a thin, crisp golden crust—sturdy enough to pile high with deli meats, meatballs, or veggies for restaurant-quality sandwiches at home.
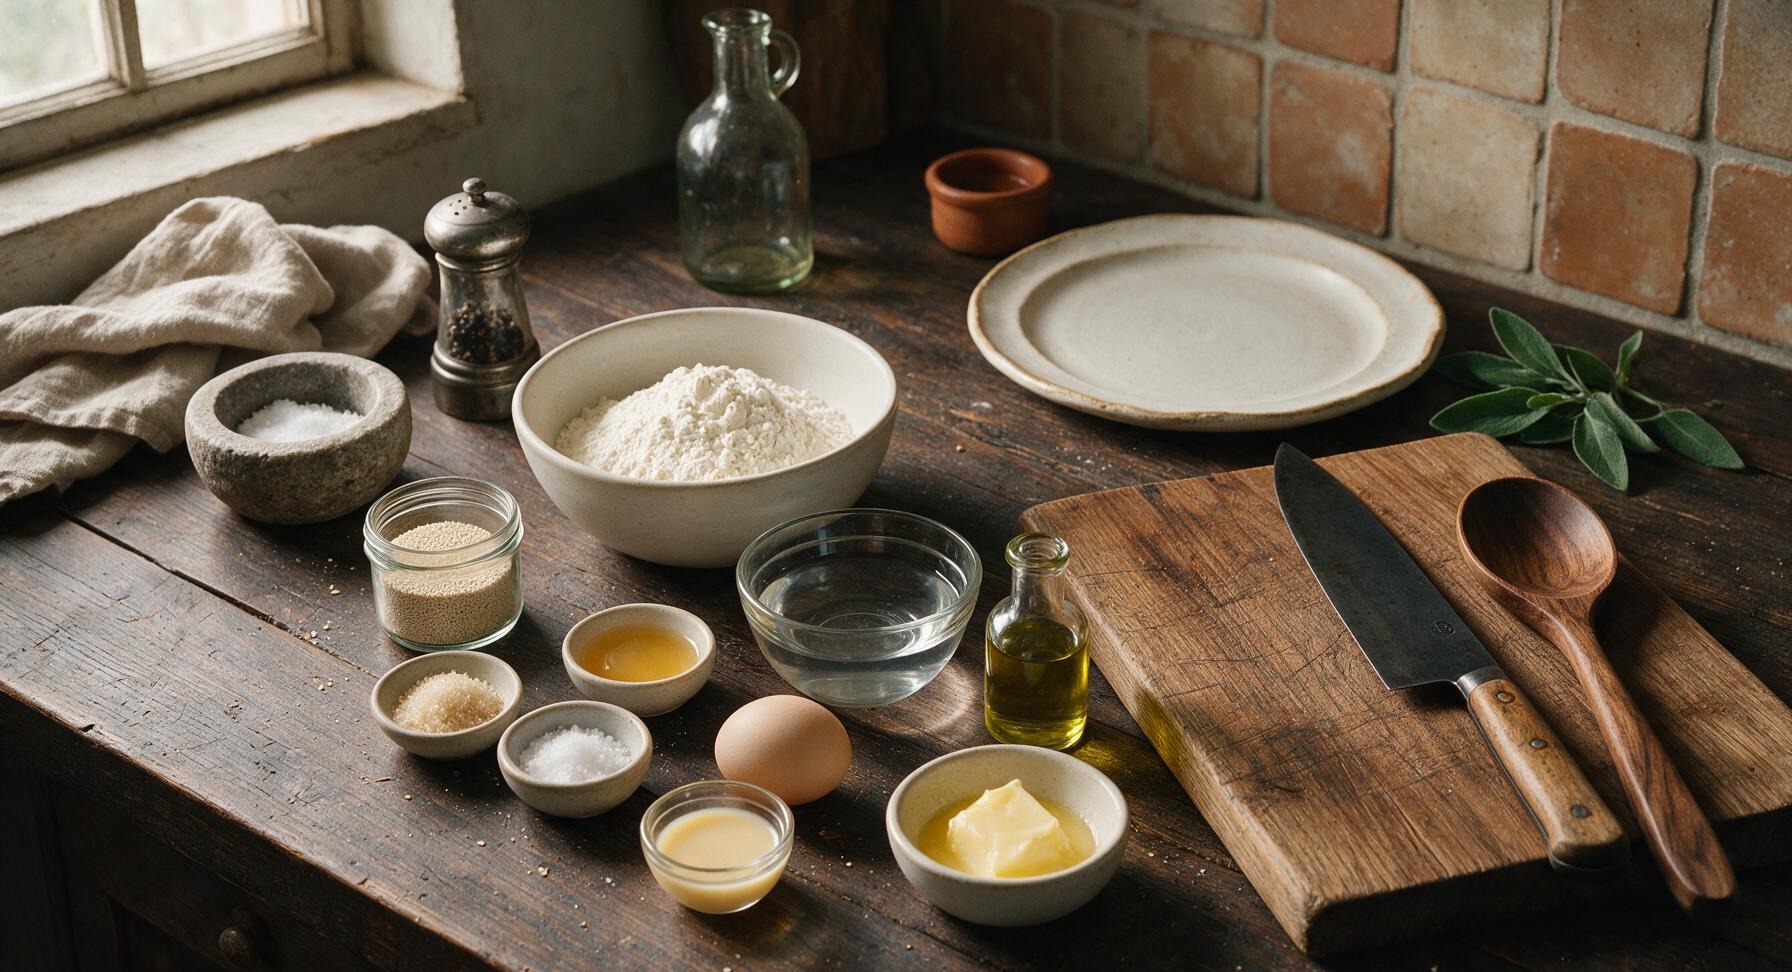
Ingredients
Steps
Mix Initial Dough
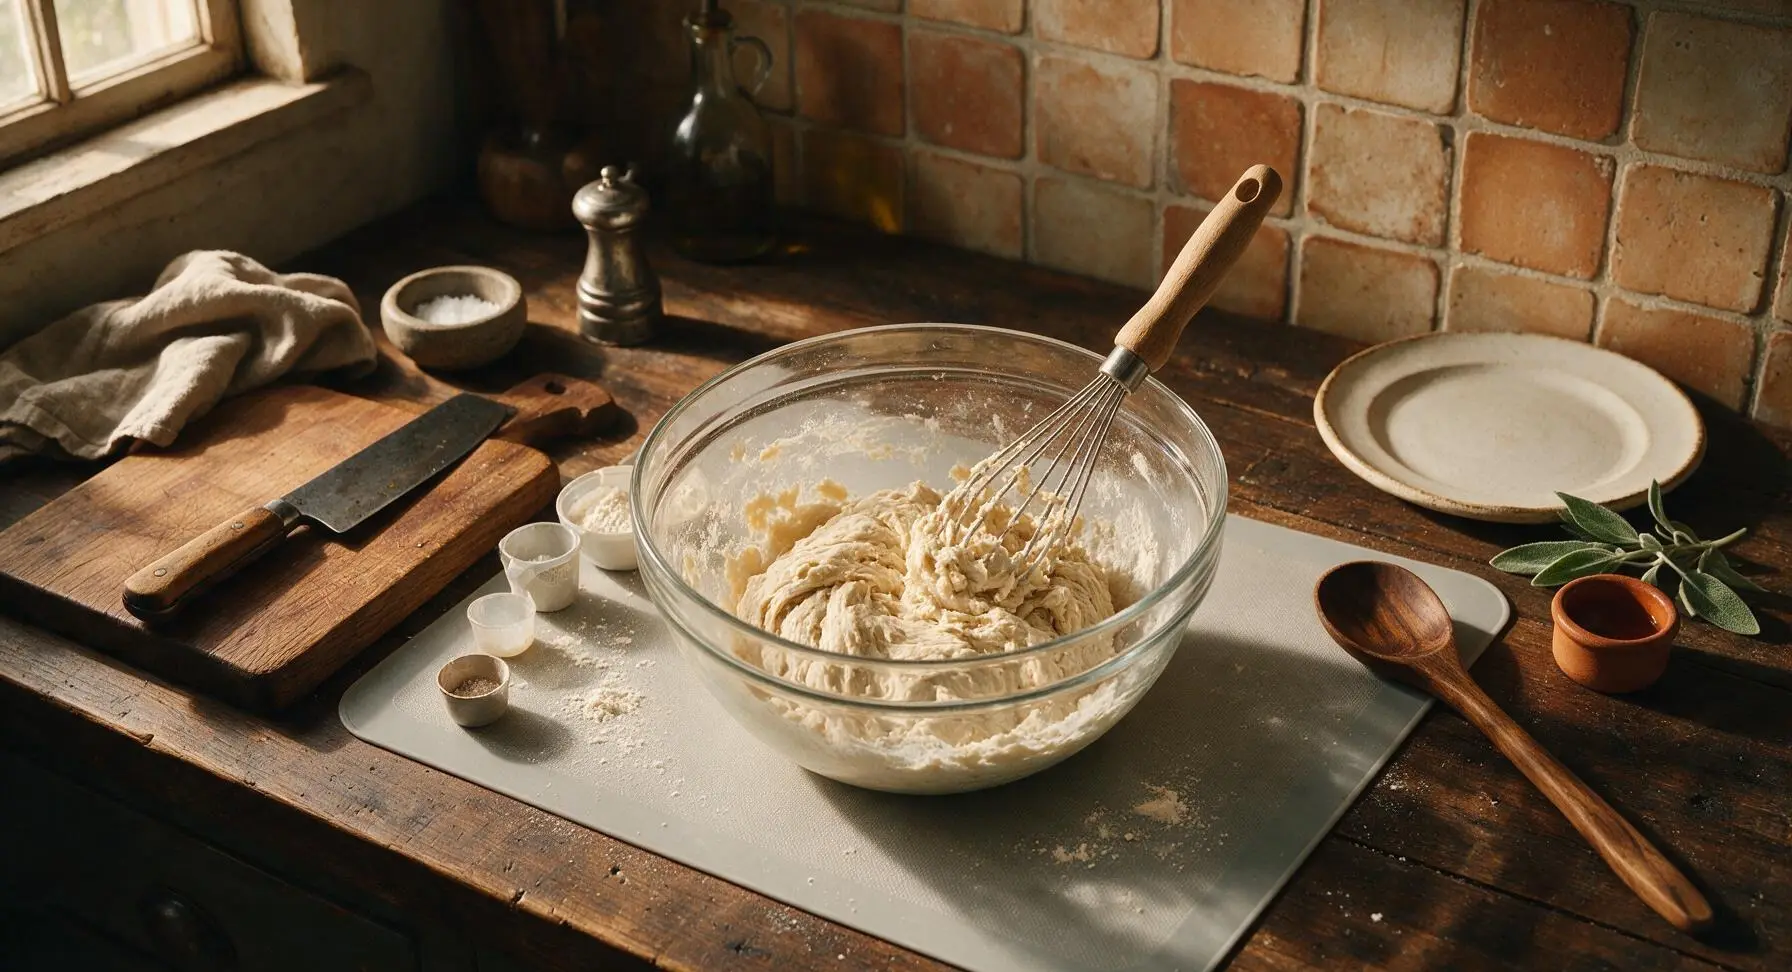
In the 5-quart clear glass mixing bowl, combine 500g bread flour, 7g instant yeast, 15g granulated sugar, and 8g fine sea salt, stirring briefly with the dough whisk to evenly distribute dry ingredients. Add 320ml warm water (105°F/40°C, warm to the touch but not hot) and 30ml olive oil. Stir with the dough whisk until a shaggy, lumpy dough forms, with no dry flour pockets remaining at the bottom of the bowl. This takes approximately 2 minutes.
Knead to Develop Gluten
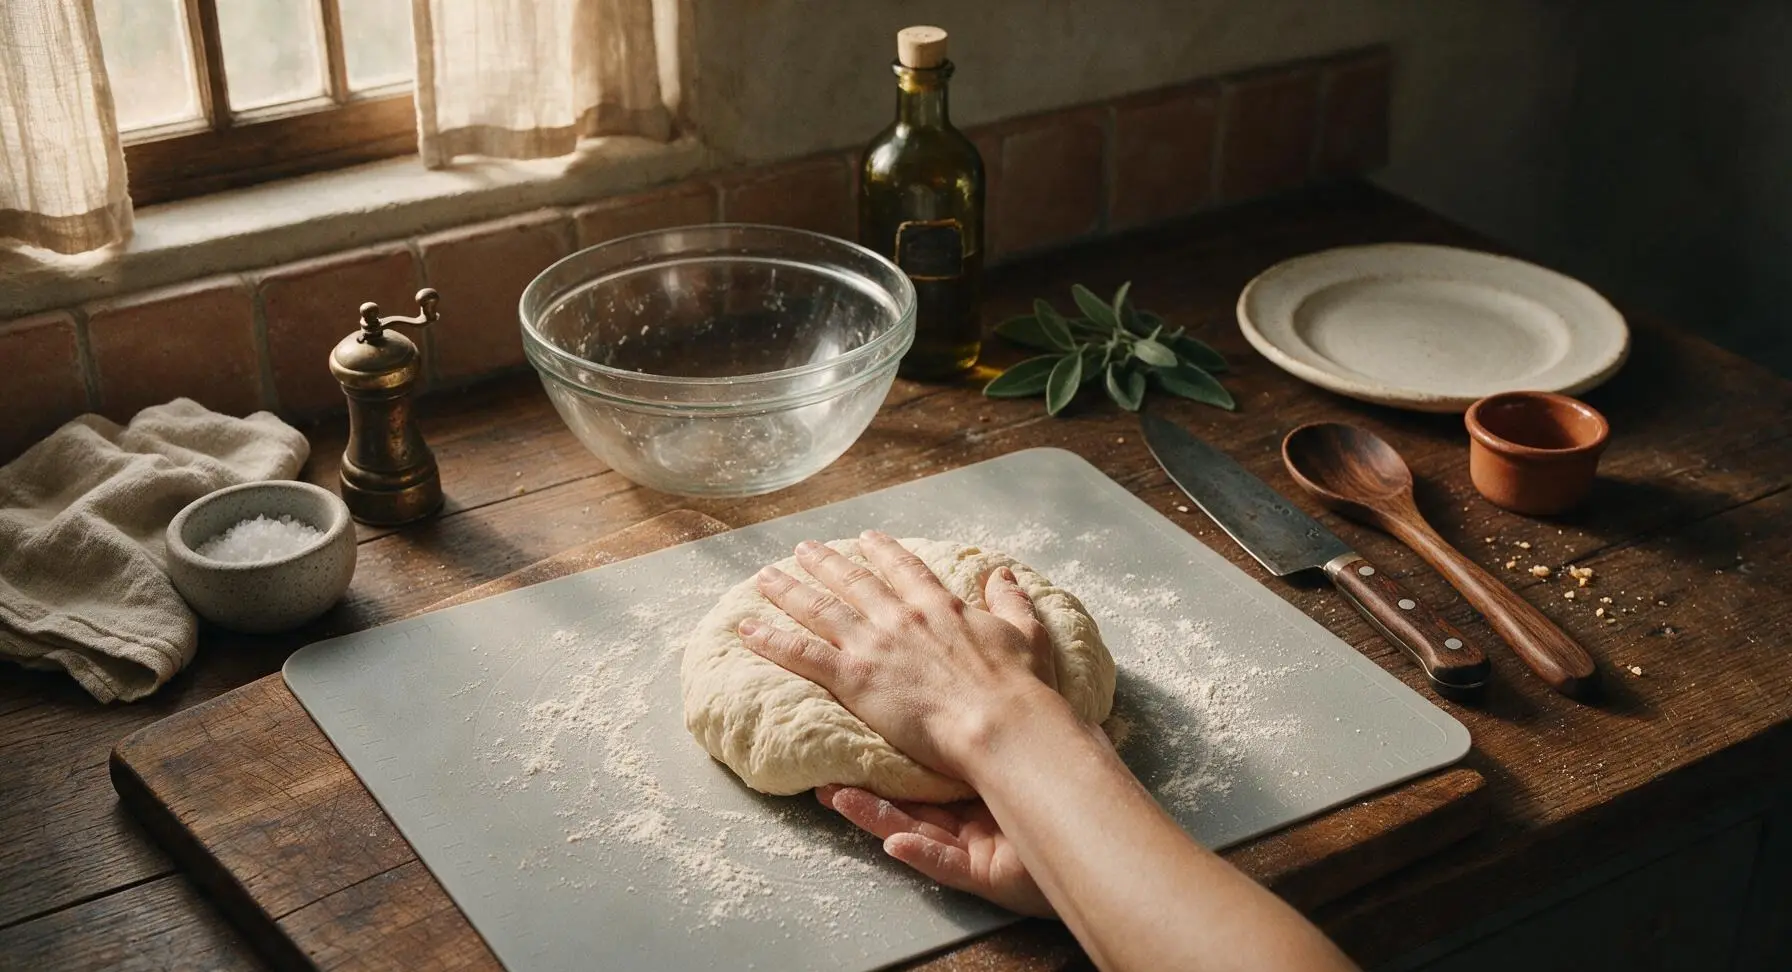
Turn the shaggy dough out onto the lightly floured light gray silicone baking mat. Knead by hand for 8-10 minutes, folding the dough over itself and pushing forward with the heel of your hand, turning a quarter turn after each fold. The dough is ready when it is smooth, elastic, and springs back slowly when poked with a finger, with no sticky residue left on the mat. Avoid adding extra flour unless the dough is aggressively sticky, as too much flour will create a dense roll.
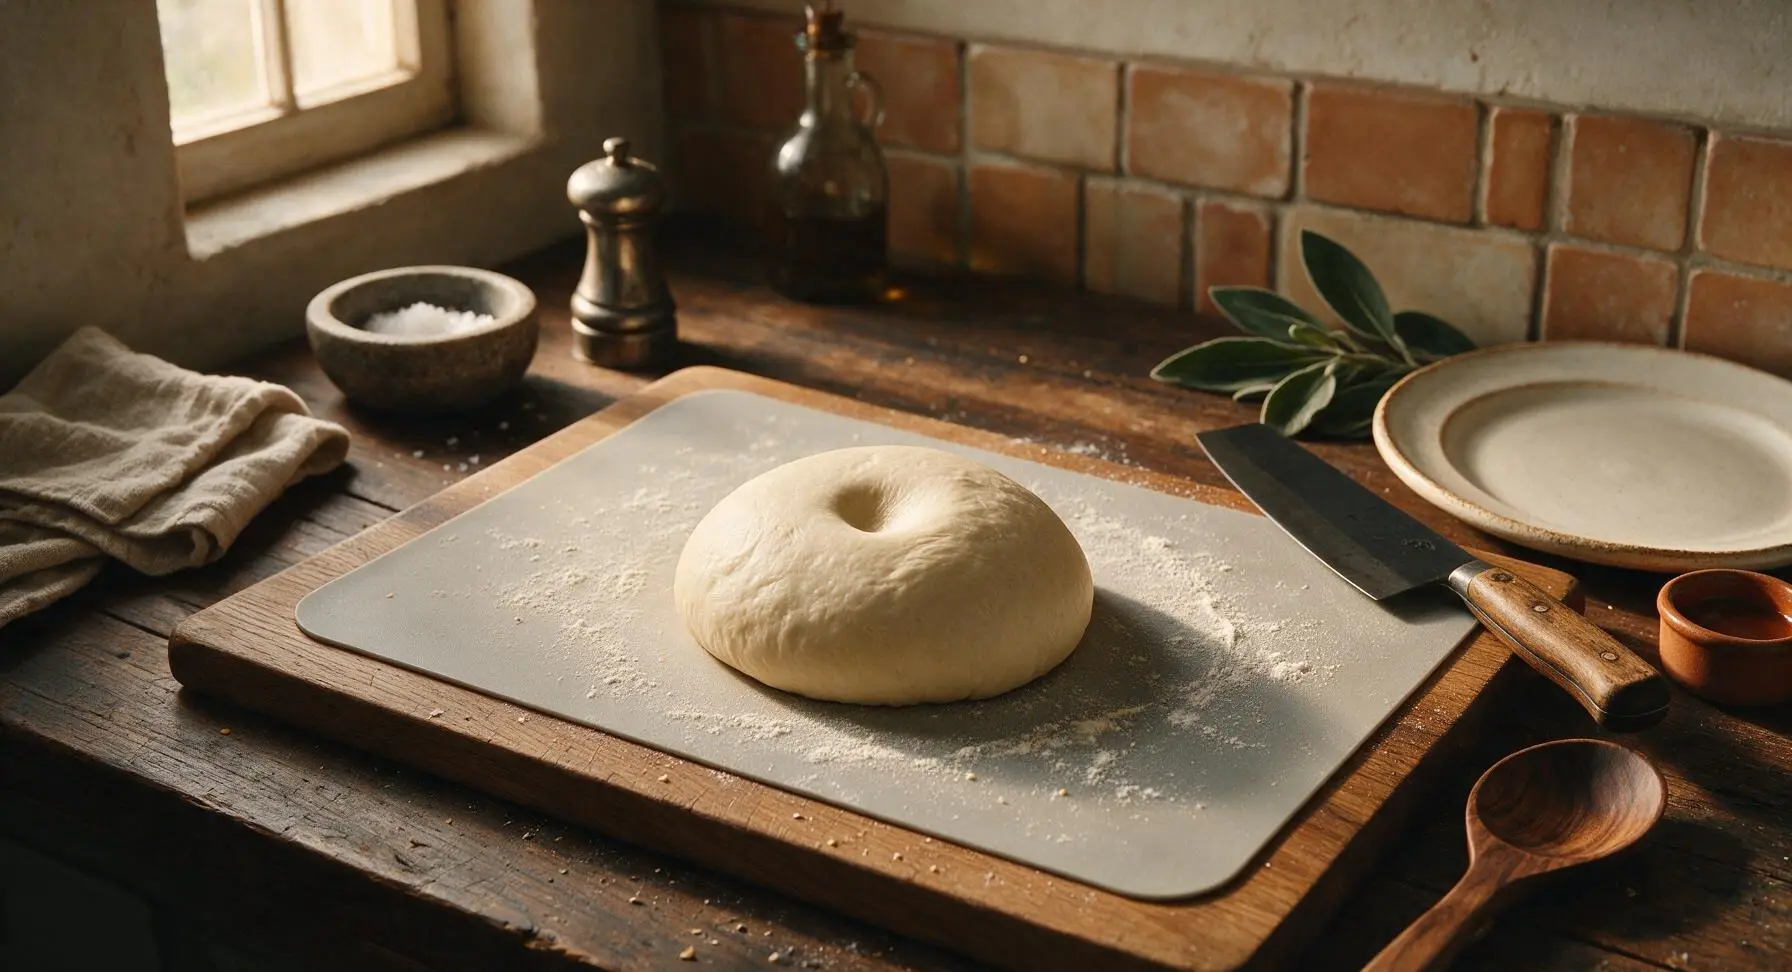
Let Dough Rise
Form the kneaded dough into a tight, smooth ball, and place it back into the lightly oiled 5-quart glass mixing bowl. Turn the dough once to coat its surface in oil, then cover the bowl tightly with the damp heathered oatmeal kitchen towel. Let the dough rise in a warm, draft-free spot (75-78°F/24-25°C) for 1 hour, until it has doubled in size, and leaves a deep indentation that does not fill back in when poked with a floured finger.
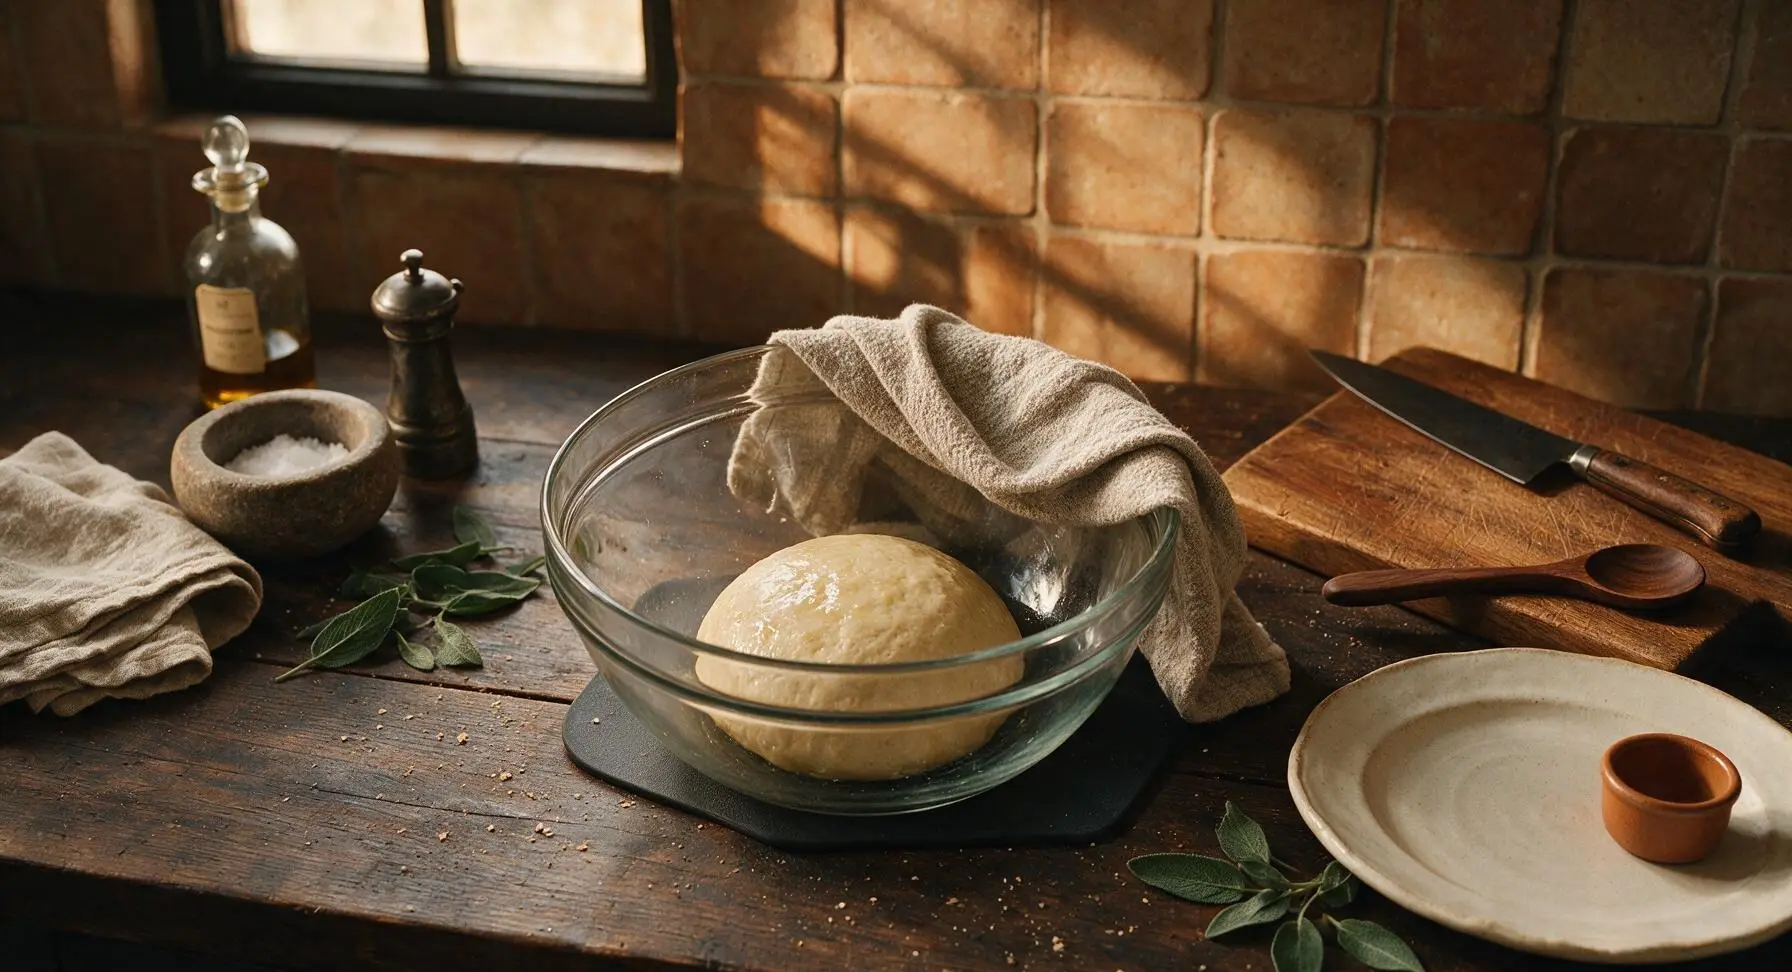
Divide and Shape Rolls
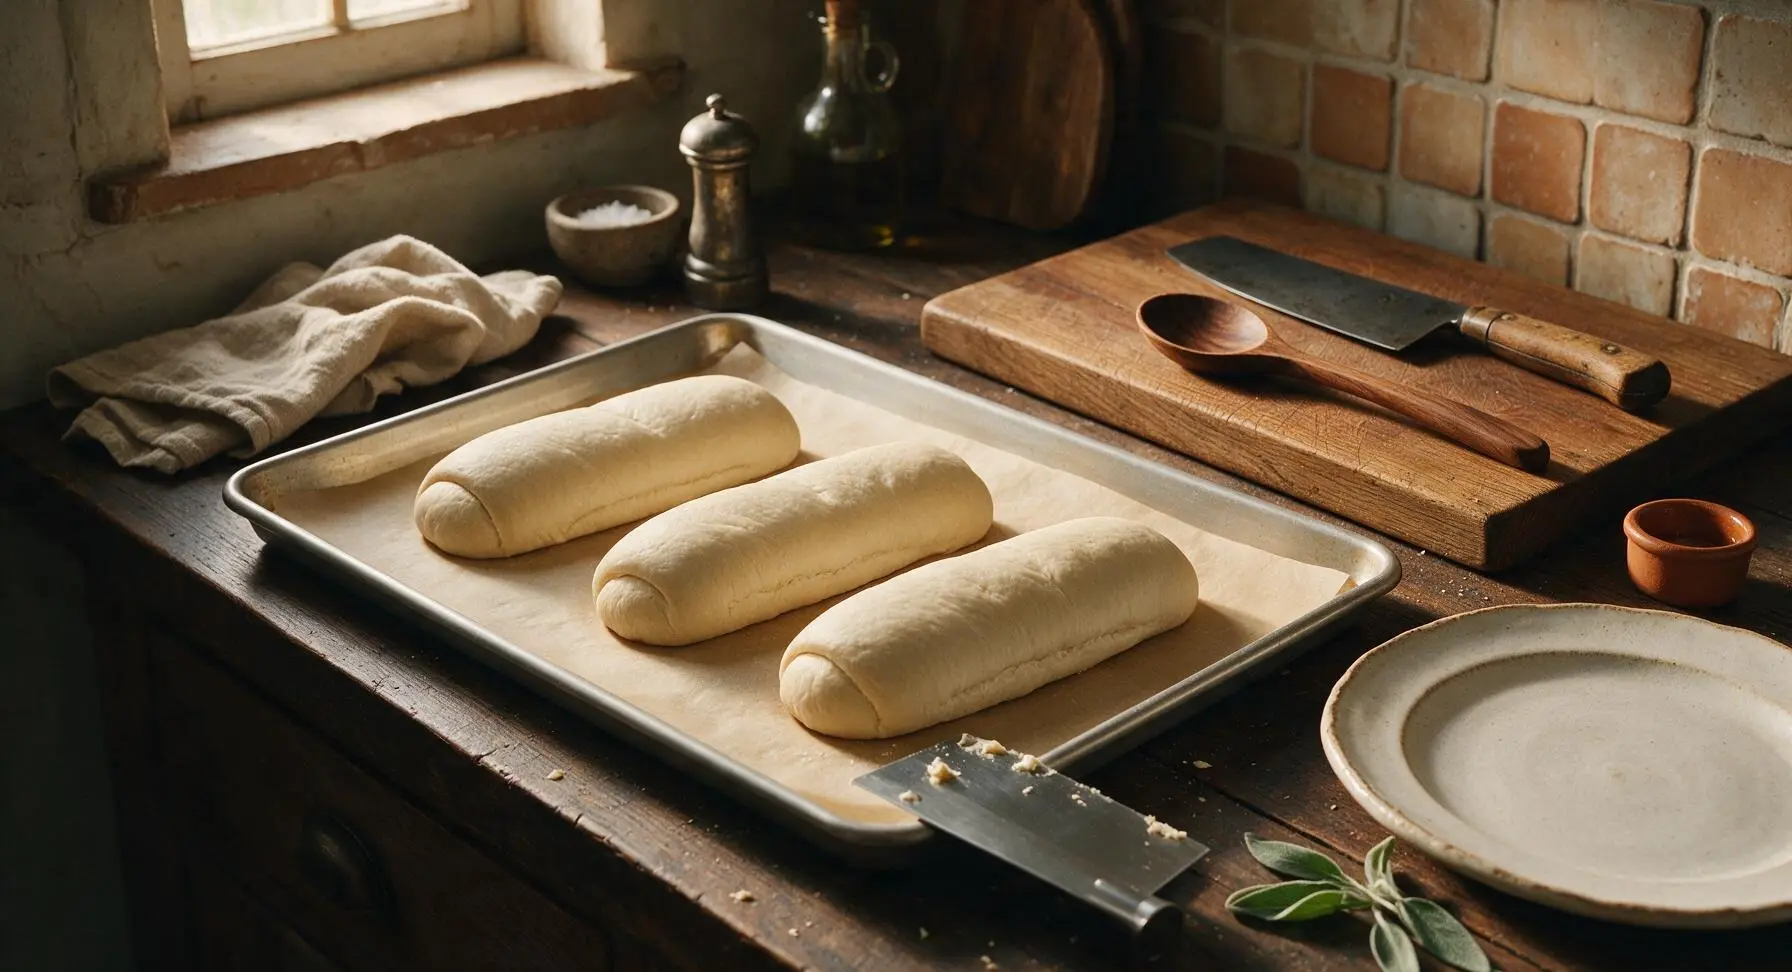
Once the dough has doubled, uncover the bowl and turn the dough out onto the lightly floured silicone mat. Use the stainless steel bench scraper to divide the dough evenly into 8 pieces, each weighing approximately 110g. To shape each roll: flatten a dough piece into a 4x6 inch oval, fold the long sides in toward the center to meet in the middle, then pinch the seam tightly closed. Roll the dough back and forth under your palms to taper the ends slightly, creating a 6-inch long log with a tight, smooth top. Ensure all seams are sealed tightly to prevent the rolls from splitting open unevenly during baking.
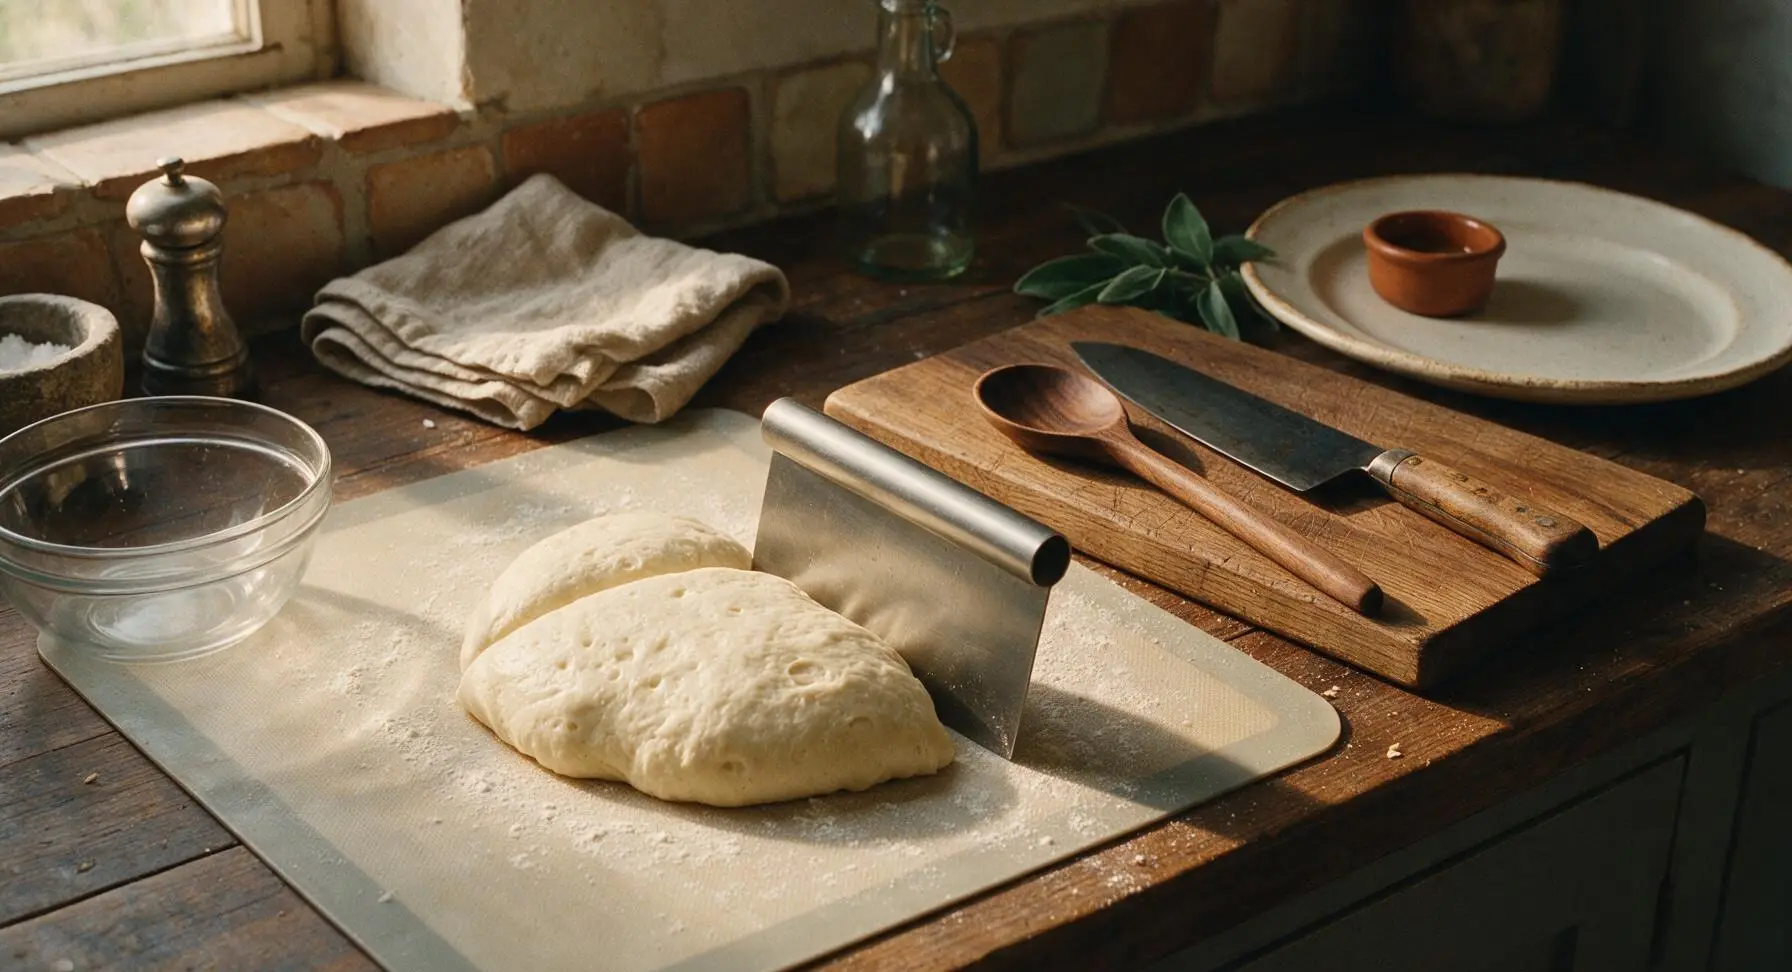
Proof Shaped Rolls
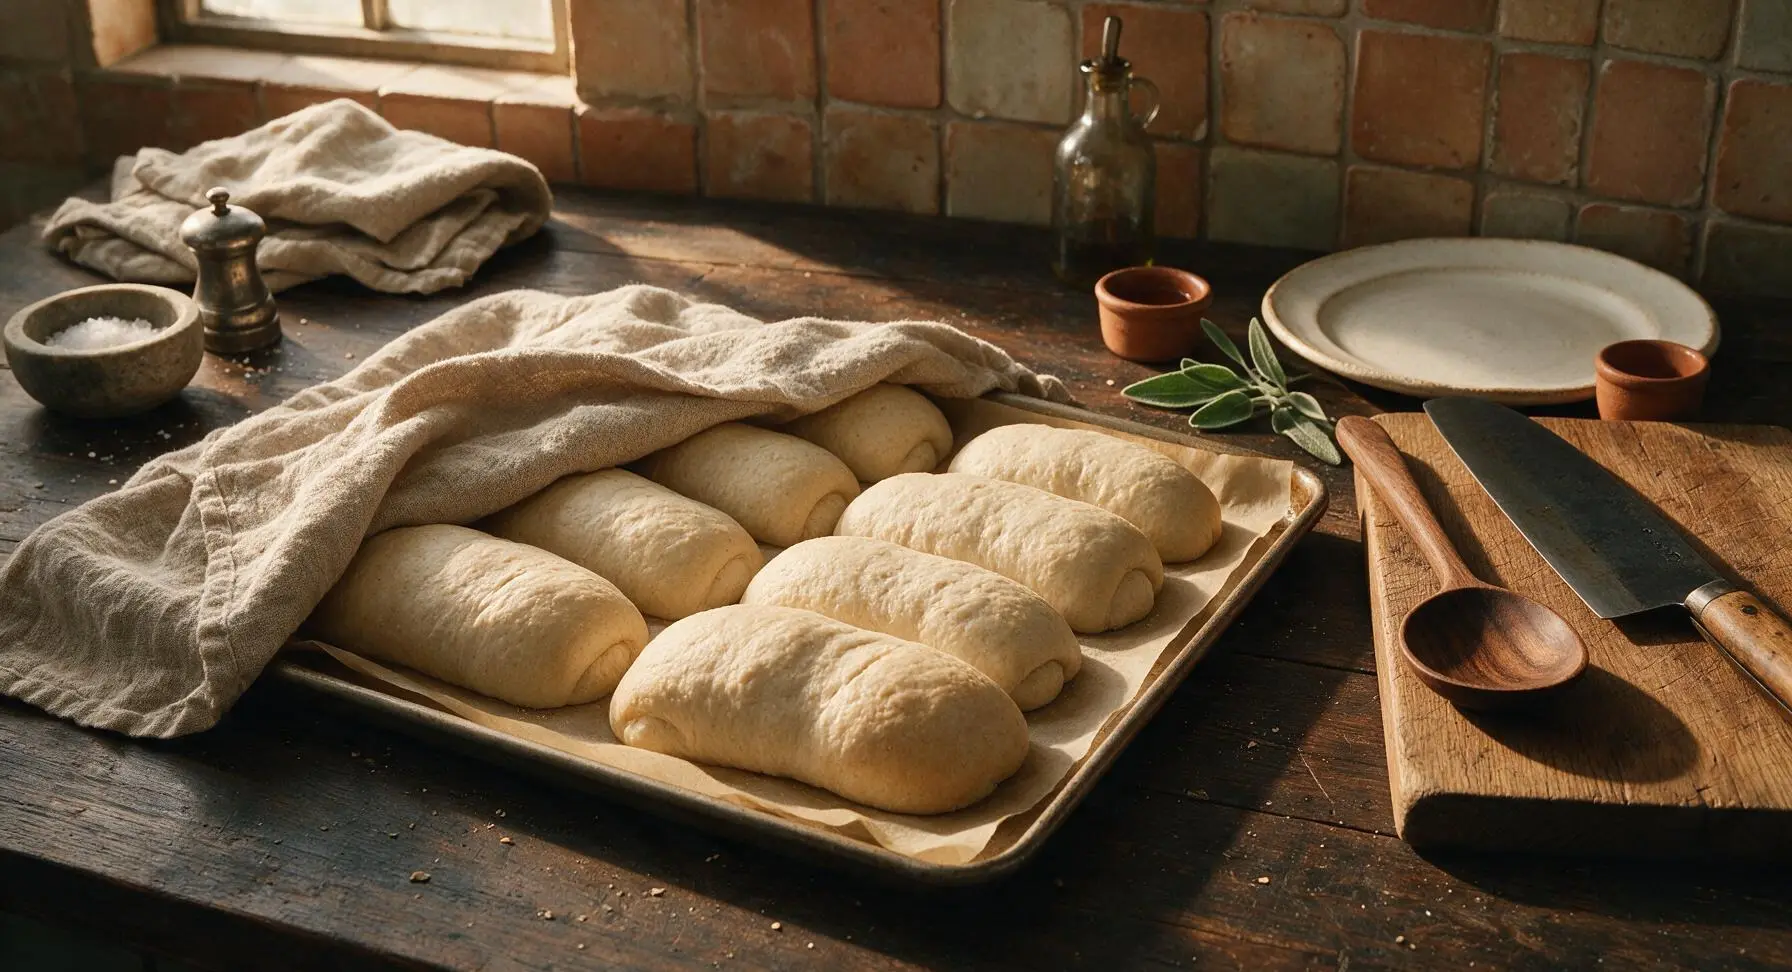
Arrange all 8 shaped dough logs on the parchment-lined rimmed baking sheet, leaving 2 inches of space between each roll to allow for expansion. Loosely cover the baking sheet with the damp oatmeal kitchen towel, and let the rolls proof in a warm, draft-free spot for 30-35 minutes, until they are puffy and have increased in size by 50%. When ready to bake, a finger pressed into the side of a roll will leave a slow-recovering indentation.
Add Egg Wash
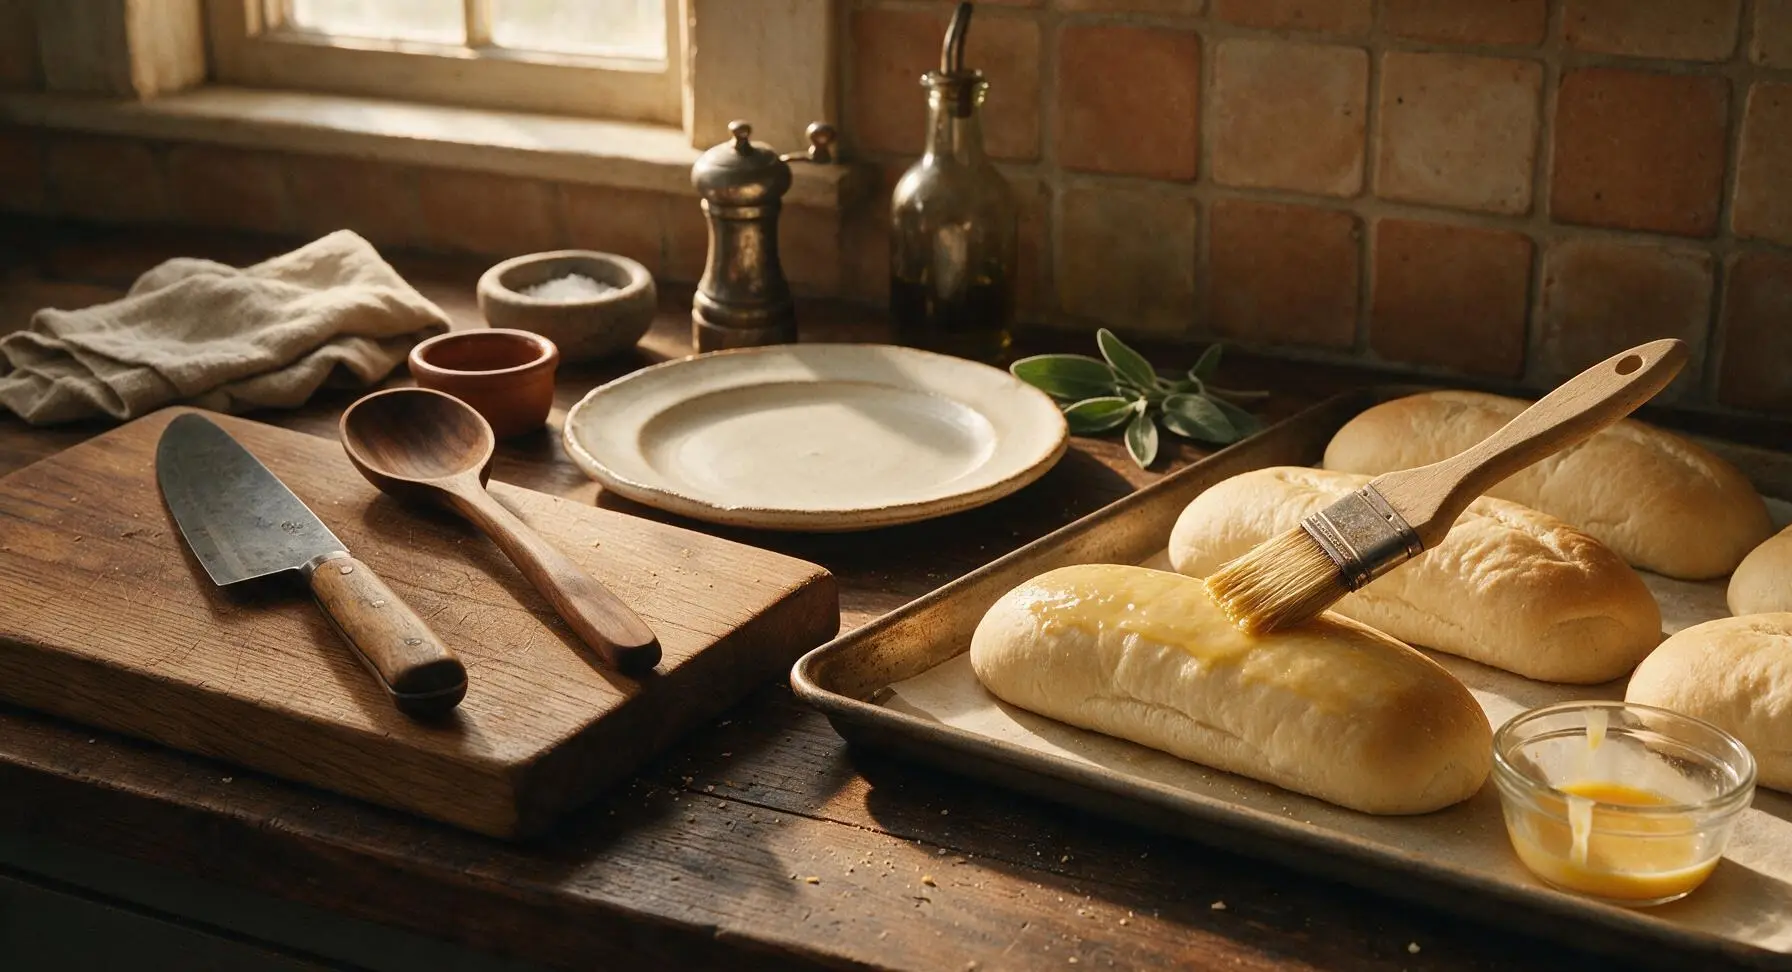
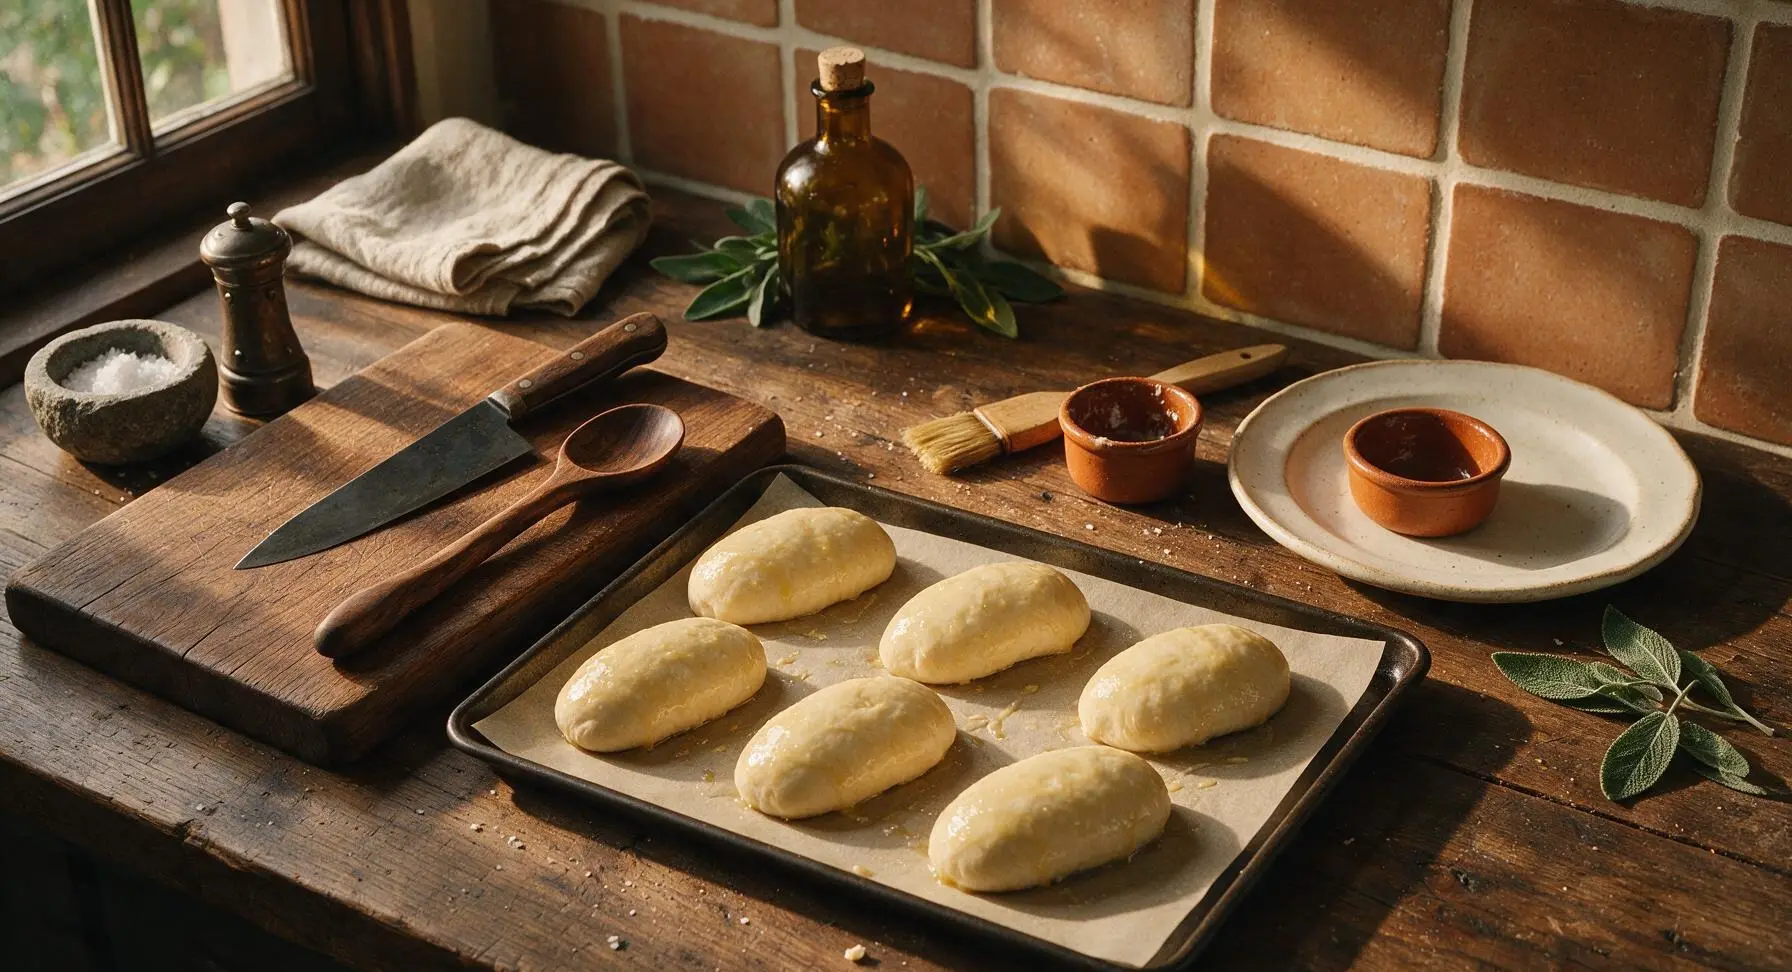
While the rolls finish proofing, make the egg wash by whisking 1 large egg and 15ml whole milk together in a small ramekin until completely smooth, with no streaks of egg white remaining. Once the rolls are fully proofed, use the natural bristle pastry brush to gently coat the entire top surface of each roll with a thin, even layer of egg wash, taking care not to deflate the puffy dough. The egg wash will create a shiny, golden crust as the rolls bake.
Bake to Golden Perfection
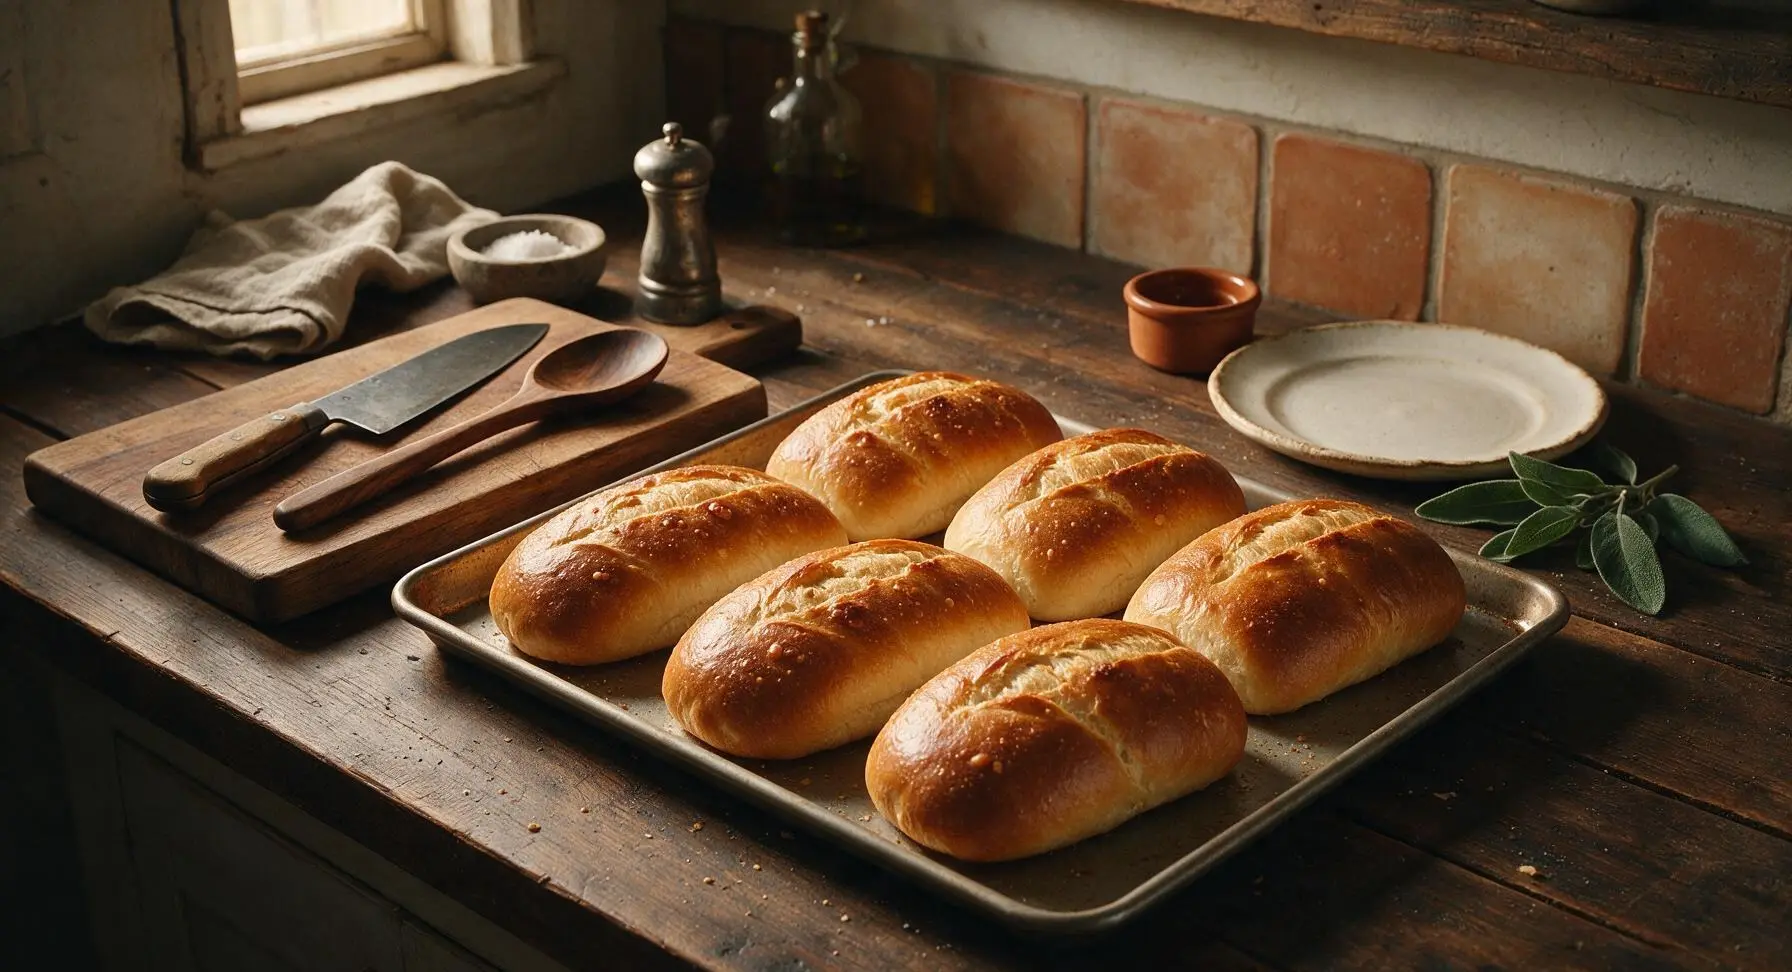
Place the baking sheet on the middle rack of a preheated 400°F (200°C) oven. Bake for 18-20 minutes, rotating the sheet halfway through baking to ensure even browning. The rolls are done when their tops are a deep, glossy golden brown, and the internal temperature of a roll reaches 190°F (88°C) when measured with a food thermometer. The crust will feel crisp to the touch immediately out of the oven.
Butter and Cool Rolls
Immediately after removing the baking sheet from the oven, use the pastry brush to spread the 15g of melted unsalted butter evenly over the hot tops of the rolls. This will soften the crust slightly and add a rich, buttery flavor. Transfer the rolls to the chrome wire cooling rack, and let them cool for at least 15 minutes before slicing or serving, to allow the interior crumb to set.
Tips
2.Check water temperature carefully before adding yeast: water between 105-110°F (40-43°C) feels warm, not hot, to the touch. Water hotter than 120°F will kill yeast, leading to dense, flat rolls, while colder water will double rising time.
3.Resist the urge to slice rolls immediately after baking: let them cool at least 15 minutes on the wire rack to allow the interior crumb to set. Cutting hot rolls compresses the soft, airy crumb, creating a gummy texture that squishes when filled.






OMG these came out SO good! I was nervous because bread baking always feels intimidating for me (medium difficulty was no joke, y'all) but the chewy crust and soft inside was perfect for our Italian sub night last night. My kids devoured their turkey and cheese hoagies and asked if we could make these every week! Game changer for our Sunday family dinners.
Made these for our neighborhood potluck over the weekend to go with the smoked brisket sliders I brought, and people were asking for the roll recipe all night! Way better than the store-bought hoagie rolls that get all soggy when you load them up with meat and toppings. Only note is I let mine rise an extra 20 minutes because my kitchen was pretty cold, and they puffed up perfectly.
I make a batch of these every Sunday for the week's lunches! They hold up so well in the fridge for 4-5 days when stored in an airtight container, and I just toast them quick before piling on grilled chicken, veggies, and hummus for a quick work lunch. Way cheaper than buying rolls from the bakery every week, and they taste fresher too. Only thing I changed was adding a little garlic powder to the dough for extra flavor, and I wish the recipe noted exactly how long to let them rest after shaping before the second rise — I had to look that up elsewhere to make sure I didn't mess it up.
Tried this recipe yesterday and the texture is spot on—chewy outside, soft fluffy inside, exactly what a hoagie roll should be! The 20 minute cook time was totally accurate too, no guessing needed. I will say I messed up the first batch because I added too much flour, so don't pack your flour when you measure it, folks. Second batch came out perfect, I'm gonna use them for French dip sandwiches tonight.