
Holiday Oreos

title 1
Holiday Oreos
⏱️ cook time 5 minutes
🍽️ servings 24
⚡ Difficulty easy

intro

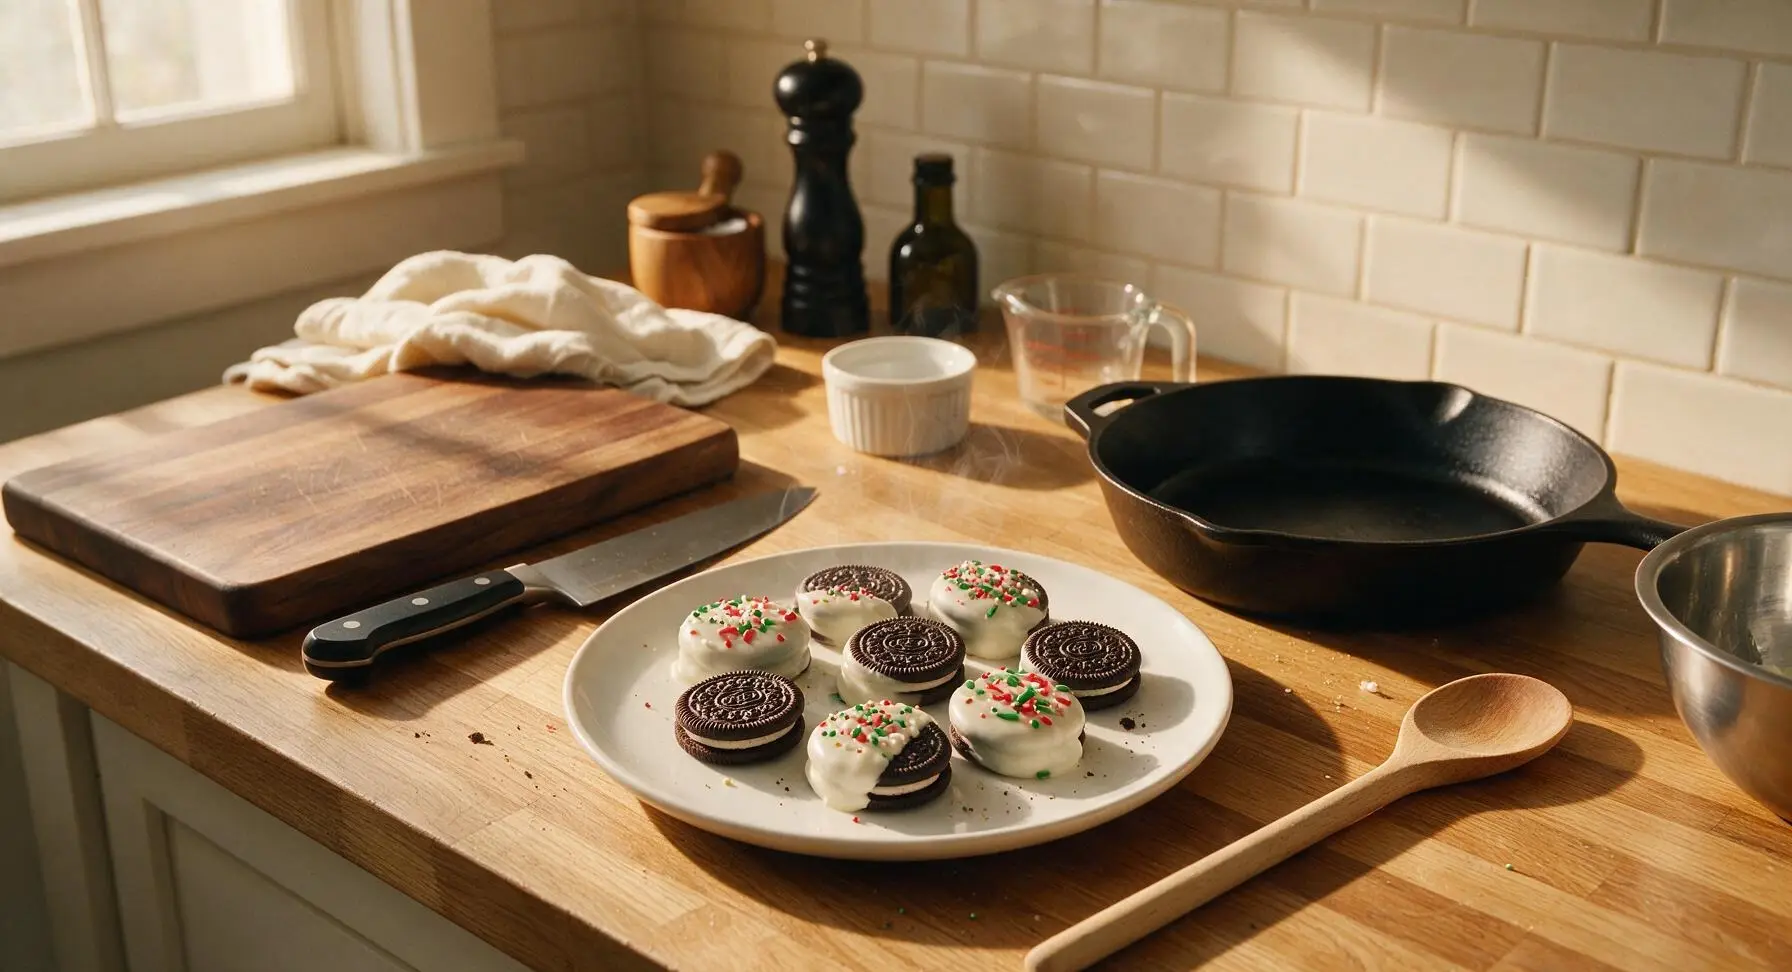
Crunchy classic Oreos dipped in smooth candy melts, decorated with festive holiday sprinkles—these no-bake, kid-friendly treats are perfect for cookie platters and homemade gifting.

Ingredients
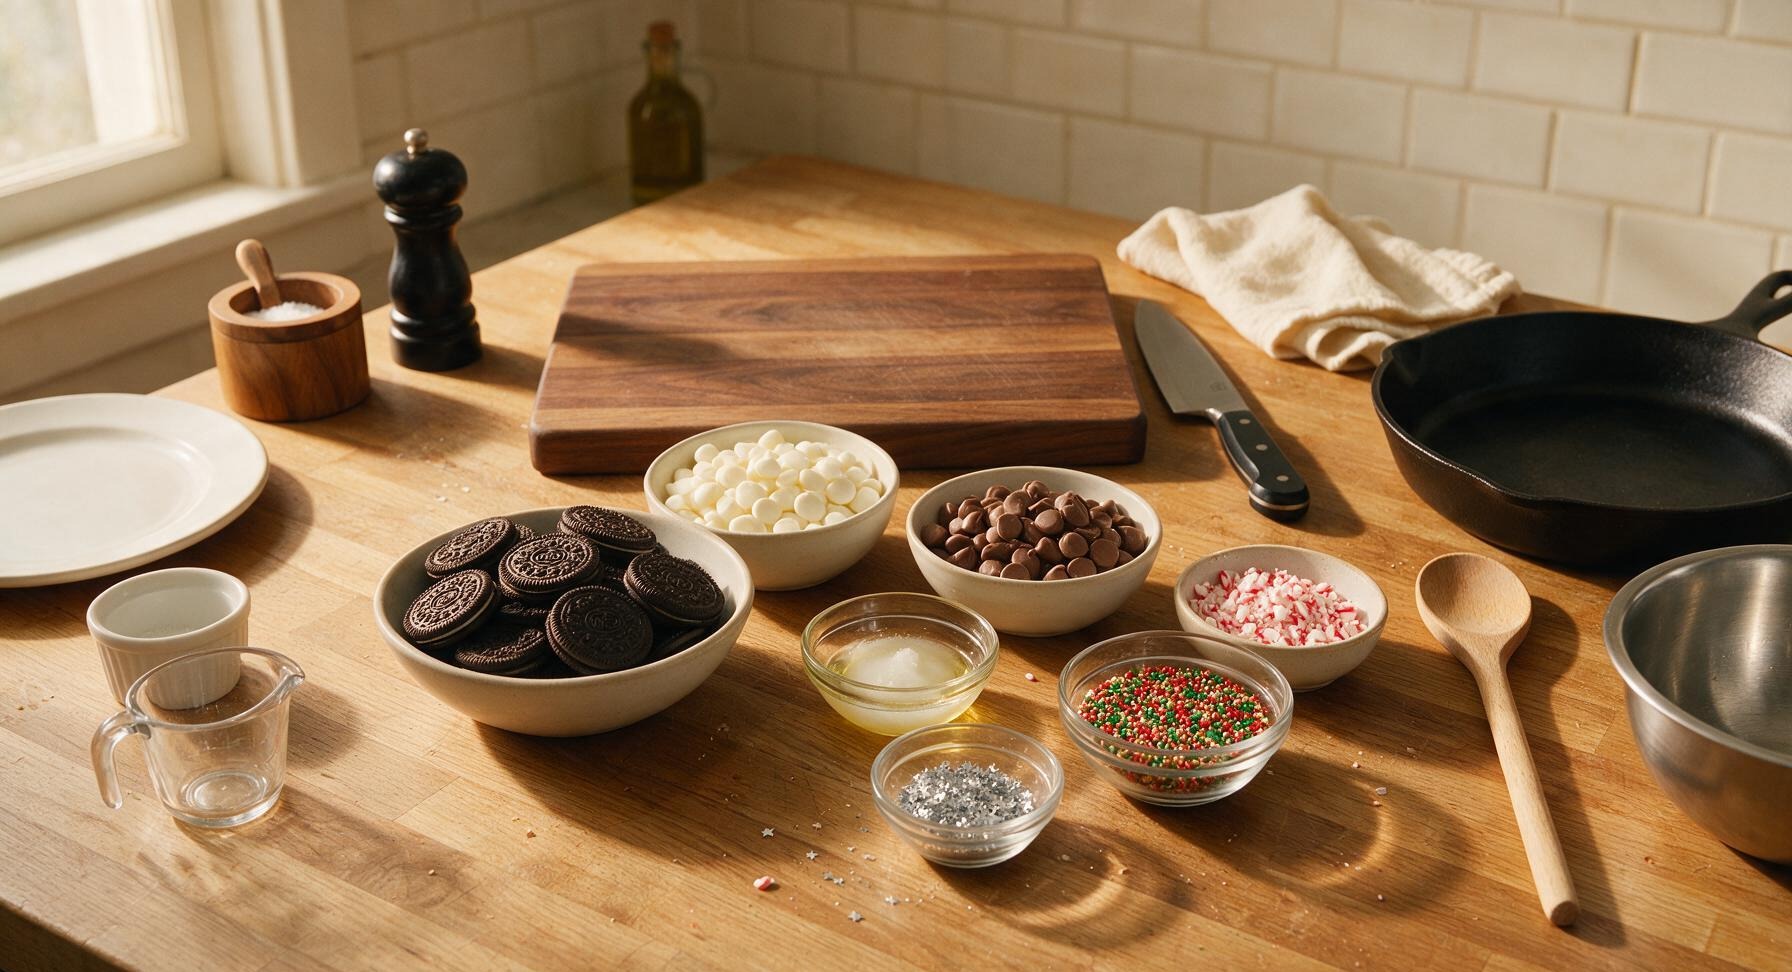
Original Oreo chocolate sandwich cookies 24 whole cookies
White vanilla candy melts 225g (8 oz)
Milk chocolate candy melts 115g (4 oz)
Unrefined coconut oil 1 tsp
Holiday nonpareil sprinkles (red, green, gold) 2 tbsp
Crushed peppermint candy canes 2 tbsp
Edible silver star glitter 1 tsp

Steps

1

Line Baking Sheet

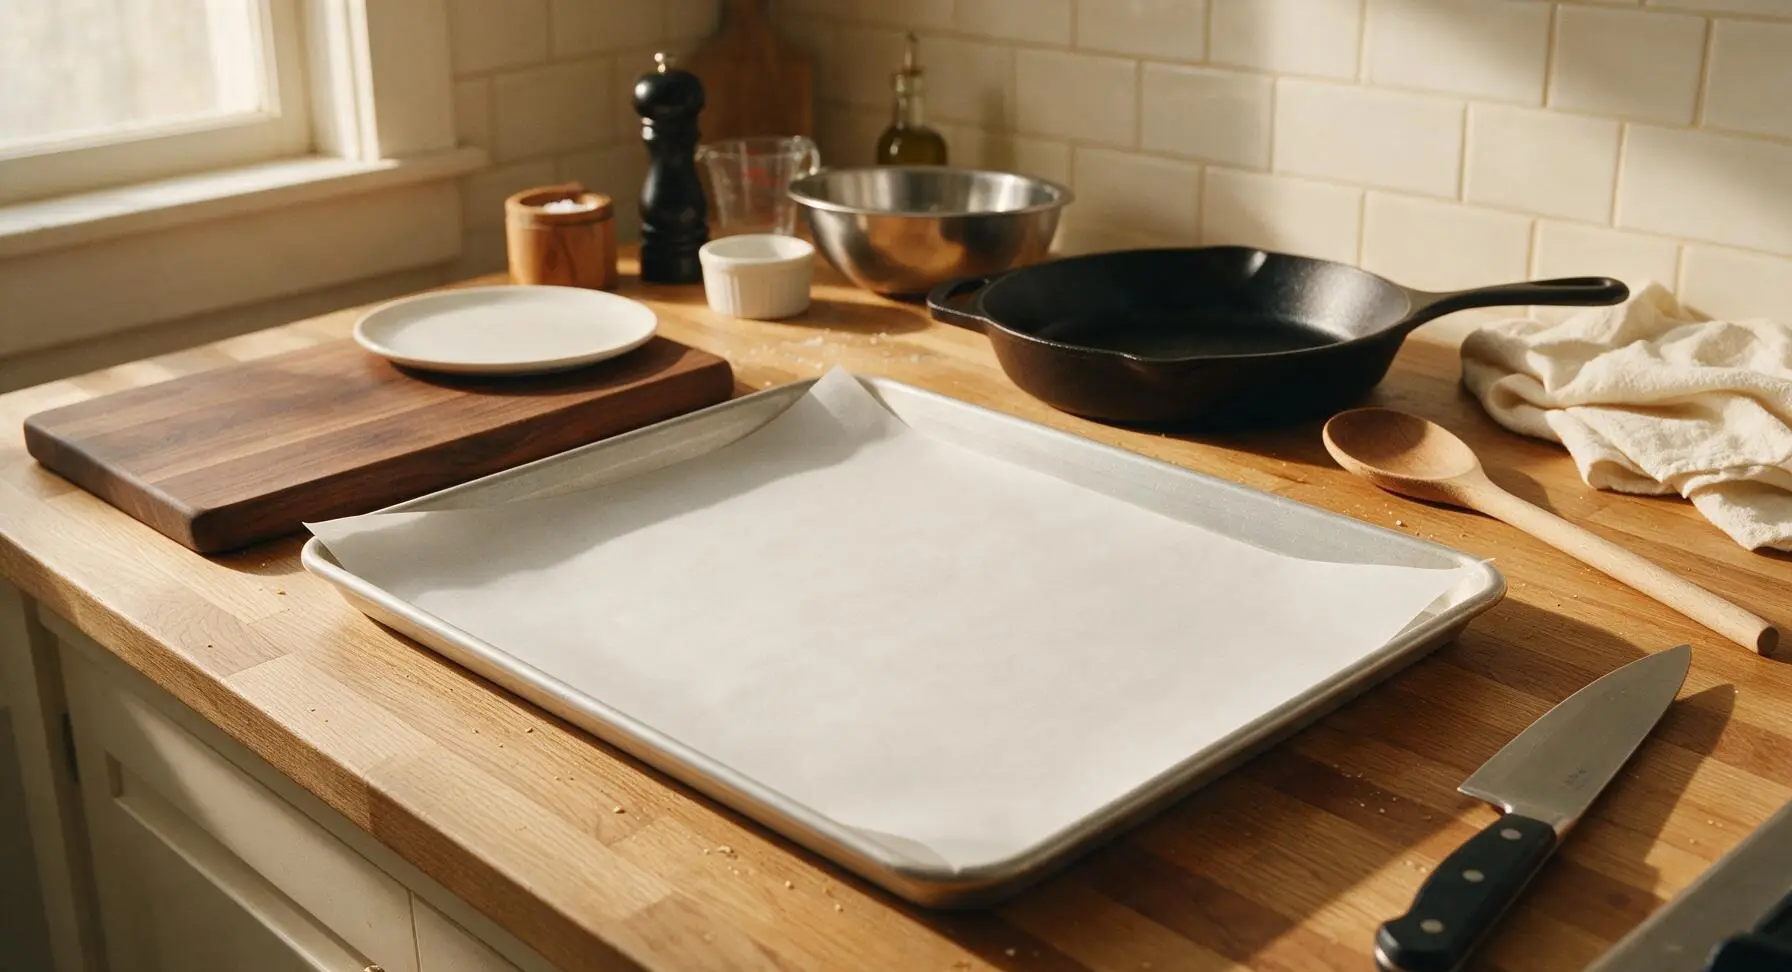
First, line the large rimmed aluminum baking sheet with a sheet of unbleached white parchment paper cut to fit, smoothing out any wrinkles with the palm of your hand so the paper lies completely flat, with 1cm overhang on all edges. Set the lined sheet in the center of the counter within easy reach; the non-stick parchment will prevent dipped chocolate from sticking to the metal as it sets.
Step 1
step1:Line Baking Sheet
2

Melt Candy Melts

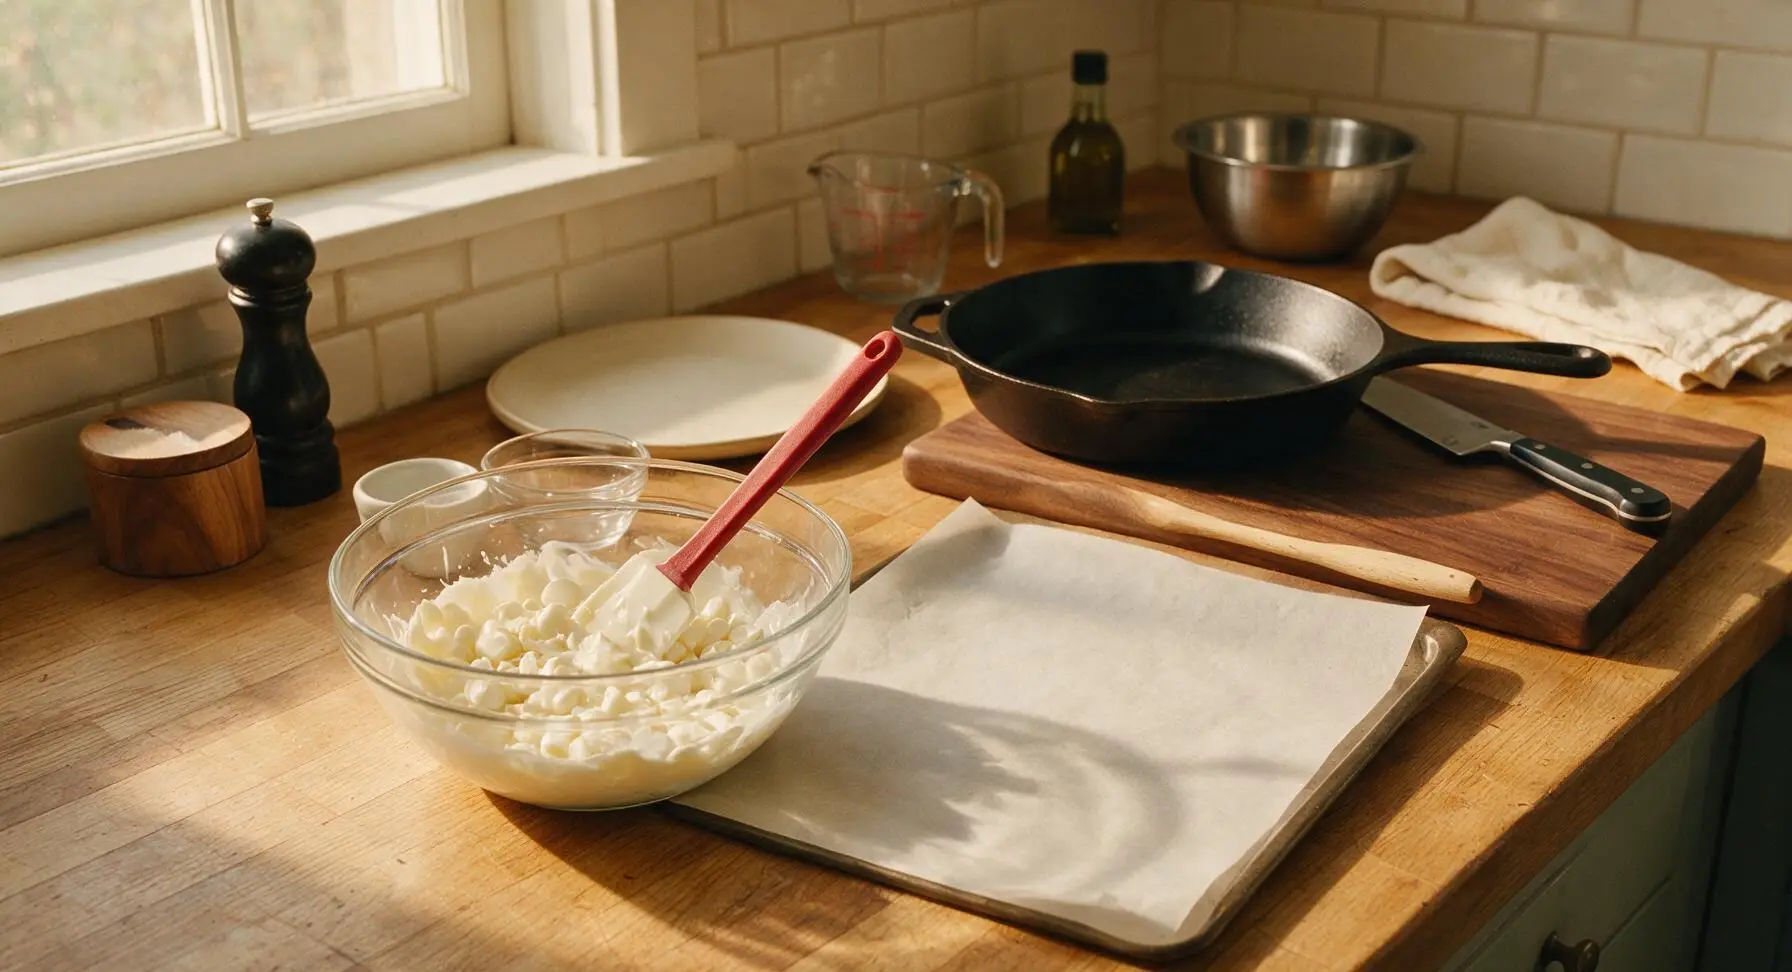
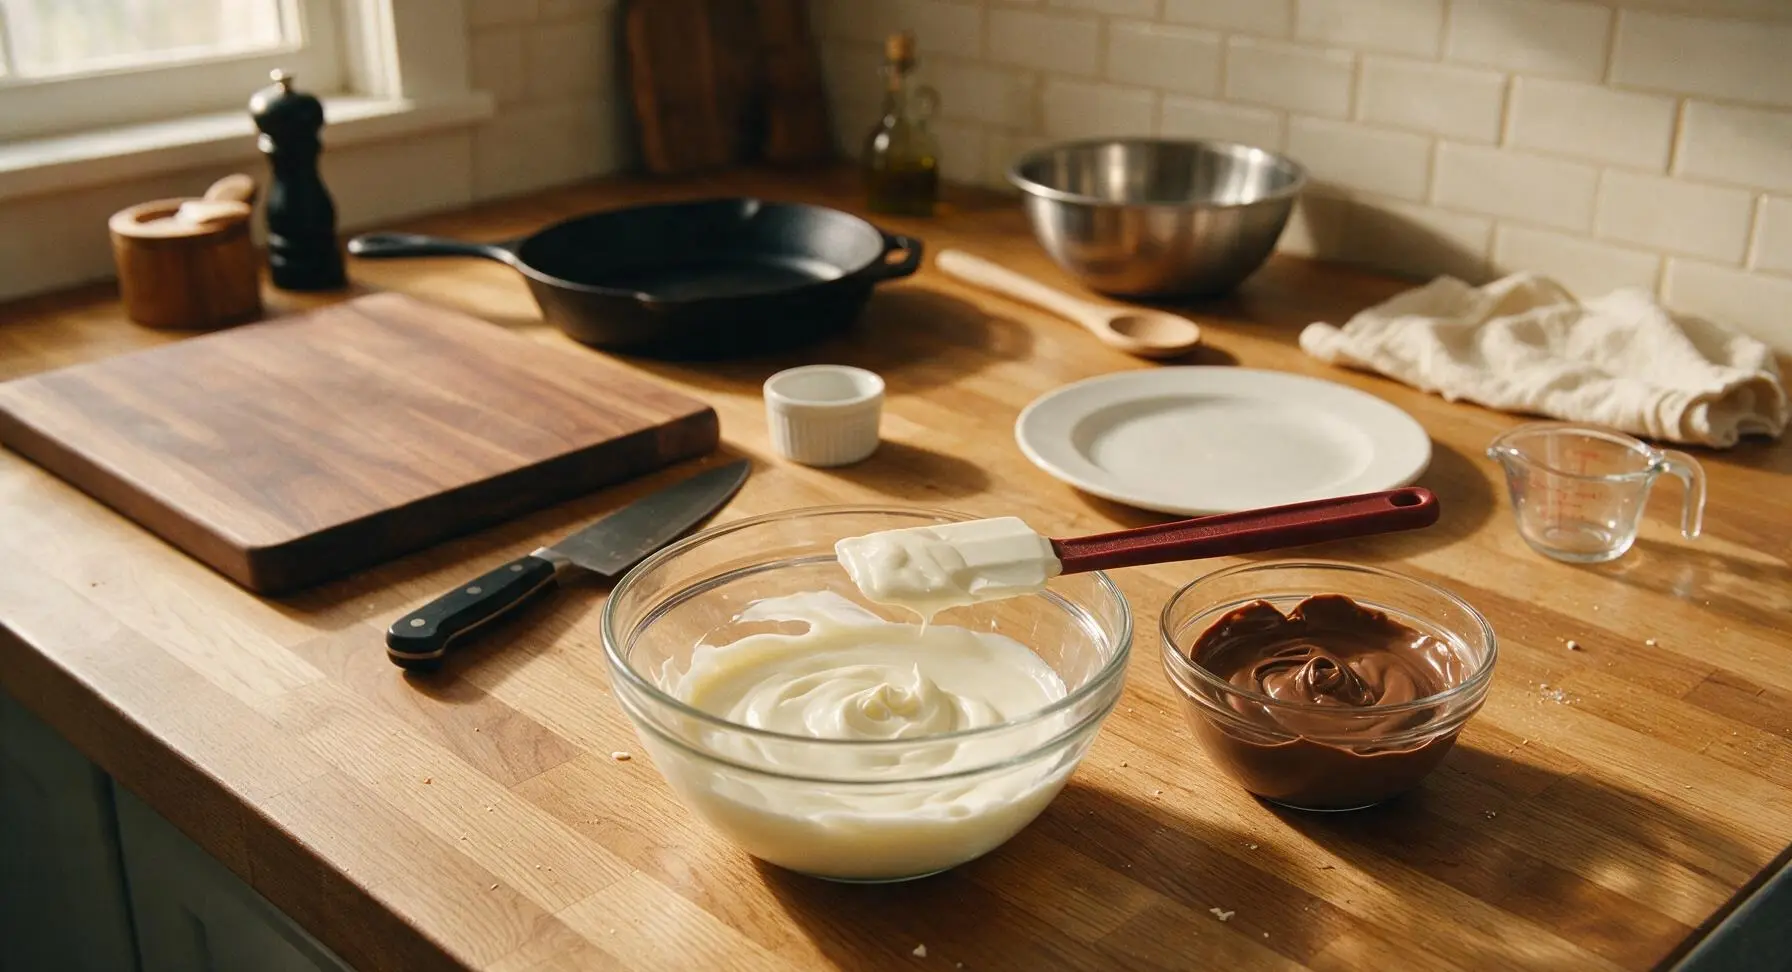
Place white vanilla candy melts and 1/2 tsp of coconut oil in the medium clear glass mixing bowl. Microwave in 30-second bursts at 50% power, stirring thoroughly with the red-handled silicone spatula between each burst, until completely smooth and free of lumps (total melt time approximately 2 minutes; candy should feel lukewarm, not hot, to the touch, ~90F/32C). Repeat the melting process with milk chocolate candy melts and the remaining 1/2 tsp coconut oil, then pour the smooth melted milk chocolate into the small clear glass ramekin.
Step 2
step2:Melt Candy Melts
Step 2
step2:Melt Candy Melts
3

Dip Cookies in Coating

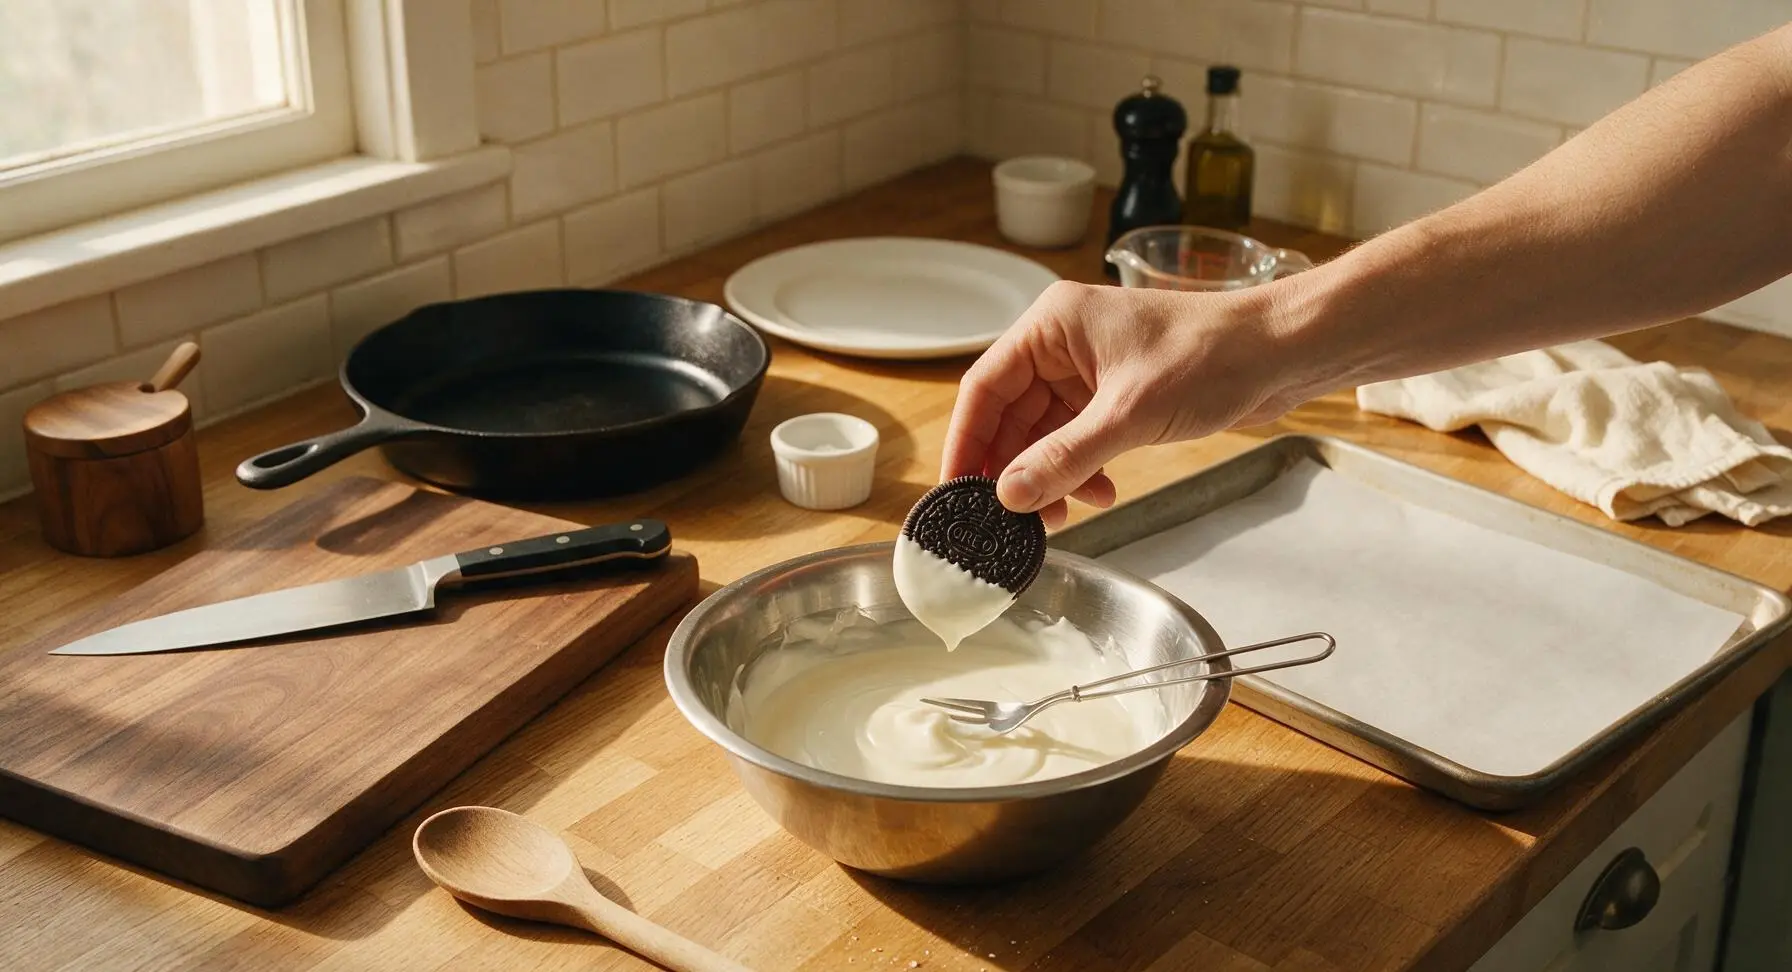
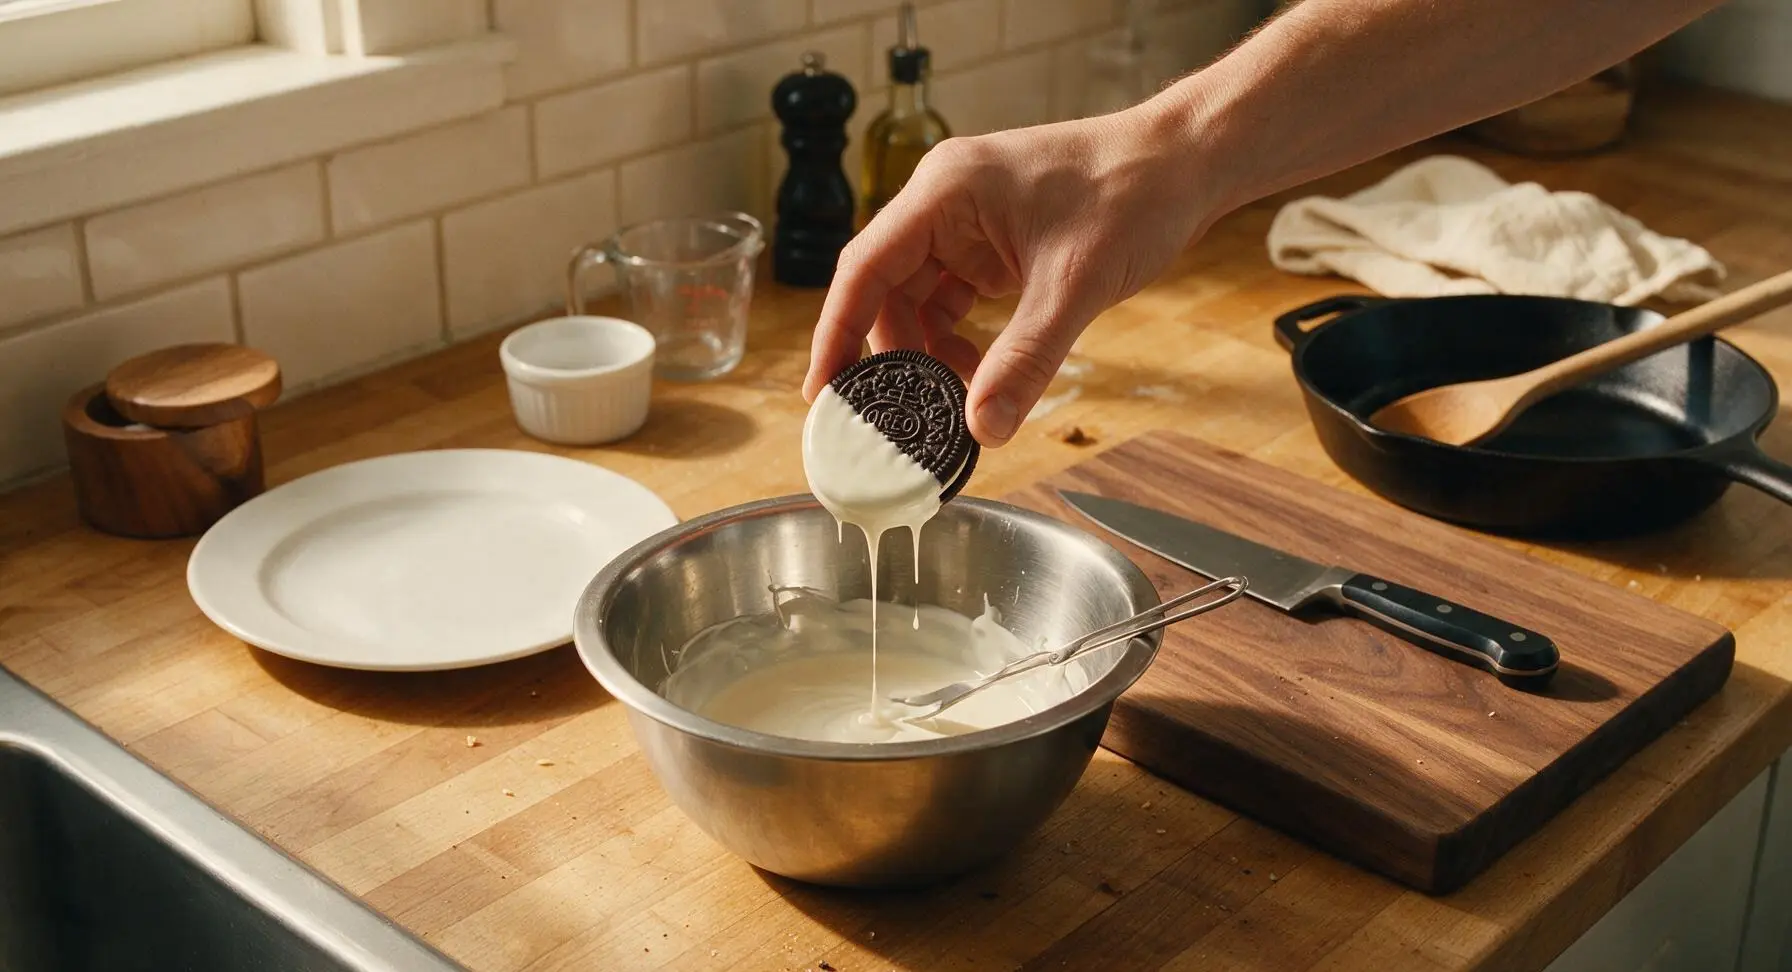
Working one whole Oreo at a time, grip the cookie edge between your thumb and forefinger, and submerge half the cookie at a clean diagonal angle into either melted white or milk chocolate. Lift the cookie out of the coating, holding it above the bowl for 3 seconds to let excess chocolate drip back in. Use the stainless steel candy dipping fork to support the cookie from below if it slips, to avoid coating your fingers in chocolate.
Step 3
step3:Dip Cookies in Coating
Step 3
step3:Dip Cookies in Coating
4

Transfer Dipped Cookies

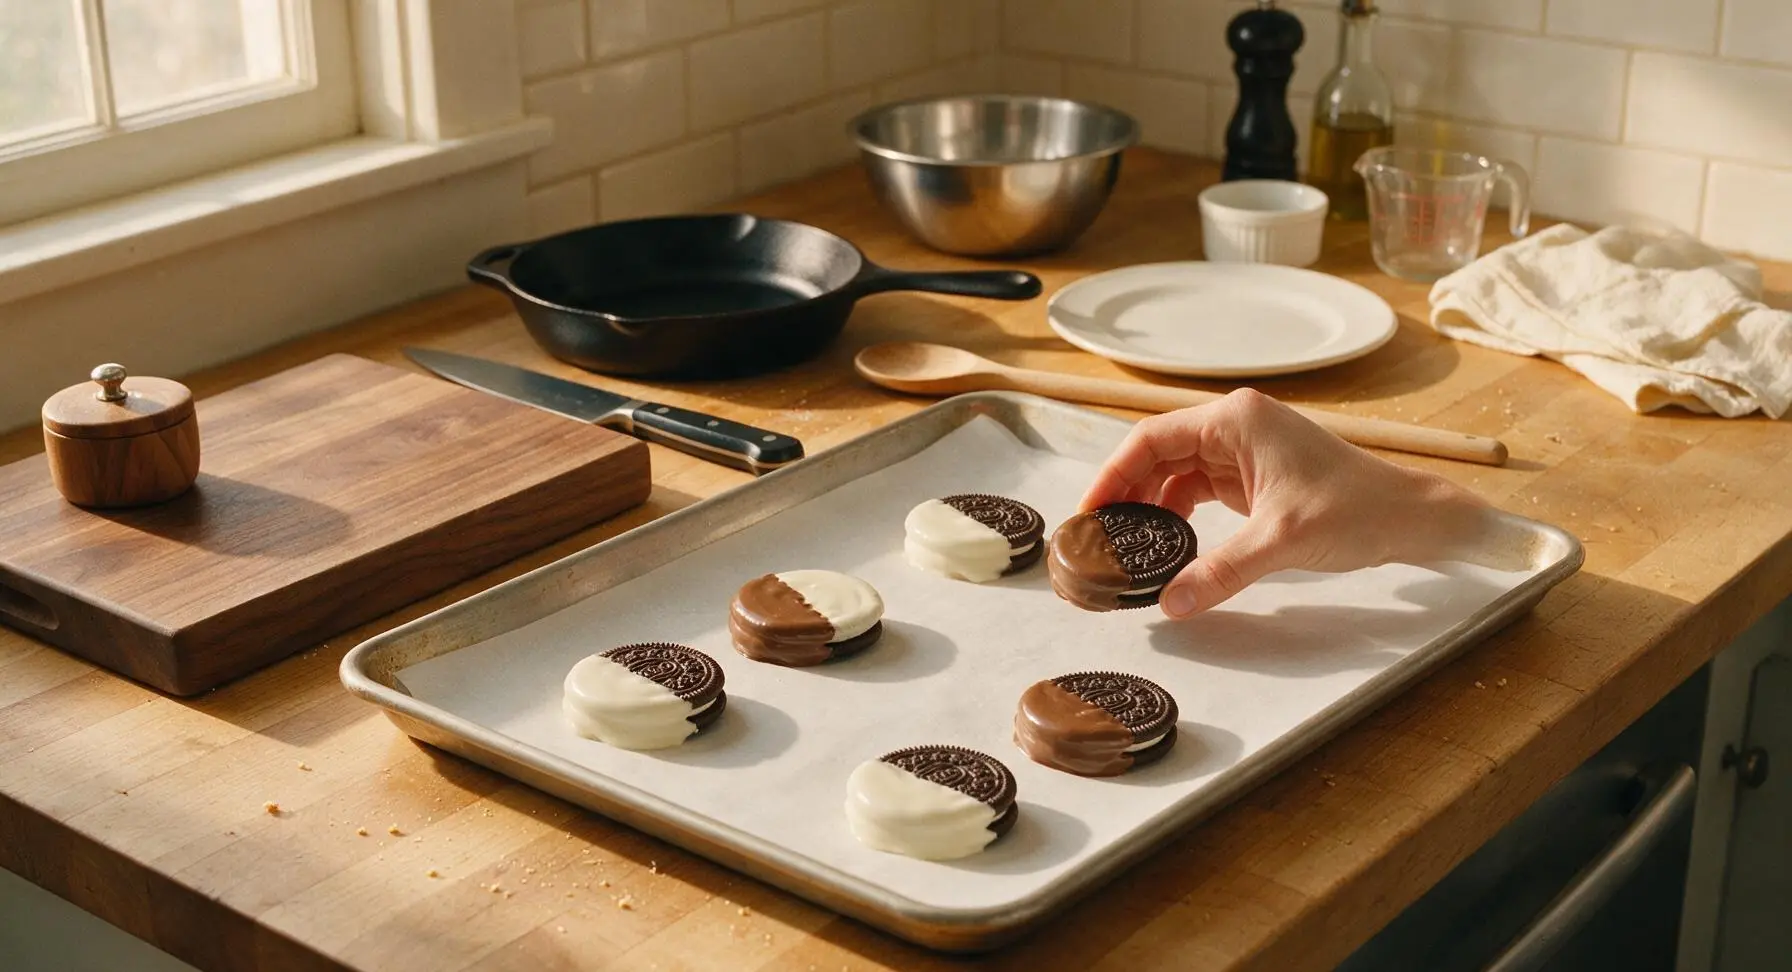
After excess chocolate has finished dripping, place each dipped cookie onto the parchment-lined baking sheet, leaving 2cm of space between each cookie so they do not stick together as they set. Ensure the chocolate-coated half faces up, and the cookie lies completely flat so the coating does not run off to one side or pool under the cookie.
Step 4
step4:Transfer Dipped Cookies
5

Add Festive Sprinkles

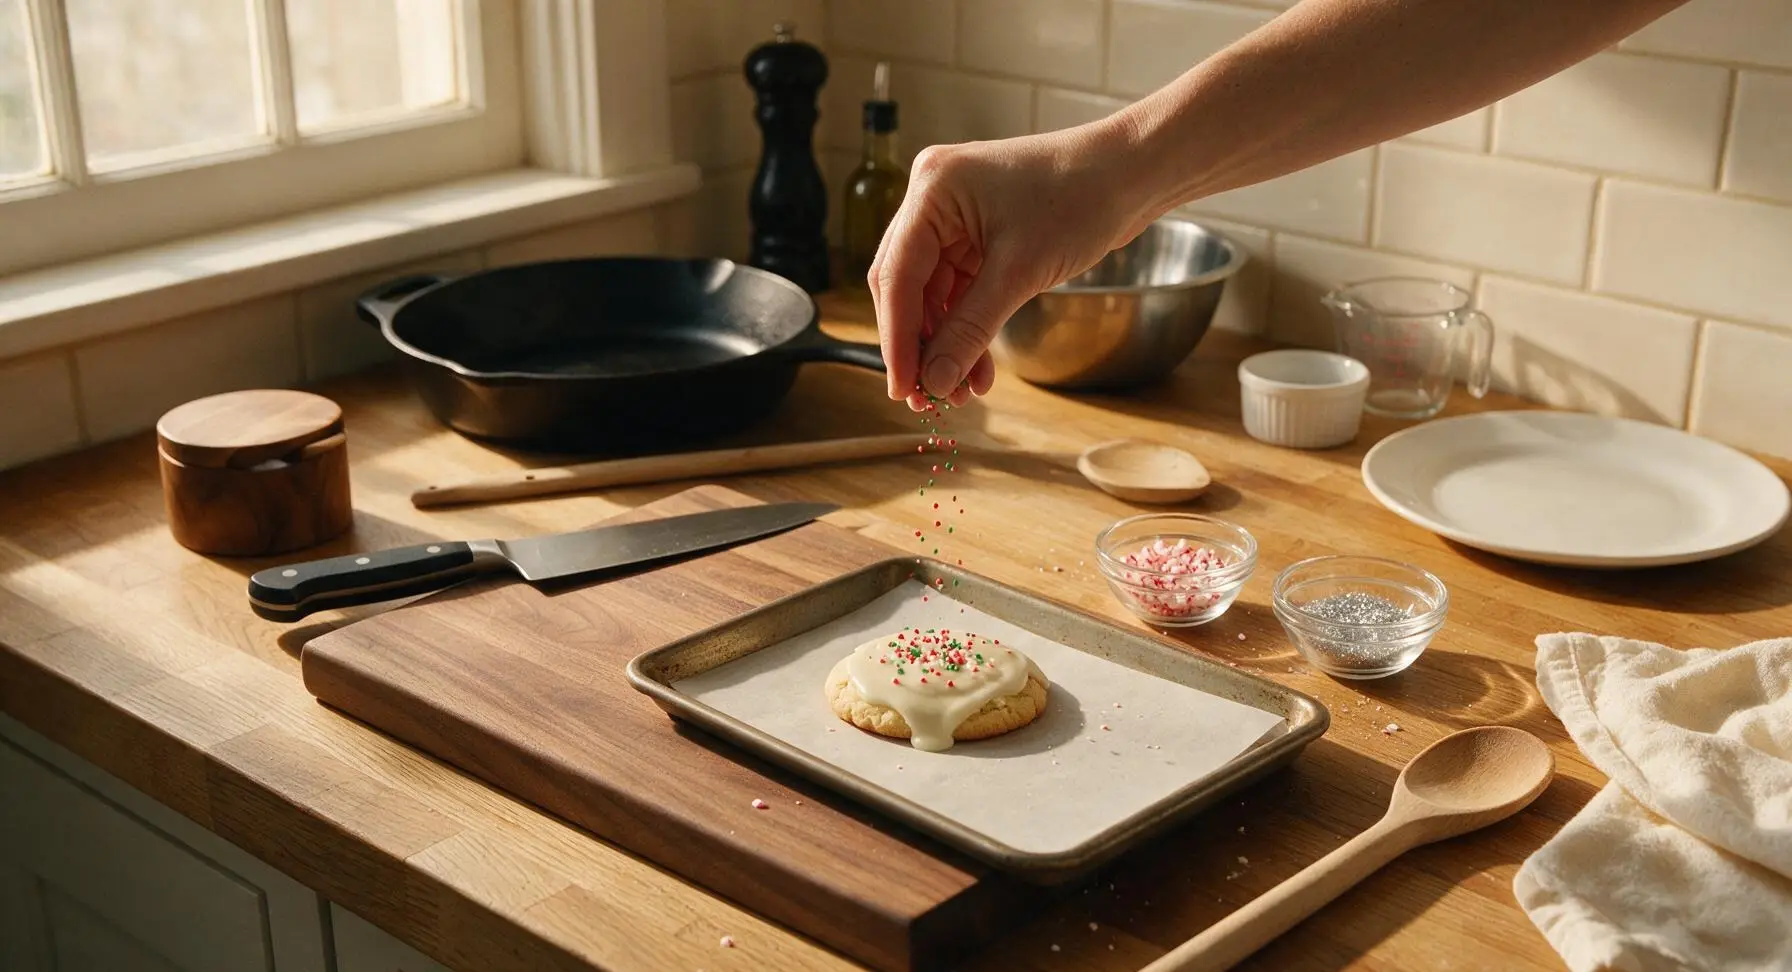
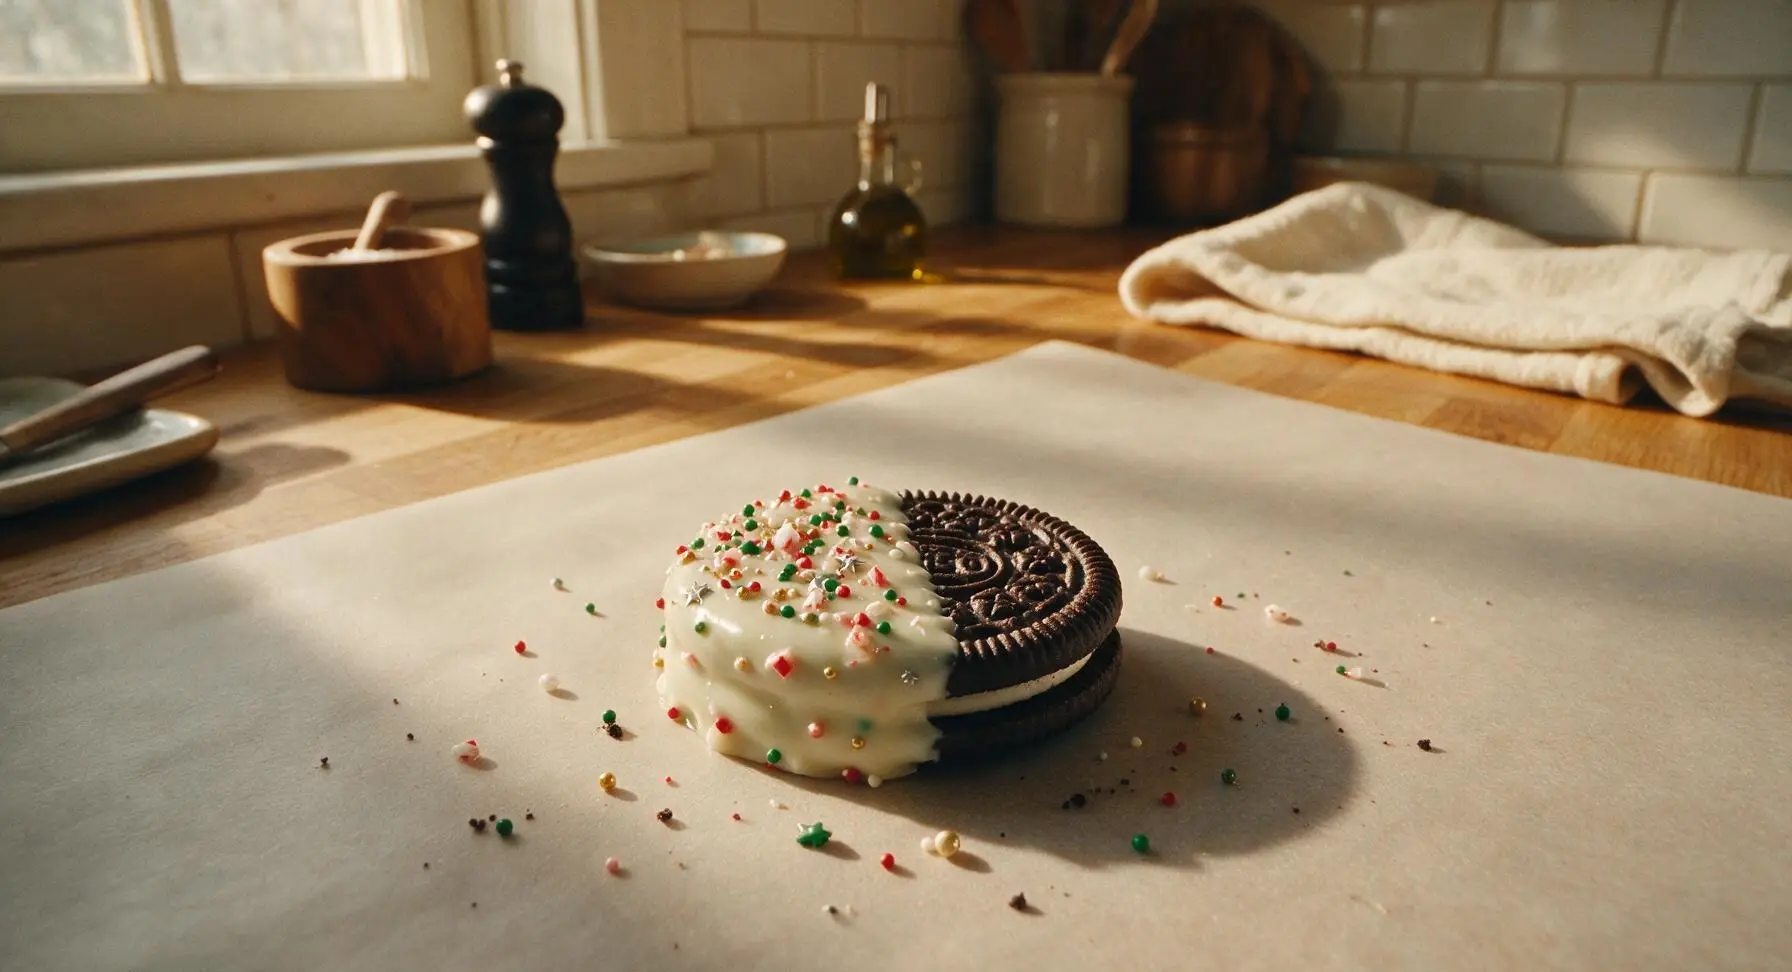
While the chocolate coating is still wet (within 60 seconds of placing each cookie on the sheet), sprinkle decorations over the chocolate half: use red, green, and gold nonpareils, crushed peppermint bits, and a light dusting of edible silver star glitter. Do not wait for the chocolate to begin setting, or sprinkles will not adhere and will fall off once dry. Mix and match decorations across the batch for a playful, varied look.
Step 5
step5:Add Festive Sprinkles
Step 5
step5:Add Festive Sprinkles
6

Let Coating Set

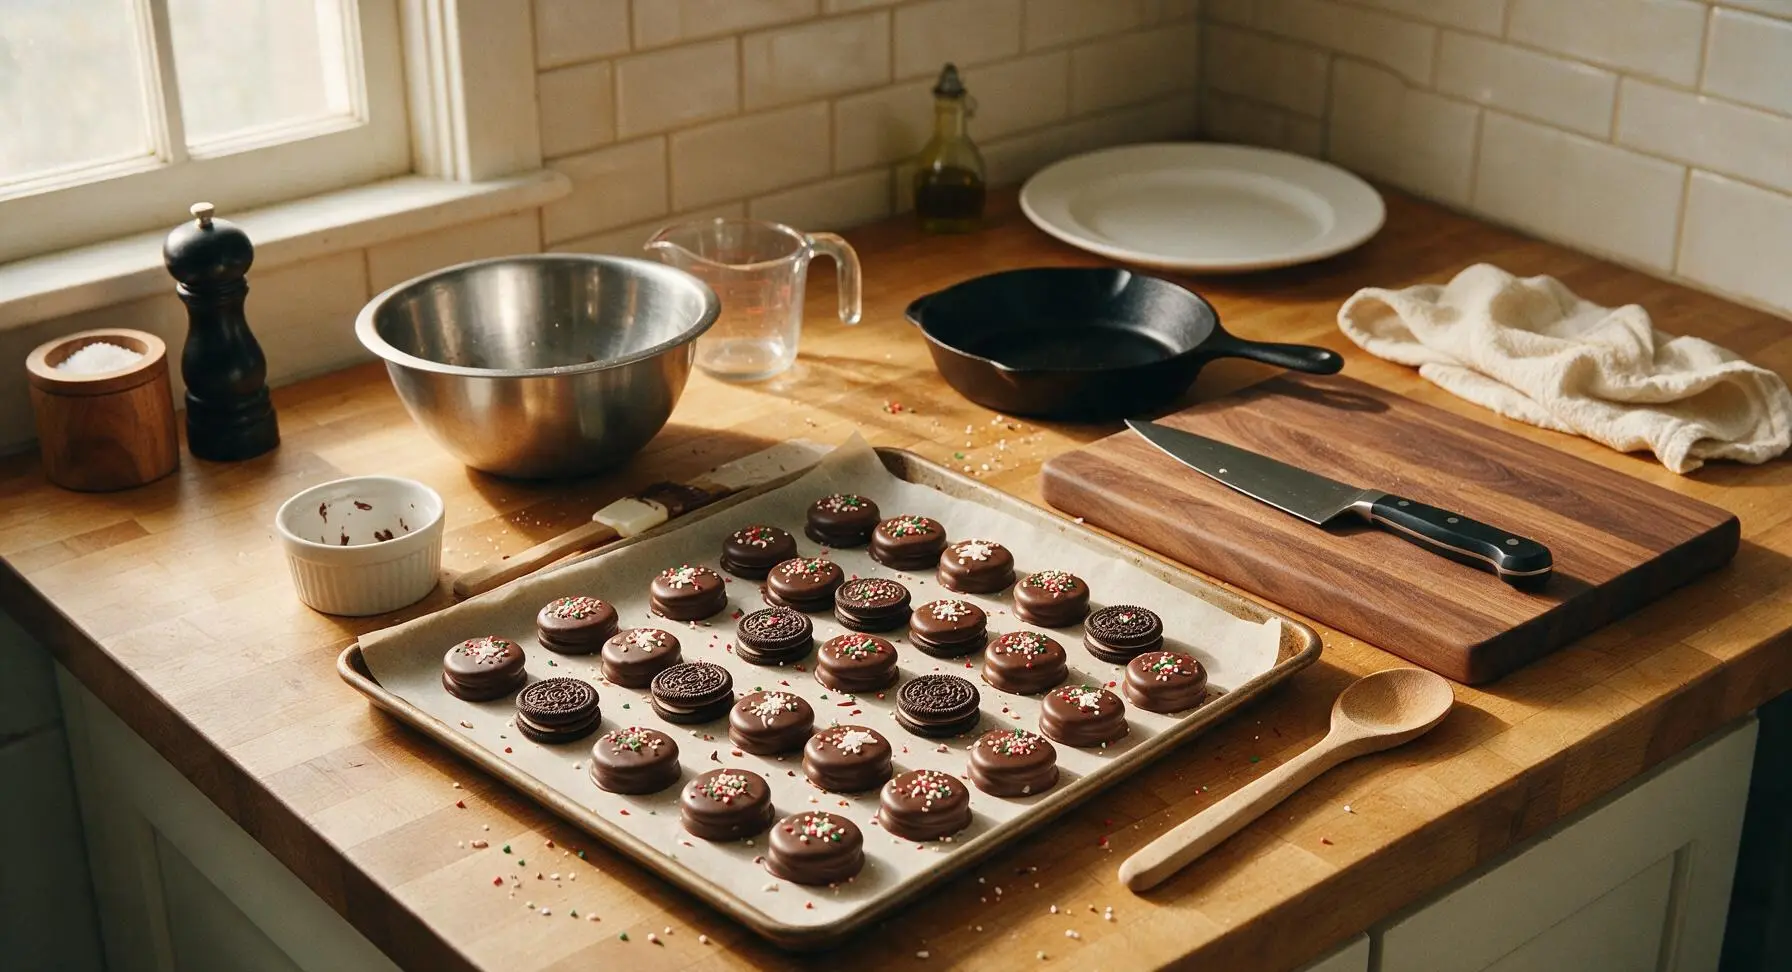
Once all 24 cookies are dipped and decorated, leave the baking sheet undisturbed on the counter at cool room temperature (65-68F/18-20C) for 20 minutes, until the chocolate coating is completely hard and smooth to the touch, no longer sticky when lightly pressed with a fingertip. Do not place the sheet in the refrigerator to speed setting, as cold temperatures cause condensation that creates dull white 'chocolate bloom' marks on the coating surface.
Step 6
step6:Let Coating Set
7

Plate Finished Cookies

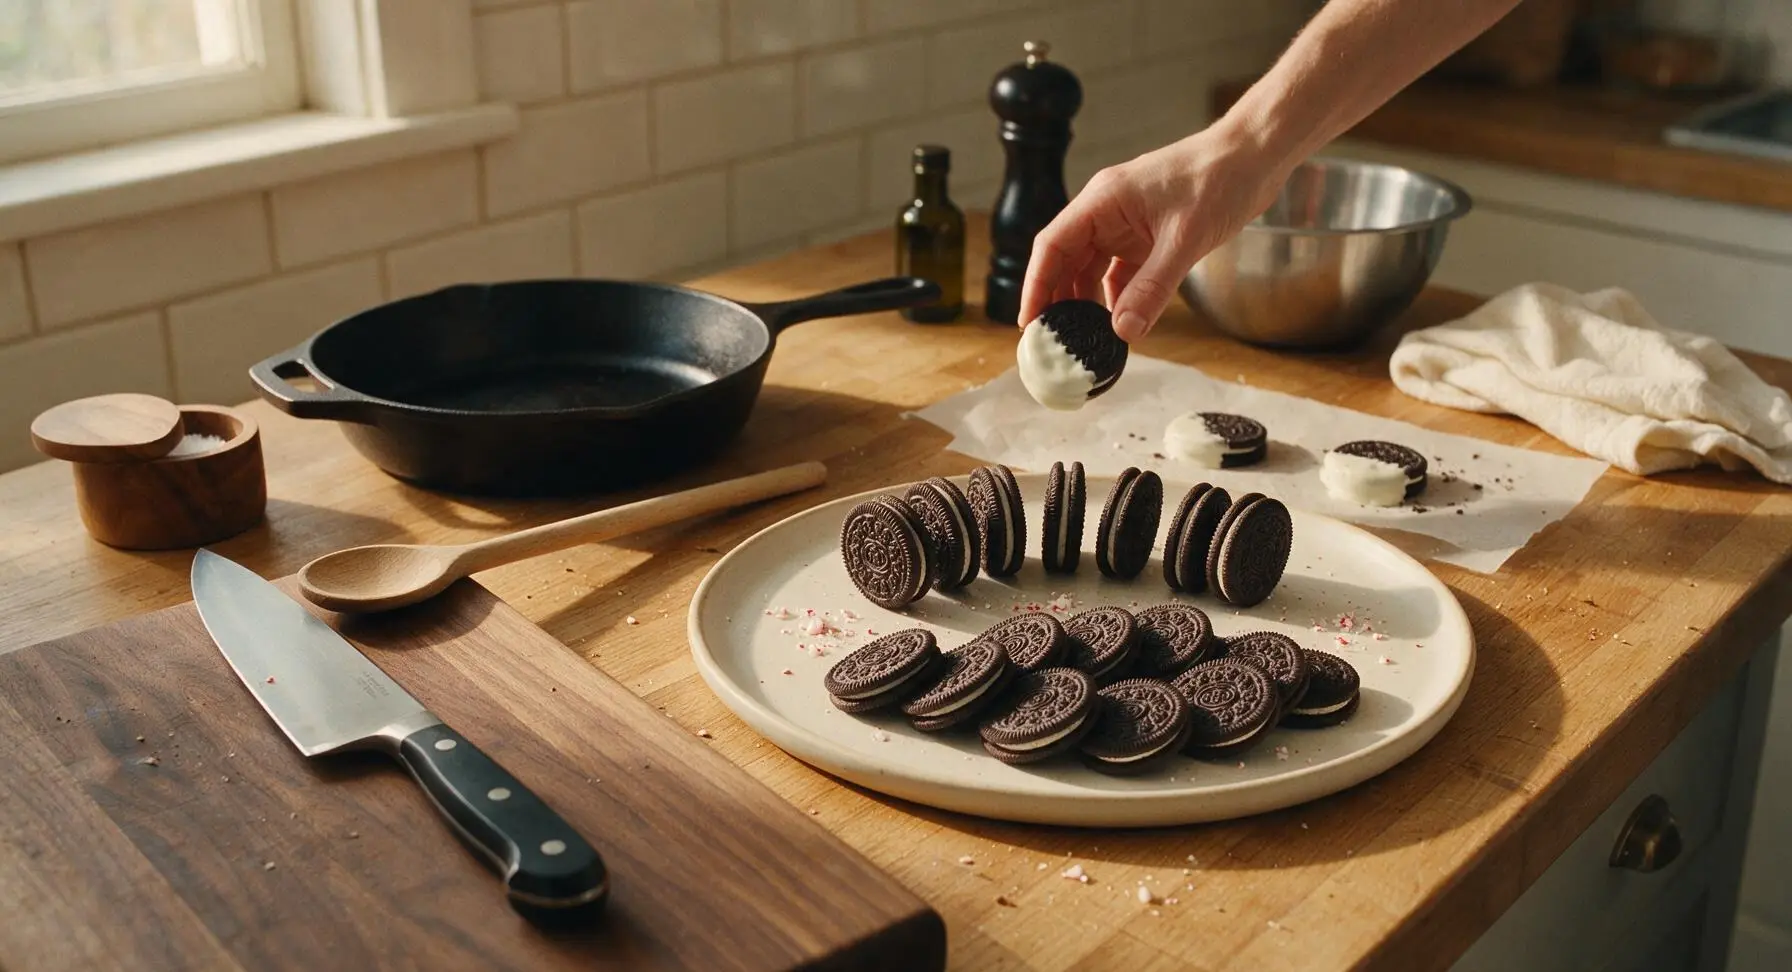
Once the coating is fully set, carefully lift each cookie off the parchment paper (they will release easily with no sticking) and arrange them on the round matte cream ceramic serving platter: stand 8 cookies on their edge in a loose semi-circle at the back of the platter, and lay the remaining 16 cookies fanned out in front for an abundant, inviting display. Scatter a pinch of extra crushed peppermint and stray sprinkles across the platter for a casual, homemade feel.
Step 7
step7:Plate Finished Cookies

Tips

1.Never overheat candy melts: microwaving at full power or heating above 90F/32C will cause the confectionery coating to seize into a thick, grainy lump that cannot be smoothed. Stick to 30-second 50% power bursts, and stir frequently—residual heat will melt any remaining small lumps without overheating.
2.Skip the refrigerator for fast setting: cold air causes condensation to form on the chocolate surface, leaving dull white 'bloom' marks that ruin the glossy finish and prevent sprinkles from sticking properly. Cool room temperature setting creates the smoothest, shiniest finish.
3.Only use coconut oil to thin thick candy melts: butter, milk, or water will cause the coating to seize and clump. A 1/2 tsp per 8oz of melts creates a thin, smooth consistency that coats cookies evenly without cracking when bitten.


✨ You May Also Like

Desserts & Baking
🍜 Italy

Creamy, coffee-kissed classic Northern Italian no-bake dessert, with layers of rum-spiked mascarpone cream, soft ladyfingers, and a rich cocoa dusting.

⏱️ 4 hours 3Desserts & Baking ★ 4.7
Desserts & Baking
🍜 France

Flaky, shatteringly crisp, buttery French croissants with golden exteriors and soft, airy layered interiors, perfect for pairing with coffee for a special morning treat.

⏱️ 12 hours Desserts & Baking ★ 4.5
Desserts & Baking
🍜 United States

Warm, spiced baked apples topped with a fluffy golden biscuit crust, this cozy dessert pairs perfectly with vanilla ice cream for cool-weather comfort.

⏱️ 55 minuteDesserts & Baking ★ 4.6
Desserts & Baking
🍜 United States

A star-spangled classic American blueberry pie with buttery flaky crust and bright sweet-tart filling, perfect for summer patriotic gatherings.

⏱️ 1 hour 25Desserts & Baking ★ 4.7
Desserts & Baking
🍜 United States

A beloved no-bake regional Maine candy with a chewy coconut-potato center coated in rich dark chocolate, a New England holiday staple since the 1870s.

⏱️ 2 hours 3Desserts & Baking ★ 4.8
Desserts & Baking
🍜 France

Luxuriously creamy, floral frozen custard made with aromatic Tahitian vanilla beans, boasting a smooth, rich texture that melts slowly on the tongue.

⏱️ 3 hours 3Desserts & Baking ★ 4.5

Holiday Oreos:Frequently Asked Questions

1.Can I use regular white or milk chocolate instead of candy melts for this recipe? ▾
You can, but candy melts are far more forgiving for beginner dippers! Unlike regular chocolate, they don’t require tempering to set firm and glossy at room temperature. If you do use bar chocolate, stir in 1 teaspoon of the recipe’s coconut oil per 4 ounces to thin it and reduce unsightly blooming as it sets.
2.Why is coconut oil added to the candy melts when melting them? ▾
The small amount of unrefined coconut oil thins thick, melted candy melts to create a smooth, dippable consistency that coats Oreos evenly without leaving a thick, clunky shell. It also helps the set coating have a nice, clean snap instead of a chalky, crumbly texture when you bite into the finished treat.
3.My candy melts got lumpy and seized up while I was melting them—what went wrong? ▾
Seizing almost always happens from even a tiny drop of water getting into the melts, or from overheating them. Melt them in 30-second microwave bursts, stirring between each, and make sure all bowls and utensils are completely dry. For minor seizing, stir in a tiny splash of warm coconut oil to smooth them back out.
4.Are these Holiday Oreos actually easy enough for young kids to help make? ▾
Absolutely! This is one of my go-to holiday recipes to make with kids as young as 3 or 4. Little ones can help add sprinkles, dip Oreos with a fork (with light supervision around warm melts), and arrange finished cookies on platters. Just handle the hot melting step yourself to avoid accidental burns.
5.How far in advance can I make these treats for a party or holiday gifting? ▾
These hold up beautifully when stored properly, so you can make them up to 2 weeks ahead of your event or gifting day! Keep them in an airtight container layered between parchment paper, stored in a cool, dark spot away from direct heat. Skip the fridge, as cold temps can cause unsightly white bloom on the coating.
6.Do I have to use nonpareil sprinkles, or can I use other holiday sprinkle styles? ▾
Tiny nonpareils are classic because they stick evenly to wet candy coating without sliding off, but you can absolutely use other holiday sprinkle varieties! Just note that larger, heavier options like shaped sugar decors or jimmies work best when applied right after dipping, before the coating starts to set, so they stay firmly attached.
7.How do I avoid smudges and finger marks on the candy coating as I work? ▾
The easiest trick is to use a regular dinner fork to dip each Oreo fully into melted candy, then tap the fork gently against the bowl edge to shake off excess coating. Slide the dipped Oreo onto parchment paper with the fork tines angled down, and avoid touching the coated surface until it’s fully set, about 15 minutes at room temperature.
8.Can I freeze these decorated Holiday Oreos for longer storage? ▾
You can freeze them for up to 3 months with great results! Let the dipped, decorated cookies set fully first, then layer them between parchment sheets in a freezer-safe airtight container. Thaw them in the sealed container in the fridge for a few hours before serving to prevent condensation from ruining the coating or sprinkles.
9.What’s the best way to package these for homemade holiday gifts? ▾
For gifting, let the cookies set completely first so the coating doesn’t stick to packaging. Tuck 3 to 4 cookies into clear cellophane treat bags tied with festive red or green ribbon, or layer them in small holiday tins lined with parchment. Add a handwritten tag for a thoughtful, low-effort gift for neighbors, teachers, or coworkers.
10.Can I adjust this recipe to be dairy-free for guests with dietary restrictions? ▾
You absolutely can! Look for dairy-free white and milk chocolate-style candy melts (many popular brands make dedicated vegan versions now), use certified dairy-free Oreos (original Oreos are accidentally dairy-free in most U.S. regions, but always double-check labels), and keep the coconut oil as the thinning agent for a fully dairy-free treat.
11.My finished cookies have splotchy white marks on the coating—what caused that? ▾
Those splotches are called candy bloom, and they happen when the set coating is exposed to big temperature swings (like moving from a cold fridge to a warm counter quickly) or when melts were overheated during prep. It’s totally safe to eat, just less pretty! Avoid it by melting candy slowly and storing finished cookies in a consistently cool spot.

Comments (13)

2 days ago

OMG these are SO good! I made them for my dorm holiday party last night and every single one was gone in 10 minutes. Only took me 5 minutes total, no fancy equipment needed. Total game changer for last minute party snacks, 10/10.

1 week ago

As someone who can barely boil water without messing it up, this recipe was made for me. 5 minutes, zero stress, and they taste like I spent hours on fancy holiday treats? Count me in for every Christmas gathering from now on.

3 days ago

Wait why did I never think to dress up regular Oreos for the holidays? I dipped mine in white chocolate and added crushed candy canes on top and they’re chef’s kiss. My roommate already asked for the recipe to make for his family’s dinner.

5 days ago

Made these for my kid’s soccer team holiday snack table and the parents were all asking for the recipe! Super quick to throw together between practice runs and school drop offs, will be making these every year.

30 minutes ago

Wait quick question—can I use almond bark instead of melting wafers for the coating? I already have a ton left over from making Christmas pretzels last week and don’t want to run to the store.

5 minutes ago

Great question! Almond bark works perfectly as a swap for melting wafers here—just make sure to melt it slowly in 30 second increments in the microwave so it doesn’t seize up. Enjoy!

2 weeks ago

I made these with my grandkids when they were visiting over the weekend and we had the best time decorating them with sprinkles and little red and green sugar pearls. They were so proud to pass them out at our family Sunday dinner!

1 week ago

I did this with my granddaughter too! We added tiny edible snowflakes and they turned out so cute, she insisted on giving a plate to our mail carrier.

yesterday

Brought these in for our office holiday potluck today and I’m already getting Slack messages asking for the link to the recipe. So easy to make the night before, no mess, and they look so festive on the snack table. 10/10.

2 hours ago

Love hearing these were a hit at your potluck! They’re such a perfect low-effort option for office events because you don’t have to worry about keeping them warm or refrigerated.

2 hours ago

Okay, I was skeptical because literally every recipe I touch turns into a disaster, but these actually turned out perfect? My kids loved it, my wife made fun of me for how proud I was, but I’m taking the win. Even added little reindeer antlers made of pretzel sticks on a few!

30 minutes ago

The pretzel antler idea is genius! I’m stealing that for the batch I’m making for my kid’s class party tomorrow, thank you!

1 week ago

Super easy to make this gluten free by using GF Oreos! I made a batch for my neighbor who has celiac and she said they were the best holiday treat she’s had all season. So thoughtful for folks with dietary restrictions.

5 days ago

That’s such a fantastic tip! Thank you for sharing the GF swap—so many people don’t realize how simple it is to adapt this recipe for different dietary needs, I’m sure your neighbor appreciated it so much.

3 days ago

My boys are obsessed with these! We made a double batch last night to bring to our neighborhood holiday block party, and they kept sneaking them off the cooling rack before we even left the house. Worth every crumb.

2 days ago

Same! My 7 year old ate three while we were decorating and then tried to blame it on the dog. Kids can never get enough of these!

yesterday

Too funny! I’ve definitely caught my own family sneaking these off the tray before parties too—pro tip: always make an extra small batch just for the people in your house so you have enough to bring to the event!

5 days ago

Game changer for holiday potlucks! I brought these to my friend’s ugly sweater party on Saturday and everyone was raving. I did half with dark chocolate coating and half with white chocolate, plus crushed peppermint and holiday sprinkles. So customizable!

3 days ago

Wait I was at that party! Those were the things with the little gold star sprinkles right? I ate like four of them, no regrets. They were way better than the fancy store bought cookies someone brought.

2 days ago

Love the half dark/half white chocolate idea! That’s such a great way to give people options without any extra work. So glad they were a hit at the ugly sweater party!

3 days ago

Wait, how far in advance can you make these? I’m hosting 20 people for Christmas dinner next week and want to get as much prep done ahead of time as possible so I’m not running around the kitchen the day of.

2 days ago

I made mine a full week ahead and stored them in an airtight container on the counter and they tasted totally fresh! No sogginess at all, perfect for make-ahead prep.

yesterday

Great question! Like MealPrepProMax said, these stay fresh for up to a week in an airtight container at room temp, so you can absolutely make them a few days ahead of your dinner. Just wait to add any super crunchy toppings until the day of if you want them to stay extra crisp!

yesterday

I went a little extra and added a tiny dot of green frosting on top to make these look like little Christmas wreaths, paired with mini red candy bow ties. They came out so cute I almost didn’t want to eat them… almost. 10/10, easiest festive treat ever.

2 hours ago

The wreath idea is so adorable! I’m making these for my book club holiday meeting and I’m definitely stealing that decoration hack, thank you for sharing!

5 minutes ago

Those wreath versions sound absolutely adorable! I love how many fun decoration ideas people are coming up with for this recipe—it’s so versatile, you can totally get creative with it no matter your skill level.



