
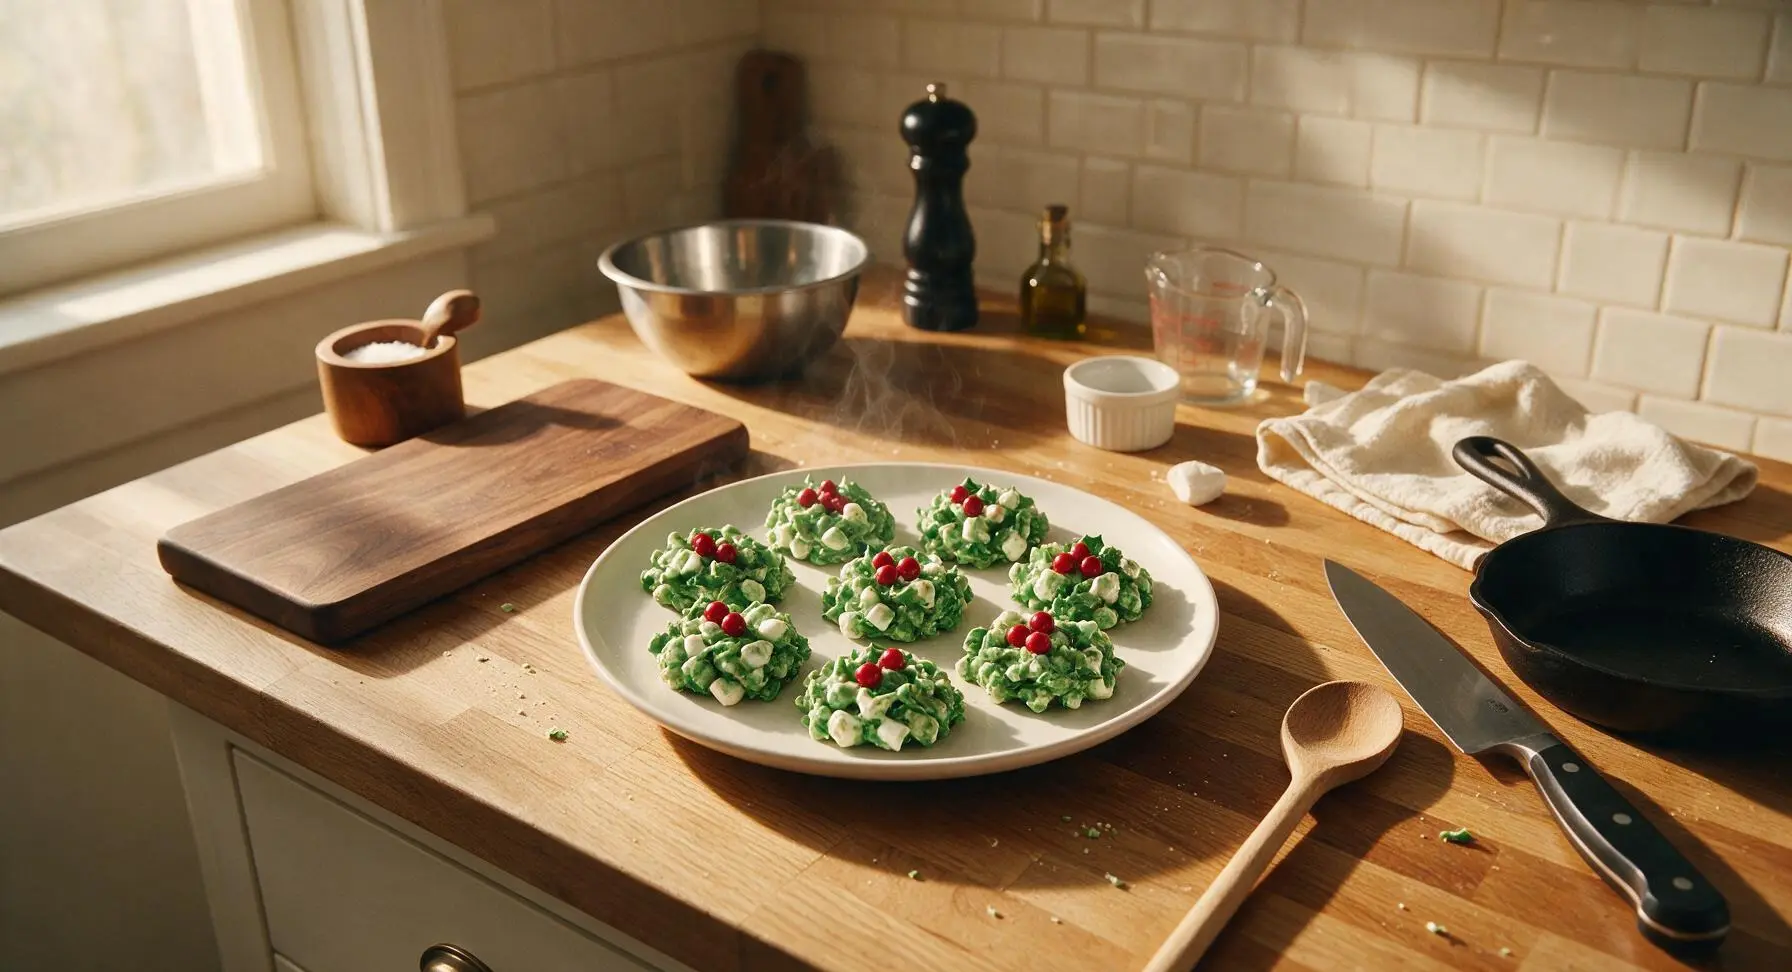
Holly Cookies

title 1
Holly Cookies
⏱️ cook time 10 minutes
🍽️ servings 12
⚡ Difficulty easy

intro

Crunchy no-bake holly cookies are a nostalgic Christmas favorite, coated in sweet vanilla marshmallow, tinted festive holly green, and dotted with bright red candy berries.

Ingredients
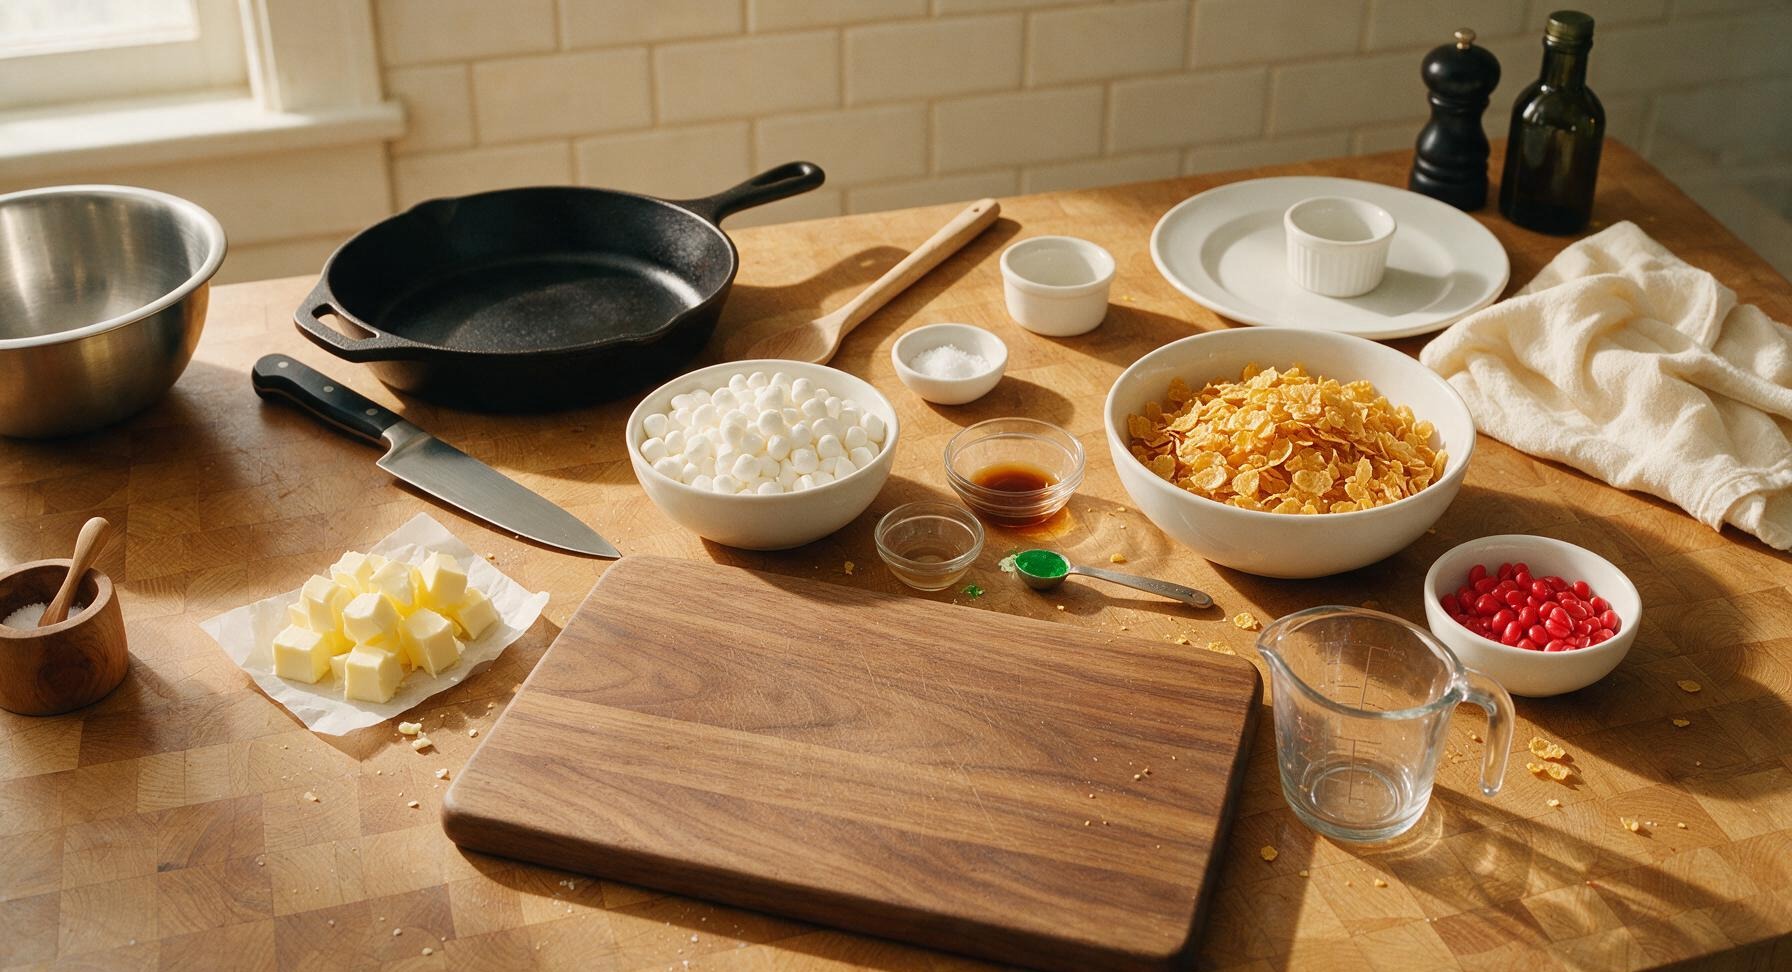
Unsalted butter 1/2 cup (113g)
Mini marshmallows 4 cups (180g)
Fine sea salt 1/8 teaspoon
Pure vanilla extract 1 teaspoon
Green gel food coloring 1/2 teaspoon
Cornflakes cereal 4 cups (110g)
Cinnamon red hot candies 1/3 cup (60g)

Steps

1

Prep Baking Sheet

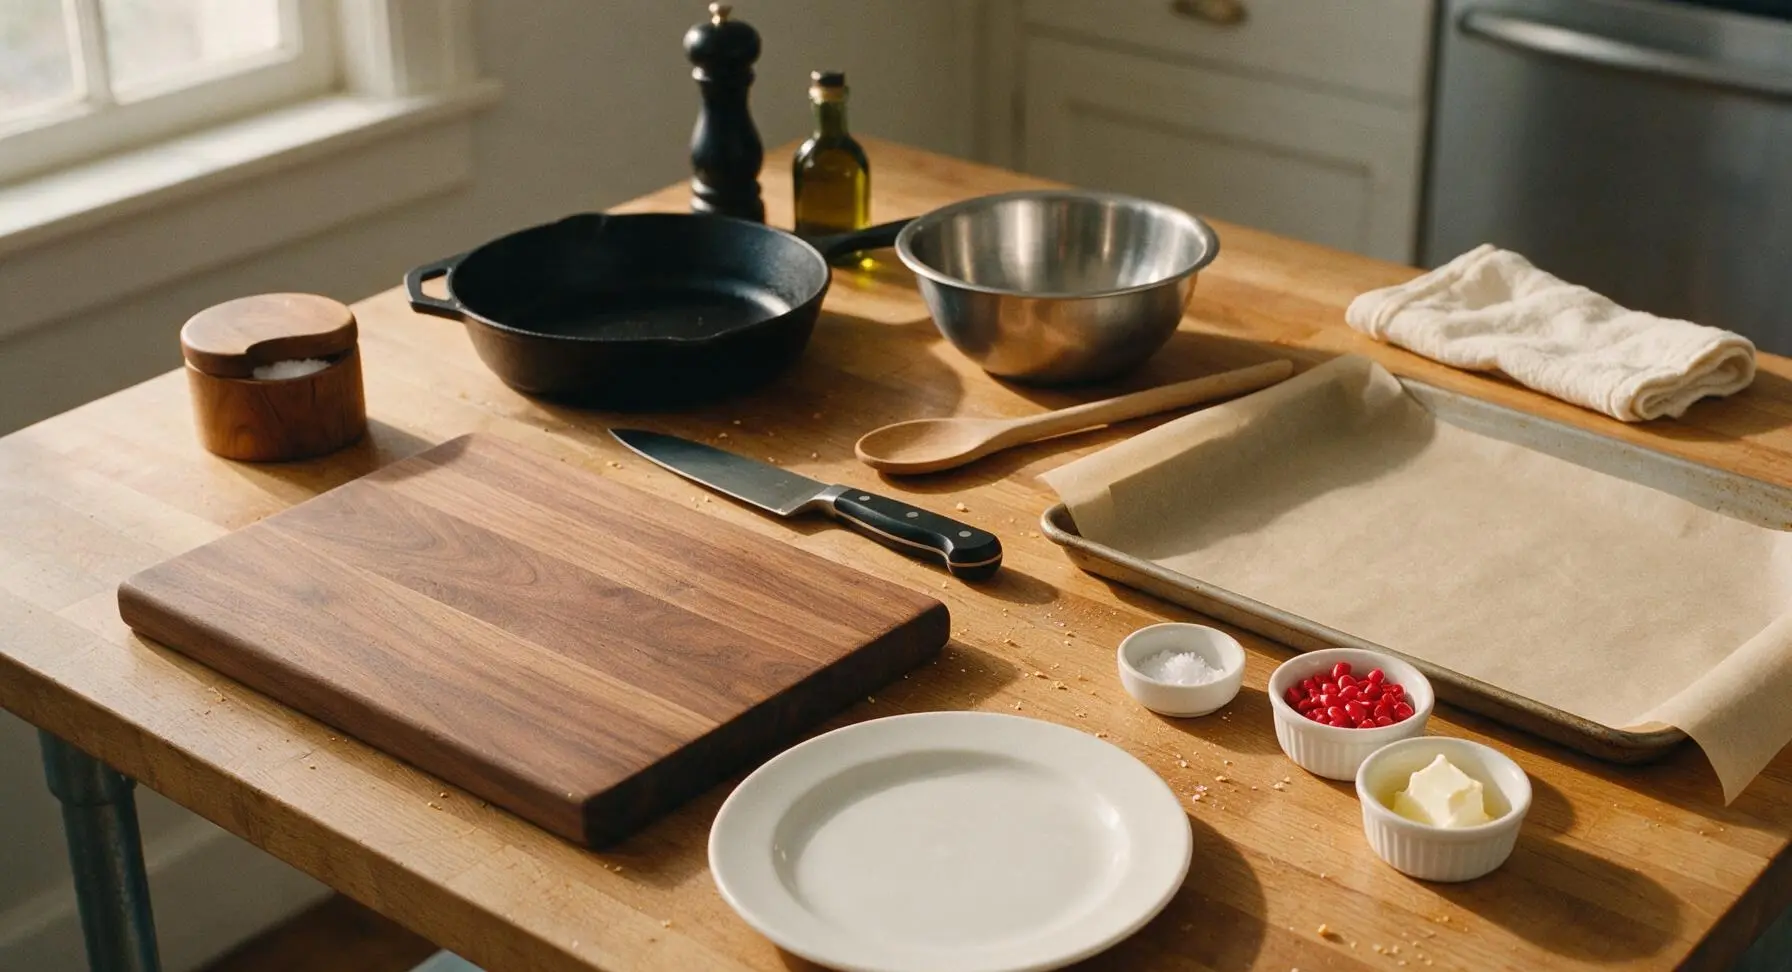
Line the 13x9 inch rimmed baking sheet with unbleached parchment paper, leaving a 2-inch overhang on the long sides for easy cookie removal later. Portion the fine sea salt into one small white ramekin, the cinnamon red hots into a second, and 1 teaspoon of softened butter into the third ramekin (for greasing the cookie scoop if it sticks). Set all prepped items within arm’s reach of the stovetop, as you will need to work quickly once the marshmallow mixture is ready.
Step 1
step1:Prep Baking Sheet
2

Melt Butter Base

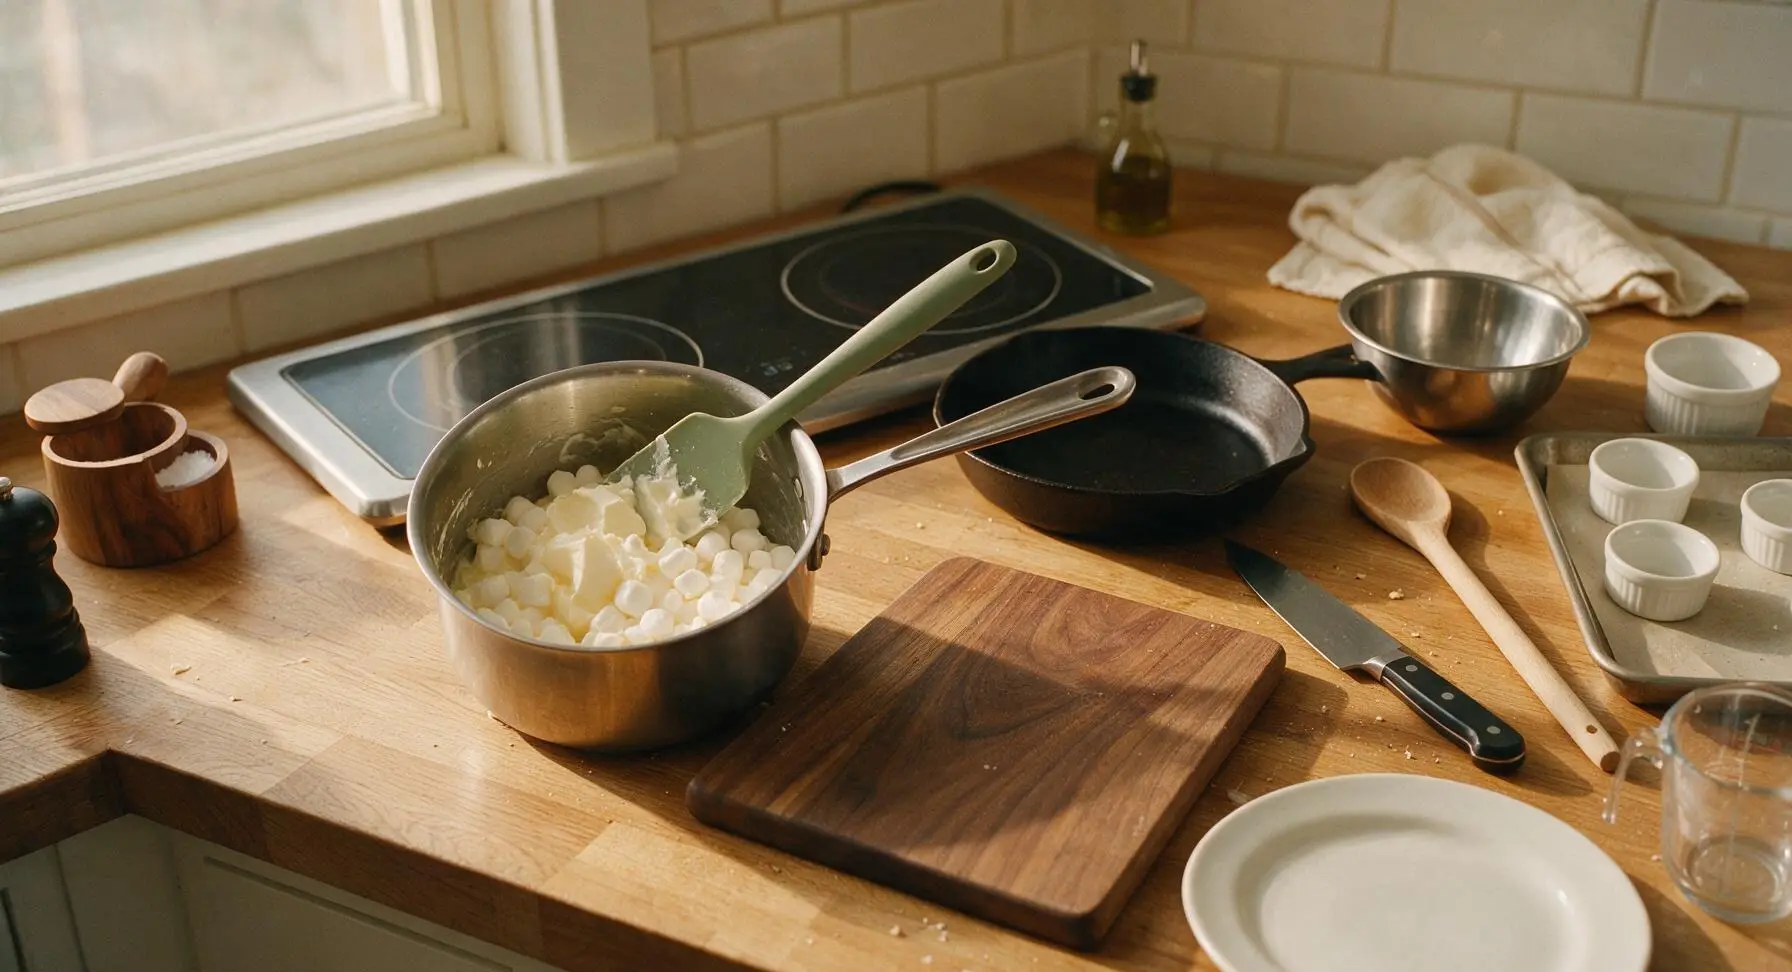
Place the 2-quart stainless steel saucepan on the left induction burner set to low heat. Add the 1/2 cup unsalted butter and 1/8 teaspoon fine sea salt, stirring gently with the sage green silicone spatula until fully melted, about 2 minutes. Add the 4 cups mini marshmallows, stirring constantly in slow, sweeping motions until they are completely smooth and fully melted, 3-4 minutes total. Do not turn the heat above low—high heat will caramelize the marshmallows and make the finished cookies tough and chewy instead of tender. The mixture is ready when it is completely lump-free, glossy, and pale ivory.
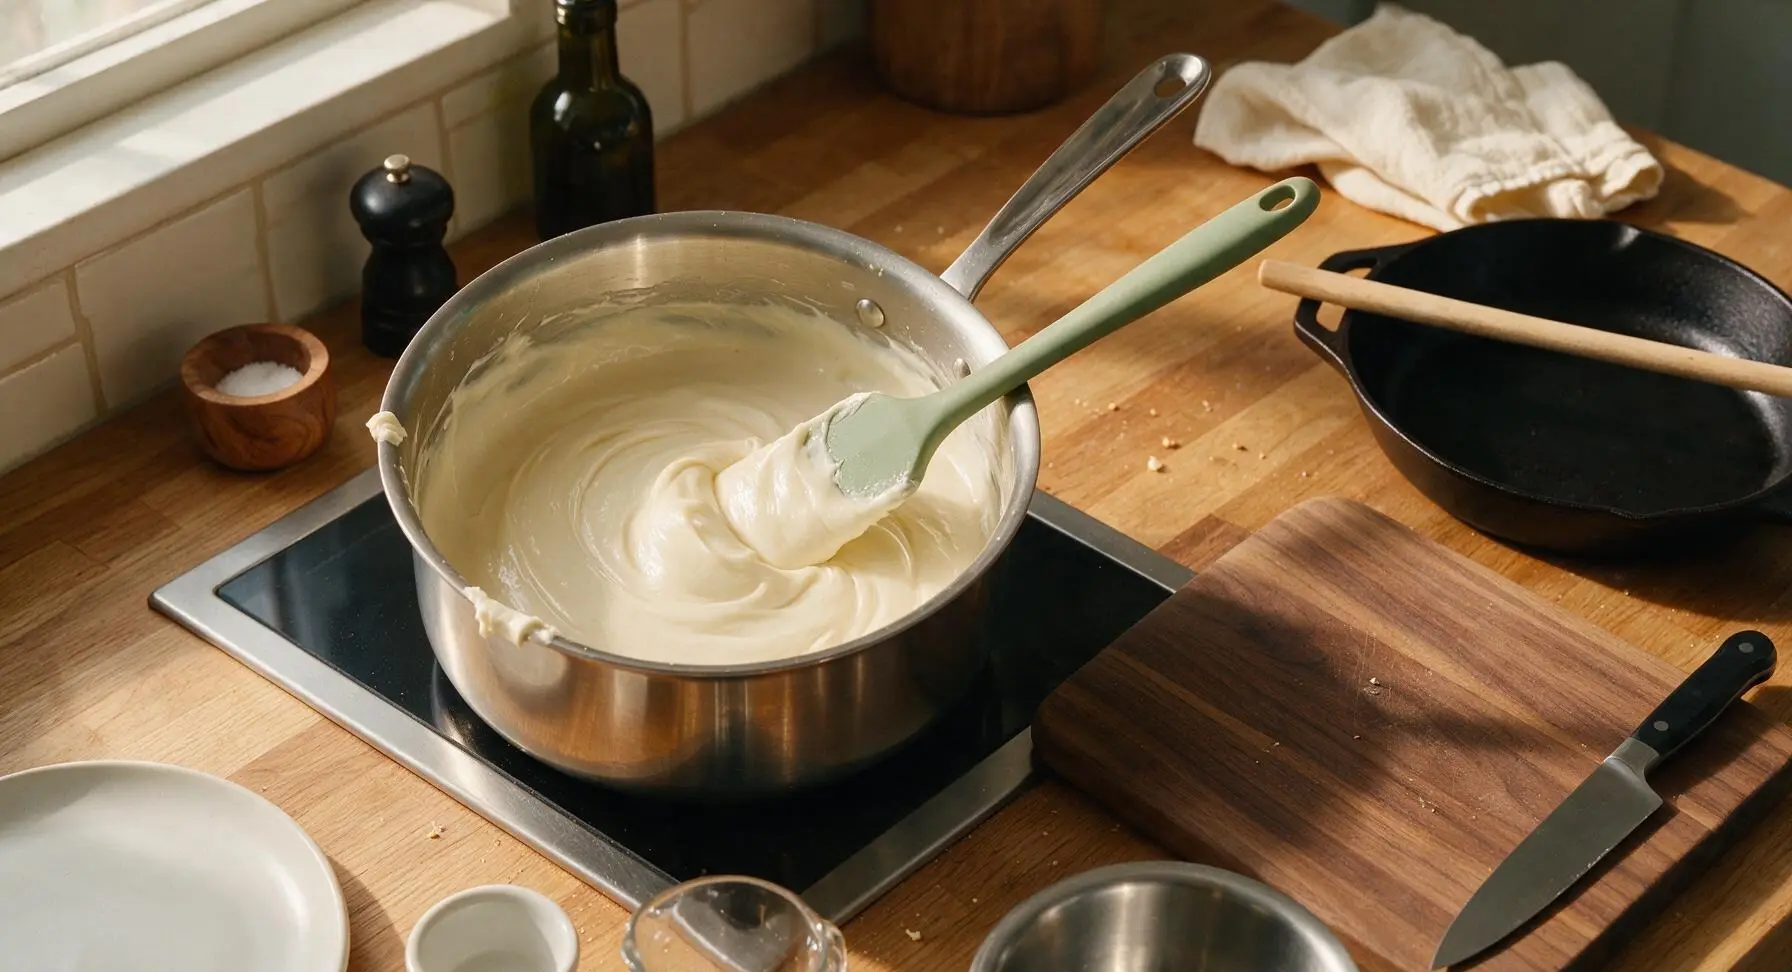
Step 2
step2:Melt Butter Base
Step 2
step2:Melt Butter Base
3

Tint Marshmallow Green

Remove the saucepan from the heat immediately once the marshmallows are fully melted. Stir in the 1 teaspoon pure vanilla extract, then add the 1/2 teaspoon green gel food coloring, stirring slowly with the silicone spatula until the color is completely even, with no streaks of pale marshmallow left. Aim for a soft, deep holly green—add 1 extra drop of gel coloring if needed, but avoid bright neon green for a natural, realistic holly look.
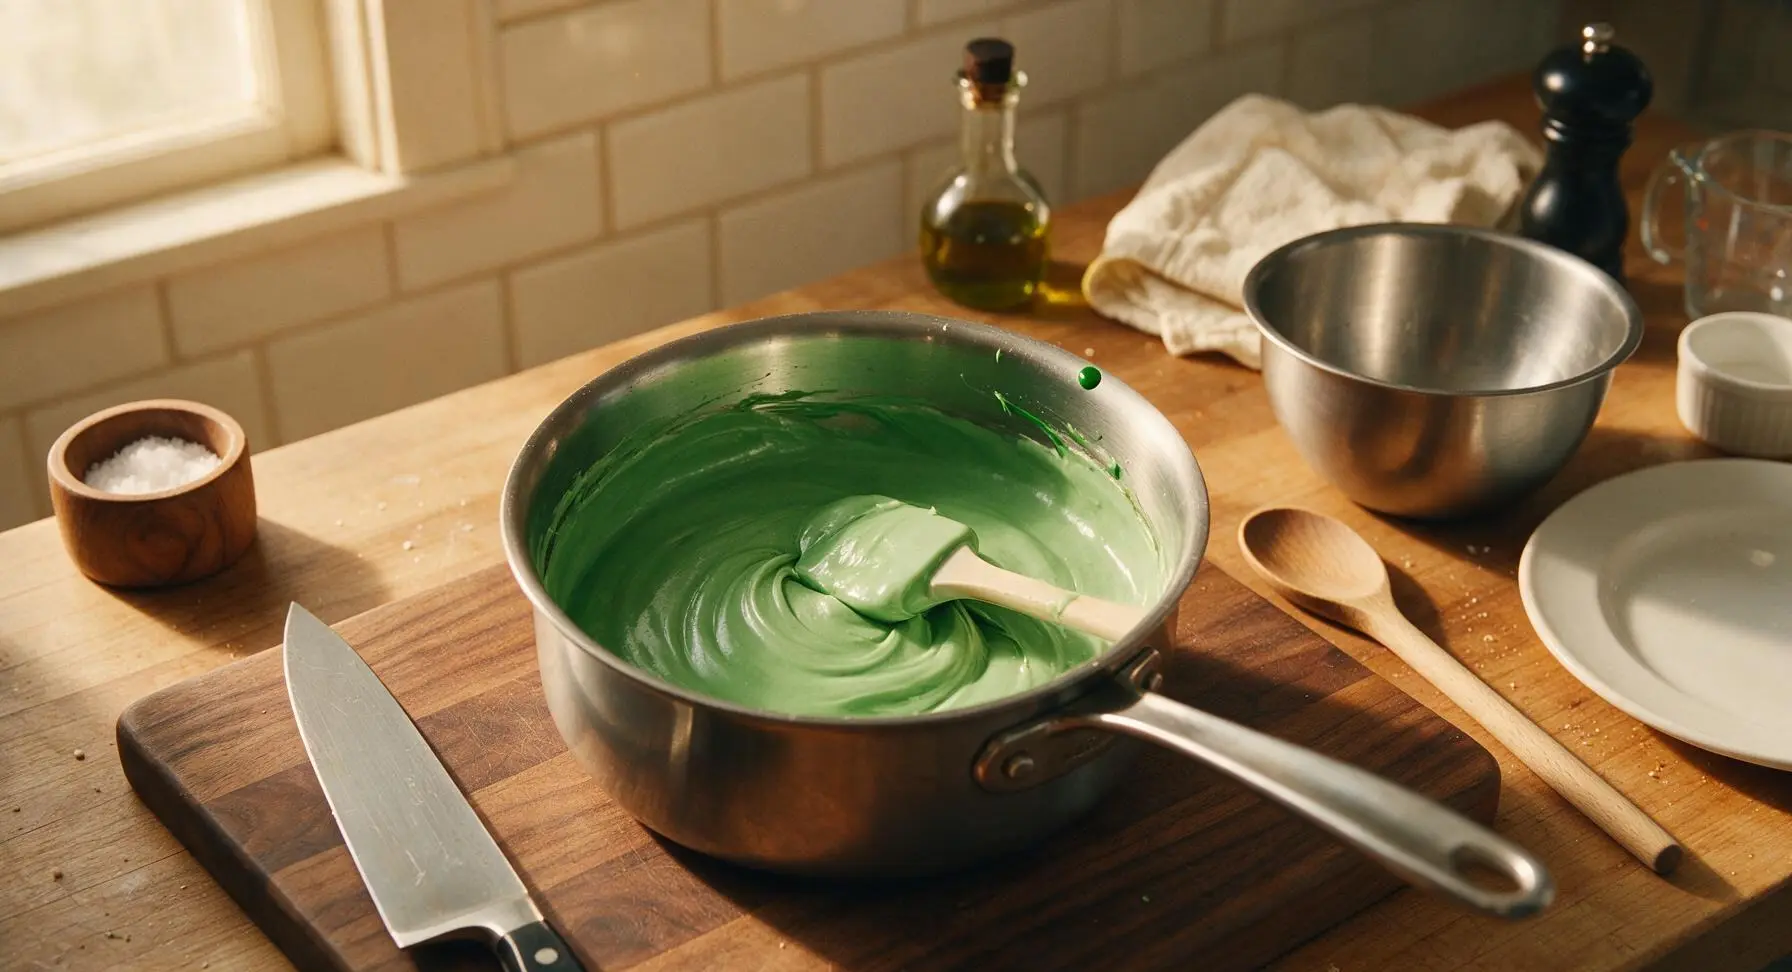
Step 3
step3:Tint Marshmallow Green
4

Fold in Cornflakes

Transfer the green marshmallow mixture to the large 4-quart stainless steel mixing bowl. Add the 4 cups of cornflakes all at once, using the silicone spatula to fold gently from the bottom of the bowl upward, coating every flake evenly in the green marshmallow. Work slowly to avoid crushing the cornflakes—you want the final cookies to have a light, crunchy texture with distinct flake shapes that mimic holly leaves. The mixture is ready when every flake has a thin, even green coating, with no dry, pale cornflakes visible at the bottom of the bowl.
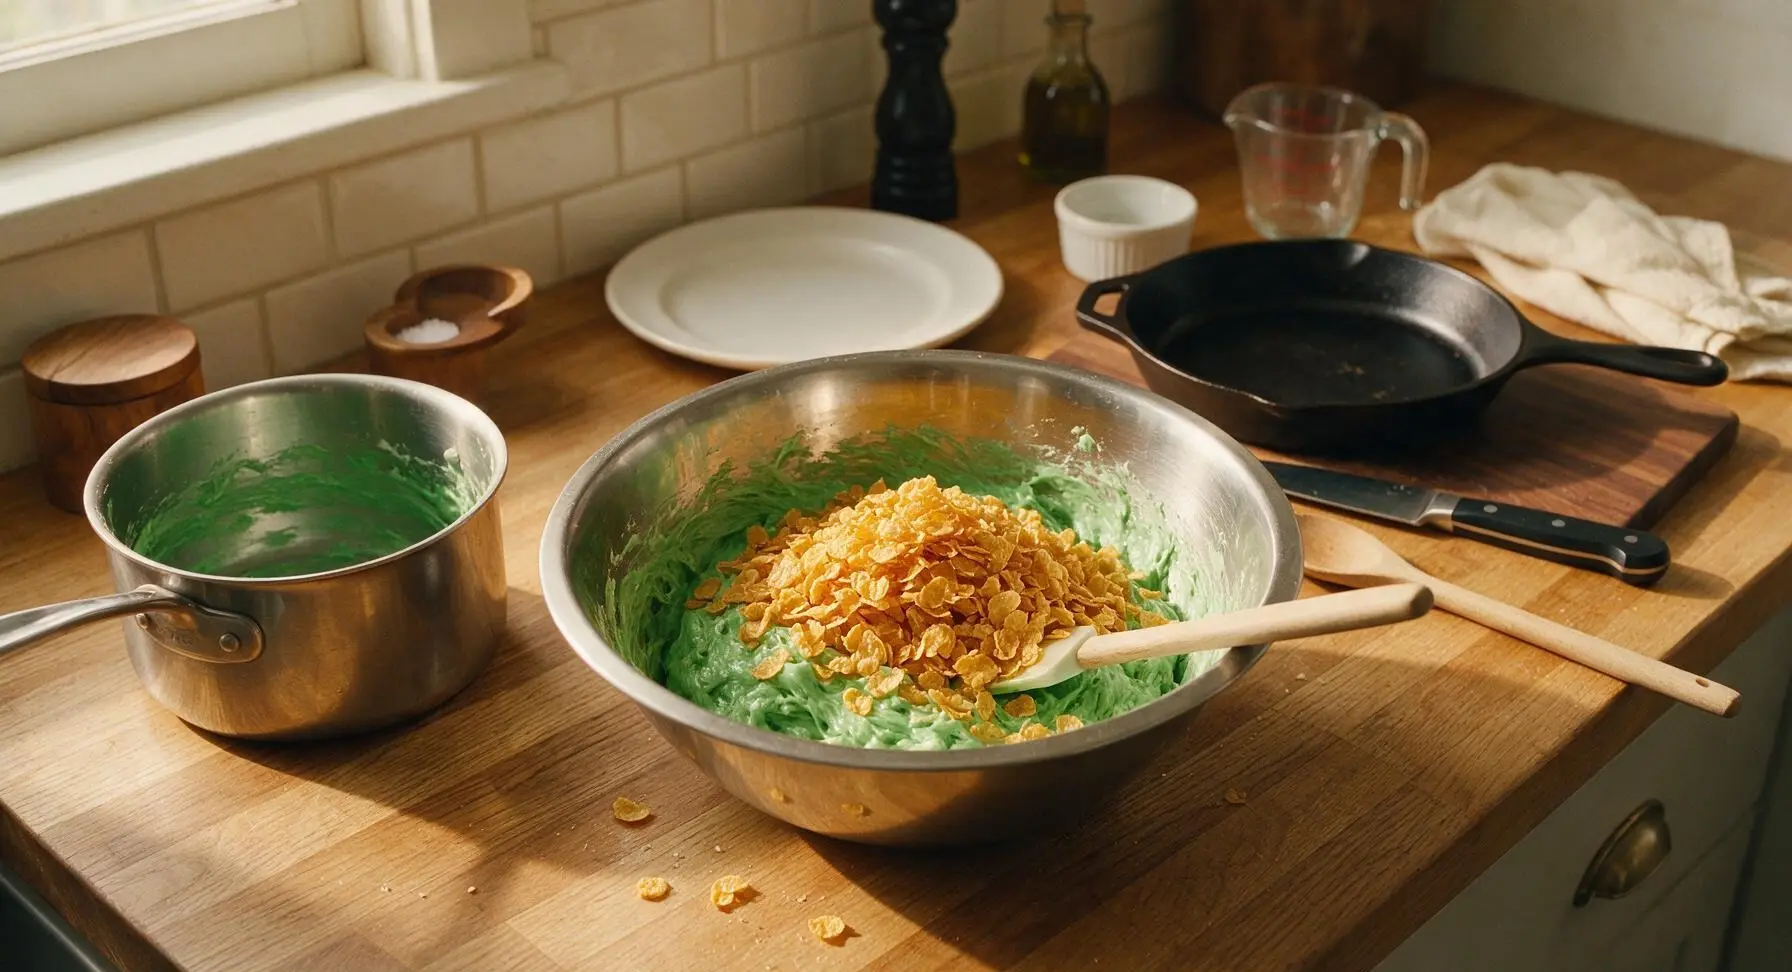
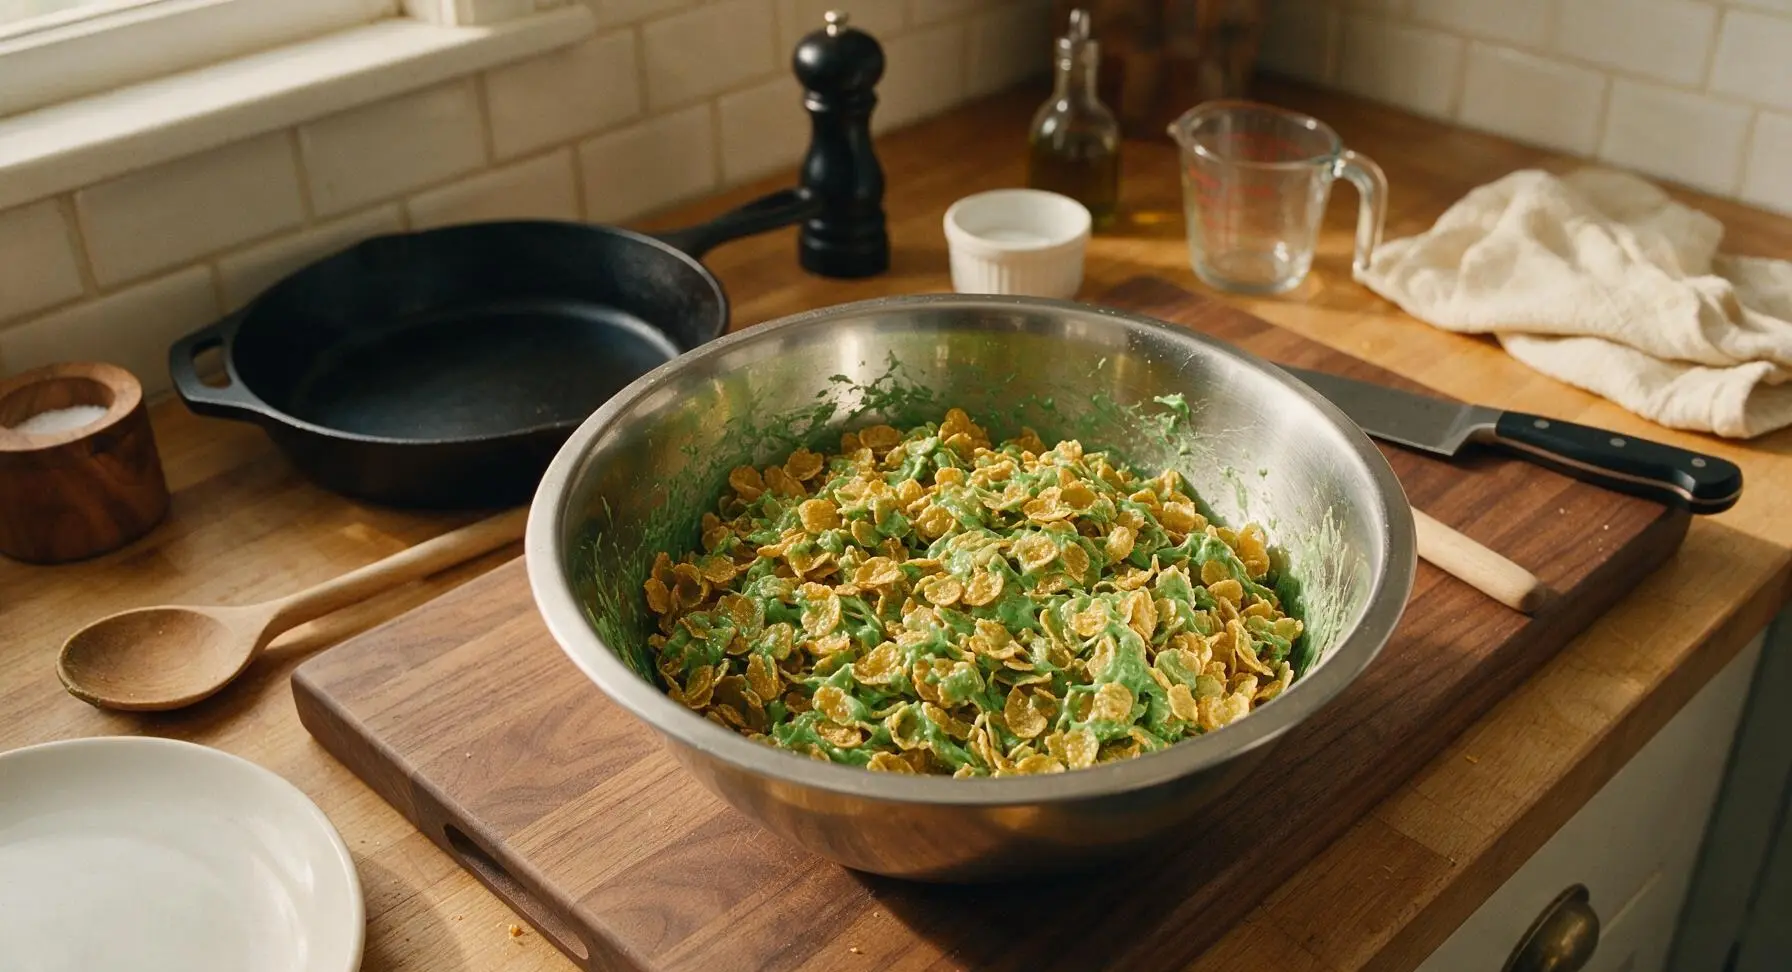
Step 4
step4:Fold in Cornflakes
Step 4
step4:Fold in Cornflakes
5

Scoop Cookie Portions

Working quickly before the marshmallow sets (you will have about 10 minutes of workable time at 68°F/20°C room temperature), use the 1-tablespoon spring-loaded cookie scoop to drop rounded, irregular mounds of the cornflake mixture onto the parchment-lined baking sheet, leaving 1 inch of space between each mound. You should get about 24 total mounds. If the mixture starts to stick to the scoop, dip the edge of the scoop into the reserved softened butter in the third ramekin to lightly coat it between scoops.
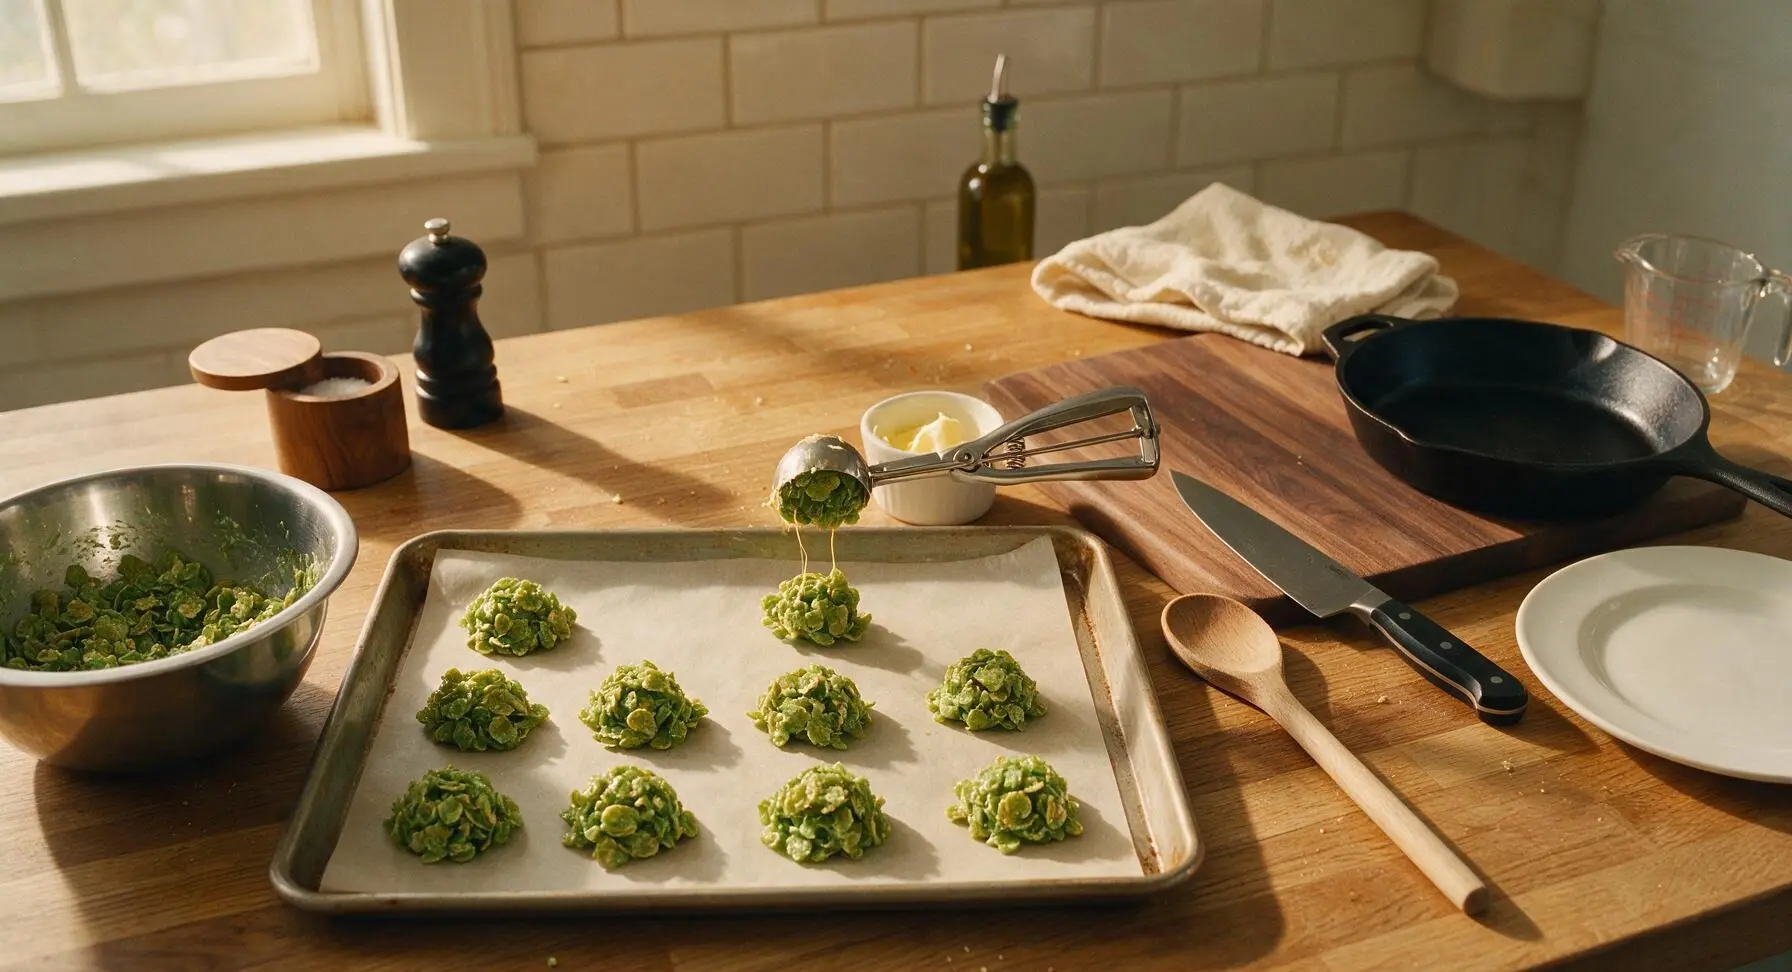
Step 5
step5:Scoop Cookie Portions
6

Add Red Berry Accents

While the marshmallow is still soft and tacky (immediately after scooping all mounds), press 2 to 3 cinnamon red hot candies into the top of each cookie mound, clustering them slightly to mimic holly berries. Press gently so the candies stick firmly—if you wait more than 5 minutes after scooping, the marshmallow will start to set and the candies will roll off. You do not need to press the candies all the way into the cookie; half-buried looks most natural, like berries sitting on top of holly leaves.
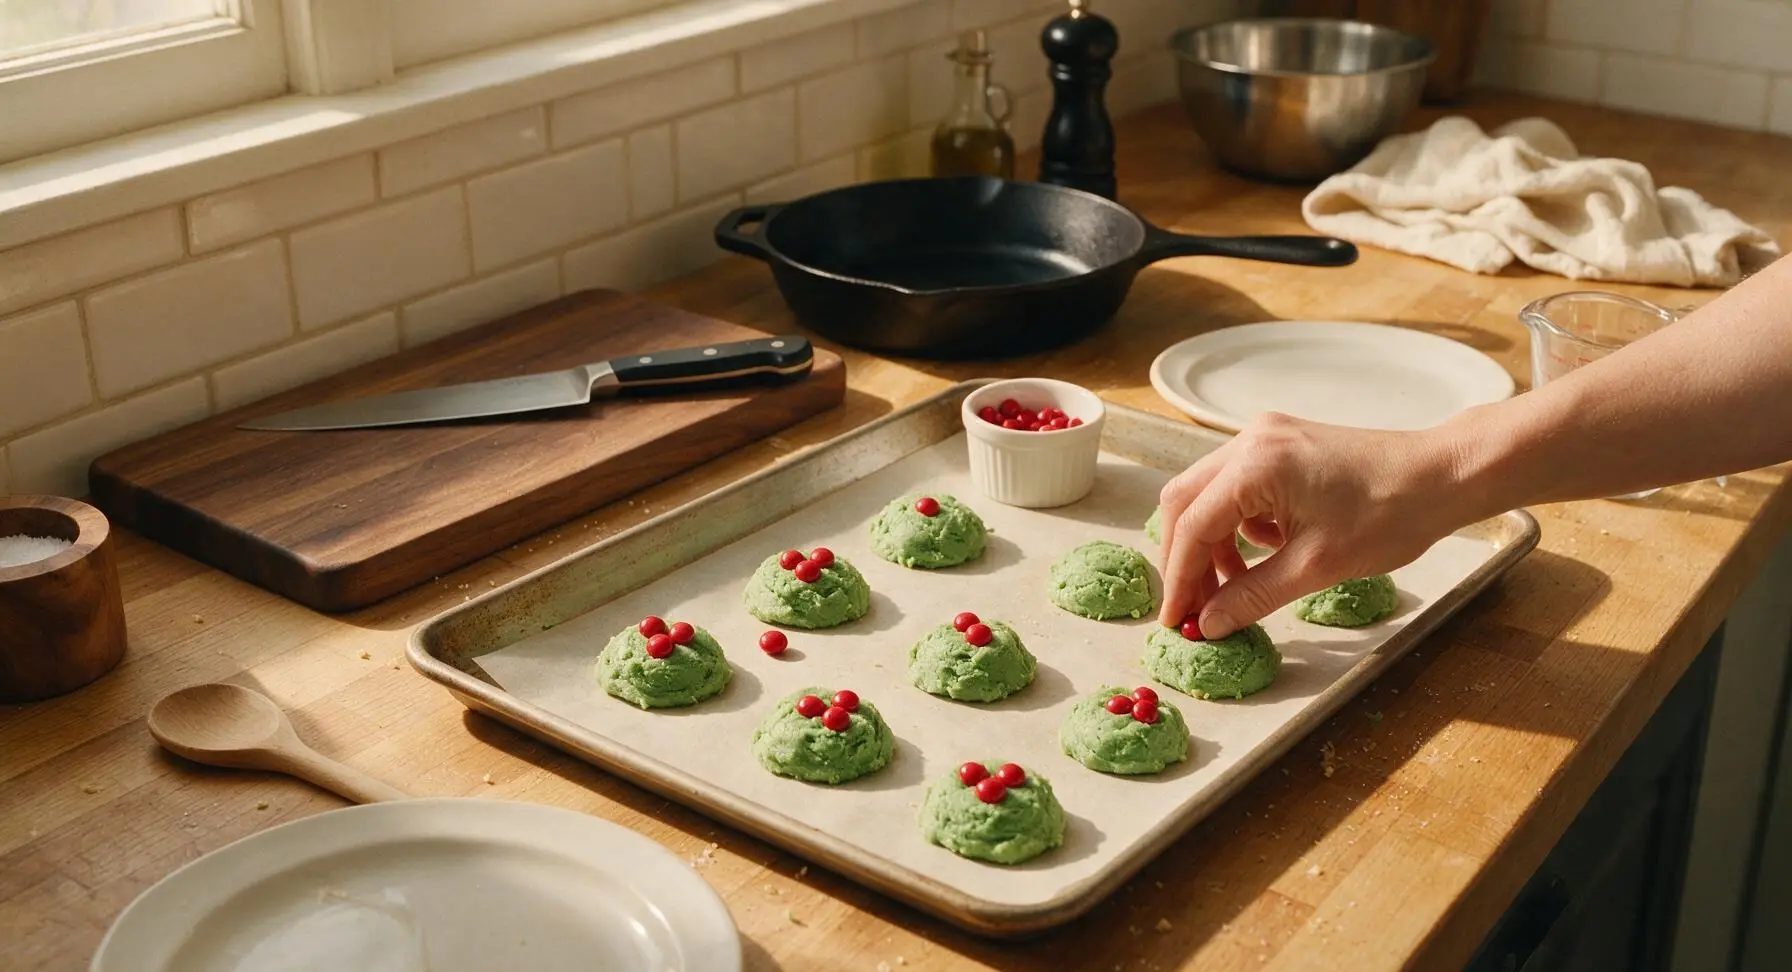
Step 6
step6:Add Red Berry Accents
7

Chill Until Set

Transfer the baking sheet of decorated cookies to the refrigerator to chill for 30 minutes, until the marshmallow coating is firm to the touch and no longer sticky when you lightly press a cookie surface. Once set, remove from the fridge, peel the cookies off the parchment paper, and arrange them on the matte cream ceramic serving platter. Serve immediately, or store in an airtight container at room temperature for up to 5 days, separated by layers of parchment paper to prevent sticking.
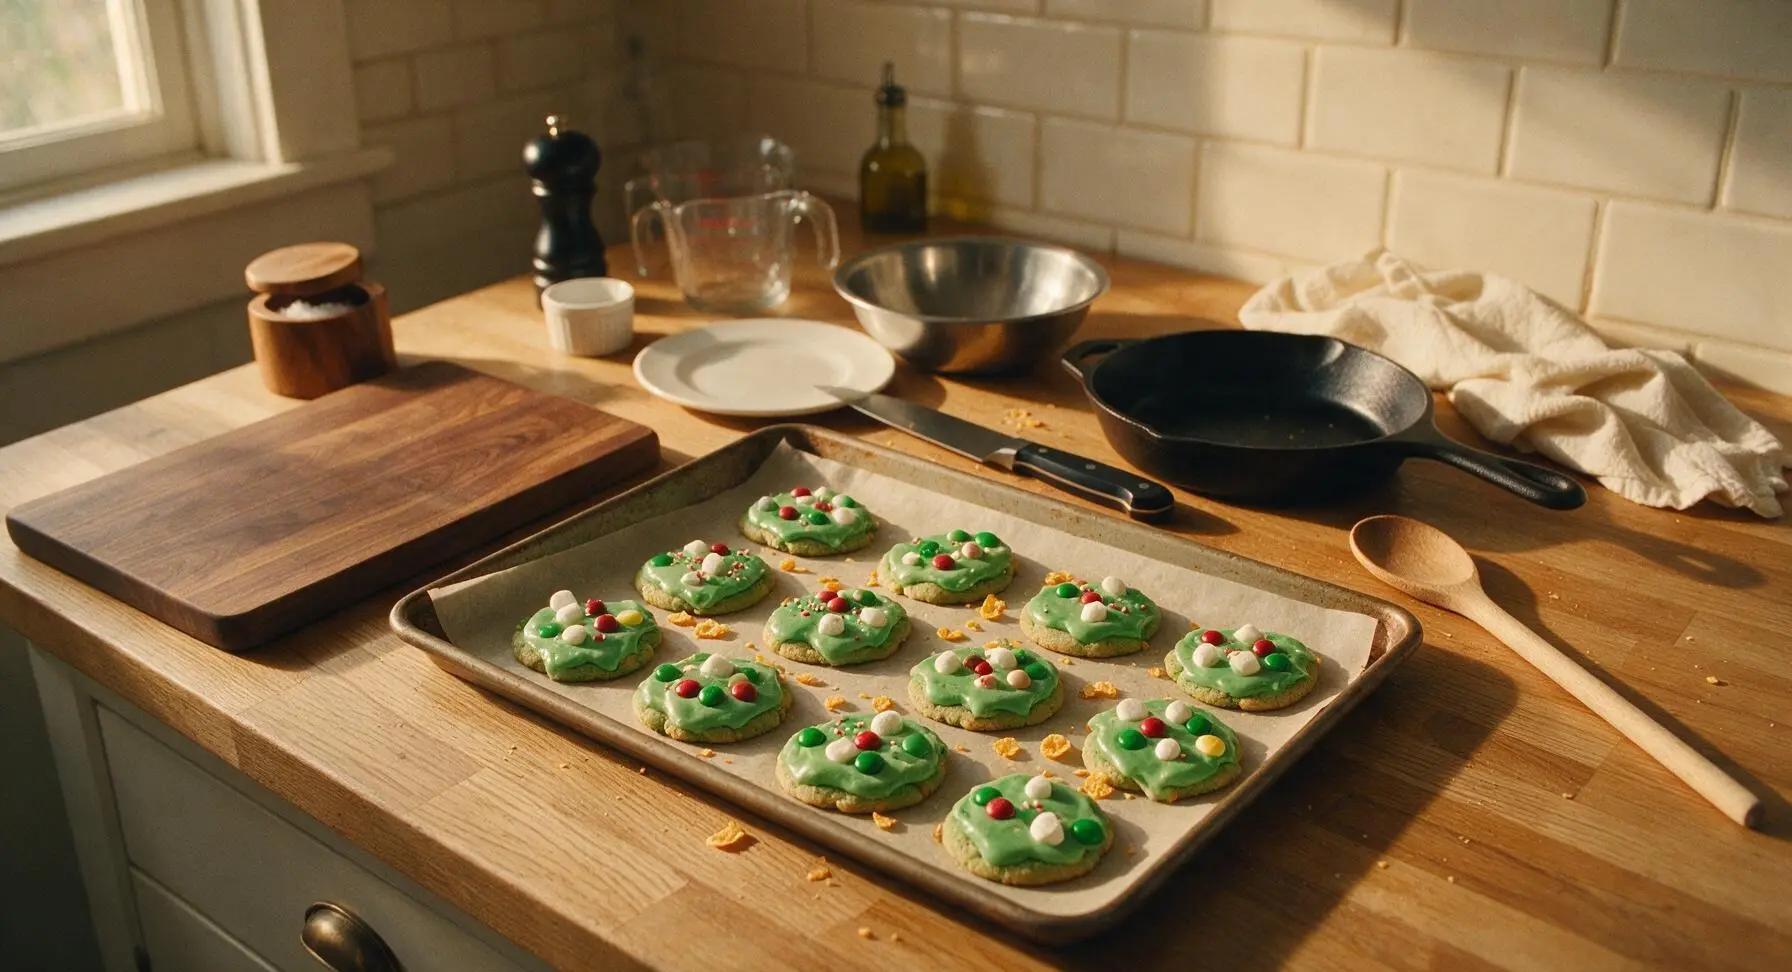
Step 7
step7:Chill Until Set

Tips

1.Use gel food coloring instead of liquid food coloring: Liquid coloring adds excess moisture that will thin the melted marshmallow and make your cookies soggy, while concentrated gel gives a rich, deep holly green without altering the firm, chewy-crunchy texture of the coating.
2.Fold cornflakes gently to avoid crushing: Over-stirring or pressing too hard will break the crisp cereal into fine crumbs, leading to dense, tough cookies instead of light, irregular clusters that look like spiky holly leaves.
3.Work quickly once the marshmallow is mixed: The marshmallow coating starts to firm up after 10 minutes at room temperature, so portion and decorate your cookies right away. If your kitchen is warmer than 72°F (22°C), work in two batches, keeping the unused mixture covered with a damp paper towel to prevent it from hardening mid-scoop.


✨ You May Also Like

Desserts & Baking
🍜 Italy

Creamy, coffee-kissed classic Northern Italian no-bake dessert, with layers of rum-spiked mascarpone cream, soft ladyfingers, and a rich cocoa dusting.

⏱️ 4 hours 3Desserts & Baking ★ 4.7
Desserts & Baking
🍜 France

Flaky, shatteringly crisp, buttery French croissants with golden exteriors and soft, airy layered interiors, perfect for pairing with coffee for a special morning treat.

⏱️ 12 hours Desserts & Baking ★ 4.5
Desserts & Baking
🍜 United States

Warm, spiced baked apples topped with a fluffy golden biscuit crust, this cozy dessert pairs perfectly with vanilla ice cream for cool-weather comfort.

⏱️ 55 minuteDesserts & Baking ★ 4.6
Desserts & Baking
🍜 United States

A star-spangled classic American blueberry pie with buttery flaky crust and bright sweet-tart filling, perfect for summer patriotic gatherings.

⏱️ 1 hour 25Desserts & Baking ★ 4.7
Desserts & Baking
🍜 United States

A beloved no-bake regional Maine candy with a chewy coconut-potato center coated in rich dark chocolate, a New England holiday staple since the 1870s.

⏱️ 2 hours 3Desserts & Baking ★ 4.8
Desserts & Baking
🍜 France

Luxuriously creamy, floral frozen custard made with aromatic Tahitian vanilla beans, boasting a smooth, rich texture that melts slowly on the tongue.

⏱️ 3 hours 3Desserts & Baking ★ 4.5

Holly Cookies:Frequently Asked Questions

1.The recipe says these are crunchy—what creates the holly leaf texture if these are no-bake? ▾
That signature crisp, flaky holly leaf texture comes from plain cornflakes cereal, which you fold into the tinted marshmallow mixture right before scooping. The thin, flaky cereal pieces look just like spiky holly leaves when clustered, and they hold their crunch perfectly against the soft, sweet marshmallow coating.
2.Do I have to use green gel food coloring, or can I use regular liquid food coloring for these cookies? ▾
Gel food coloring is strongly recommended for that vibrant, classic holly green. Liquid food coloring adds extra moisture that thins the marshmallow coating, makes it overly sticky, and produces a dull, muted green. You only need a tiny dot of gel to get the perfect shade, and it won’t alter the cookie’s texture at all.
3.Can I use large marshmallows instead of mini marshmallows for the coating? ▾
You absolutely can, just adjust the quantity for even melting: 8 large marshmallows equal roughly 1 cup of mini marshmallows. Cut large marshmallows into quarters first so they melt faster and more smoothly with the butter, so you don’t end up with chewy, unmelted lumps in your silky coating.
4.Can I use salted butter instead of the recommended unsalted butter? ▾
You can, just adjust the added salt to keep the flavor balanced. If using salted butter, skip the extra fine sea salt called for in the recipe entirely, since salted butter usually contains around ¼ teaspoon of salt per stick. This will keep the cookies from coming out too salty while still nailing that rich, buttery marshmallow base.
5.Can I use imitation vanilla instead of pure vanilla extract? ▾
Imitation vanilla will work in a pinch, but pure vanilla extract gives a much warmer, rounder, less artificial flavor that pairs perfectly with the sweet marshmallow and buttery cereal base. If you do use imitation vanilla, use the same measured amount, just note the flavor will be slightly less rich and nostalgic than the classic version.
6.What’s the point of the fine sea salt? Can I leave it out? ▾
Don’t skip that small pinch of fine sea salt! It cuts through the rich sweetness of the marshmallow and candy, amplifies the warm vanilla flavor, and keeps the cookies from tasting flat or overly cloying. If you only have table salt on hand, cut the measured amount in half to avoid over-salting.
7.What type of red candy works best for the holly berry decorations? ▾
Stick to firm, non-bleeding candies for the bright berry dots. Classic red cinnamon imperials (Red Hots) are the nostalgic pick, but mini red M&Ms, small red candy-coated chocolate drops, or firm sour cherry bits also work great. Avoid soft gummy candies that will bleed color into the green marshmallow coating.
8.My marshmallow coating came out super sticky and hard to scoop—what went wrong? ▾
This almost always happens if you overheated the marshmallow and butter mixture, or used too much liquid food coloring. Next time, melt ingredients over low heat, stirring constantly, just until no lumps remain, then pull off heat immediately. Lightly grease your scoop or fingers with nonstick spray to make portioning mess-free.
9.How long do these holly cookies stay fresh after making them? ▾
Store fully set cookies in an airtight container, separated by layers of parchment paper, at cool room temperature for up to 5 days. Skip the fridge for long-term storage—cold condensation will make the crunchy cereal base turn soggy and the marshmallow coating tough and rubbery.
10.Can I chill these in the fridge to make them set faster? ▾
You can pop scooped cookies in the fridge for 15 minutes right after portioning to speed up setting, but don’t leave them there long. Extended time in the fridge creates condensation that sogs out the crunchy cereal base, and turns the soft marshmallow coating tough, rubbery, and less pleasant to eat.
11.Why did my green cookie color look dull and faded once the cookies set? ▾
Dull, faded holly green usually comes from two common missteps: using expired gel food coloring, or stirring the coloring in while the marshmallow mixture is still boiling hot. Let the melted mixture cool for 2 minutes off the heat before adding color, and use gel coloring that’s less than 2 years old for a vibrant, long-lasting shade.
12.Can I make these cookies ahead for a holiday cookie exchange? ▾
These are ideal for cookie exchanges! Make them up to 3 days in advance, store them in an airtight container between parchment layers at cool room temperature, and hold off on adding the red berry candies until the day of the event if you live in a very humid climate to avoid color bleed.

Comments (5)

2 hours ago

OMG these holly cookies are a total game changer! I needed a last-minute treat for my kid’s class holiday party and these came together in literally 10 minutes like the recipe says. My kids went nuts for them, even my picky 7 year old asked for seconds. SO good, I’m already planning to make a double batch for our family Christmas dinner next week!

30 minutes ago

Wait did you add extra red candies on top? I’m making these for my neighborhood cookie swap this weekend and wondering if I can swap the cinnamon candies for mini M&Ms for the folks who don’t like spicy stuff!

5 minutes ago

Great question! You can absolutely swap the cinnamon red hots for mini red M&Ms, dried cranberries, or even little red candy melts — they’ll look just as festive and taste amazing. So glad your family loved the recipe!

yesterday

Super easy recipe, knocked these out before my friends came over for our annual ugly sweater party last night. Only note is I accidentally added a little too much green food coloring the first go round so they looked like neon slime lmao, second batch was perfect. Everyone raved about how crunchy and sweet they were, will def make again.

2 hours ago

So glad they were a hit at your party! Pro tip for next time: add green food coloring one drop at a time and stir between drops to get that perfect soft holly green without going neon. Thanks for giving the recipe a try!

3 days ago

Made these as a quick sweet add-on to my weekly meal prep snack boxes and they’re perfect! No fancy equipment needed, cook time really is only 10 minutes so it didn’t eat into my Sunday prep time at all. I stored them in an airtight container and they stayed crunchy for 4 days, 10/10.

1 week ago

I’ve been making holly cookies for 50 years and this is the easiest, most consistent version I’ve ever tried! I brought them to my church potluck last Sunday and the plate was empty in 10 minutes flat. All the young moms were asking for the recipe, I sent them all straight here!

5 days ago

So glad to see a long-time baker vouch for this! I’m a total baking newbie and was nervous to make holiday cookies for my in-laws, this makes me feel way more confident trying them!

5 days ago

Wait these are SO good??? I’m a broke college student with basically zero cooking skills and I pulled these off on my first try. Used generic cornflakes, cheap green food coloring from the dollar store, and cinnamon candies I found in my dorm pantry, and my whole floor is begging me to make more. 10/10, no notes.

3 days ago

Wait do these hold up if you don’t have an airtight container? I only have ziplock bags in my dorm and I wanna make them for our floor holiday party too!

2 days ago

They’ll stay fresh for 2-3 days in a sealed ziplock bag stored in a cool spot, just make sure to squeeze out as much extra air as possible before sealing. So stoked they worked out for you even with budget supplies — that’s what easy recipes are all about!



